The exterior is concrete block so no damage was done to it. Hmmm, shop disguised as a house? May end up that way......
The exterior is concrete block so no damage was done to it. Hmmm, shop disguised as a house? May end up that way......
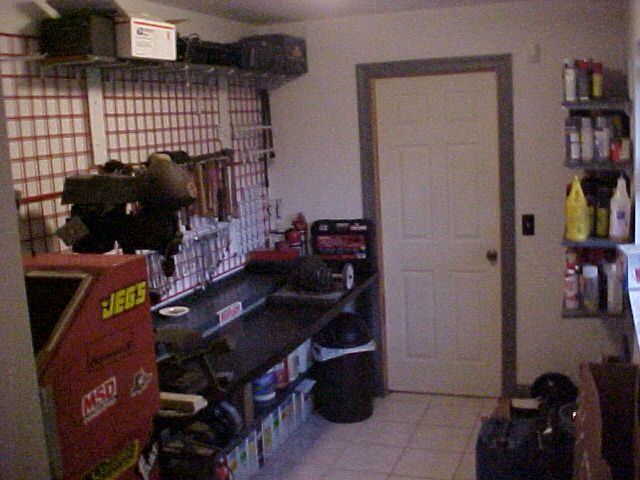
Moving right along, I finished painting the walls and since the pile of trim is still in the way I trimmed out the room and also painted the trim Gray like I did in the main shop. I'm out of the Gray porch and floor paint and wanted to do the door and bottom of the KitchenAid bench so I might spend the money to buy another can. As you can see in the pics, there's still a pile of trim for the rest of the house. since they're 16' lengths this is the only place long enough where I can pile the trim without tripping over it. Might have to trim out the rest of the house to get it out of my way, I'm sure as soon as I start using this work area I'll want it gone. Also painted the wood bench top black to make it look similar to the KitchenAid bench and gave the switch plates and outlet plates the Krylon touch.
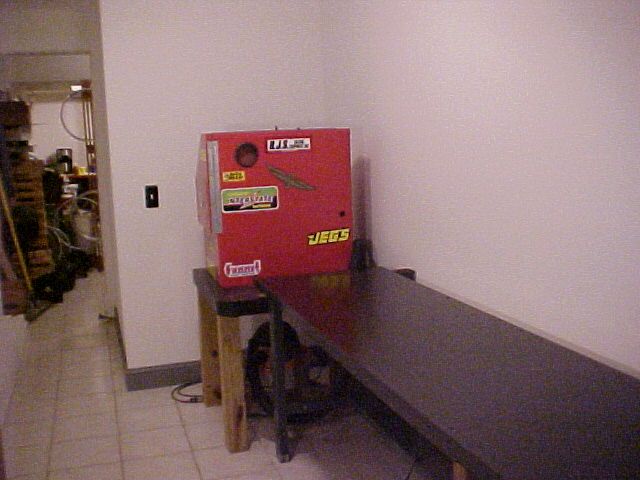
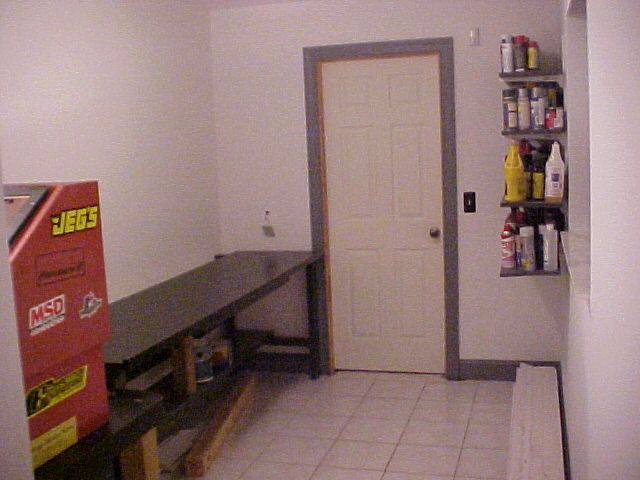
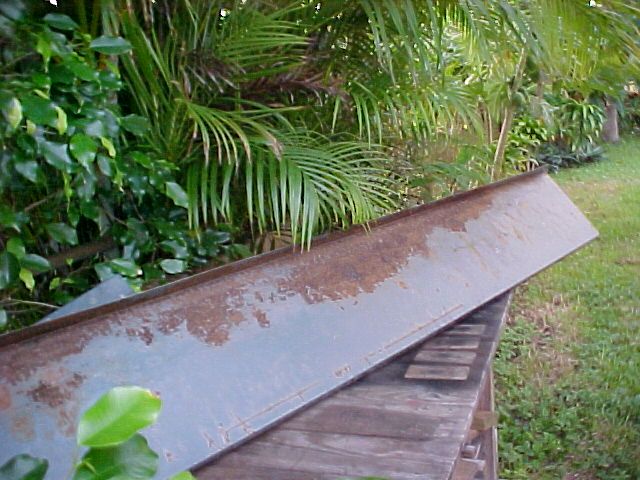
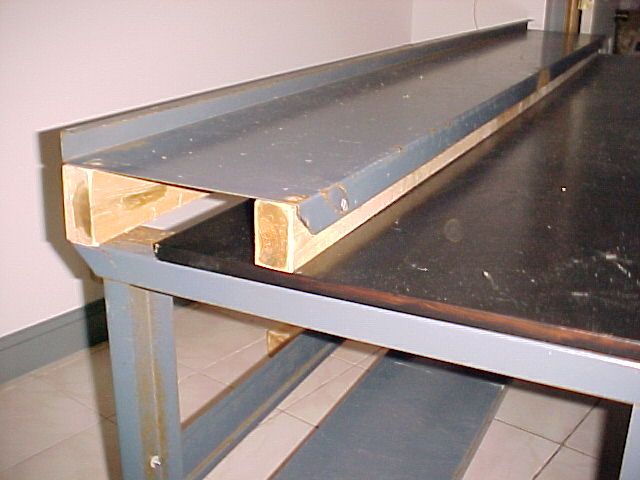
When my neighbor gave me the frame remnants of the metal bench there was a shelf of some type they gave me along with it. I'd been trying to find a good way to cover up the area of the bench where the top I put on wasn't big enough and also give the bench more support so it wouldn't sag in the middle with heavier weights on it. I found a bunch of 8' 2 X4's that had been built into something which was later thrown out in back of a store in the same strip mall my favorite appliance store is while I was looking for "treasures".
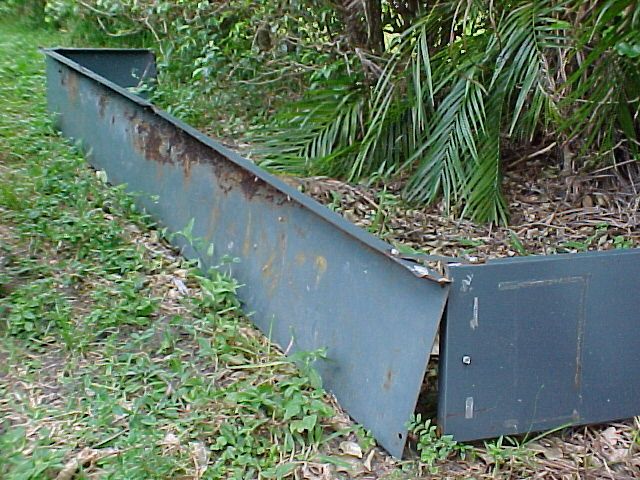
So I cleaned off the loose rust on the metal and ripped one of the 2 X 4's to account for the thickness of the top I'd installed and made a shelf for the rear of the bench. Drilled through the metal and used screws and a few lag bolts from skids I've taken apart to screw the wood to the shelf then the shelf to the bench. One side of the shelf was pretty rusty so I put that side down. I did spring for another gallon of paint so I painted the 2 X's and also the sandbox table legs.
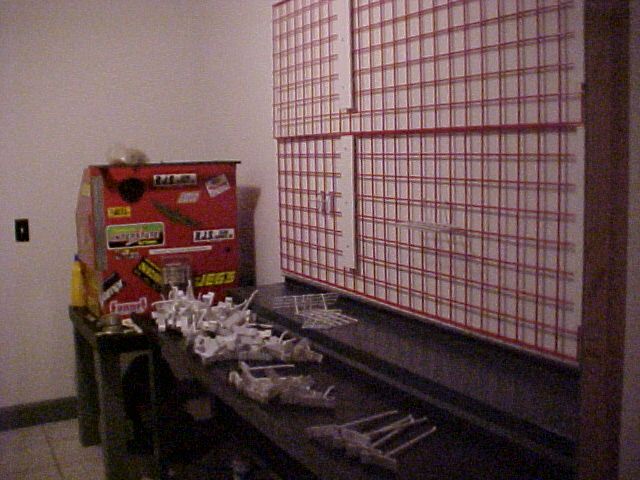
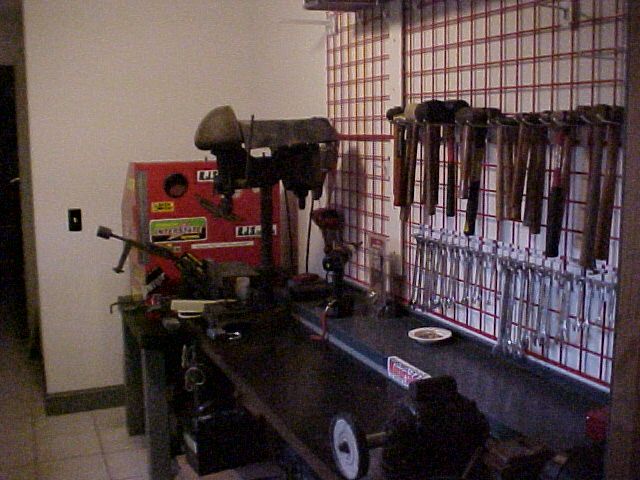
I have a stack of 2' X 8' Gridwall sections. I originally got them when they were being disposed of by a bike magazine that had used them for a trade show booth setup. I'd used lots of them in my bike shop and had bought hooks for them so since I already have them I put up a couple sections above the bench to hang tools on.
While there are wall mounts to install them I don't have any and am certainly not going to buy them for this project so I cut up some 3/8" fake wood I had laying around and used screws from skids to screw them up on the wall as spacers and retainers. I had some short wood shelves already painted grey left from the store also so I used a few along the top of the gridwall. So the only expense so far for this shop annex is the gallon of paint which I'm also using in the other areas.
Sorry to be a dork, but I am very happy to see this thread continue. I don't remember all the info from last year but I remember some concern about you keeping the house. So this means you are still there, still being an inspiration and still giving the rest of us some really good ideas.
Keep it up!
SnowMongoose wrote: Got enough hammers?
+1!
Glad to see you're still making progress, always gives me awesome ideas for my future workshop.
SnowMongoose wrote: Got enough hammers?
Not sure but I've got more! Those are just the hammers for beating on stuff (as opposed to hammers for nailing or other purposes). I had them in the base of a toolbox and it was a pain finding the one I wanted. I'd have 10 on the floor by the time I found the one I was looking for.
Mental wrote: Sorry to be a dork, but I am very happy to see this thread continue. I don't remember all the info from last year but I remember some concern about you keeping the house. So this means you are still there, still being an inspiration and still giving the rest of us some really good ideas. Keep it up!
Thanks! I have tried every way possible I can think of to get the stagecoach corporation to look at my mortgage situation as unusual and worthy of some possible alternative. I have even jeopardized my credit by letting payments go 2 months at one point in the hope of getting someone to look at it and see the unusual circumstances but just ended up in the same run around circle of departments as before. It's a no win for the mortgage holder or myself in the long run. At this point it still looks like eventually I will mail in the keys.
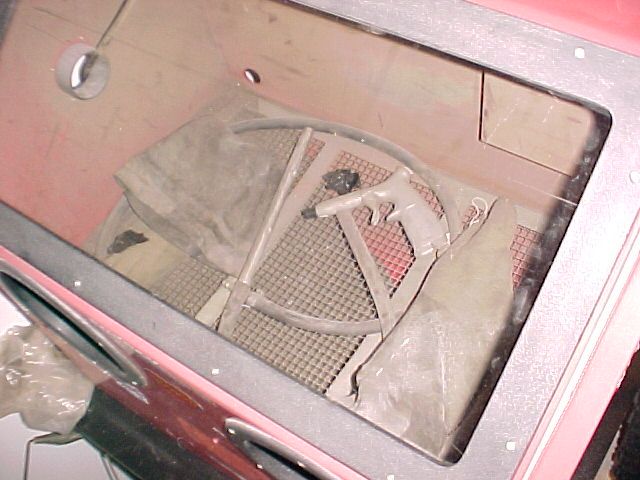
With the sandbox in place it was almost ready to use. I was talking to a friend at the machine shop about it and he said he had an old piece of plexiglas he uses for making stuff like that. He offered the piece if it was big enough as long as I returned the unused pieces. DEAL!
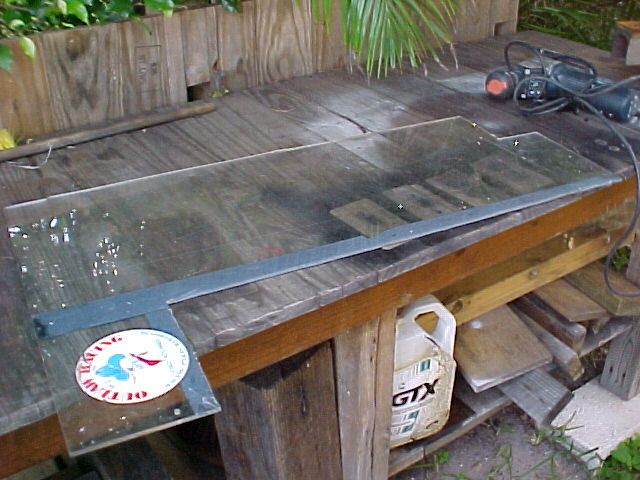
yup, it was old alright, not even a WWW address on the sticker! LOL
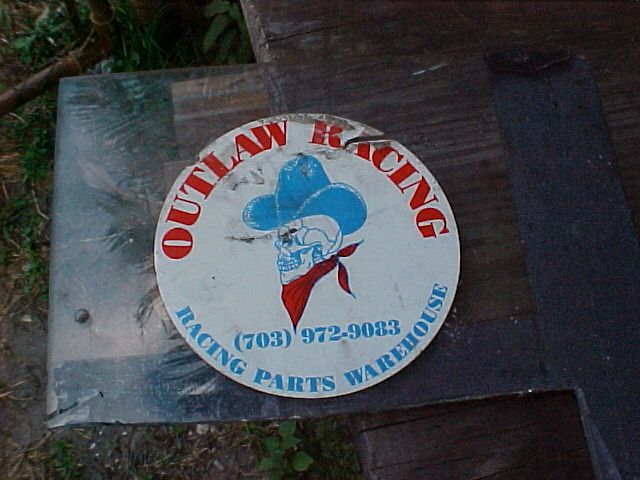
So I cut the Plexi with a jigsaw and made a piece for the cabinet. A bit of cleaning and a quick polishing with Plexus and it came out pretty good! I know the plexiglas will get cloudy but who cares? It was free! If/when it gets crummy I'll make something to replace it. Meanwhile, I was helping a different bud pull an engine out of a Dodge Dart and yacking about the shop build/sandbox window and he says "I've got a bucket of black Aluminum Oxide media you can have for the blaster". AWESOME! So as soon as I pick up the media I'll be able to use the cabinet!
sethmeister4 wrote: Wow, this is awesome! I would love to see some pics of the outside of the house...I'm very curious!
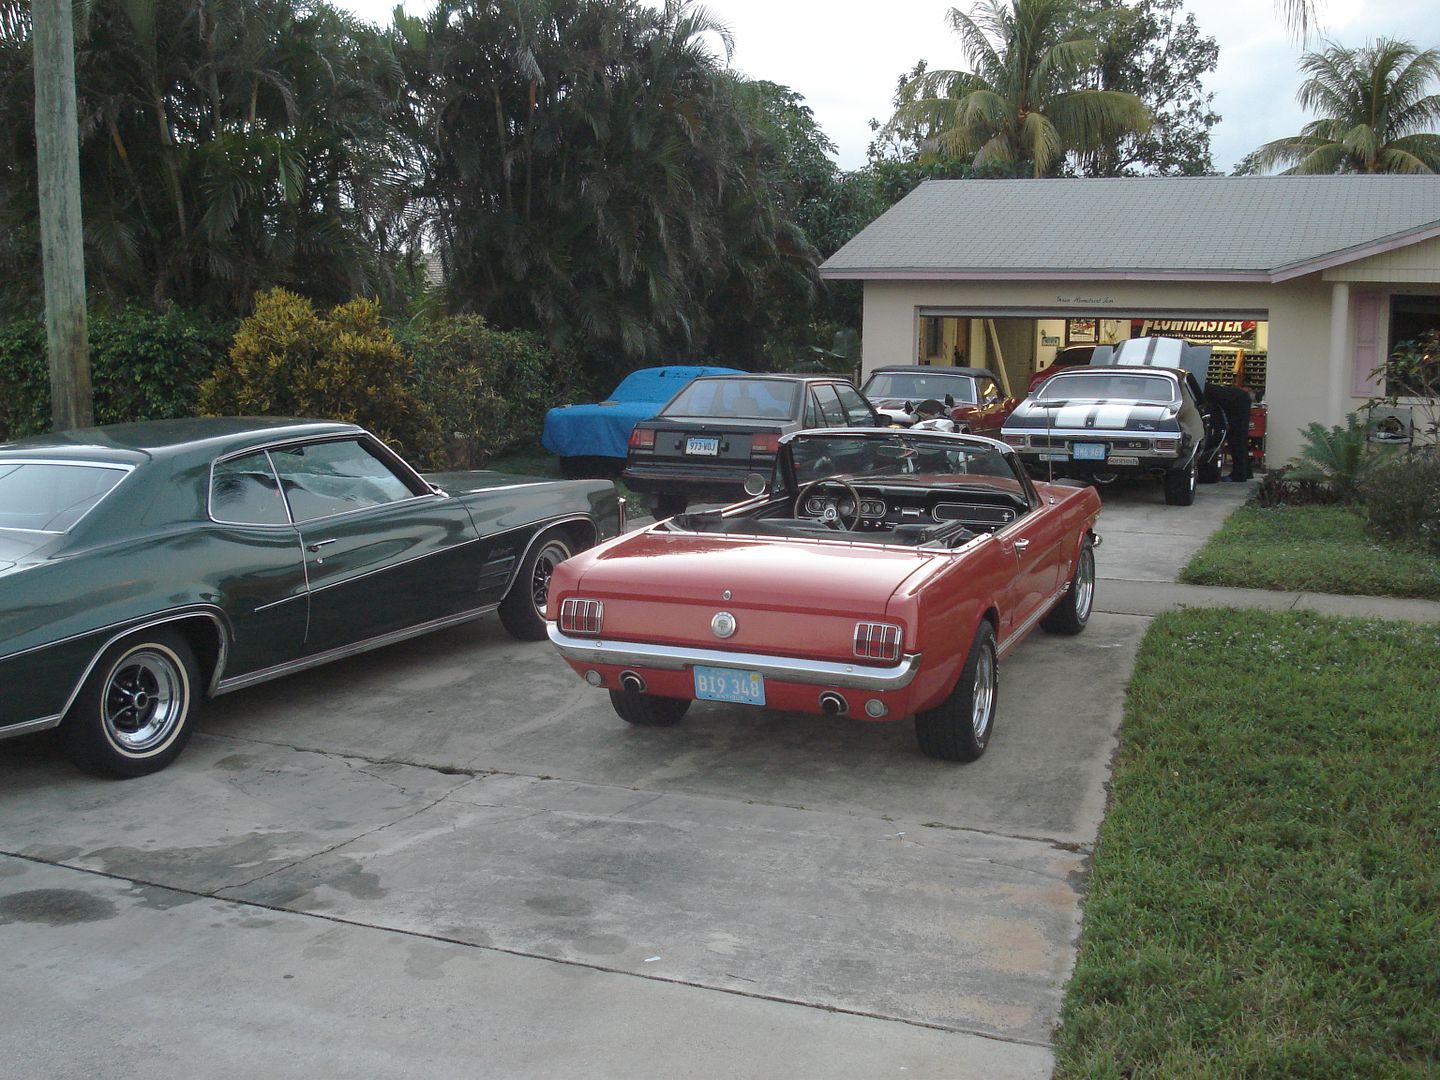
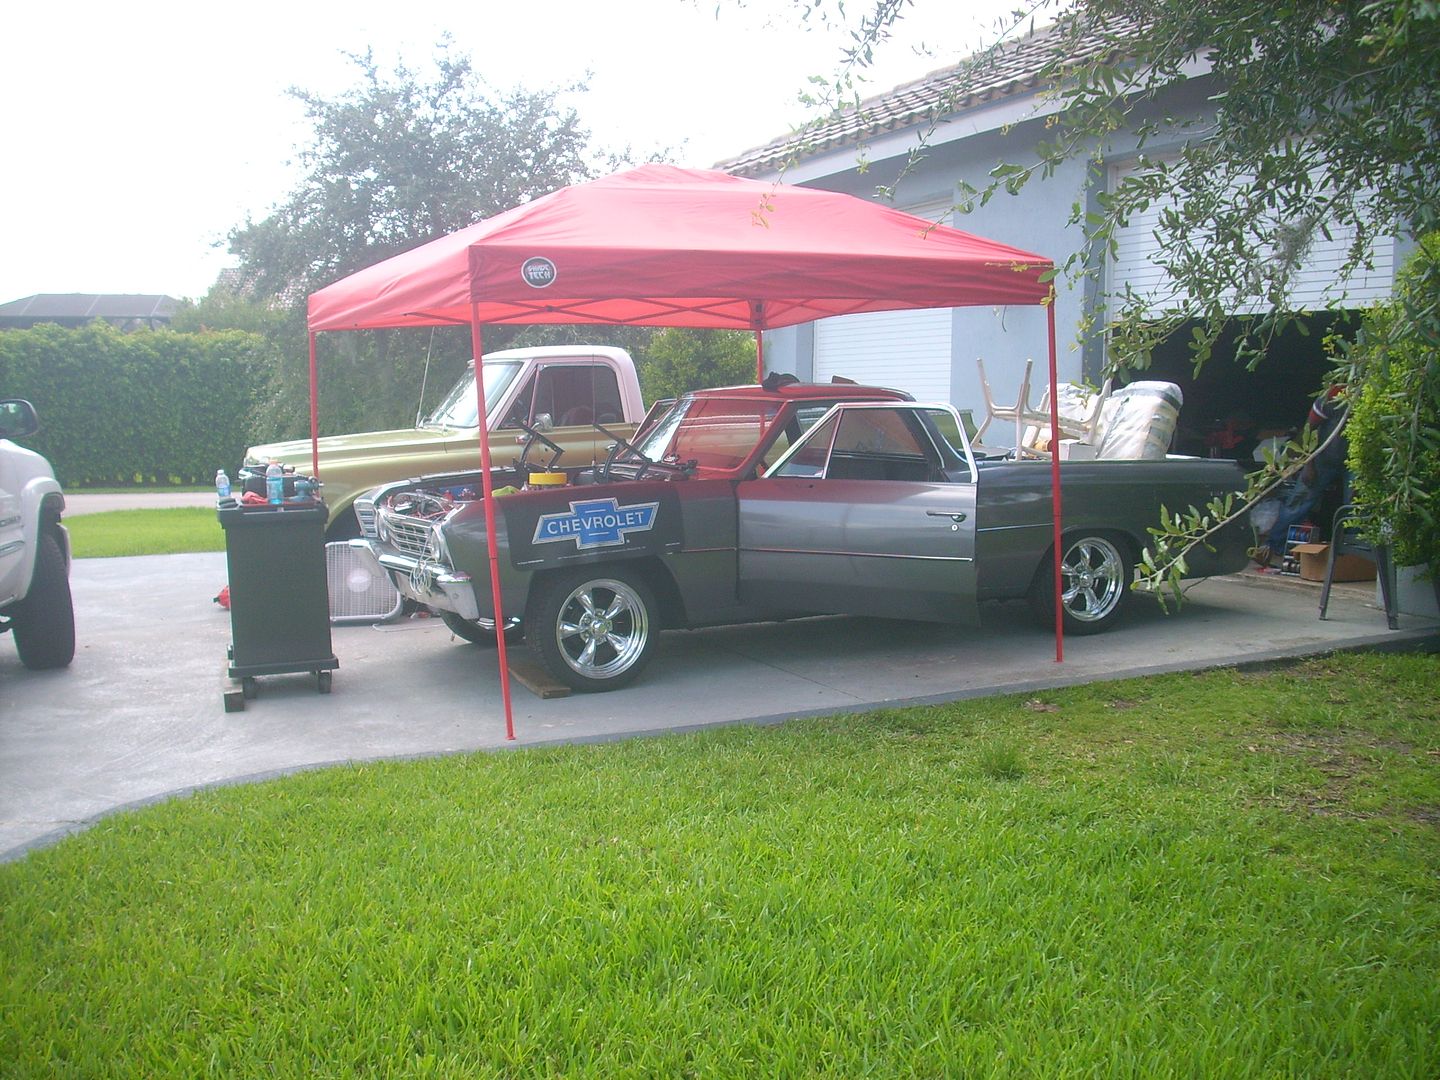
I work on others cars so sometimes the driveway looks cool.
It's been a few months since my last installment. So, although I did find some lighting fixtures for free (more on those later) I did end up buying (gasp) a couple 8' fluorescent light fixtures. I've always been annoyed that with a garage door open any overhead lights are blocked off. So I decided to try something I thought of years ago. Hanging the lights from the door roller channels and angling them toward the center of the garage. This way a car can be backed in and daylight used with the florescent lights optional whether the door is open or not. I wired and mounted them so they can easily be removed and taken with me if/when I move.
I grabbed a couple old power tool cords from my bucket of used wiring. (You all part out stuff you discard too right?) And found a couple of the cable clamps for junction boxes etc. in my "bin o house electric stuff". I don't want the lights hardwired because it'd be more work to remove them later.

I also found some 4" box covers in the bin that I figured they would make good brackets to hold up the fixtures. Bent the covers, drilled a few holes and added some matching bolts out of my nut & bolt bins along with some washers.

I figured 3 brackets per fixture would suffice . Bolted all the brackets to the door channels then mounted the fixture to the center bracket first to hold the light up so I could align and drill the holes for the end brackets.

And Bam! Nice bright work area with the added benefit of some light in the driveway close to the door. I'm very happy with the lights angled in from the sides toward the cars. Much easier to work under the hood and there's plenty of light on the sides of the cars as well.


I'm loving that green Buick too! Is it a Centurion? I was wondering what it was. Looks like a badass ride.
Dean, I had a 75 TA with a 74 400 a few years back.
4cyl, try it you'll like it!
Cotton, send the Firebird and a wheel barrel full of hundreds and I'll gladly make yours like mine! Mine was an Esprit when I started on it 20 years ago.
John, Thanks! The Chevelle and Mustang vert aren't mine, my 66 Mustang needs finishing. It's under the blue cover.
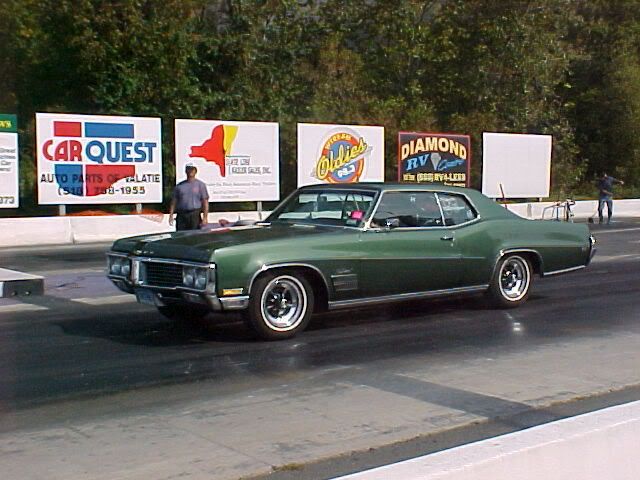
Hardly & mid, The Buick is a 70 Wildcat Custom. It's a 70,000 mile 455 bucket seat car and still wears the original factory lacquer paint. It's a true survivor with the only mod being a larger exhaust system. 70 was the last year of the Wildcat. I bought if from a friend who ordered it new.

Rad_Capz - love this thread. Mine was almost this bad before the girlfriend moved in. I had a motorcycle showroom in the living room. Oh and I'm in Weston\SW Ranches would love to buy you a beer some time :)
terabyte wrote: Rad_Capz - love this thread. Mine was almost this bad before the girlfriend moved in. I had a motorcycle showroom in the living room. Oh and I'm in Weston\SW Ranches would love to buy you a beer some time :)
I did the motorcycle in the apartment thing when I was in college. That pretty much came to a screeching halt when the GF moved in loL. Last bike I owned was a Suzuki GS 1000 L I bought in a guys living room. Only thing he had left in his apartment. Let me know if you come up this way sometime. I think I ended up in Weston lost once trying to find the Tower shops with no directions or GPS.
Update! The shop/garage makeover has been working out very well. I started getting more and more requests to work on restorations and full builds for people and have became a sort of traveling restoration/rebuild/project guy working primarily on 60's,70's 80's American cars. I do small jobs and also long term ongoing projects.
Here's how it works. Let's say a gentleman has a 69 Camaro he wants to do a pro touring build on (one of my current projects). He also doesn't want it to take 5 years of his free time and he'd like to do some of the work on it himself because he's a car guy like us rather than just send it to a shop. This is where I come in.
I'll do whatever the owner doesn't have the time, skills, tools, patience, or whatever to do. The car is in his garage and he can work on it whenever he wants and have me do everything else. So lets say the rear needs a rebuild and a different ratio. If he wants me to do it, I go to his garage and do the removal, take it away, rebuild and paint at my home shop and /or the machine shop with whatever he wants and then bring it back to his garage. If the entire underside of the car needs to be stripped for epoxy primer he can just ask me to do it and I'll do it at his place while he's doing something else that's more fun than getting covered with undercoating.
So using the Camaro as an example here's a few pics from a full build. Car is currently stripped down to a naked body shell. New quarters have been hung and the owner wanted to use lead for bodywork so he's working on that while I strip the rest of the body to get it ready for primer.

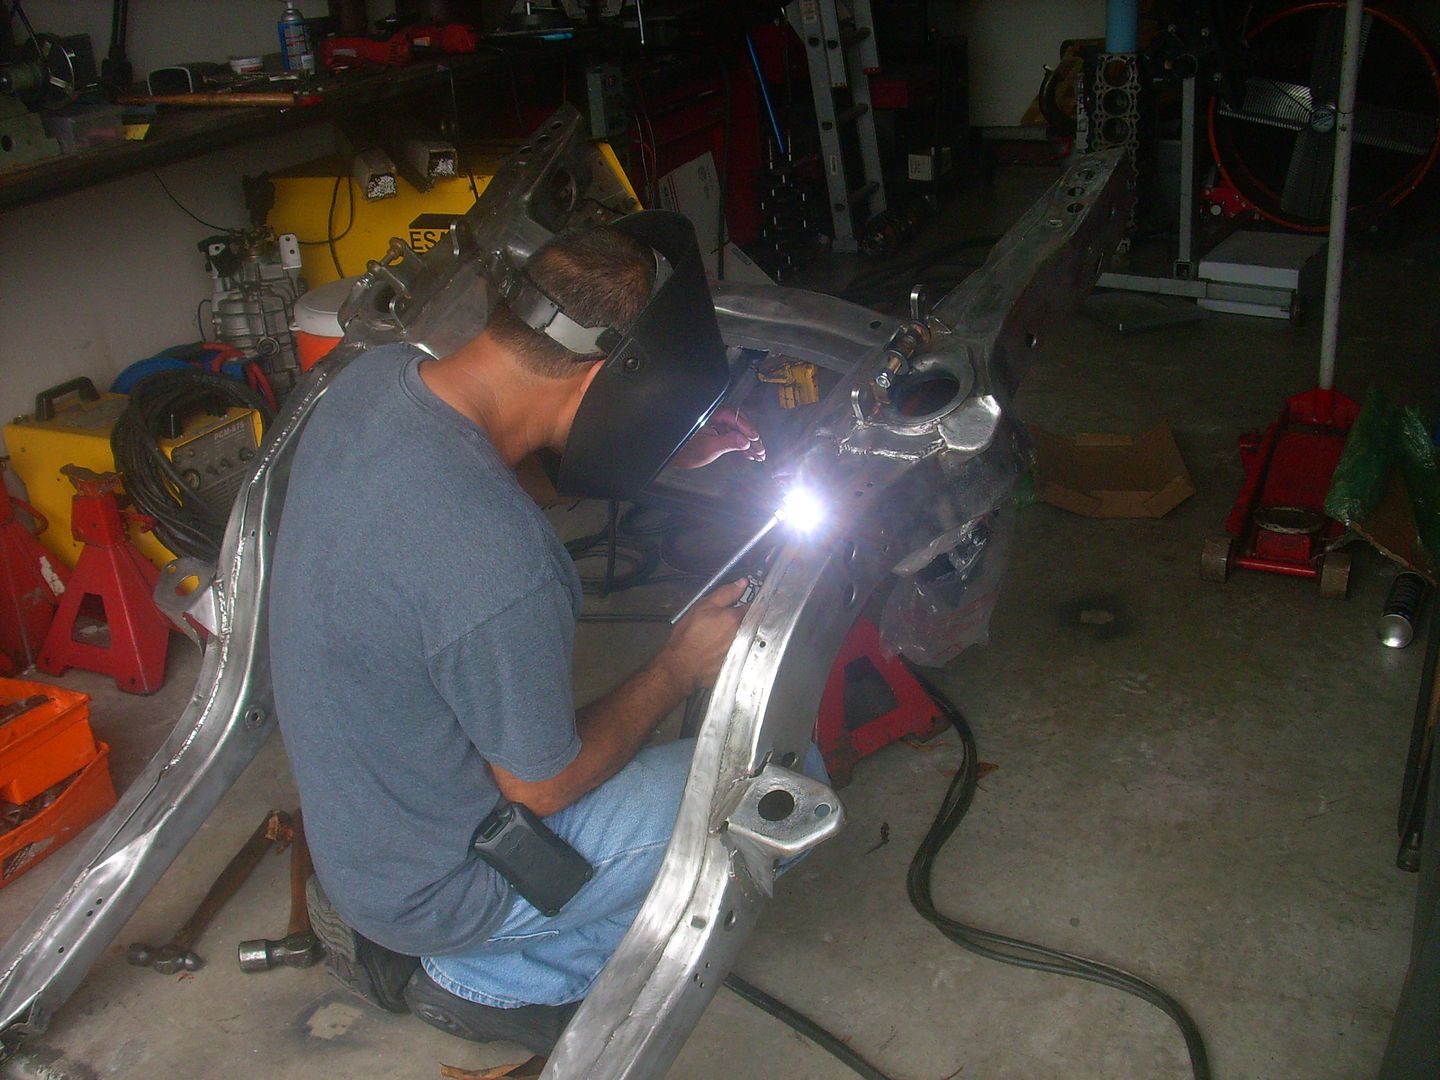
Meanwhile the car is getting a Detroit Speed level 3 front coilover suspension upgrade so I took the subframe off and back to my place, hacked off the the original suspension mounts, stripped it, ground out all the crappy factory welds, then modified it to accept the new mounts. Had a bud who's an excellent fab/weld guy do his magic on the new mounts, reweld all the factory welds, reinforce the frame for the new mounts and do a lot of extra welds to add strength.


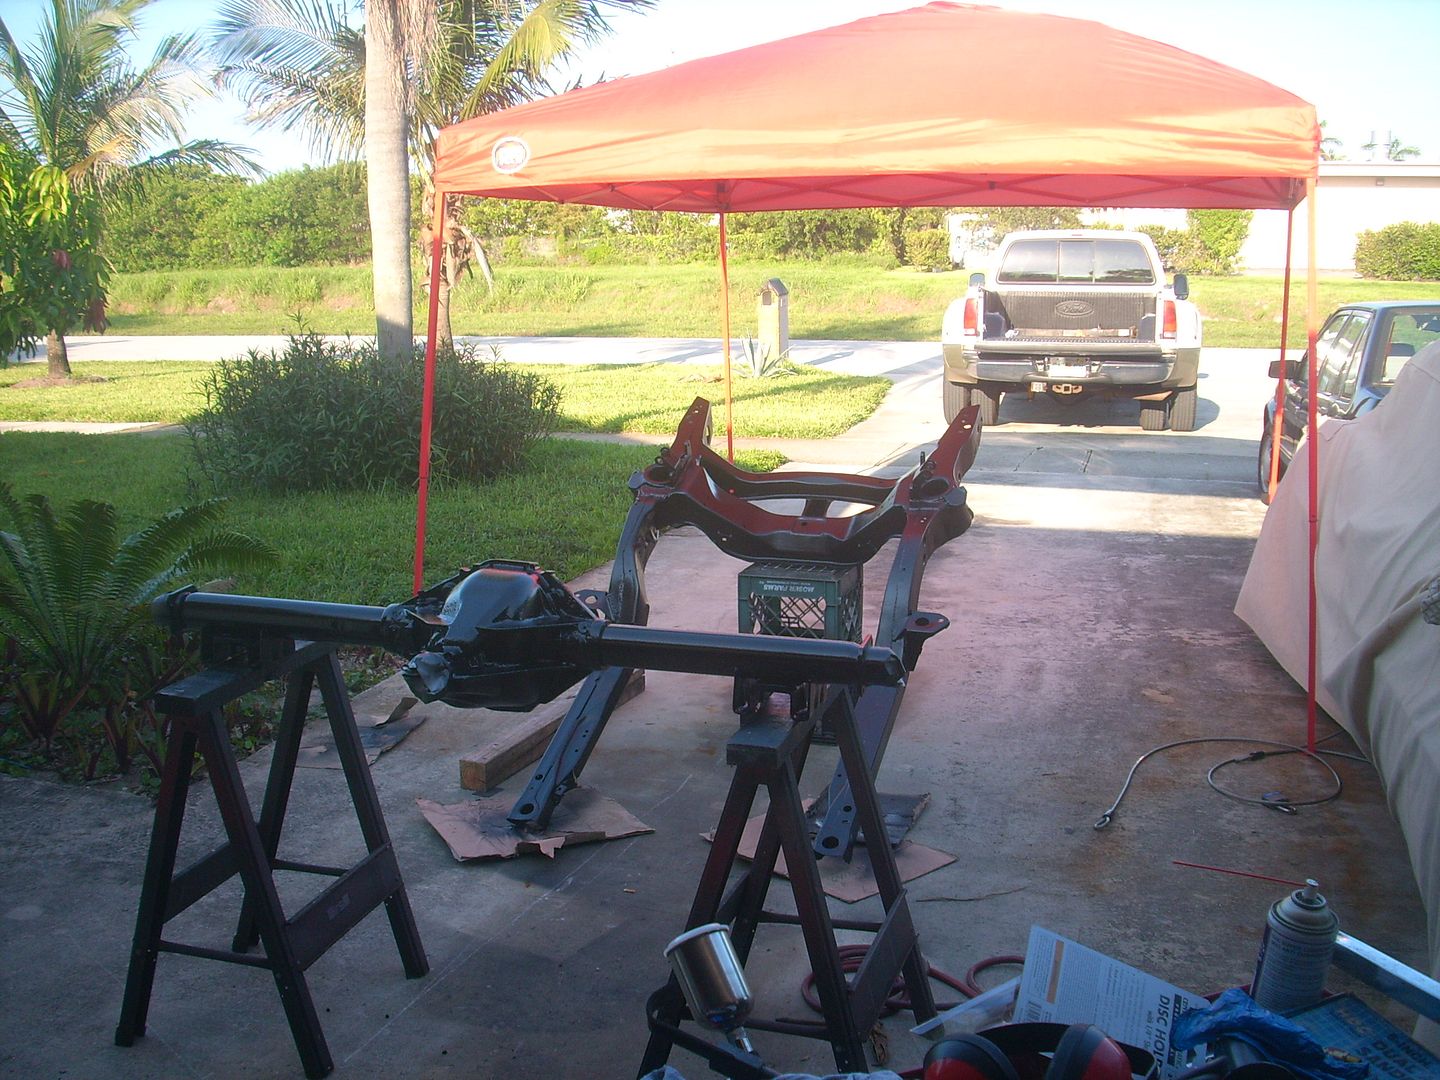
As you can see in the pic above I had the 12 bolt rear from the car at the same time for a rebuild. It's now had a full rebuild using a Ratech kit, Richmond gears, ARP hardware and a disc brake upgrade.
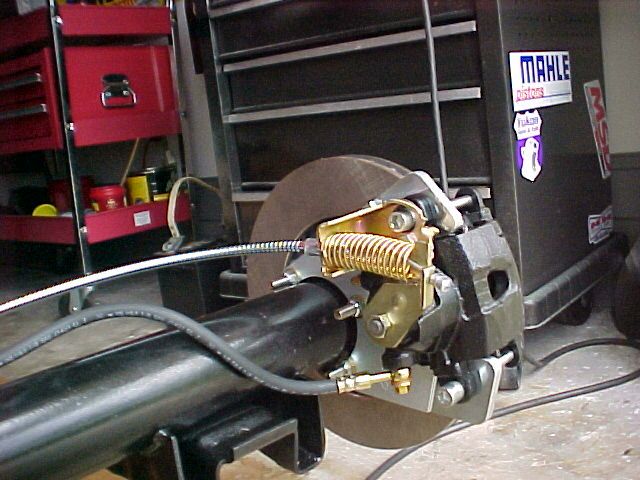
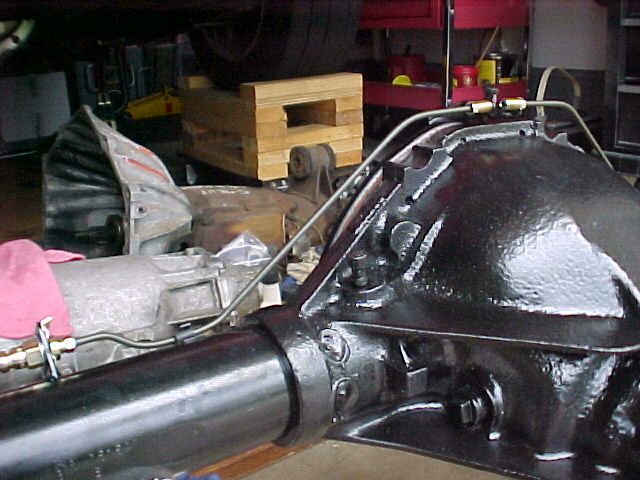
Here's a few pics from other current builds.
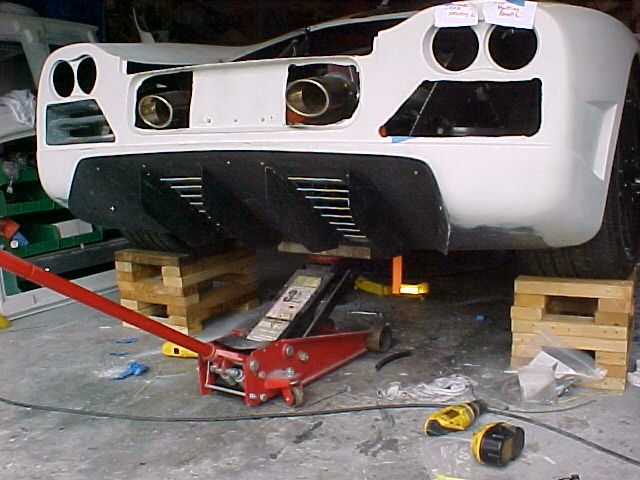
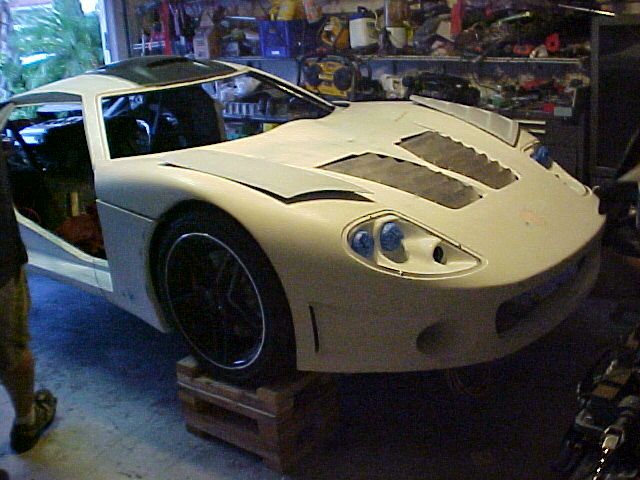

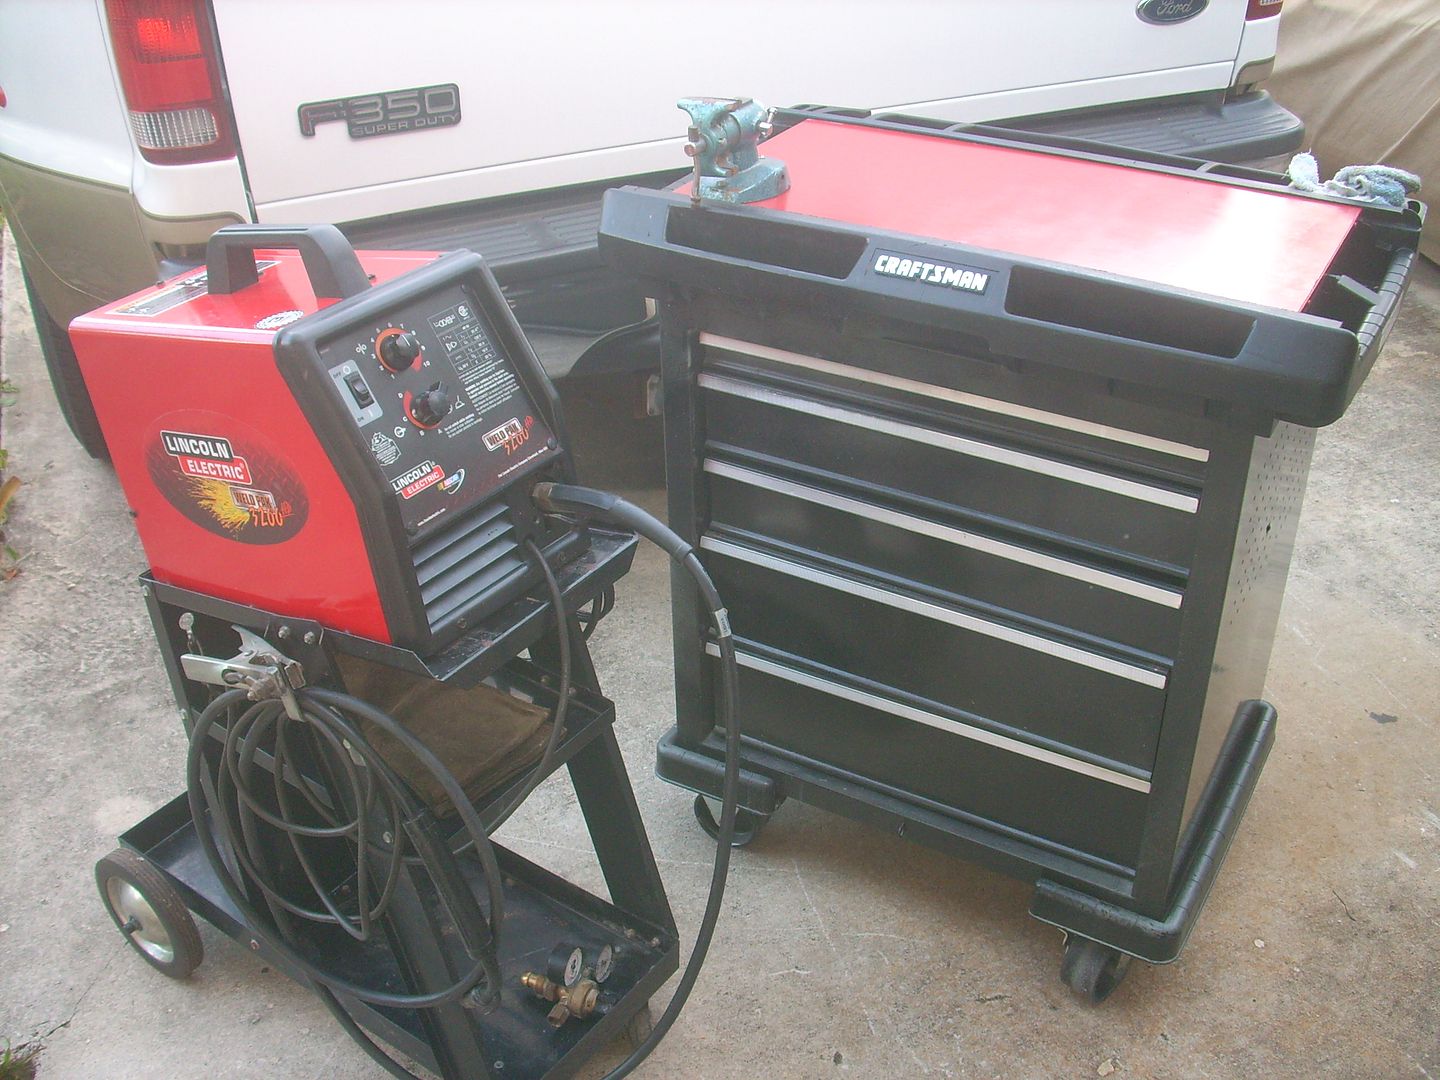
Wow this post got long! Anyway what prompted my update was that a friend who's a body man gave me a tool box and welder he replaced. Sweet deal for me! I then took him shopping at harbor freight because free was just too much generosity for the welding rig. I already had a gas bottle & regulator from my MIG that was stolen so I put them back into use.
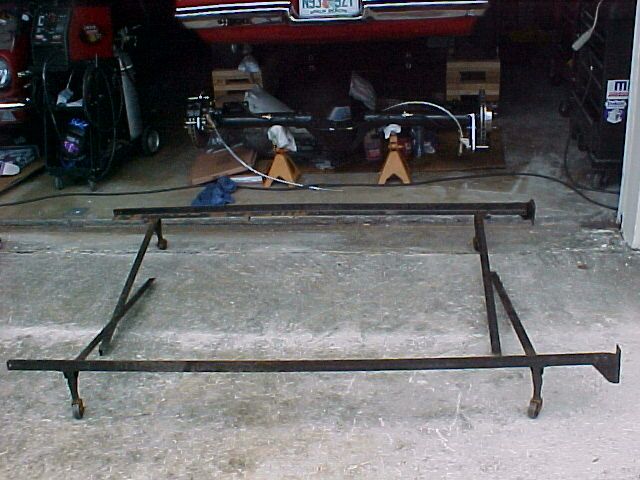
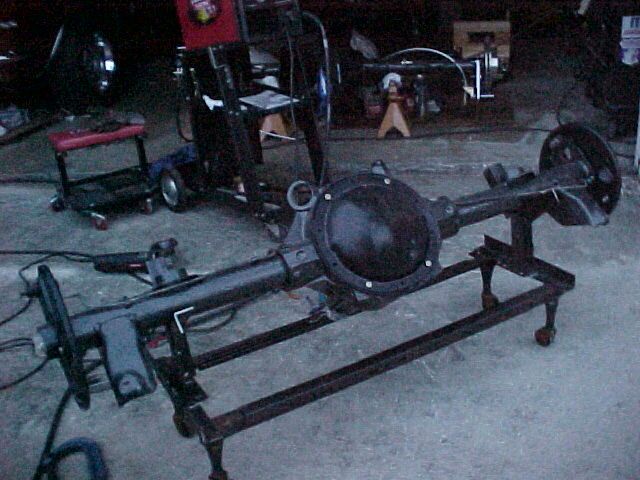
Since I got a new (to me) welder, had an old bed frame someone wanted me to get rid of, and have several rear ends to work on, I built a rear end stand. The rears are too heavy once fully built for this ole man to carry alone anymore. Damn things weigh almost as much as I do!
Bed frames are made of really good steel and I've used them before. Not sure what it is, maybe heat treated chromoly or something but whatever, it's tough stuff. So the cost of the rear end stand was FREE except for a little welding wire and gas. And yes I made it so it can still come apart for storage like a bed frame does.
You'll need to log in to post.