1 2 3 4
greggearhead
greggearhead Reader
5/9/19 8:23 p.m.

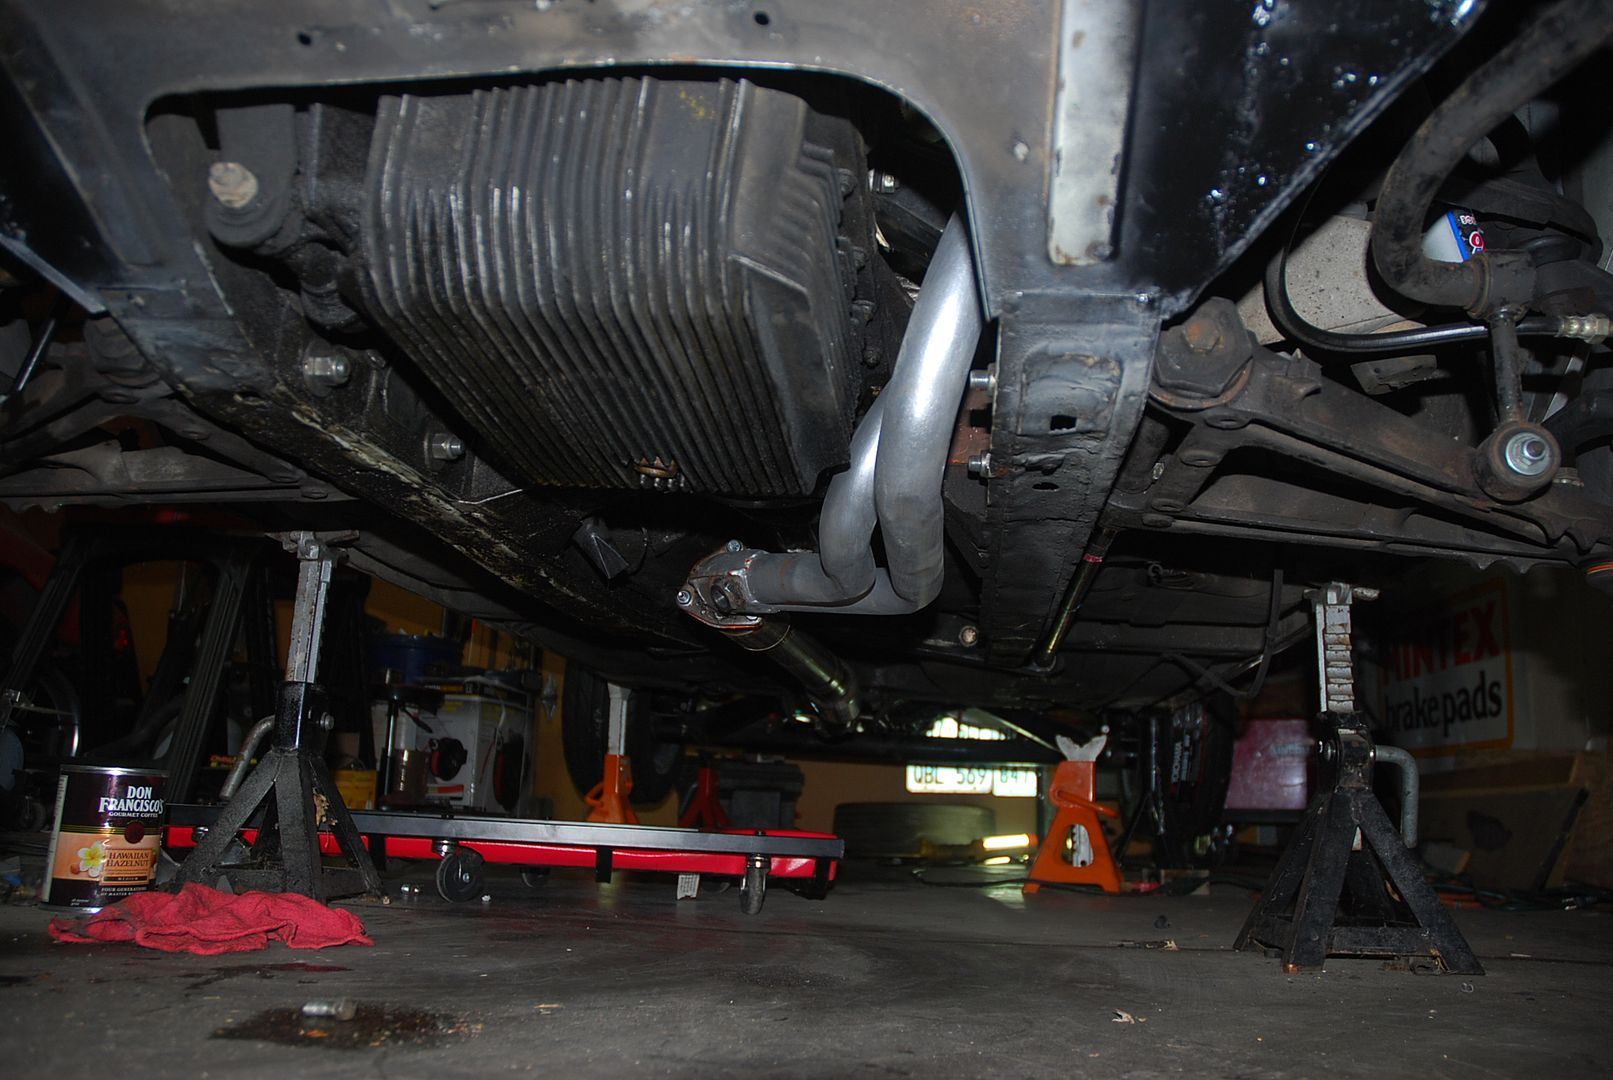
Greg Gear Head Finished the rest of the Alfa exhaust yesterday. The last bit over and around the De Dion axle, and over the CV half shaft, close, but not too close to the inboard brakes, not too close to the fuel hoses, etc. and missing the spare tire well, and the battery box. There ALMOST isn't room for the smallest Dynomax muffler made. Barely room if I tilt and twist it at a certain angle it can just clear the rear valence. I need to fab 2 more hangers and it's all done. Can't wait to hear it.


greggearhead
greggearhead Reader
5/12/19 9:28 p.m.

OK, installed the starter and the alternator today, and hooked up the sway bar.  

I swear, these Alfa engineers try to make things difficult.  There are 3 bolts that hold the starter to the bellhousing.  They are too long to install without levering the engine a bit because they hit the firewall.   They don't have to at all, though, is the thing.  The bolts are M8 x 1.25 - likely the most common metric bolt on Euro/Japanese cars.  On most Euro cars, these are 13mm bolt heads and nuts.  They are 15mm flanged heads on these.  And they are along enough to stick out by a good 10-13mm PAST the nut when it's tightened down.  

So if they were a little shorter (which would still have plenty of thread engagement) or had a normal 13mm head, they would likely fit without issue.  

Then - there is a plate on the back that bolts to the starter, and has a bracket that bolts down to the engine block.  

Who needs that much mounting strength and location?  It might be fine on a car that has a lot easier access, but this one does not.  


Since I removed the AC, I didn't have a normal alternator bracket, but I have a box of them from cars I've modified and parted out, so had one that will be perfect.  Whoever ends up with this car long term should appreciate the fact they will likely never, ever have to replace the rebuilt starter or new alternator ever again.  

docwyte
docwyte UltraDork
5/13/19 8:44 a.m.

If they stick that far out past the nut why not just replace them with shorter ones?

greggearhead
greggearhead Reader
5/13/19 8:49 a.m.

I did for one, but the other two, I could lever the engine - was faster than running to the store to get new bolts, as there was only one in my stash the right length.  If I ran to the store every time I ran into some situation like this, I would never get done, and it would have entirely all new hardware.  Ha.  

alfadriver
alfadriver MegaDork
5/13/19 8:51 a.m.

In reply to greggearhead :

Not all three of the starter bolts are common M8x1.25- the middle one is supposed to be a special bolt with an extended shoulder- which provides a strong shear resistance to the starter.  You should find one and use it- I didn't on one project and broke a starter doing it.  Thankfully, we have a good resource of stuff here in SE MI, so I was able to get the right bolt.

greggearhead
greggearhead Reader
5/13/19 9:25 a.m.

I have that shoulder bolt, but it would not fit into any of the holes, and believe me, I tried.  3 bolts on the front, and a 3/8" metal plate bracket on the back, and you broke a starter?!  All my water cooled VWs over the years - had 2 bolts only, never even heard of a broken starter on that application, and I've probably owned 50 of them.  

I appreciate the heads up, and will look at it again before I all it done.  

alfadriver
alfadriver MegaDork
5/13/19 10:00 a.m.

In reply to greggearhead :

yea, the nose broke off and was just dangling there.  Made a lot of noise.  Freaked my wife out as she drove the car home...

greggearhead
greggearhead Reader
2/23/20 11:52 a.m.

OK, been a long time.  I always seem to get frustrated with this project...  


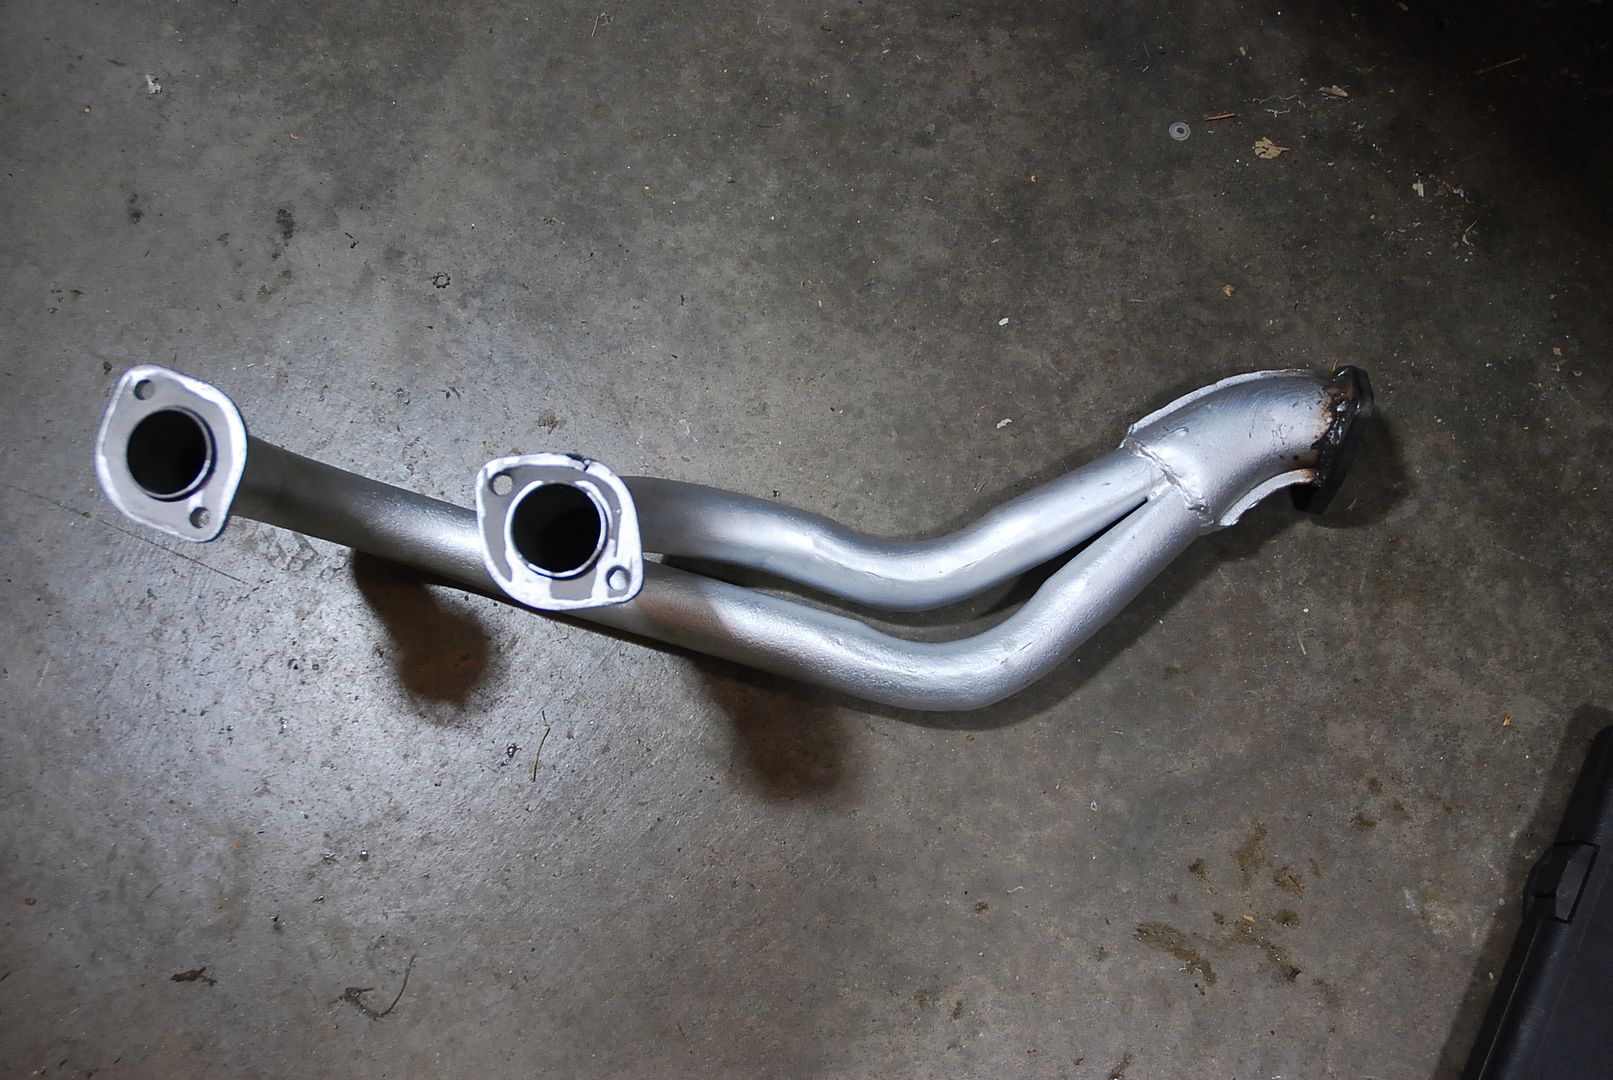
I went to bolt on the exhaust manifolds and downpipes so I could final install the custom exhaust.  Got some new M8x1.25 copper exhaust nuts - 12mm heads (VW thing) for more clearance because the Alfa manifolds only allow about 1/4 turn or less on some of them.  


Guess what?  These exhaust studs are M8x1.0.  Alfa, really?  Really?  So I had to dig through the old hardware I removed to find the correct nuts, which I did.  But somehow in the process I lost ONE head to manifold gasket.  Sigh.  Not meant to be.  I'll grab a gasket tomorrow, maybe tomorrow night bolt on the manifolds and downpipes.  And of course, my USA engine gasket set didn't have the correct gaskets for the Euro downpipes, but I already got some of those from a muffler shop.  Thought I was prepared.  Sigh.   


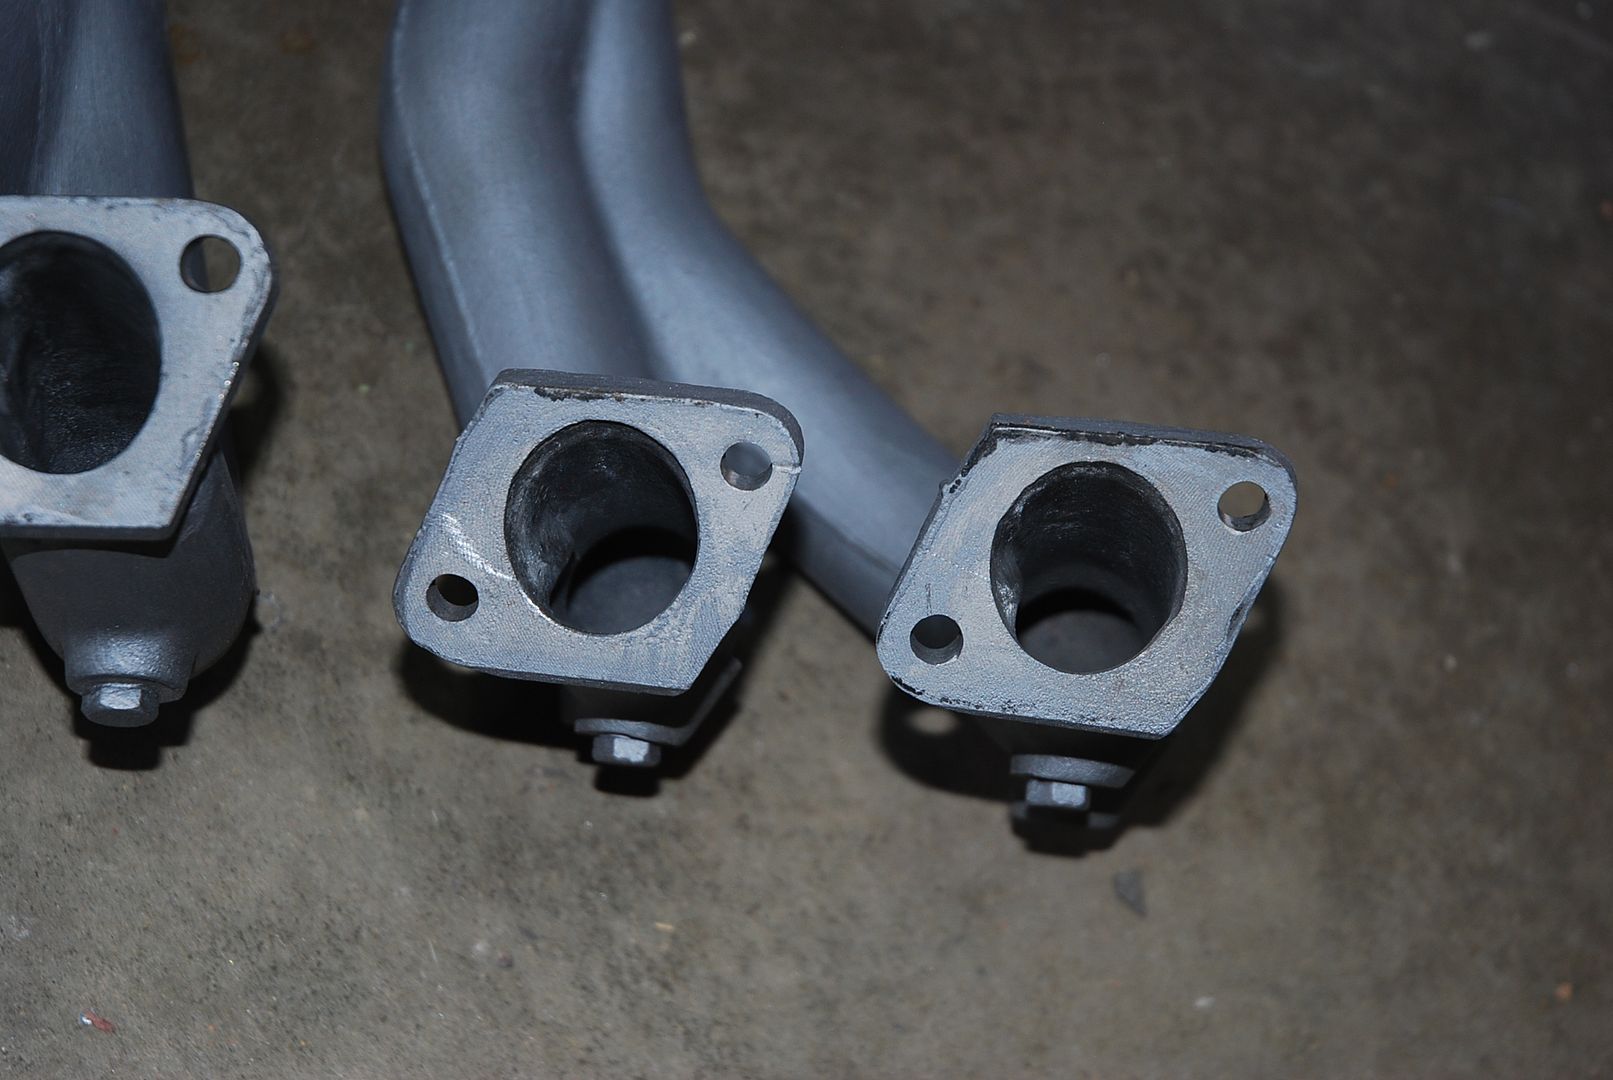
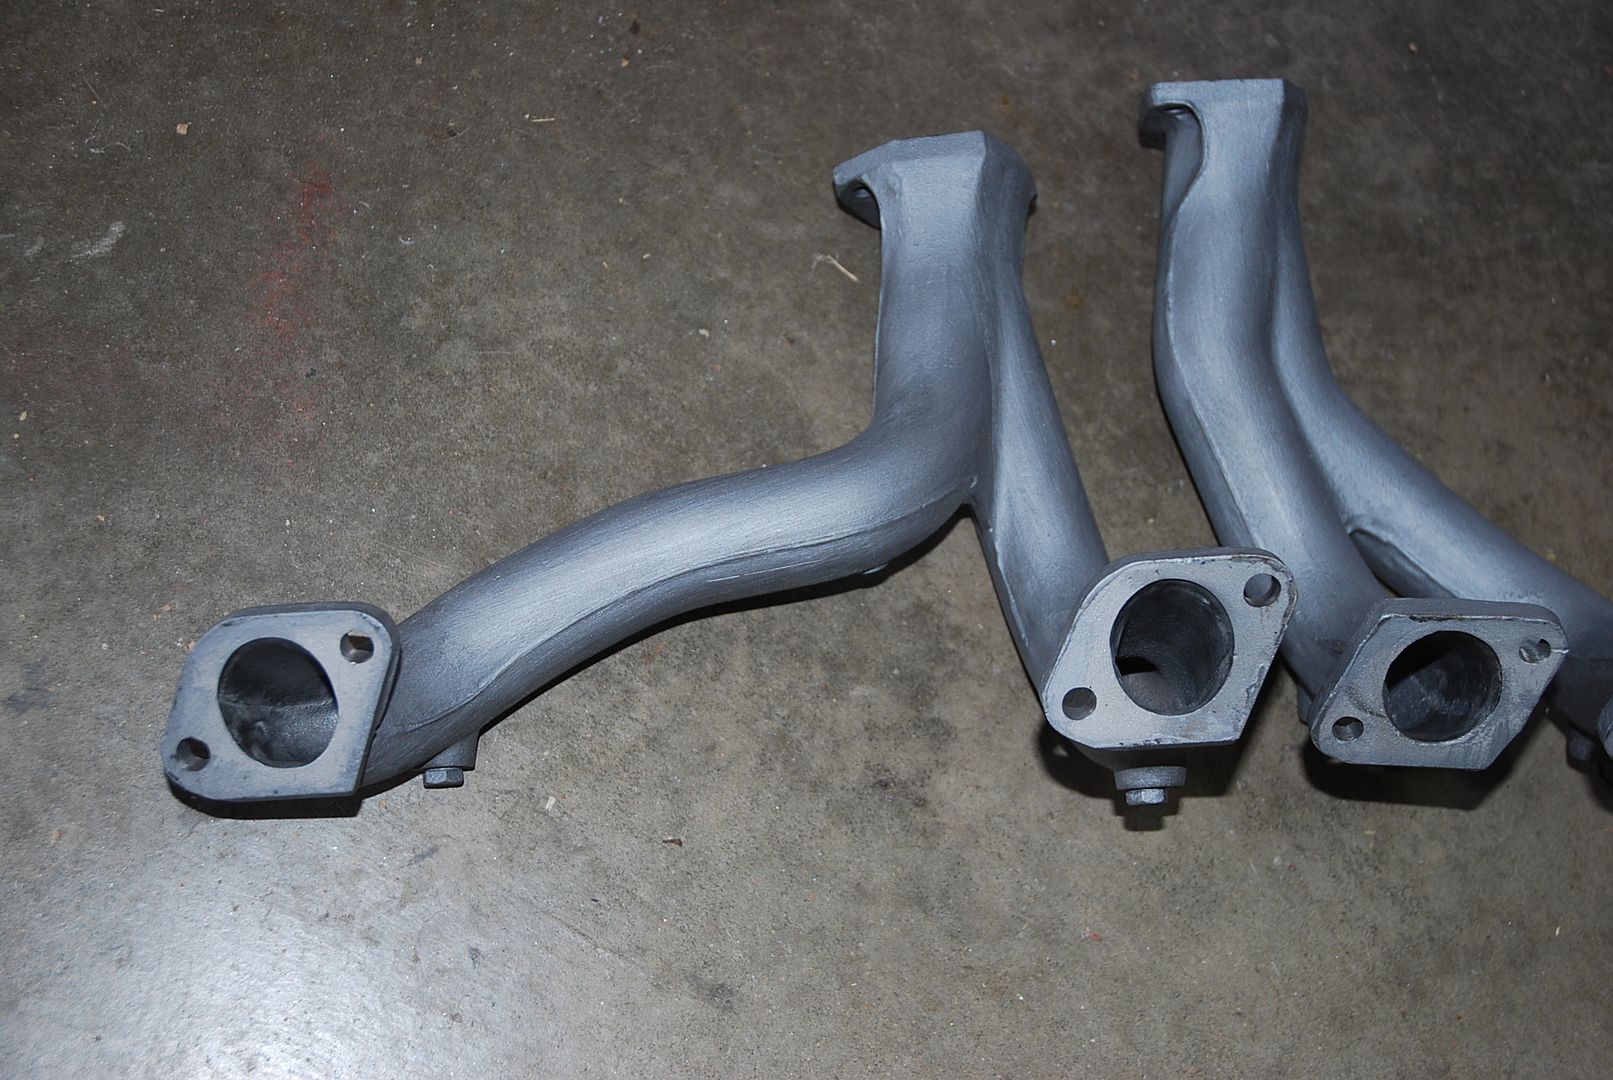
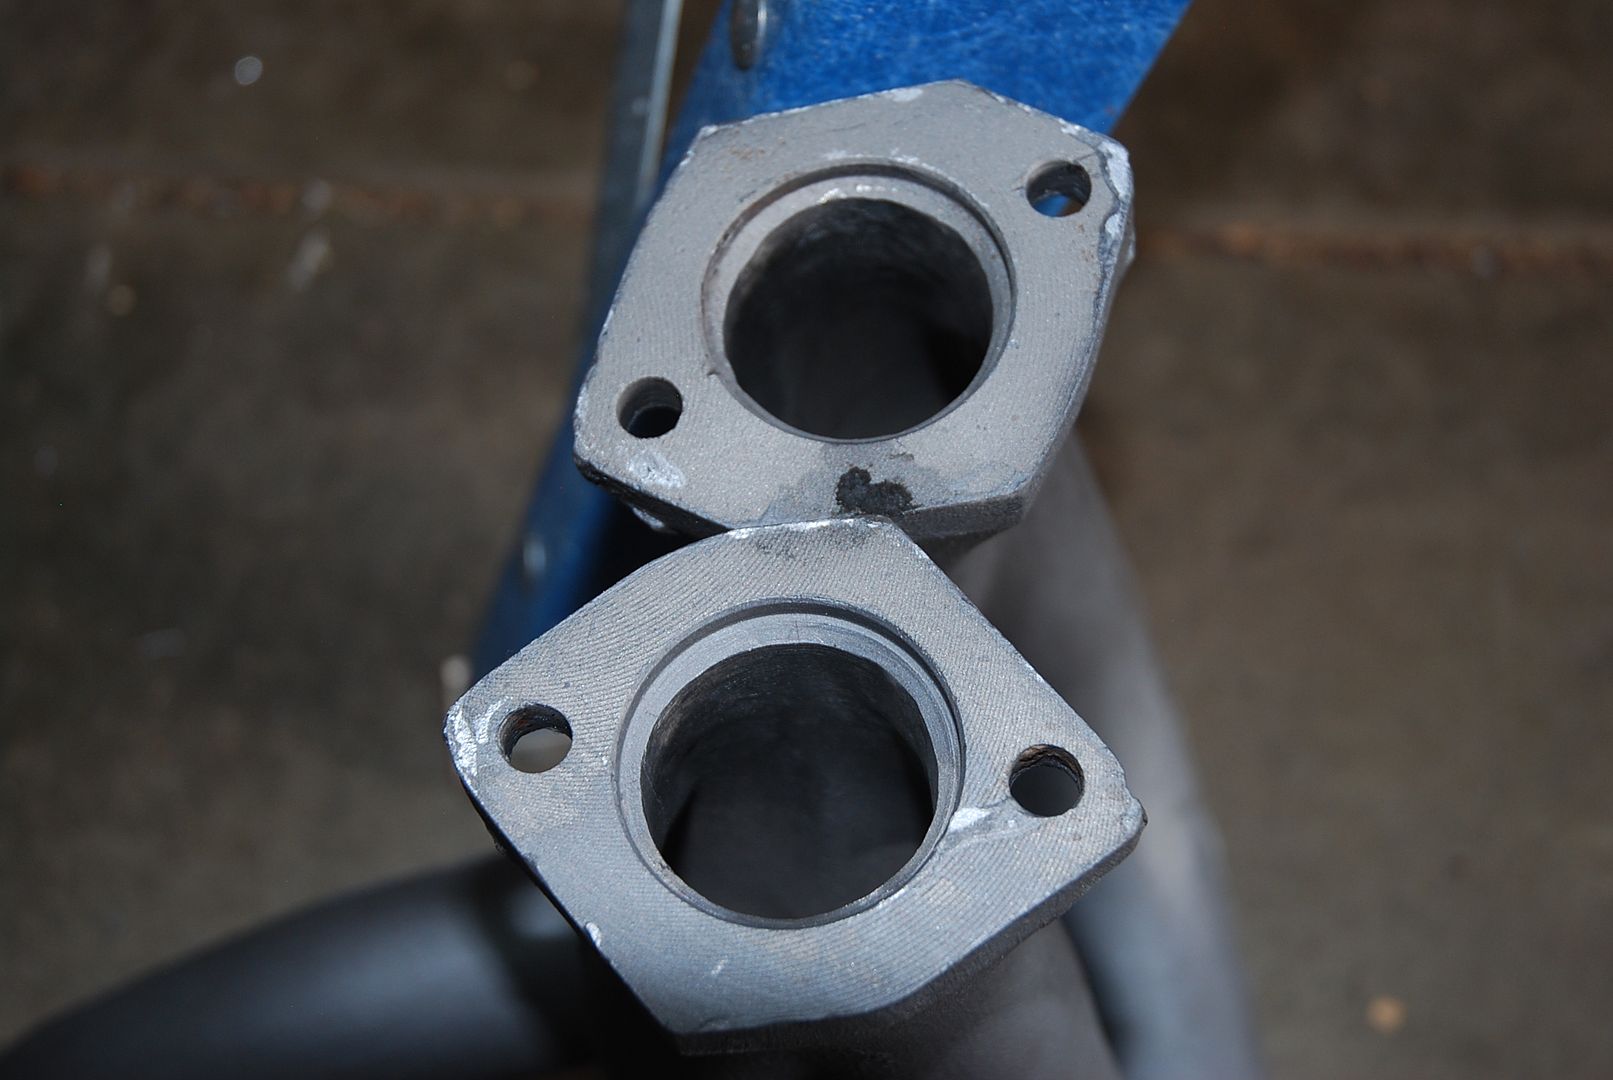
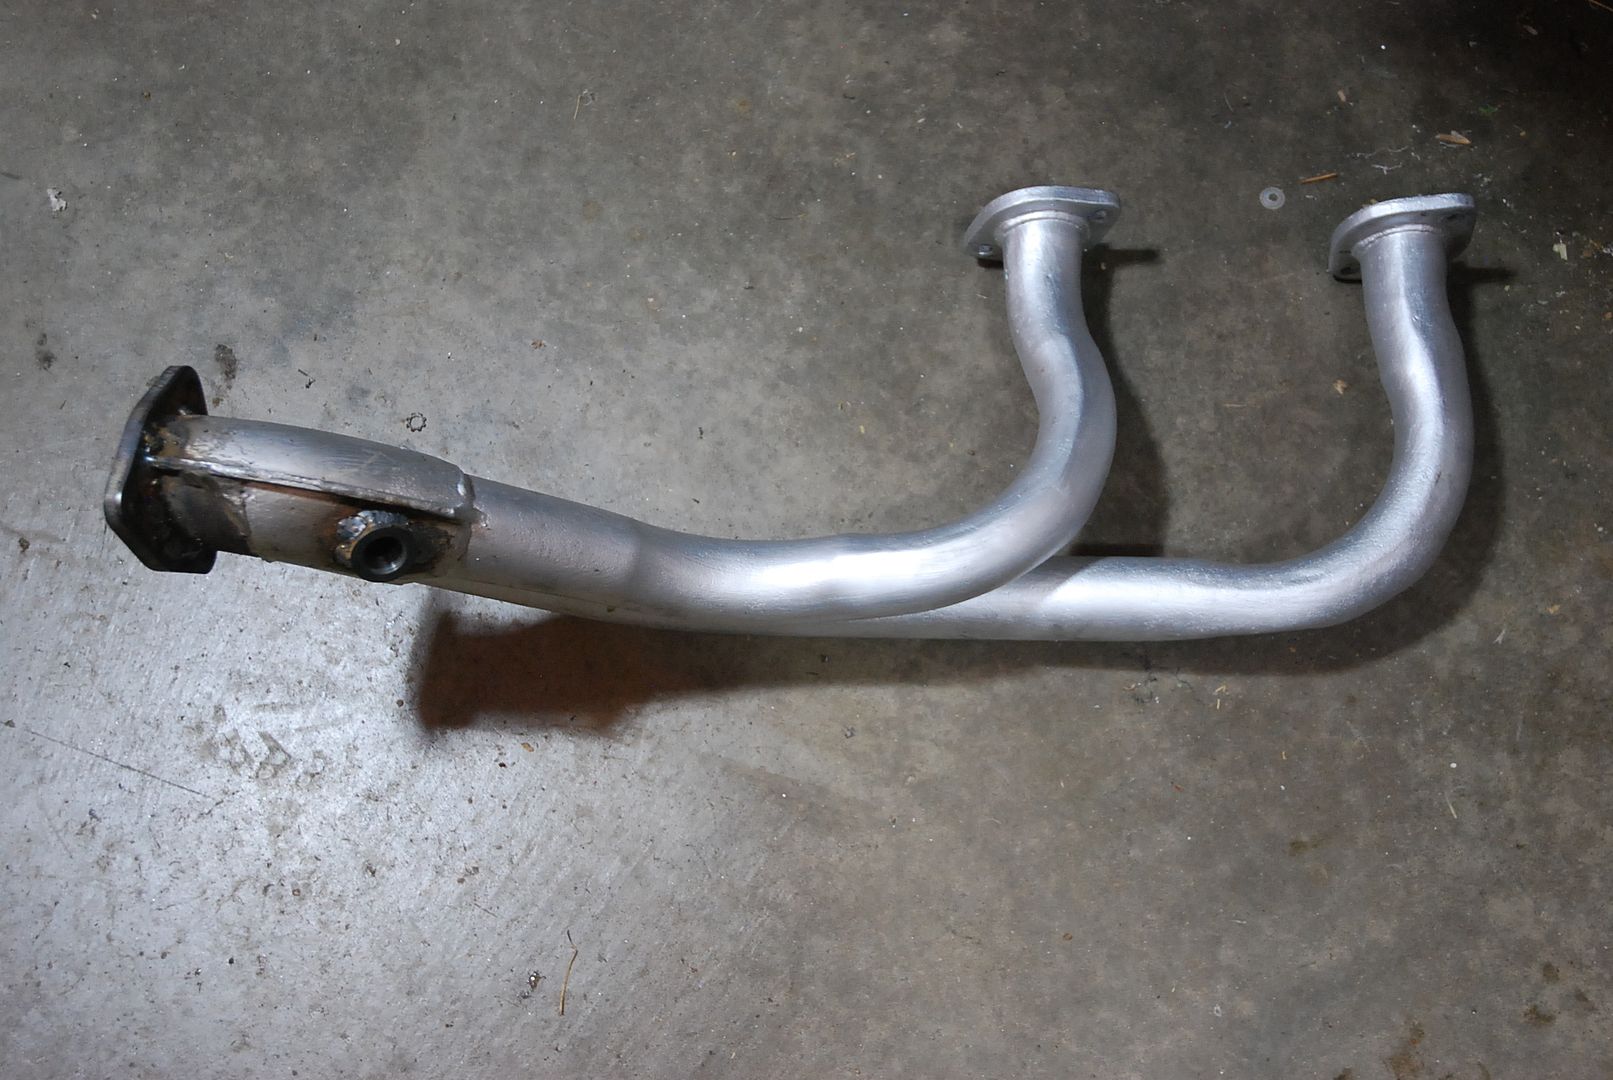
In one of the Alfa performance books it talks about the best manifold/header setup.  The factory USA manifolds and downpipes are not very good (and mine was cracked anyway, so had to be replaced), even for stock.  The European Alfetta cast iron 2 piece manifolds and downpipe is much better than USA, but not as good as a custom made header, of course, but a good improvement.  Jim Kartalamakis says the diameters are too small, and the downpipe is restrictive.  Well, I ported the inlets of the manifolds out to the gaskets - just a few mm, and as far into the manifold as I could go with a 6" dremel bit.  Then polished with a flapper wheel.  Same thing on the outlet side going into the downpipe, so it's closer to matched than the step previously.  Since I built a custom exhaust, I cut off the downpipe past the 2 into 1 merge, but before the resonator.  This allowed a slightly larger opening than previous, which should reduce restriction somewhat.  I also added a bung for an O2 sensor, since I might be adding cams that will overextend the SPICA capacity.  At least this way I can see if it is getting lean and not hurt it.  I also coated the manifold and header with high temp POR15 stuff that I've had good luck with in the past.   


[URL=https://s61.photobucket.com/user/greggearhead/media/Alfetta%20GTV/DSC_0837_zpsocwwpsdj.jpg.html][/URL]
[URL=https://s61.photobucket.com/user/greggearhead/media/Alfetta%20GTV/DSC_0838_zpslqqo5vwr.jpg.html][/URL]
[URL=https://s61.photobucket.com/user/greggearhead/media/Alfetta%20GTV/DSC_0839_zpssp0h2u22.jpg.html][/URL]
[URL=https://s61.photobucket.com/user/greggearhead/media/Alfetta%20GTV/DSC_0840_zps60r7q9jx.jpg.html][/URL]
[URL=https://s61.photobucket.com/user/greggearhead/media/Alfetta%20GTV/DSC_0841_zpsenwxalfn.jpg.html][/URL]


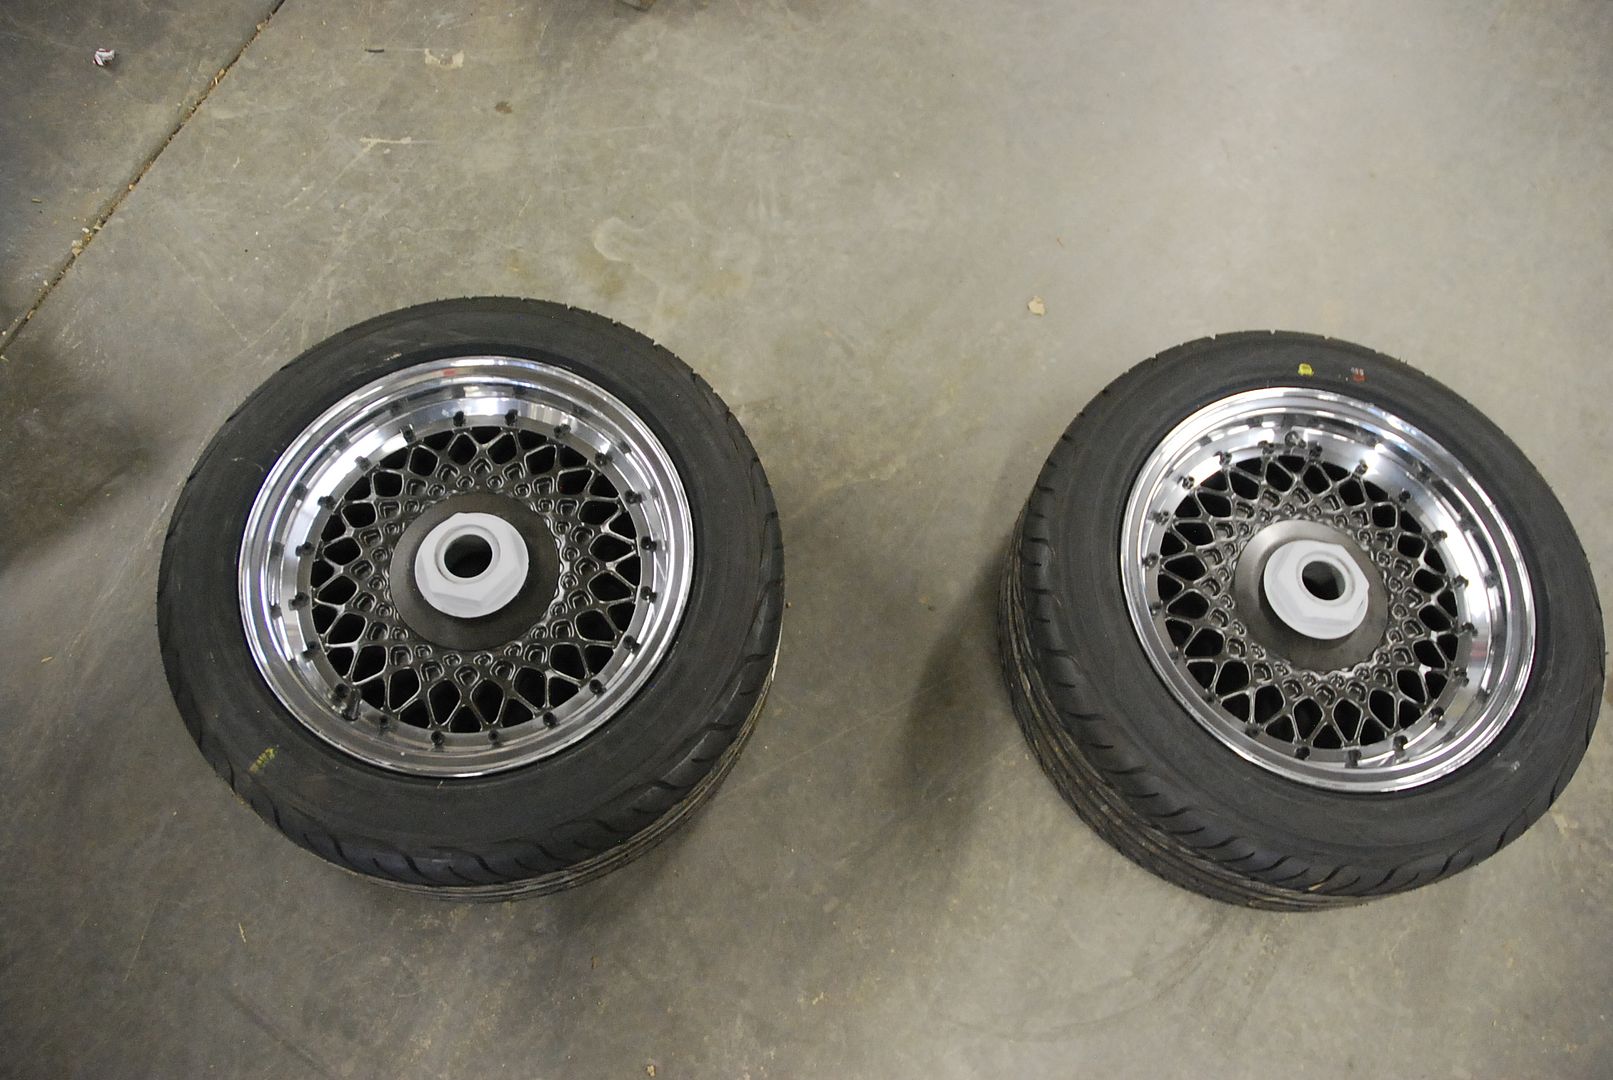
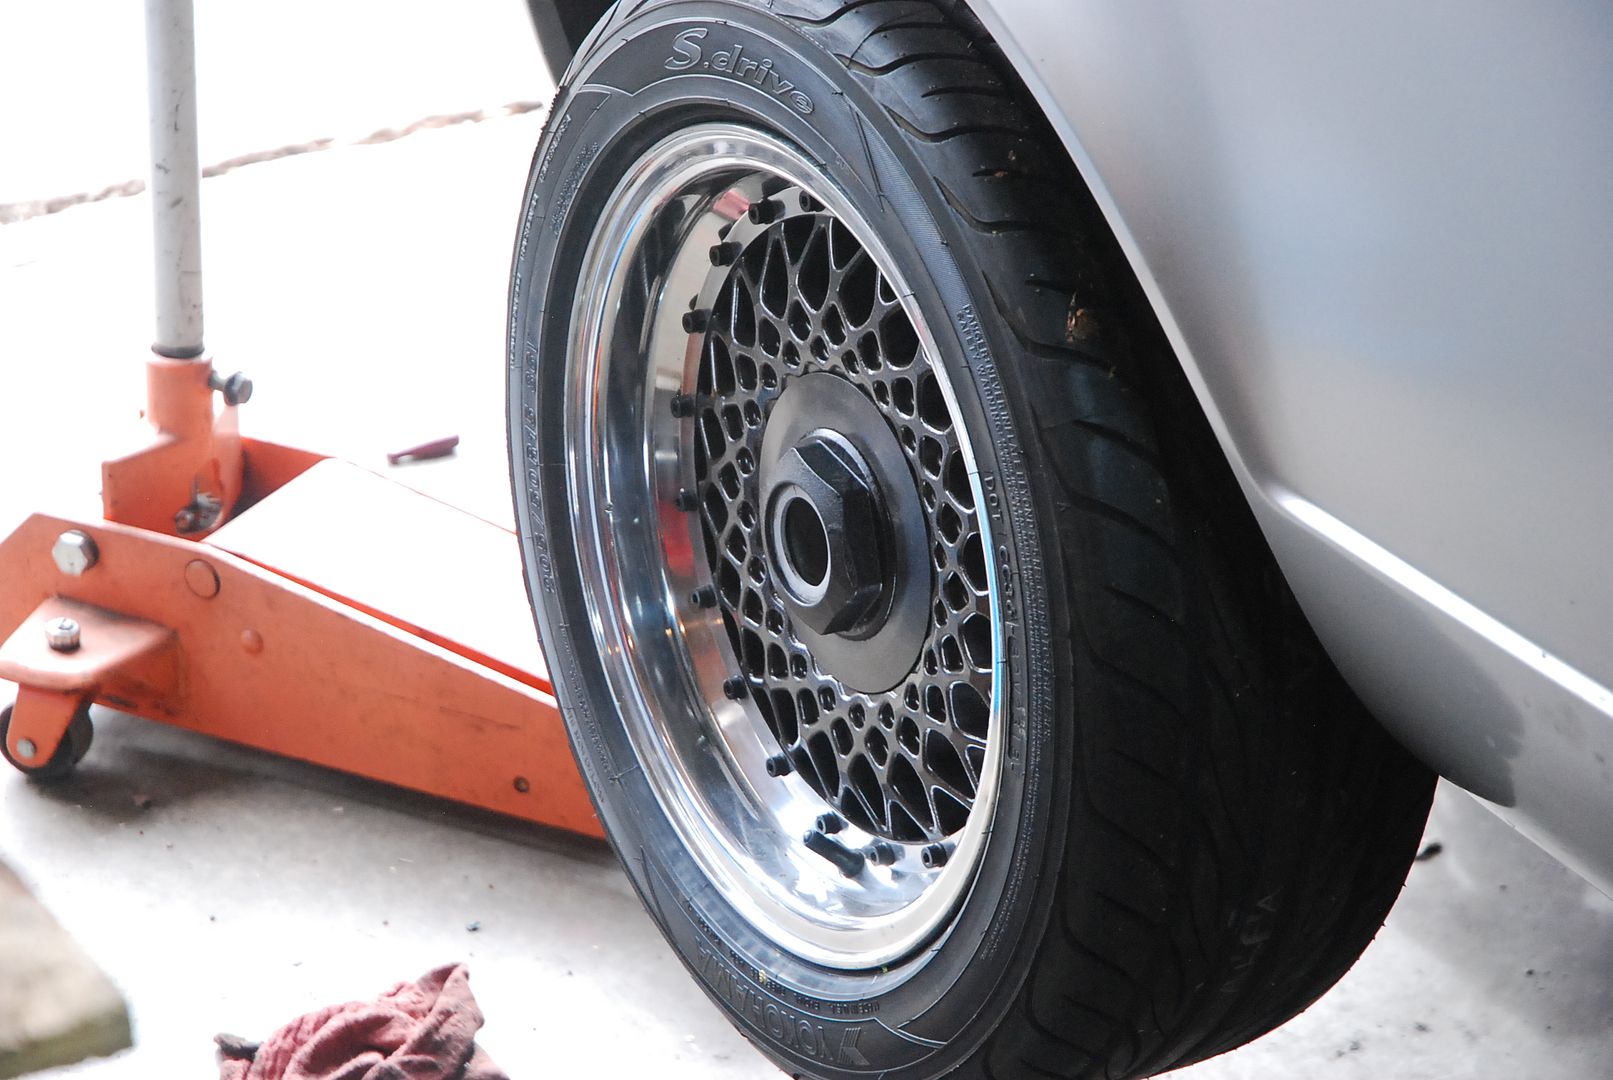
Oh, I also bolted on the rear wheels - 15x7 Rial Cobras that I stripped, had polished and painted.  The offset looks very good - I might even use a small spacer.  We'll see.  Pics later.  


Recon1342
Recon1342 HalfDork
2/23/20 1:17 p.m.

Was glad to see this pop up today!

greggearhead
greggearhead Reader
2/25/20 10:57 a.m.

I didn't take pics in the garage of the wheels on the car, but here they are in the shop.  Centercaps are in primer, but you get the idea.


[URL=https://s61.photobucket.com/user/greggearhead/media/Alfetta%20GTV/DSC_0846_zps0t6yqgoi.jpg.html][/URL]

greggearhead
greggearhead Reader
2/29/20 8:05 p.m.

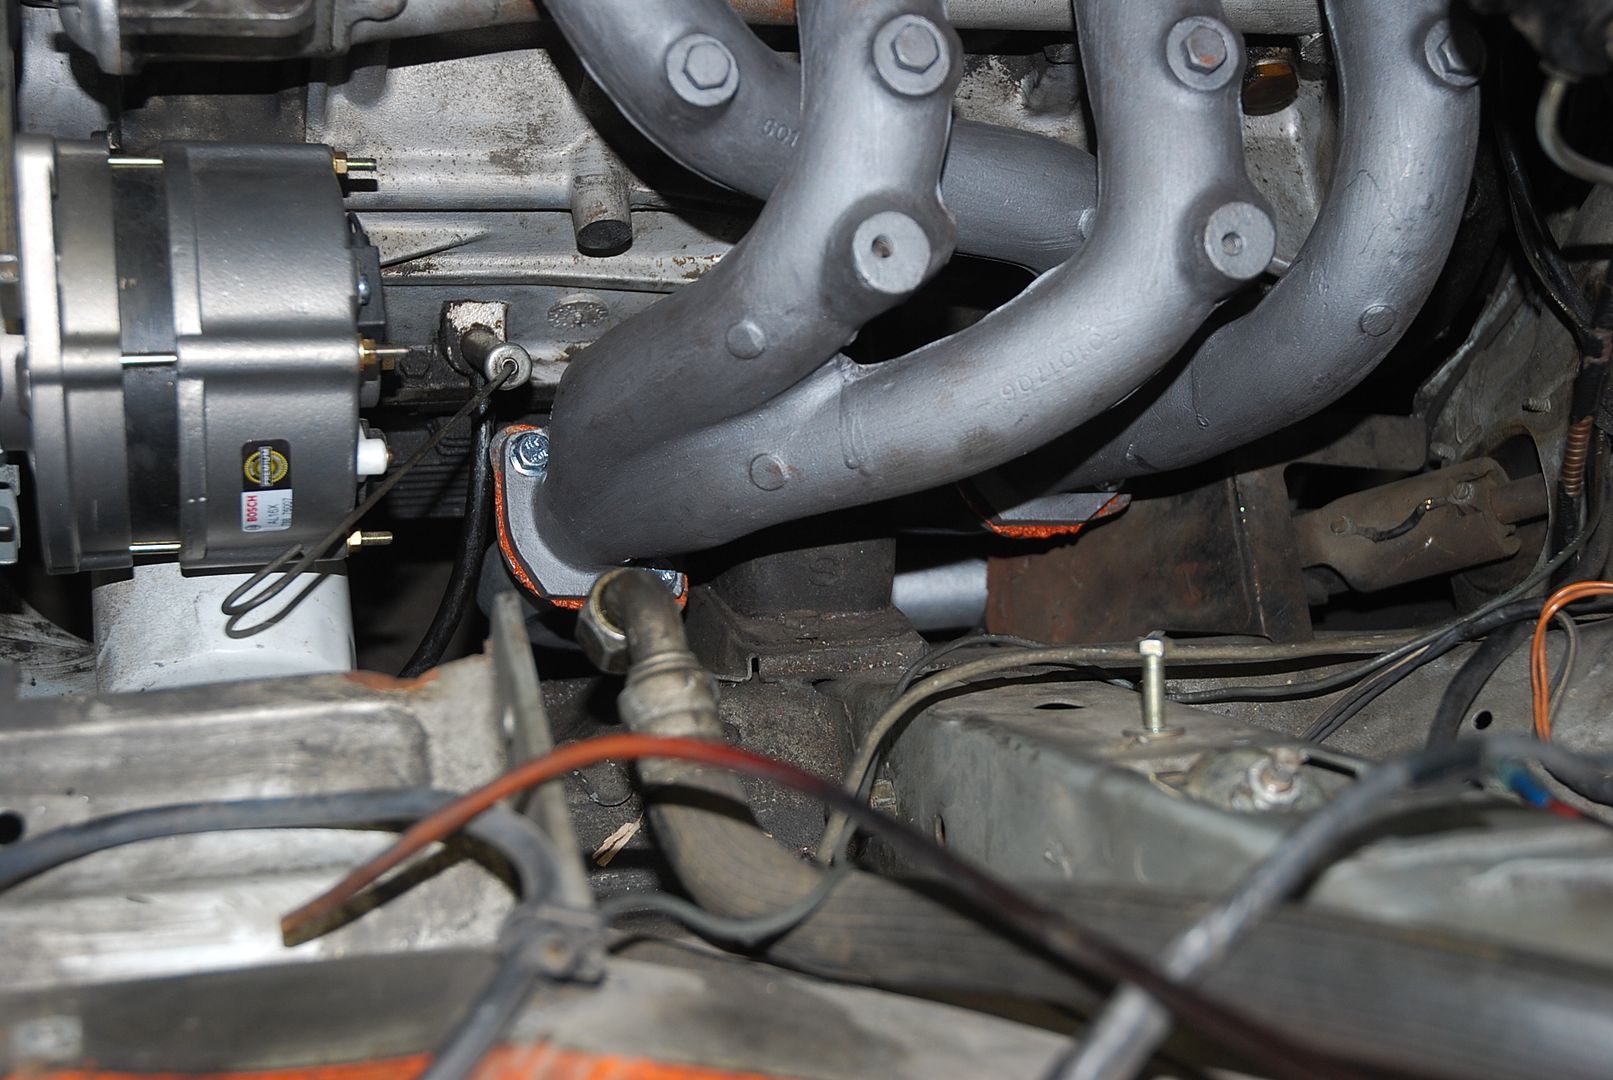
Got the manifolds bolted on, and the downpipe, and the midpipe and the back pipe and the muffler.  Allf flanges fully welded and tiny little tailpipe tacked in place.  Fingers crossed it doesn't rattle or leak.  Because if it does it might accidentally catch on fire.  


Crappy photo from the front because the rest of the photos didn't save.  I don't know.  Not that cold.  Camera too close to an Italian car?  


[URL=https://s61.photobucket.com/user/greggearhead/media/Alfetta%20GTV/DSC_0998_zpsh6dxzh69.jpg.html][/URL]
[URL=https://s61.photobucket.com/user/greggearhead/media/Alfetta%20GTV/DSC_0999_zpsqa0vyeeb.jpg.html][/URL]

greggearhead
greggearhead Reader
3/23/20 1:39 p.m.

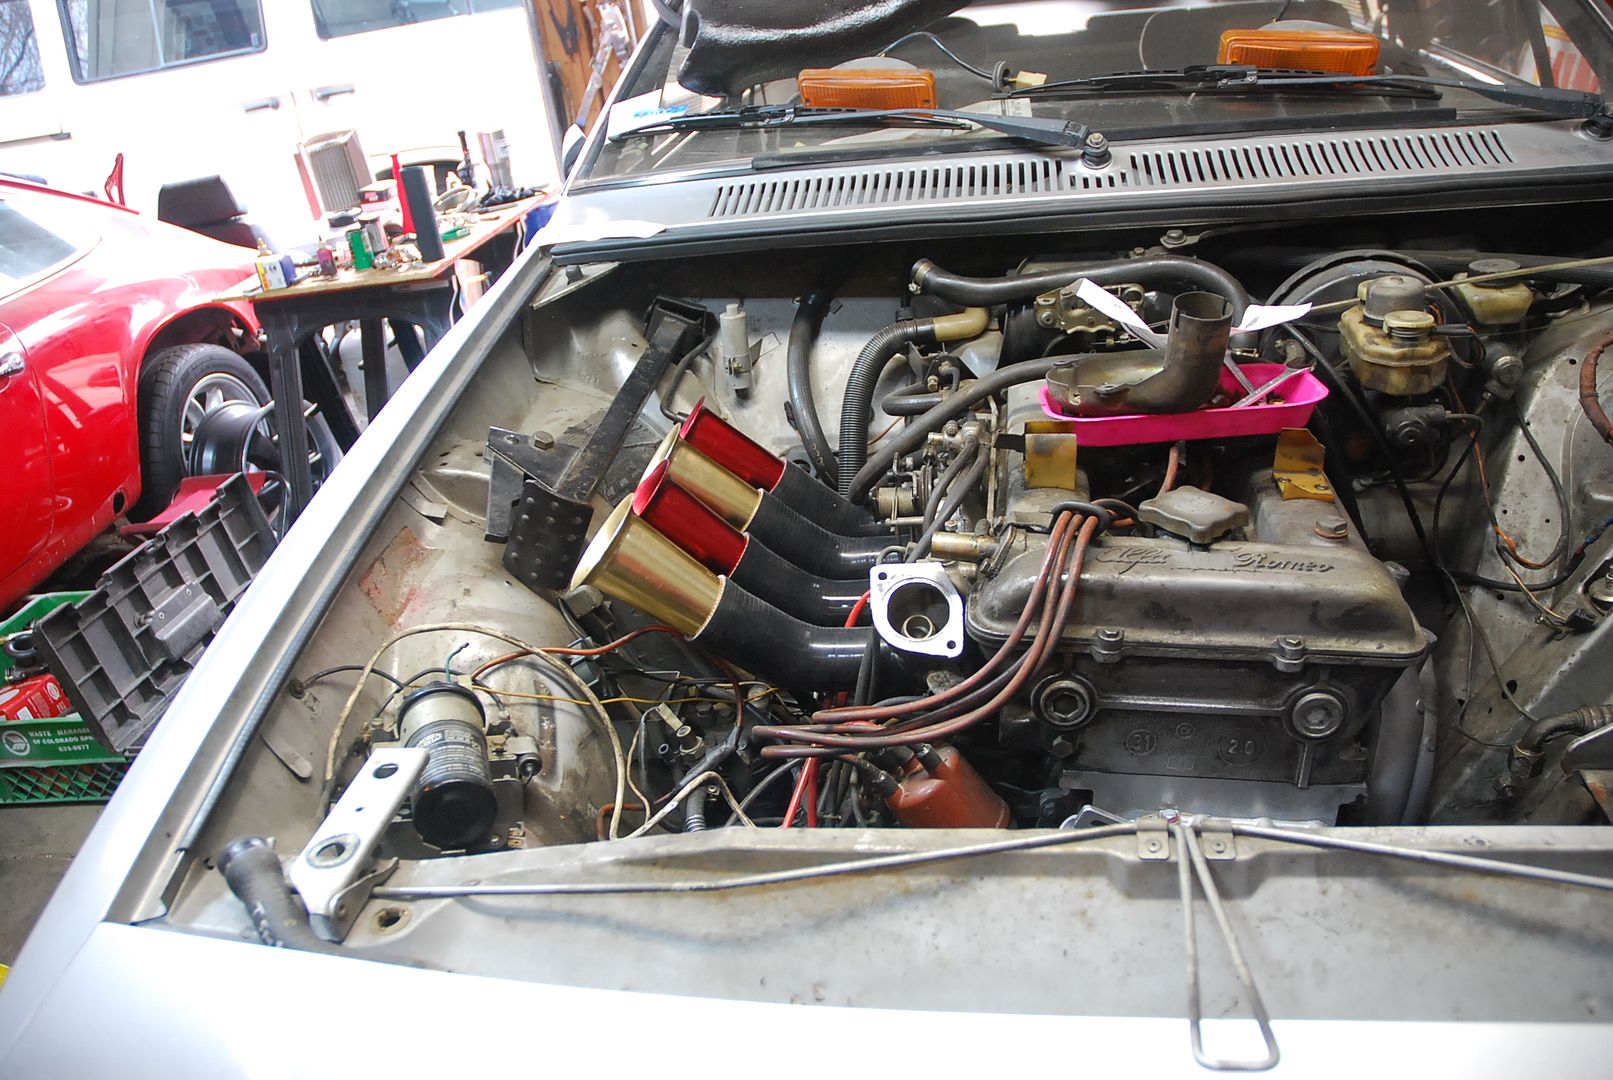
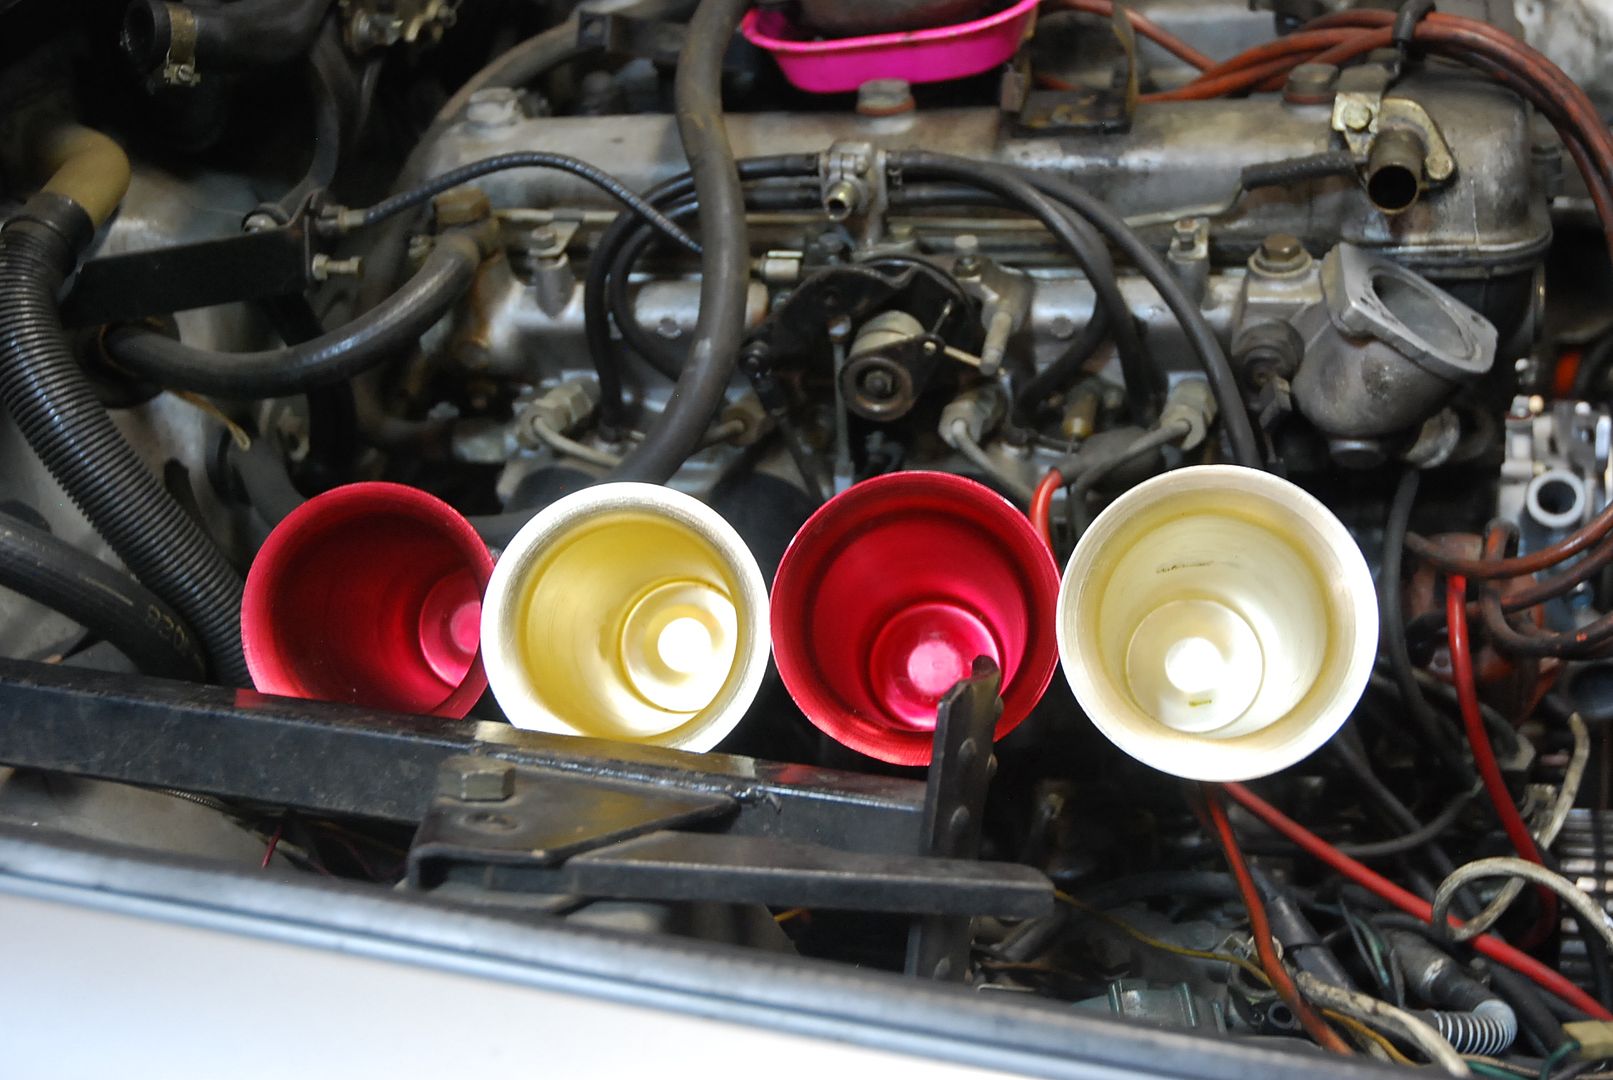
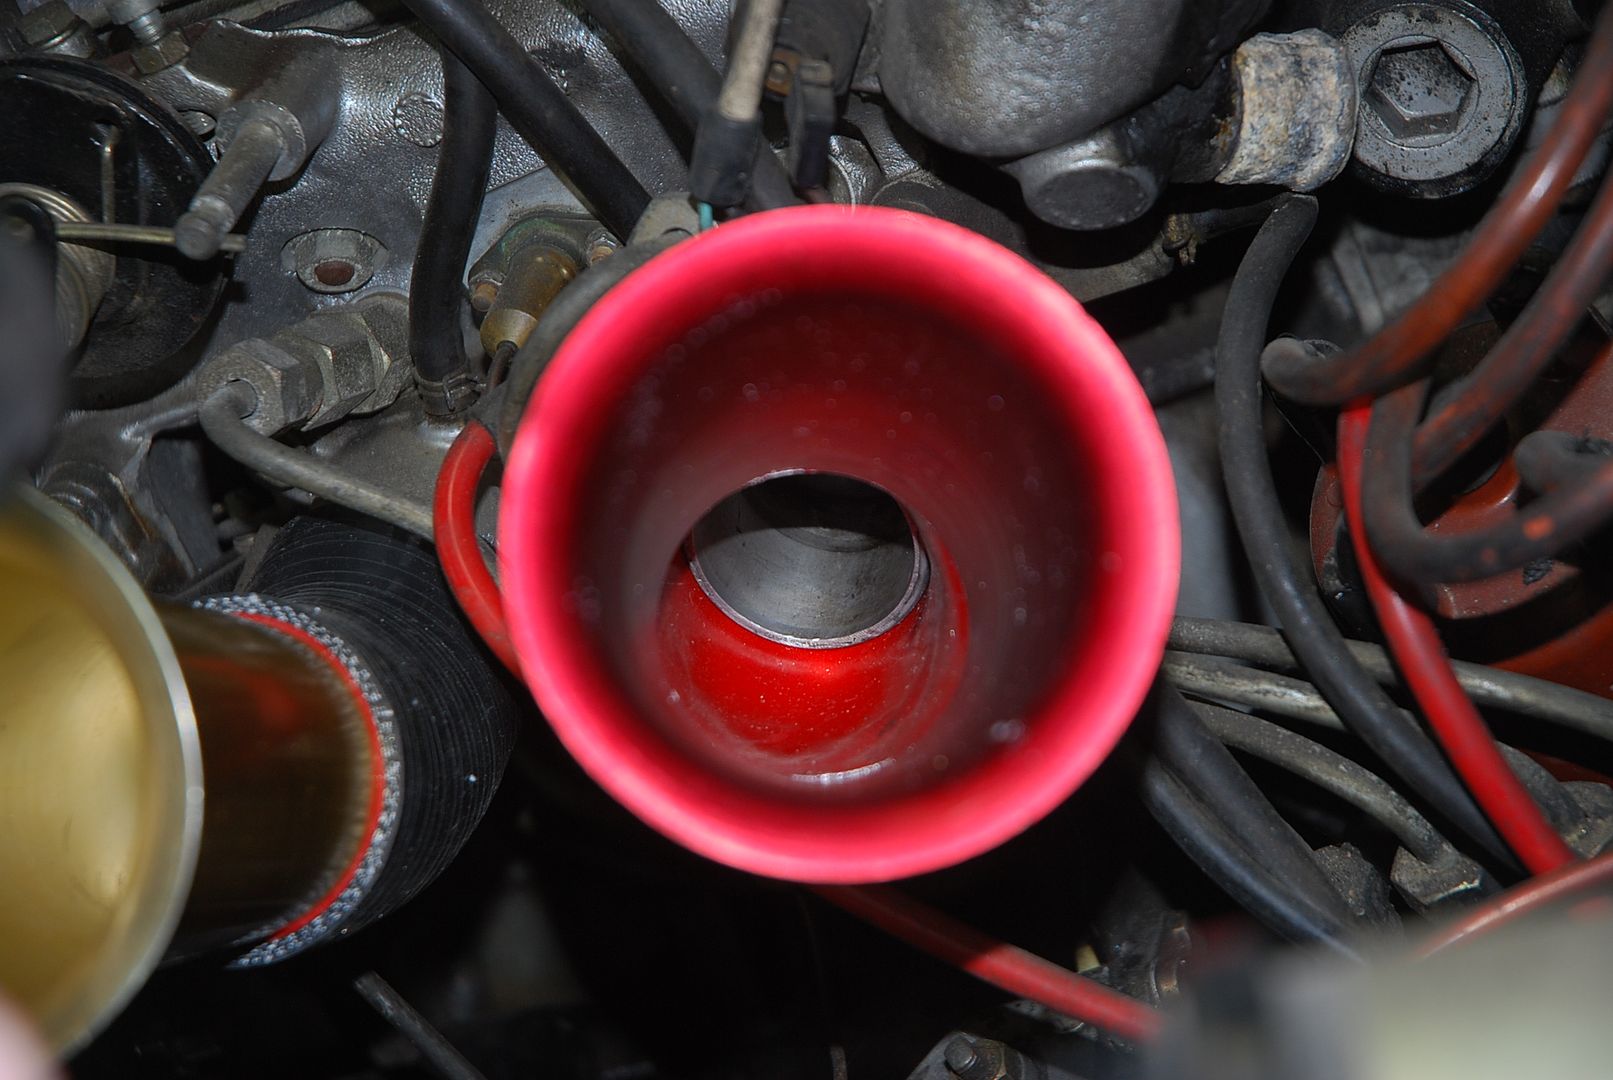
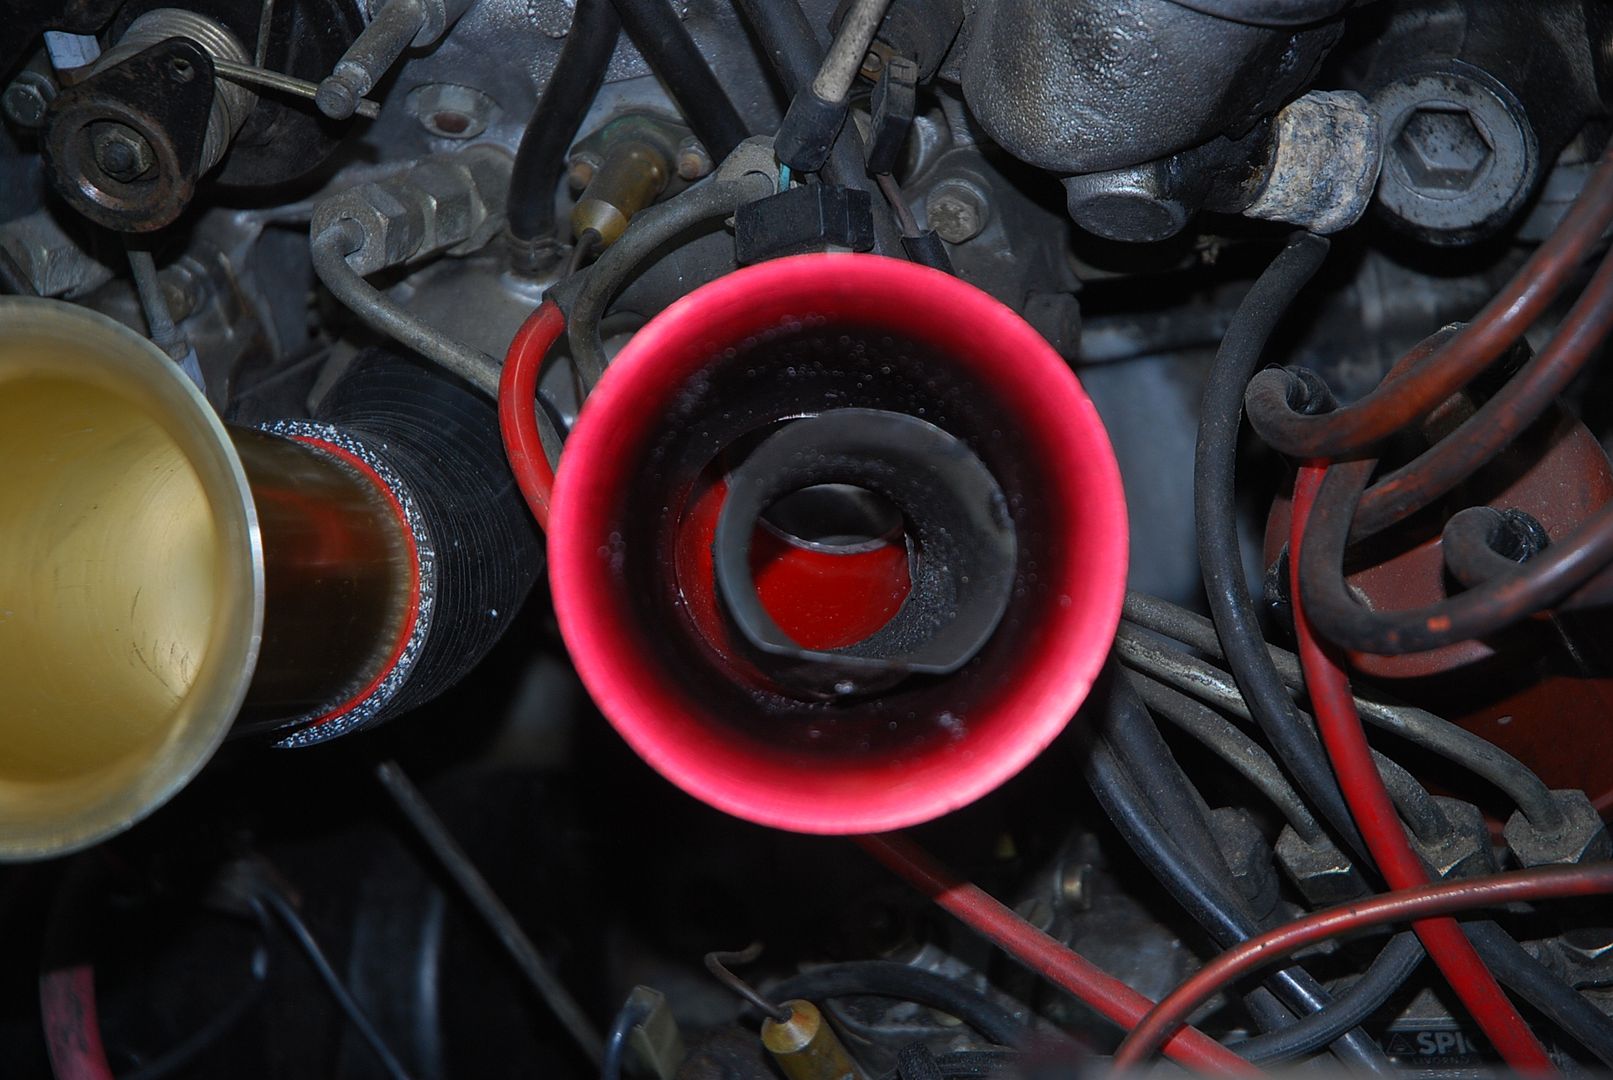
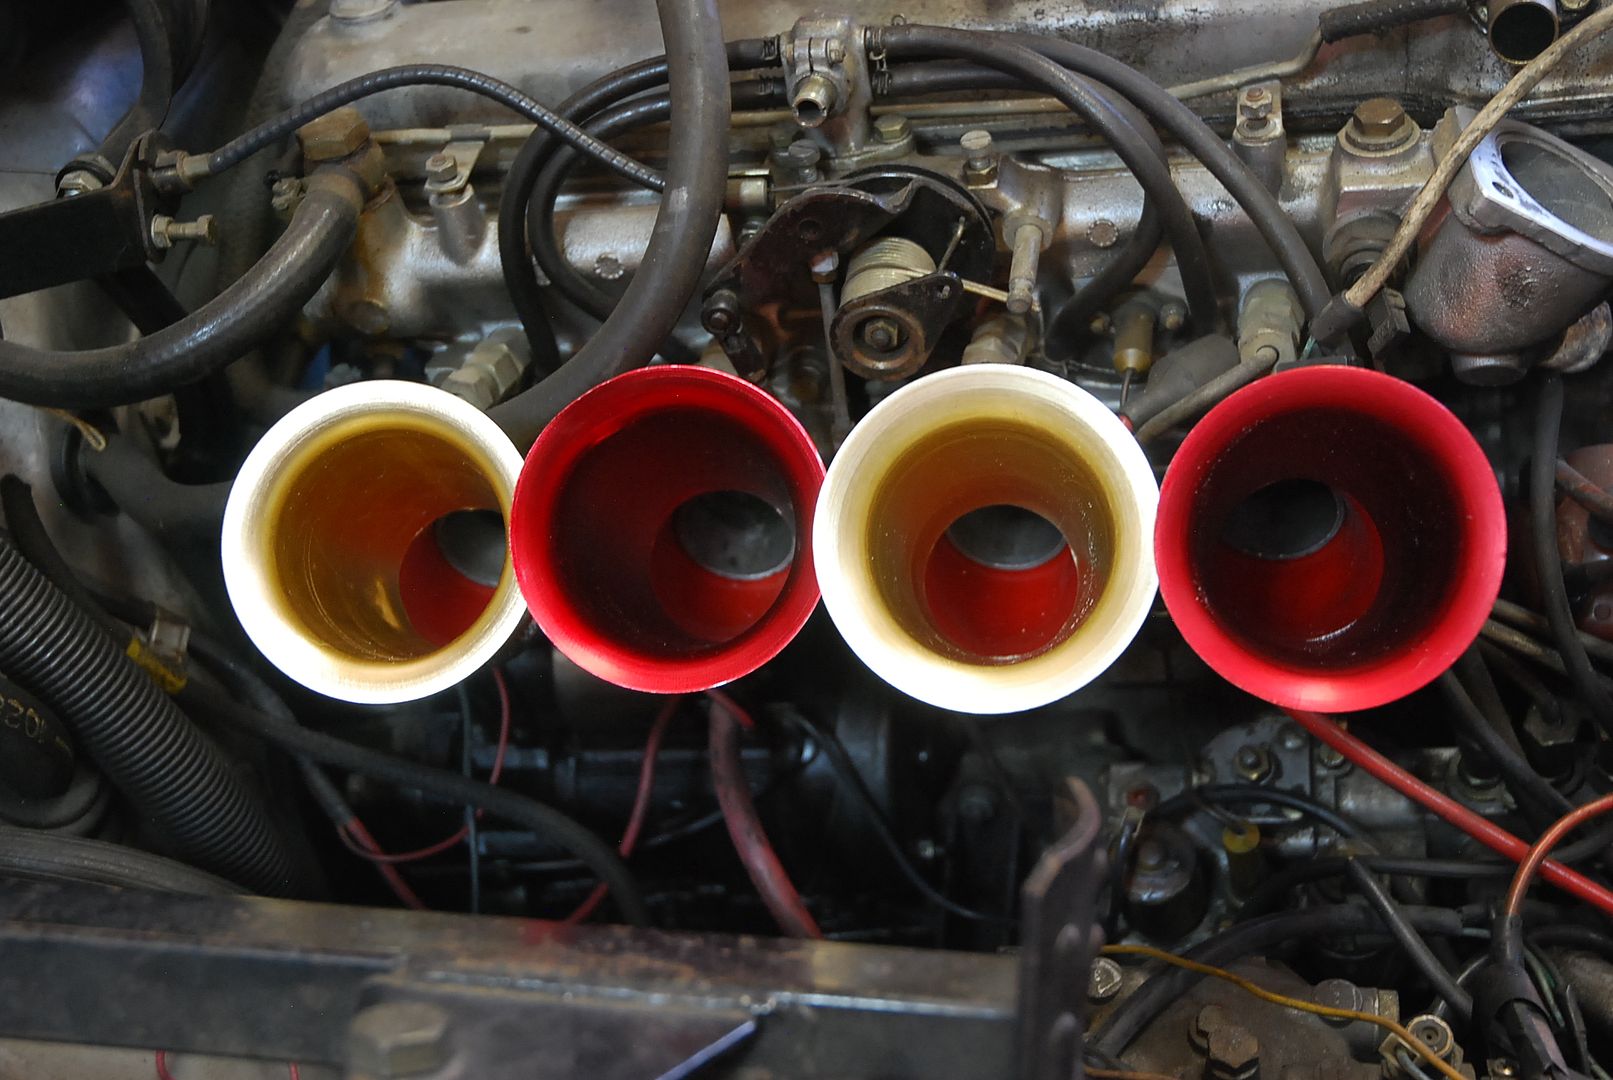
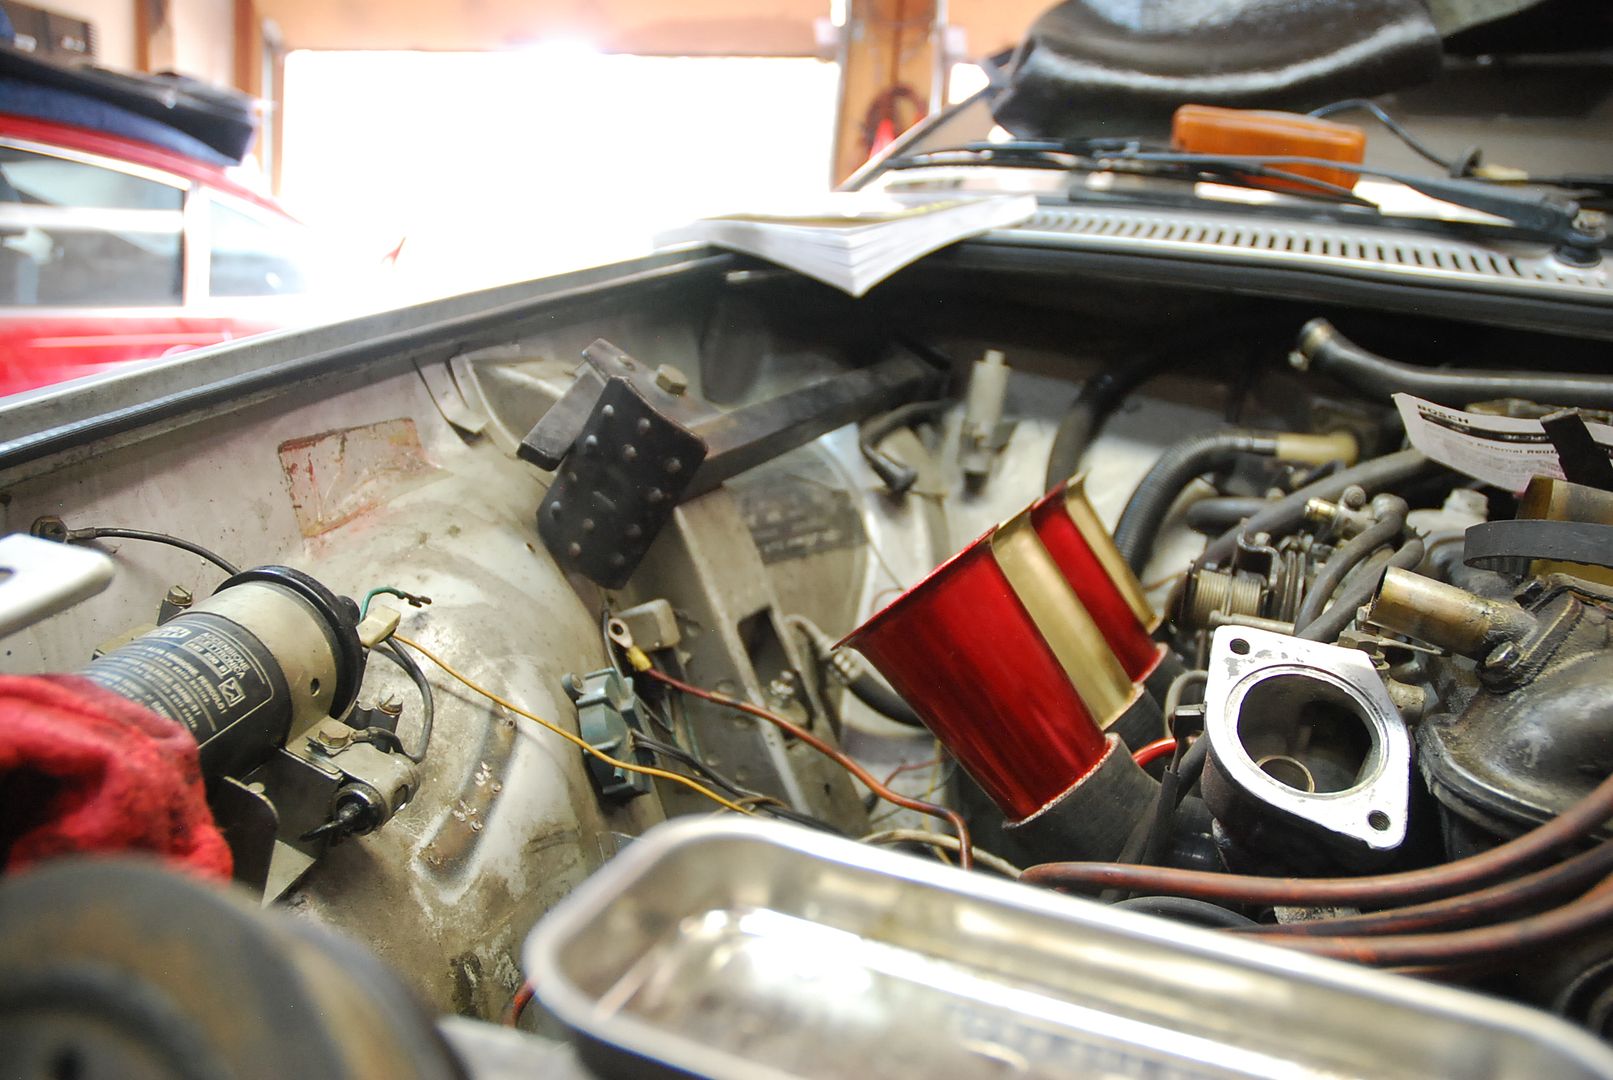
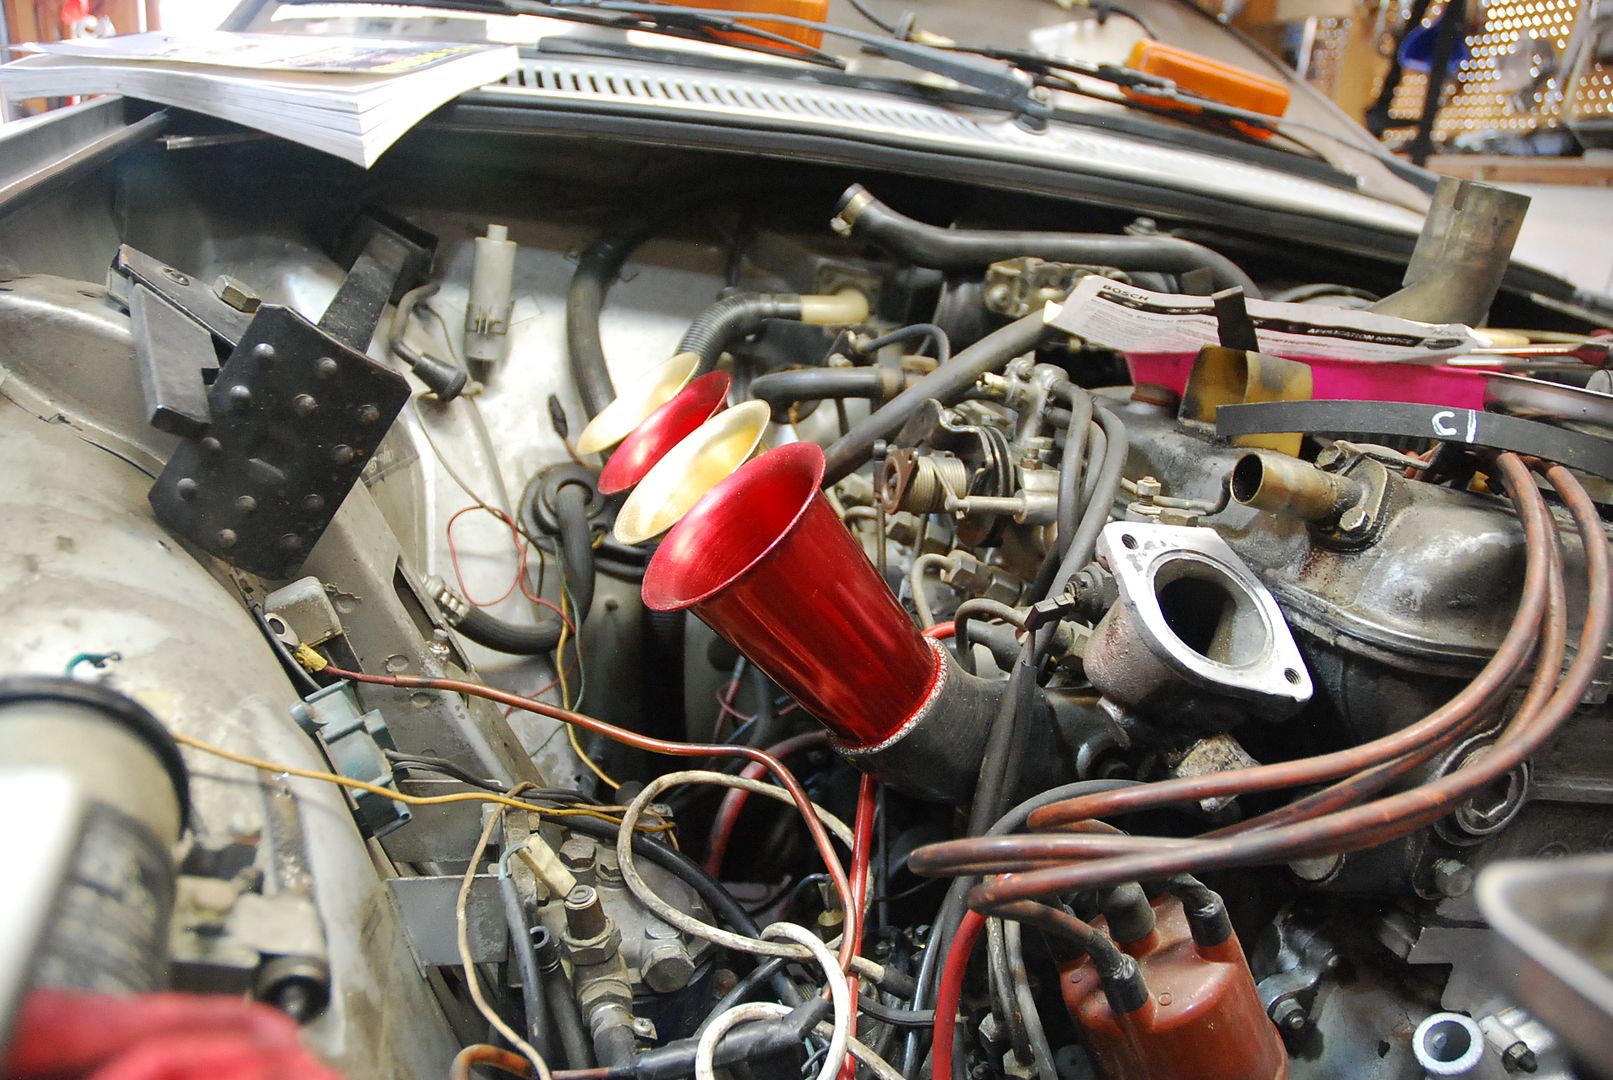
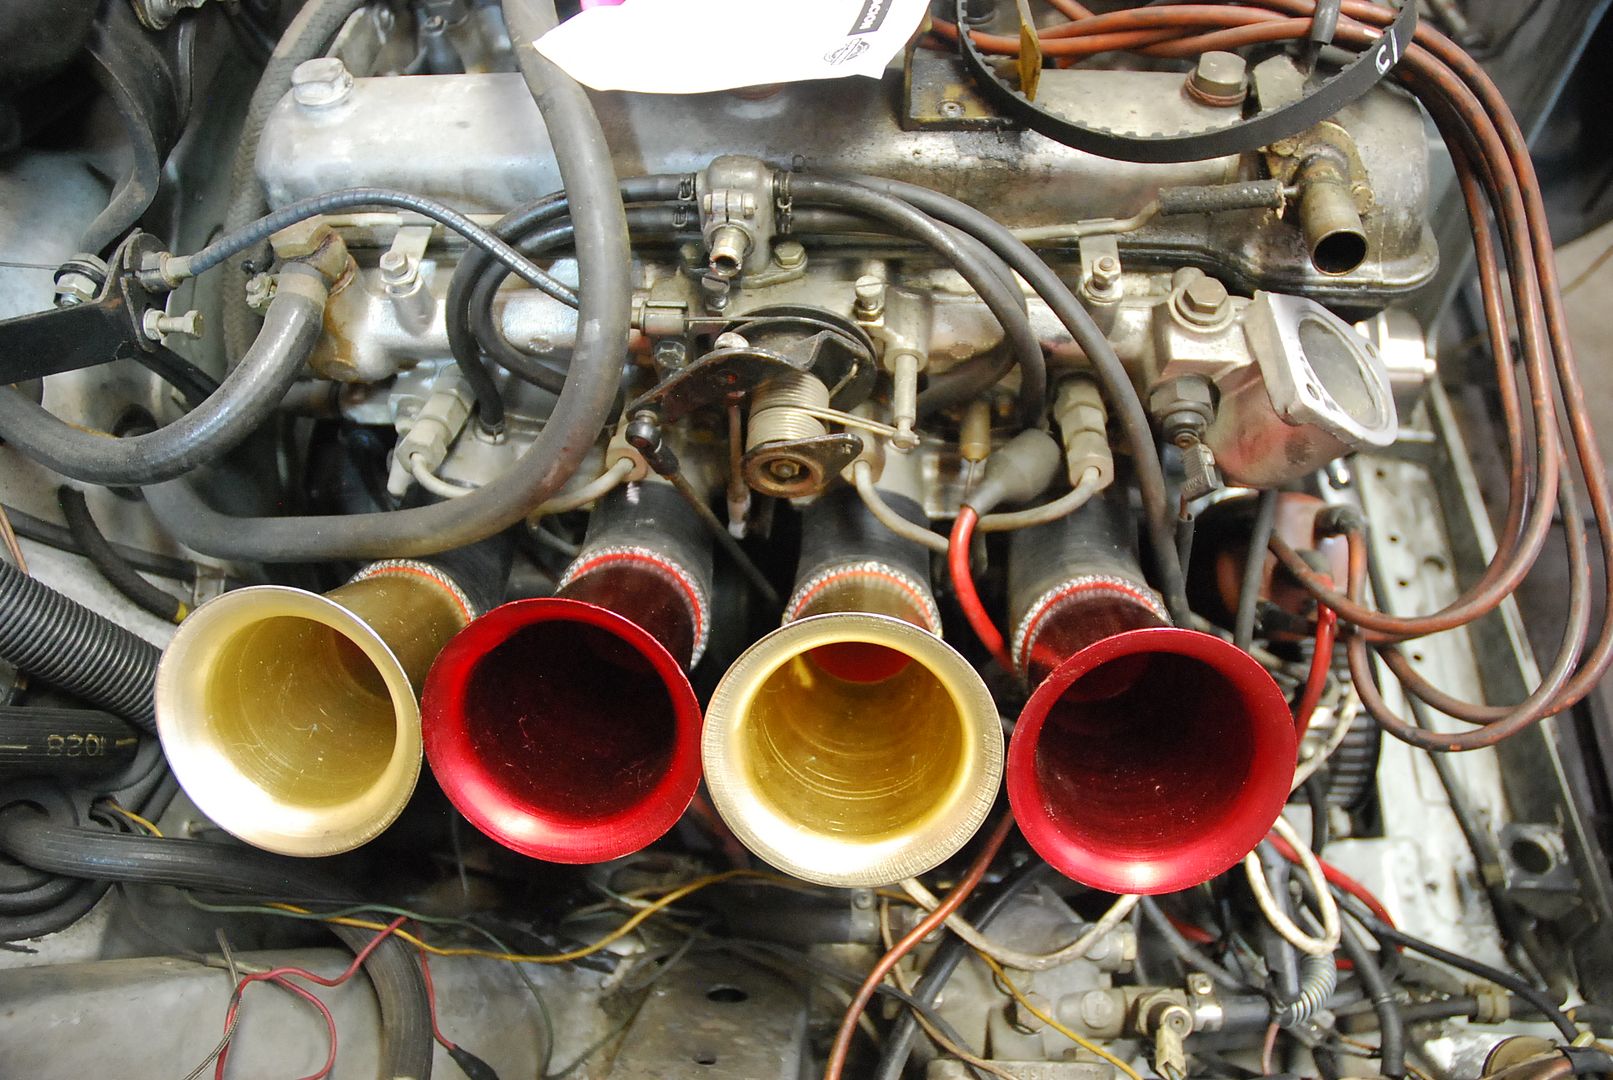
Did a little on the Alfa. Did a quickie mock up of the custom intake I'm building. Will need to shorten the stacks and the silicone elbows, but nice to see it on there, all the same.
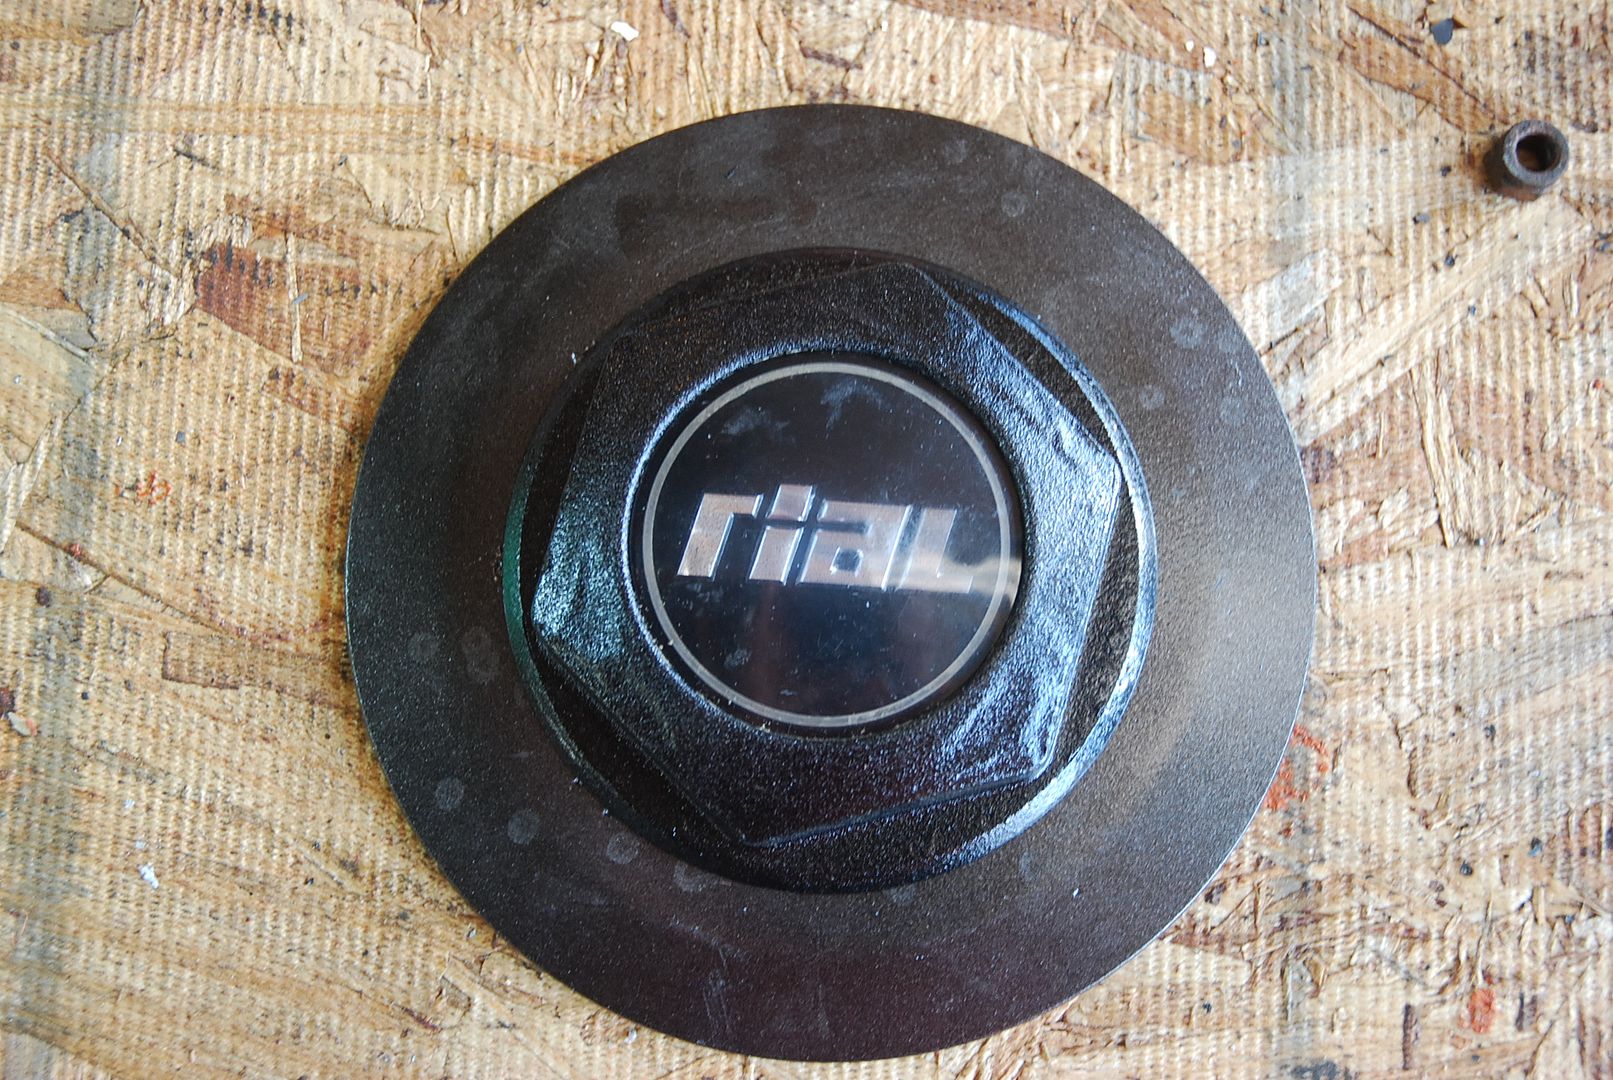
Painted the threaded centercaps for the Rial wheels because finding replacements wasn't happening, and getting a 3d printed replacement didn't work either.  Just installed the Rial center emblems, not pictured.  Super glued a few of the fake bolts around the outside that weren't quite tight


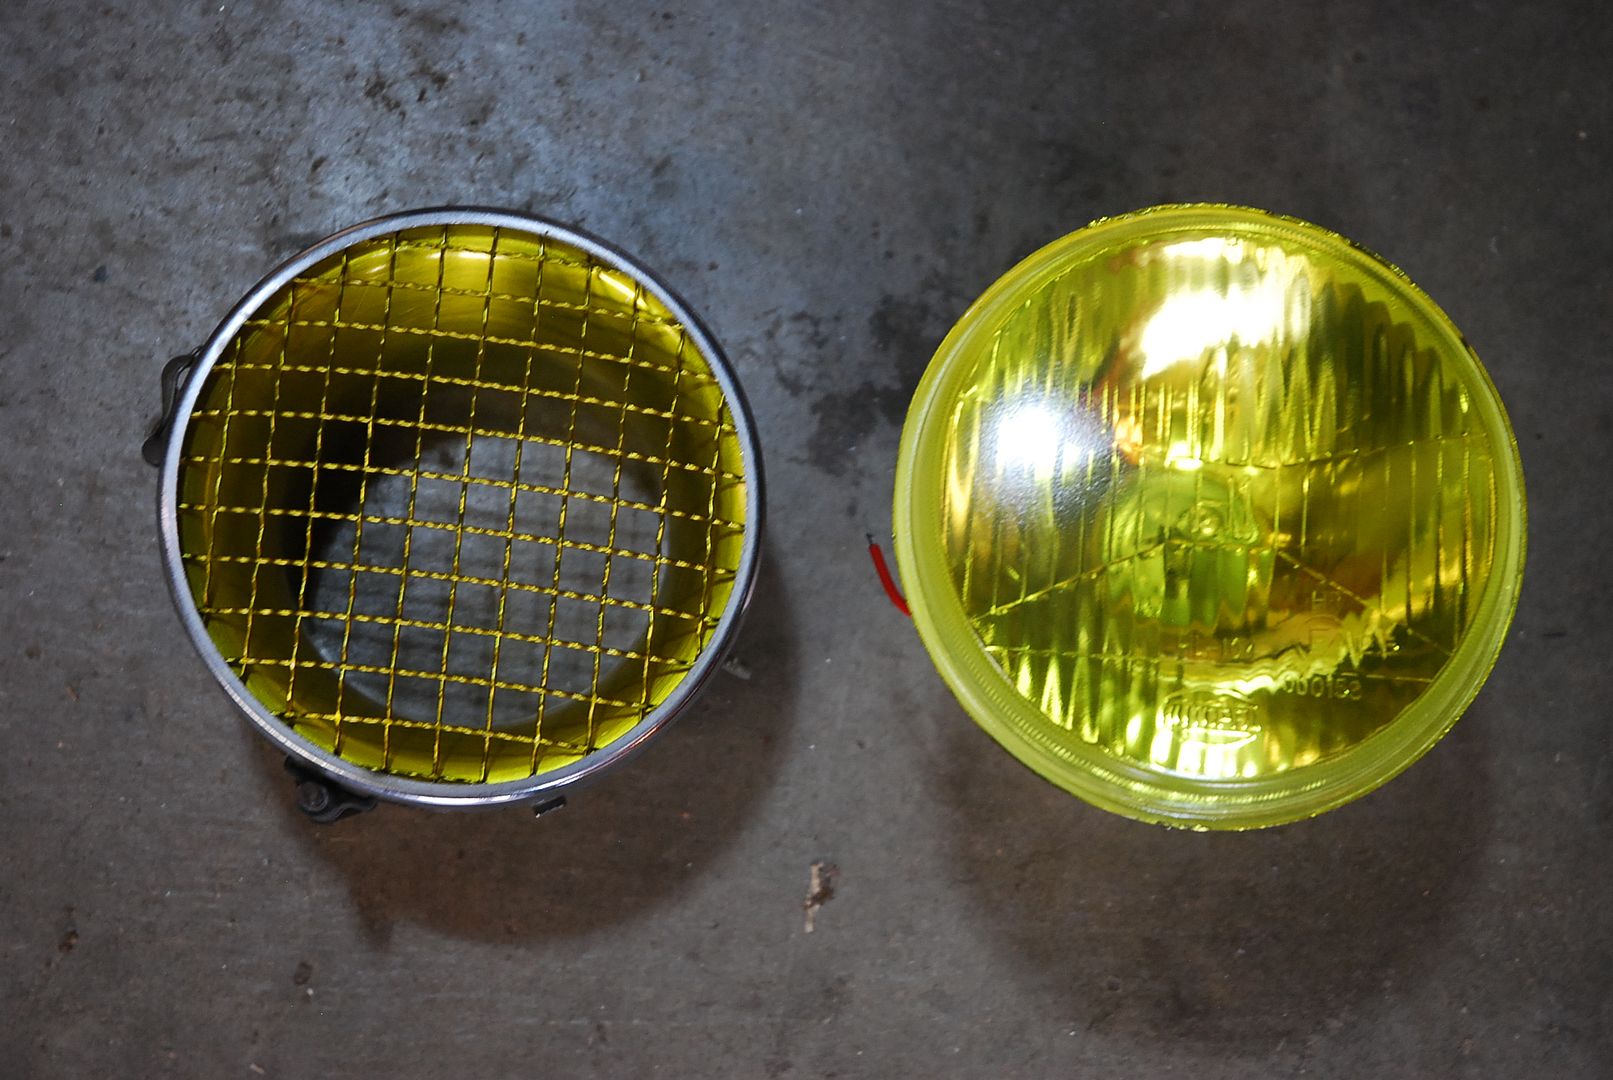
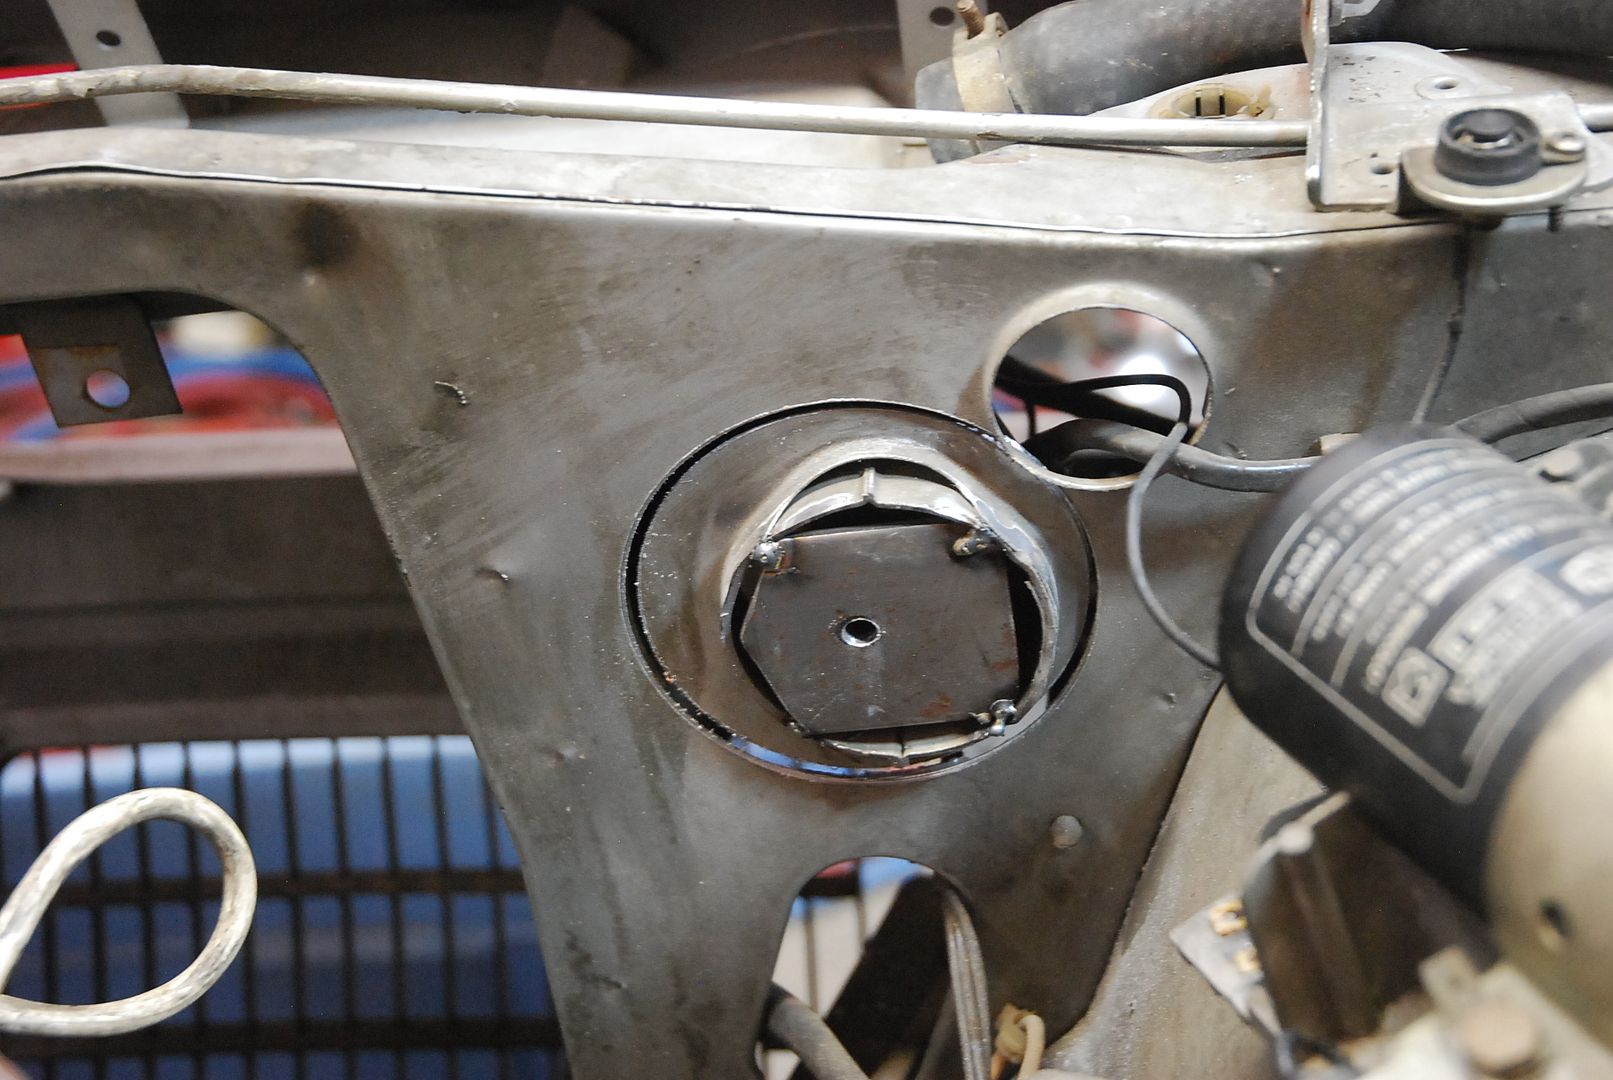
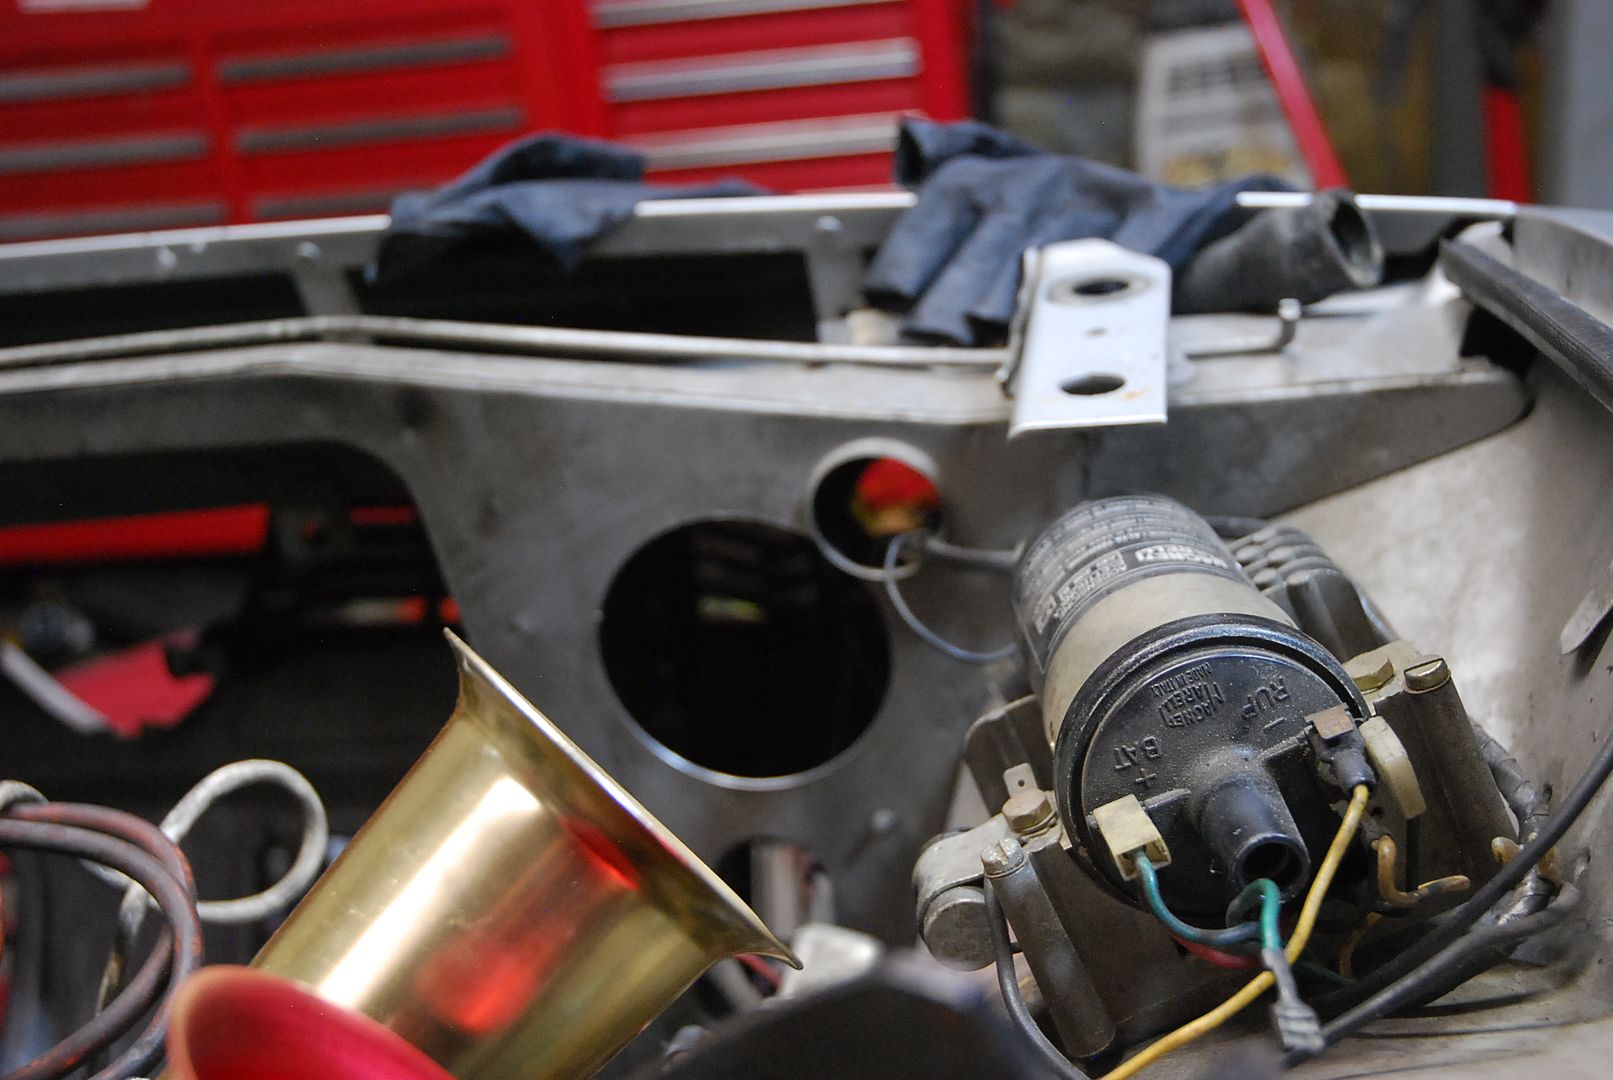
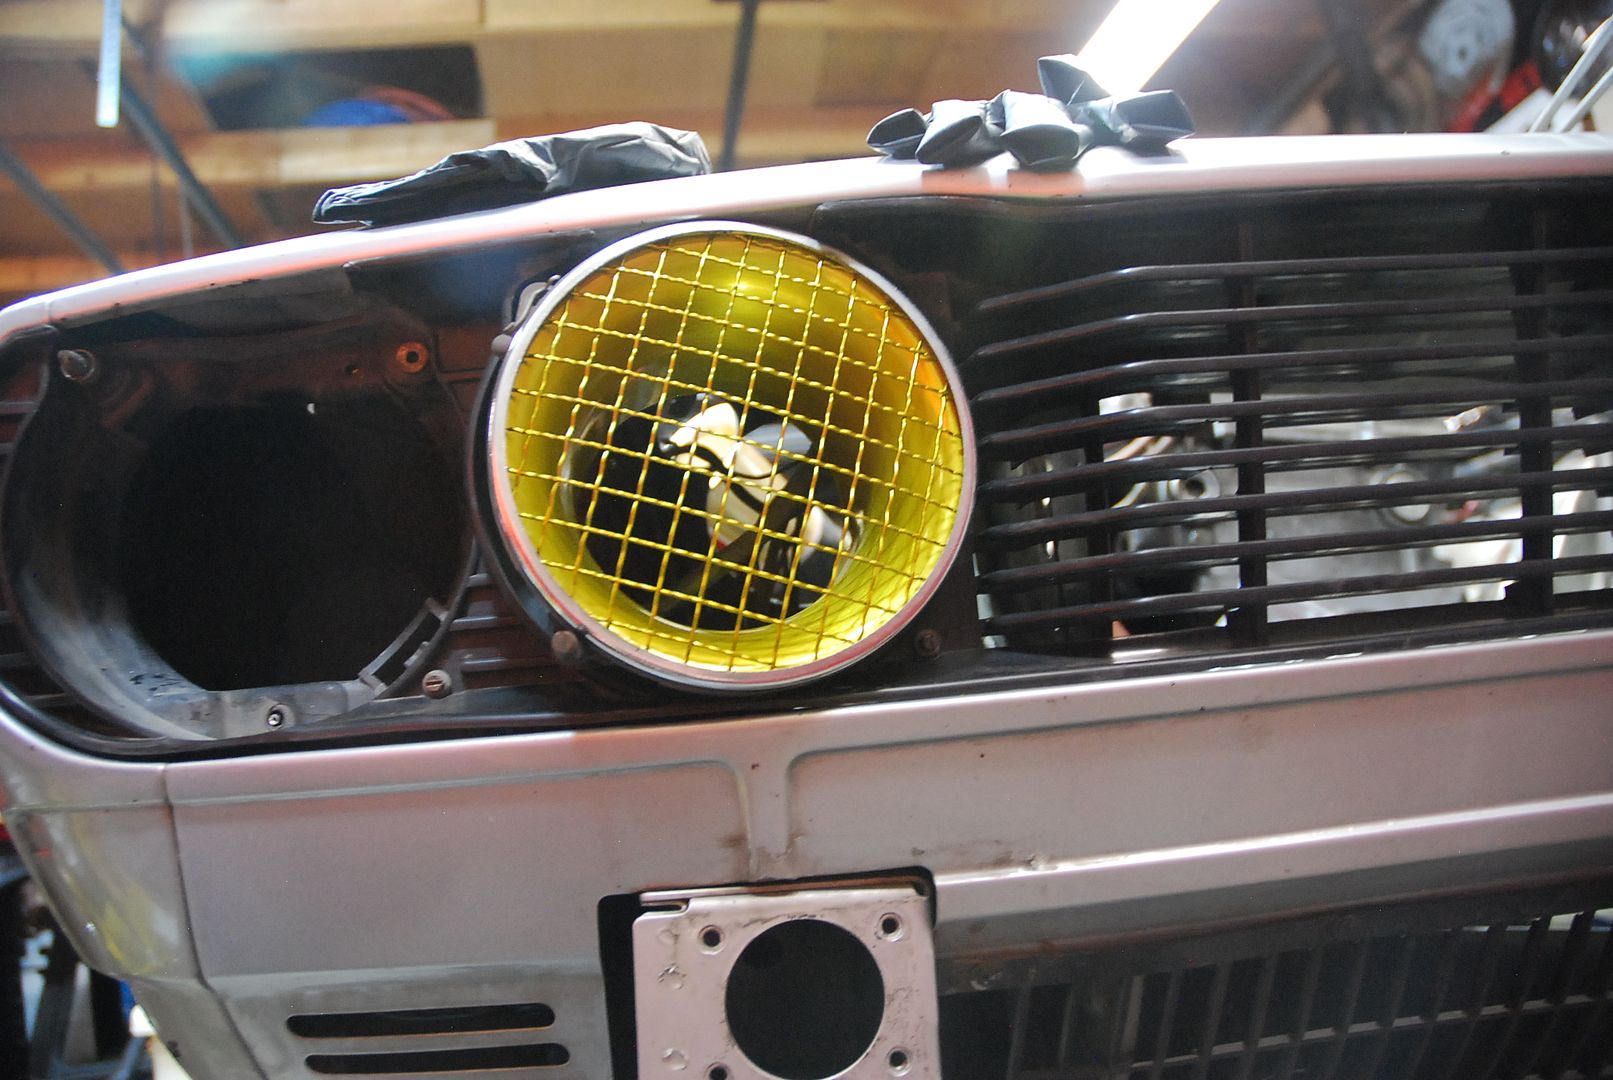
I painted the H1 high beams yellow, then decided to make a cold air intake replace one of them. So I painted the aluminum velocity stack and screen with the same paint as the headlight, so at a glance, it will look more balanced than a normal headlight air intake. We'll see.

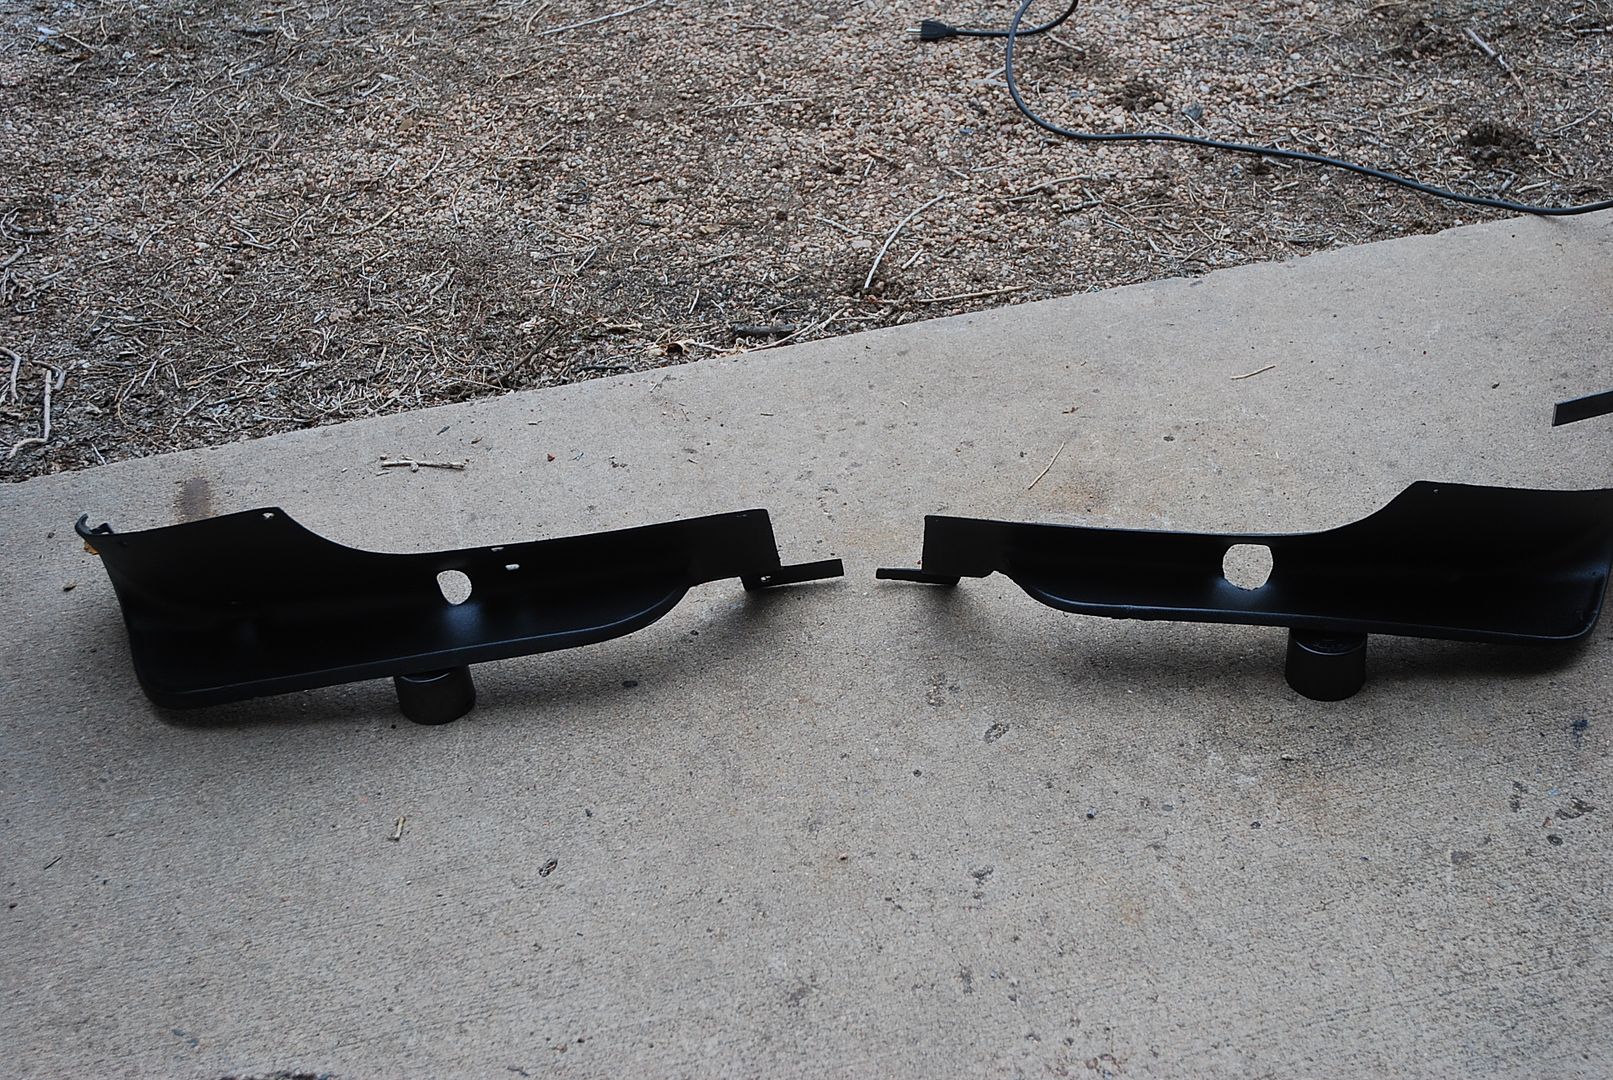
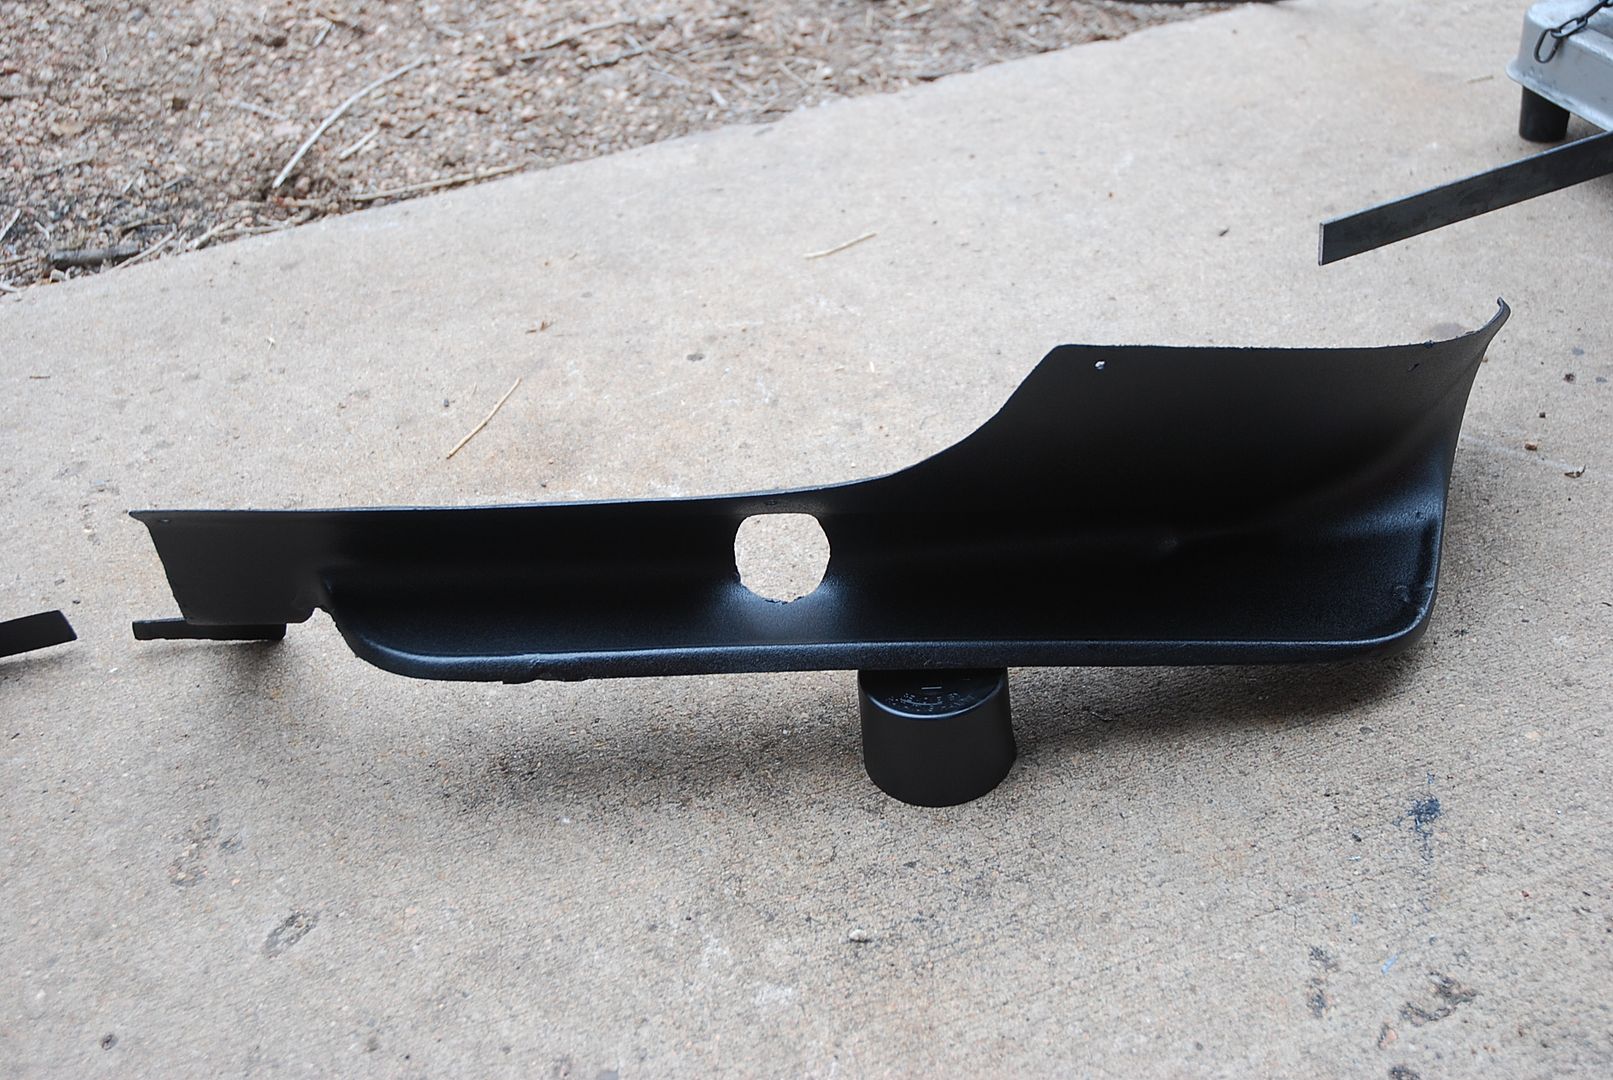
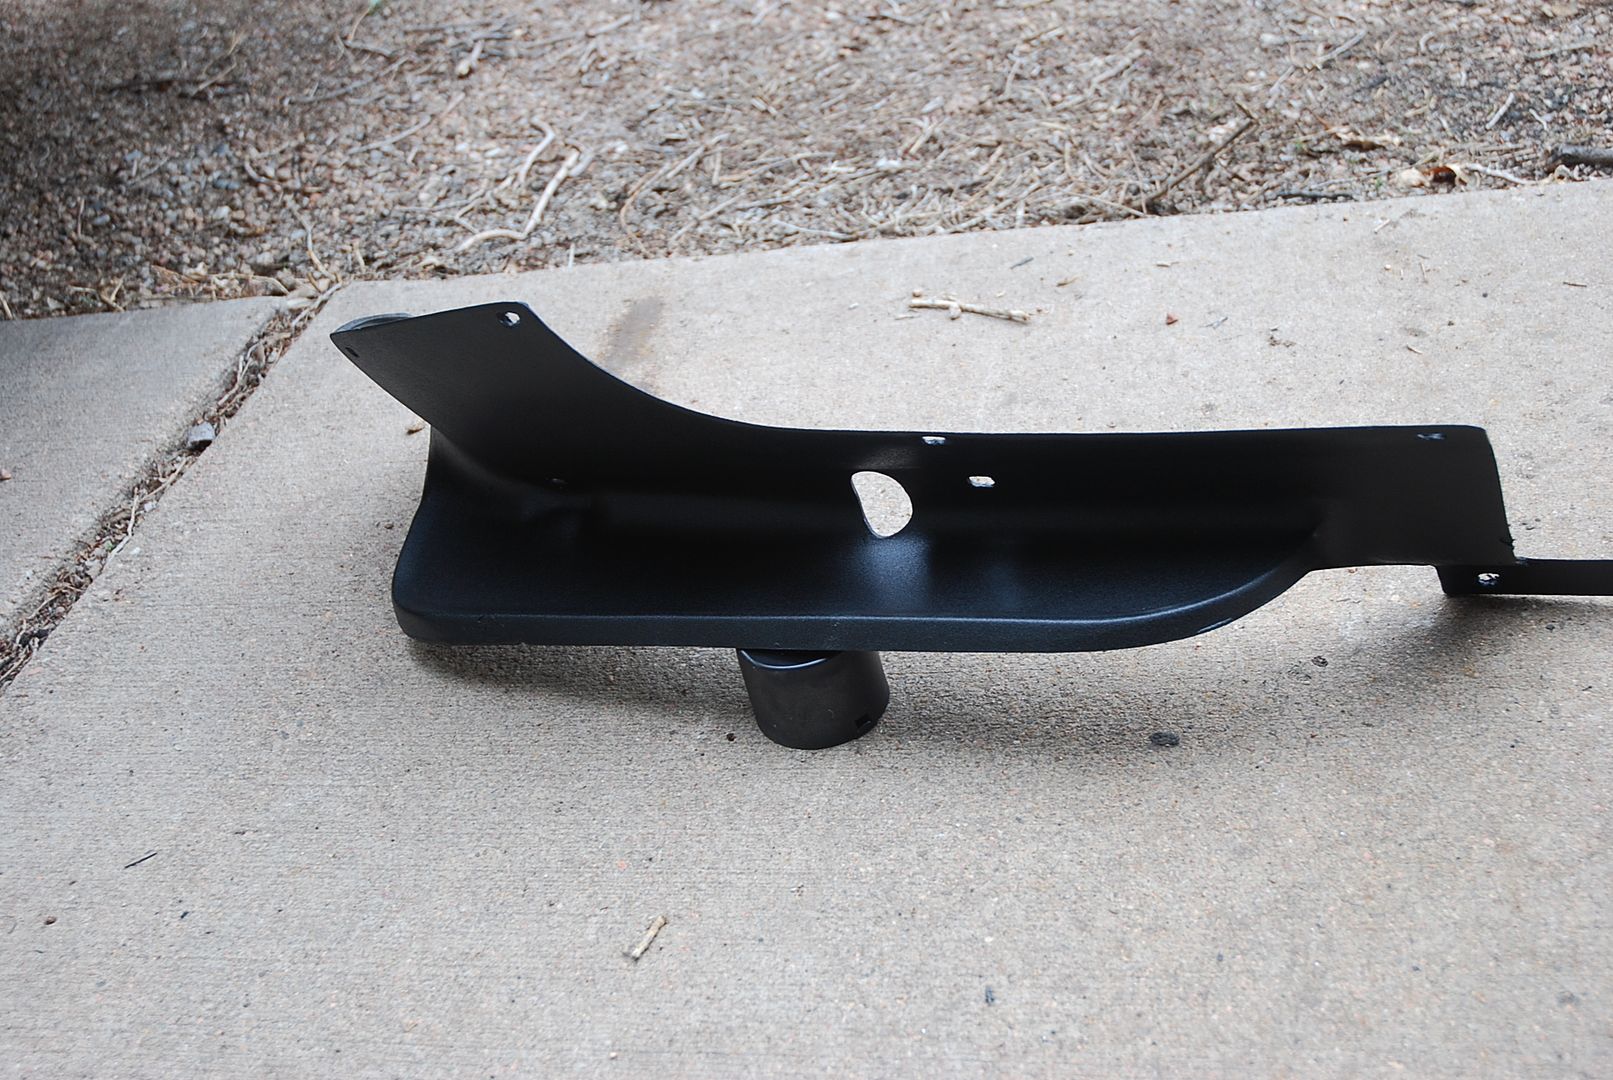
I painted the front spoilers as well. I used bedliner to help mask some of the imperfections made by epoxying up the cracks, even though I sanded them down.  Pics later.


[URL=https://s61.photobucket.com/user/greggearhead/media/Alfetta%20GTV/DSC_0127_zpsbhfyihm2.jpg.html][/URL]
[URL=https://s61.photobucket.com/user/greggearhead/media/Alfetta%20GTV/DSC_0128_zps7jjyg4zo.jpg.html][/URL]
[URL=https://s61.photobucket.com/user/greggearhead/media/Alfetta%20GTV/DSC_0129_zpszau5ztn4.jpg.html][/URL]
[URL=https://s61.photobucket.com/user/greggearhead/media/Alfetta%20GTV/DSC_0130_zpsx7g6hrqy.jpg.html][/URL]
[URL=https://s61.photobucket.com/user/greggearhead/media/Alfetta%20GTV/DSC_0131_zpsqh0gpnz1.jpg.html][/URL]
[URL=https://s61.photobucket.com/user/greggearhead/media/Alfetta%20GTV/DSC_0132_zpsss649n8w.jpg.html][/URL]
[URL=https://s61.photobucket.com/user/greggearhead/media/Alfetta%20GTV/DSC_0133_zpsmll082kc.jpg.html][/URL]
[URL=https://s61.photobucket.com/user/greggearhead/media/Alfetta%20GTV/DSC_0134_zpsmul2clo0.jpg.html][/URL]

OjaiM5
OjaiM5 Reader
3/23/20 3:37 p.m.

Oh this is geetting good! It is going to make all the right sounds. 

dherr
dherr GRM+ Memberand HalfDork
3/23/20 7:54 p.m.

Yes, enjoying watching this one go together.

greggearhead
greggearhead Reader
3/23/20 10:39 p.m.

Not very good pics, but still.  


[URL=https://s61.photobucket.com/user/greggearhead/media/Alfetta%20GTV/DSC_0136_zpsjx8me0kh.jpg.html][/URL]
[URL=https://s61.photobucket.com/user/greggearhead/media/Alfetta%20GTV/DSC_0137_zps0u014ukt.jpg.html][/URL]
[URL=https://s61.photobucket.com/user/greggearhead/media/Alfetta%20GTV/DSC_0138_zpsmjzutlrm.jpg.html][/URL]


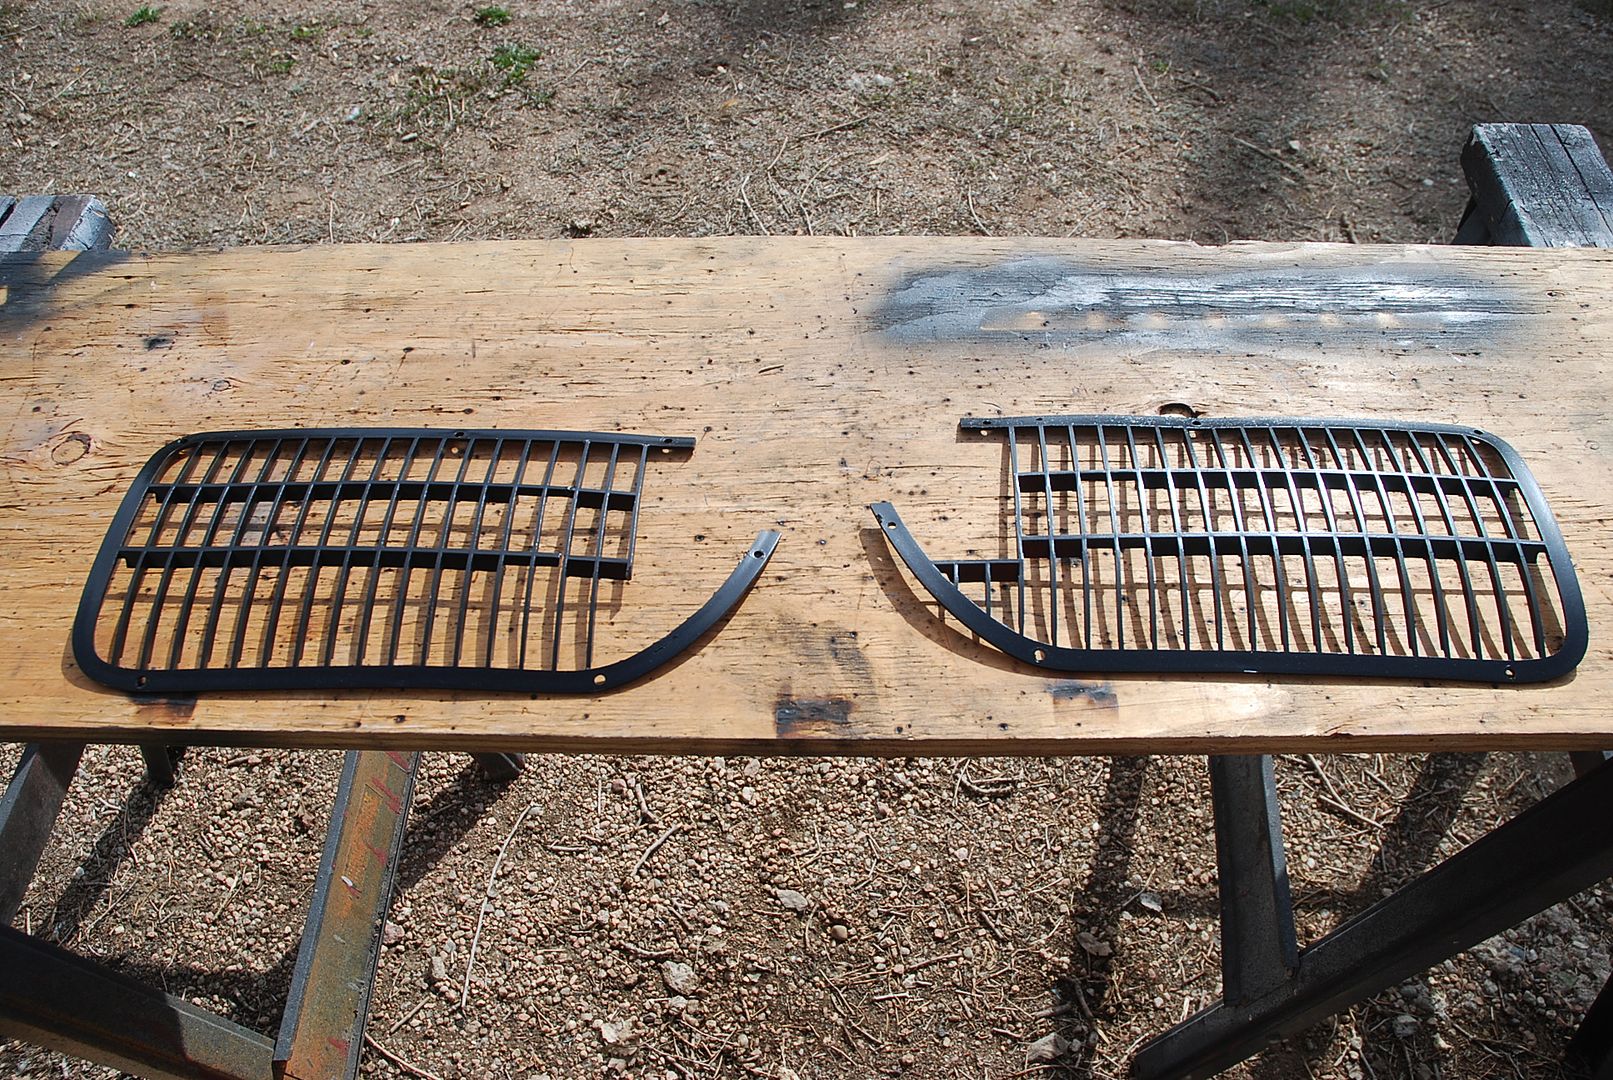
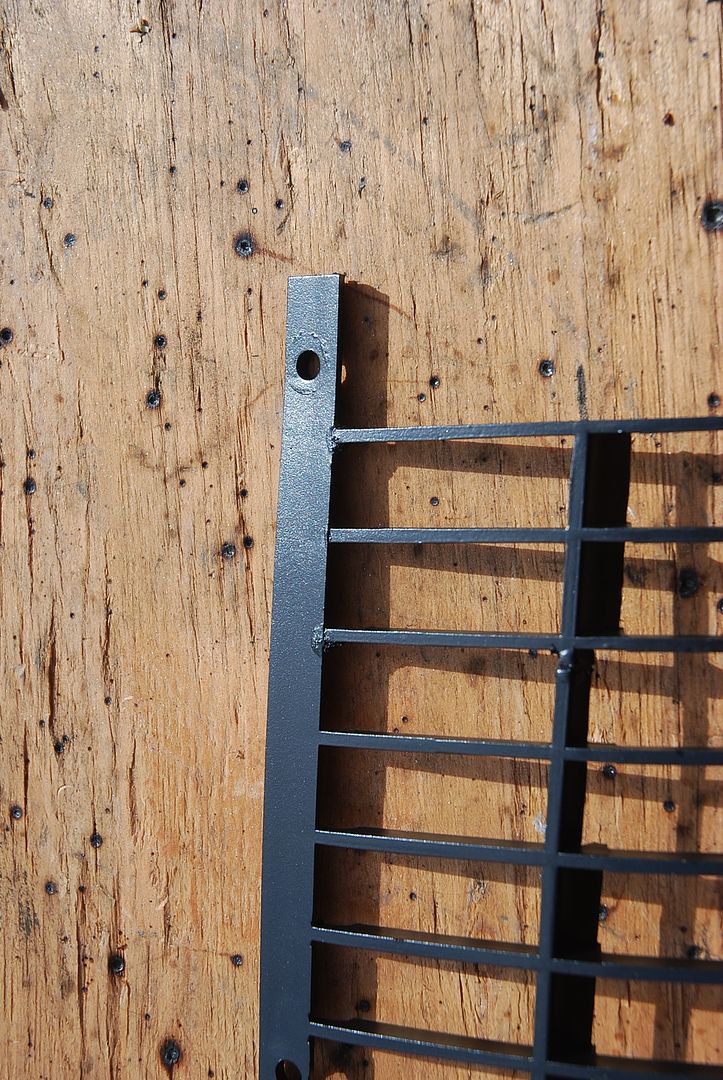
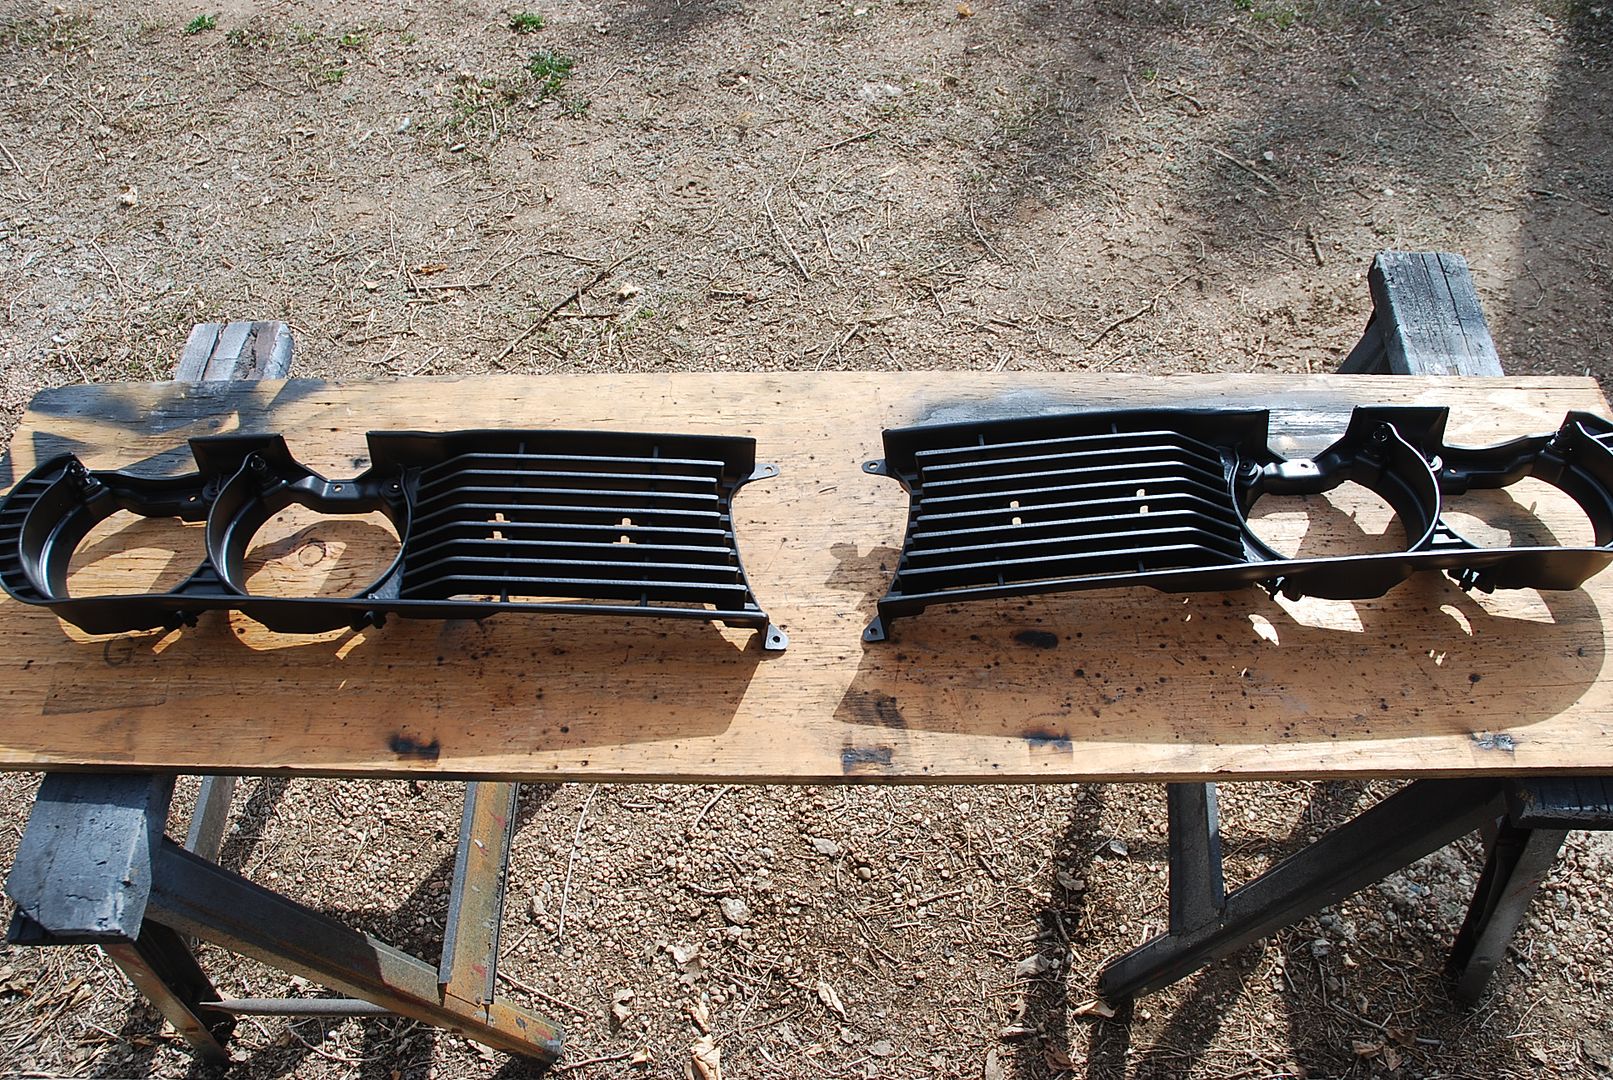
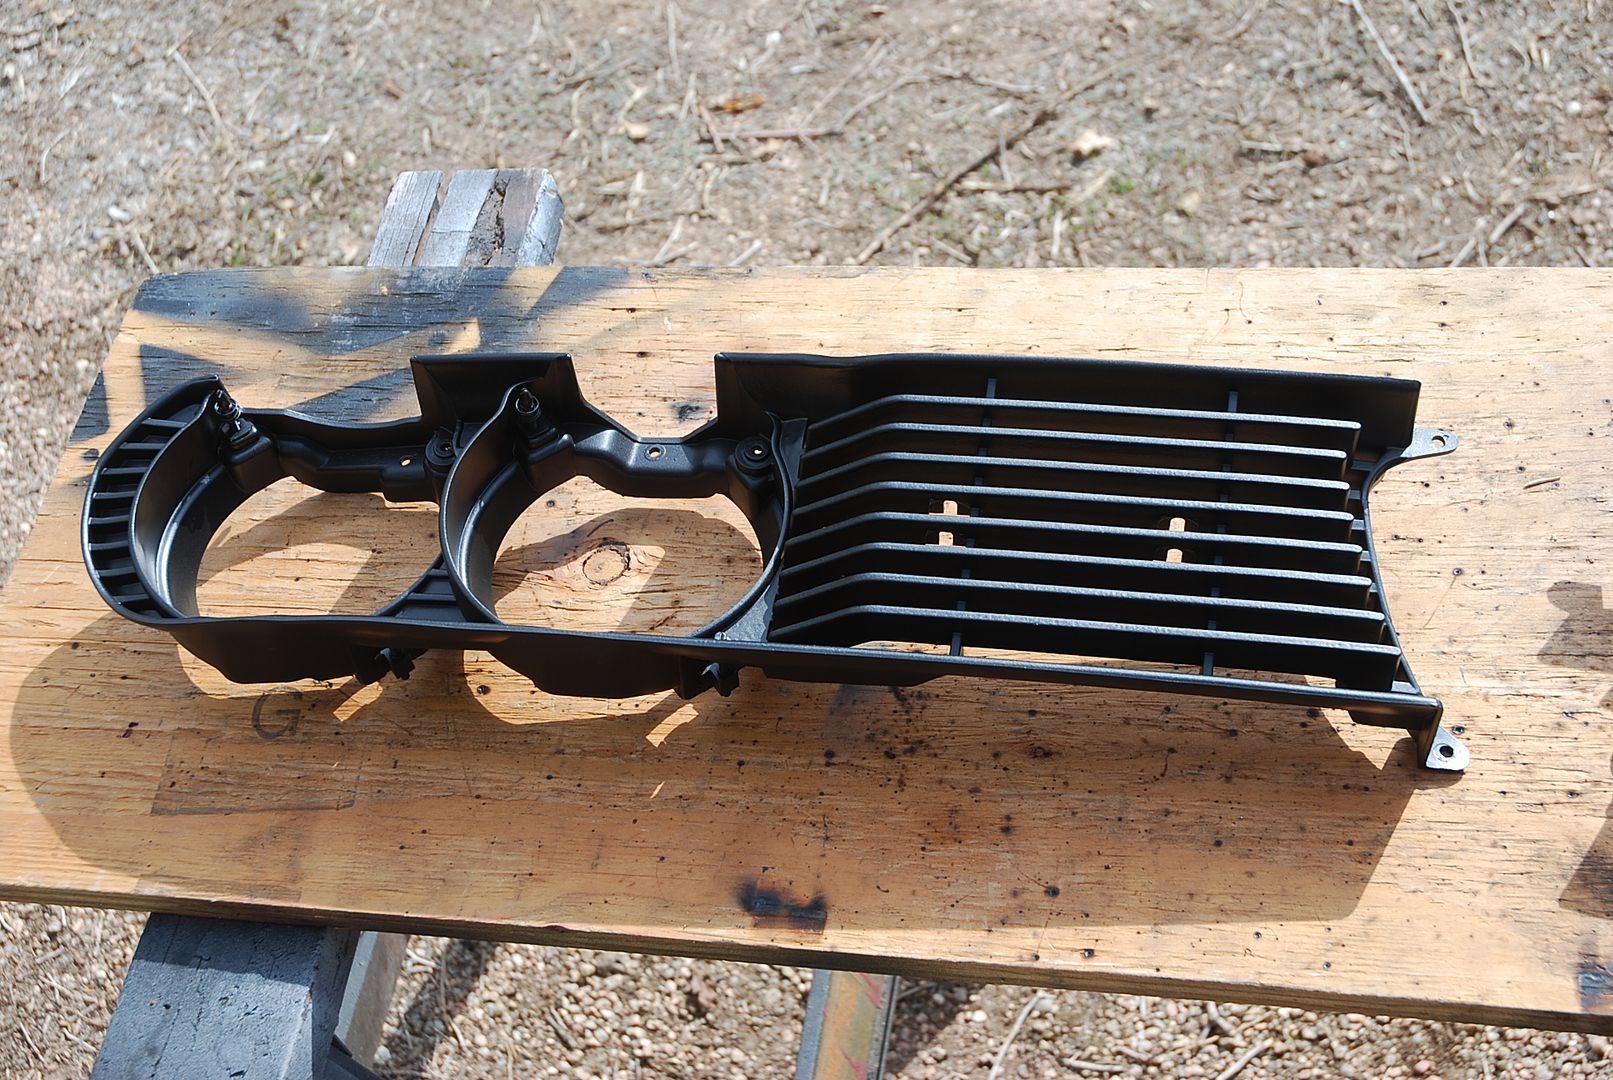
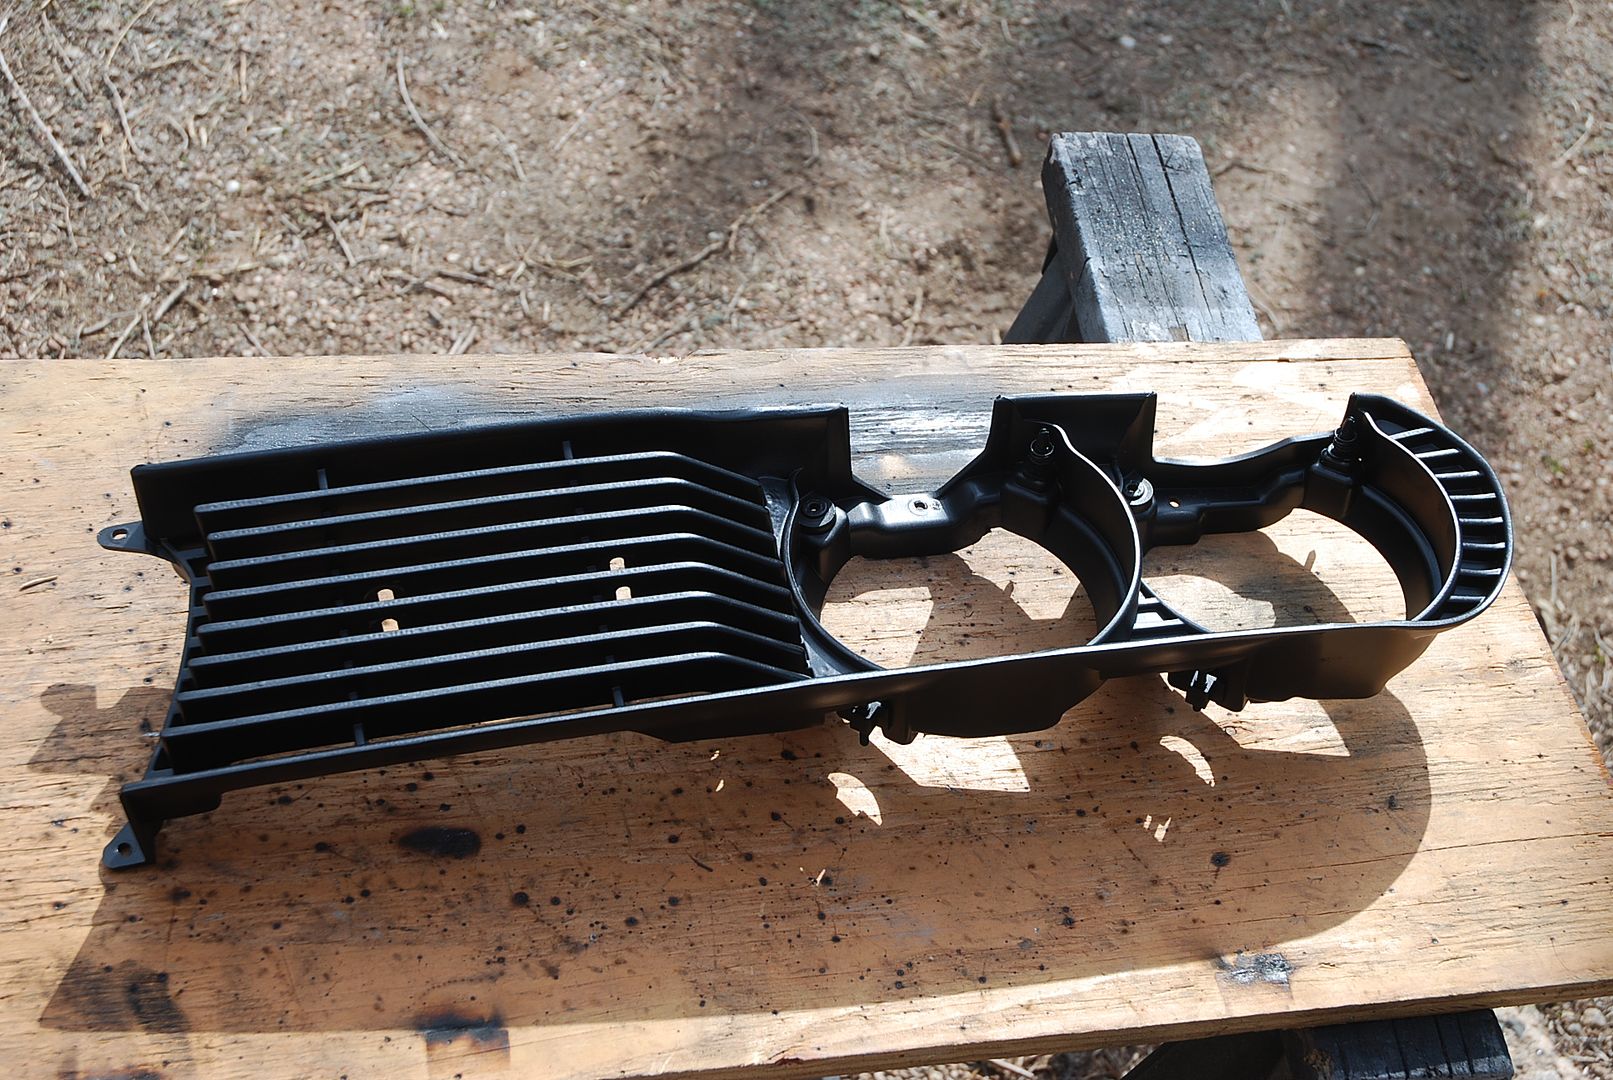
Also painted all the front grilles.  I figured as long as they are removed, I might as well.  It's a refurbishment, not a restoration, but it's hard not to fall down the slippery slope.  

greggearhead
greggearhead Reader
3/27/20 8:21 p.m.


When I removed the grilles and spoilers, I drilled off the rivet heads - easy.  However, only about half of the drilled off rivets pulled through the other side.  The rest had to have the front side ground off to be able to be pulled through.  Once that was done, I tried to fix the upper radiator mounting nut.  It is in a sheetmetal box, but it had too much room inside, so the square nut could spin around.  I tried to use a really long punch to peen the box back tight.  We'll see if it works. 


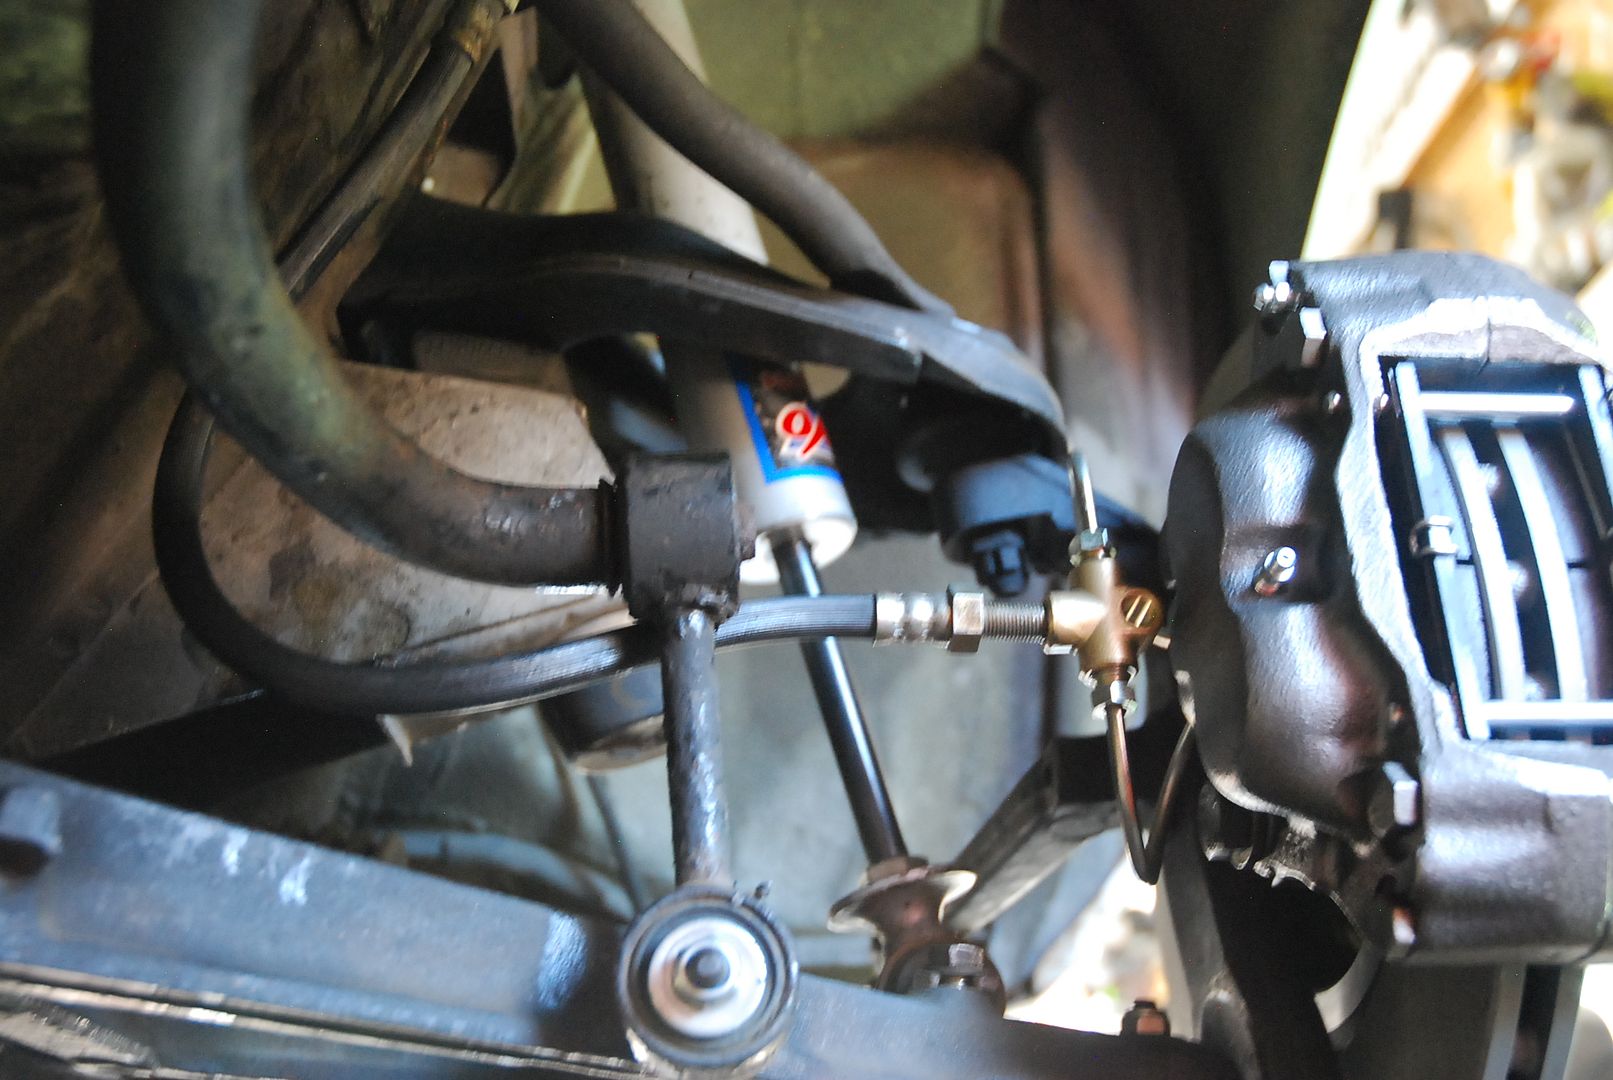
I also got one of the front brake hoses that was leaking reconnected.  The flare on the Alfa hose and the flare on the Tee it goes into for the Volvo caliper (with two inlets) is slightly different.  My shop neighbors, who have been in business since 1978 working on European cars had some dished copper washers, just for that purpose.  We'll see if they hold pressure. 


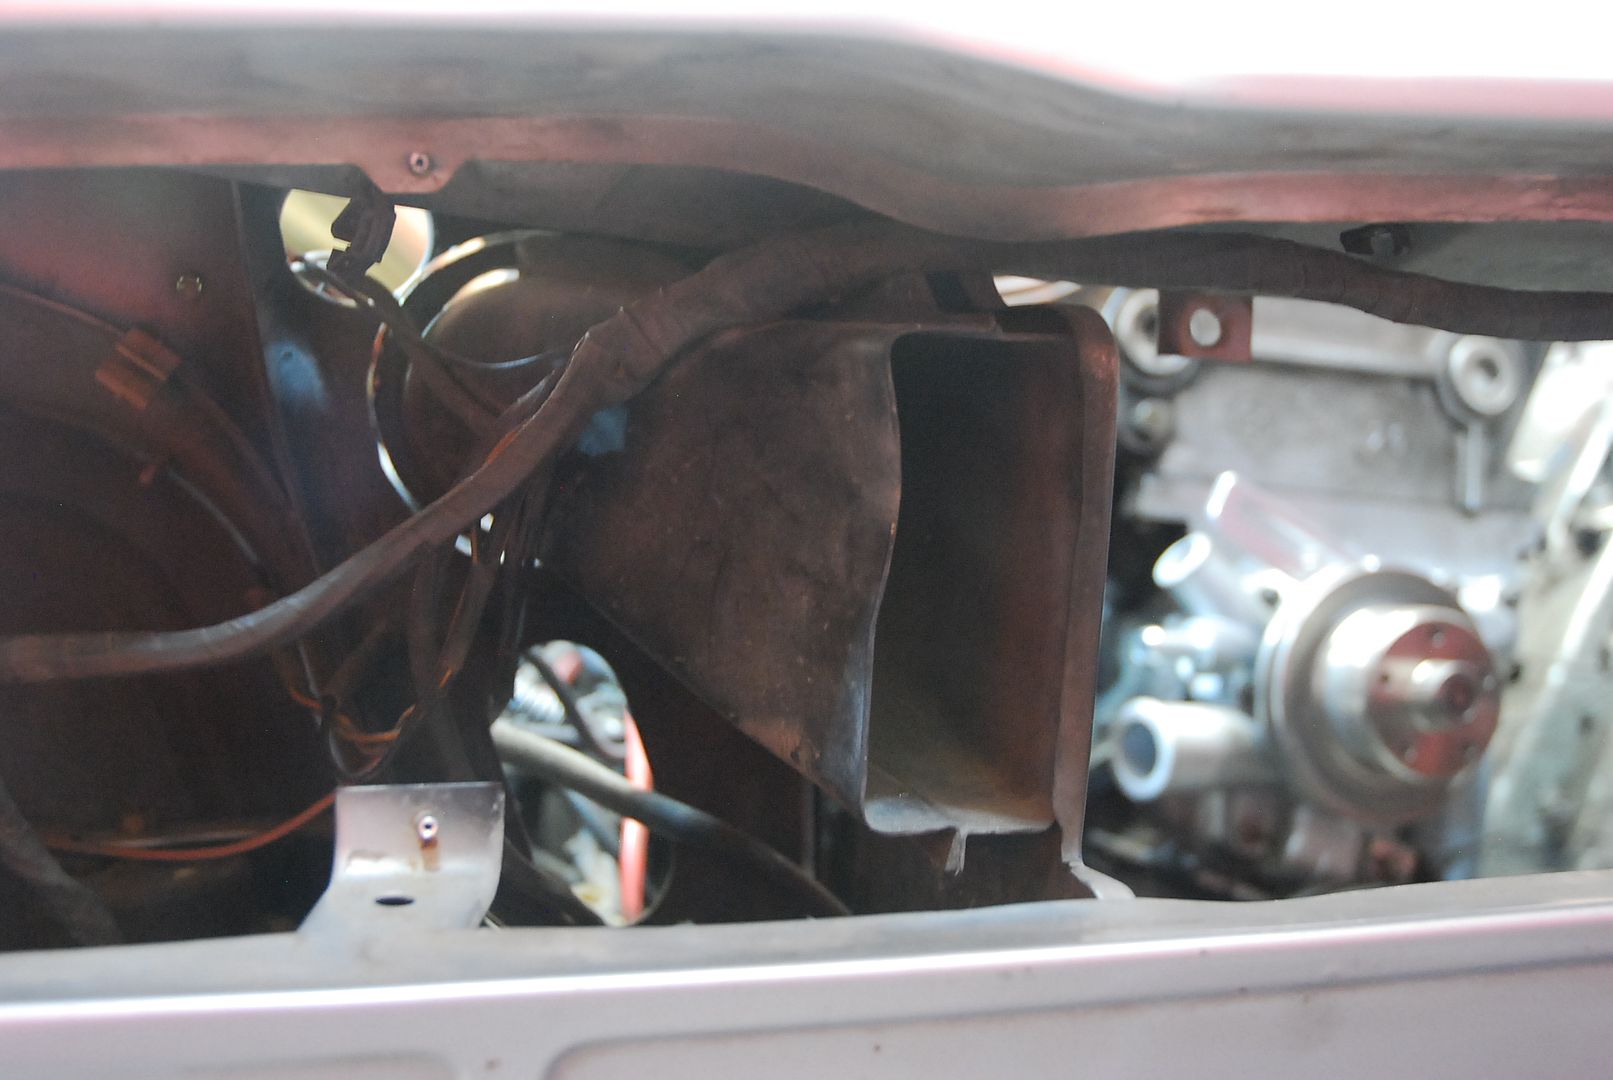
I am surprised that most of the supports in the front sheetmetal (forward of the radiator) are not welded together.  I'd think that would help with chassis rigidity.  If I was racing one of these, I would definitely think about welding the uprights all together.  Can't hurt. 


Pics of the grilles I painted, and one of the lower grilles that I superglued in 3 spots to make it better.  The upper grilles have some texture visible, but not too bad. 


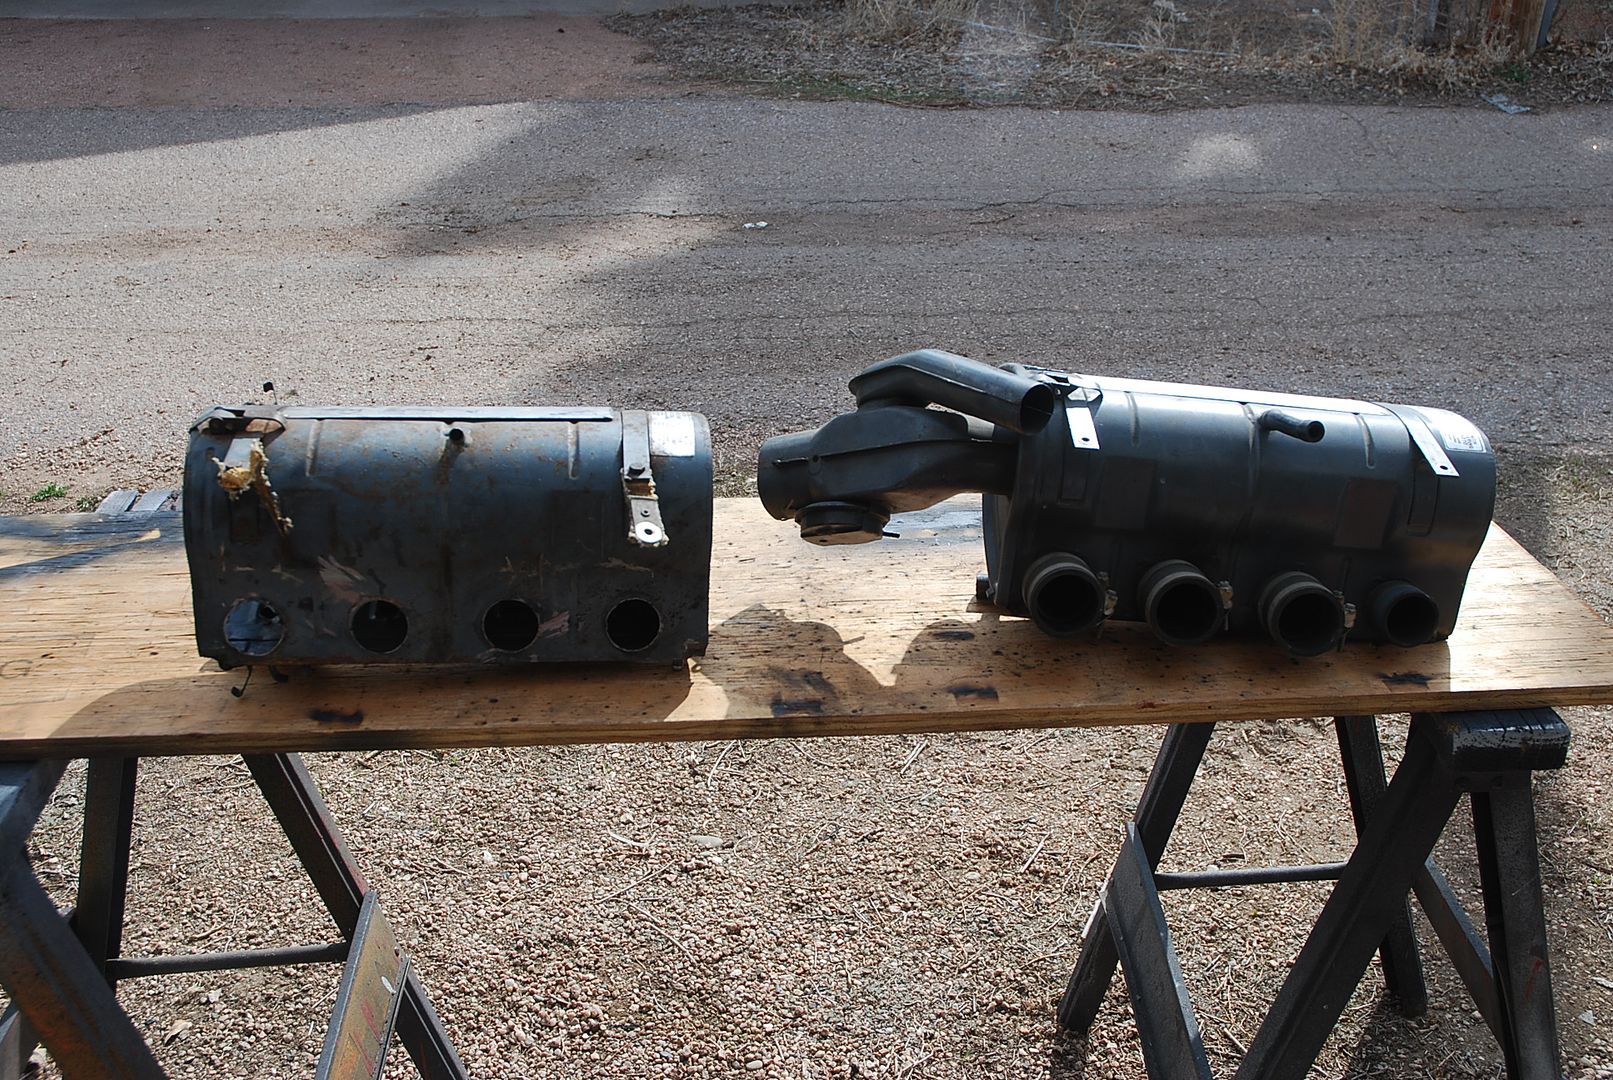
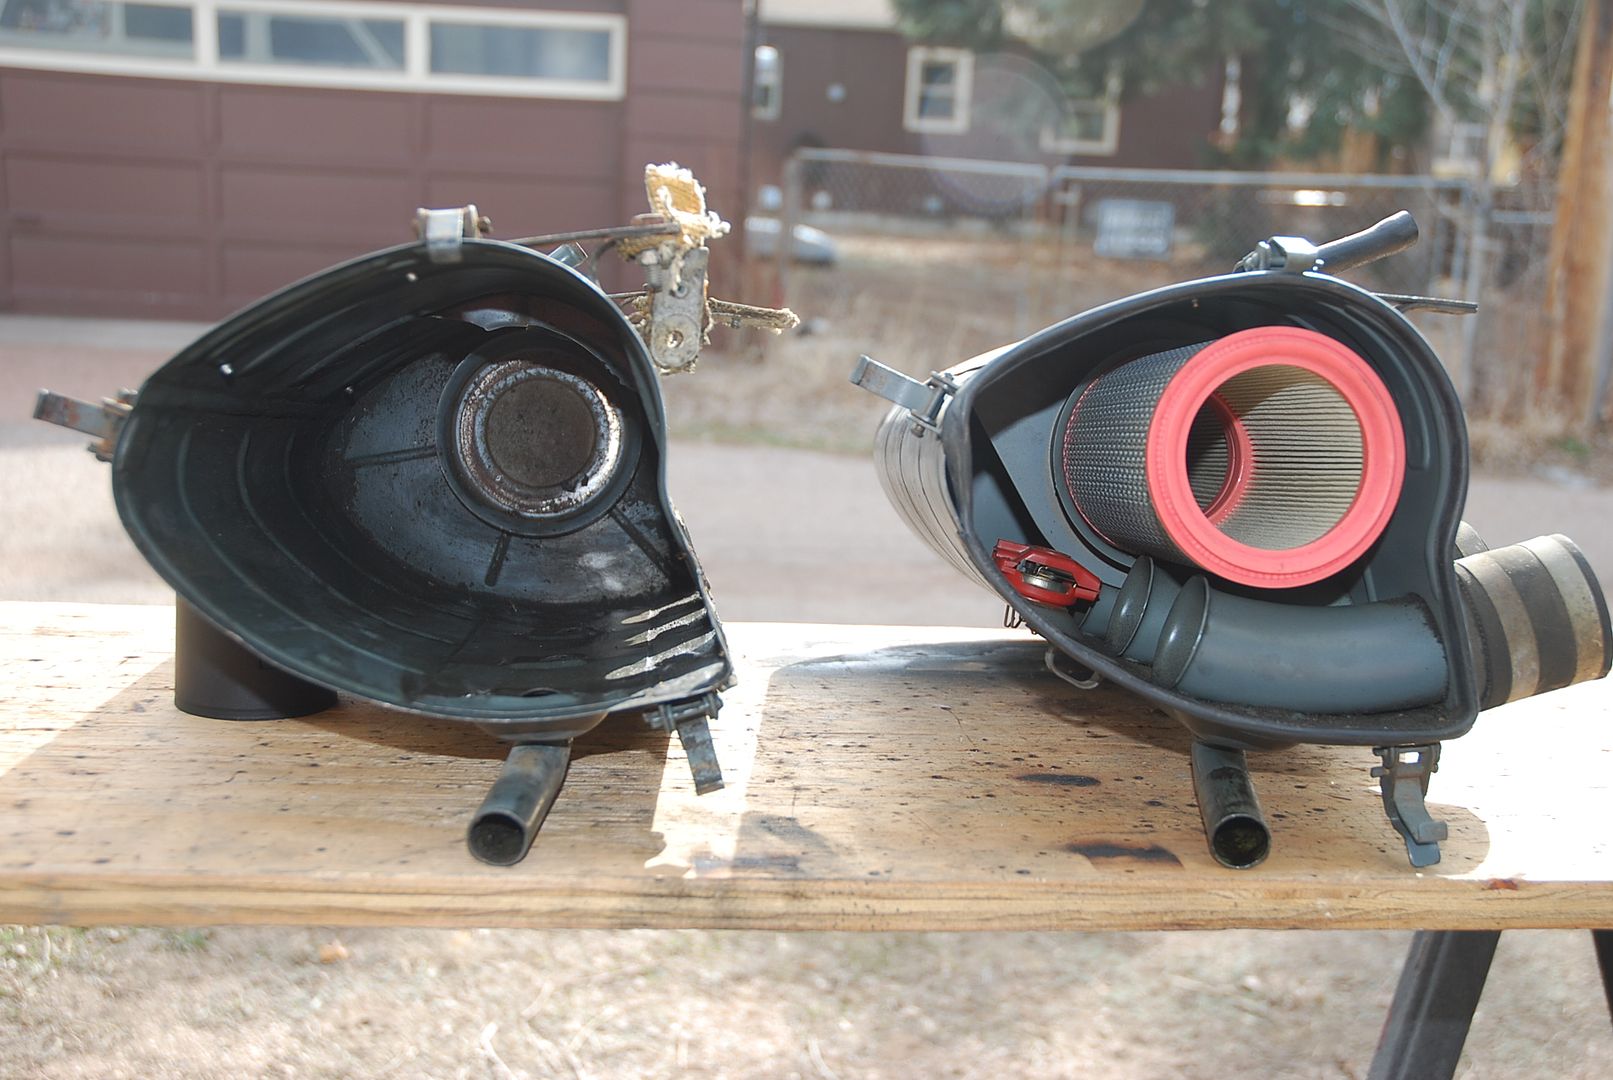
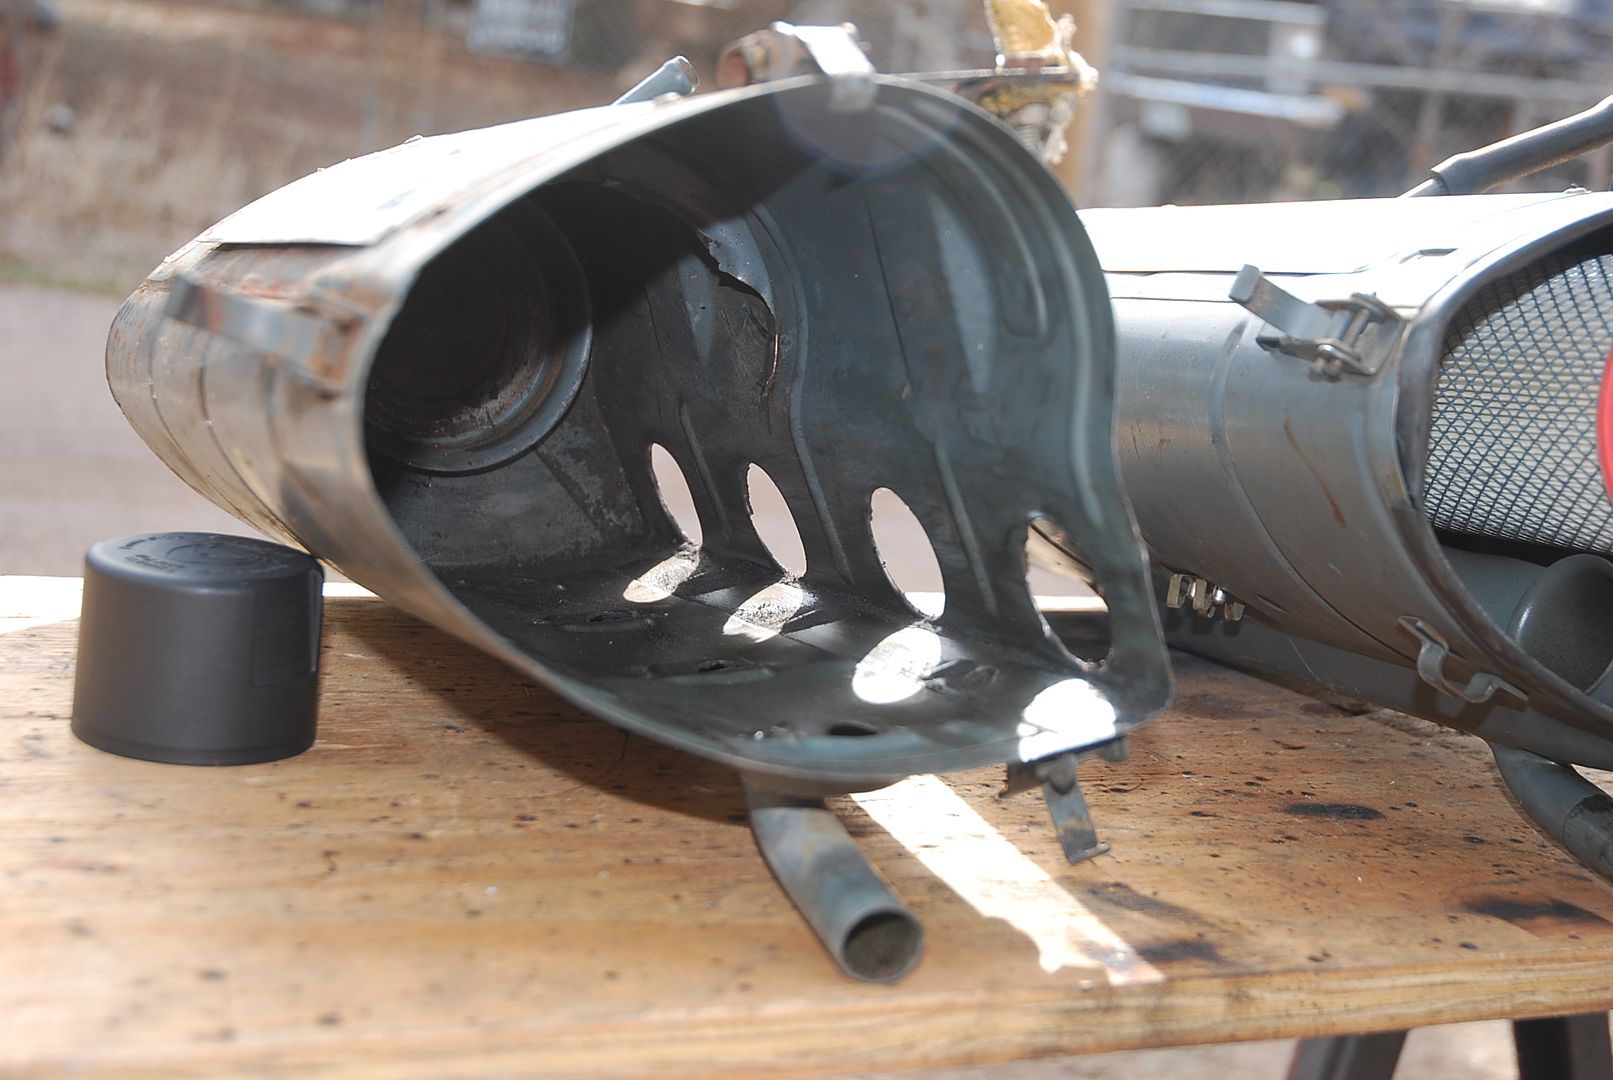
I also started deconstructing the additional airbox I bought to use with the bigger velocity stacks I plan on using.  Cut off the intake tubes, and drilled out some spot welds and Chiseled out the the remaining spot welds on the stock velocity stacks/intake tubes.  


Some other little stuff, but not much.

greggearhead
greggearhead Reader
3/27/20 8:38 p.m.

Here you can see the original velocity stack from the airbox inside of the new one.  Bigger does not mean more horsepower, but it is interesting to see.  


[URL=https://s61.photobucket.com/user/greggearhead/media/Alfetta%20GTV/DSC_0167_zpszkbzbnxc.jpg.html][/URL]

greggearhead
greggearhead Reader
4/1/20 10:48 p.m.

Staying home on Tuesdays and Thursdays now. More car progress.


I got the freshly machined alternator test fit, and my tensioning bracket didn't work. So I'm making a new one.  I am wondering about a smaller oil filter to enable easier oil changes.  


Finished cutting the bottoms off of my tumbers a.k.a. velocity stacks. Easiest way ended up being holding it with my hand in a non-tightened vice while using a hack saw. It will be covered up, so my bodgery isn't that visible.


I got the Rial wheel centercaps done - domed plastic centers glued into the bedlined outer centers, before installing in the metal lug cover rings. Who uses this many parts on a center cap? These are German, not Italian!

The most important progress, is that I got the front brake lines reassembled with the magic parts to keep them from leaking. At least that's the plan. I'll see when I put some pressure through them...


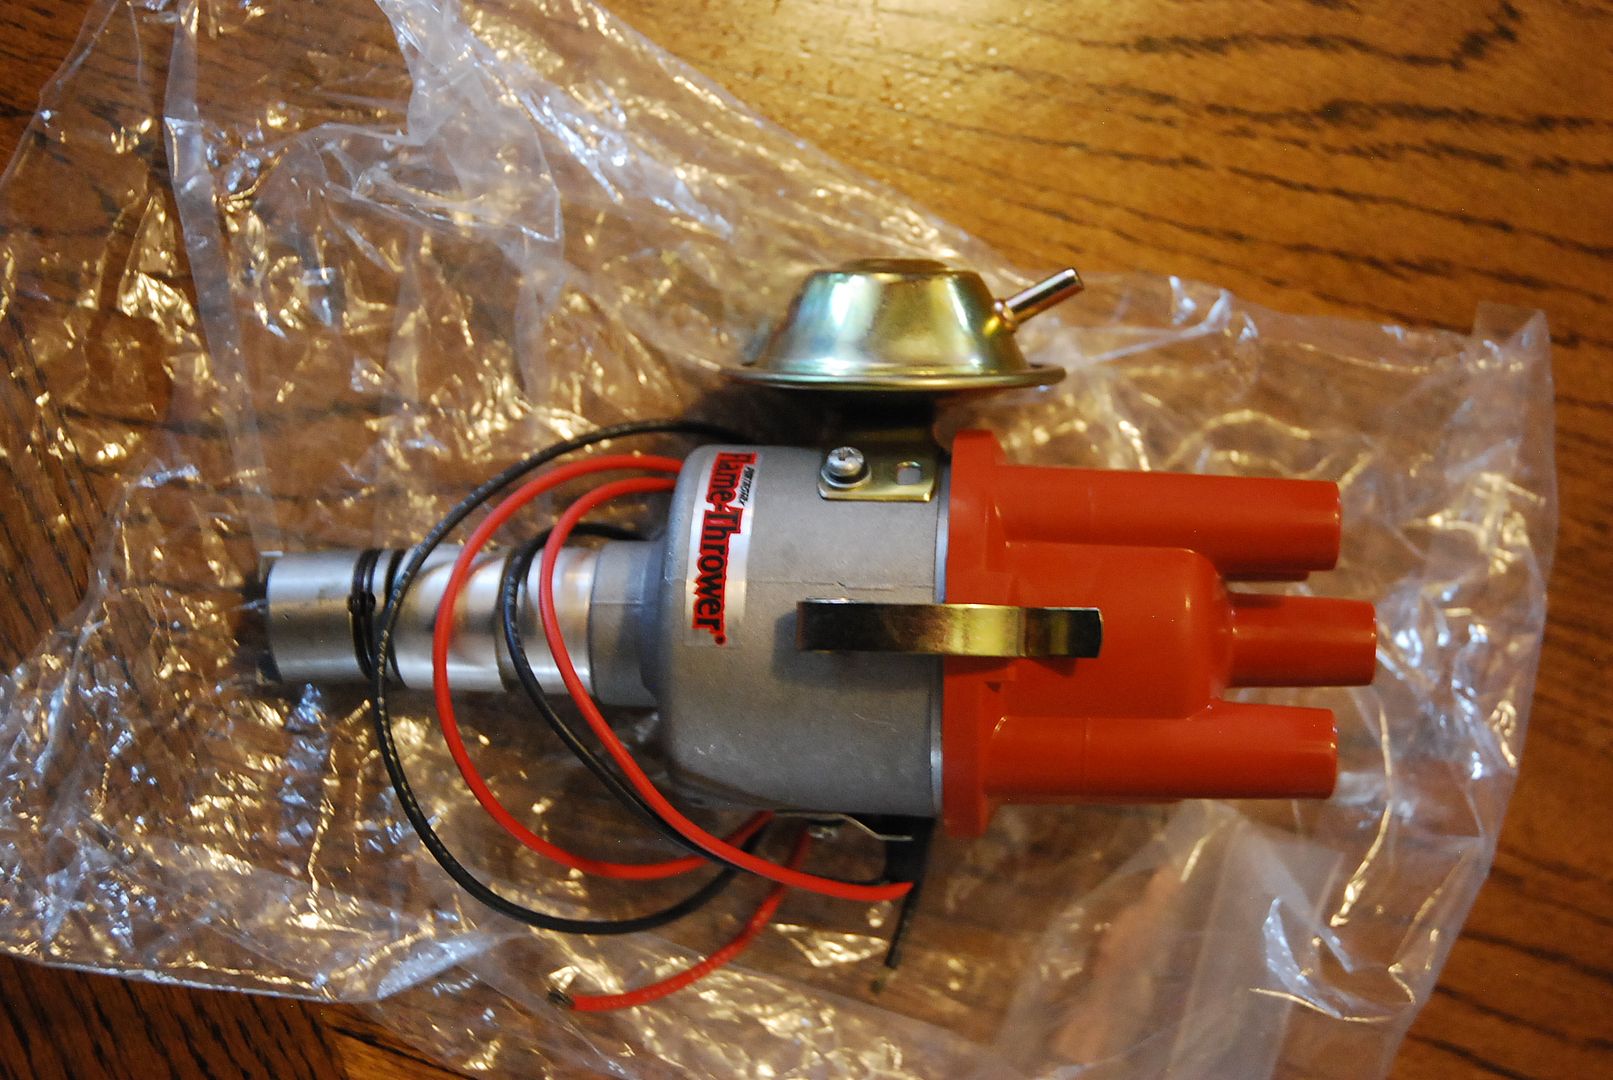
I also received the new Pertronix distributor to replace the Magnetti Marelli one.  I know the advance curve is more suited to a VW, but maybe with softer springs?  At this point I'm more concerned with reliability and will keep the Italian one as a backup.  Time will tell.  


[URL=https://s61.photobucket.com/user/greggearhead/media/Alfetta%20GTV/DSC_0172_zpsk3buz5cz.jpg.html][/URL]

[URL=https://s61.photobucket.com/user/greggearhead/media/Alfetta%20GTV/DSC_0173_zpsoaofiuno.jpg.html][/URL]

[URL=https://s61.photobucket.com/user/greggearhead/media/Alfetta%20GTV/DSC_0176_zpstw6tpw1v.jpg.html][/URL]

[URL=https://s61.photobucket.com/user/greggearhead/media/Alfetta%20GTV/DSC_0177_zpsbnwmj9ag.jpg.html][/URL]

[URL=https://s61.photobucket.com/user/greggearhead/media/Alfetta%20GTV/DSC_0181_zpszmuzjdib.jpg.html][/URL]

TurnerX19
TurnerX19 Dork
4/2/20 7:39 a.m.

In reply to greggearhead :

That tee junction in the brakes needs some sort of support bracket so road vibrations don't cause work hardening failure in the hard pipes.

greggearhead
greggearhead Reader
4/2/20 12:09 p.m.

Was planning on that, but if the leak isn't fixed, I'm going with a different caliper/hose setup altogether.  


I'm mixing Fiat, Alfa, VW and Volvo parts here.  What could possibly go wrong?  Sounds like an international catastrophe.  

greggearhead
greggearhead Reader
4/2/20 7:10 p.m.


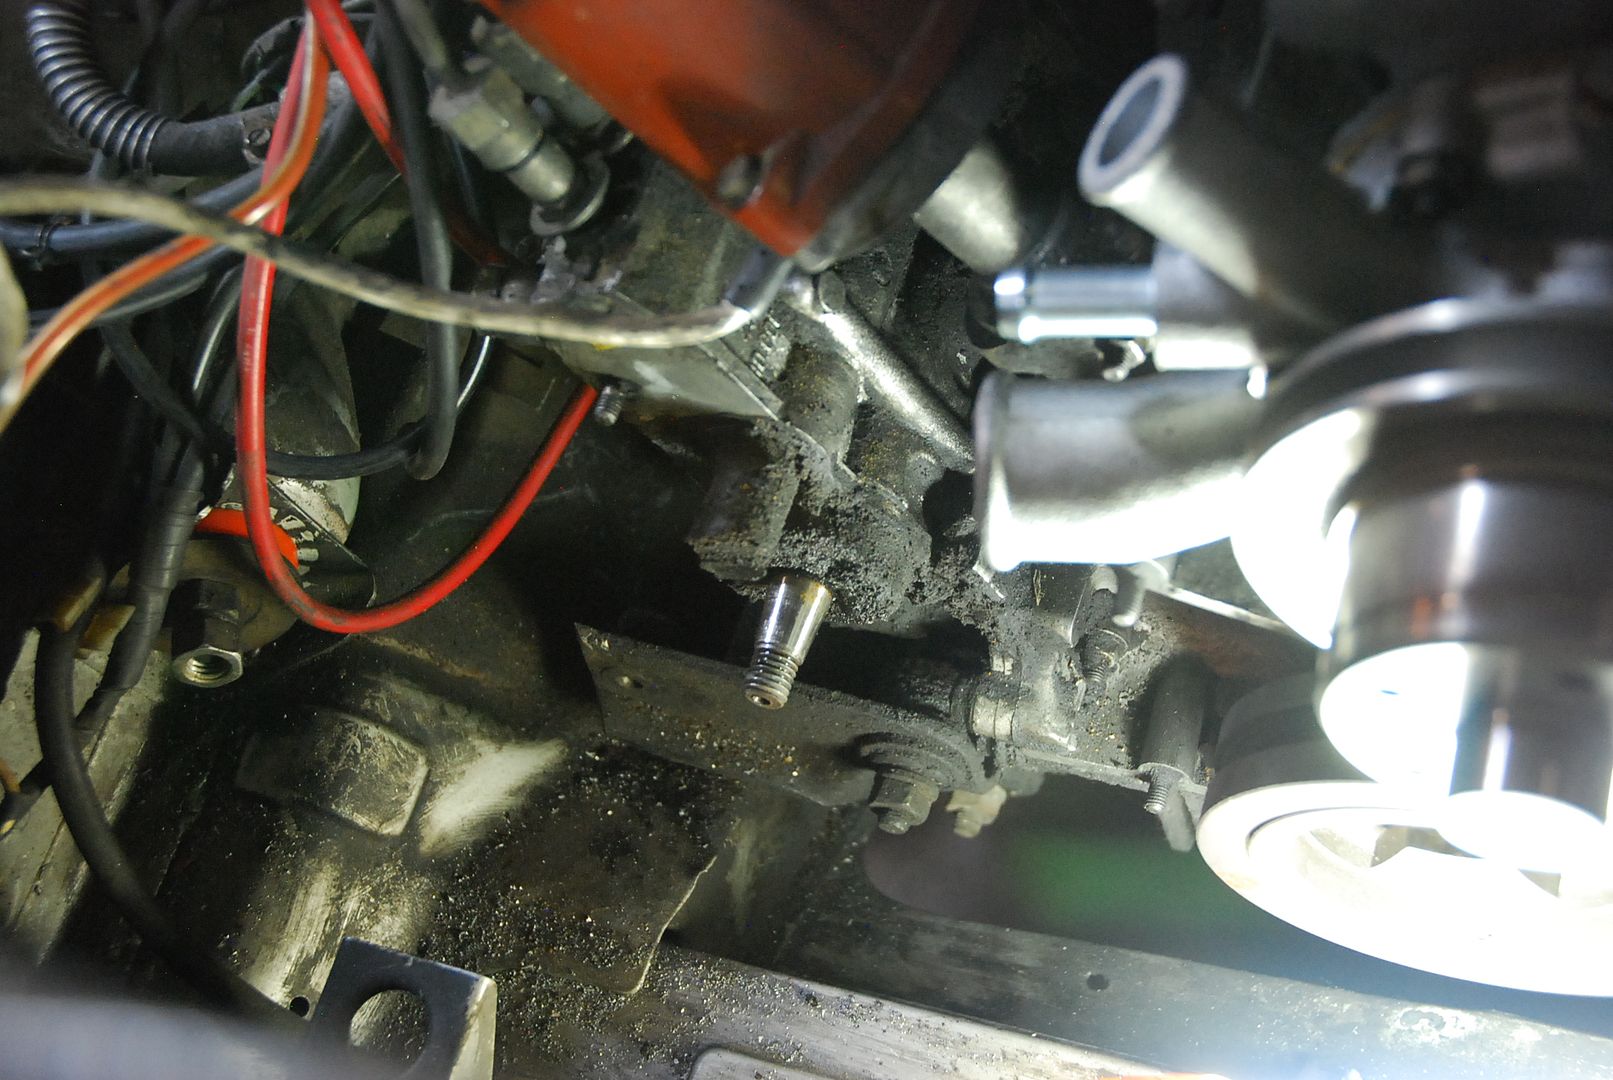
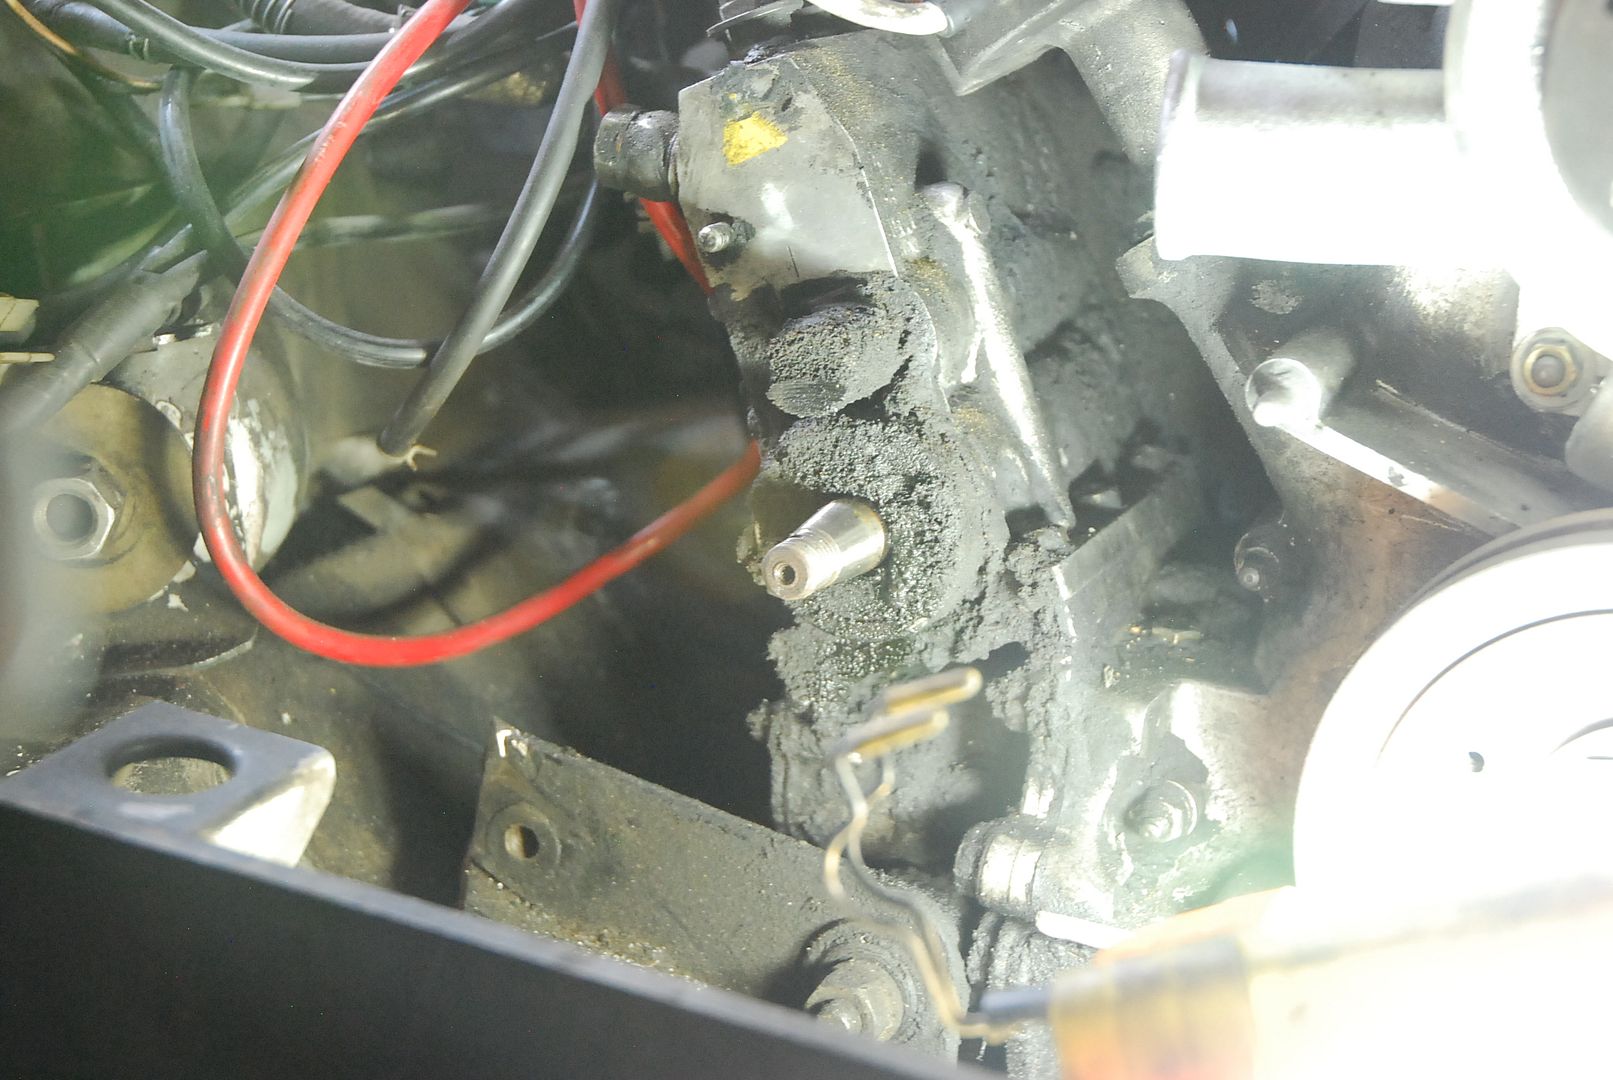
Not *much* progress today - I had to watch an auction I was selling a vehicle for this morning, but at least got a few hours of garage cleaning and work done this afternoon.  Got the last Rial center ring assembled (had some chipped paint so I had to touch it up).  The brake fittings are not leaking now - but no pressure yet so it's a very small victory.  I successfully pulled the SPICA mechanical fuel injection pump pulley.  I started days ago, removing the nut, spraying some penetrating oil on it, and tapping lightly and prying lightly.  No luck.  I googled, and found out not only is it a keyed pulley, it's a taper fit and pretty tight.  I got a special pulley puller for the task from my shop neighbors Concours Cars, who work on all kinds of classic and modern Euro stuff.  It went in through the holes in the pulley to pull near the center where the pulley is stronger and less likely to break.  


More spray lube, slowly cranking down, tapping lightly with a hammer, then WHAM!  It let loose and flew off.  I had some rags in front of it, anticipating, but damn, it really came off like a bullet.  Once off, I could see decades of oil sludge residue, making me feel good for getting the pulley off to replace the seal.  


I'm not done cleaning the pump and area yet, but a couple cans of brake clean and rags later, and at least I can see the stuff and not worry about large chunks of stuff falling in there when the seal is removed.  The pump internals need to be pretty clean because of the really tight machined tolerances.  After I do the seal, I'll do the tiny oil filter and drain the oil and sludge out of it and replace it from the splash lubed section.  


Since I am going with cams that *might* be a touch over the capability of the stock fuel pump deliver curve so I have a Shankle Sure-Start mechanical actuator to replace the thermostatic actuator.  Basically, replacing the automatic temperature sensitive choke on the pump with a mechanical/manual one.  That will allow me to grossly move the fuel delivery curve slightly up or down, compensating for the needs of the bigger cams if they are too much (and make it run lean).  I will be running an air-fuel ratio gauge to make sure I'm OK either way.  


[URL=https://s61.photobucket.com/user/greggearhead/media/Alfetta%20GTV/DSC_0189_zpsjok9zkwl.jpg.html][/URL]

[URL=https://s61.photobucket.com/user/greggearhead/media/Alfetta%20GTV/DSC_0190_zps1glsj0tl.jpg.html][/URL]

alfadriver
alfadriver MegaDork
4/2/20 8:28 p.m.

I hate to tell you this, but I really hated the "sure start" that a car I had was installed in.

The better thing was to send the pump to Ingram Enterprises, and have him modify it to match his cams.  My GTV has made amazing power for over 20 very reliable years (most at speed) with his cams and pump.  The pump still runs as it was intended.  

greggearhead
greggearhead Reader
5/3/20 8:24 p.m.

Better, yes.  But for mild cams, lots of money for little gain, and I'm used to cars with a little bit of 'fiddling' tuning necessary.   If I was changing to high compression, bigger cams and ported head, it would make a lot of sense.  


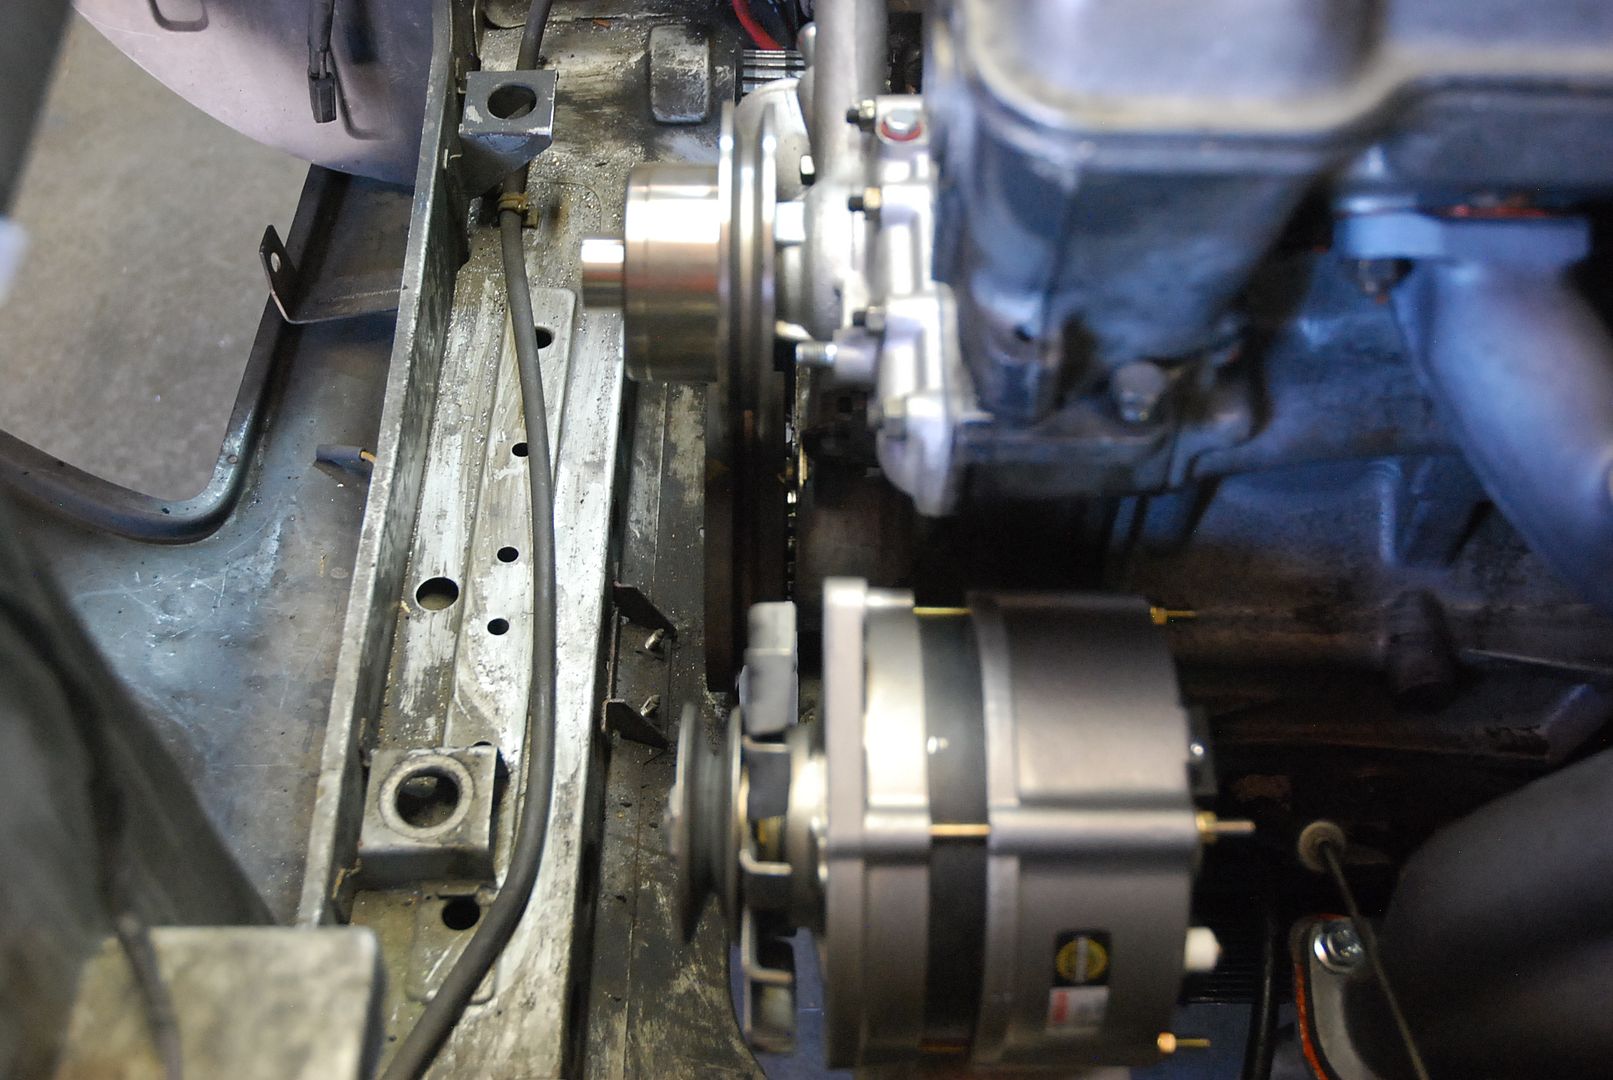
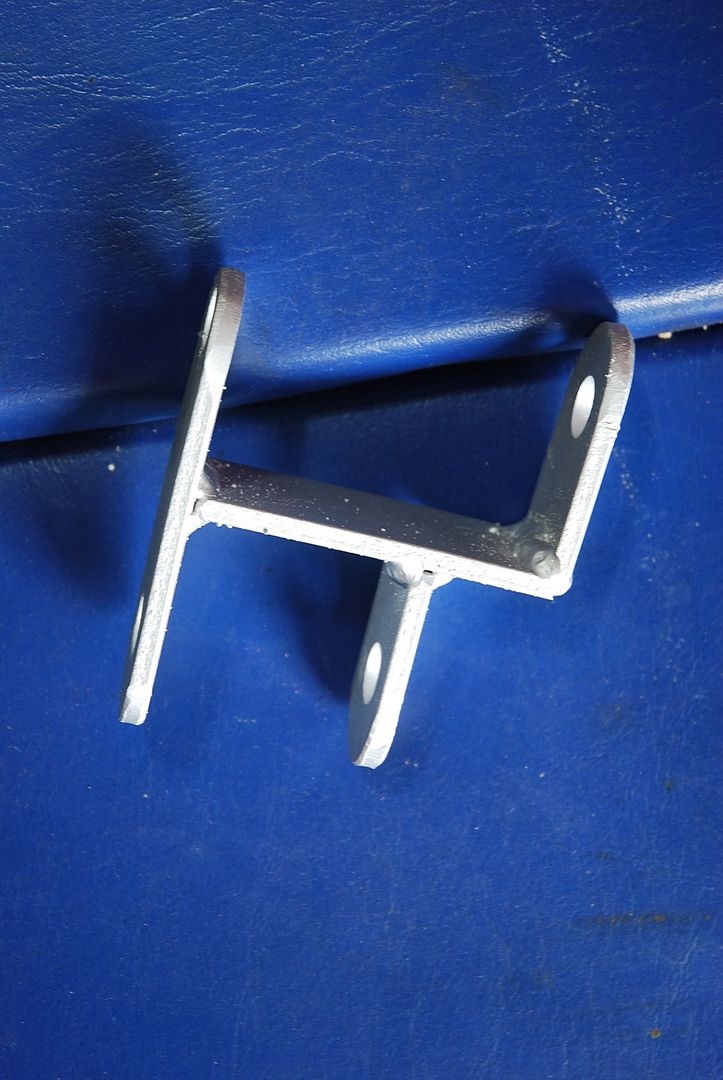
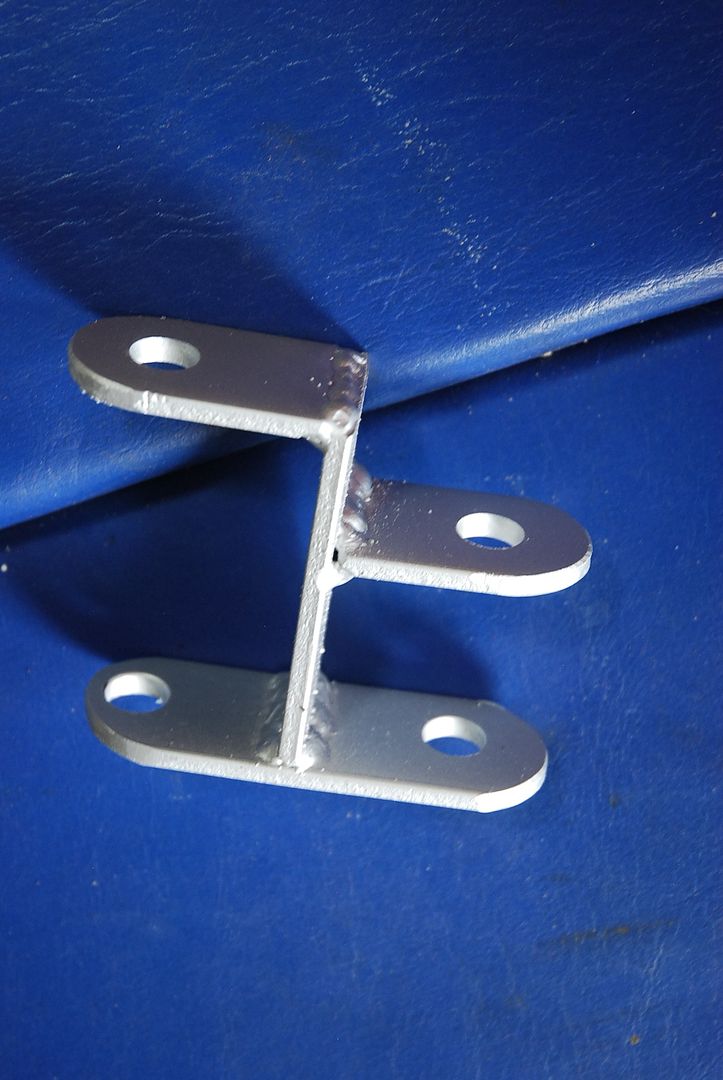
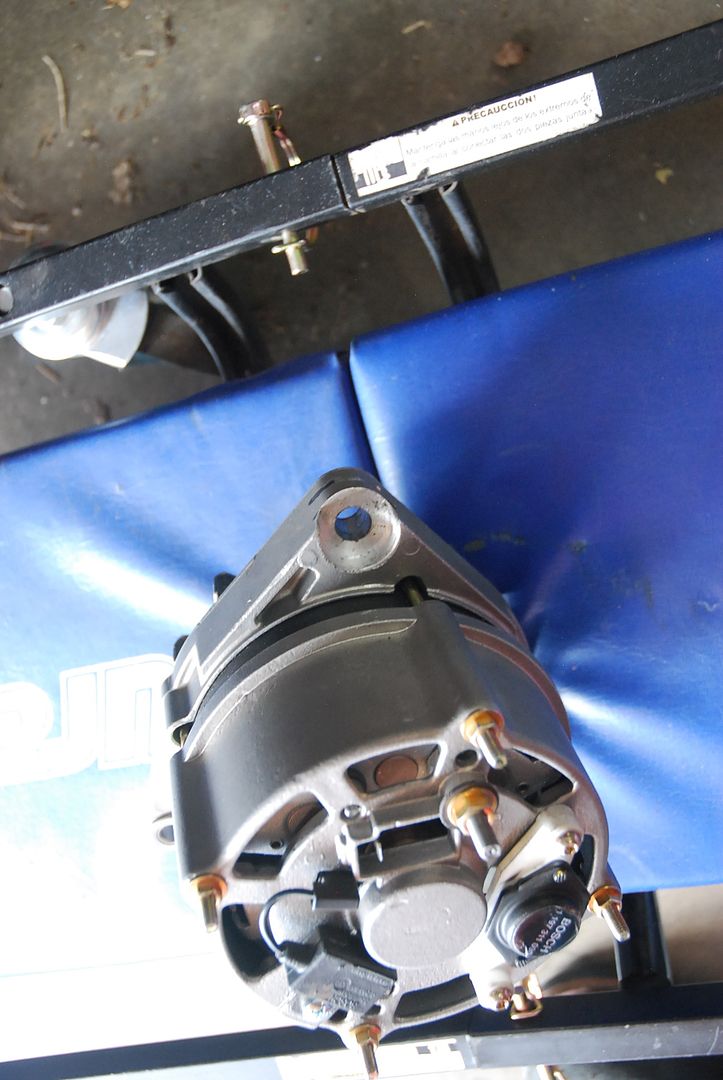
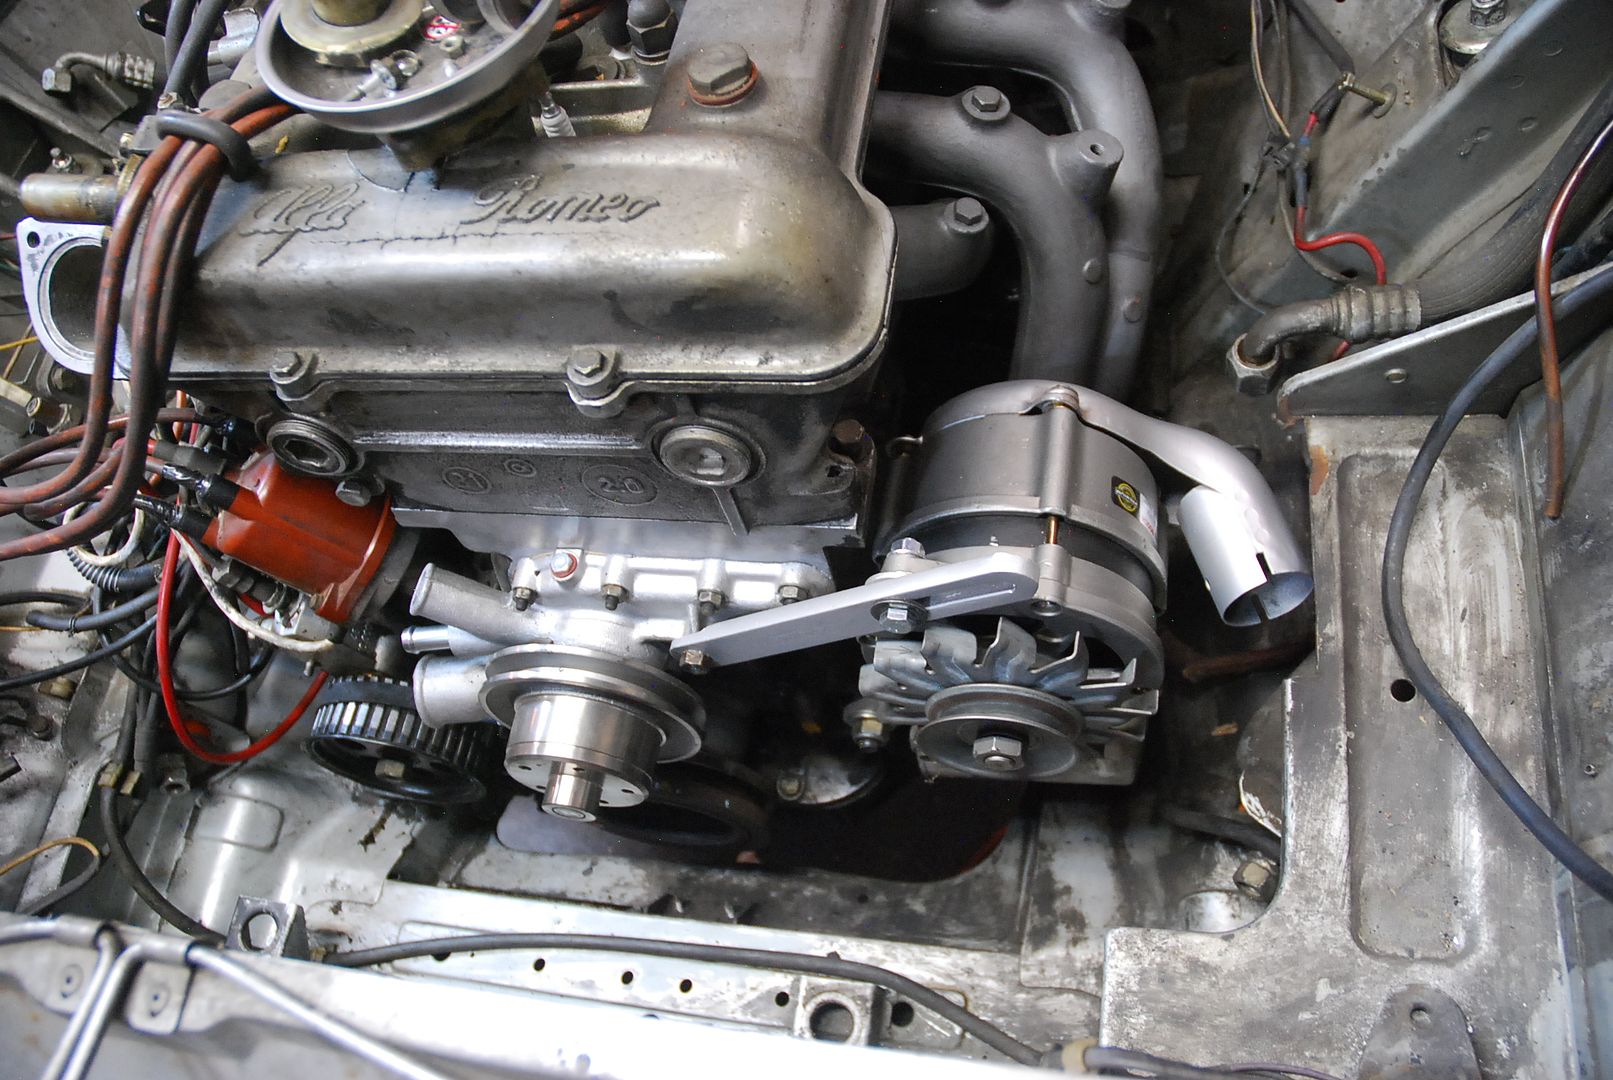
Today, I worked on the Alfa Romeo alternator mount. This should be a non-issue. I removed the dealer installed air conditioning. Unfortunately, Alfa saw fit to not have the alternator fit on the same bracket with the same pulleys.

To make the pulleys line up, I had the base of the alternator machined to move it about 3/4" over. That was perfect.

Then I realized mounting it like that in the factory original position would keep it from pivoting enough to adjust it on the vee belt. Sigh.

So, I needed to make a spacer/adapter bracket to move the alternator higher and away from the engine/oil filter.

Easy enough. So, fabbing up a bracket, I had to play with offsets a little bit to make sure that the amount I had machined off would be taken up by a spacer, so that if a future owner needed to replace the alternator, it would bolt in (minus the spacer that I made to replace the amount machined off to make the pulleys line up before).

Confused yet? Yeah, this car is a one step forward, two steps back project. All the way.

Anyway, at the end of the day, I found the right length M14 bolts, nuts and washers, and was able to cut, weld and paint a bracket. I have a spacer as well to fill the void so that the bracket shouldn't be a weak link.

Once the alternator is in, the radiator goes in, then the hoses get made, then it can be started and driven.

I took measurements for making a custom airbox as well. I think it is going to be easier to make one out of aluminum that trying to modify a factory SPICA one (in steel) to adapt to the aluminum velocity stacks. I don't weld aluminum, but maybe I'll try some alum wire in the MIG or at least jig it up for a friend to TIG.

[URL=https://s61.photobucket.com/user/greggearhead/media/Alfetta%20GTV/DSC_0336_zpslmh7a8o8.jpg.html][/URL]
[URL=https://s61.photobucket.com/user/greggearhead/media/Alfetta%20GTV/DSC_0337_zpsu3ovgbho.jpg.html][/URL]
[URL=https://s61.photobucket.com/user/greggearhead/media/Alfetta%20GTV/DSC_0338_zpsvgwkqzeo.jpg.html][/URL]
[URL=https://s61.photobucket.com/user/greggearhead/media/Alfetta%20GTV/DSC_0339_zpswgwnqk3t.jpg.html][/URL]
[URL=https://s61.photobucket.com/user/greggearhead/media/Alfetta%20GTV/DSC_0340_zpsamitxaby.jpg.html][/URL]
[URL=https://s61.photobucket.com/user/greggearhead/media/Alfetta%20GTV/DSC_0341_zpszkqev9zy.jpg.html][/URL]

greggearhead
greggearhead Reader
5/10/20 7:12 a.m.

I'm using my weekends to get some car projects done - good progress being made. Not as much as some that were quarantining but still.

The Alfa Romeo Alfetta GTV Sprint Veloce Mille Miglia project (any wonder as to why their marketing department helped in the demise of the company from the USA?) got a little progress.

I have had a constant brake fluid leak from my custom front brake setup, and finally cinched up the connections as much as I dare. If it leaks after this, I'm pulling the calipers and doing something different.

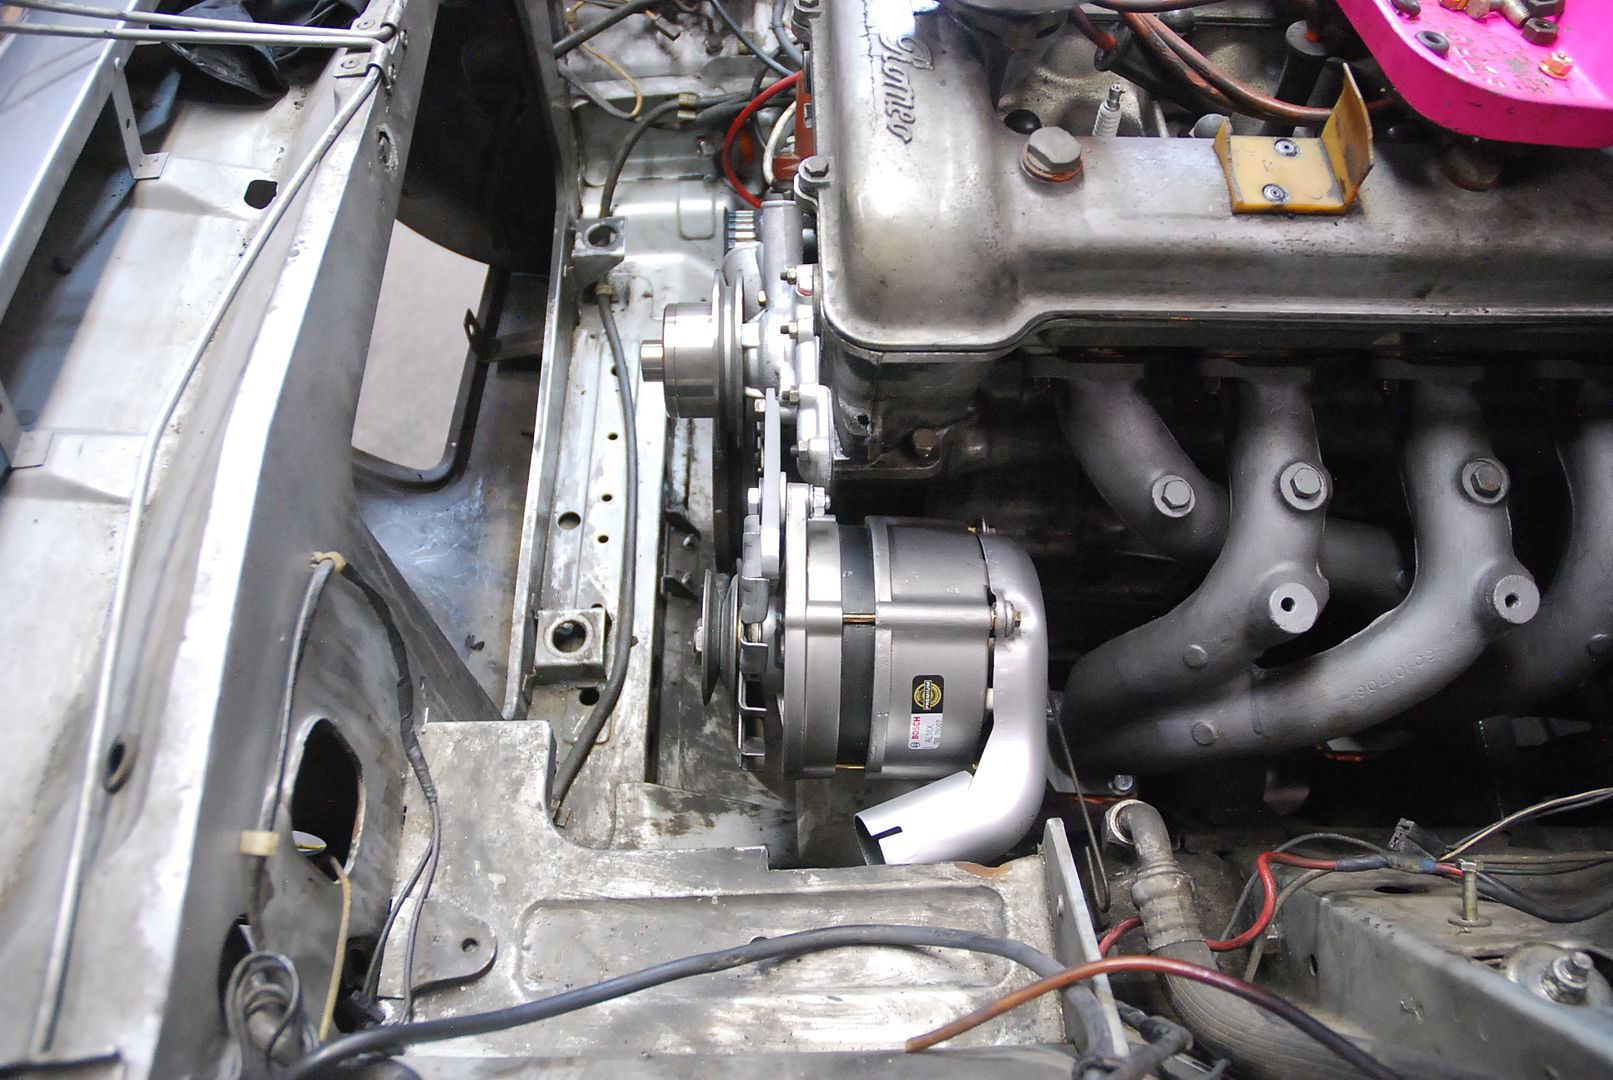
I installed my freshly made alternator bracket, and had to tweak a few things on it to make sure everything was square and lined up. I ended up modifying a different (VW sourced from my old stash) tensioner bracket. The mounting point for the tensioner bracket is a stud mounted in the new water pump. It is very short, and very close to the water pump pulley. Not a smart location for many, many reasons. It could be made better by moving it as little as 1/2" with no negatives anywhere else. The VW tensioner bracket is BEEFY - around 3/8" thick steel. As-is, it wouldn't even fit on the stud between it and the pulley. If it did, the stud was so short, that no threads would be showing anyway

So, not having a mill (which I am quickly realizing I should think about - and a lathe) I simply started using the bench grinder to shave it down. This was necessary to show enough threads for safe engagement of a nut as well as to move that bracket a smidge closer to the alternator. My 'hand machining' technique is pretty good, but I wish it didn't need to be. Lots of testing and trial fitting before painting.

Anyway, end of day, the alternator is mounted, and I can't find the new SPICA fuel pump belt, or that would be mounted and timed as well.

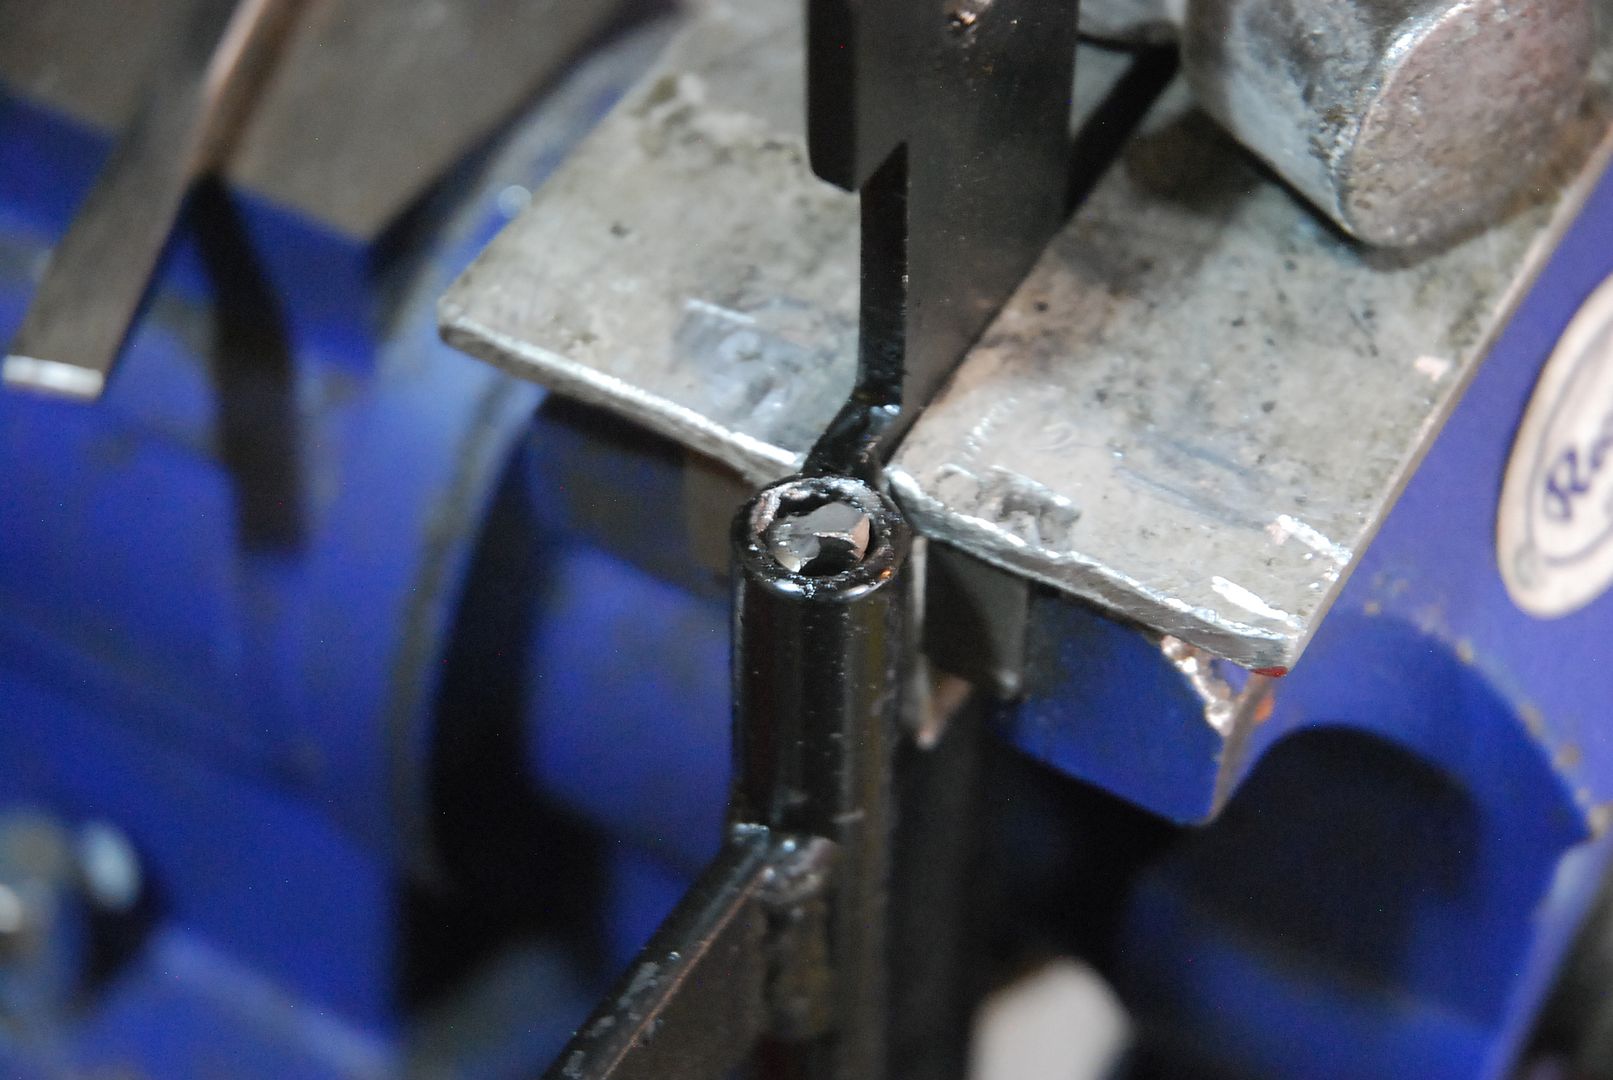
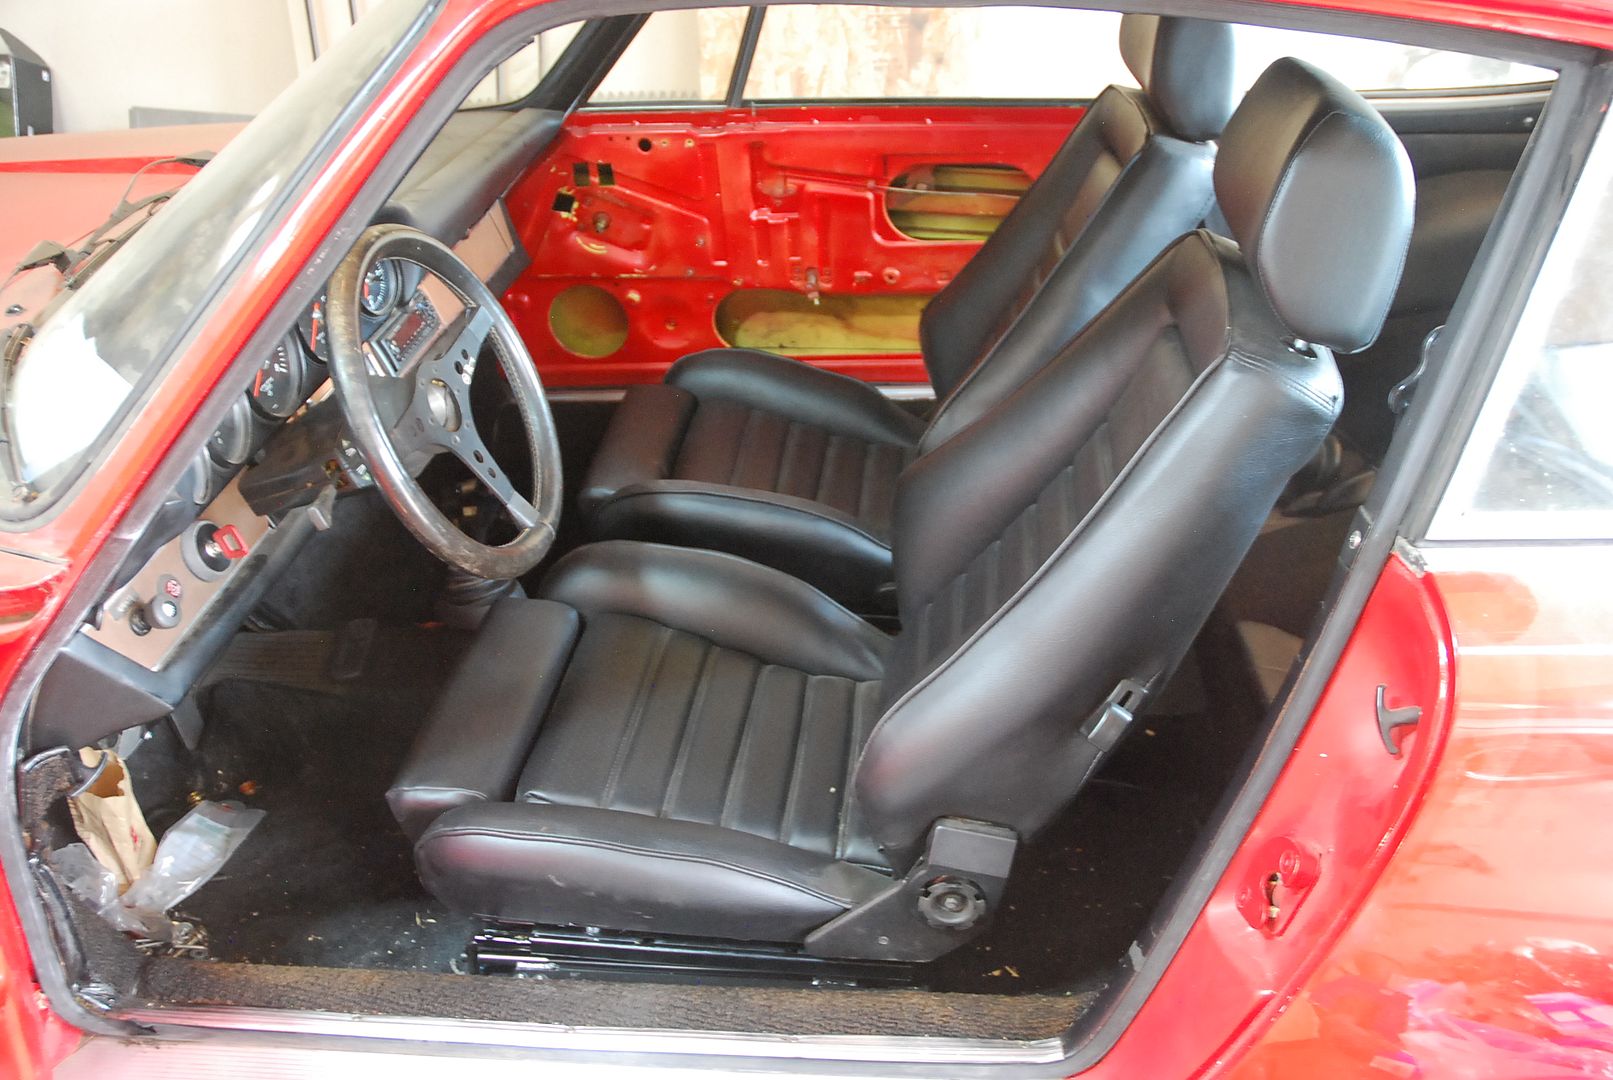
Since I had some more time, I decided to finish bolting the Recaro seats into the 73.5 911T. After getting all the sliders on the seats last week, it was time to bolt the sliders to the mounts on the 911. A few of the bolt holes were iffy. There were welds on the brackets near the threaded holes, so I suspected they were threaded before welding and then the threads were 'warped' by the heat from welding. I ran a tap down a couple and it really helped. Then I was doing the last one that was 'sticky' and slipped and jammed my hand down on the tap.

Taps are really stiff, and brittle. It broke. Off. Inside the seat bracket. I almost lost it, but realized I should just let it go and see about fixing it.

There was a tiny bit sticking out. I started with a hammer and chisel very gently. Eventually, it started moving. Then a little more and a little more. Got it out. Sigh. Then bolted the bracket back in and set the sliders into them. Took a few tries, and things didn't want to fall together. Aftermarket parts.

Finally got them all in and adjusted to correct height. Tomorrow to pull the Zenith carbs for cleaning, and hopefully find the SPICA belt to mount that so I can install the radiator. We'll see.

EDIT - Oh, I didn't even mention! Because Alfa put the alternator so close to the exhaust manifold, it needs cool air ducted to the back of it to draw through and cool it, or it will overheat. Again, not the best design.

However, with the newer Bosch internal regulator alternator, the older version didn't have the same mounting studs on the back so the cooling duct didn't fit. Color me NOT surprised. So, I had to dimple the duct, and weld a washer on so it would bolt to the back of the new alternator. Sigh. This car. I hope it rocks when it's done.

[URL=https://s61.photobucket.com/user/greggearhead/media/Alfetta%20GTV/DSC_0437_zpshakqajbi.jpg.html][/URL]
[URL=https://s61.photobucket.com/user/greggearhead/media/Alfetta%20GTV/DSC_0438_zps7e9flkcv.jpg.html][/URL]
 

[URL=https://s61.photobucket.com/user/greggearhead/media/911/DSC_0439_zps7f1pu0h2.jpg.html][/URL]
[URL=https://s61.photobucket.com/user/greggearhead/media/911/DSC_0440_zps8jeaqtnb.jpg.html][/URL]
alfadriver (Forum Supporter)
alfadriver (Forum Supporter) MegaDork
5/10/20 7:28 a.m.

In reply to greggearhead :

What I was trying to point out is that the sure start does not tweak- it's a pretty gross adjustment.  If you are not adding any parts to the engine, just putting in the original thermostatic actuator will be fine, and you can tweak it via the cold start solenoid- which is the factory adjustment.

I'm sure you will find that out, but don't get too upset with the SPICA- I've been running mine with it for a long time, and it's never given me any issues.  Set it, forget it.  

I do plan on going EFI with a catalyst eventually, as I'd like to go for a drive longer than a half hour without smelling the exhaust.  But that will be a while.

Still, SPICA got a bad rap way back in the day.  

1 2 3 4

You'll need to log in to post.

Our Preferred Partners
dgD4uAUwDIvBxLEV8Khgx380EY8TUX6jDtxZ3y6eSnBvTgMVl6CsVkzGULYIJicO