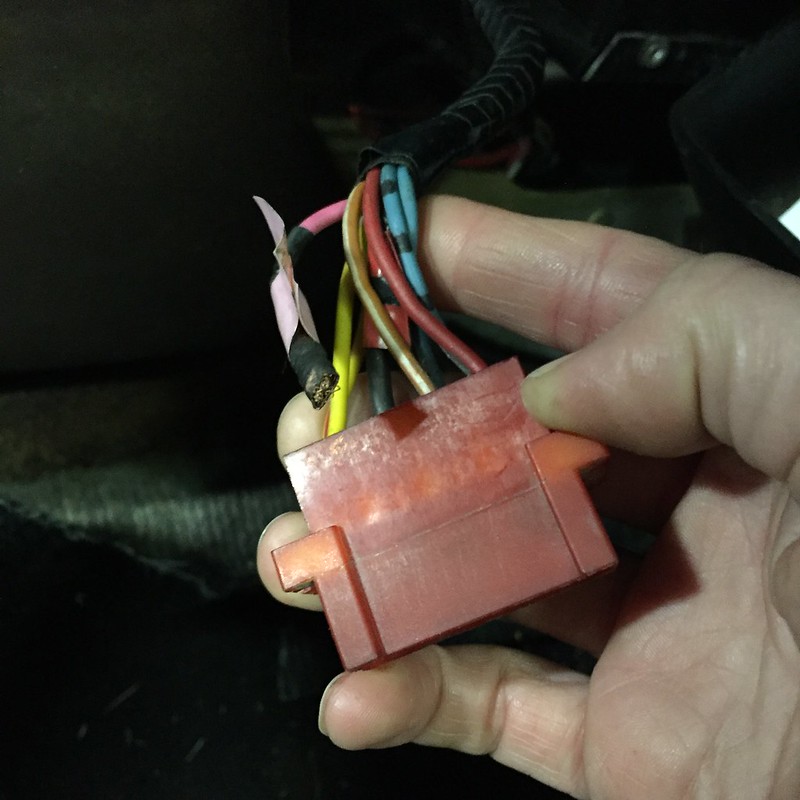
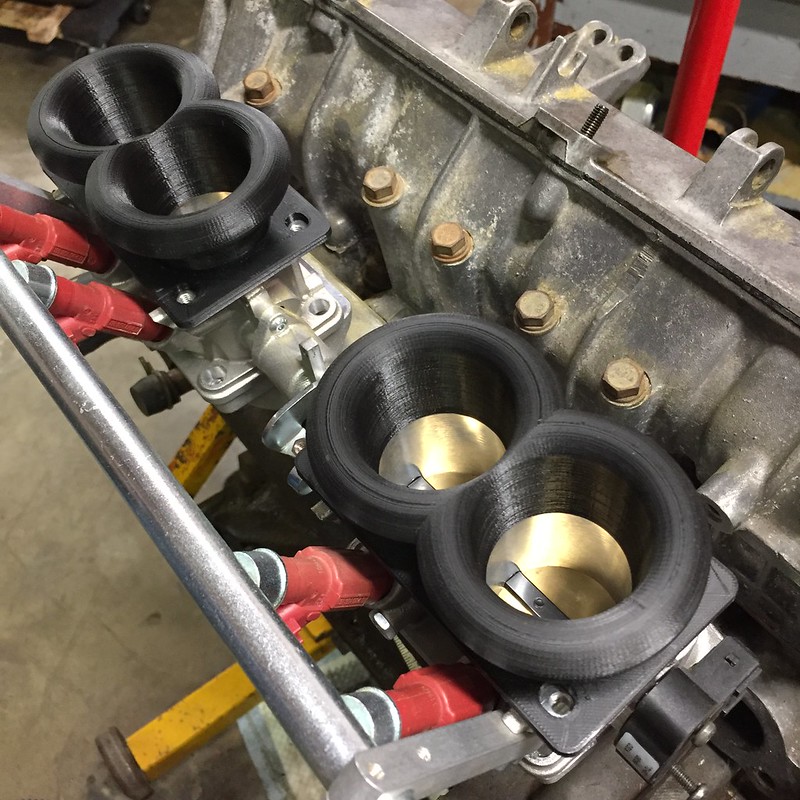
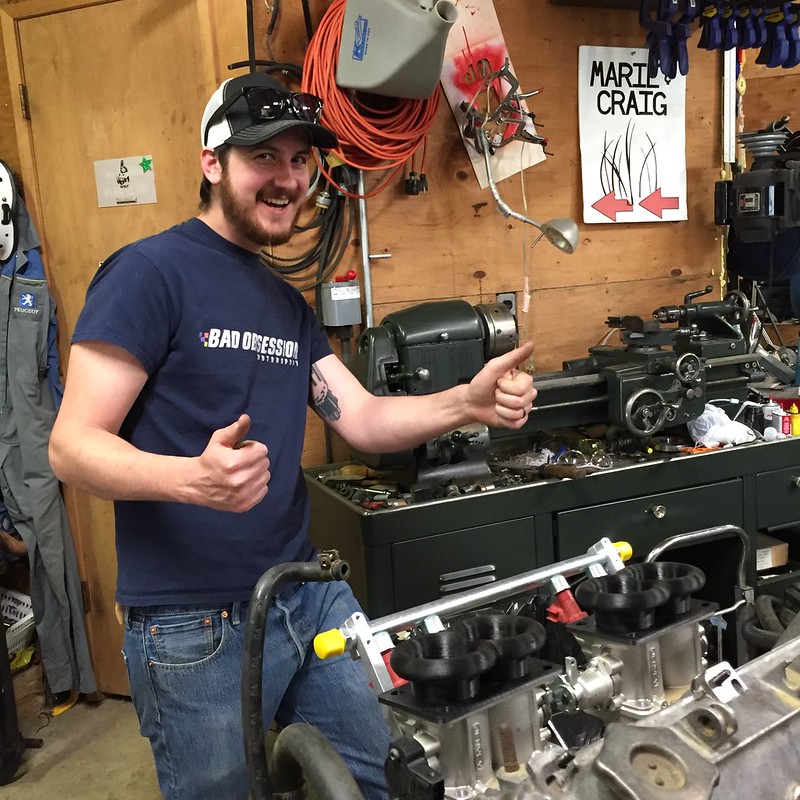
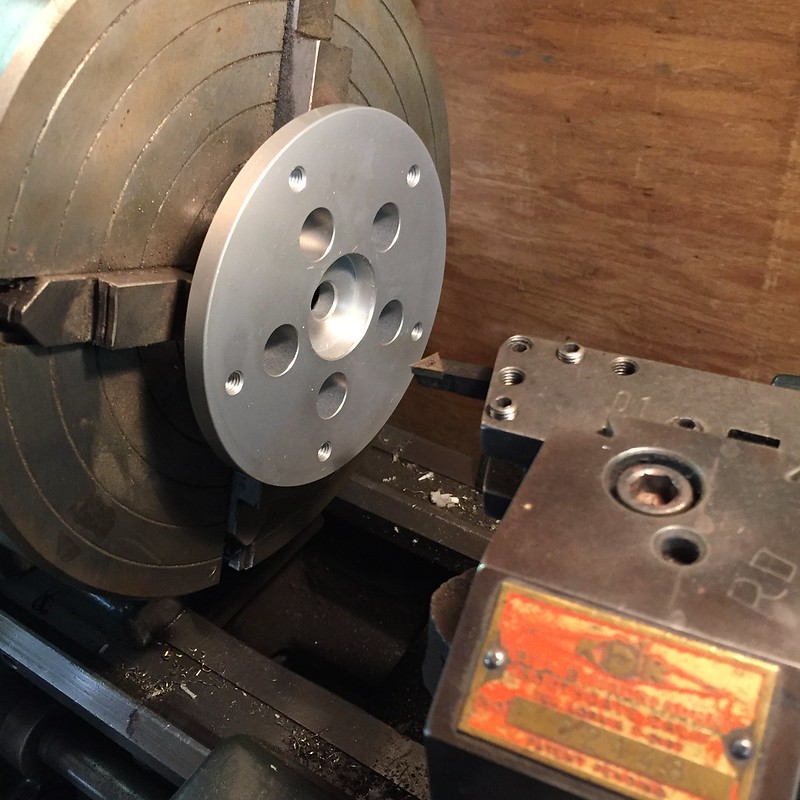
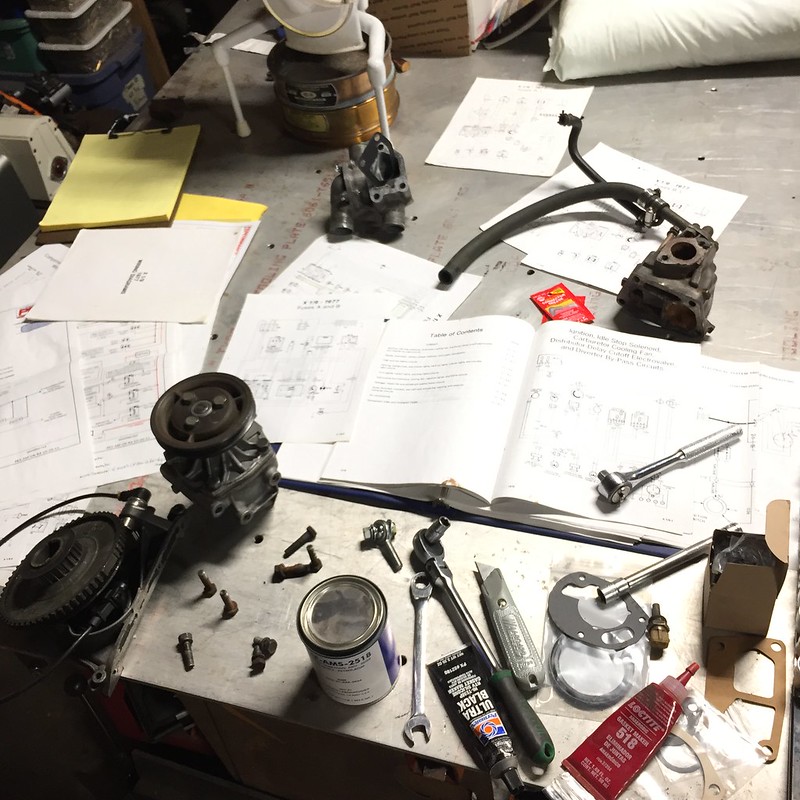
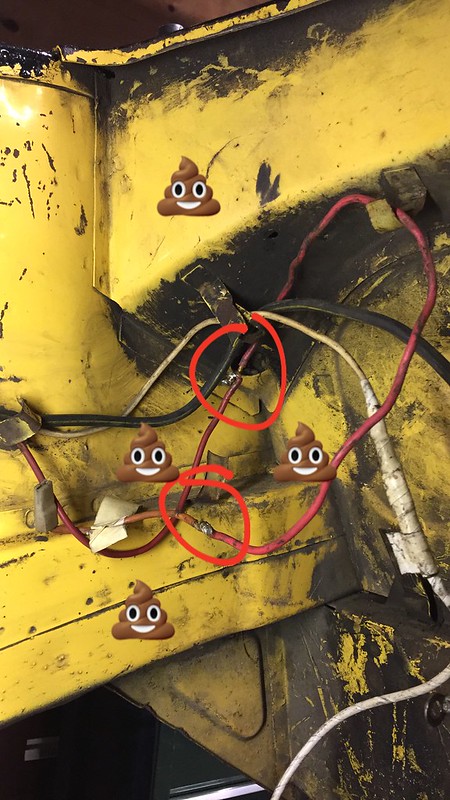
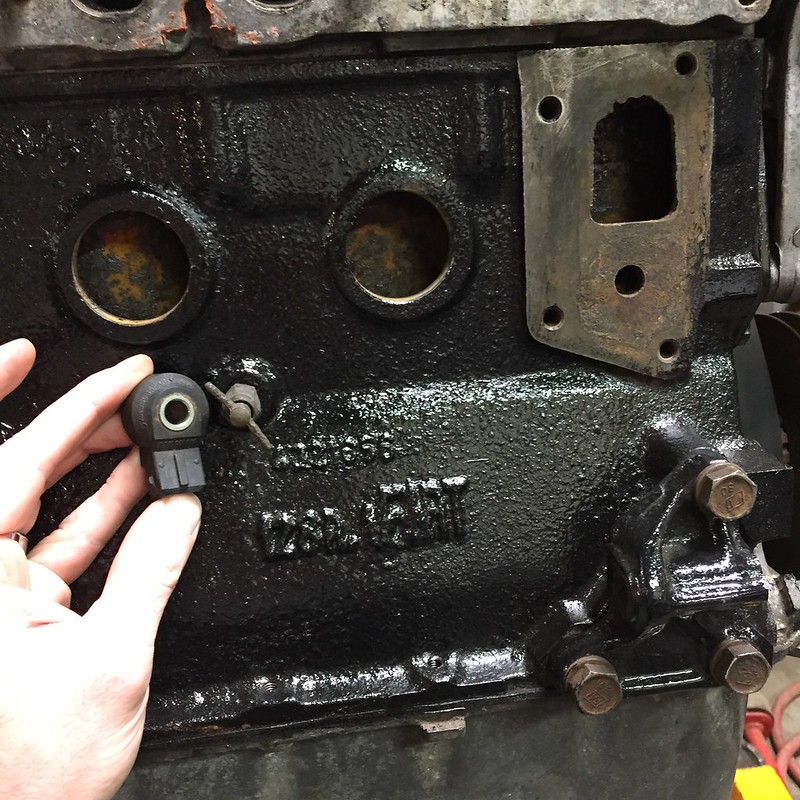
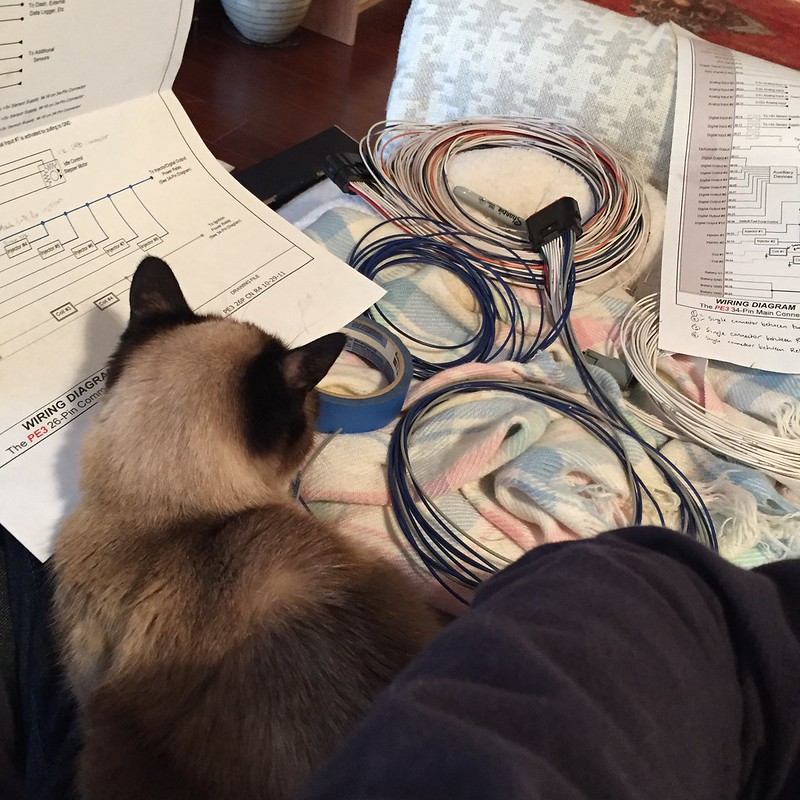
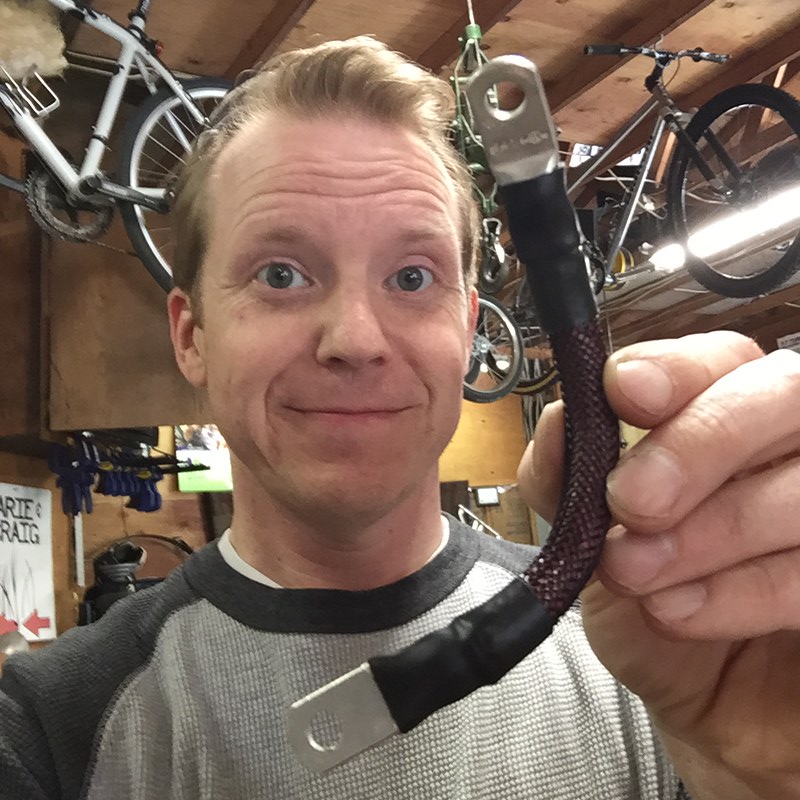
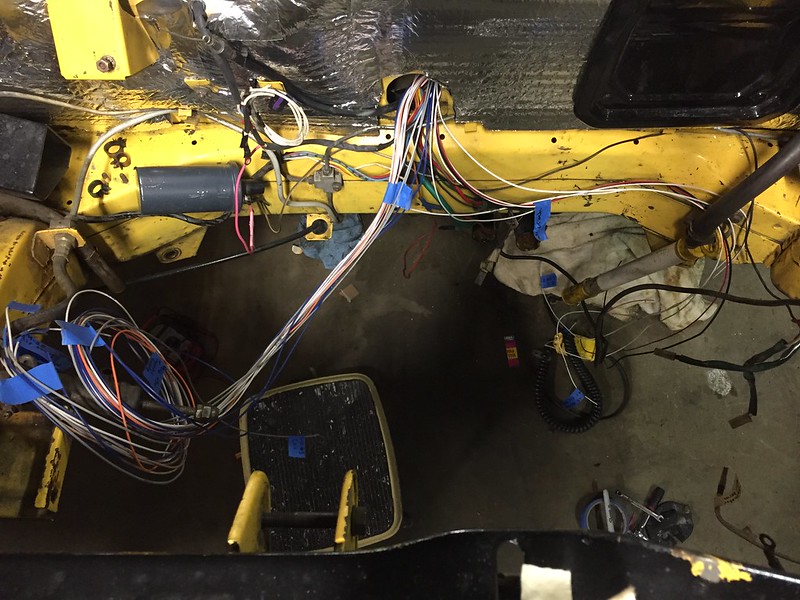
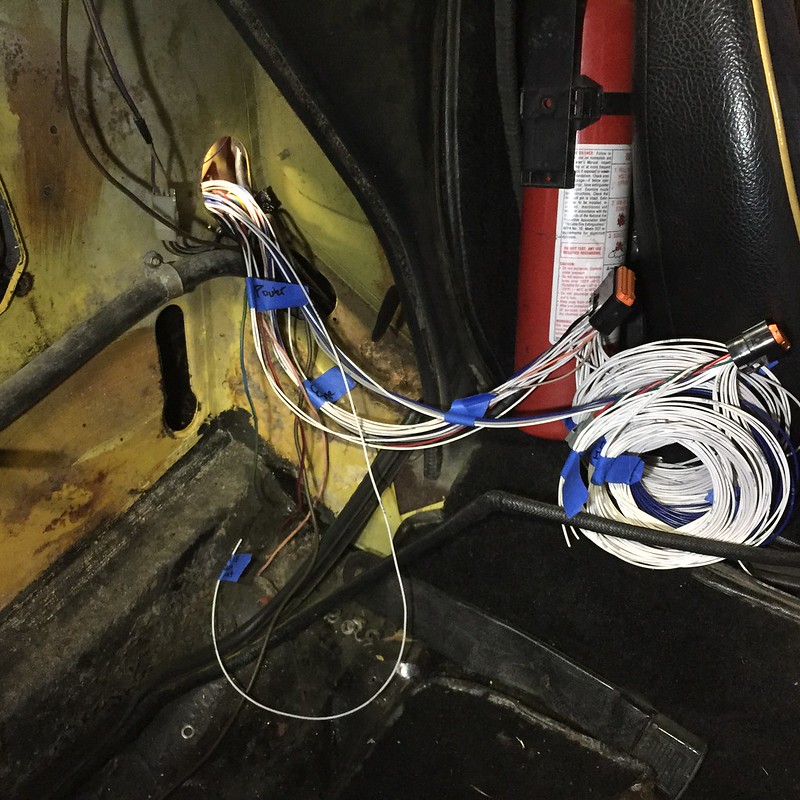
It's time to talk wiring. I've put this part off as long as possible because I'm so excited and also nervous to start this phase. This is where E36 M3 gets real, and I'm dead set on doing a really solid job here.
I won't post all the wiring diagrams here and bore everyone, but I will break out the major components I'm working with. Note: I'll be including lots of data about specifics and what connectors are used where mostly for my own documentation. It might get boring.
Major Components:
- ECU Inputs (sensors),
- Crank position: hall effect, Honeywell p/n TBD
- Sync/Cam position: hall effect, Honeywell SNDH-H3C-G03. Connector: Bosch 3-way Kompakt 1.1a 2.8
- Throttle position: Wabash 971-0001, for 2000-2005 Rover 2.5L V6. Connector: AMP Jr. power timer 3-way
- Intake air temp: AC Delco 213-190 (LS1, LSx). Connector: Metri-pack 150.2
- Coolant temp #1: (mounted in Fiat 1500 EFI thermostat housing) Bosch 0 280 130 026 (euro cars everywhere). Connector: EV1
- Oil pressure sensor #1: AC Delco 12573107 (GM). Mounted in block port next to oil filter. Connector: Delphi GT 150 3-way 3.5mm centerline
- Coolant temp sensor #2: factory Fiat, in cylinder head, for stock dash coolant gauge.
- Oil pressure sensor #2: factory Fiat, in engine block by PCV port. For stock dash idiot light only.
- MAP sensor: GM 1 Bar AC Delco 213-1545. Connector: Delphi Weather Pack tower 3-way
- ECU Outputs (injectors, coils)
- Injectors: Bosch 0 280 156 161. 23#/246cc (Ford Focus '03-'07). Connectors: EV6
- Coils: LS9 GM 12611424/ AC Delco D510C. Connectors: Delphi 4-way GT 150 3.5mm centerline. Using a LS3 GM coil harness, p/n 12579355. Single Deplhi Metri-pack 150 8-way.
- ECU: Performance Electronics PE3. There's lots of reasons I chose this ECU - cost, functionality, tuning software, support, GRM advertiser, etc.
- Power distribution: I chose a Cooper Bussmann 15303-2 because it integrates relays with fuses in a very compact package. This module can be configured bussed or not , and has about 6 different models. Choose carefully. I learned a TON reading this site: http://www.bodenzord.com/archives/583
- Harness general
- Full harness stands alone and completely removable. Only tools required are for loosening ring terminals at grounds.
- Integration to factory Fiat wiring is limited to switched power from former stock coil power supply, and tach input from ECU.
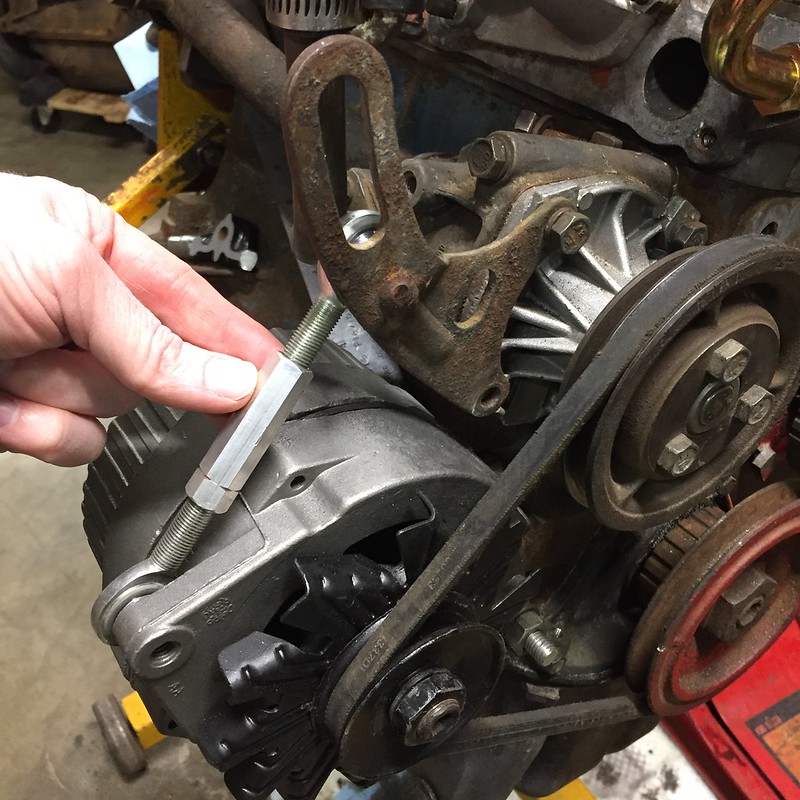
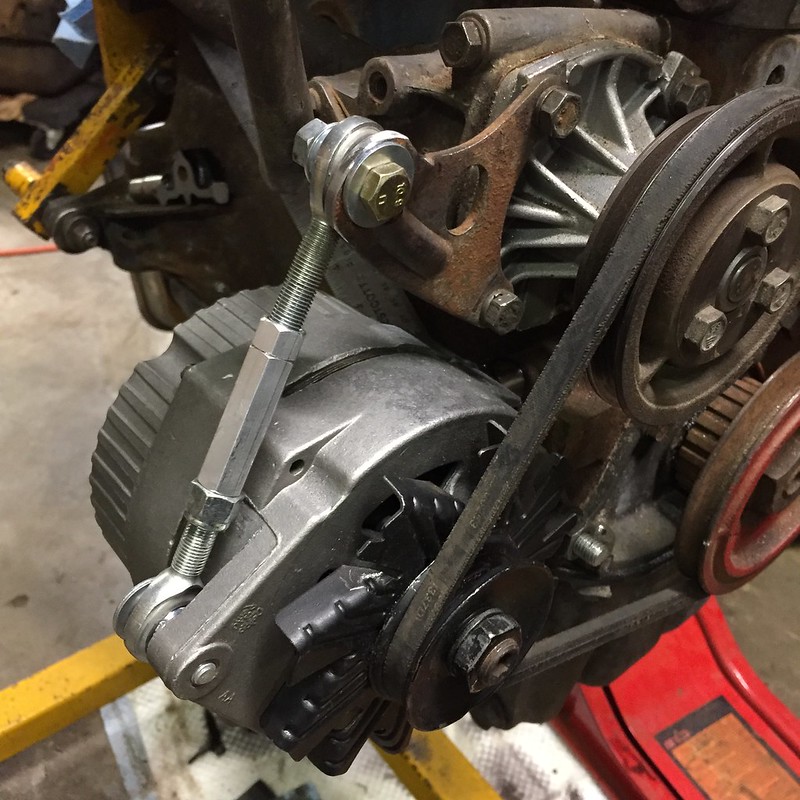
- Alternator wiring all to be redone to reflect upgrade to GM Delco 7427-3N 63 amp internally regulated. 10SL case, 9 o'clock
- Power to distribution module pulls indirectly from the starter lug by way of a Blue Sea 7087 100A panel mount breaker
- Fuel system
- Bosch 044 pump
- Radium fuel pressure regulator holder - eBay special but allows me to use a common Bosch 9.4mm Mini A/38/5 3 bar pressure regulator
- Fuel rail is stock Jenvey DCNF
In order to make all this stuff work, I needed to mount a few more things to the car. Specifically made brackets for the power distribution, main breaker, and ECU. Naturally, I spent as much time doing this stuff as possible, because it pushed wiring just that little bit further out.
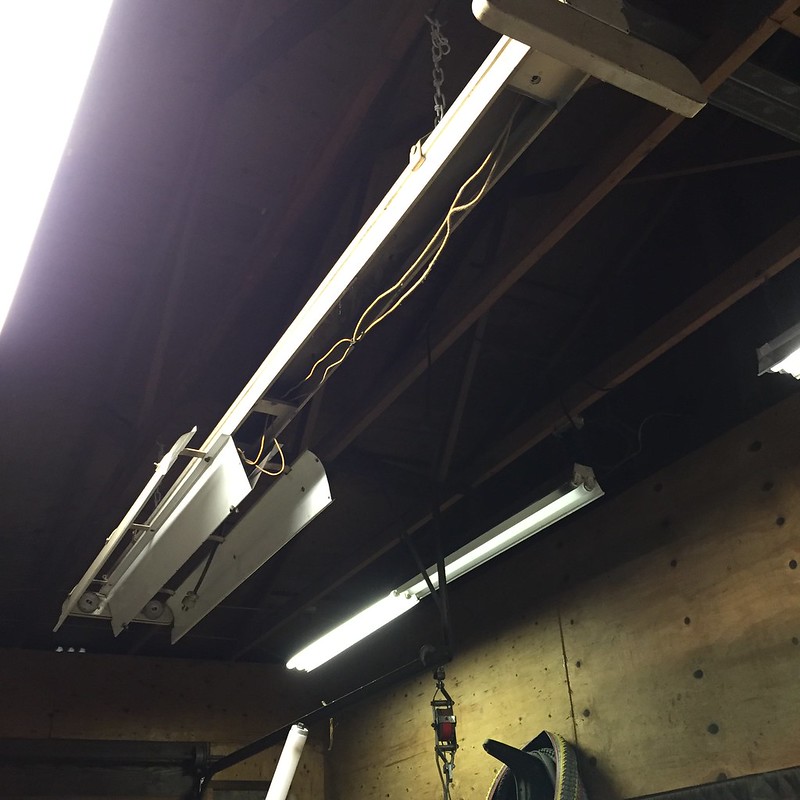
Power distribution bracket: I started with carboard templates, specifically three revisions. When I was ready to transfer to metal, I discovered I was all out of 20-ish gauge steel. I spotted a supply in an old fixture hanging from my ceiling. But first, ponder Italian Bosozoku:
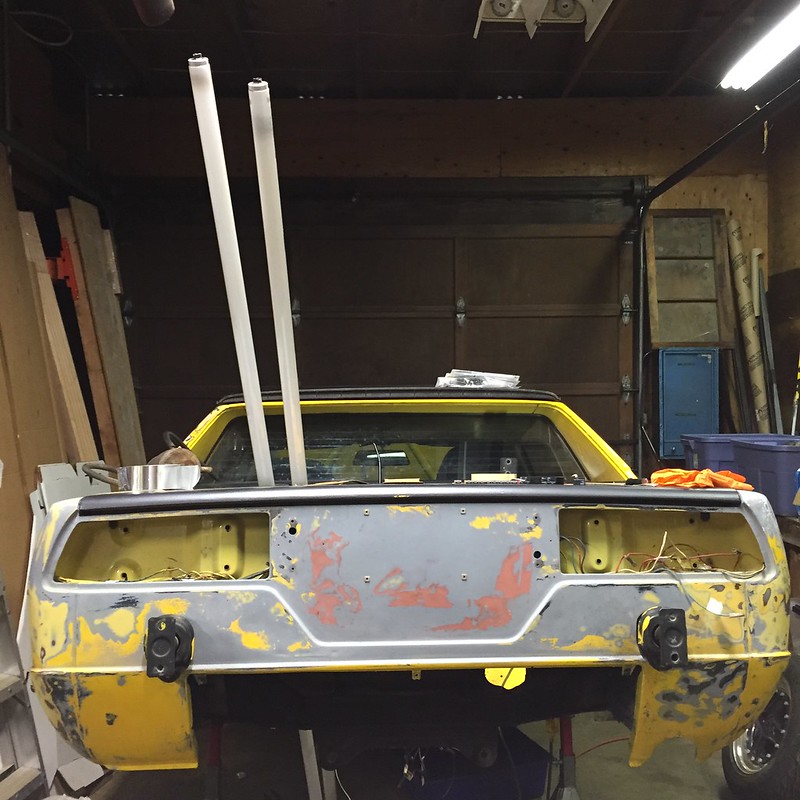
Sheet metal liberated from here:
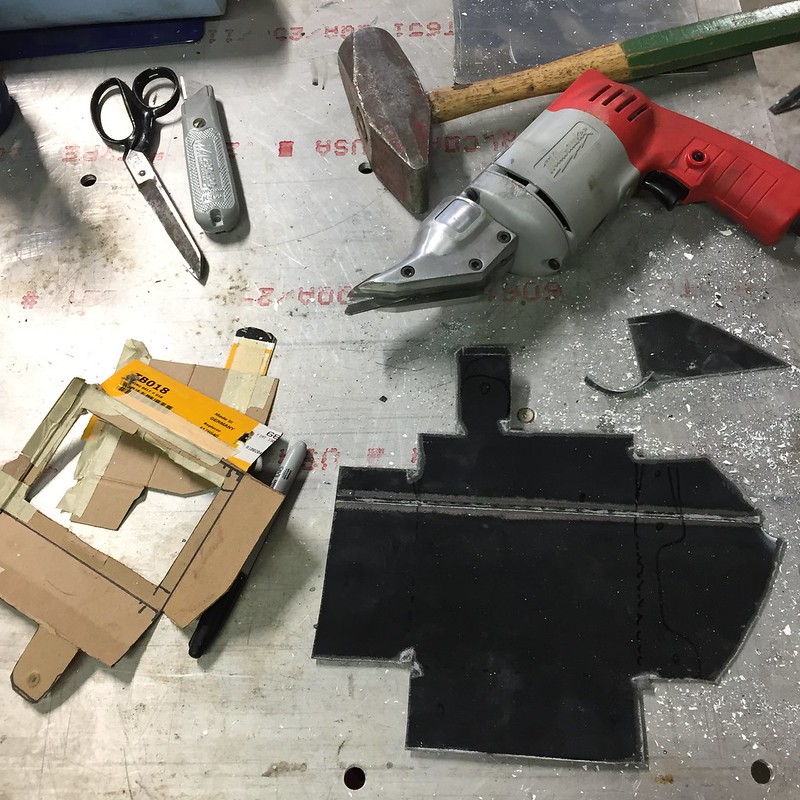
Transfer to metal. Grumble because your free metal has porcelain on both sides. Yes, legit porcelain. It makes a total mess of your shop.
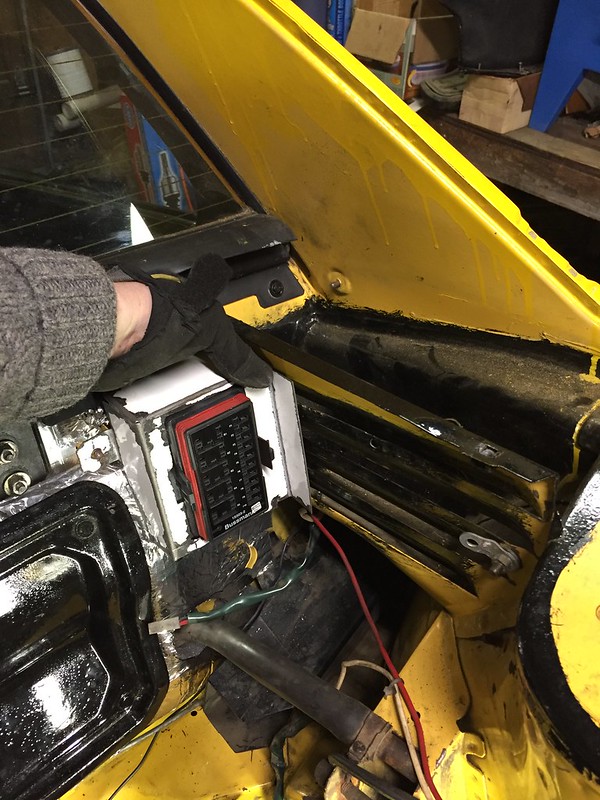
Mocked up:
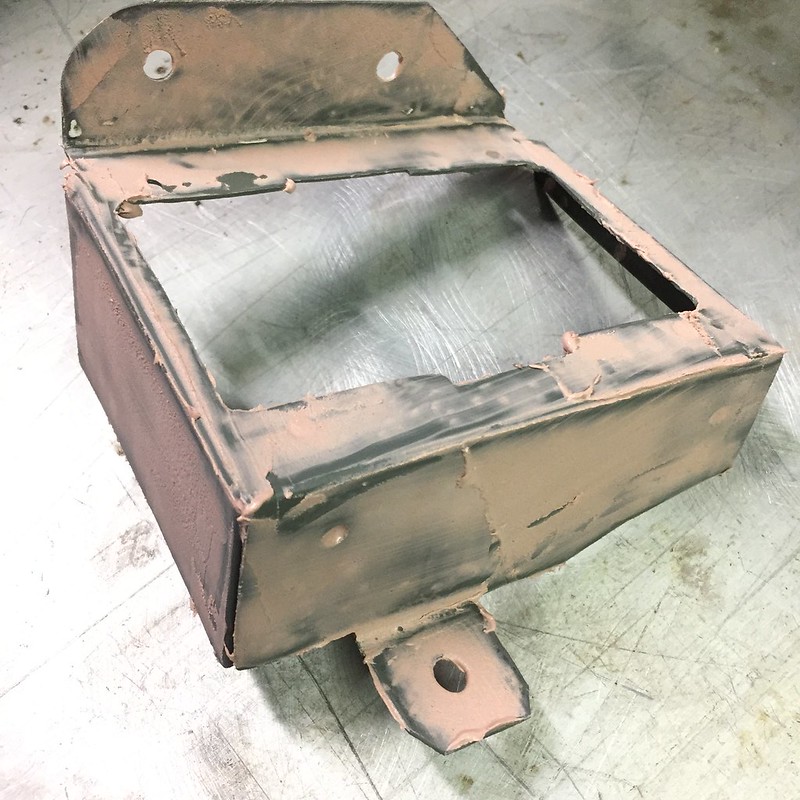
After chipping off all the porcelain, my sheet metal had more in common with a golf ball than smooth metal. Bondo liberally with Hungary Bill's year old leftovers:
I then proceeded to make another bracket for the main circuit breaker, visible here with the sanded and primed power distribution bracket:
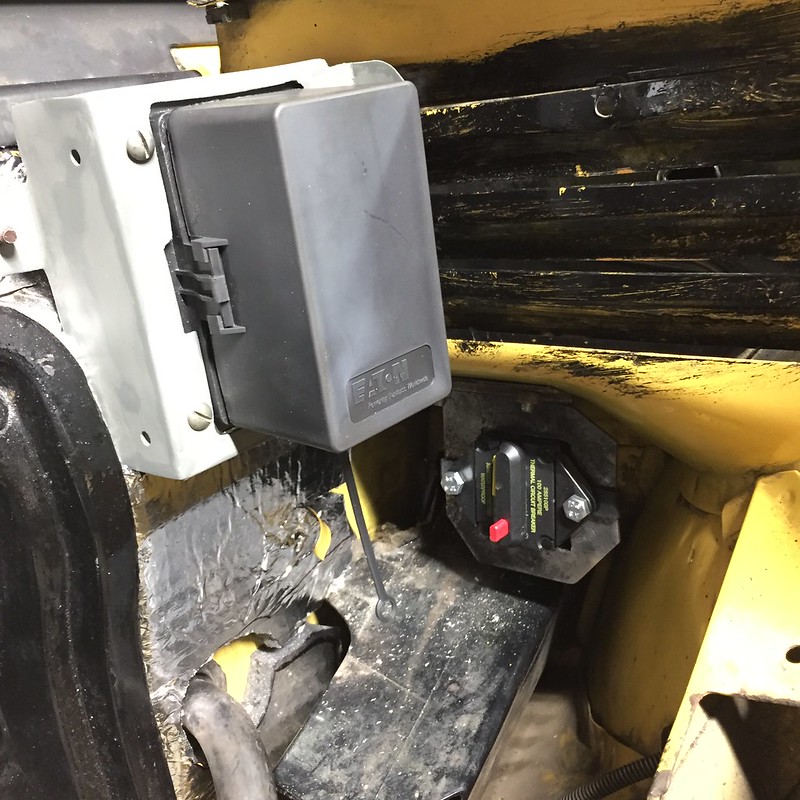
Flat head fasteners above also came from the light fixture - I plan to replace them out of simple hatred of flat head fasteners.
Next bracket was for the ECU itself.
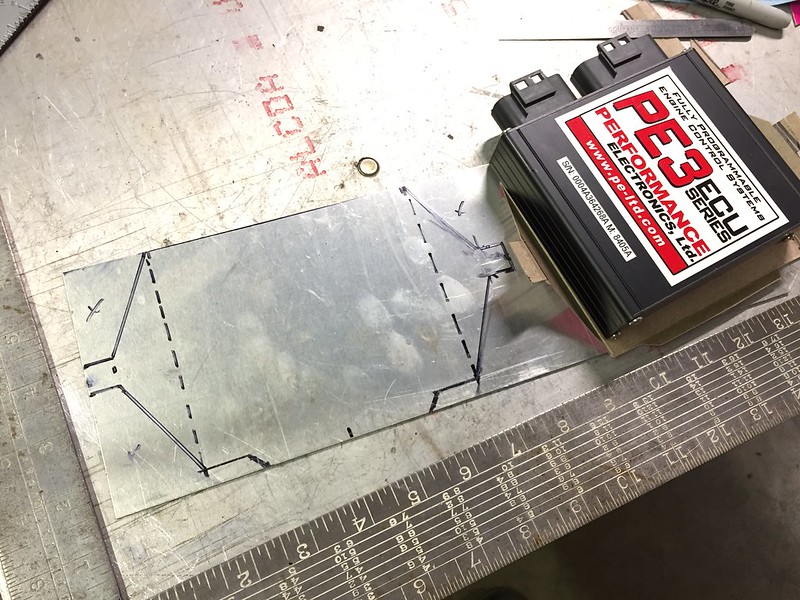
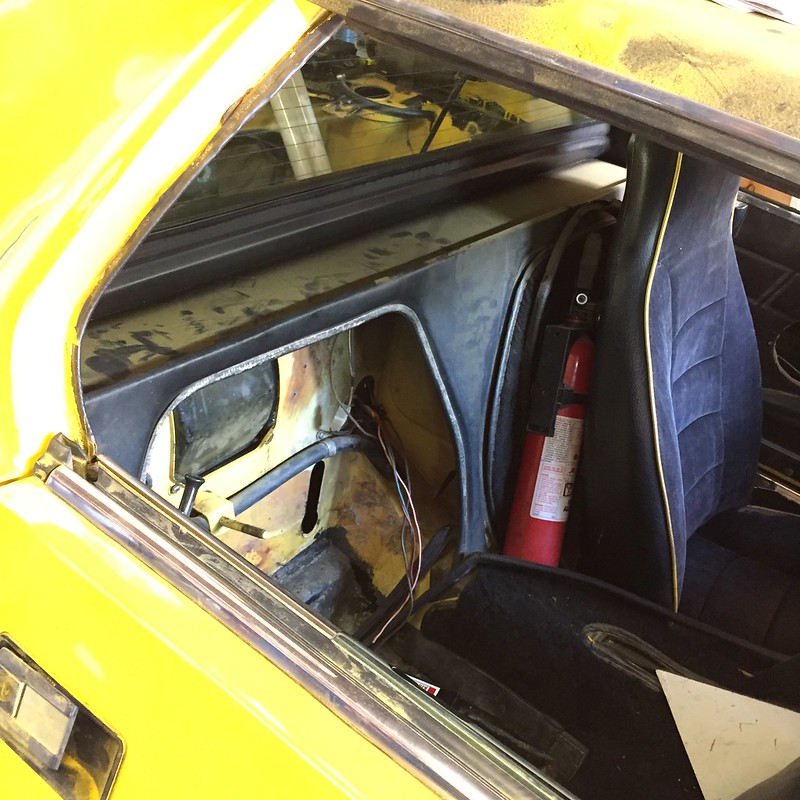
It will live in the spare tire well behind the passenger seat. There's tons of room in there to mount the ecu without interfering with the spare, and yet still allow service loops in my wires to make things easy to access. It will be tucked up in the false firewall in the center of the car (left to right), shown here in this general area:
Mount is finished - I need to pick up an o-ring to use in place of the rubber bands, but I discovered this morning that an elastic hair tie will work pretty well too.
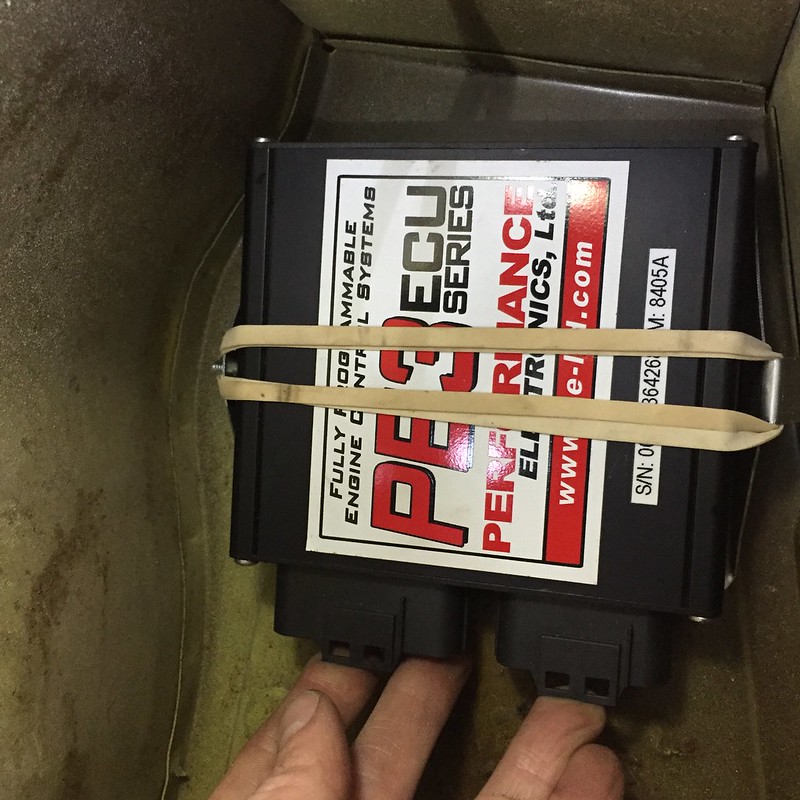
I'll rivet the mount in place, add a little foam padding, and call it done.


