Keith Tanner said:
FYI for anyone who's reading this thread for info - we use Right Stuff RTV for the oil pans.
Right Stuff (black) is my Frank's Red Hot. I use that sh-- on everything.
It doesn't work so good as exhaust gasketing but it works fine as exhaust manifold gasket. One of these days I want to assemble a Mazda rotary with Right Stuff instead of combustion O-rings. I currently use it in conjunction with. They say it's only good to 650F but they's lyin'.
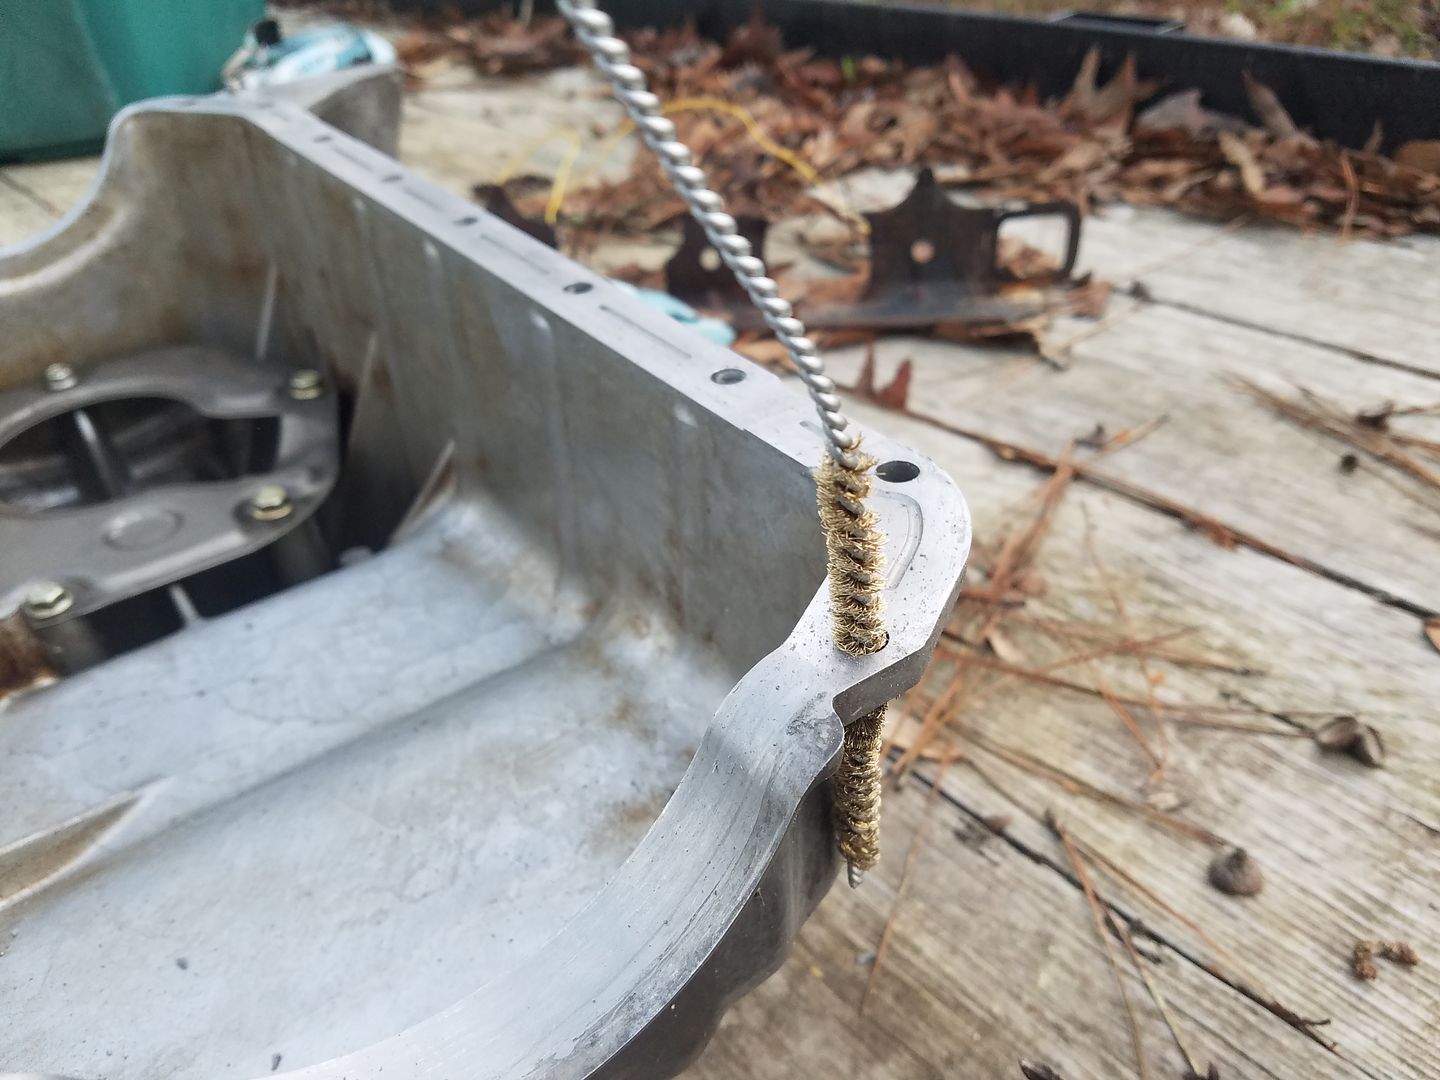
One thing I learned working on the R63 is that all those channels and holes on oil pans are there for a reason, squeeze out. To get the best seal you need to clean ALL the old sealant out of everywhere. Luckily HF has just the tool for those hard to reach places.
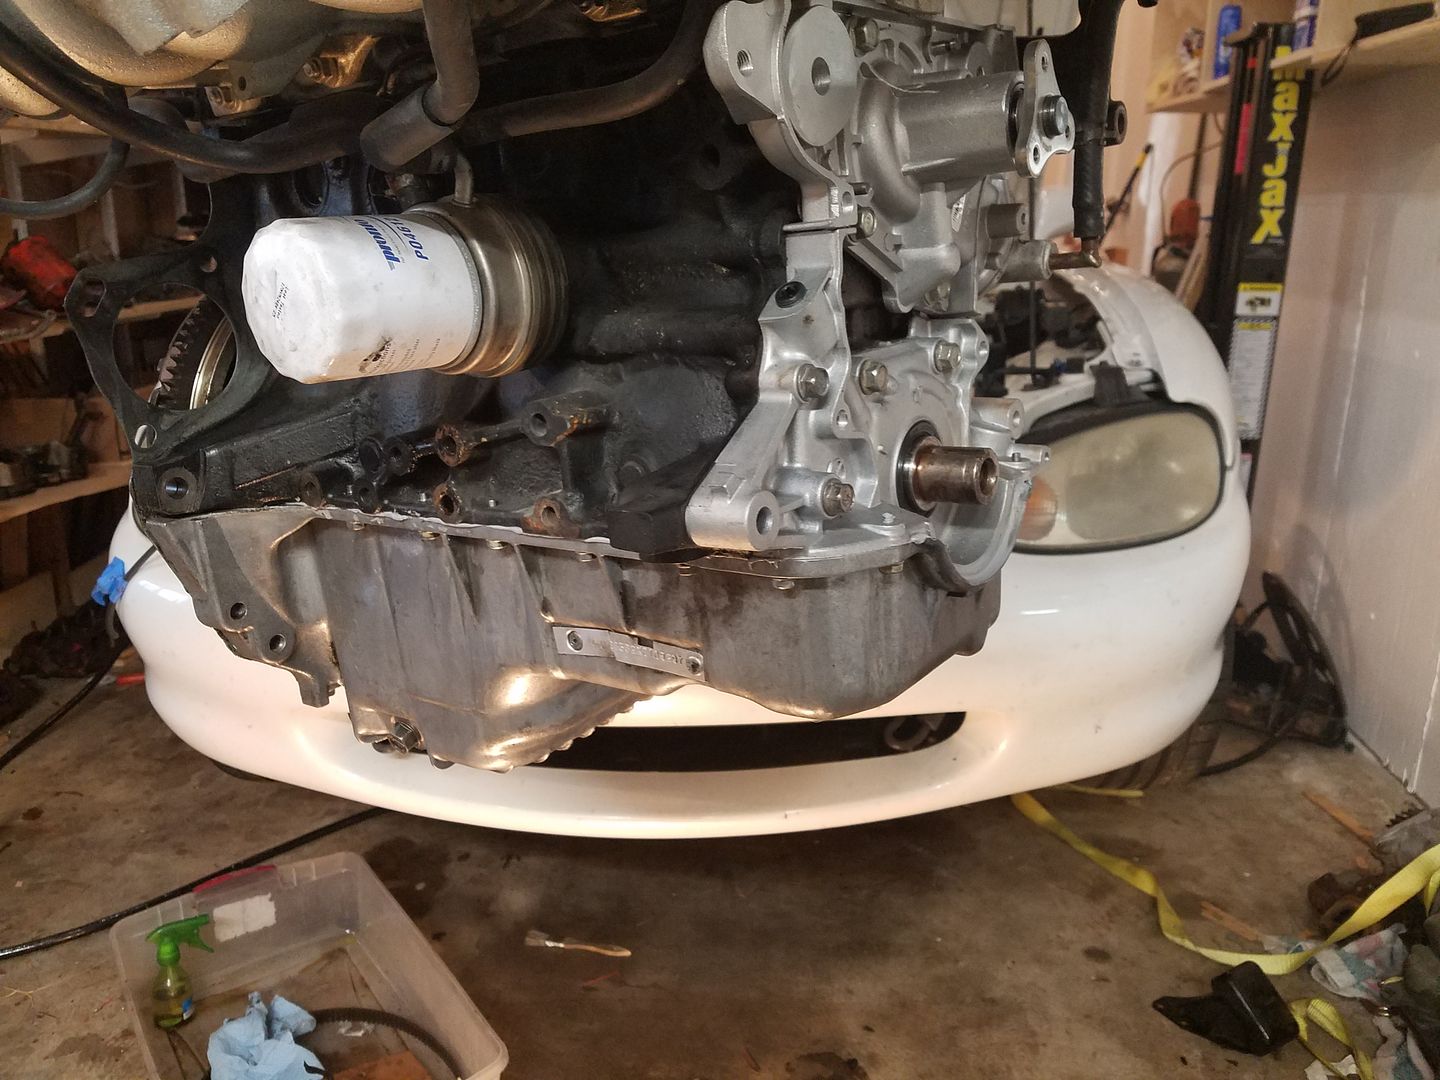
And now the pan is back on, new rubber bits and resealed. It would have been nice to not have broken the oil pump by being dumb, because then I wouldn't have had to do this. The upside (I suppose) is that is was leaking like a sieve from the plug in the back of the head and now that's all properly sealed. How do people drive those in with the head in the car?
I test fit the new pulley pieces and everything looks good. Threading the new crank bolt in revealed that the crank nose is full of copper anti-seize. Pretty sure that would make the last application of blue loctite not work as well as intended. Cleaning for that would be to just spray the hole with brake cleaner?
and your fancy brass bottle brush.....brake clean......compressed air.....BAM!!!!
In reply to 759NRNG :
Just reinforcing the idea that no one should ever pay me for anything. Nobody wants to pay some dude to scrub their holes. Or maybe they do. What ever you're into I suppose.
Bagle break done. Let's go see if that motor fits in the spot I took it out of.
mazdeuce - Seth said:
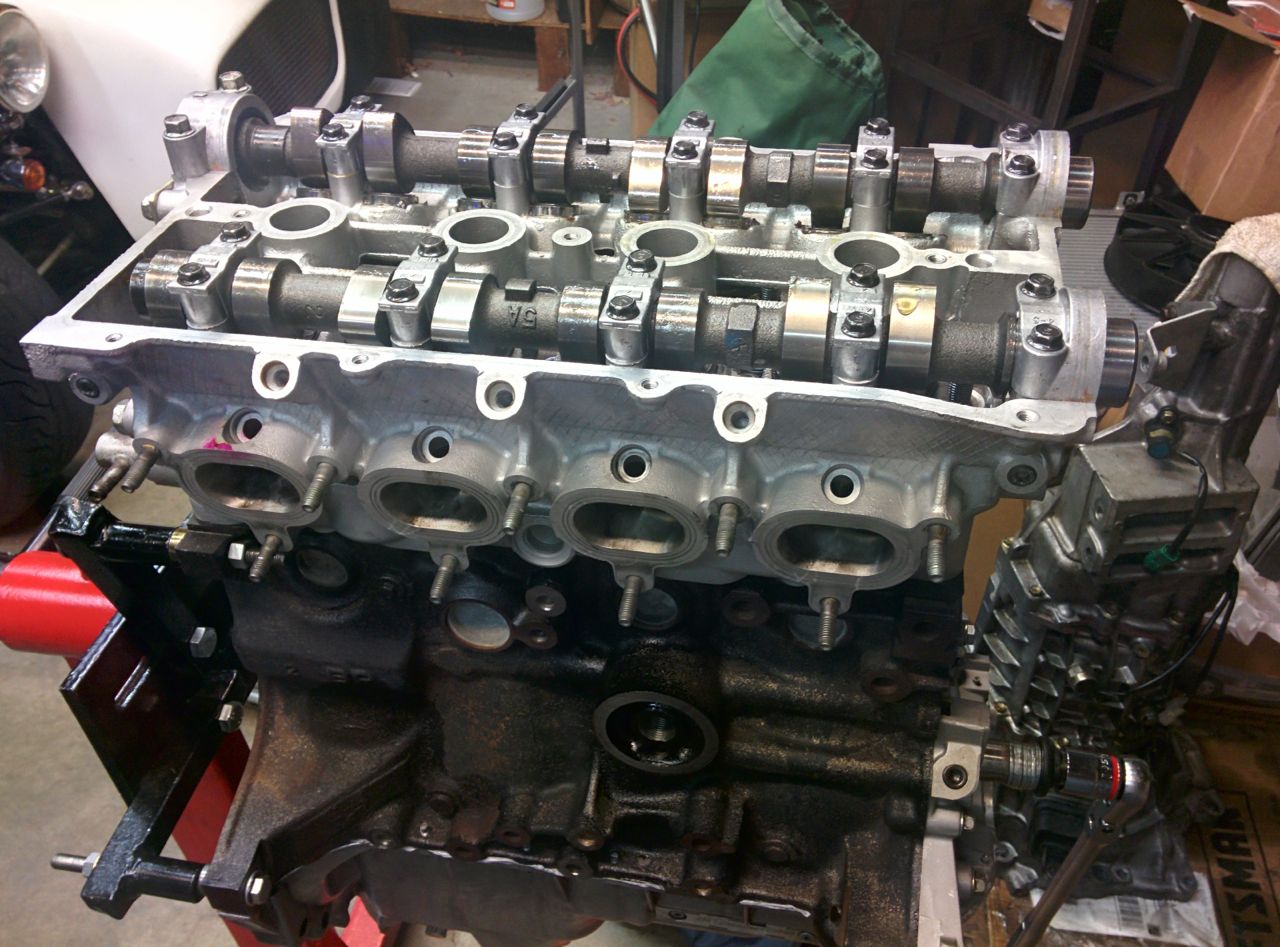
And now the pan is back on, new rubber bits and resealed. It would have been nice to not have broken the oil pump by being dumb, because then I wouldn't have had to do this. The upside (I suppose) is that is was leaking like a sieve from the plug in the back of the head and now that's all properly sealed. How do people drive those in with the head in the car?
You take the valve cover off and then two bolts remove the top half of that hole. It's shaped like a cam cap, except there's no bearing surface in it, and the cam doesn't actually touch it.

In reply to codrus :
That makes sense. Thanks! Hoping this is my last Miata motor for a while.......
My father in law is here. He was a HUGE help. Cut probably an hour off the install time because I could just order him around. It was like having a voice activated hoist. The future is now.

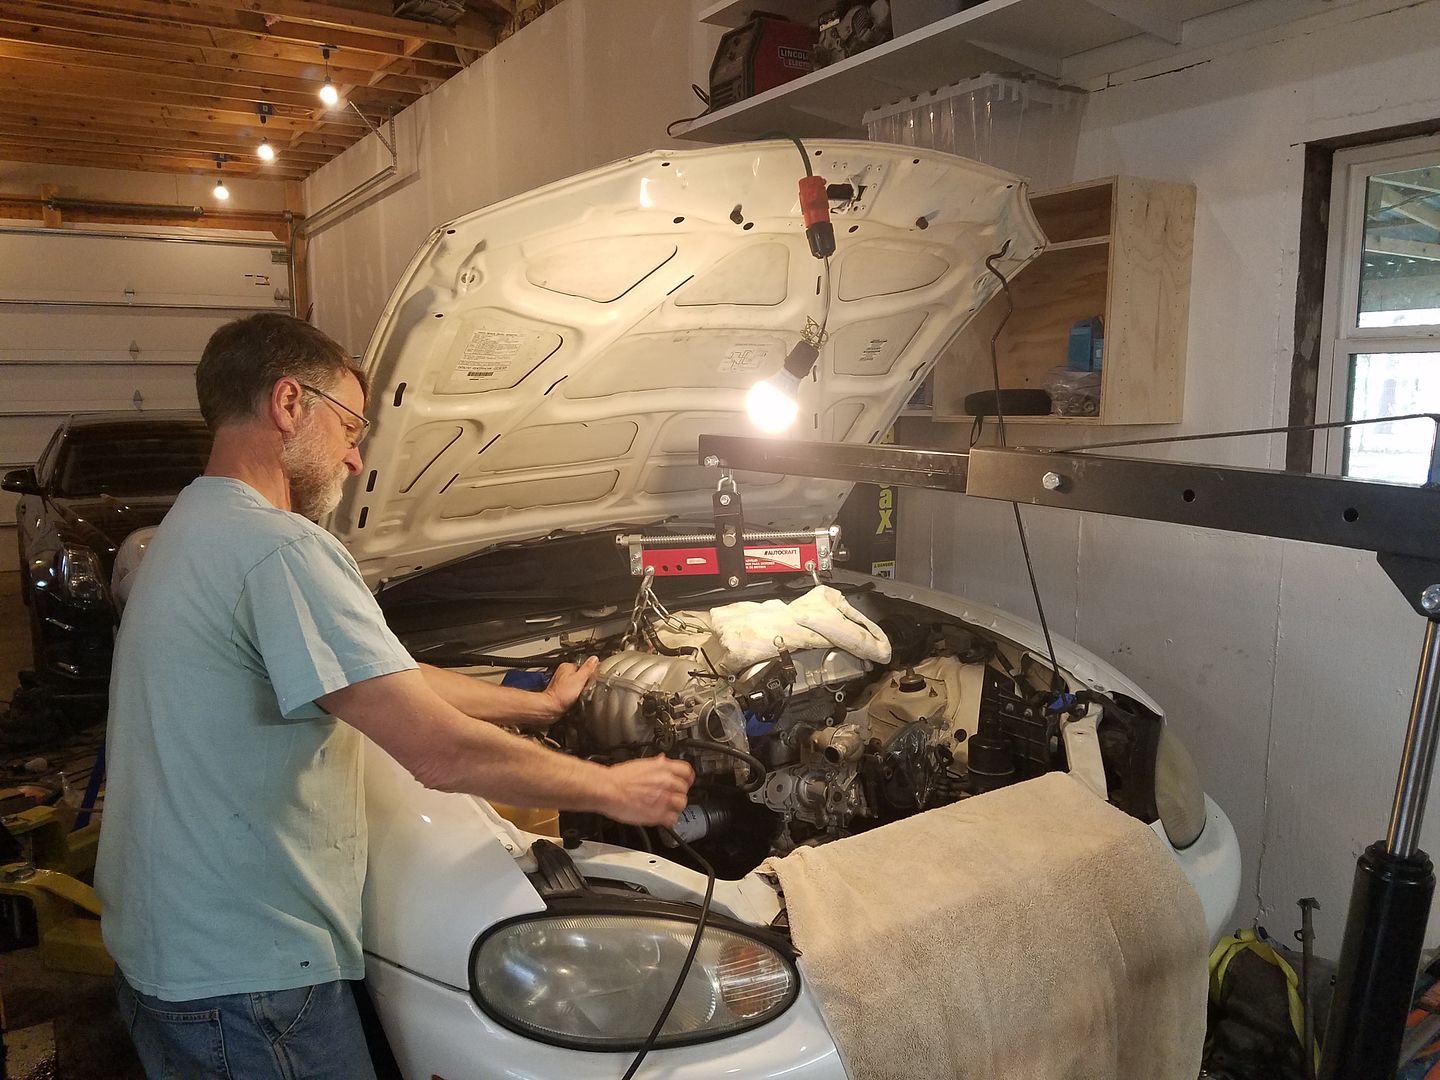
And.....it's back it! Everything went back together well (I think) so now I'll just hook everything back up, get the proper loctite for the fix and make it all work again. I put it back on the ground just because it feels good to have it back on the ground.

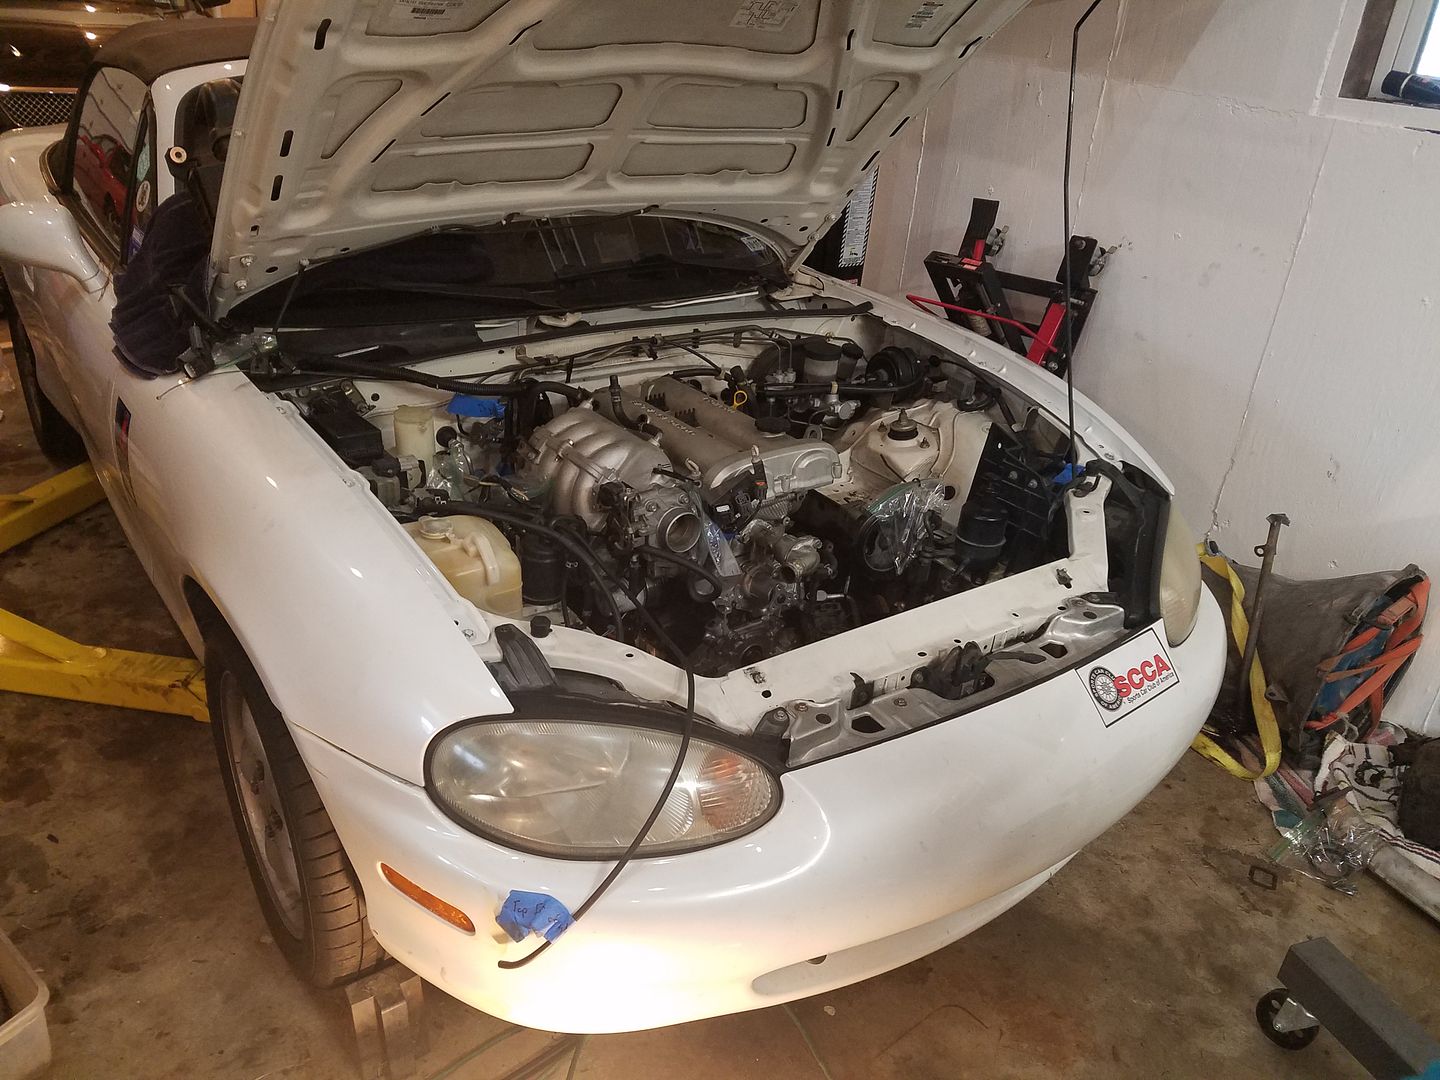
Deucekid#4 tested the hoist. He says it works.
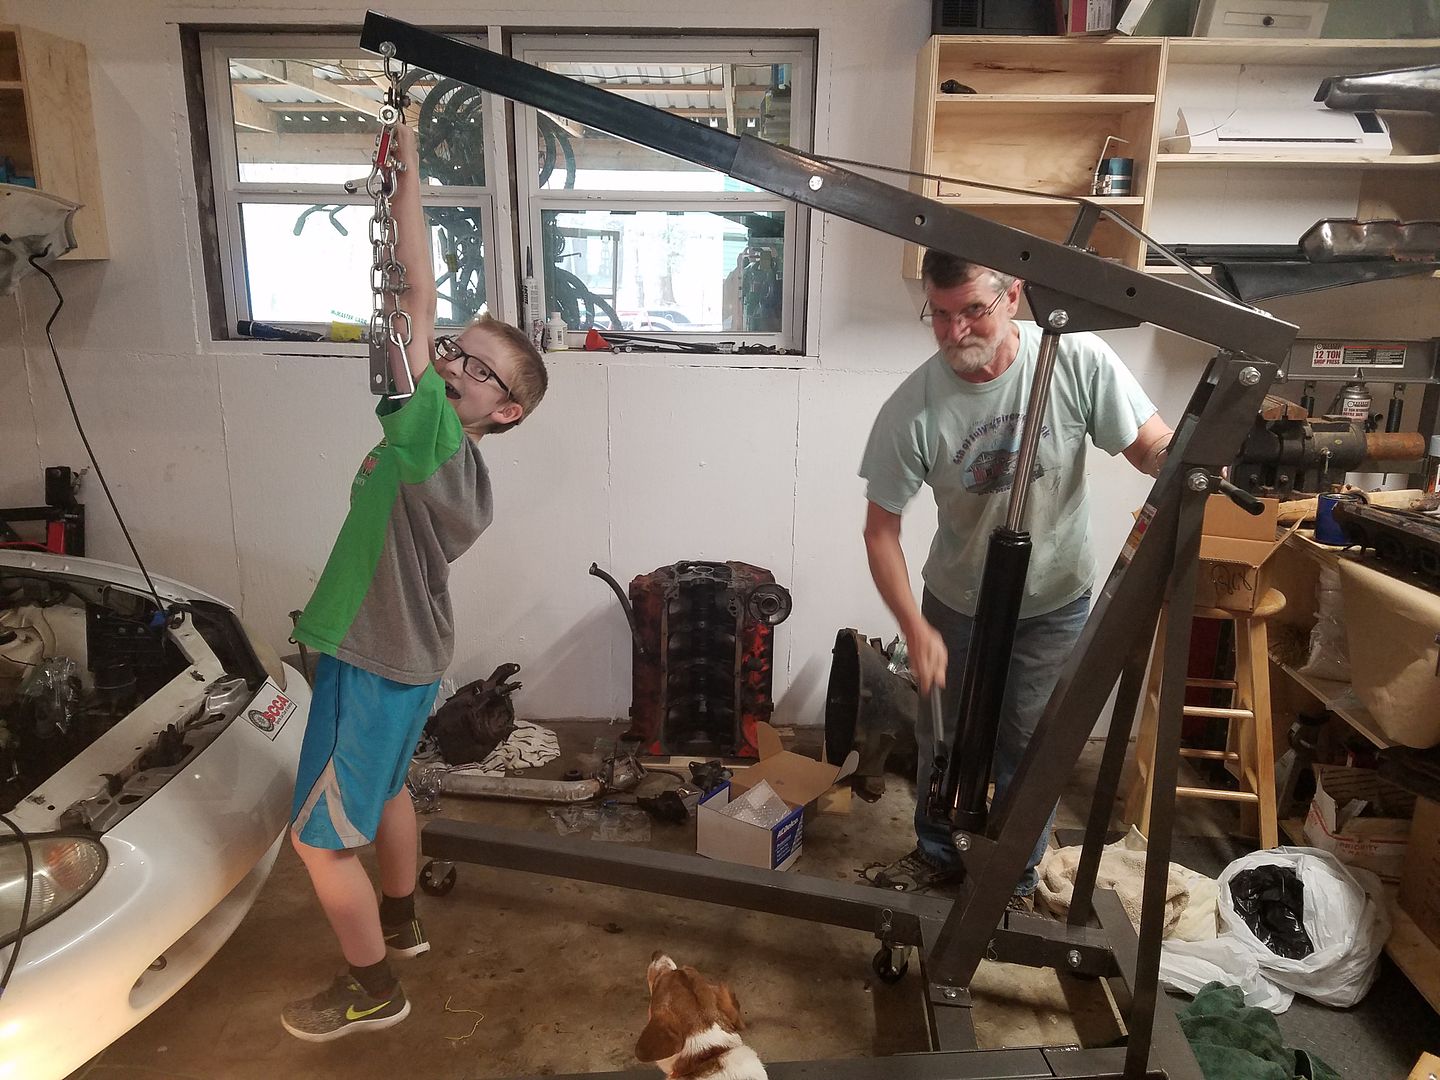
I had a friend stop by right when I was threading in the last transmission bolt to look at his 17 year old's truck. We didn't quite get the truck diagnosed (we have some theories) but we did discover that he needs more work backing up. Luckily they still stock the gate at TSC so it only took about two hours from impact to new gate being in.
And now I'm just chilling waiting for the One Lap Civic to show up so we can fix that to autocross it tomorrow. Fun day.
Before I get VERY grumpy about this car, there is a bracket that should hold the clutch line to something on the back of the motor. It's this one.
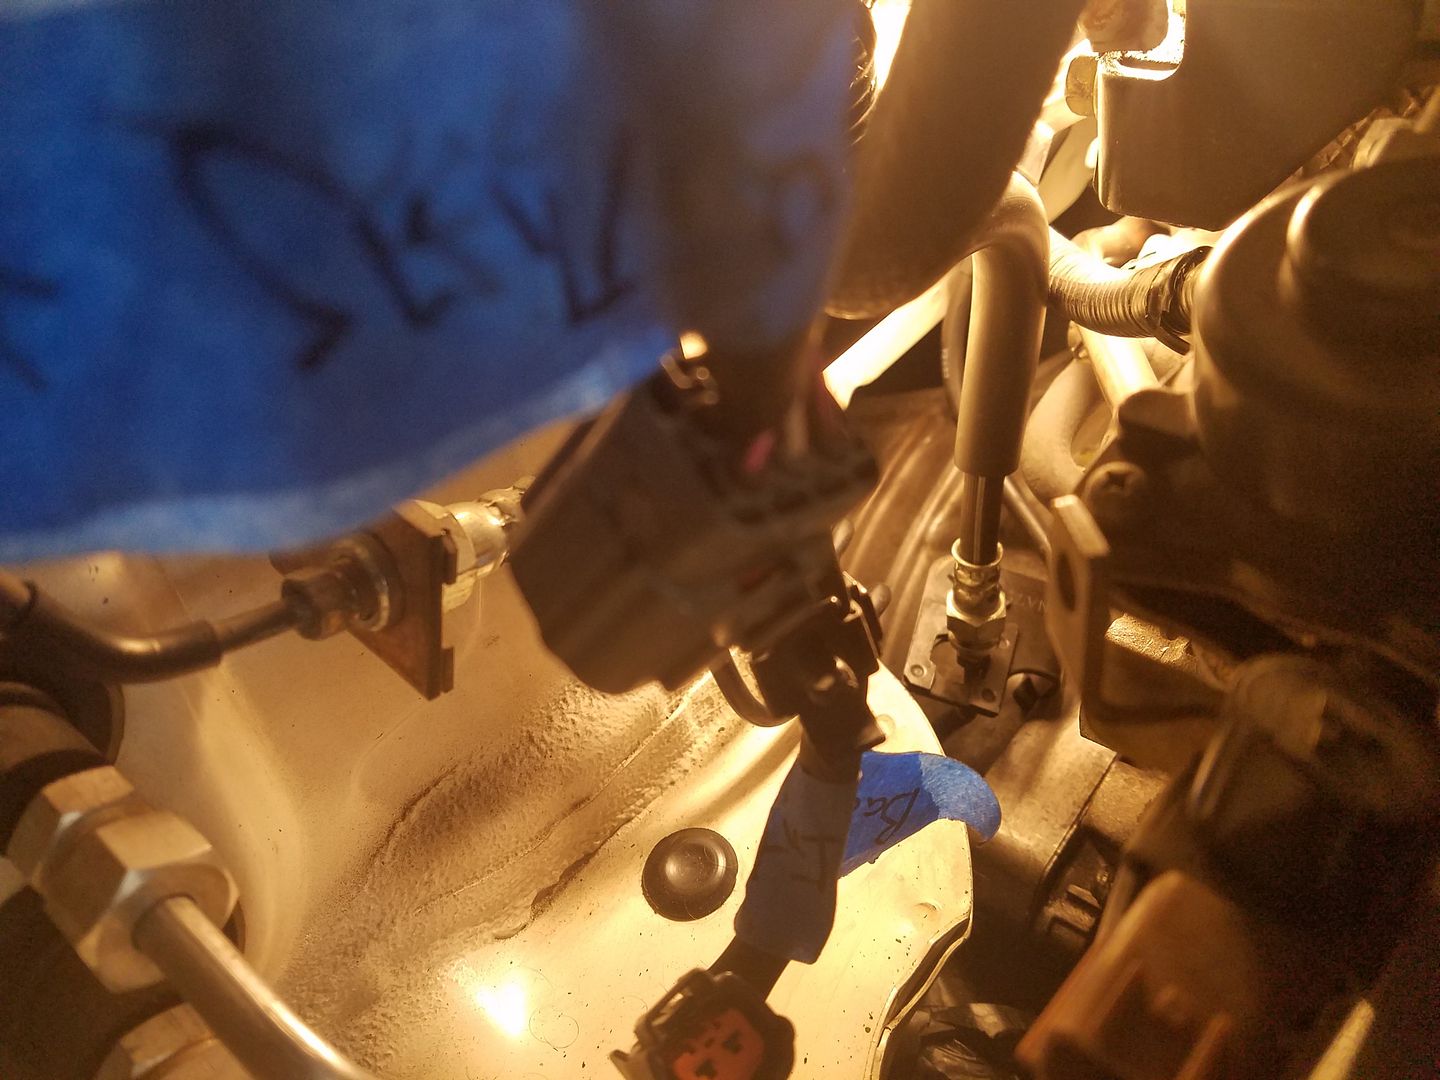
It wasn't bolted to anything when I took this apart. That's not acceptable. What does it bolt to? The third missing bolt from the starter?

moxnix
HalfDork
3/6/18 12:08 p.m.
mazdeuce - Seth said:
Before I get VERY grumpy about this car, there is a bracket that should hold the clutch line to something on the back of the motor. It's this one.
It wasn't bolted to anything when I took this apart. That's not acceptable. What does it bolt to? The third missing bolt from the starter?
Yes the topmost starter bolt.
In reply to moxnix :
Huge thanks. I need to order a couple of other bolts so I'll throw that on there. I need smaller hands to work behind this motor.
Annnnnnd.....now I'm looking for parts numbers for bolts. I need the starter bolt that has the nut on it, and a pair of the stubby bolts that hold on the cross member/stiffener piece at the front of the transmission. Or just a good parts diagram of the whole 1999 Miata would work as well.
If you don't have a Mazda Motorsports account (store.mazdamotorsports.com), priority Mazda also has all of the parts diagrams online.
Your best bet is probably to call up a dismantler or spec Miata shop - they'll have all of this stuff sitting around. There are a bunch that are very active on the Miata parts for sale Facebook group.
When this is all said and DONE will there be peace in the valley for the parties invovled??
In reply to 759NRNG :
Everyone is happy. I'm just trying to be a perfectionist.
So I need the lower starter bolt with the nut on it. If anyone has that one (and the ones that hold on the cross brace under the transmission, but those are less critical) I'd owe you. I don't want to put everything else together until I get the starter together because I can't reach the damn thing as it is.
From what I can find online, the 3 bolts are the same. Does that match up with what you see? If so, take a pic of the ones you have and I'll dig through the box of random Miata bolts that I recently bought.
Edit - Just found this in the miata.net garage section.
https://www.miata.net/garage/90-99Parts/
In reply to cmcgregor :
Huge thank you. I've almost got them all figured out. Fun fact, the bolts holding the rear braces on are M12x1.5 and the bolts holding the front braces on are M12x1.25. Because of course they're a different thread pitch.
More stuff together. Got out the cam repair sleeve.
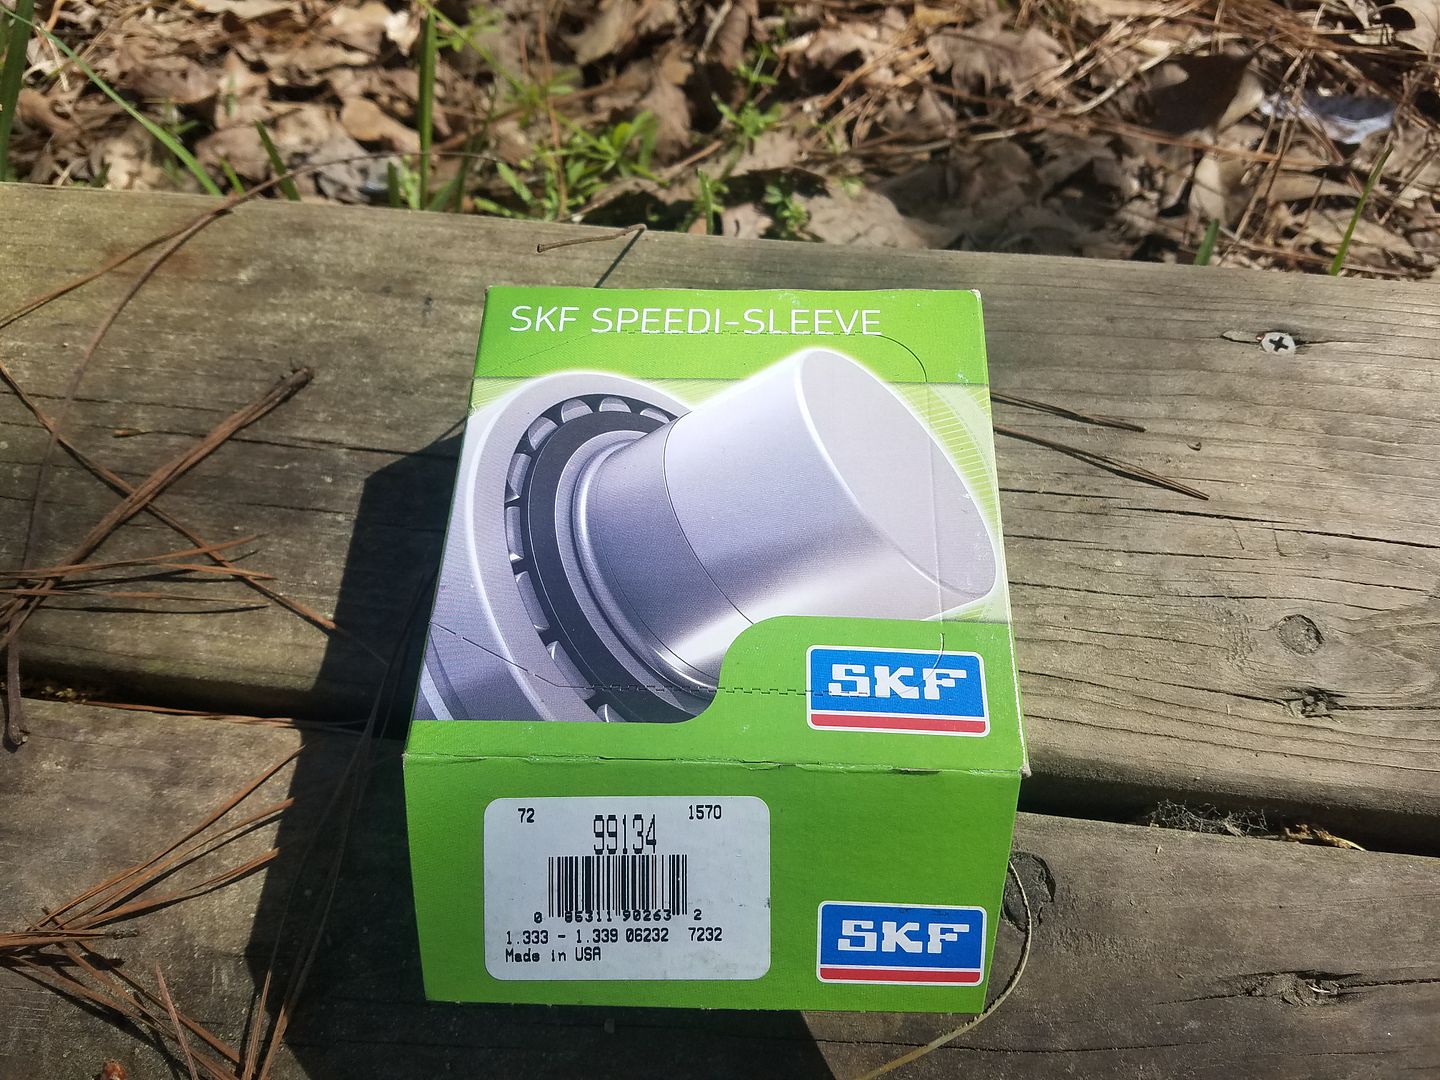
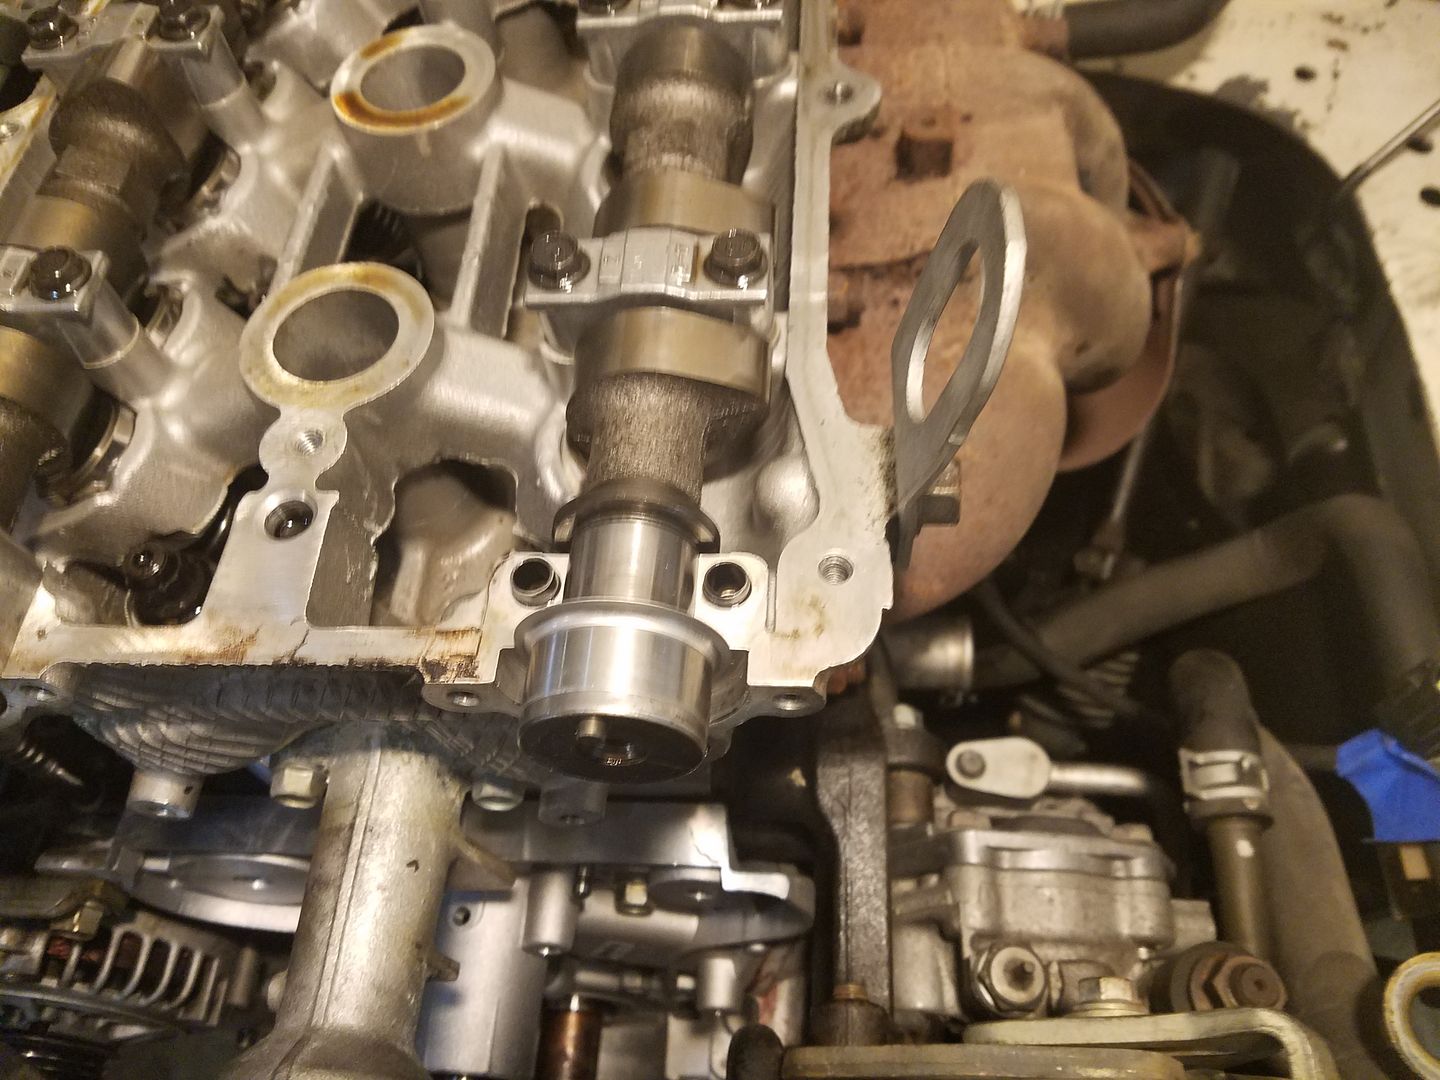
And gently hammered it into place. Hopefully this at least slows the leak. Otherwise it's time for a lumpy cam of some sort. Do they make those for Miatas?
Also bolted all of the accessories back on the front of the motor.
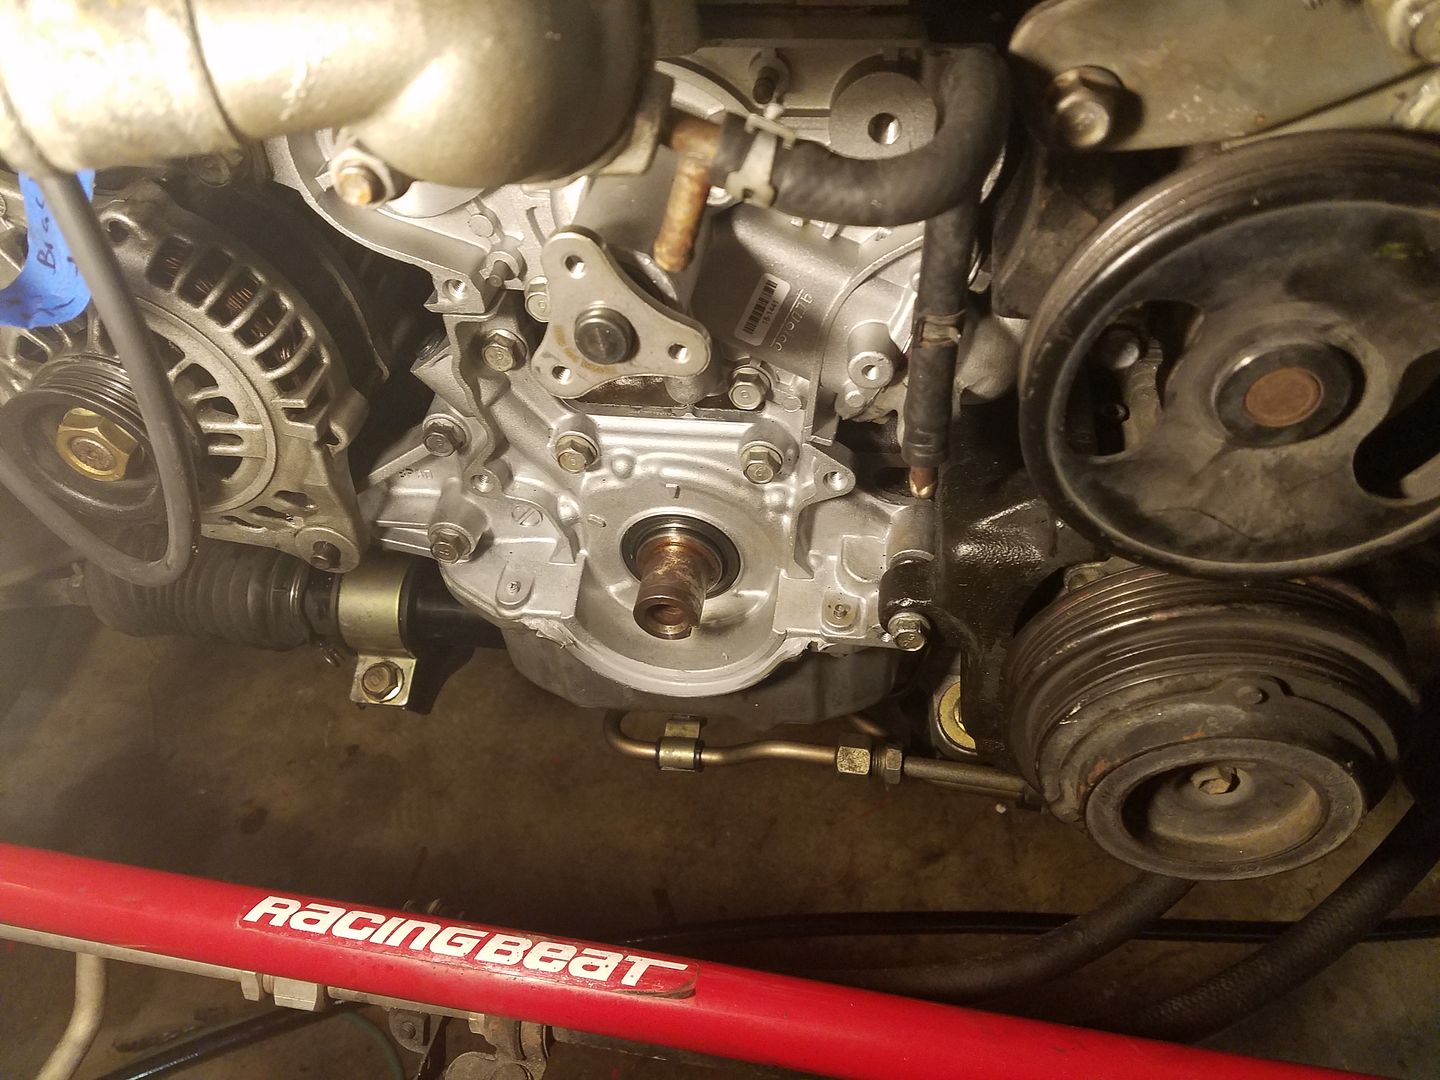
The plan (right now) is to do the loctite fix before the weekend and let it cure while I'm out doing some track time with the Accord. This is the worlds slowest moving project, so maybe, maybe not.
Quick loctite fix question. Loctite 660 is used to fill the extra space next to the key, and then blue loctite is used to assemble everything. Do you let the 660 cure overnight before assembling everyting?
Did you remove that shoulder off the Speedi Sleeve subsequent to taking that picture ?

wae
Dork
3/8/18 7:06 a.m.
Just stopping in to thank you for the adventures in crank pulley removal. I'm slowly getting closer to the step where I'll need to get the old timing belt off of mine and put the new one on so that was a good lesson!
Cousin_Eddie said:
Did you remove that shoulder off the Speedi Sleeve subsequent to taking that picture ?
There isn't any indication that I need to. Should I? The oil seal fits properly over it.
mazdeuce - Seth said:
Cousin_Eddie said:
Did you remove that shoulder off the Speedi Sleeve subsequent to taking that picture ?
There isn't any indication that I need to. Should I? The oil seal fits properly over it.
Typically, there is a score line on the circumference to allow you to tear the shoulder off in an installation like that. Typically the shoulder is only there to facilitate installation.
Was there any literature in the box to guide you ?
I found an installation PDF from SKF for their sleeves. Page 7 is pertinent...
SKF sleeve instructions
It doesn't specify when the removal is necessary though. It seems to leave it up to discretion of the installer. I have always mindlessly removed them.
In reply to Cousin_Eddie :
No literature but I'll pull it apart to check. That makes sense. Easy to pull apart at this point. Thanks.
Be sure and glance through page 7 of that PDF I linked.
It's hard to put into internet words, but I usually roll them off like opening a Spam can. The metal will tear along the score.
mazdeuce - Seth said:
Quick loctite fix question. Loctite 660 is used to fill the extra space next to the key, and then blue loctite is used to assemble everything. Do you let the 660 cure overnight before assembling everyting?
I don't believe so. I think you have to install the pulley so the 660 can be shaped by it. It's been years since I did it, though.


