Since I just kinda did a whoopsie on my mountain bike and put one arm in a sling, this may be a fairly slow build  But I've been anxiously awaiting this, so I'm gonna start it anyhow! This is being posted as I go, not presented as a fait accompli.
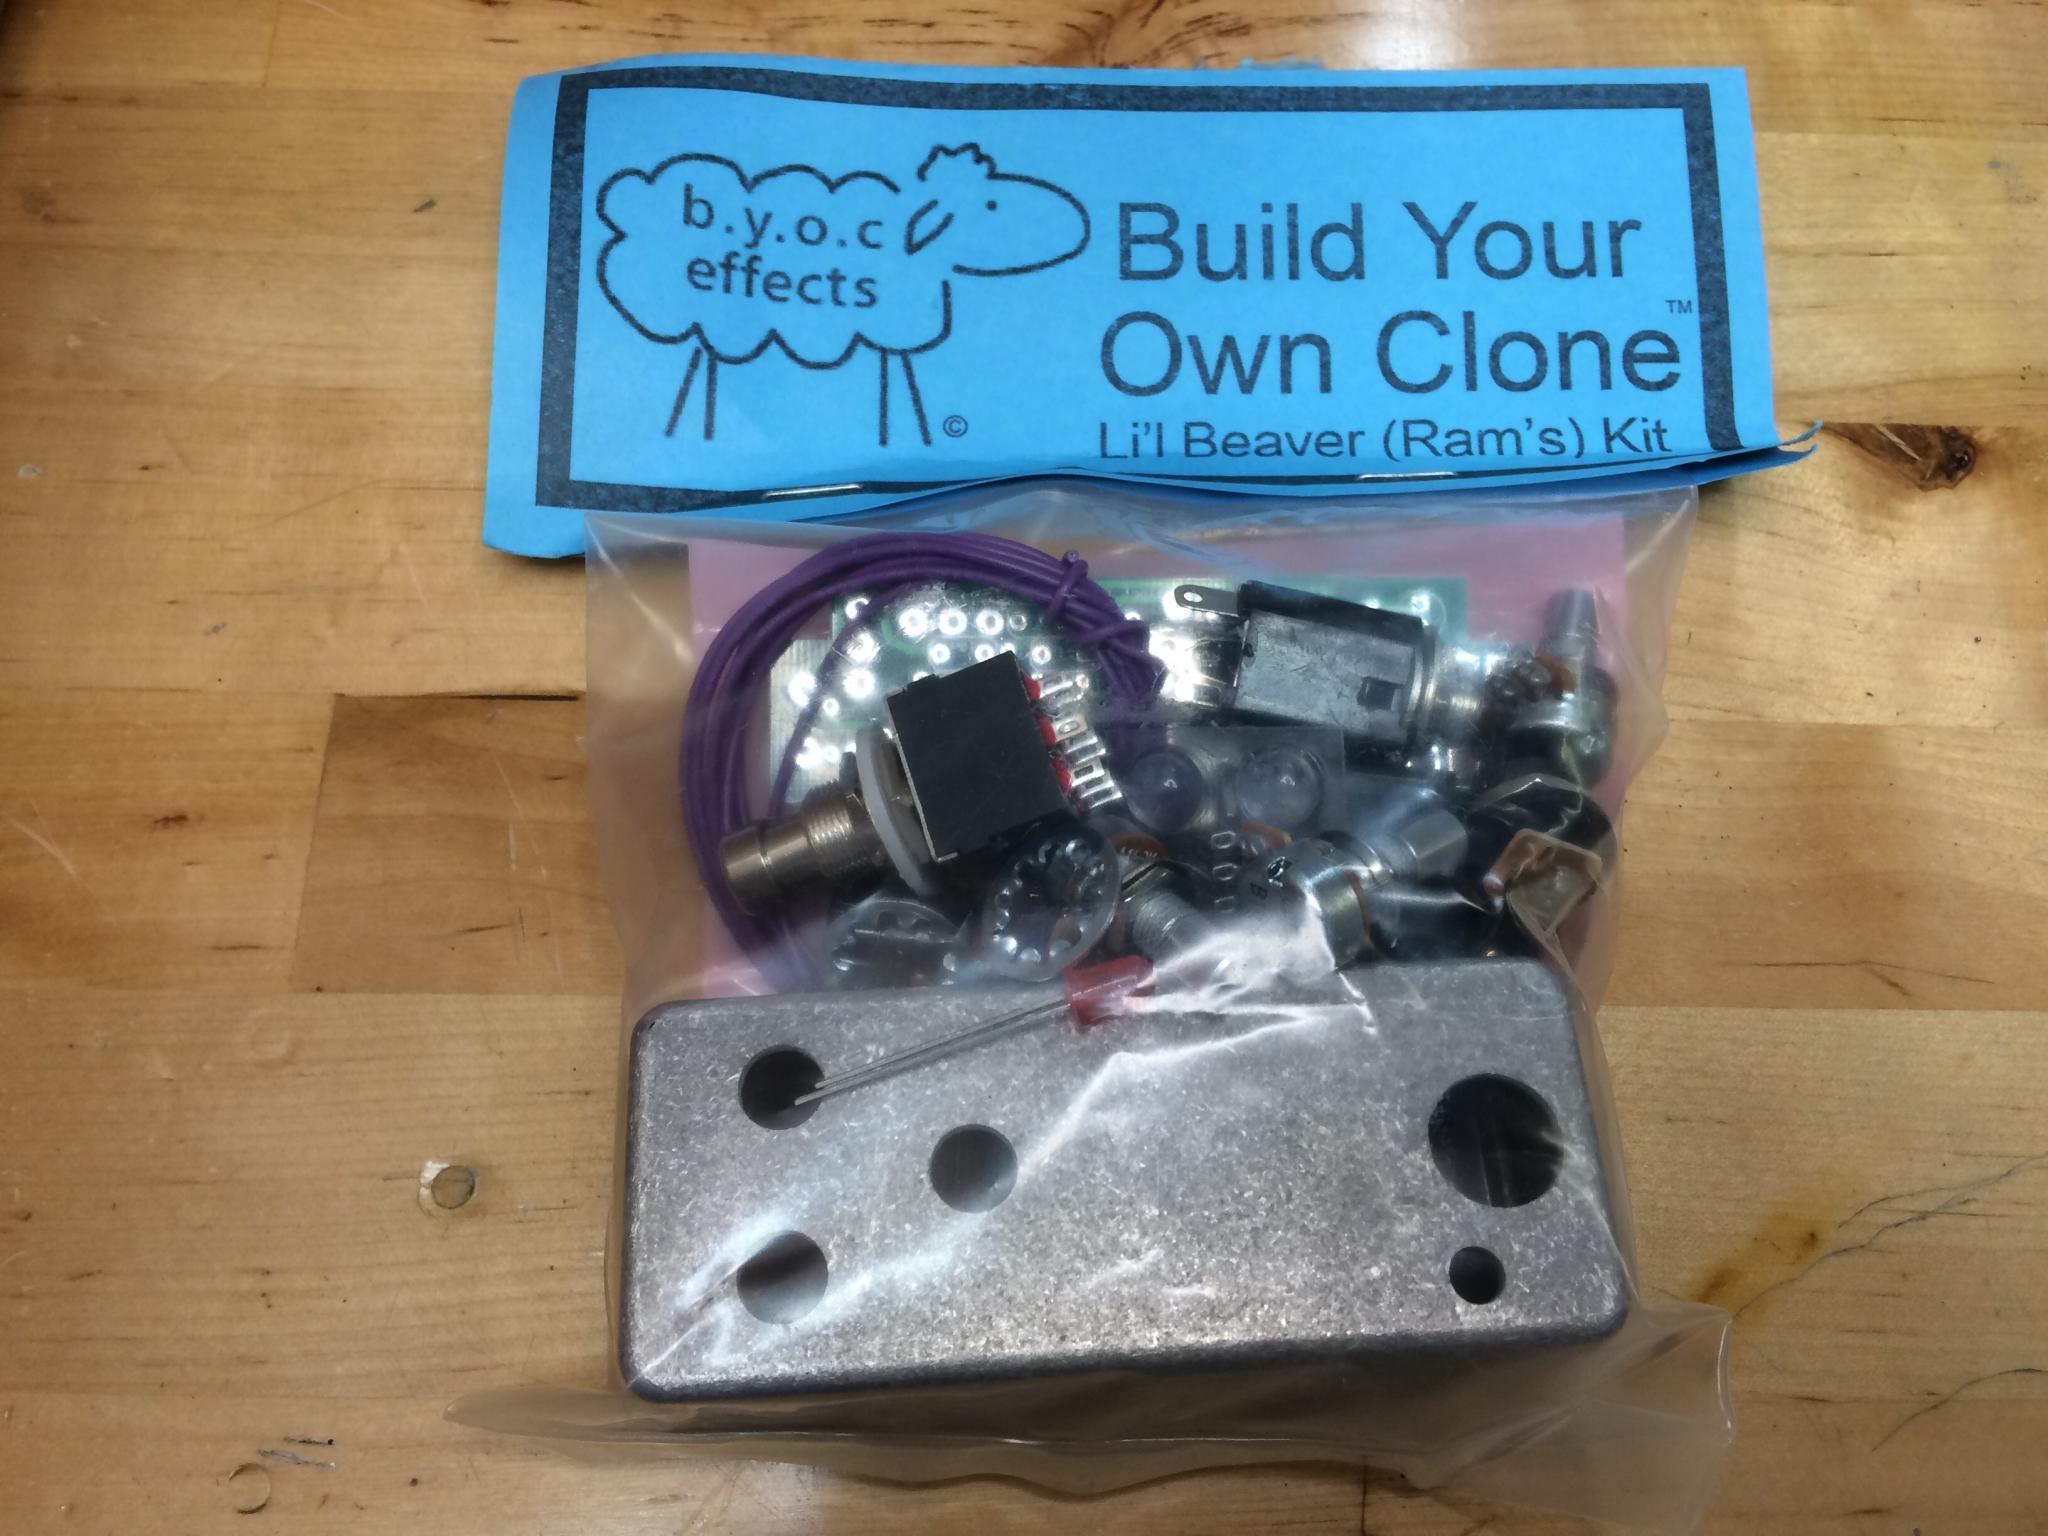
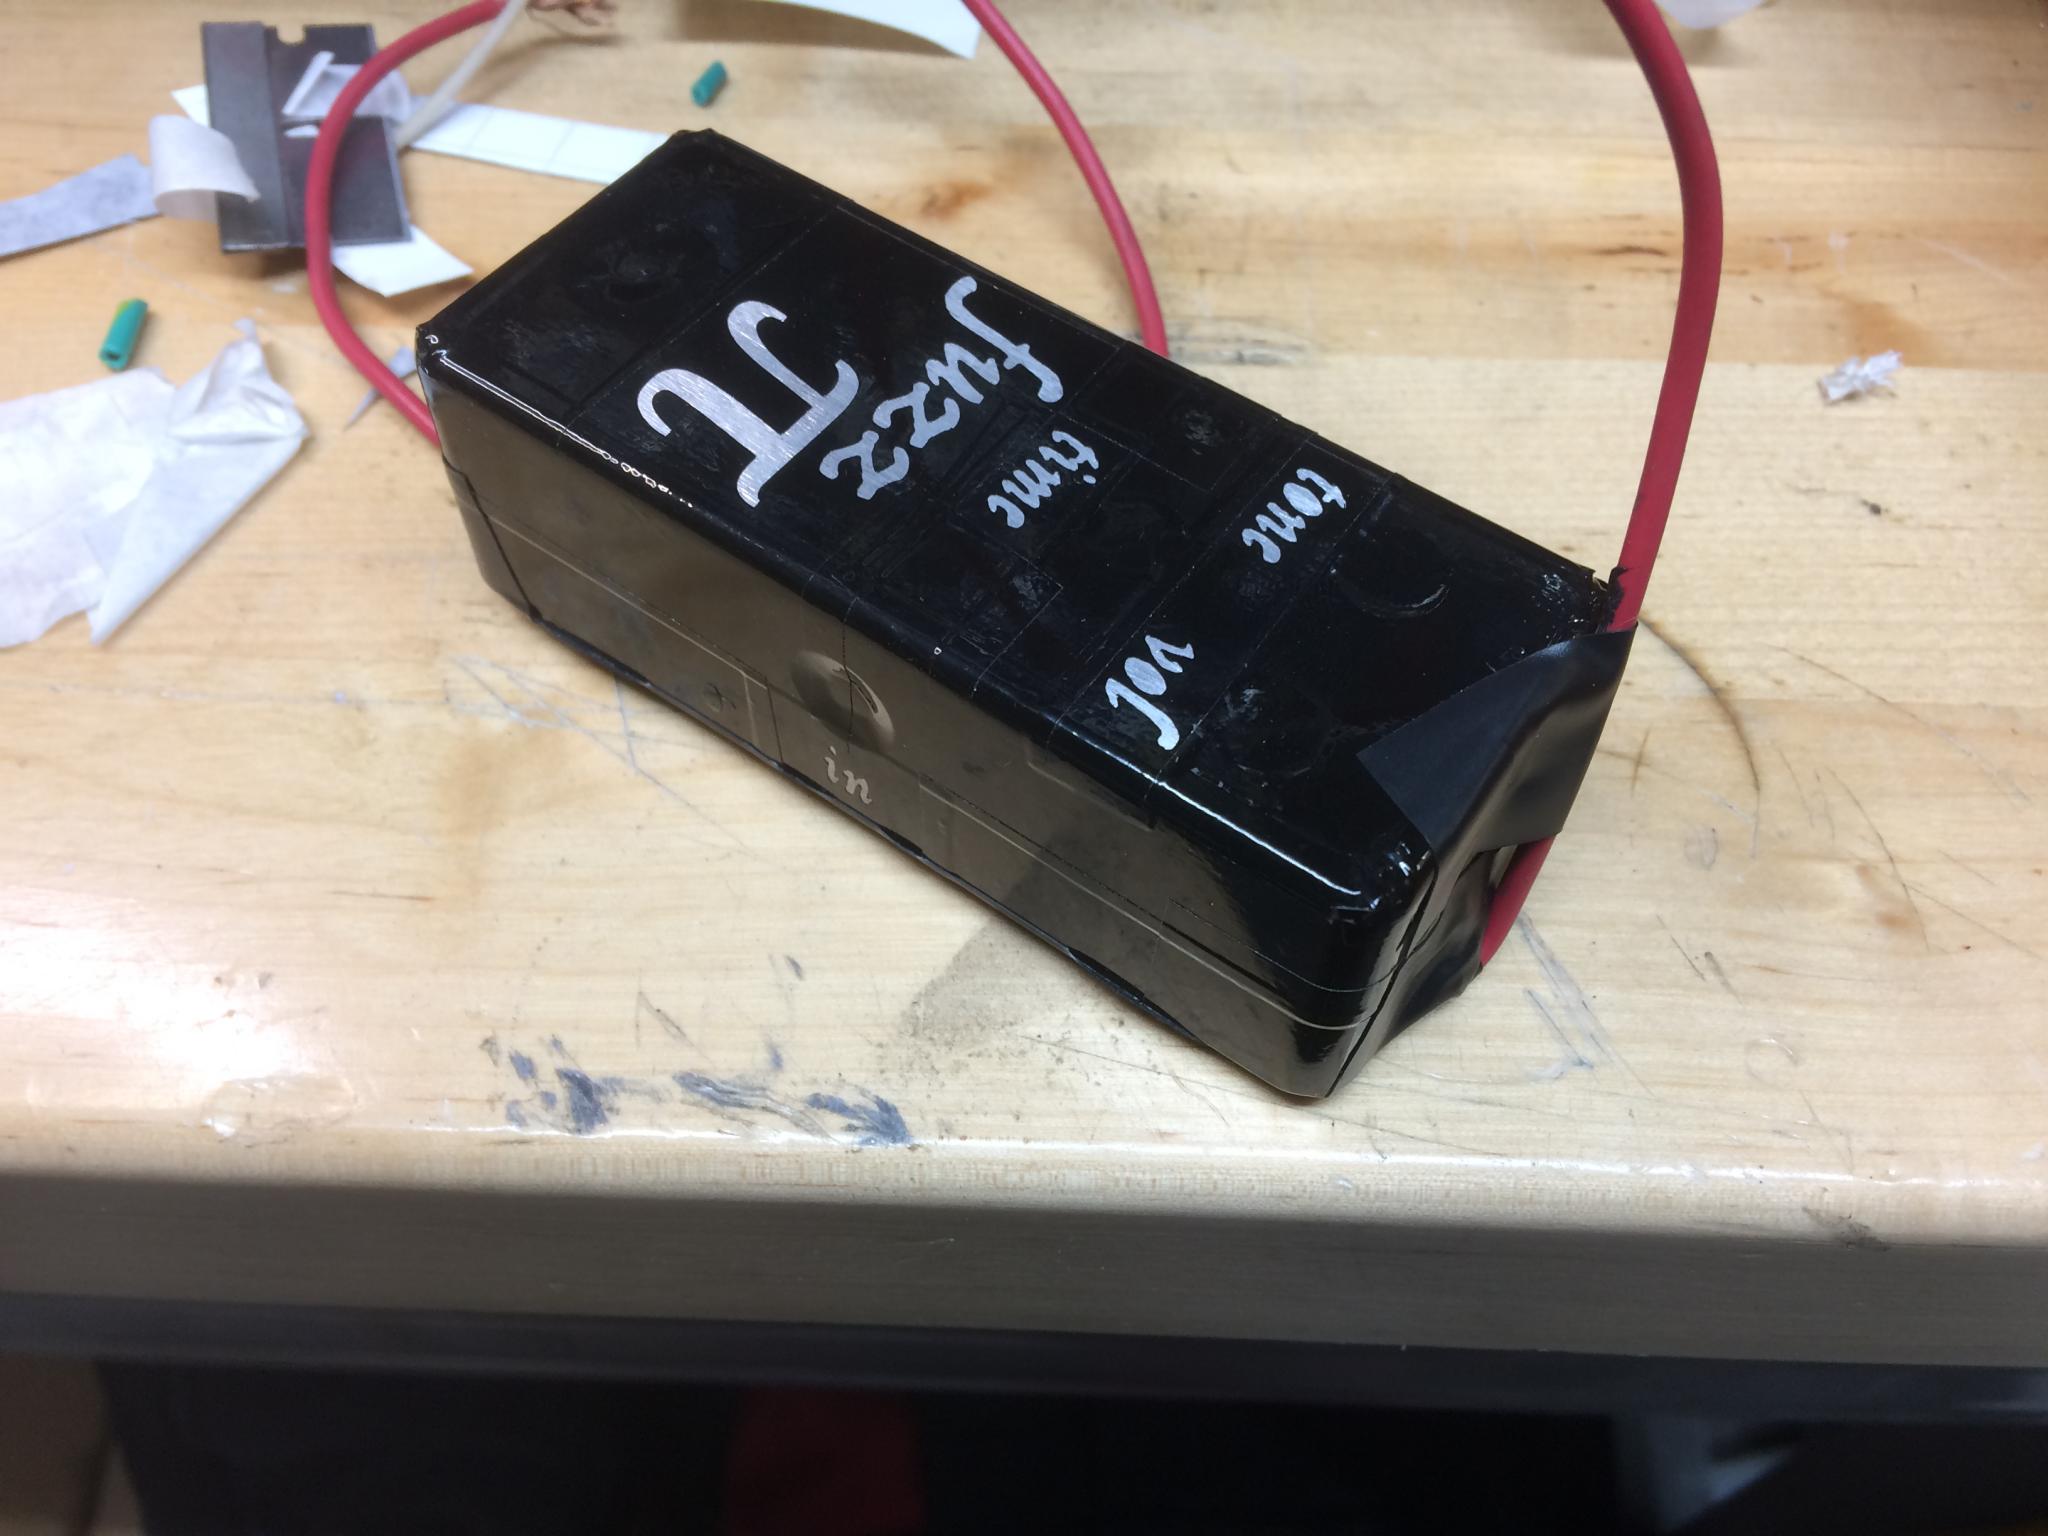
Our subject is a Li'l Beaver Ram's Head fuzz pedal from Build Your Own Clone. I know how to solder and read a circuit diagram to some extent, but I'm hoping that building this will help me understand what's going on. Plus then I get a fuzz pedal as a reward.
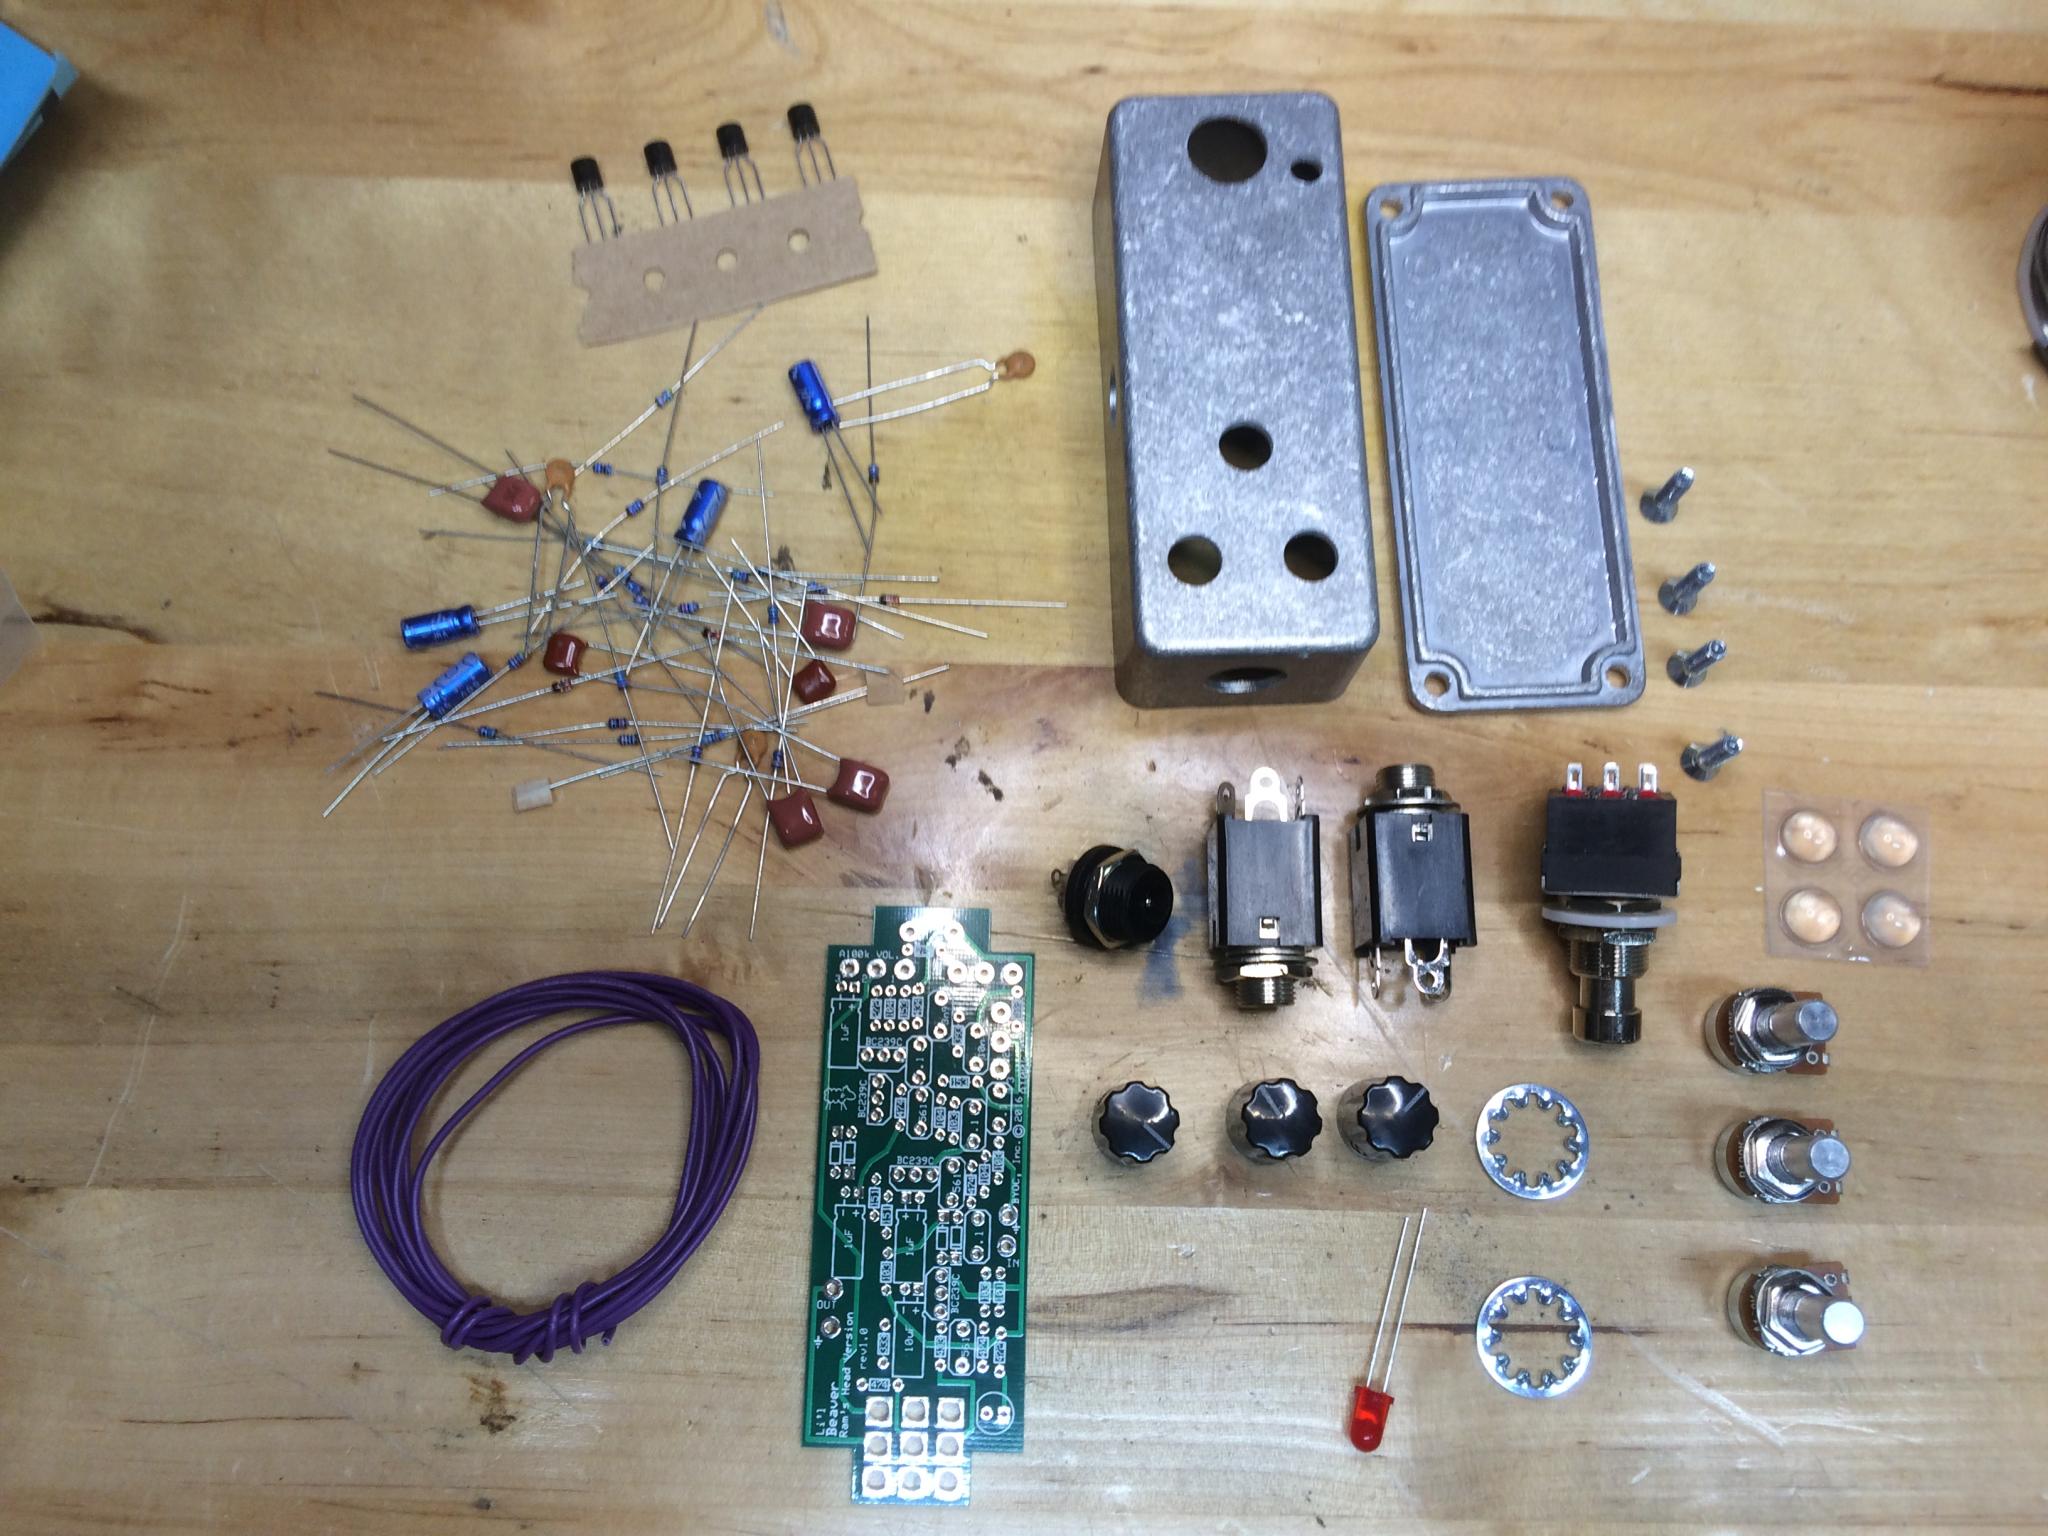
So here's the kit.

Really, the pedal is just a warmup for the main event later.
Now, part of the fun of a BYOC kit seems to be in decorating the enclosure. I'm more interested in what's inside, so I'd probably be happy to just write on it in Sharpie. But I'm starting to think about some fun options that involve batteries and salt water. The busted wing will give me a chance to play around with this a bit.
In the meantime, let's fire up the soldering machine and see if a third hand tool can be a second hand. BRB...
And the answer is yes, the gimp can solder!
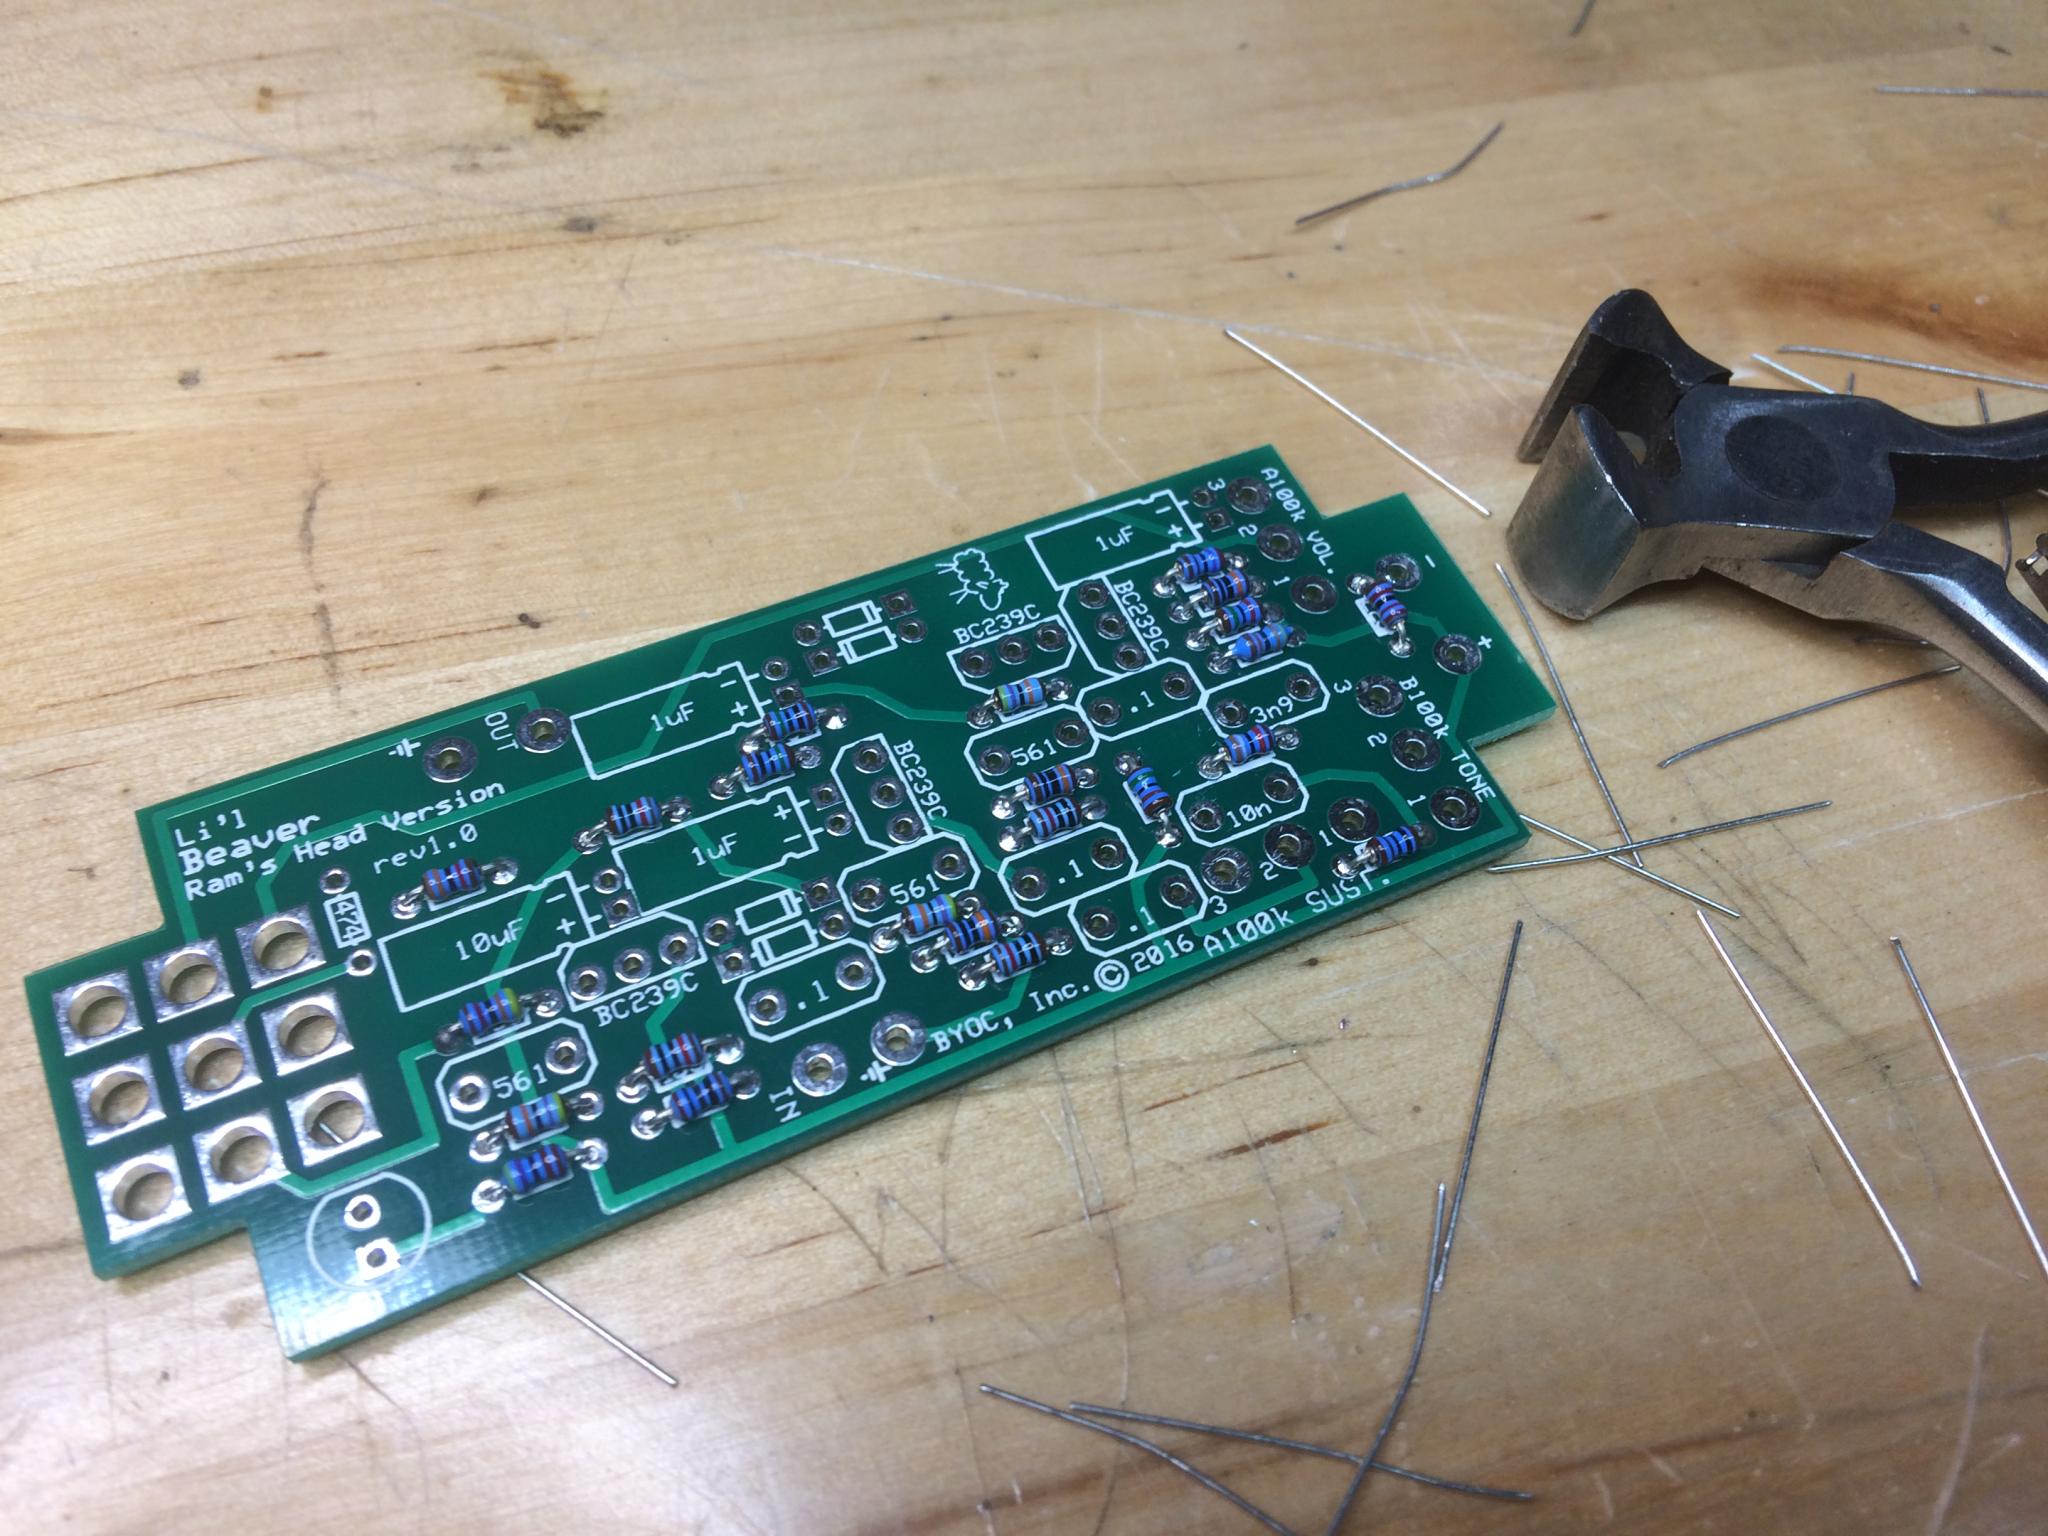
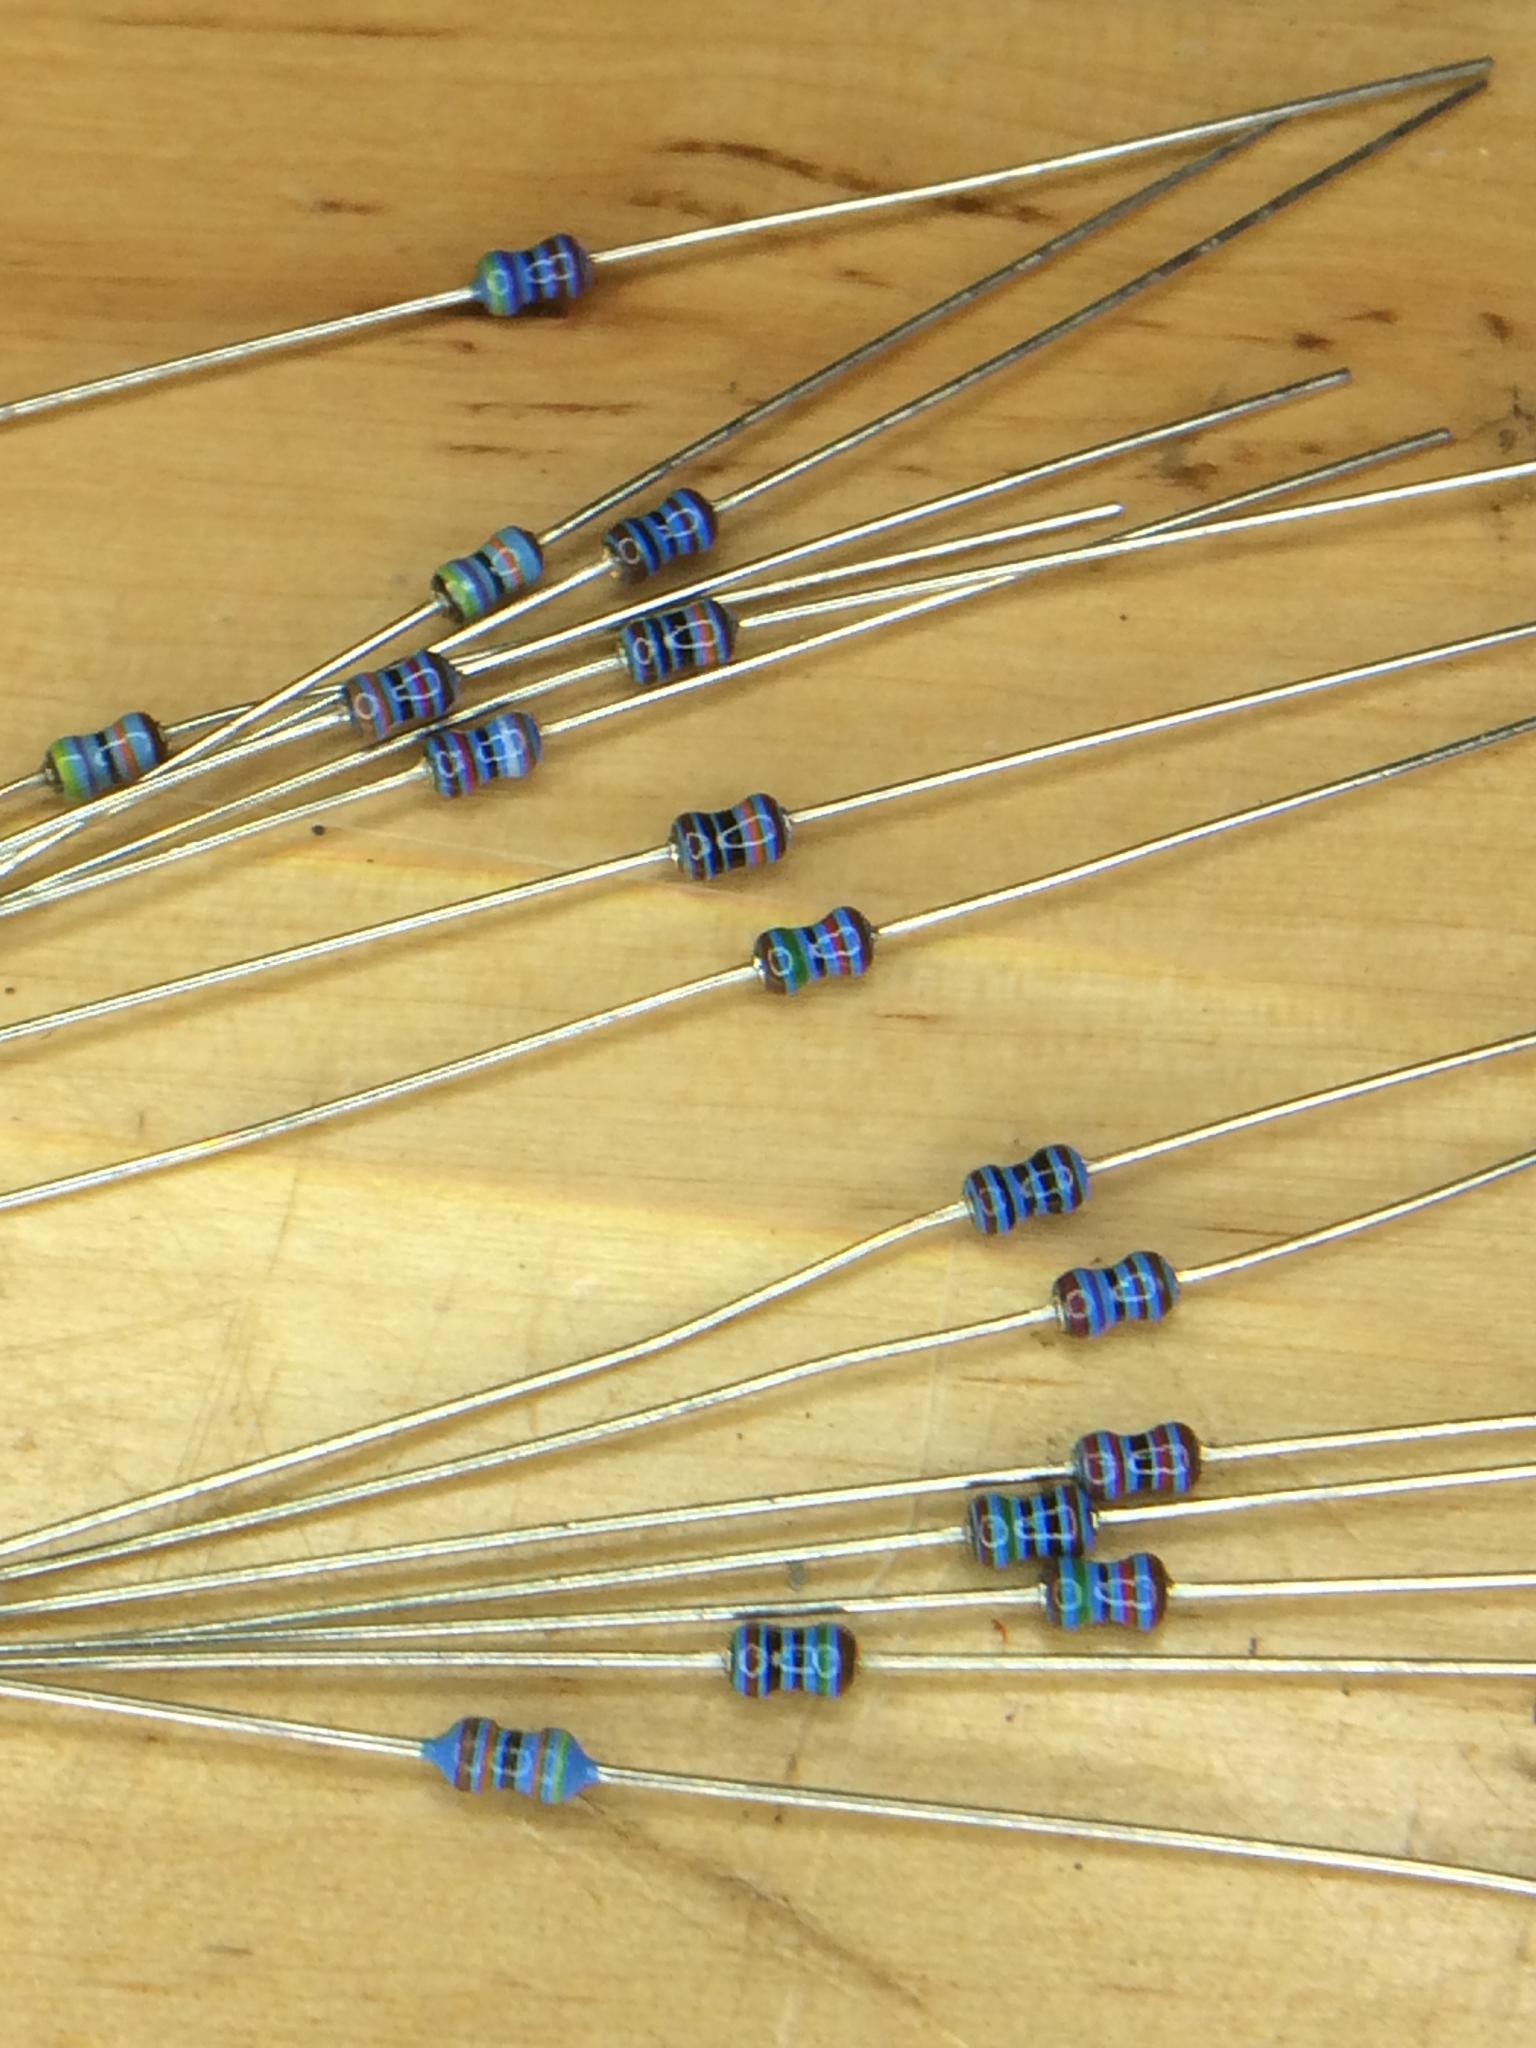
Now, this is the electronic version of paint by numbers. Line the parts up with the picture on the PCB. But I don't care, it's satisfying. Although almost every one of those resistors is a different value, so I got to play the game of "is that stripe brown or red printed on blue?" I checked most of my answers with the multimeter.
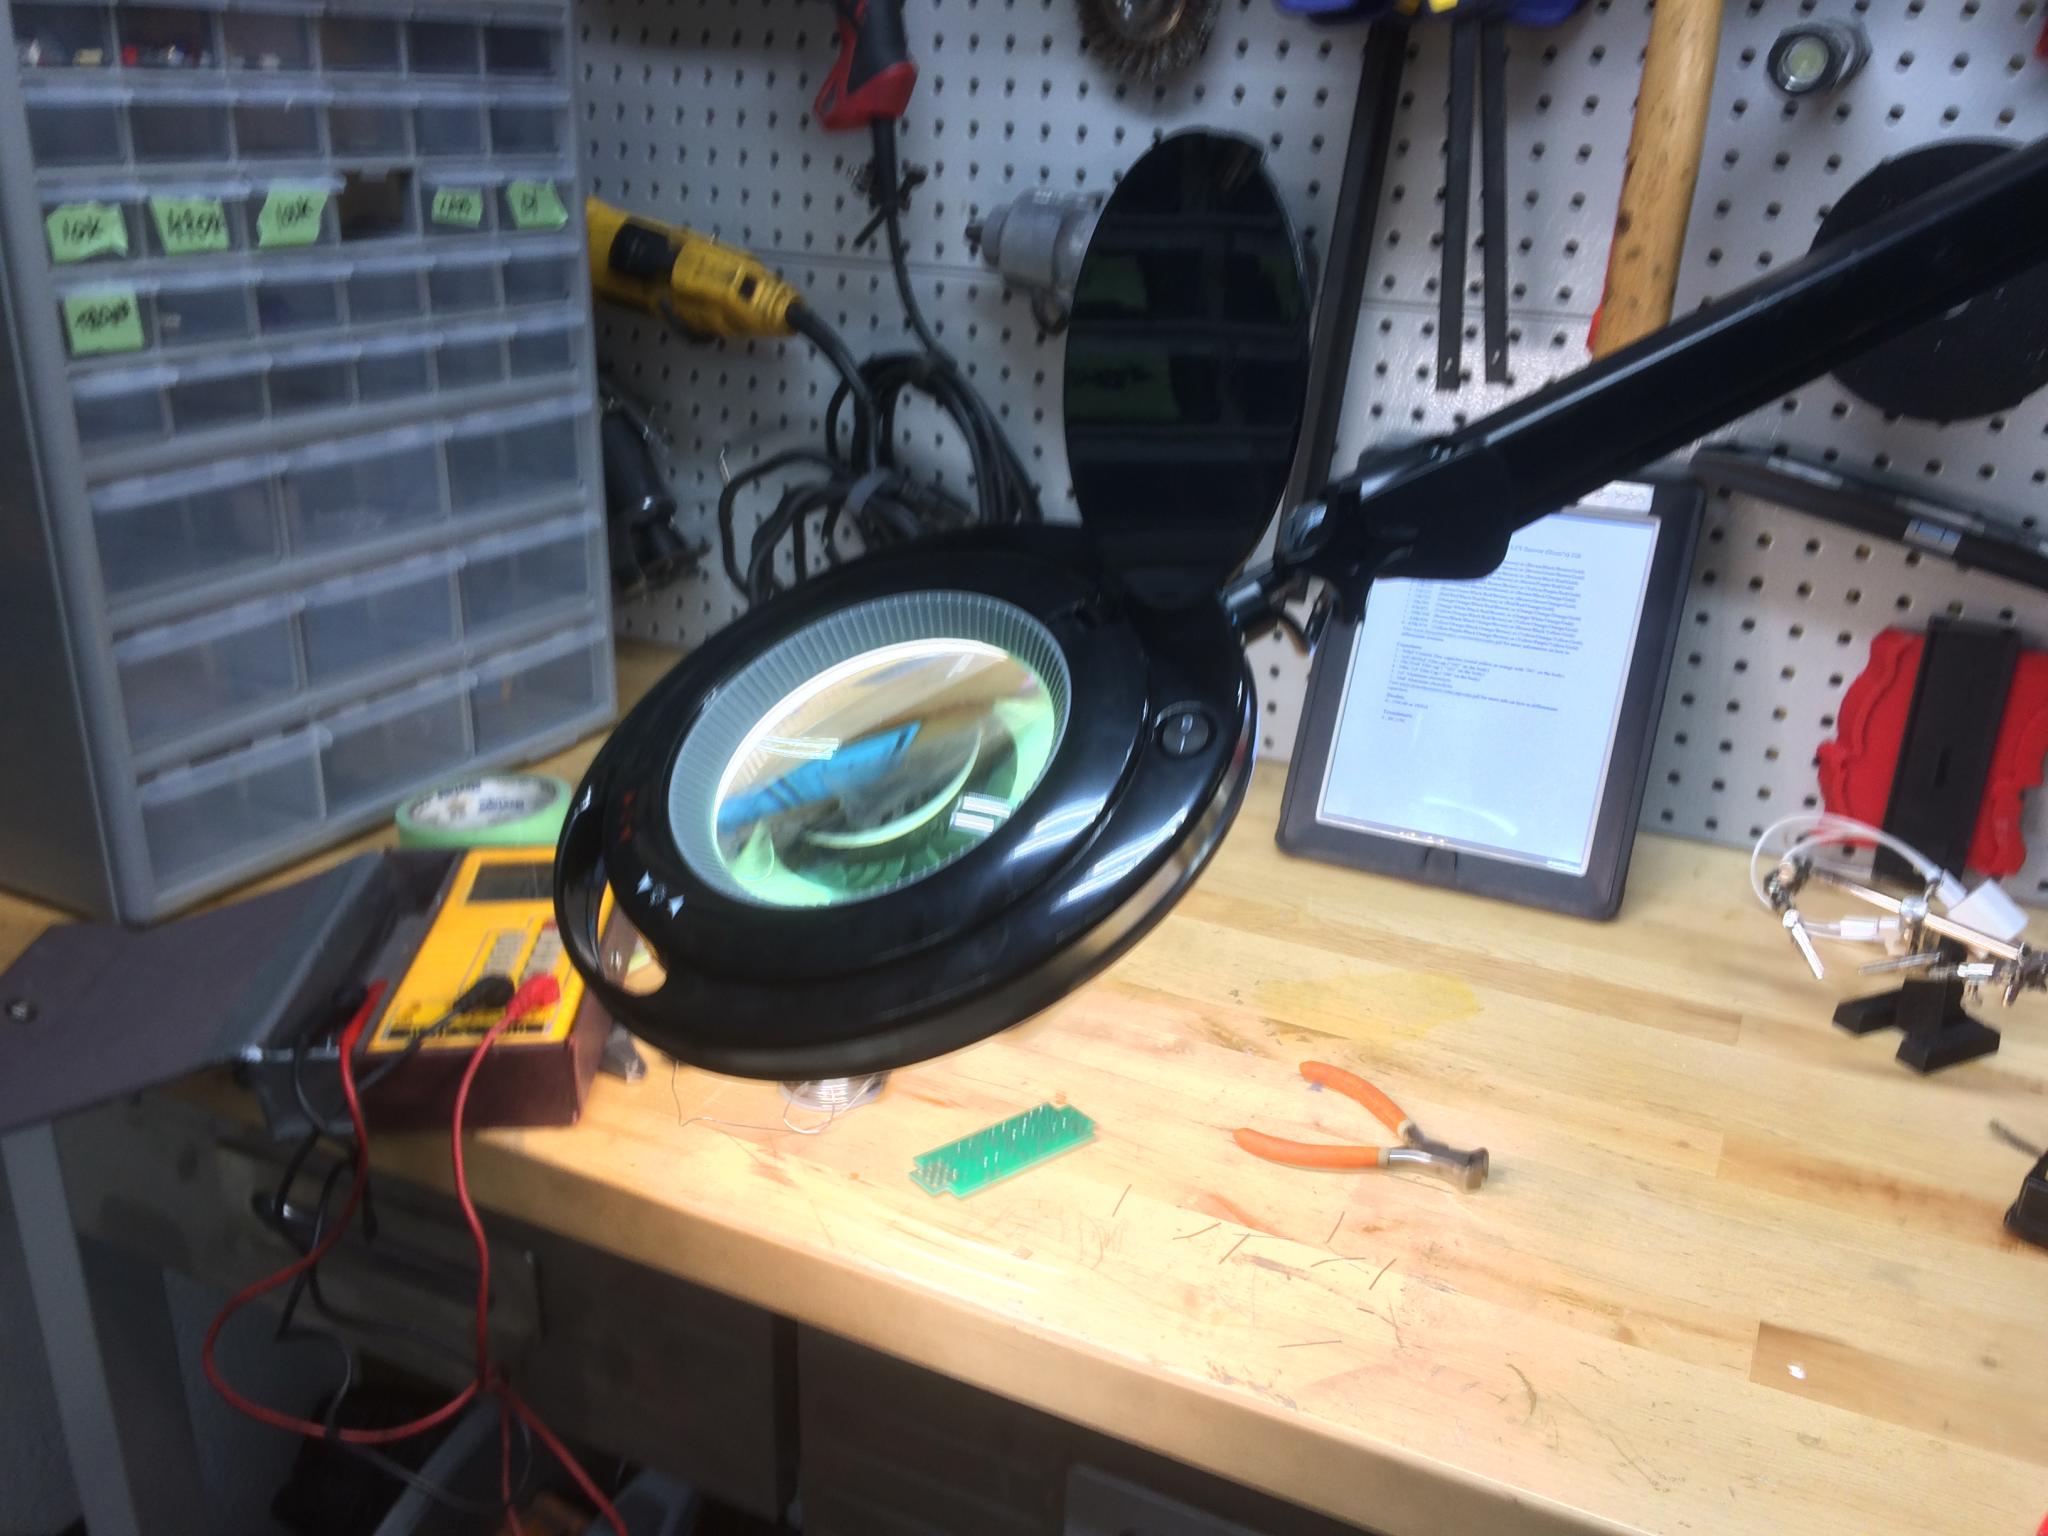
My ham grandfather had a magnifying light on his electronics bench. I totally get why. Although he may have asked me why I'm building a circuit to mess up a nice clean audio signal.
My use of the PCB build to stall on what to do about the housing is only going to last so long...
Thats cool! Where did you get that kit and howuch does that cost?
From Build Your Own Clone, starting at $54.99.
Well, the circuit board is almost completely populated. That was fun. But now it's time to start attaching parts to the enclosure, so it's time to start planning and maybe practicing some techniques. More soon...


RossD
UltimaDork
7/16/17 9:33 p.m.
Whats the oringinal pedal that its cloning?
Very cool! Somehow I'm not surprised you're getting through yours a bunch faster. 
RossD wrote:
Whats the oringinal pedal that its cloning?
It's a Big Muff Pi from the Ram's Head era.
Random, you started with the housing and got stuck on the aesthetics. I'm busy going "la la la" and ignoring that for the time being...
In reply to Keith Tanner:
It's totally true. I started with "I should give the paint time to dry while I work on the guts" and went glacial from there.
Anyhow, tidy work on the board, and I hope you heal up fast!
So, I said one of the reasons to do this was to learn how it works. I'm not very successful so far - but I did notice this while soldering diodes. Two diodes in parallel in opposite polarities. Which makes...umm...the same thing as no diodes, but with some voltage drop?

What the hell? Do these pedal designer guys just bolt random stuff together and see what happens?
RossD
UltimaDork
7/17/17 10:44 a.m.
I think it causes some of the distortion. I saw it on my high voltage tube overdrive schematic, too, and that was the explaination someone gave me.

Ian F
MegaDork
7/17/17 10:50 a.m.
This is relevant to my interests. I want to build one of these for similar reasons. Partly to get a fuzz pedal (although I already have a Big Muff pi) and partly to learn how to test and diagnose the circuits. I have a few non-op pedals I'd like to fix, including one that has actually become something of a collectors item since I bought it 20+ years ago (Boss HM-2).
Hopefully there will be no diagnosis in this build.
In your case, I'd crack those puppies open and use a good magnifier to look for broken solder joints and of course the popular toasty bits.
Ian F
MegaDork
7/17/17 11:59 a.m.
In reply to Keith Tanner:
Did that. Nothing looked awry.
I would think there would be a testing sequence you would do for each component or circuit section before applying power to the the board?
I did check the first few connections to make sure they were good and did a close visual inspection of each joint after doing it. It's a fairly simple circuit in the grand scheme of things, I suspect this one will be "turn it on and see". The amp will need more, I'll probably start it off at low voltage.
Solder joint cracks can be really subtle, just a little "smile" in the blob. We used to get those with the Link ECU. If you've got the patience and your circuit boards are the same style as mine, you could reflow all the joints. Just heat them up until they melt.
Keith Tanner wrote:
So, I said one of the reasons to do this was to learn how it works. I'm not very successful so far - but I did notice this while soldering diodes. Two diodes in parallel in opposite polarities. Which makes...umm...the same thing as no diodes, but with some voltage drop?
What the hell? Do these pedal designer guys just bolt random stuff together and see what happens?
So apparently the diode loop acts as a voltage clamp and adds in a bunch of the distortion and fuzz. This is an example of degrading a perfectly good audio signal that would disgust my grandfather 
People put a lot of effort into the enclosures on these things. Ransom got stalled on his.
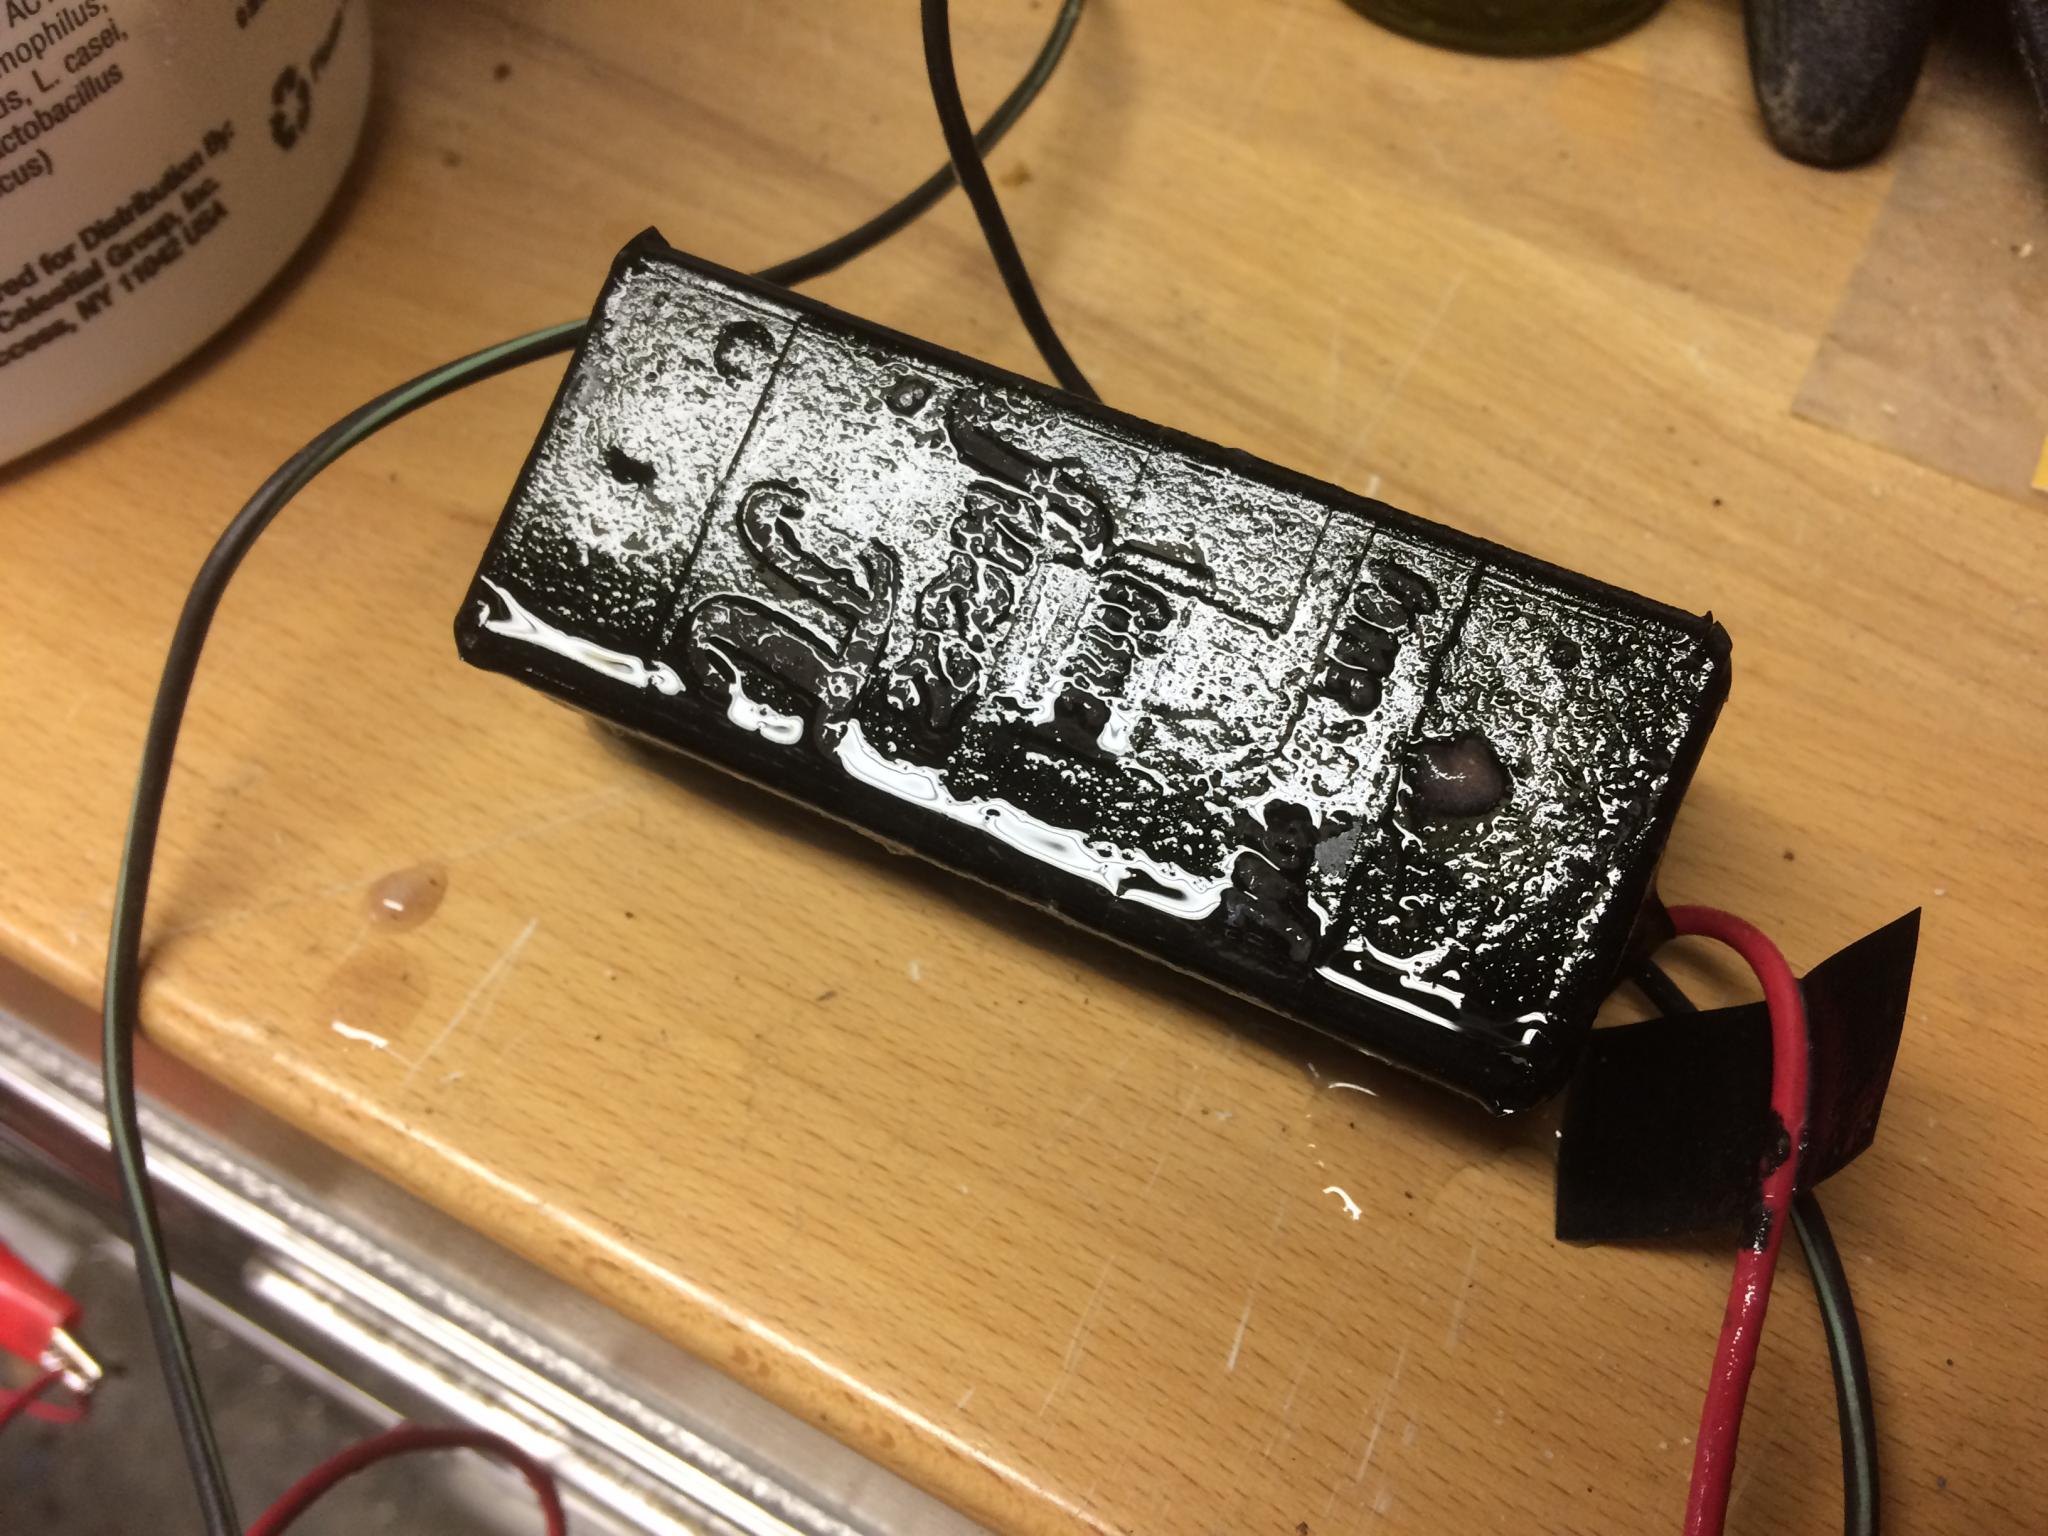
My original plan was to try electro etching, because I have almost everything I need on hand to do it and I love the concept of eroding metal with a battery charger. But it'll suck up a lot of time in learning, I want to get going on the amp and chances are my first attempt would look pretty nasty. So I decided to experiment with the electro etching on other things and just move forward with the pedal build and avoid the aesthetic stall. Out came the rattle cans. There is a bit of decoration coming, but that's tomorrow night. So I'll just set it all aside for now.
Real Big Muff pedals are white anyhow.

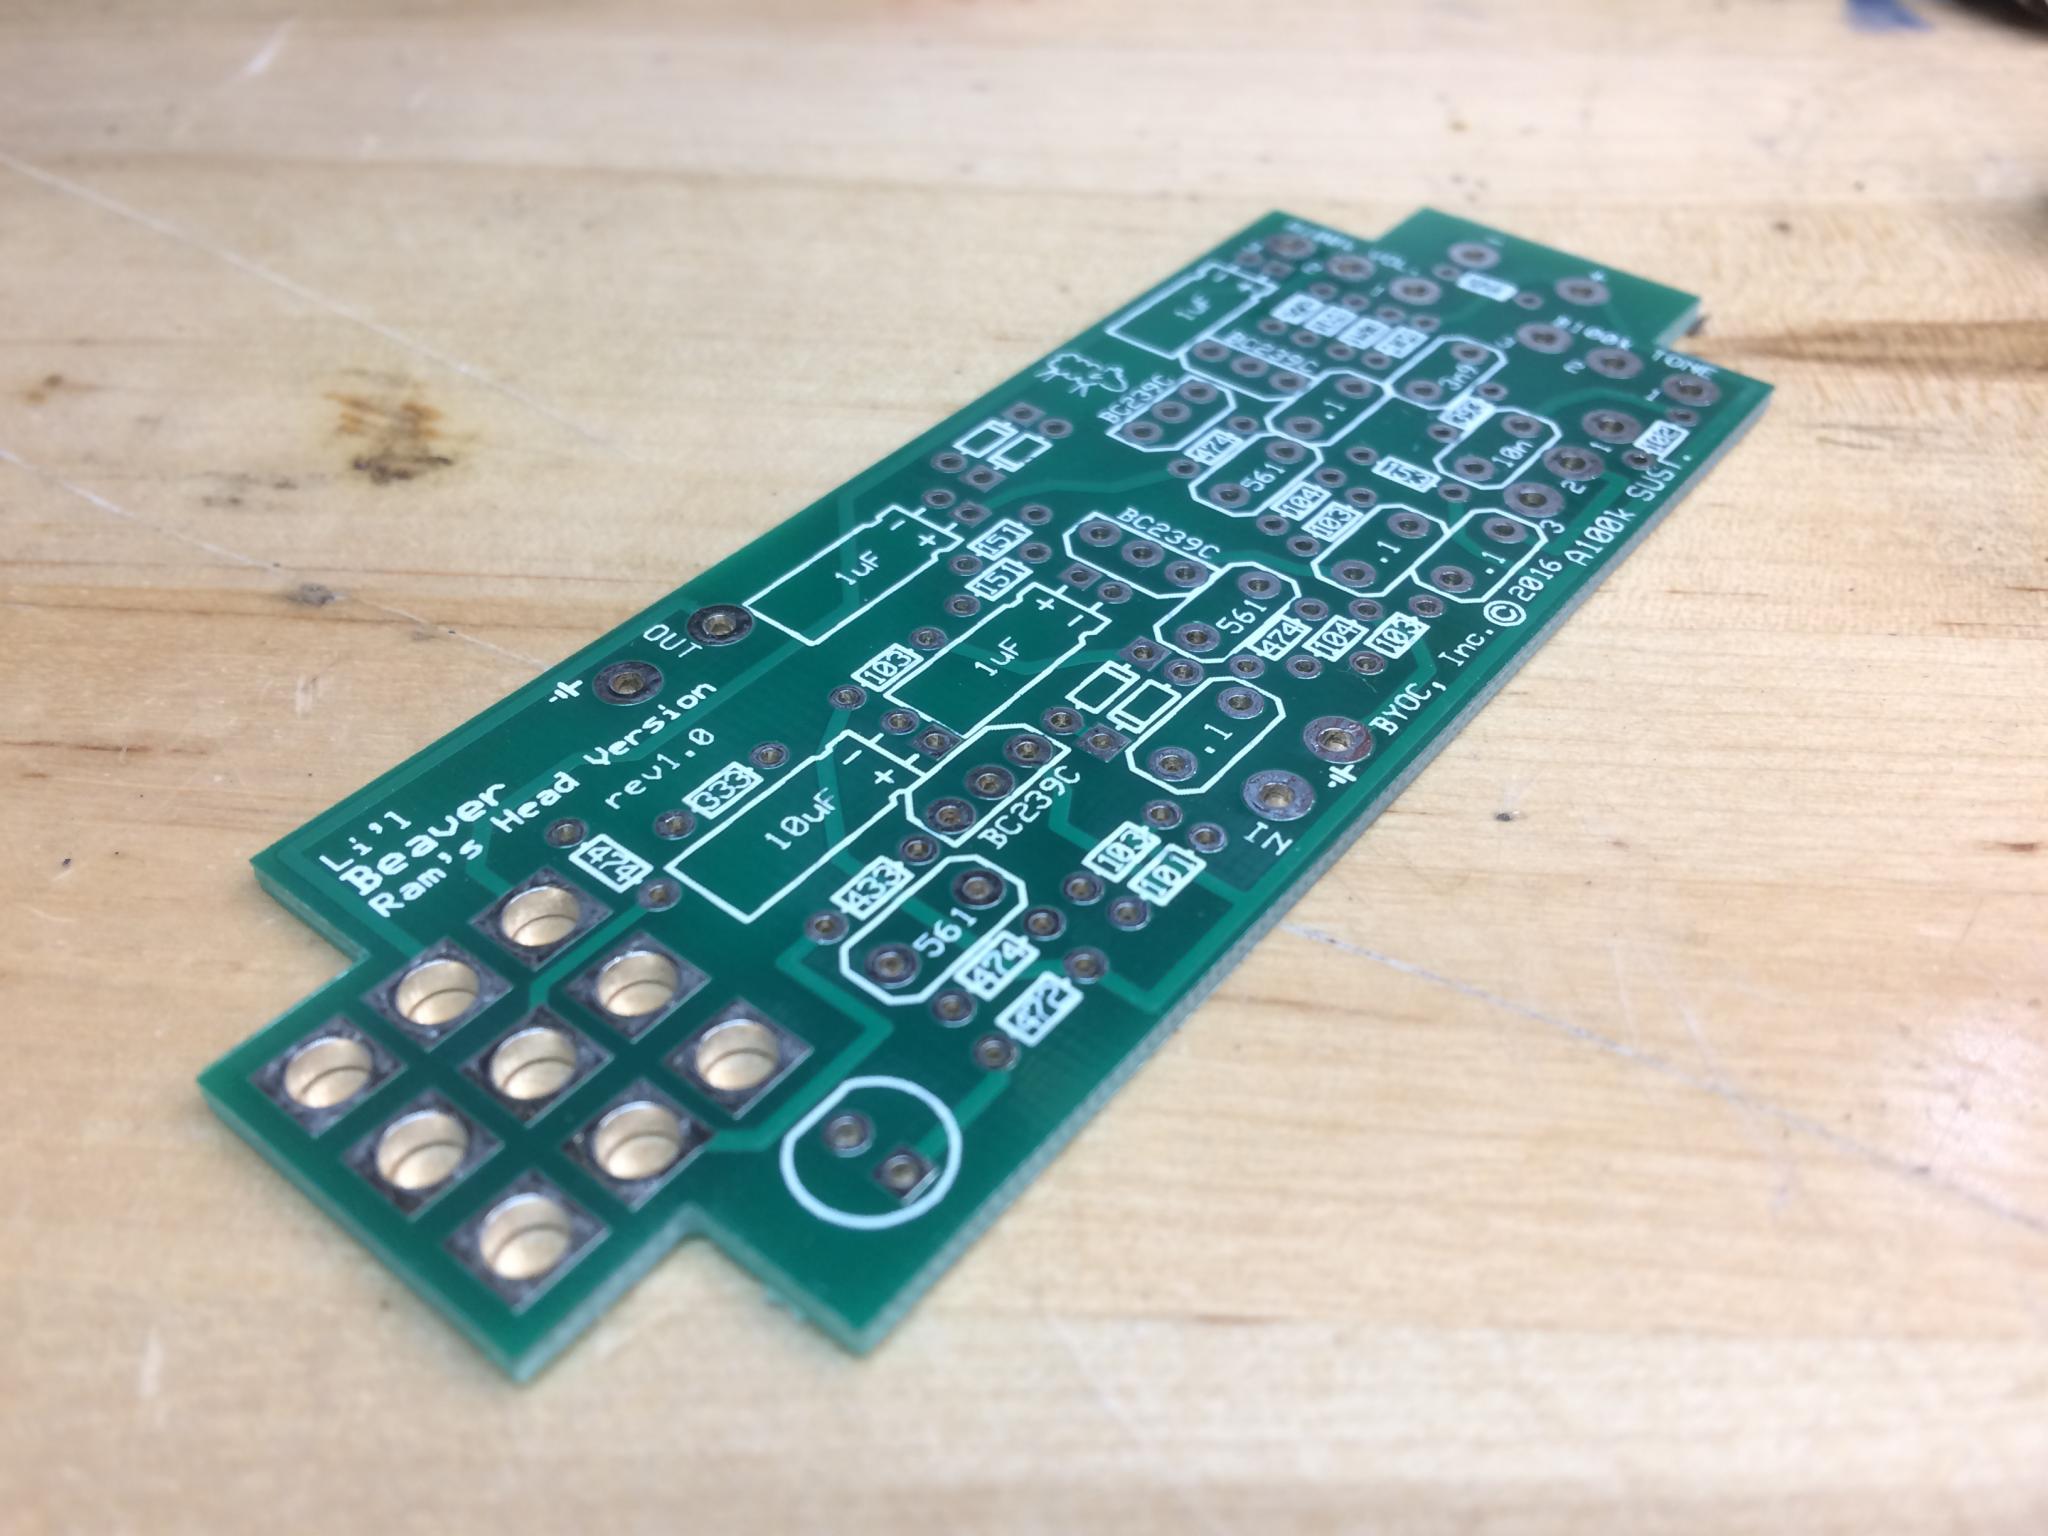
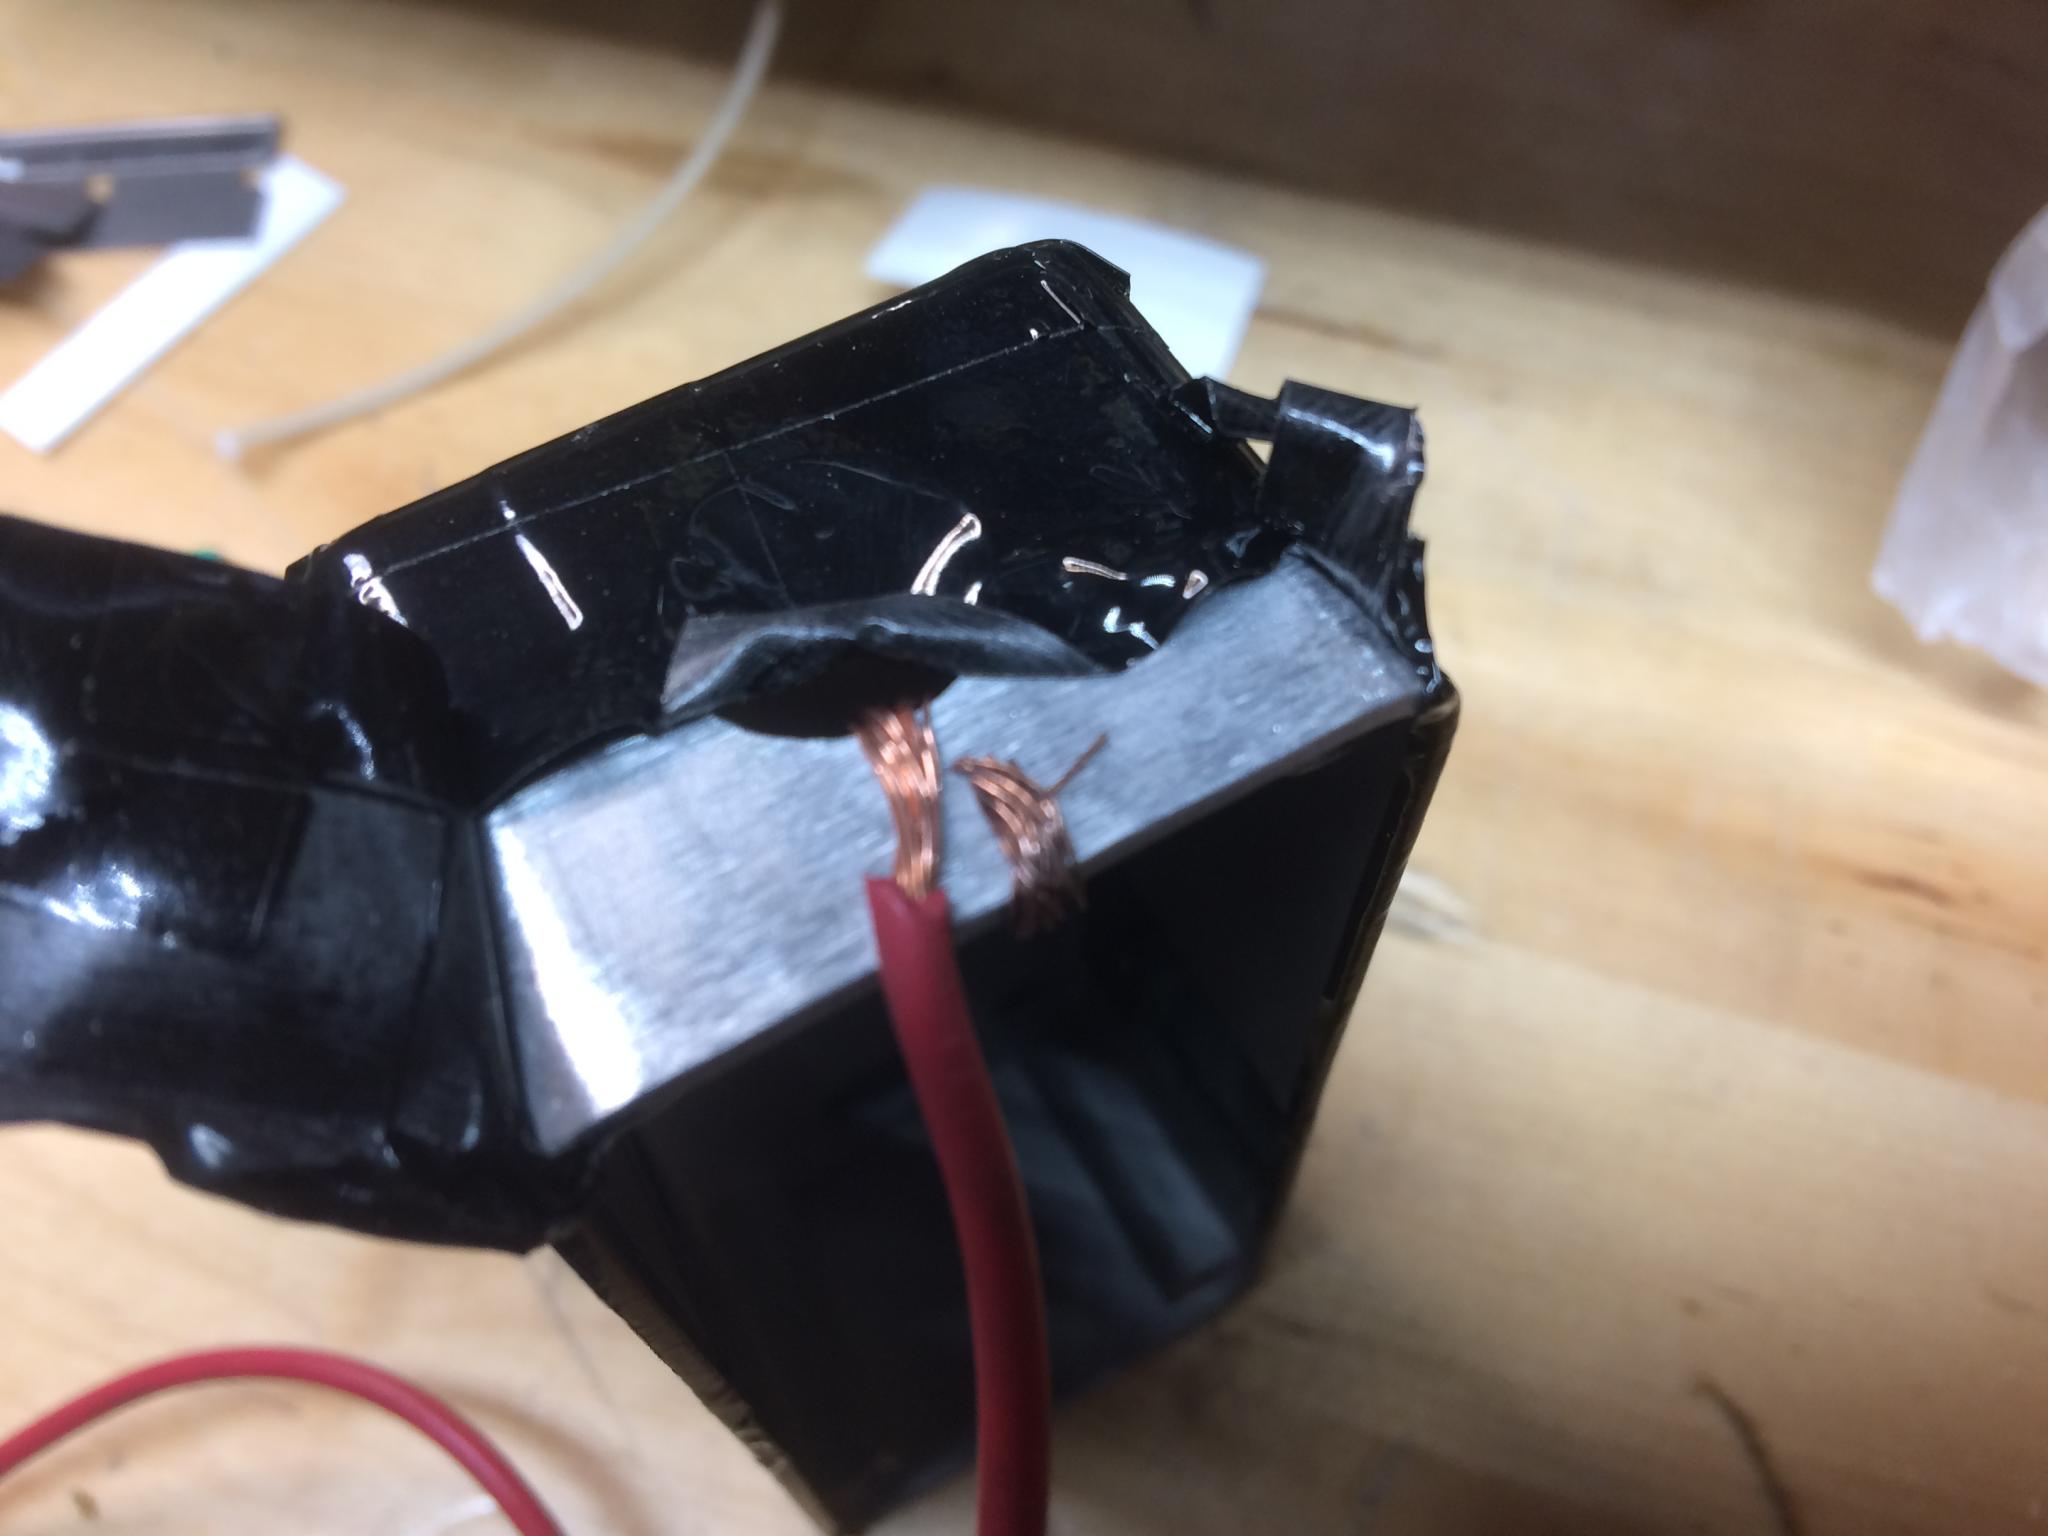
Here's a peek at the backside of the board. I'm pretty happy with how it's turned out. I think I've got a pretty good chance of it working.

Let's see how this turns out. I am maturely avoiding the fact that this pedal seems to normally be named after wink wink nudge nudge.
I used the vinyl cutter to make some graphics, plumbing the limits of its resolution. They'll be a mask for the paint. Carefully applied:

The only good red I have is Rustoleum, so it's gonna take a few hours to dry. Sigh. Then we find out if this worked or if it's completely impossible to remove the masking. The paint was also fairly old so I have some artistic texturing.

I also realized after looking at the pictures that I cleverly transposed two of the labels for the knobs. Guess I'd better see how the wiring looks so I can re-work it. Or strip the enclosure and do it all again...
Ian F
MegaDork
7/21/17 7:38 a.m.
You are putting more effort into appearance than I would. I'd probably leave the case raw and use P-touch labels for the knobs.
Nah, I'd use my old-school Dymo embosser on aluminum tape Can't say I didn't consider it.
Now that the amp build is underway, I may strip this back down and try the electro etching. When I checked this morning, the (very old) Rustoleum was still tacky. It may not behave. We'll see.
Ahh, it's a Big Muff clone. Nice! 
I have this one:

I see they have different kits for the Electro Harmonix and the Russian ones. That's cool.

So, the paint was a failure. Which is funny, because I've painted cars. But the self-etching primer didn't get a good bite - poor prep - and that Rustoleum was well past the sell-by date. So I chucked the box in the bead blaster and took it back down to bare metal. Then I tried something. Something that can be done with everything you've got in the garage already and is super-cool.
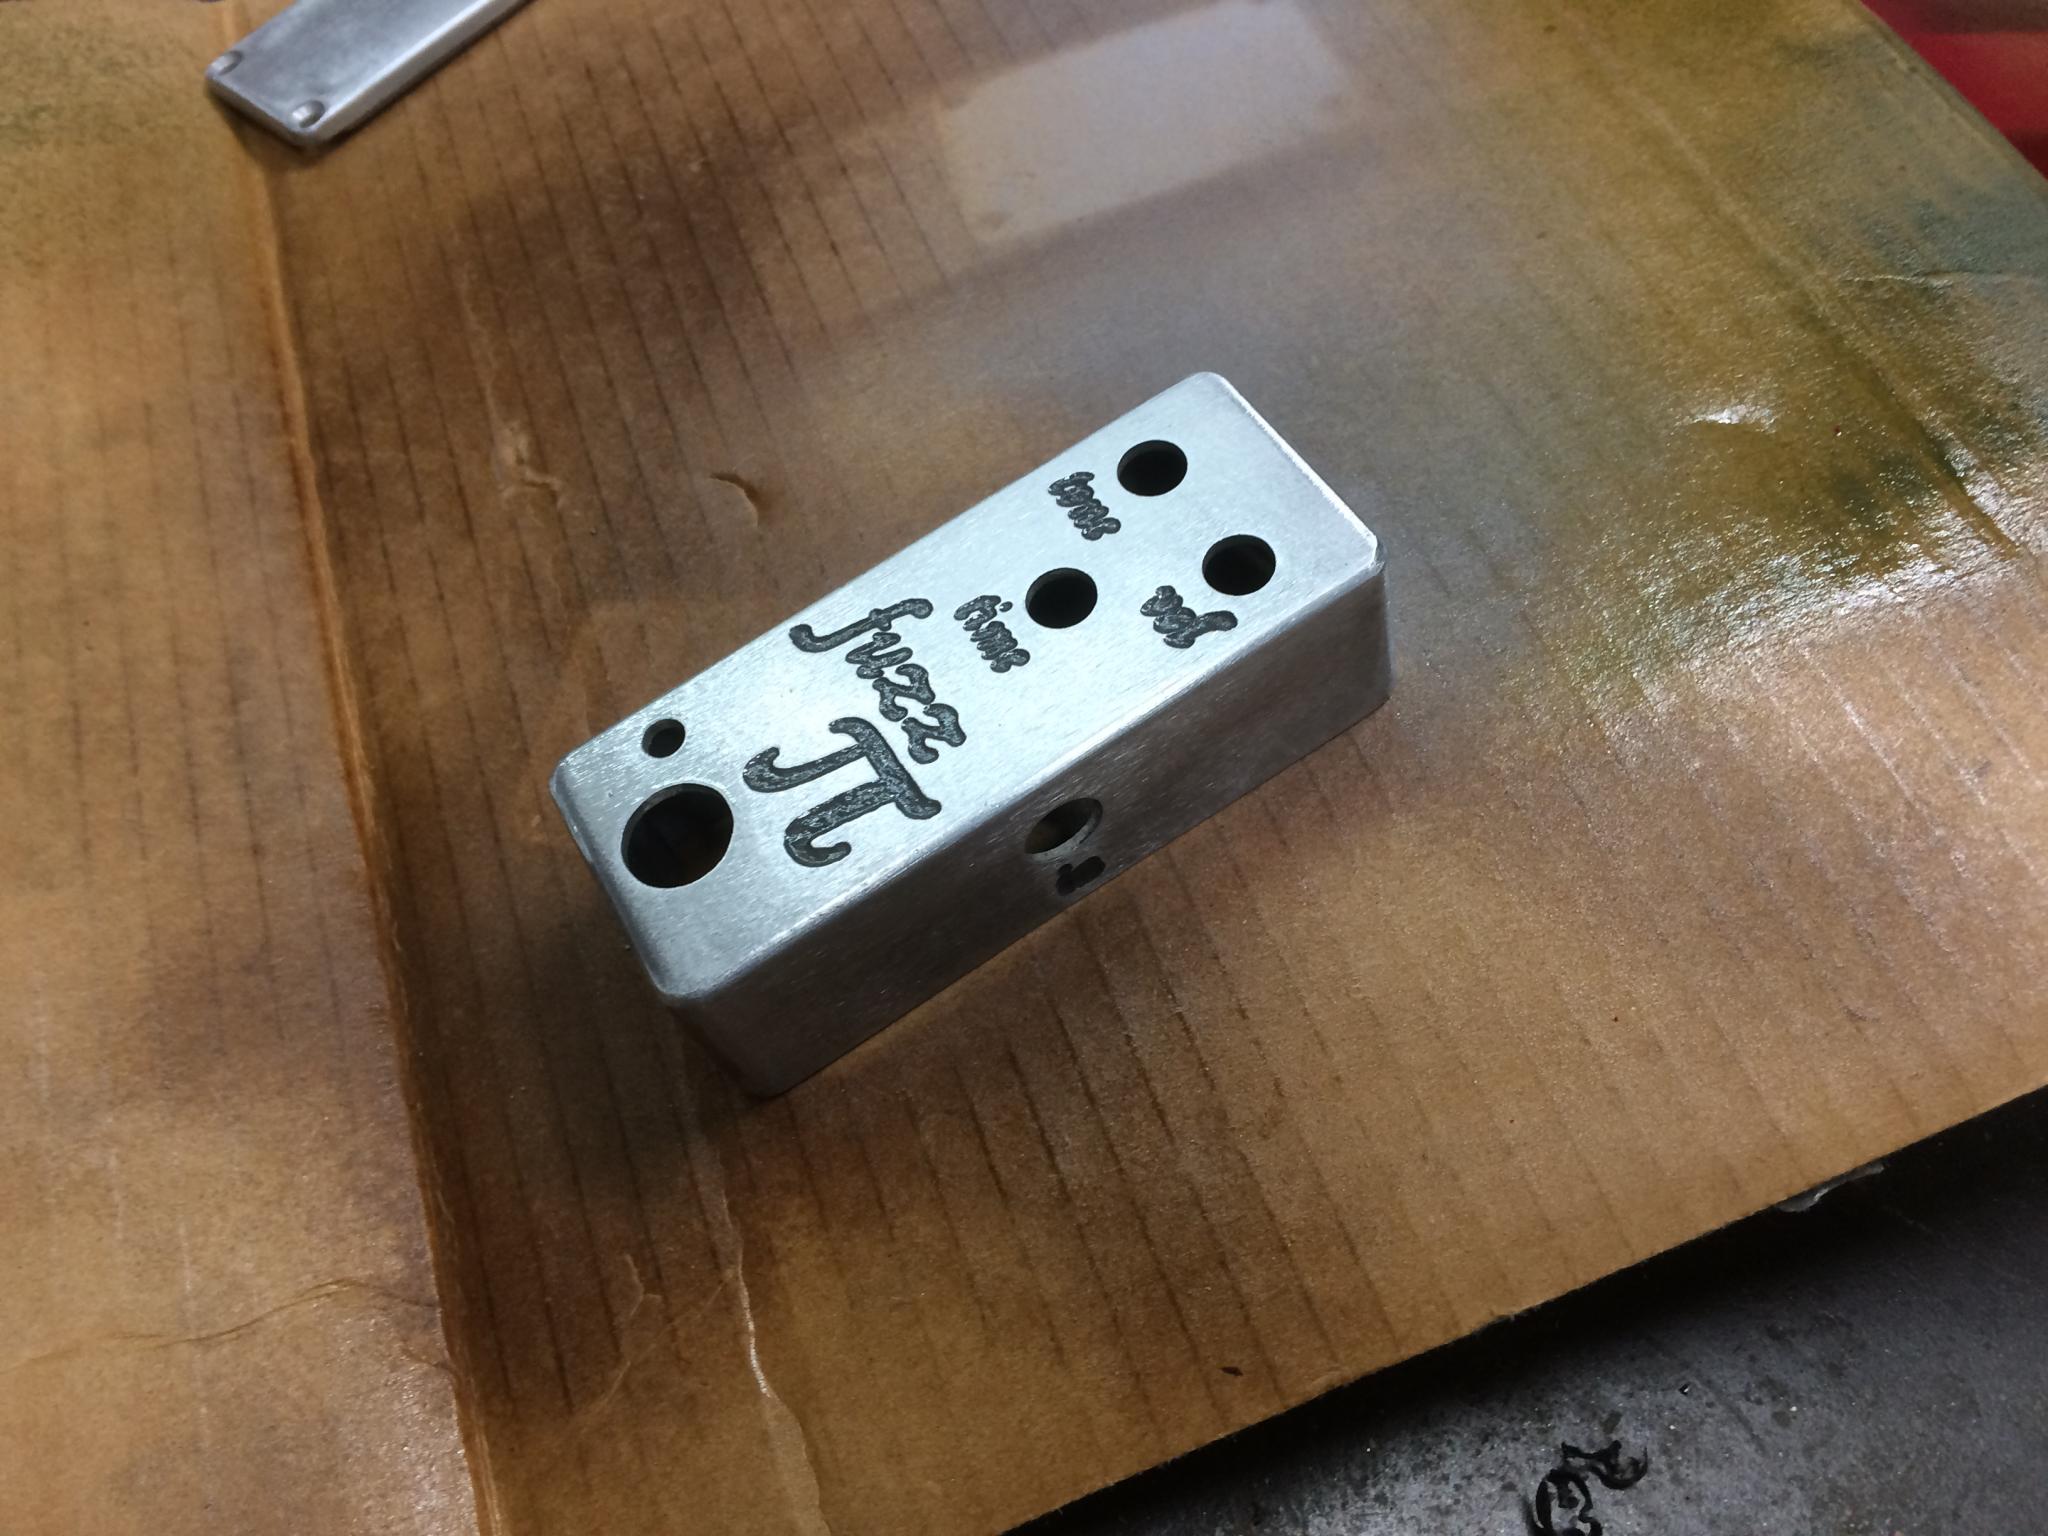
Here's the test piece on the bottom of the enclosure.
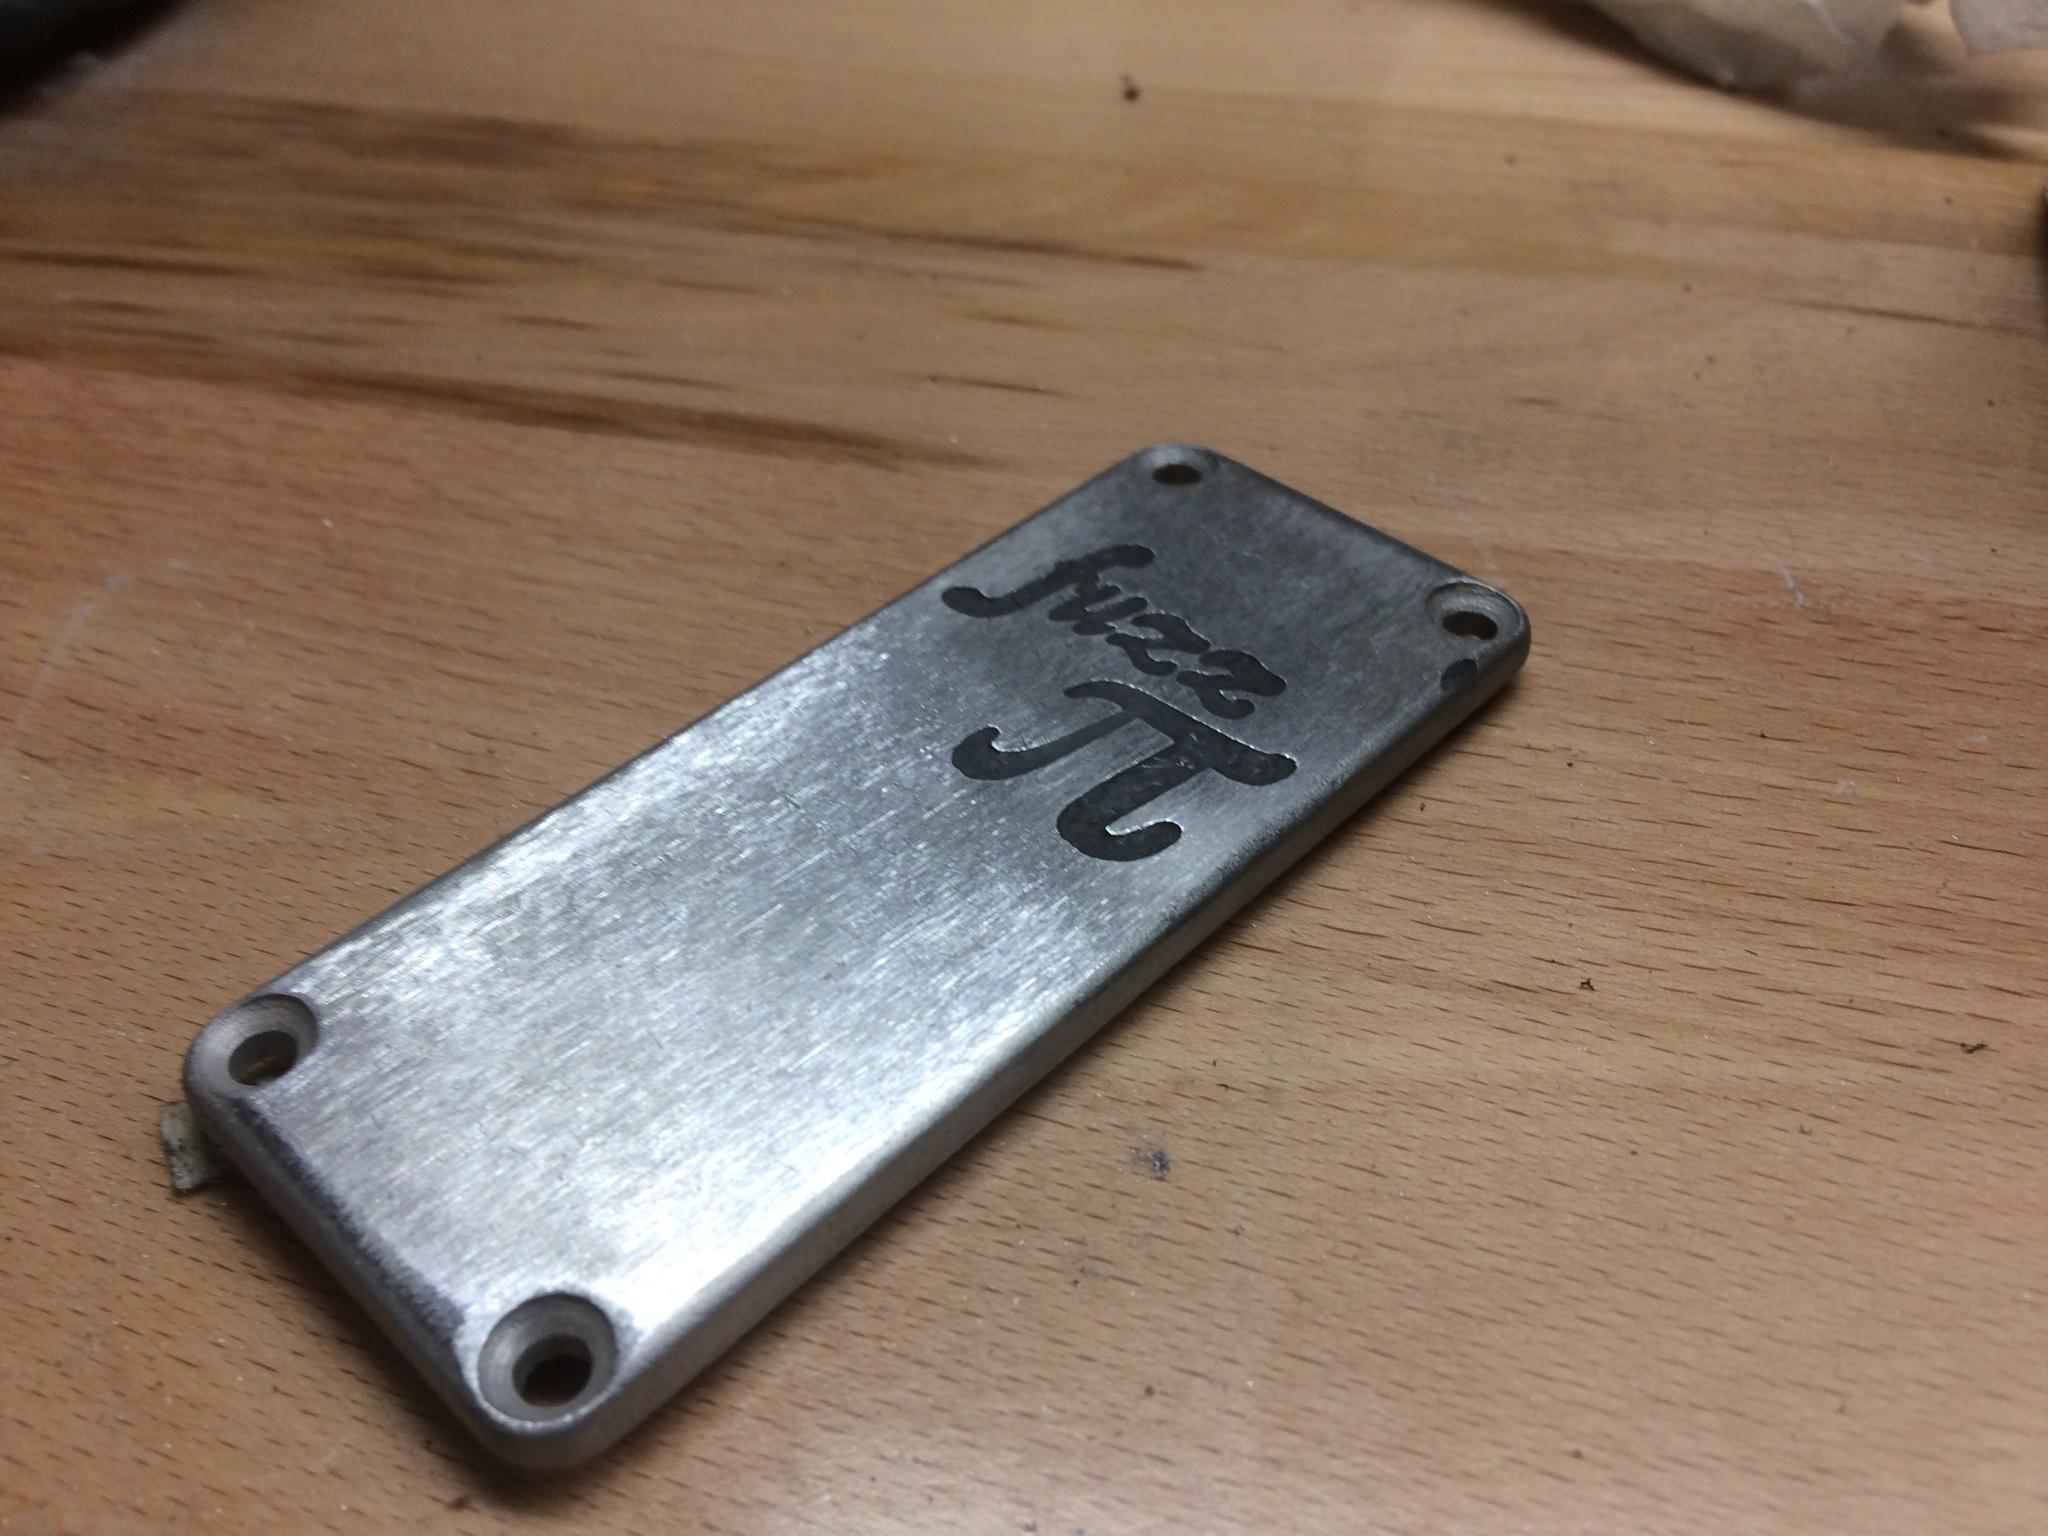
Okay, that turned out pretty well. Electro-etching!
First, mask off all the stuff you don't want etched. I used vinyl because I have access to a vinyl cutter. You can also use toner from a laser printer which gives you a lot more control and resolution. But I already know how to use my vinyl cutter
Make sure you have a wire making a good electrical connection to the piece, and tape it off so water can't get in there. Anywhere you have water making contact, you'll get erosion.
Plop it in some salt water deep enough to cover it. Attach the wire to the positive terminal of a battery charger - or, if your battery charger is smart like mine, just use a battery. Note - most people do this at 2A or so, putting a big car battery behind it means you're going to get some rapid action. The water is nasty looking because 1) this is the second piece and 2) I only had pink Himalayan sea salt
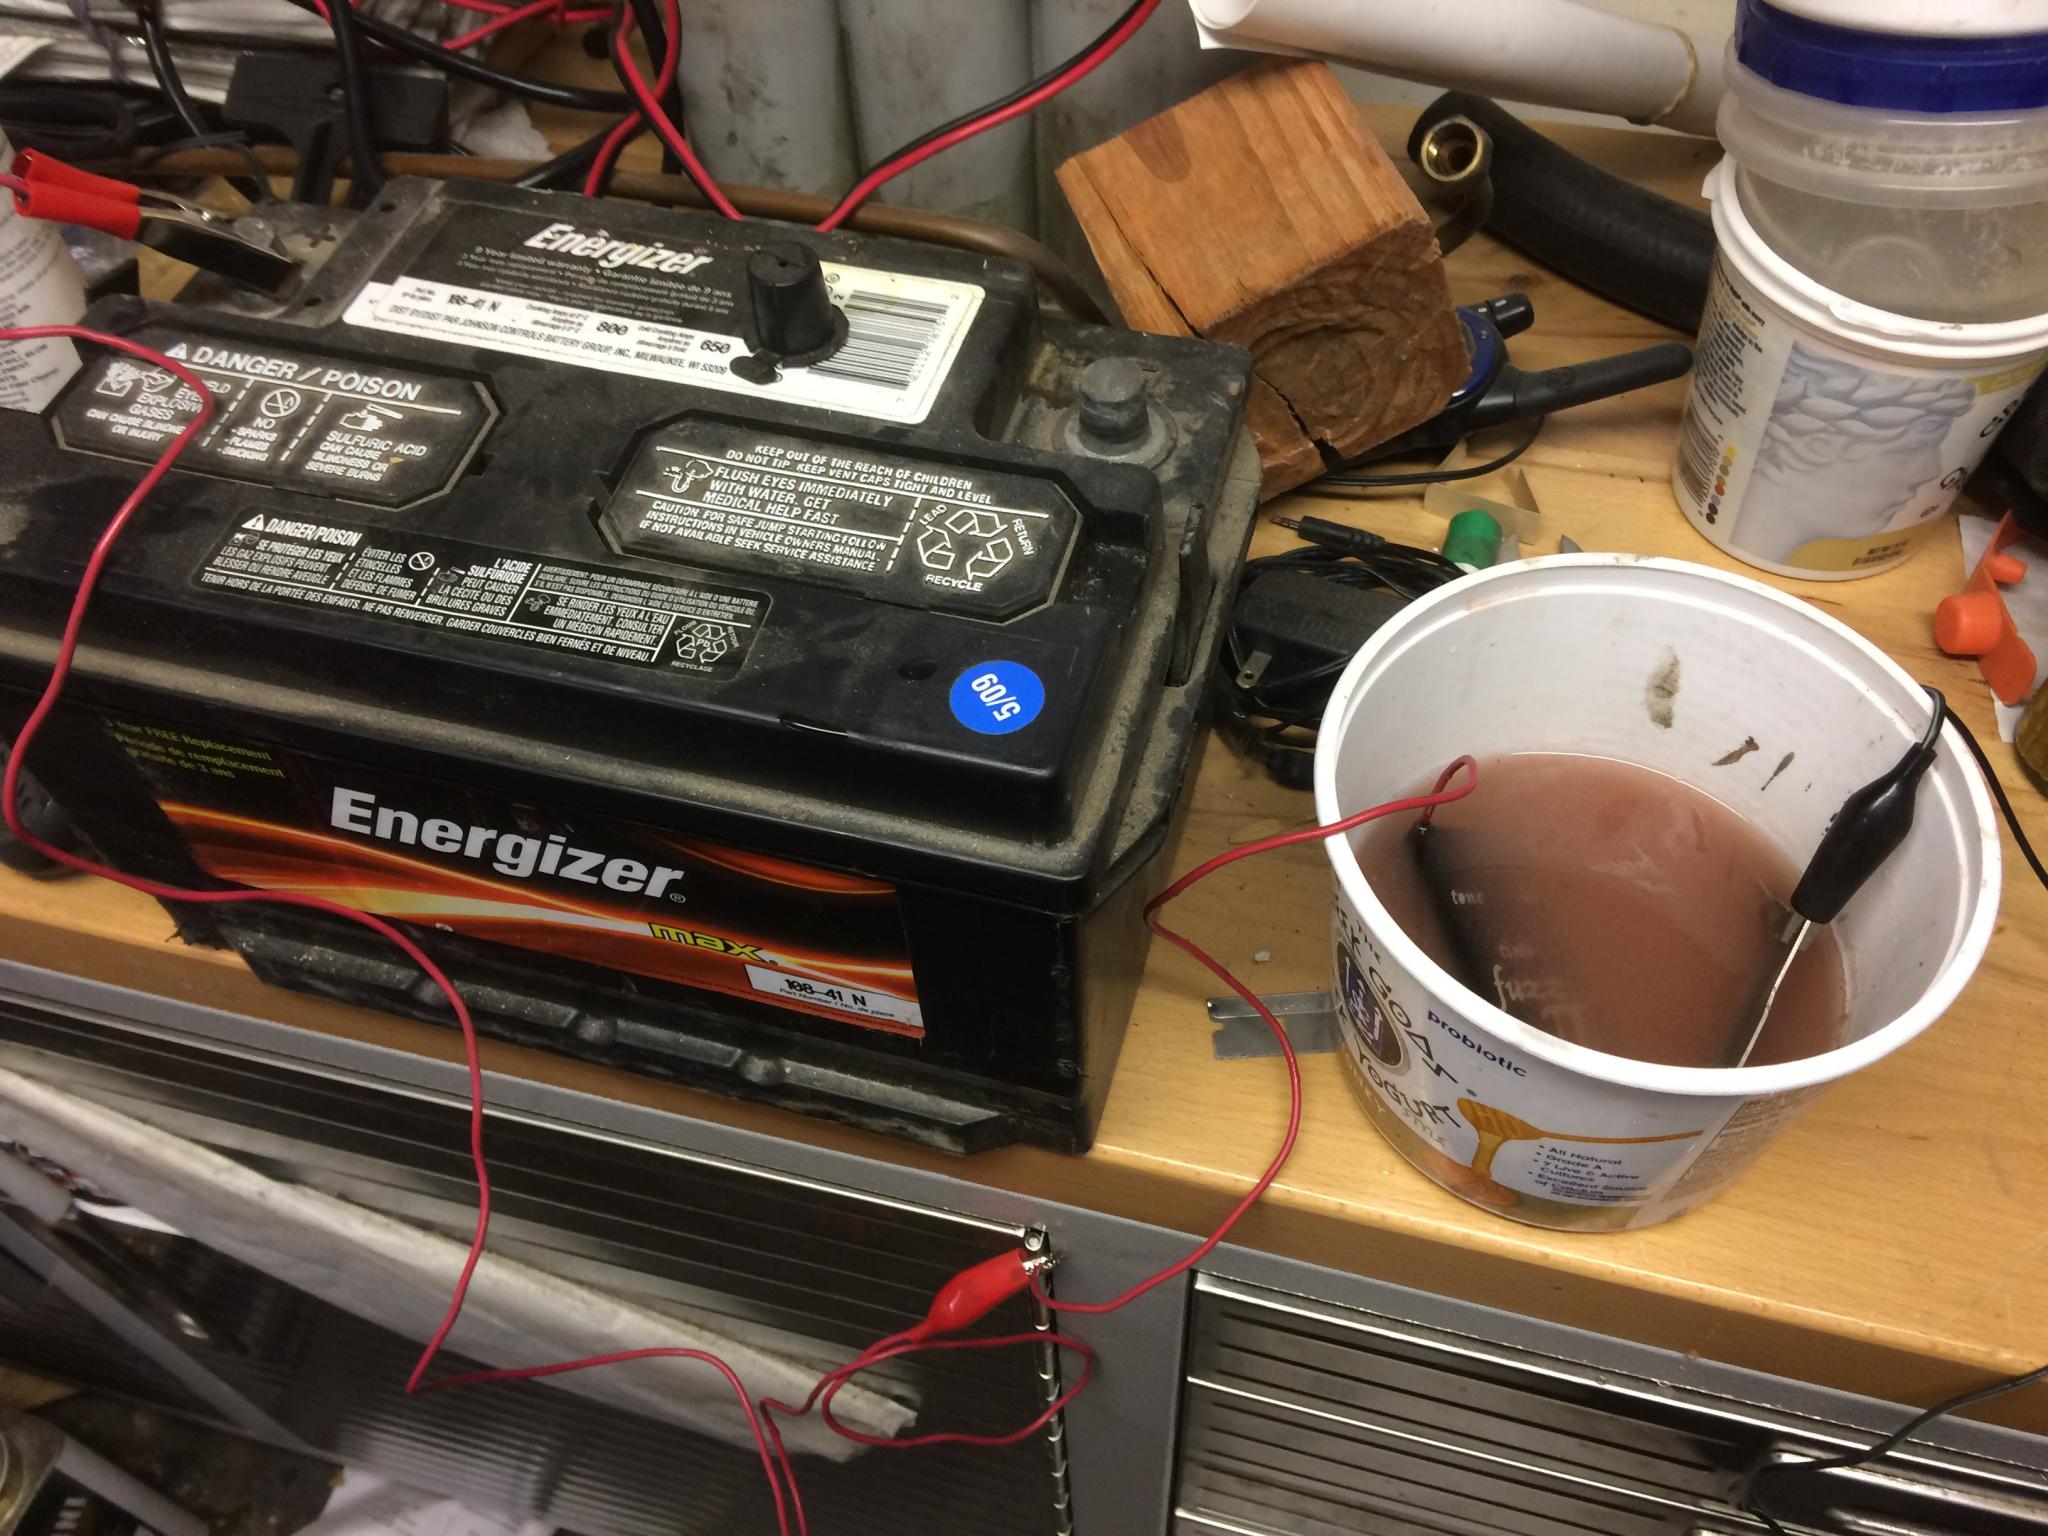
Attach another wire to a piece of metal - aluminum in this case, stainless is also good and put it in the water. Attach that wire to the negative pole of our power source. Stuff starts to happen. I'm pretty sure those bubbles are hydrogen and oxygen, so it's a bad time to light up a smoke. This is basically high speed galvanic corrosion, I think.
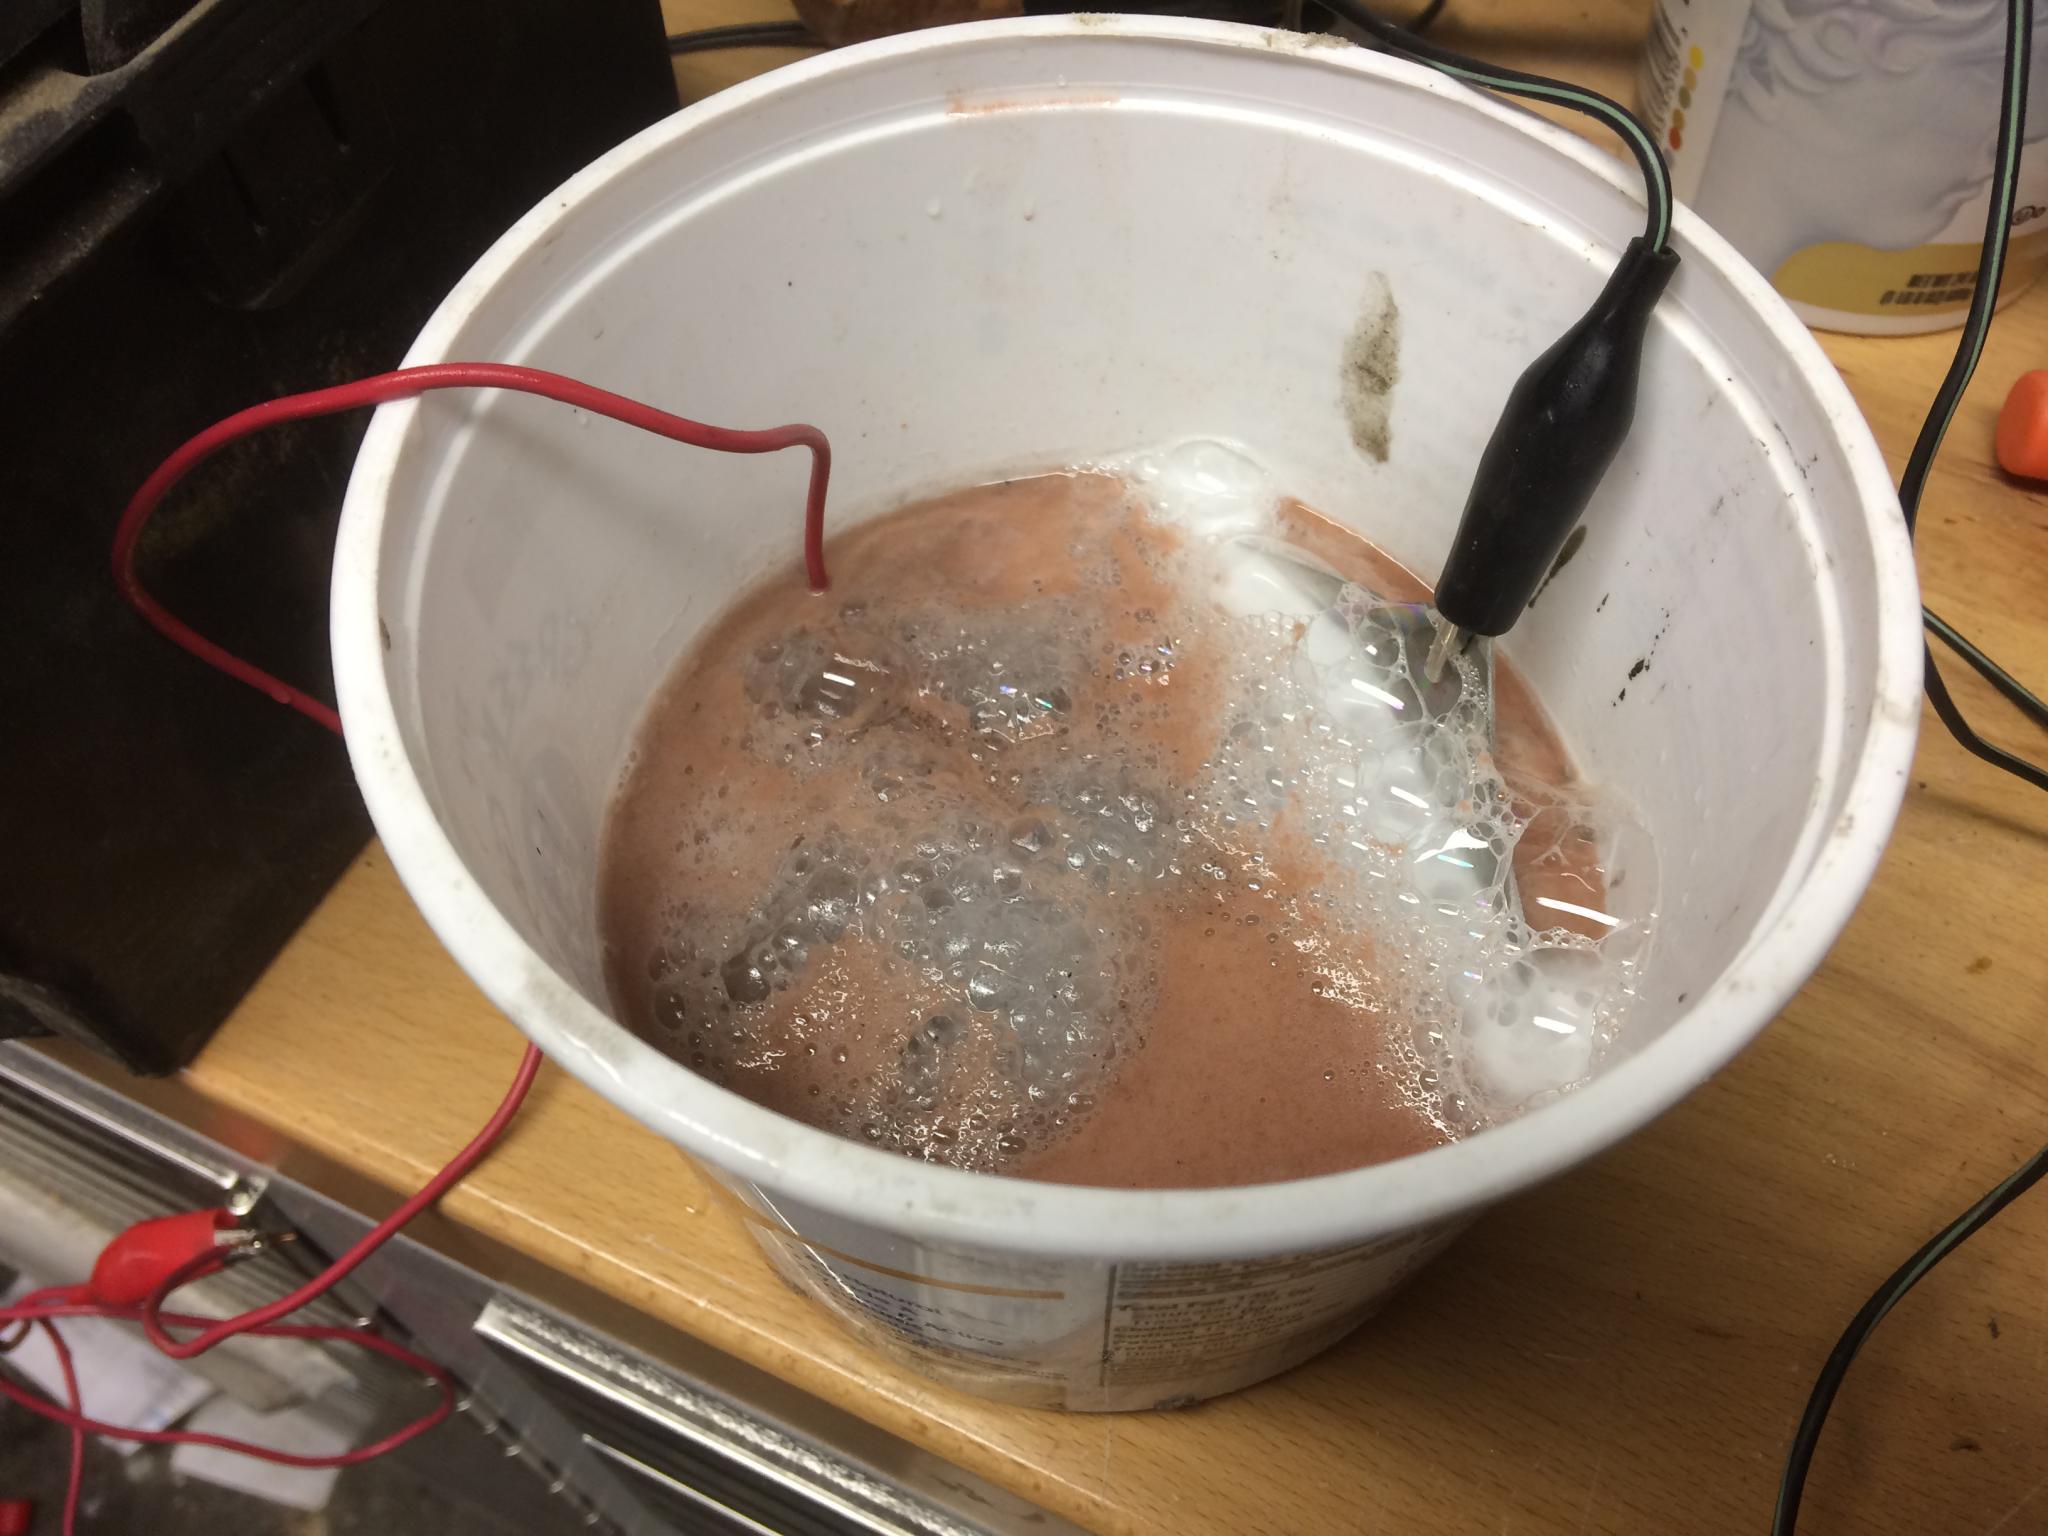
After...time...disconnect your power and pull the piece out of the nasty water. You can check it as you go to get an idea of how far it's etched, but it's hard to judge when you use vinyl for a mask like I did.
After a wash off and a run over the belt sander to increase the contrast, here's what we have! If I'd polished the housing first I'll bet the belt sander wouldn't have been necessary.
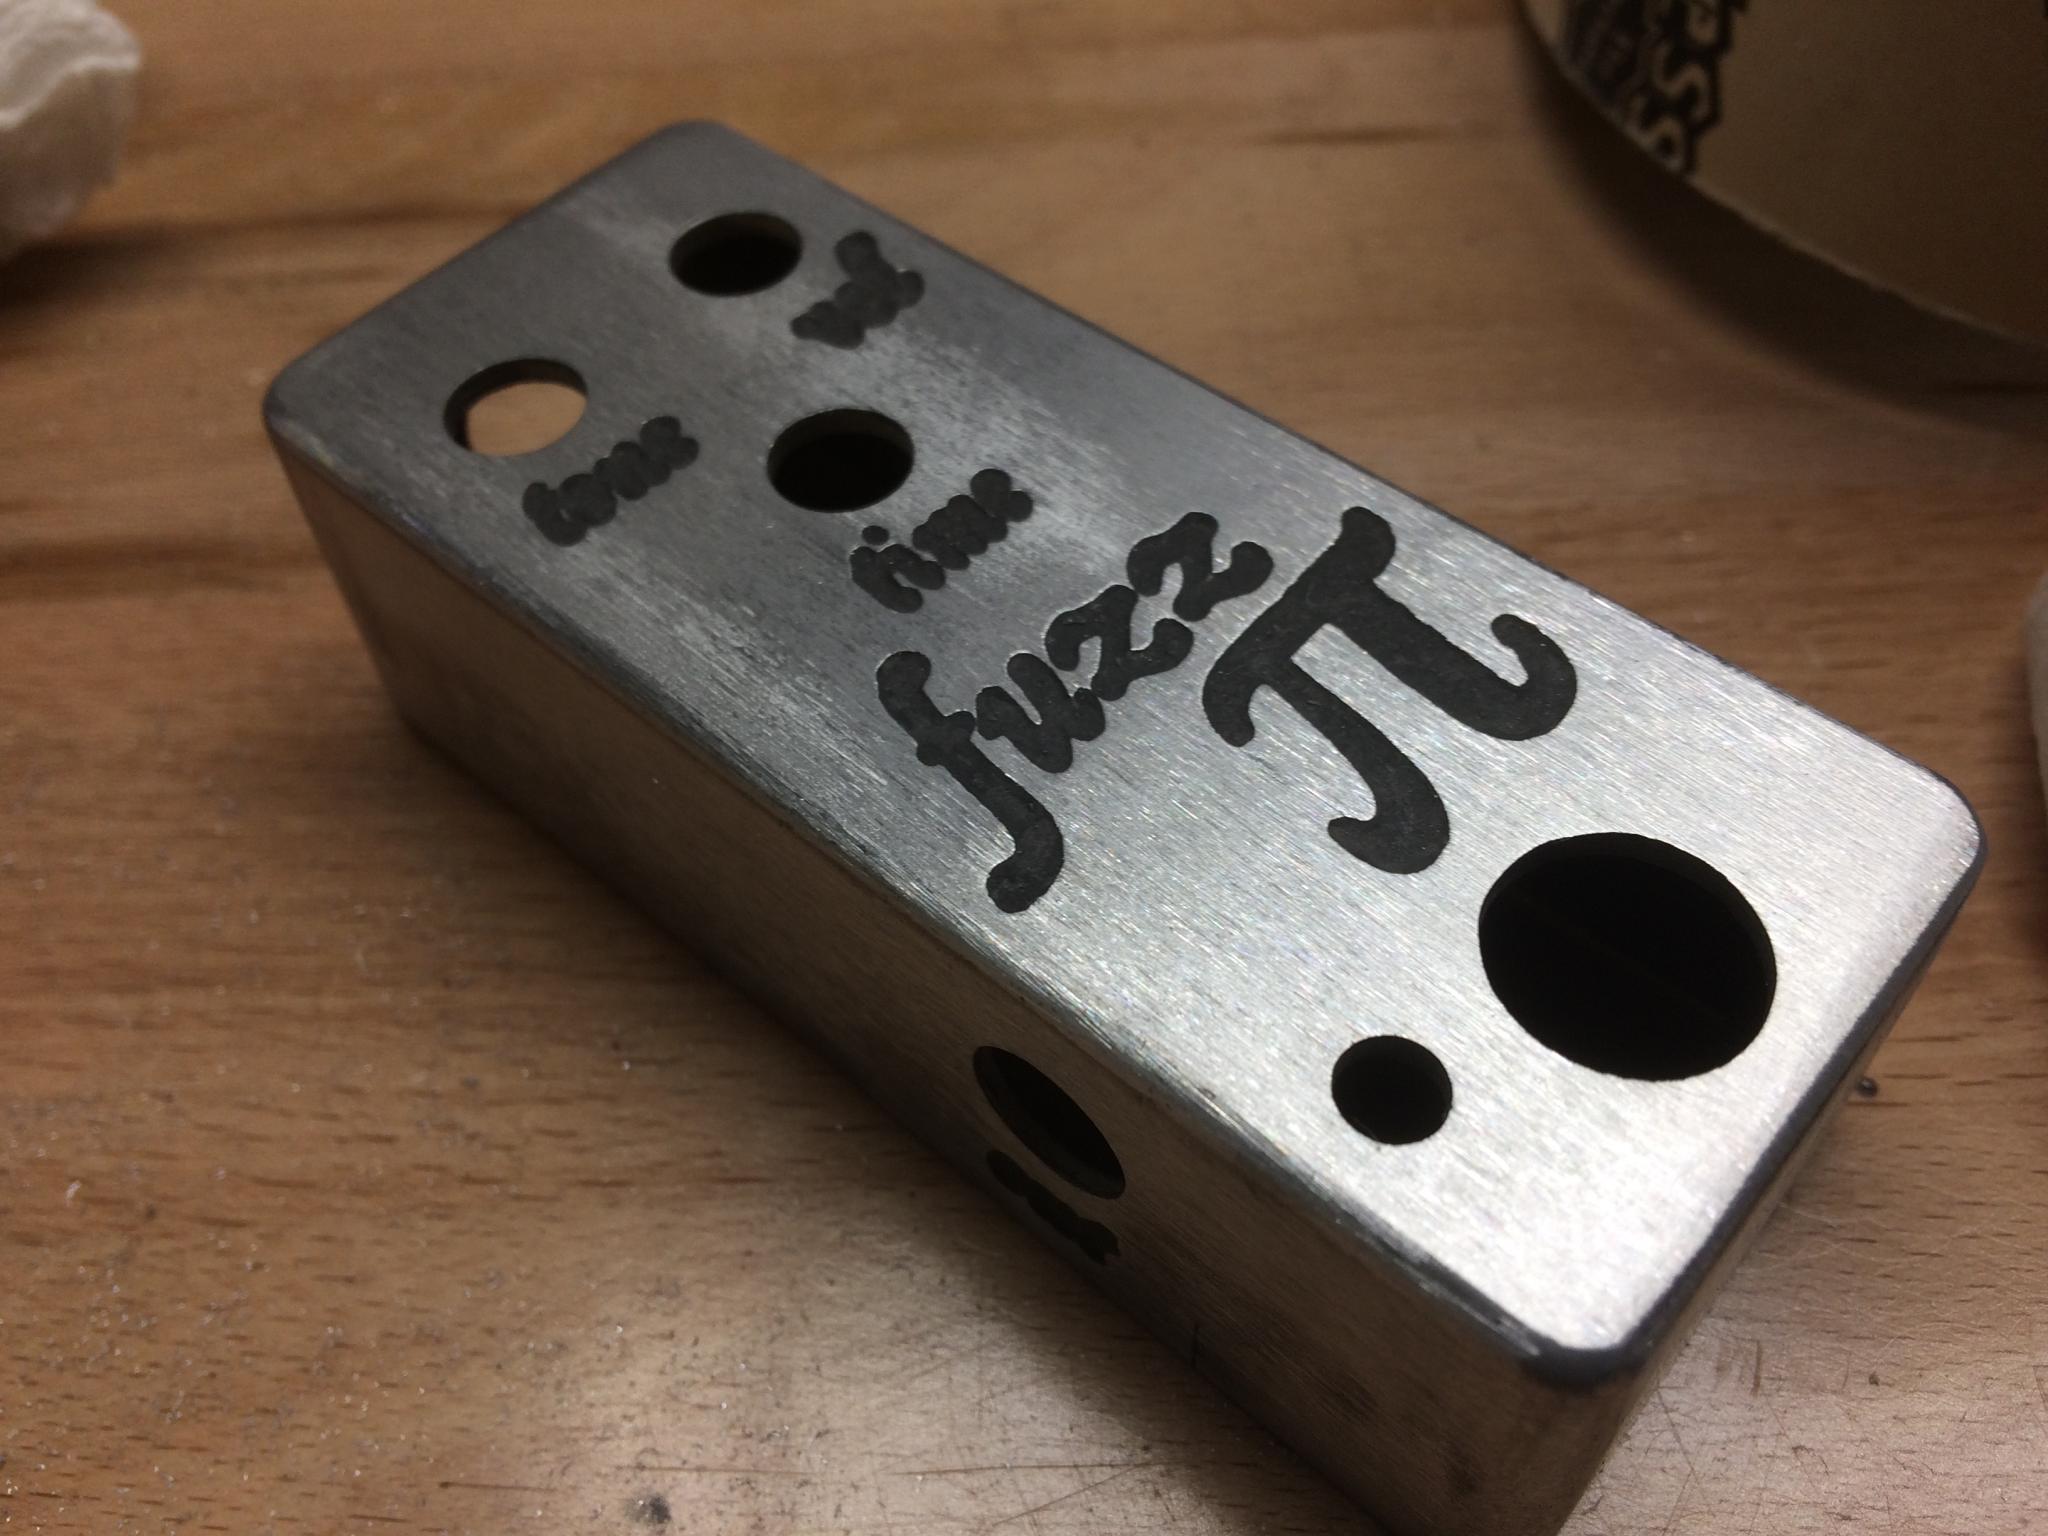
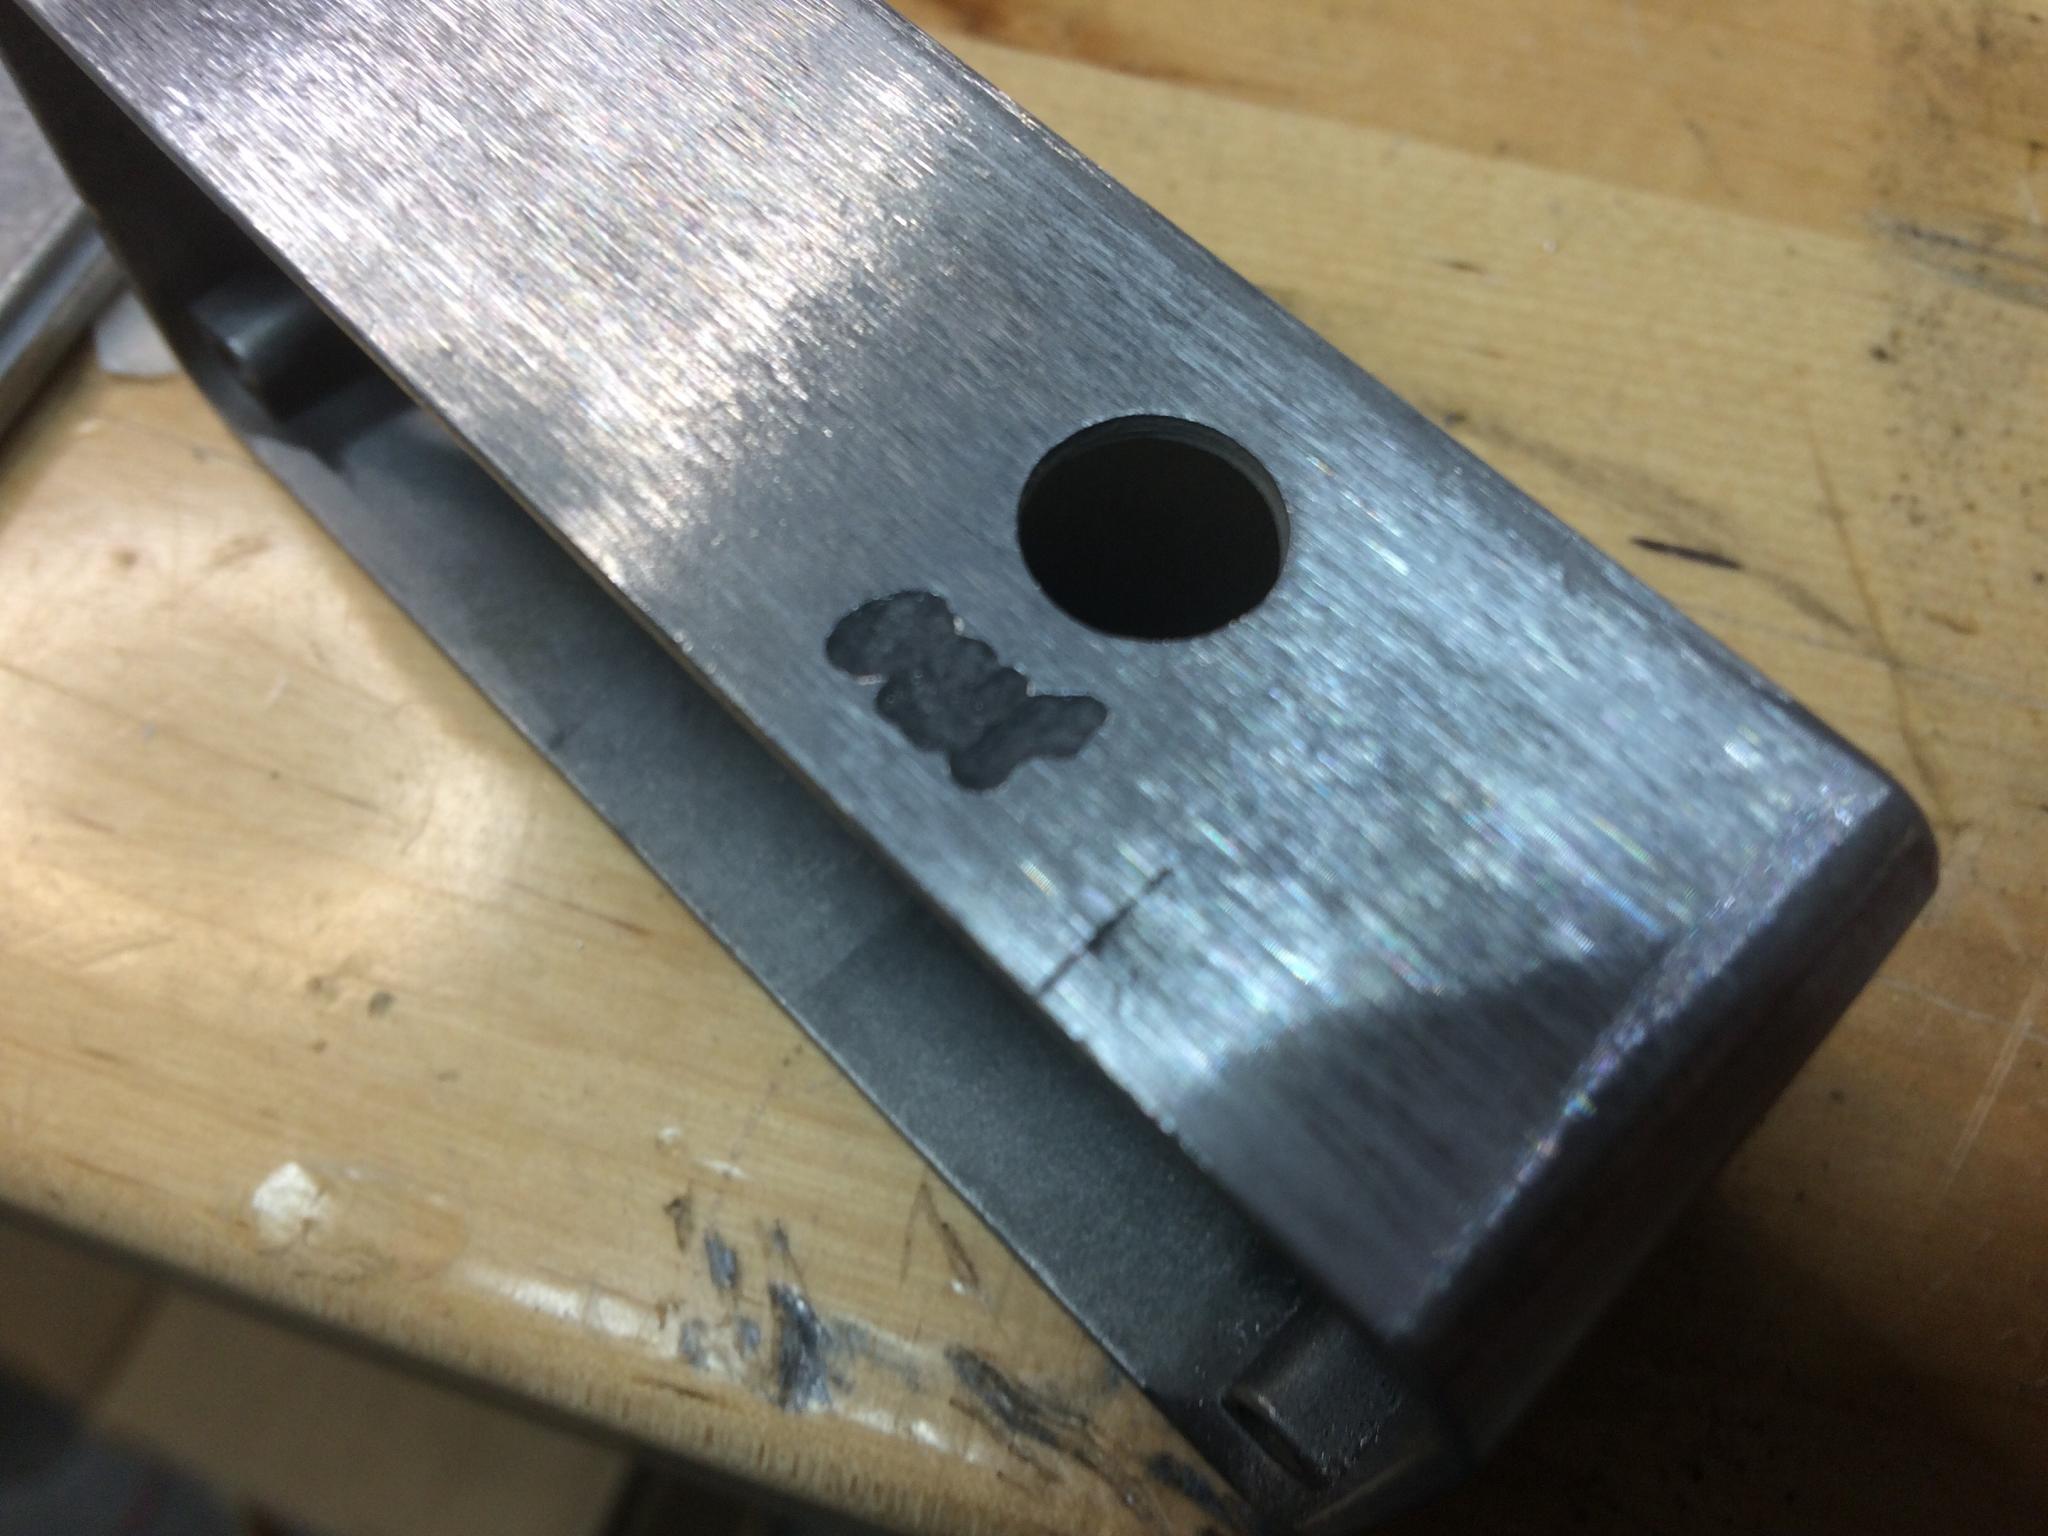
I left it in too long - 10 minutes with the battery. It undercut the edges of the vinyl and everything got all sloppy. This is supposed to say "out". I'll bet 5 would have been plenty. But it's nice and deep at least.
Scuffed it up with a sanding block, hit it with some clear lacquer so the aluminum doesn't oxide up on me, and I'm done! Total elapsed time: 1 hour from starting the test piece to shooting the lacquer on the finished product.
Very cool, and very durable. Nice!


