


That is really, really, cool!

That is really, really, cool!

So of course, I couldn't go to bed and leave it like that. So I mounted all the pots and jacks and switches and started to attach them. Compared to the roomy tube amp, this was fiddly work.
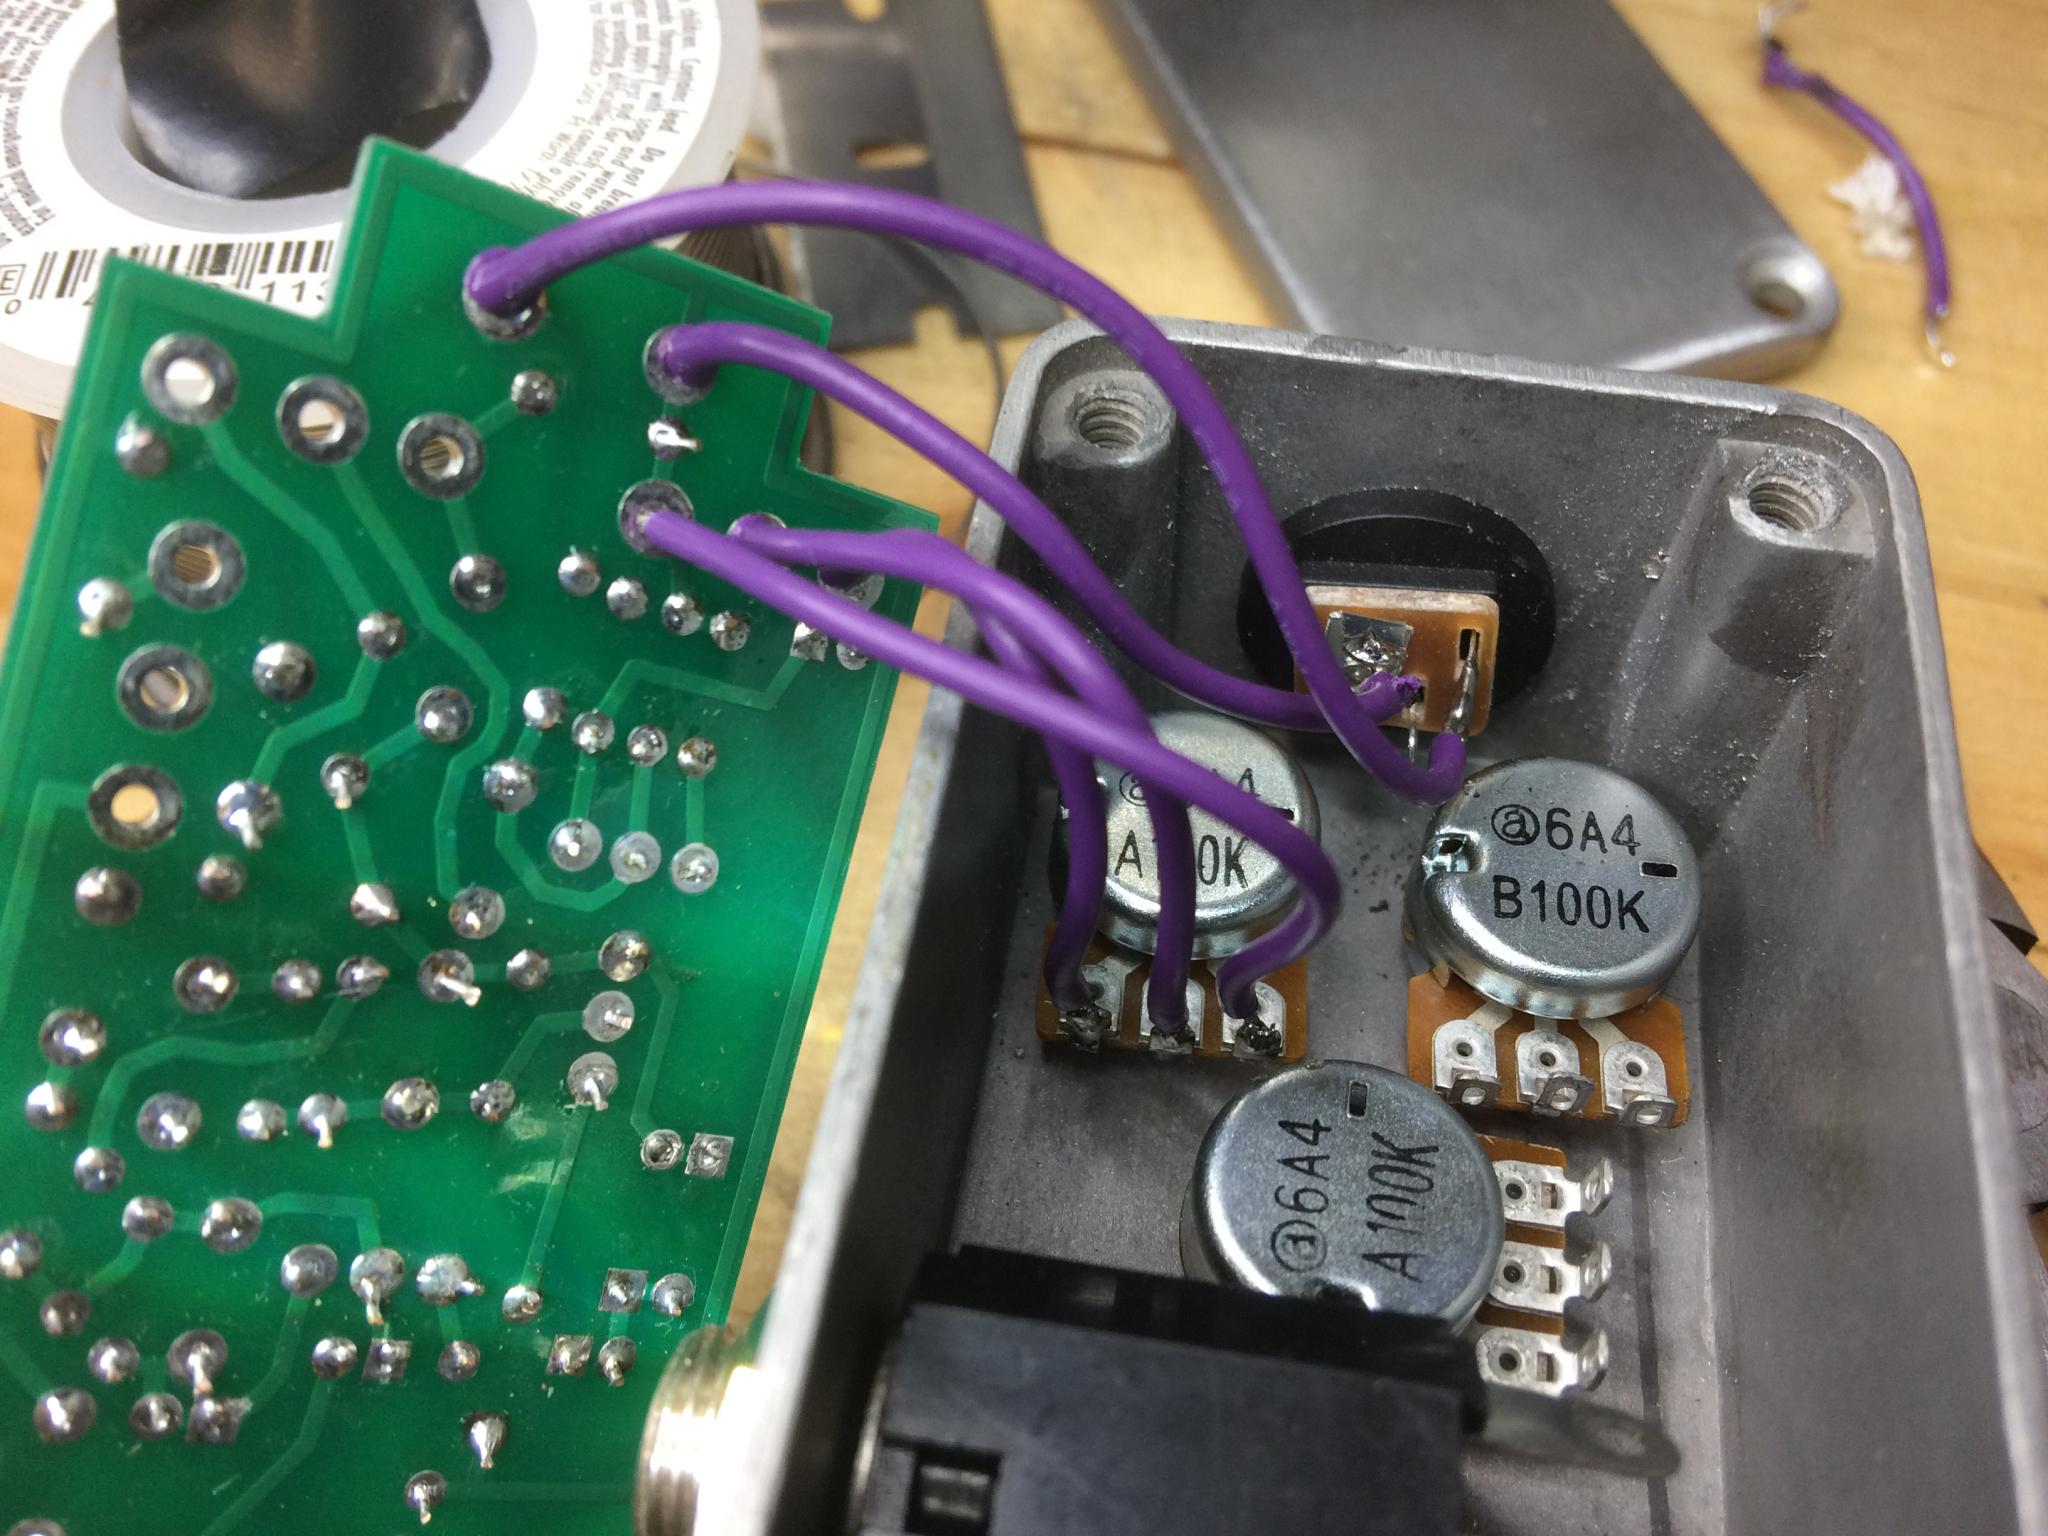
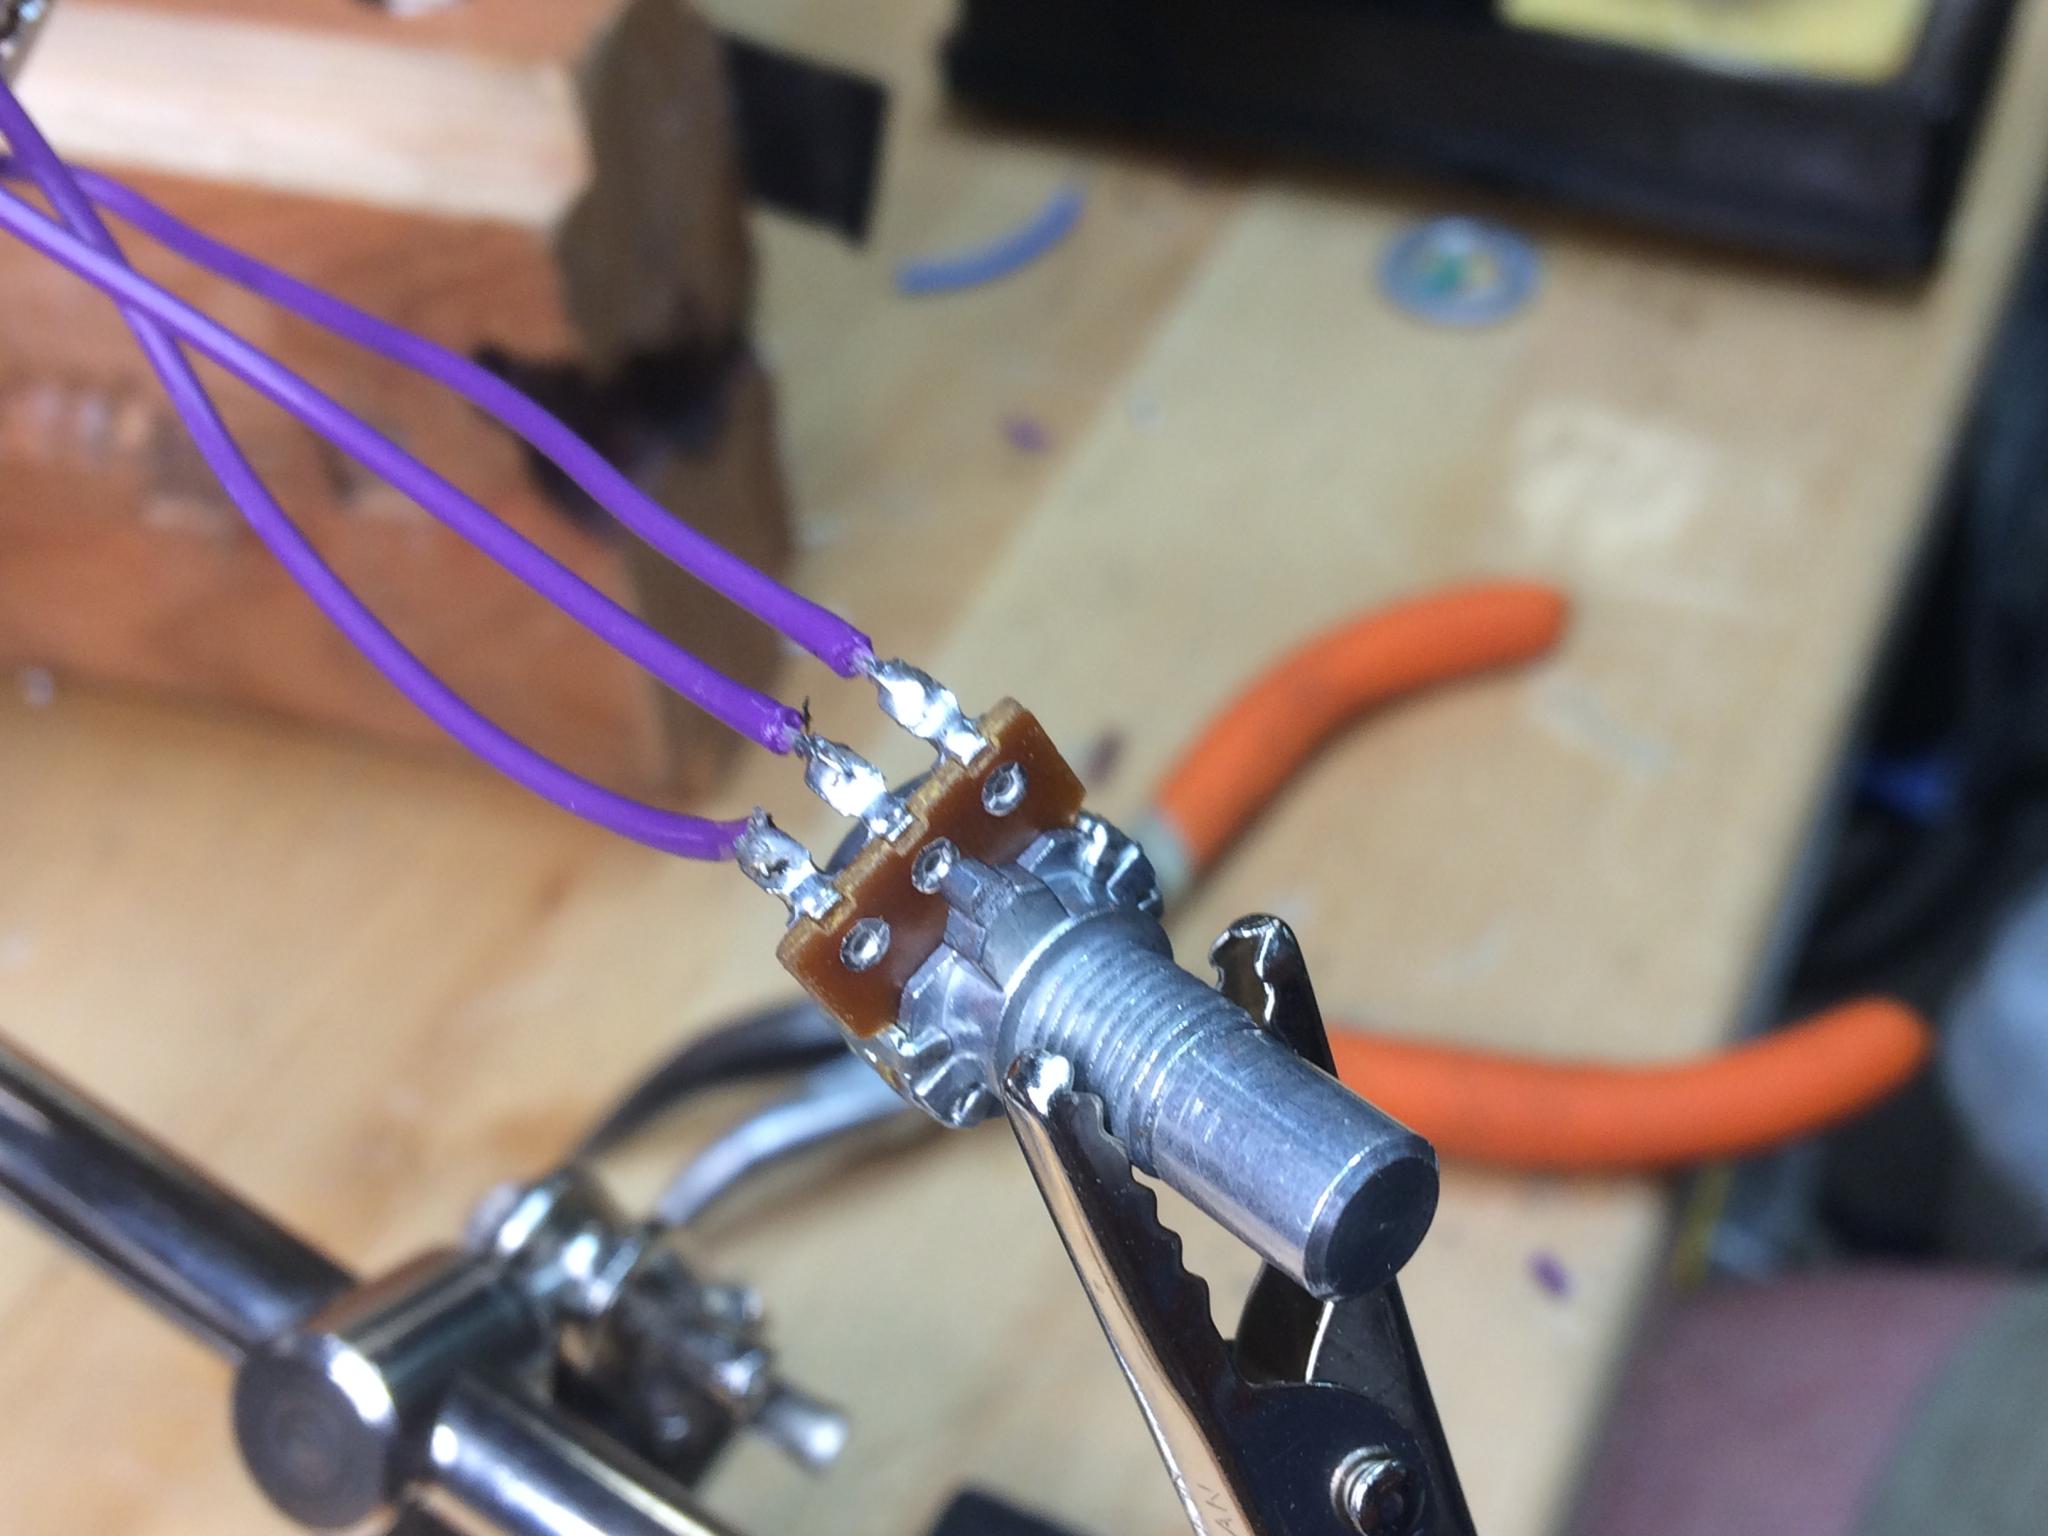
In one case, I pulled the pot out to solder it. Much easier.
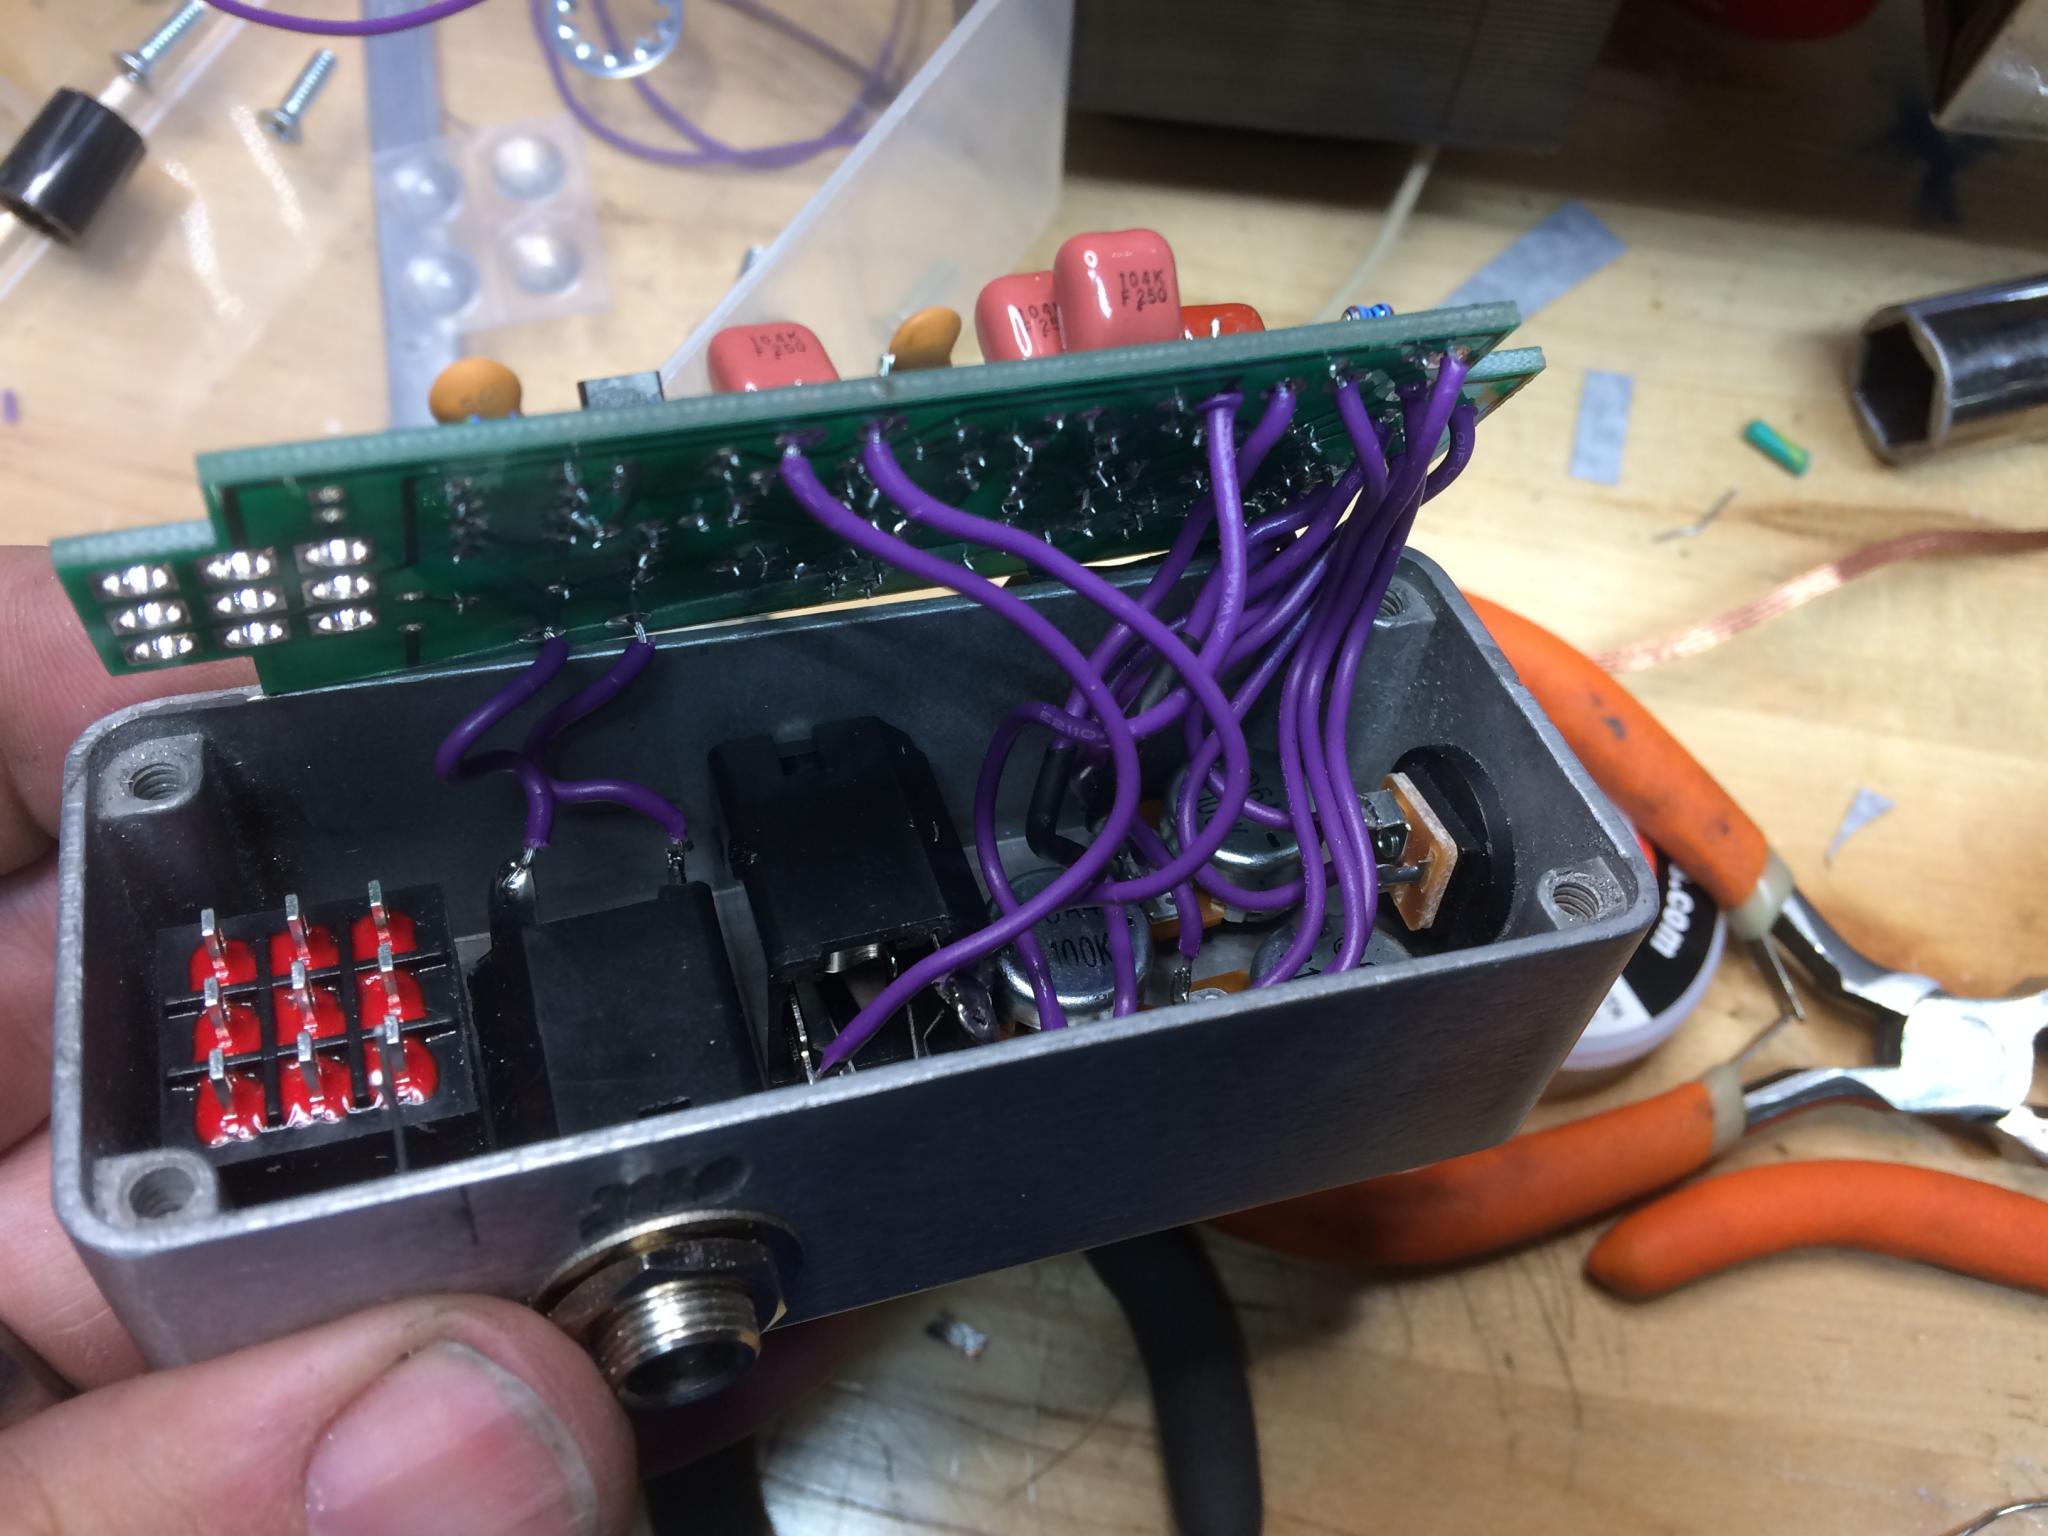
Ready to close up. I thought I'd been fairly parsimonious with my wire lengths, but it packed in there pretty tight.
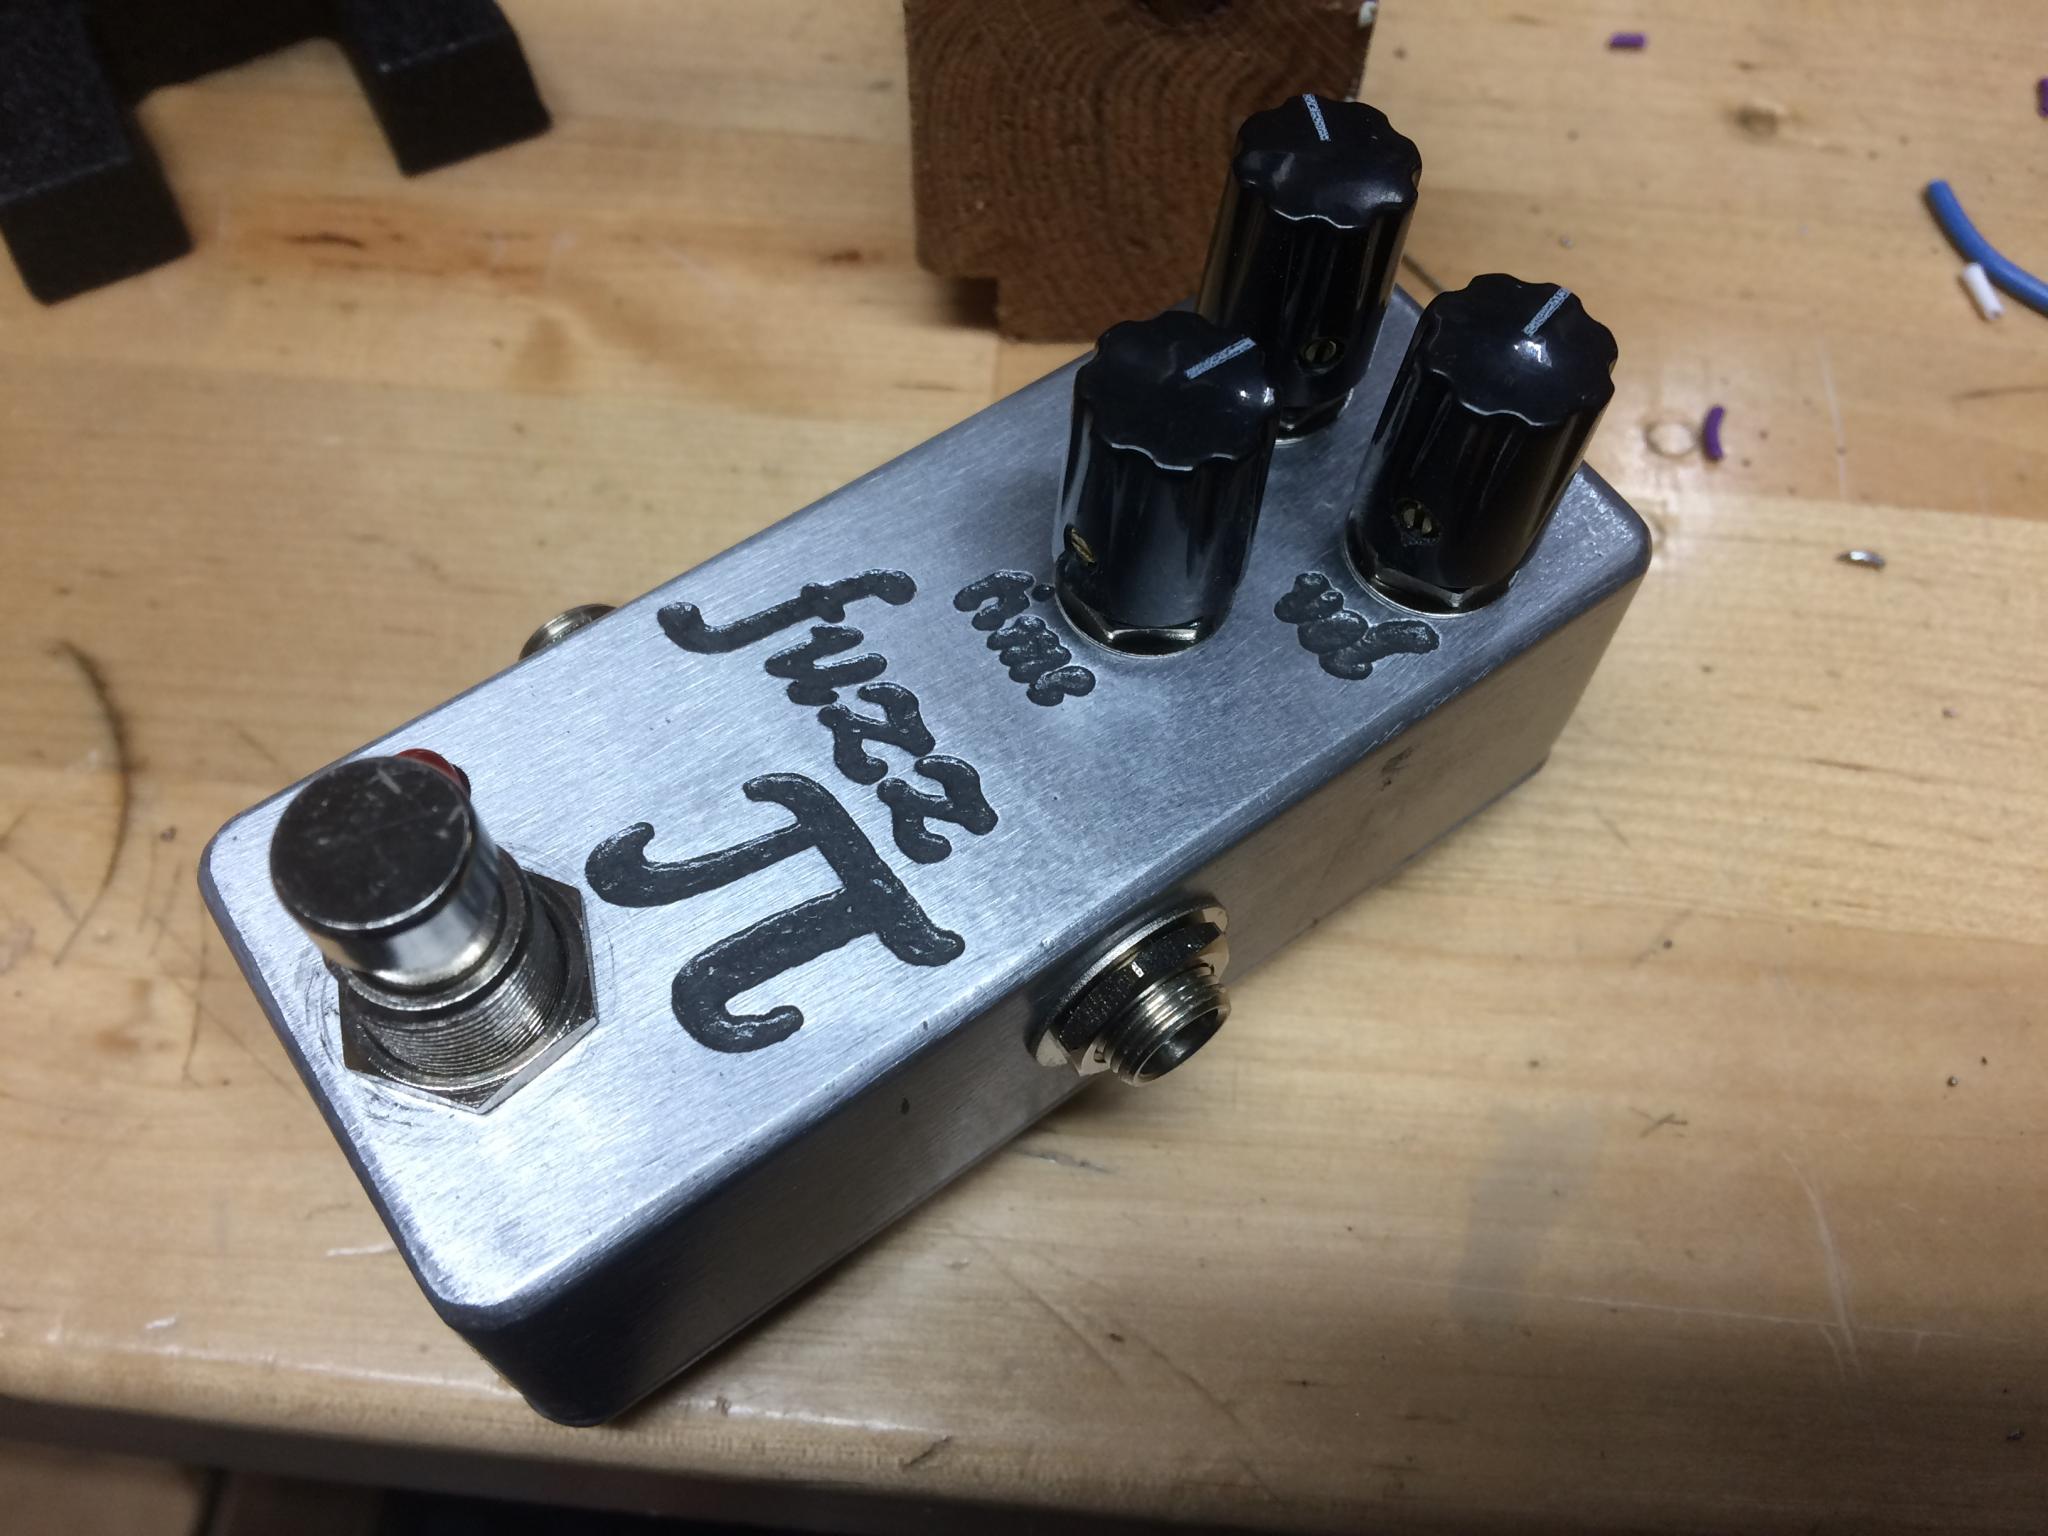
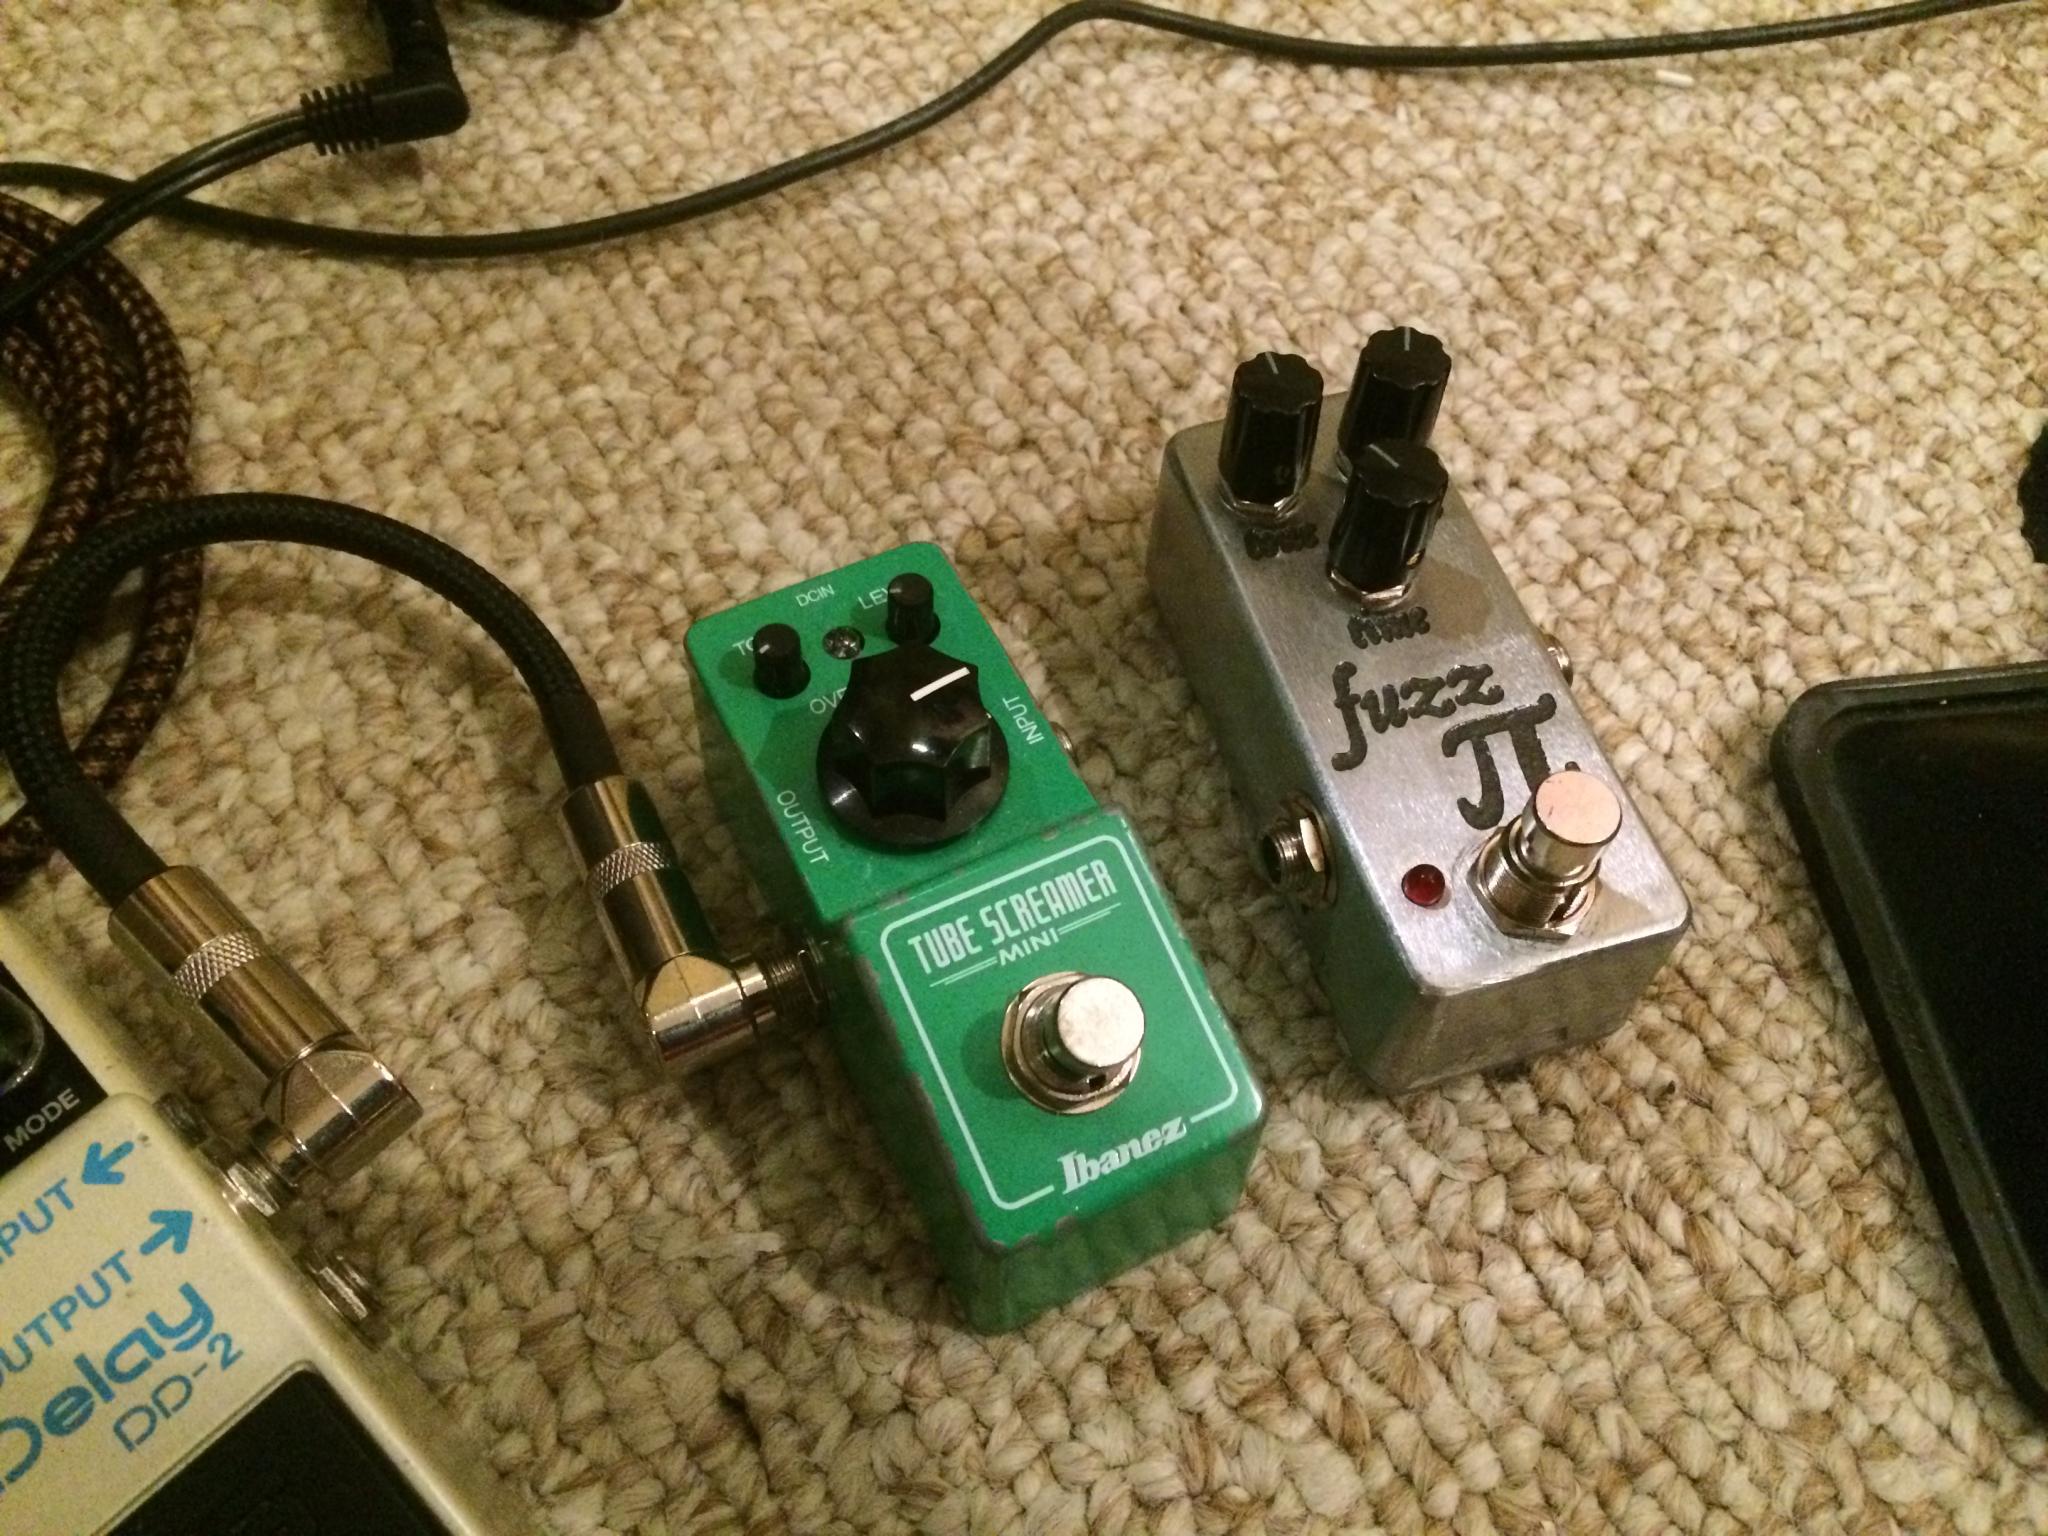
And voila!
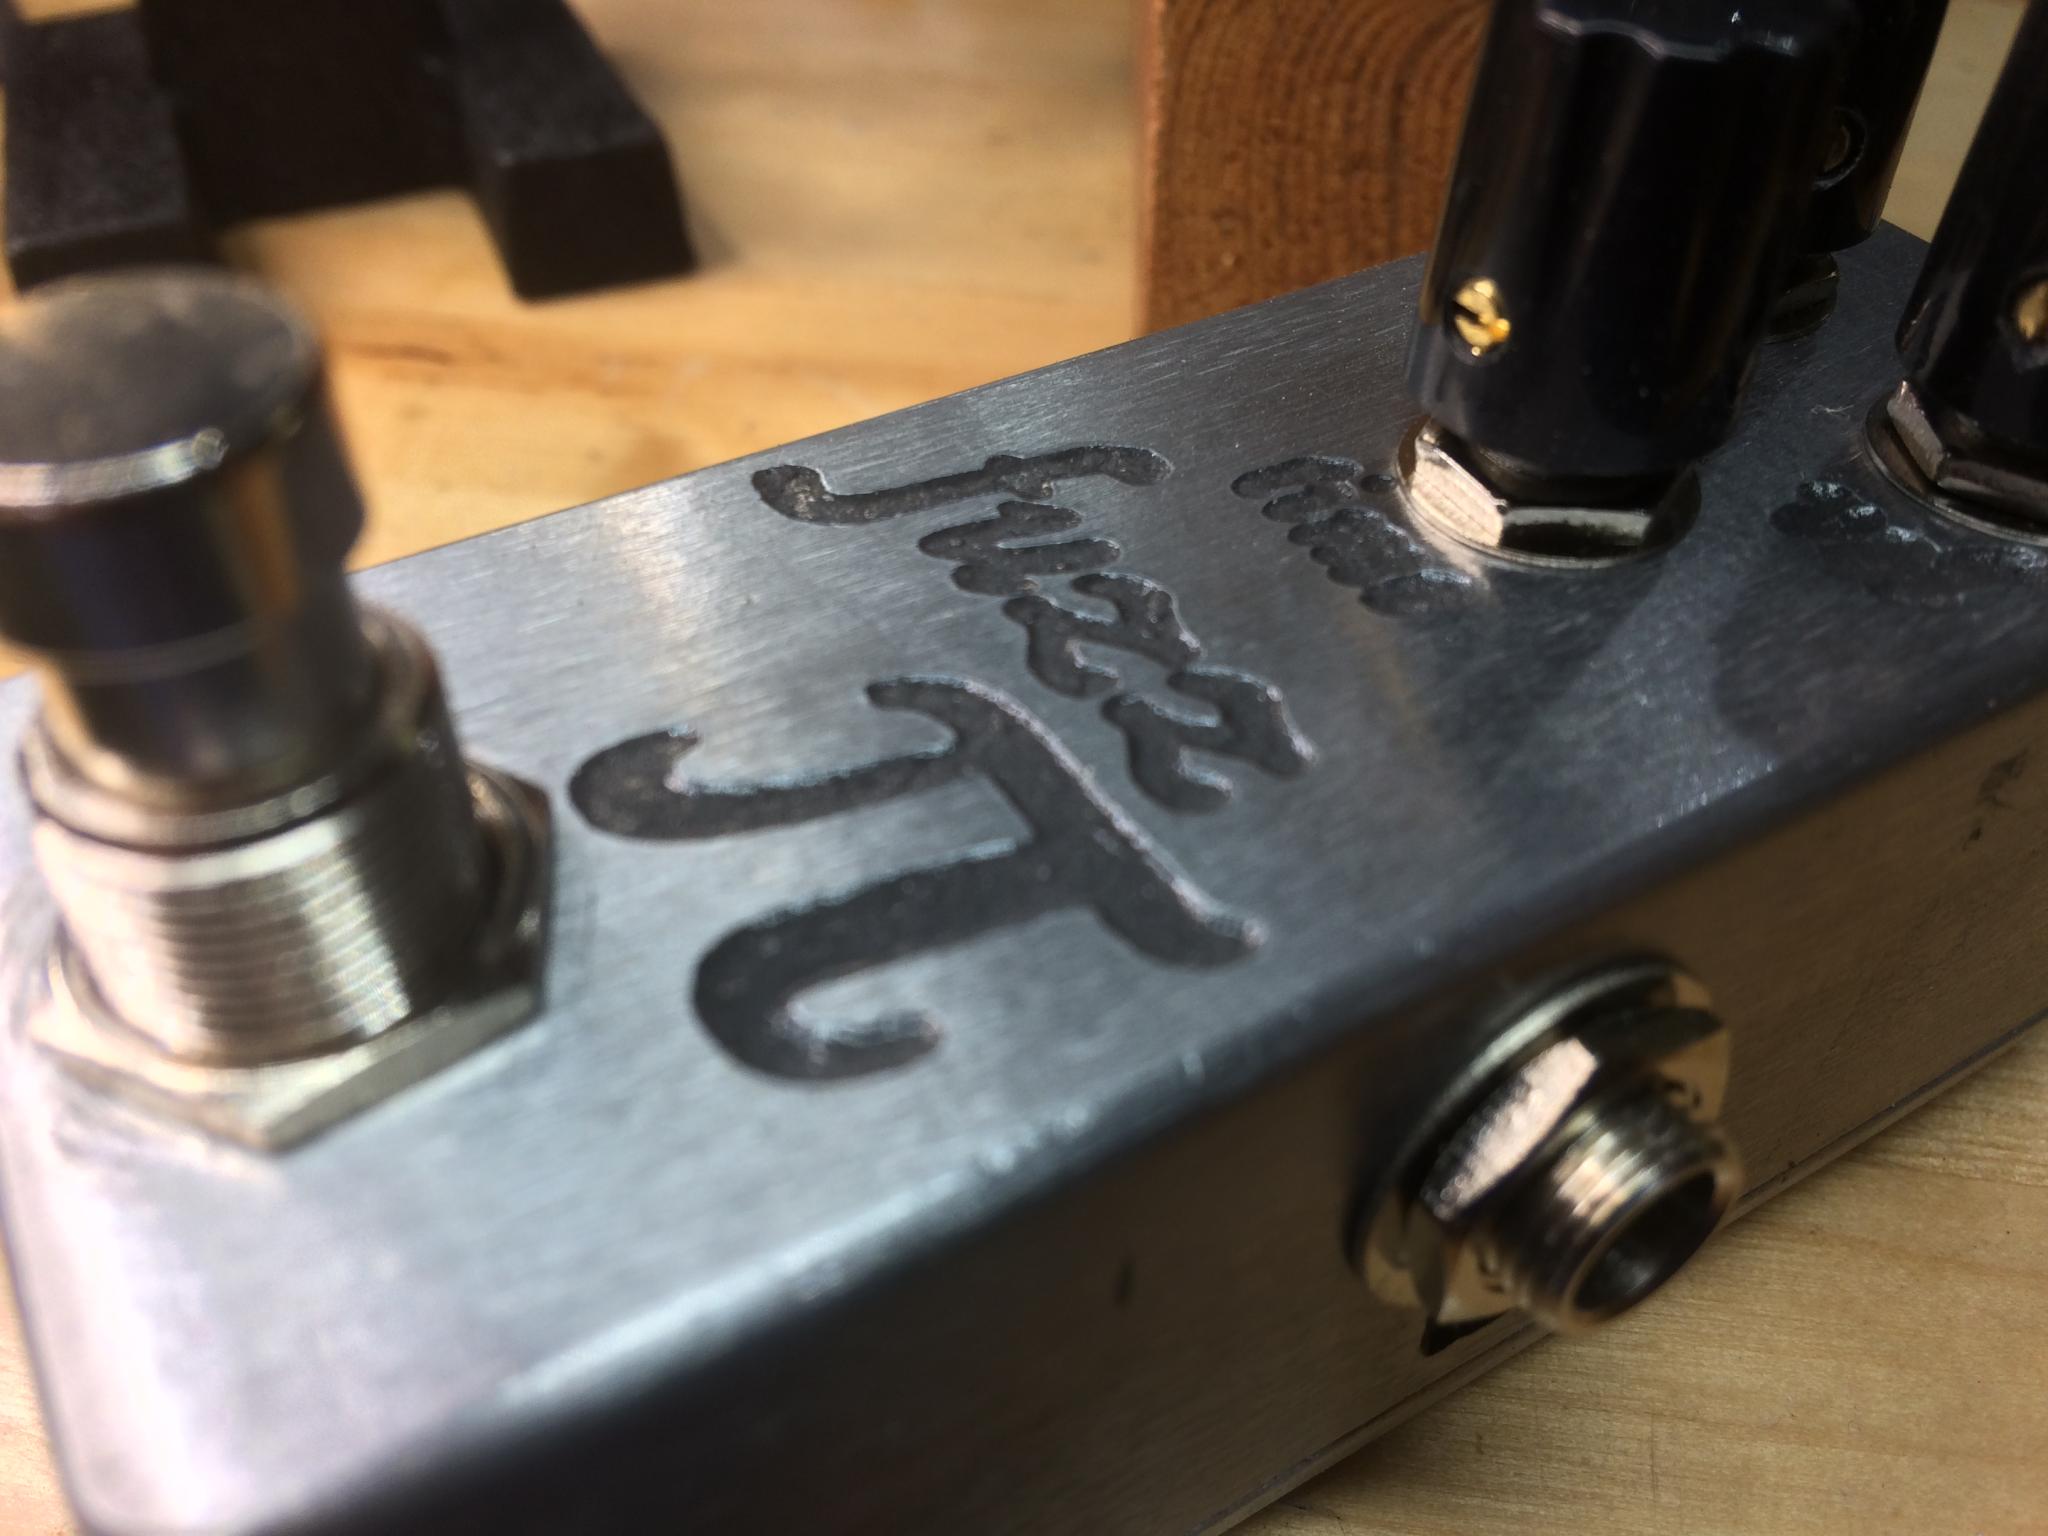
A gratuitous close-up that etching. I didn't do anything to add color, I think that's aluminum oxide in it. I thought about hitting the whole thing with a wire wheel or the bead blaster, but it's pretty cool like this.
Ready to test. I confirmed that it does power up without drama and I can turn the LED on and off. But it's bedtime.

That looks great!
Plugged it into a guitar and...disappointment. It worked, but the pots interacted in weird ways and I was pretty sure the sound was wrong. No dramatic sustain and an odd reaction to varying volume levels. I don't have any other fuzz pedals to compare it to, but still. Very non-linear. On the plus side, I did learn that apparently my shoulder has healed enough that I can play guitar.
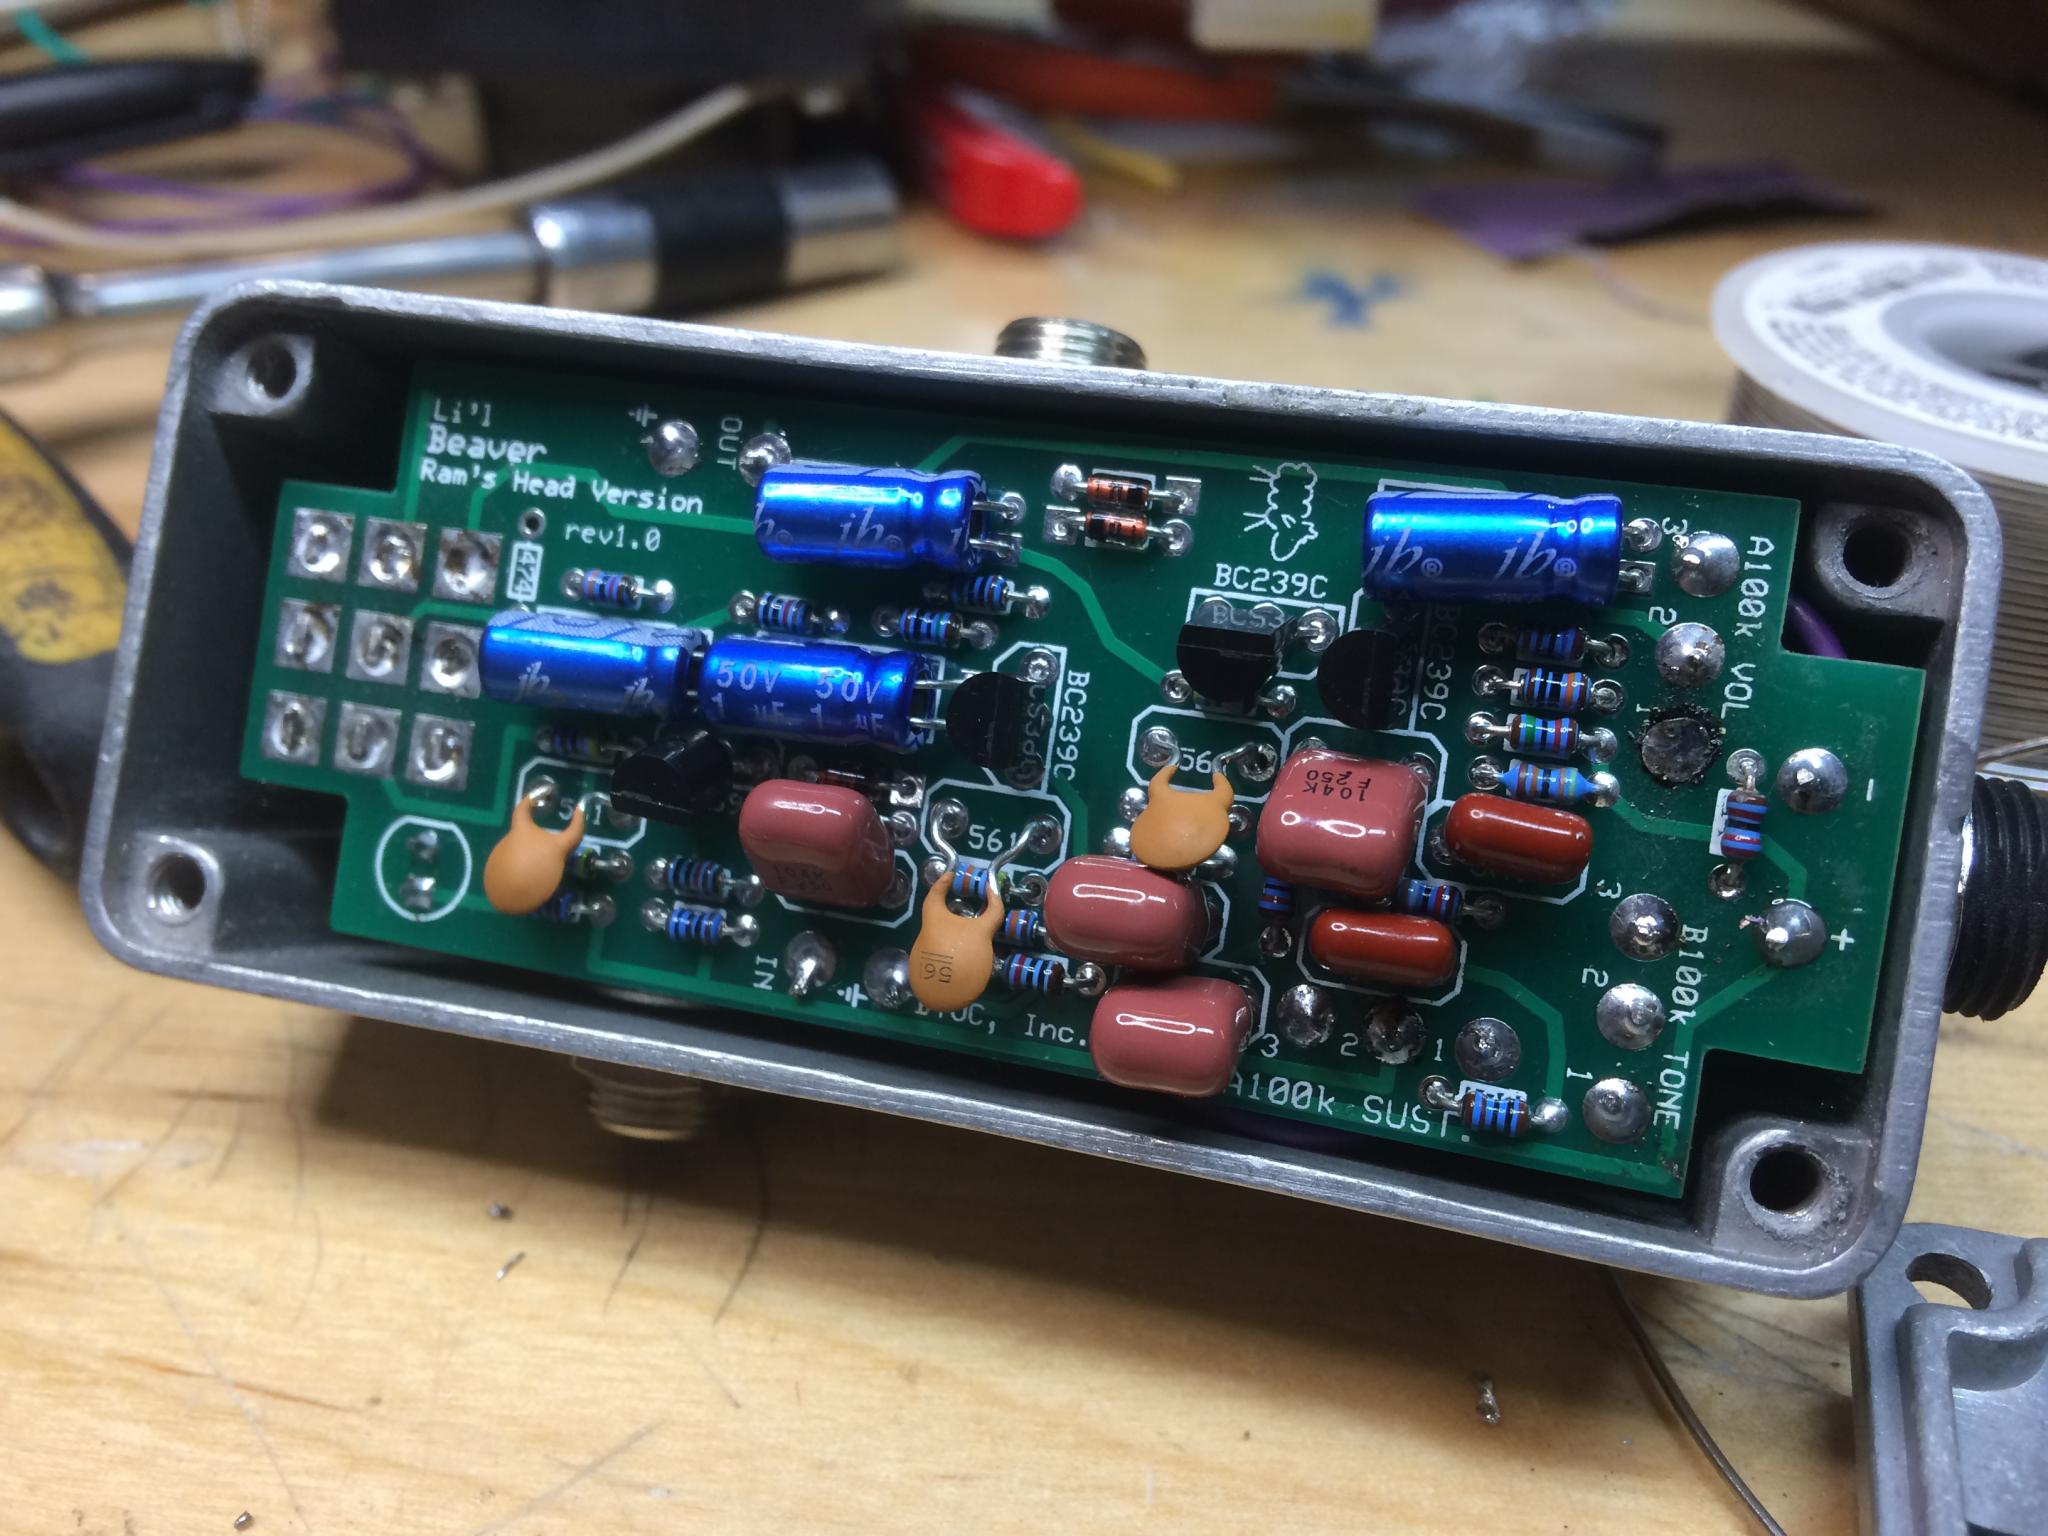
So I de-cased it. This was not super-easy. I poked around, found a couple of solder joints to the pots I wanted to look better and plugged it in to test. Much better! The tone pot is still just a bit scratchy on adjustment but that has to be the pot itself. Now it's got an interesting distortion that has some good character.
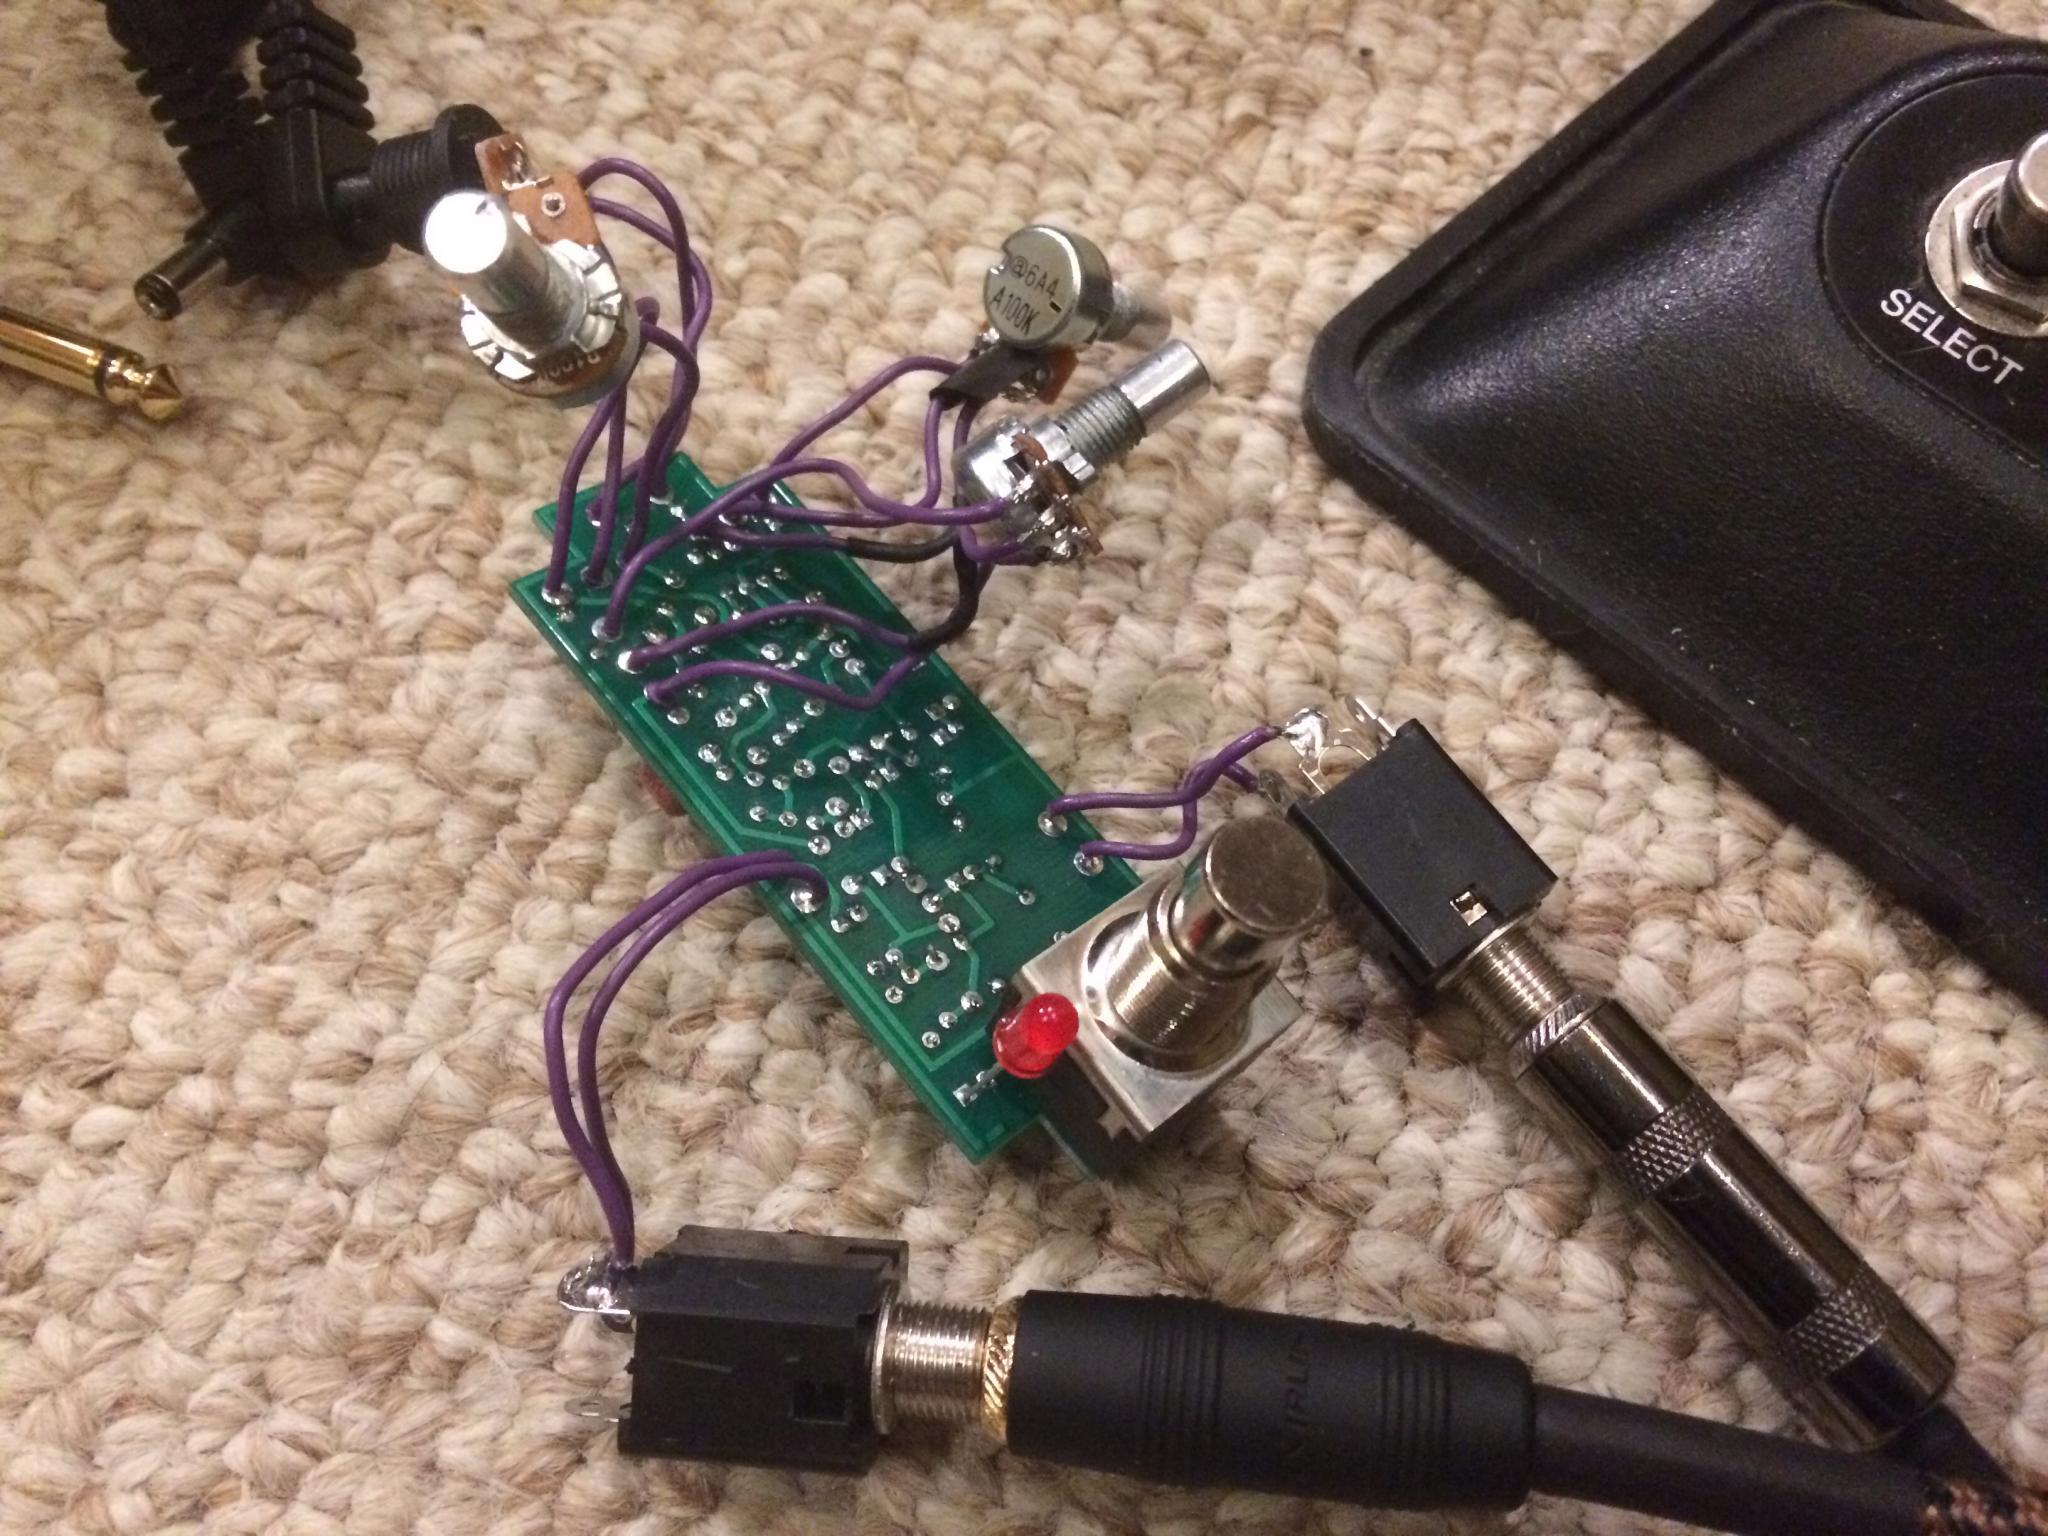
Here's what it looks like all packed in. Getting those wires into place is a real challenge and it took several tries - including prodding at wires through a crack between the case and the PCB - to get it to all settle in.
So I guess that's it. It's finished. I reluctantly put it aside on the workbench and went back to the tube amp build.
Epilogue.
I was looking at the case last night (I keep picking it up and playing with it, I'm really happy with how it turned out) and noticed that the lettering on top was much cleaner and less undercut than the stuff on the sides. I'm guessing that the ability of the top surface to bubble off kept it cleaner and did a better job. So maybe next time I'll do each side separately so that only the upper surface is etching.
You'll need to log in to post.


