
I did a woodworking sub-project for the vansmission overhaul. Following a recipe in the Transmission Bench video series I made a case stand for future me to use during reassembly. I grabbed a few sticks of salvaged lumber from under my deck and went at it. Chopped pieces, I added 2" of length to the uprights because I generally prefer a higher rather than a lower work height. 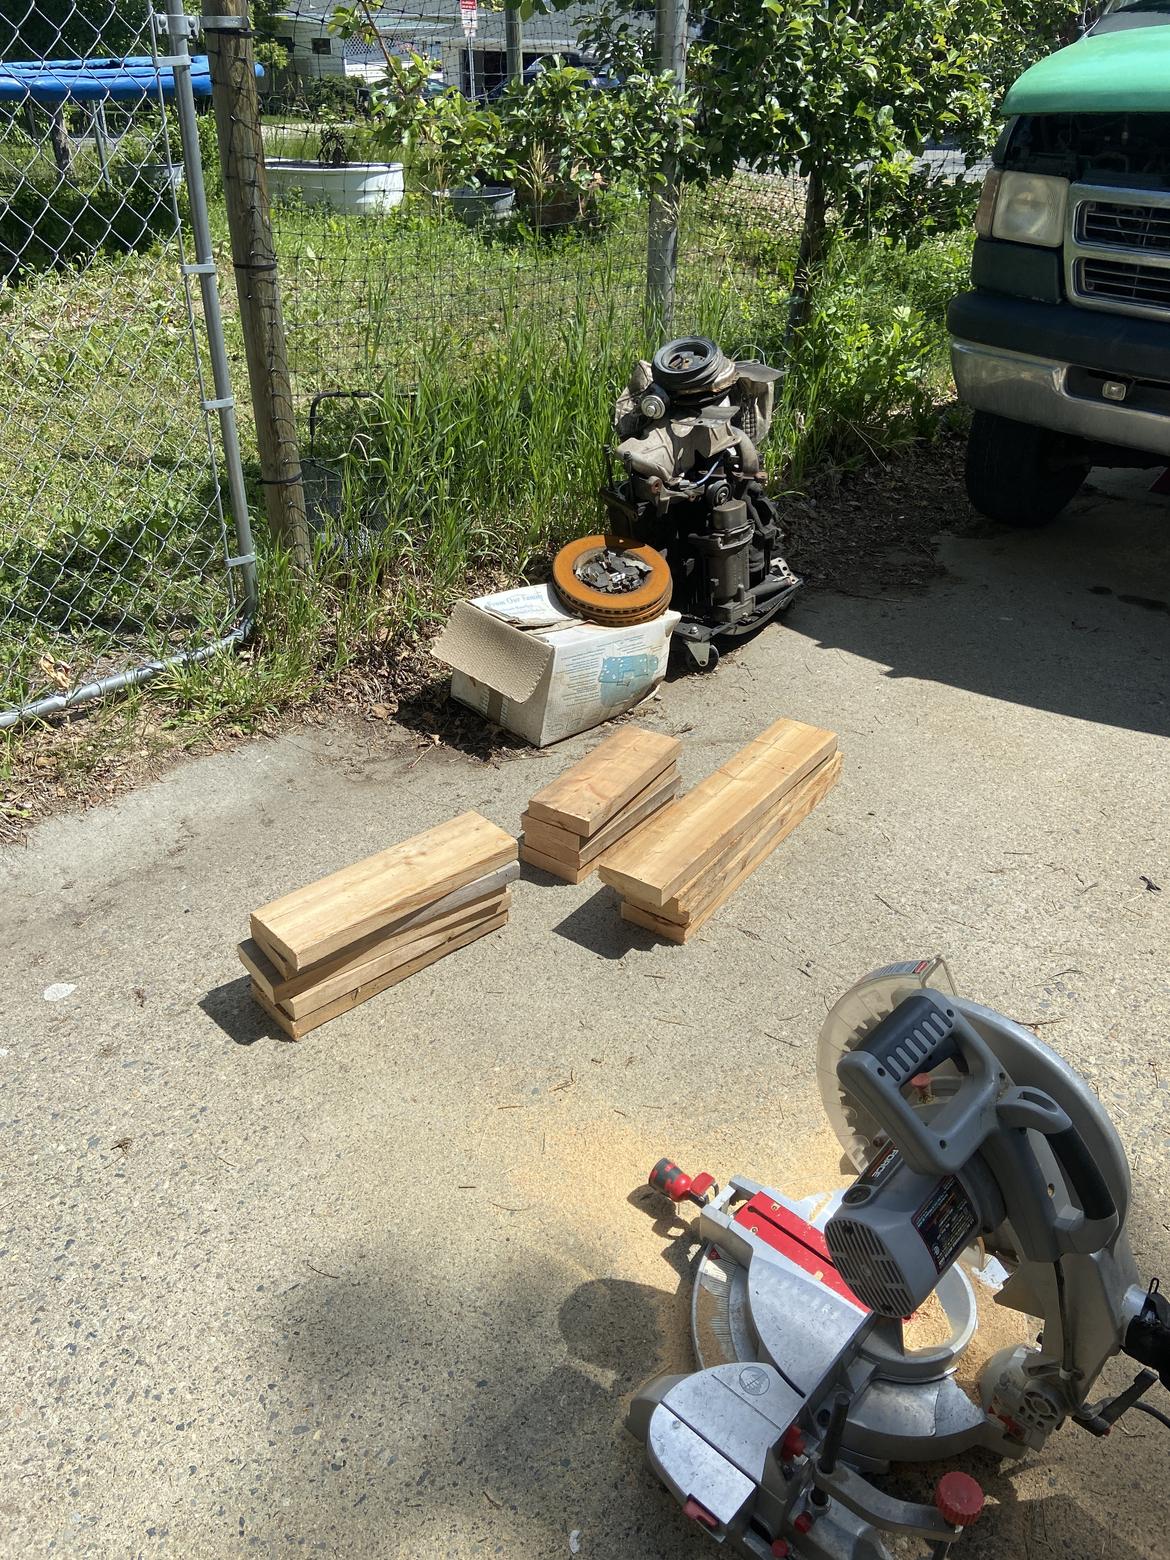
Made some boxes: 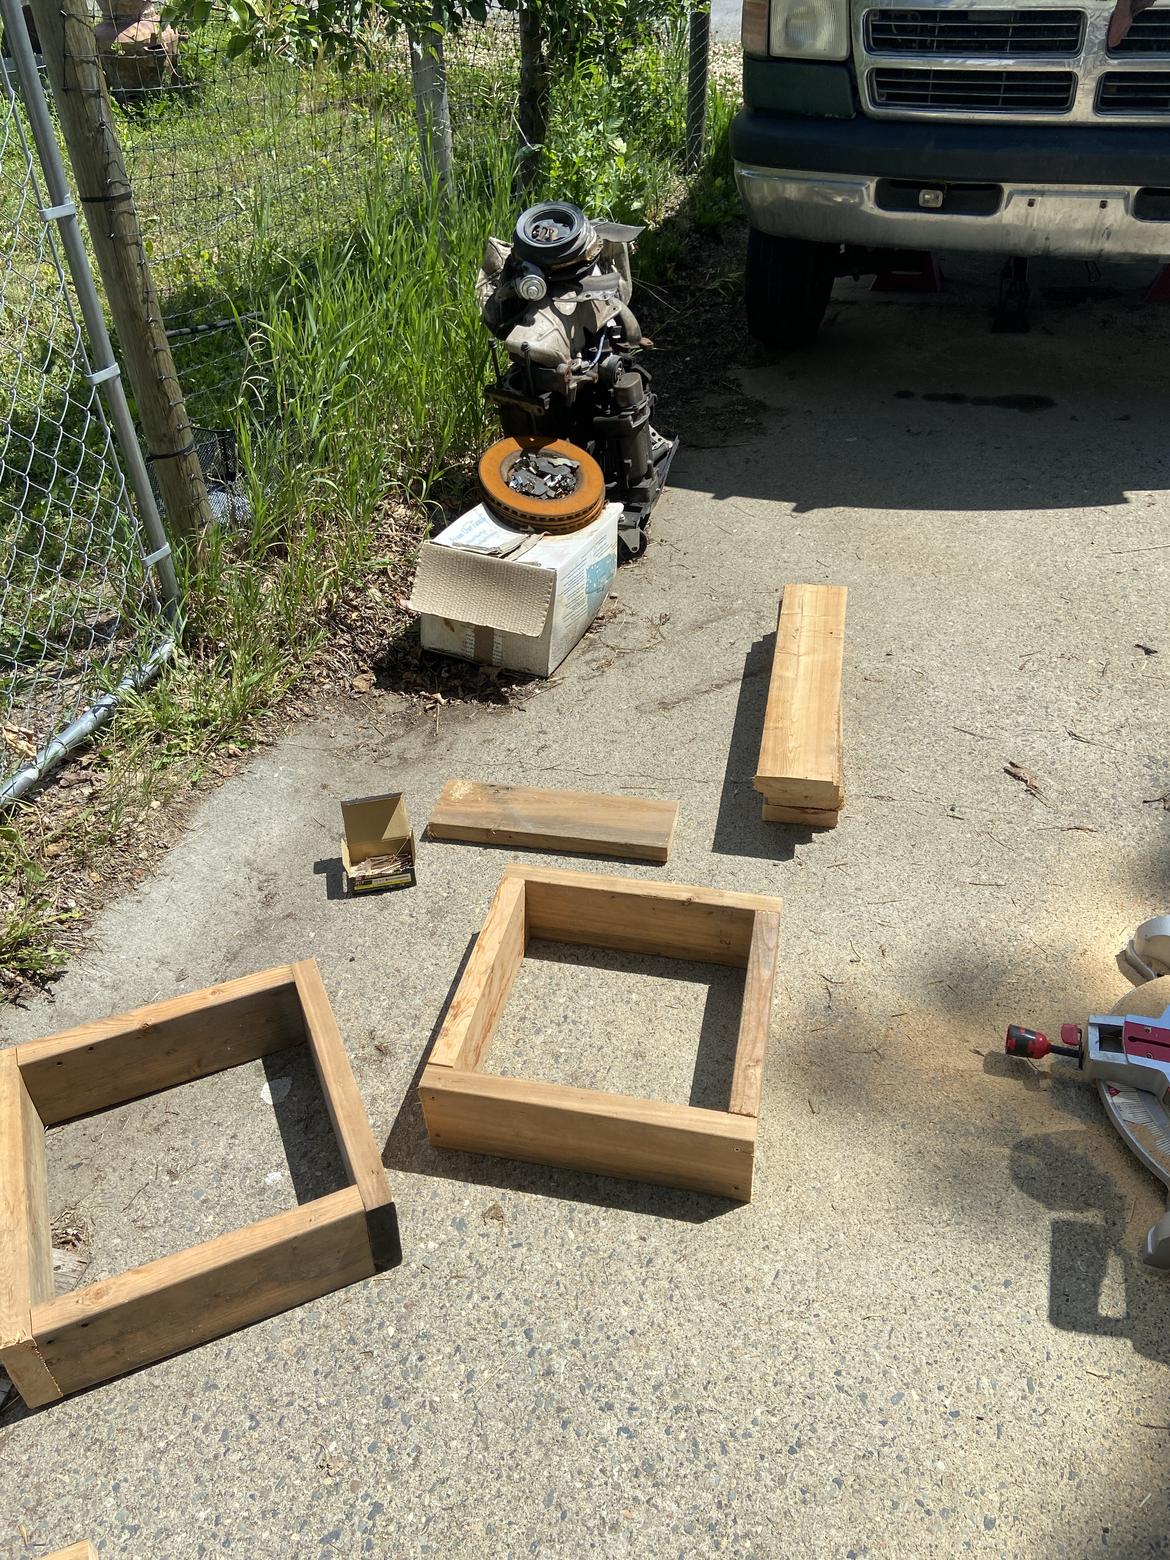
Added uprights and places for the case to rest. I altered the design to allow the upper cross board to swing away and free the case without pulling a screw out. 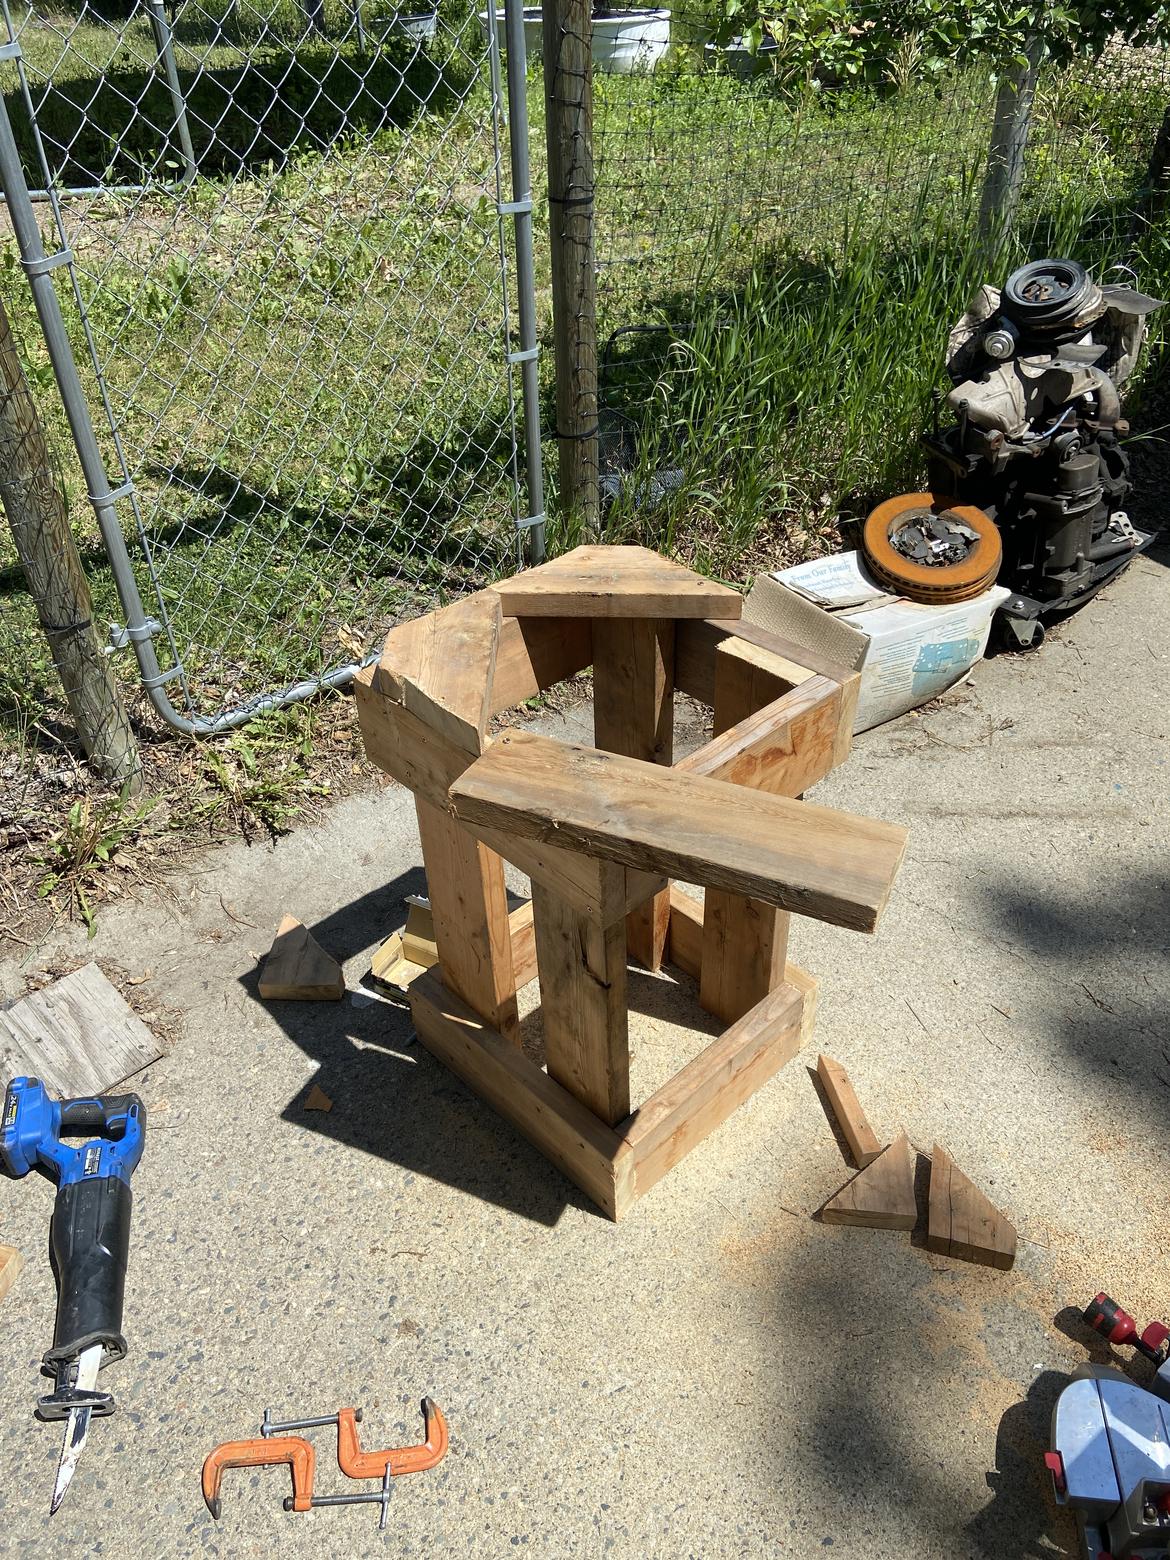
A spoke and a couple of screws allow me to have a latch. 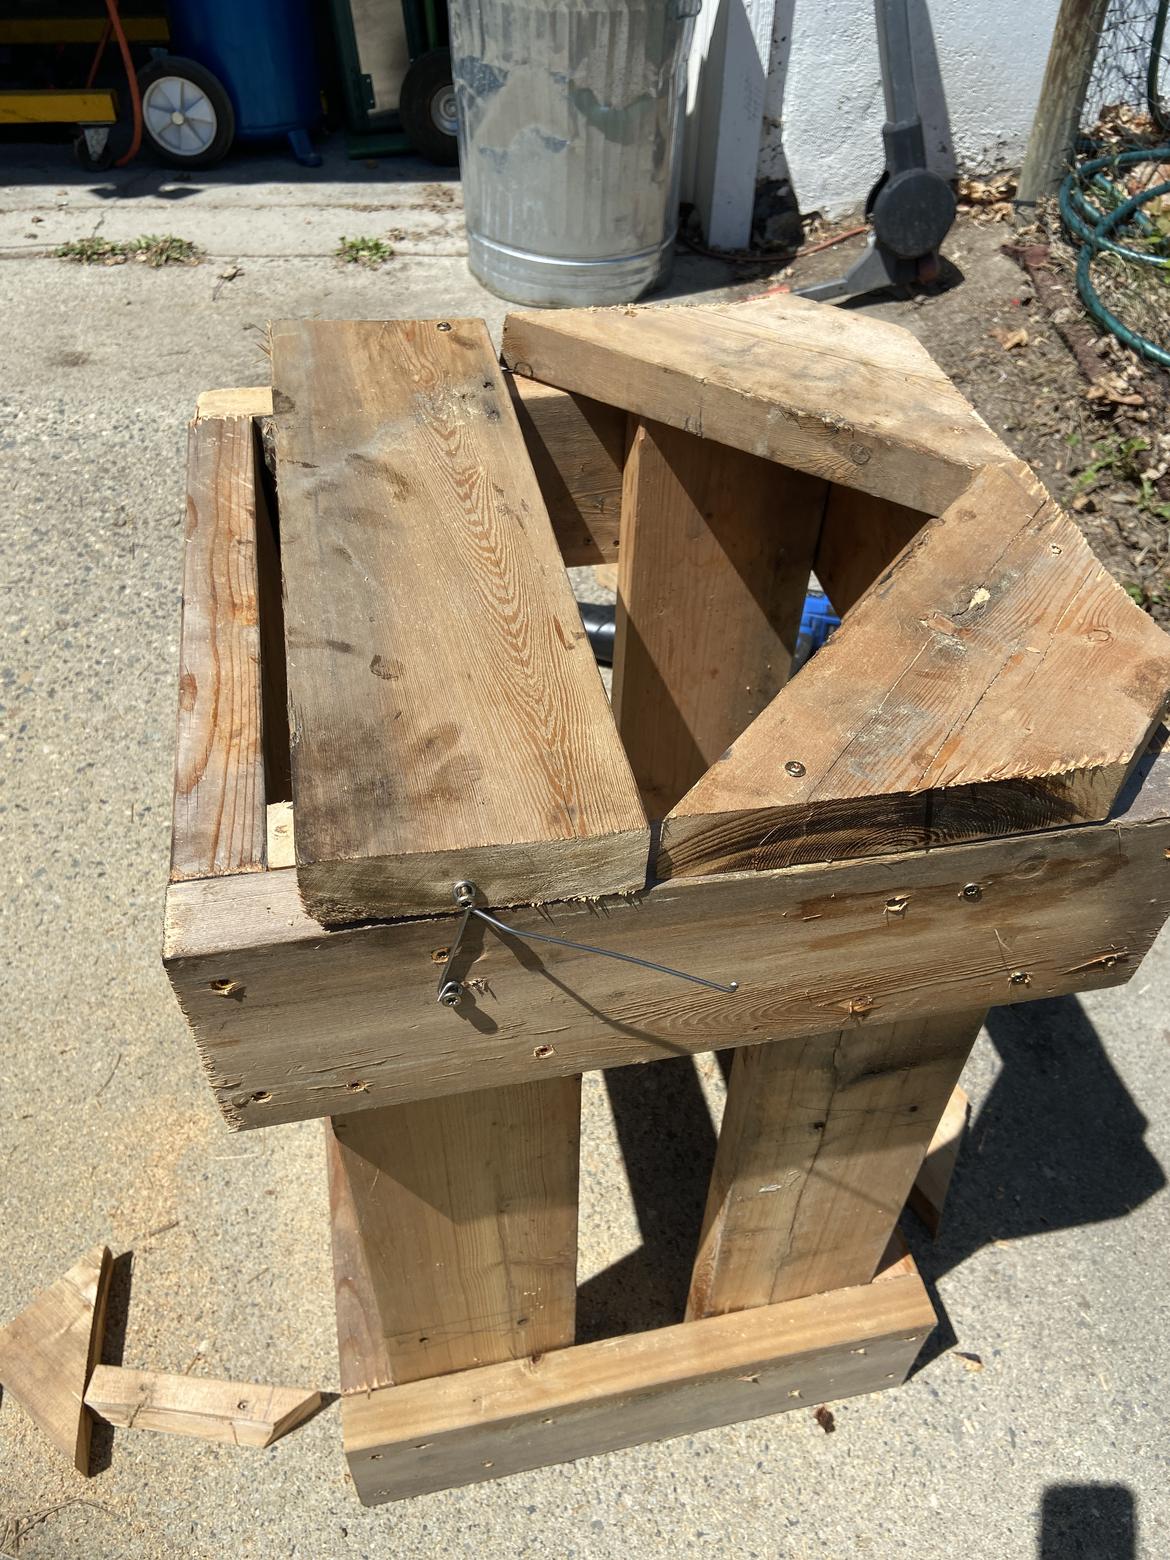
Holds the case like it was made for it. 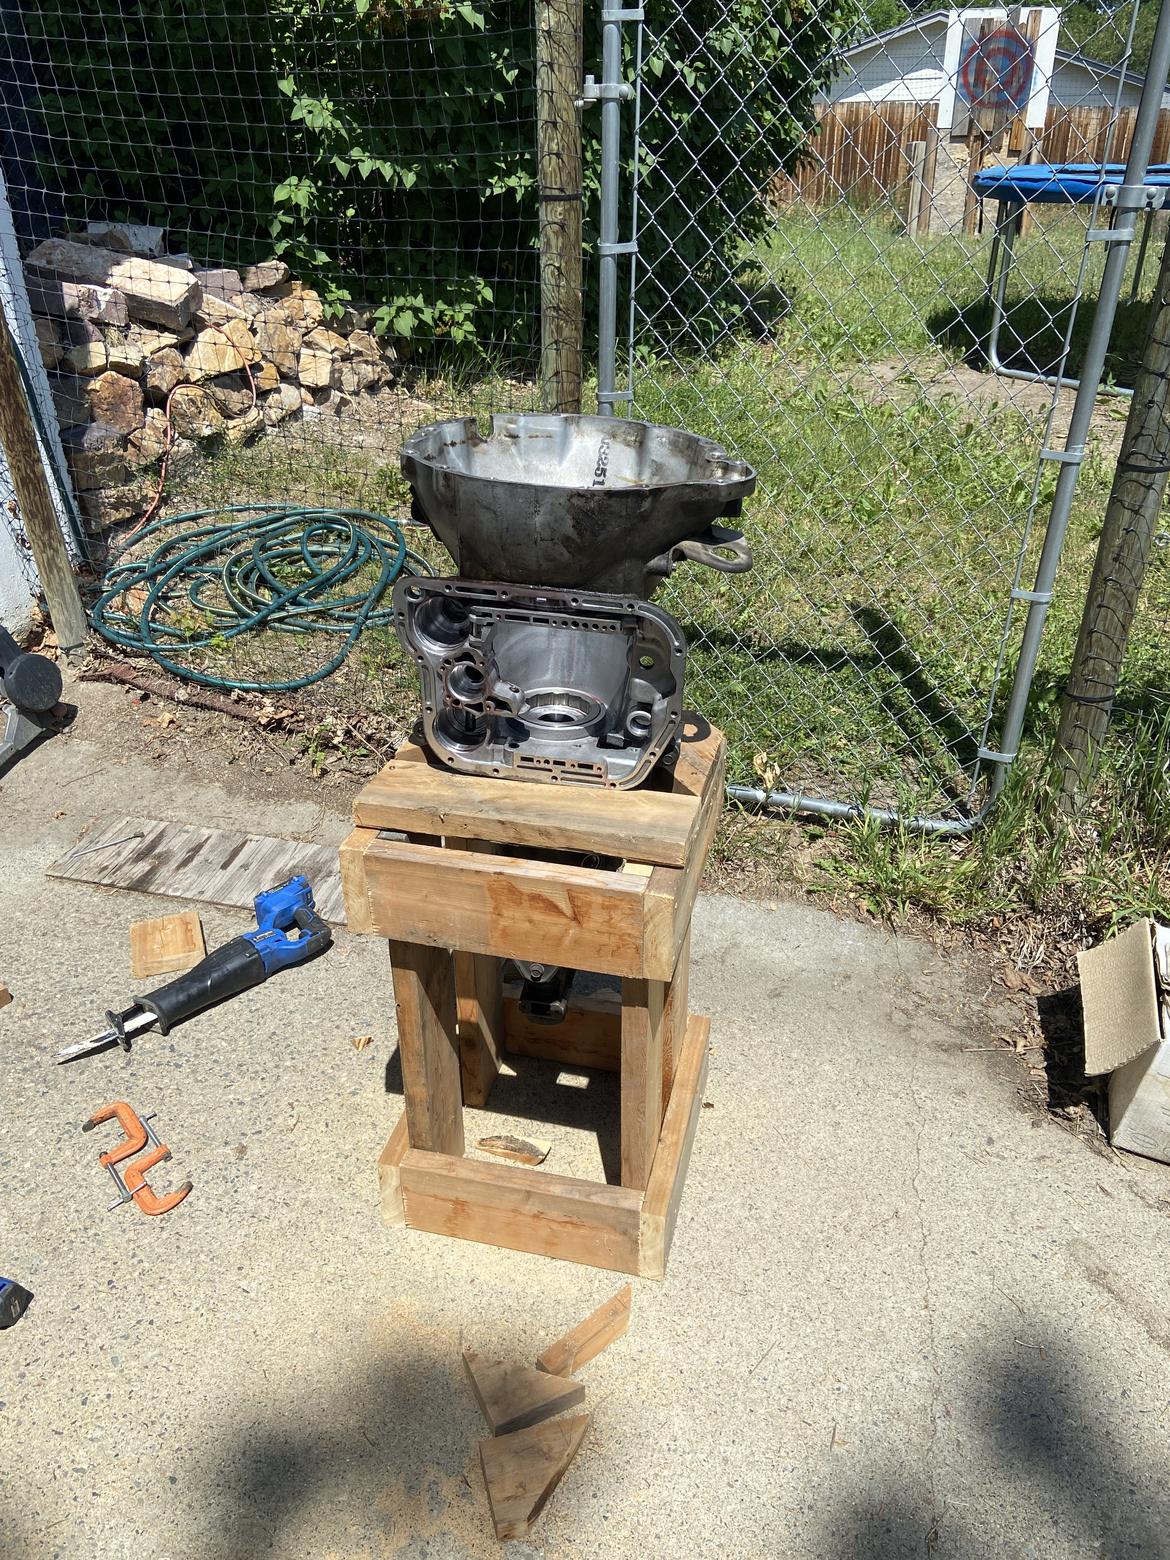
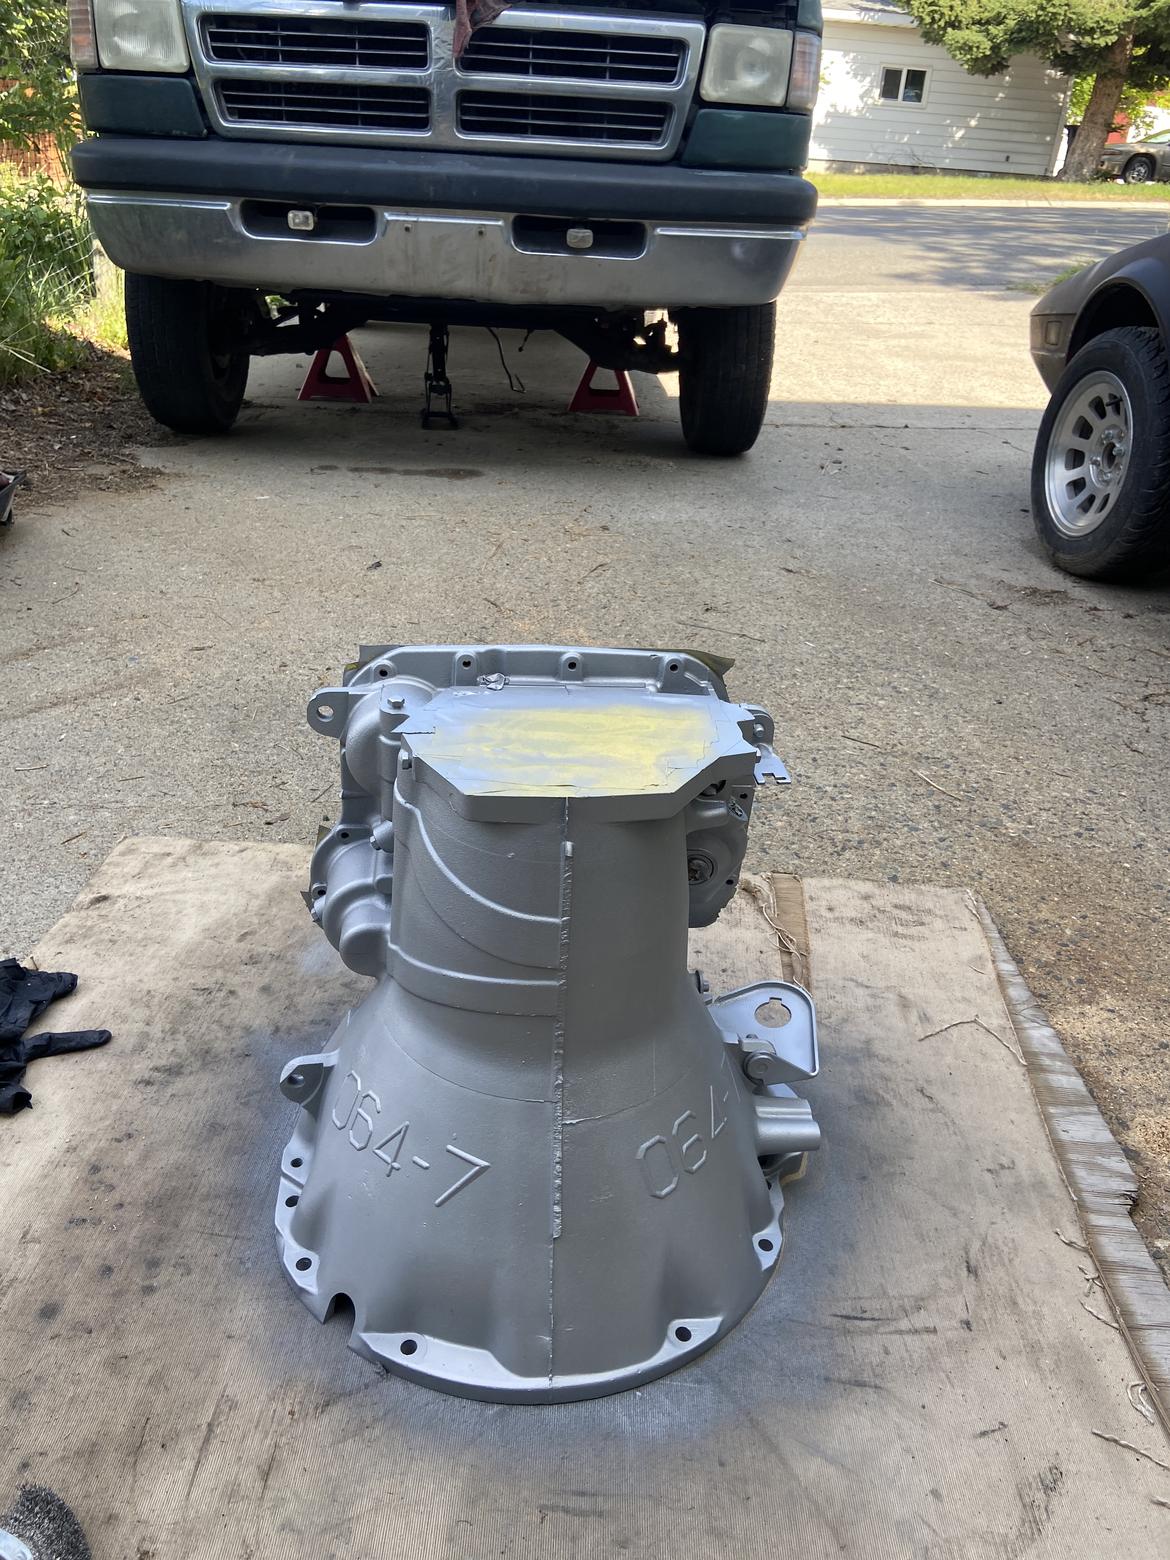
Overall it went well other than me having the dullest blade ever in my miter saw and having to make a couple of cuts with the sawzall. I put the case halves both into the enormous parts washer at my work and got them cleaned. Since they still looked pretty meh, I hit them with some primer and paint.
main:
Overdrive: 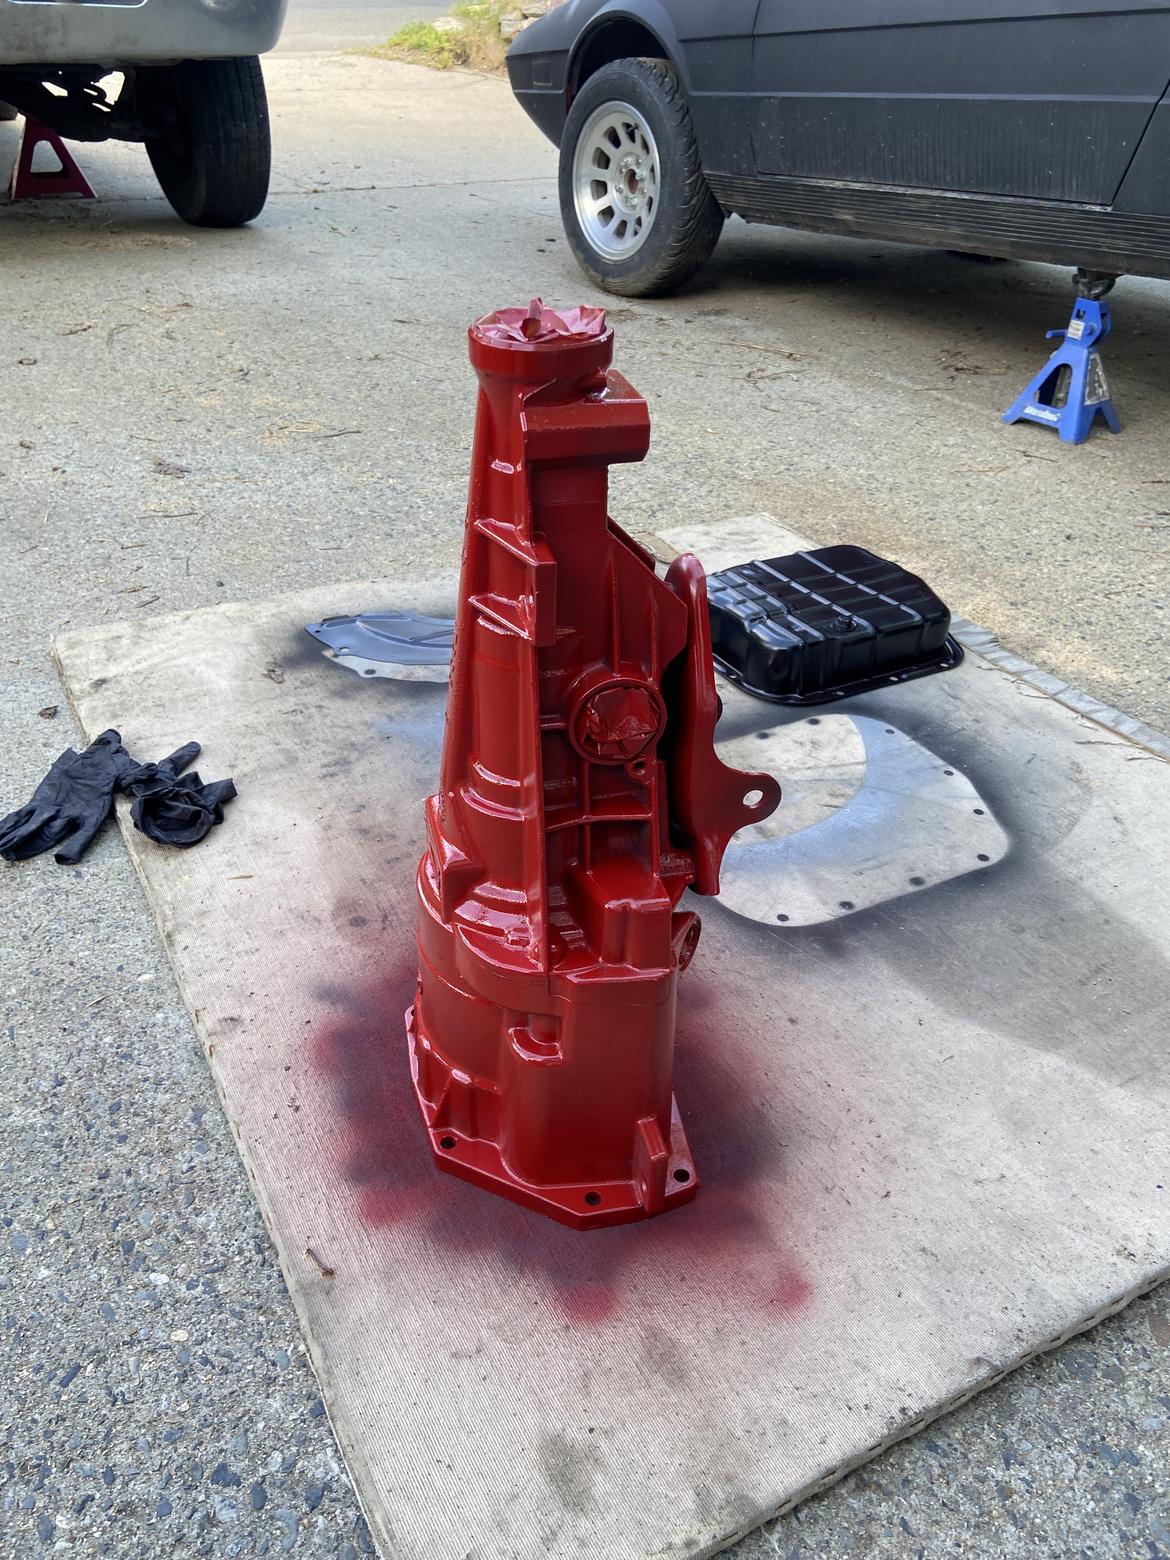
The pan got black and with it cleaned up I also noticed a previous repair. The drain bolt is metric and the pan shows a spot where the previous (or first try) was welded up. 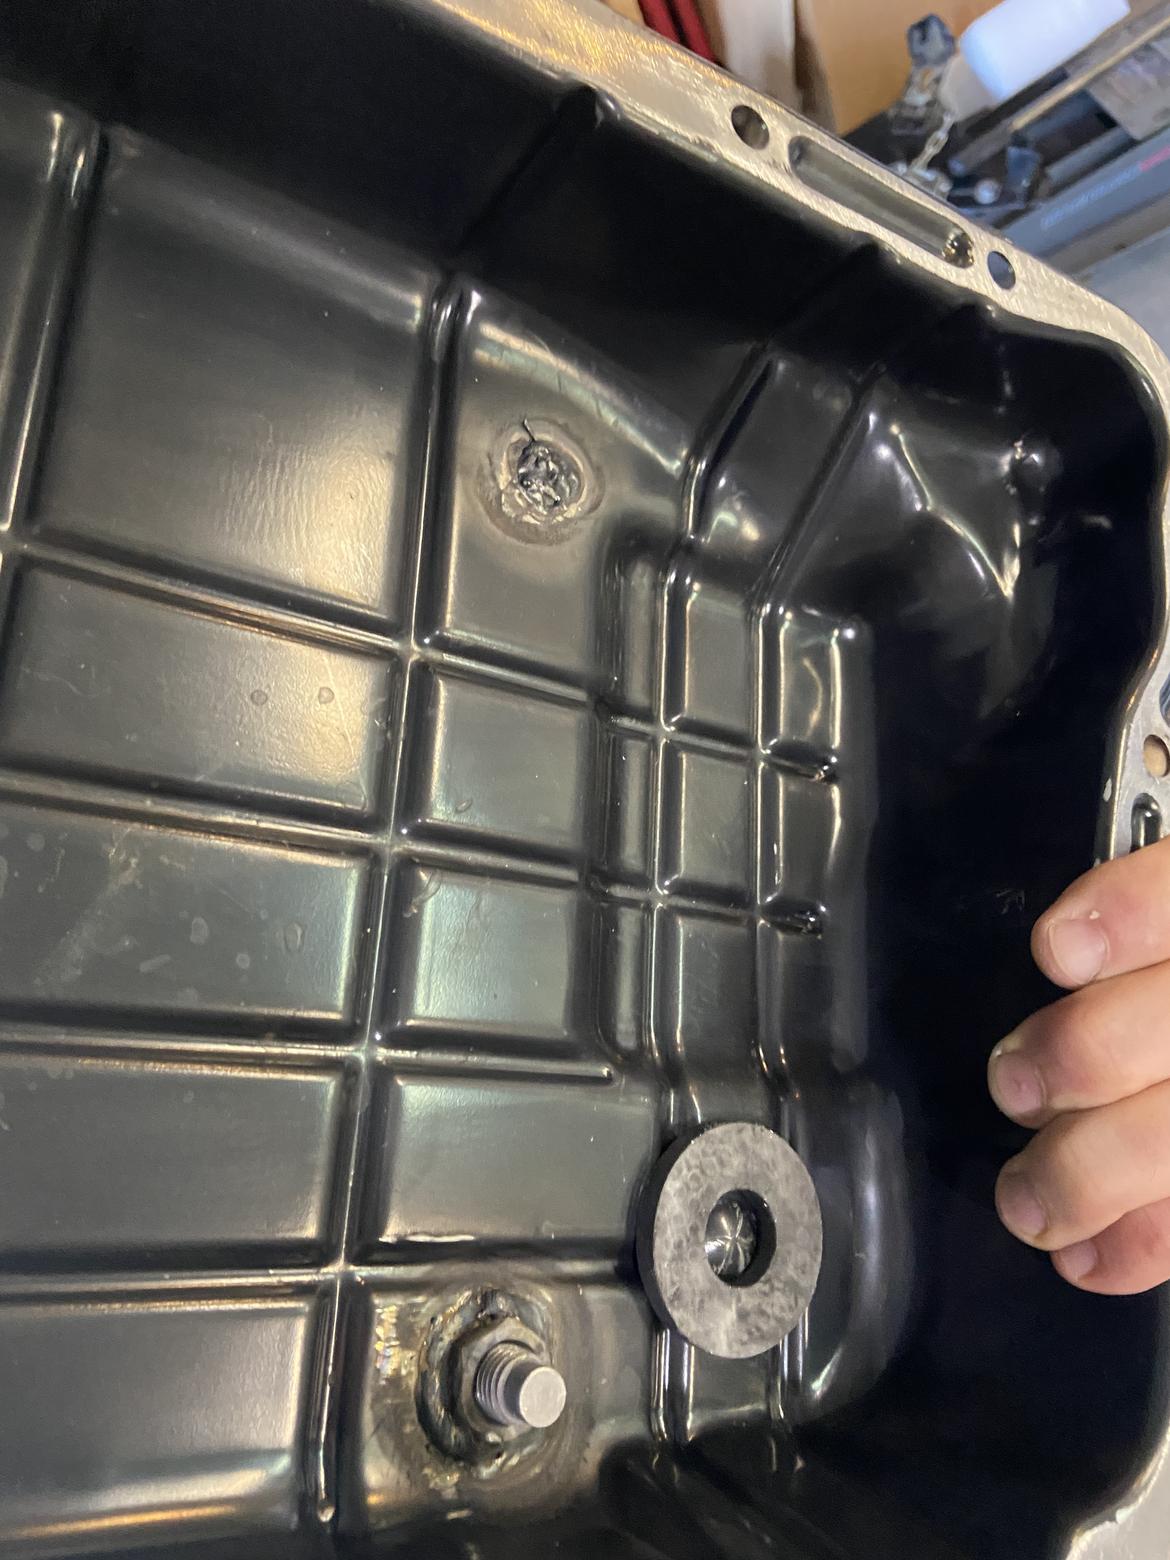
No leaking was evident previously so it is going to ride as is. Maybe the paint fumes were getting to me, but I also primed and painted the selector and some other small parts to really make it look nice where nobody is going to see or care. 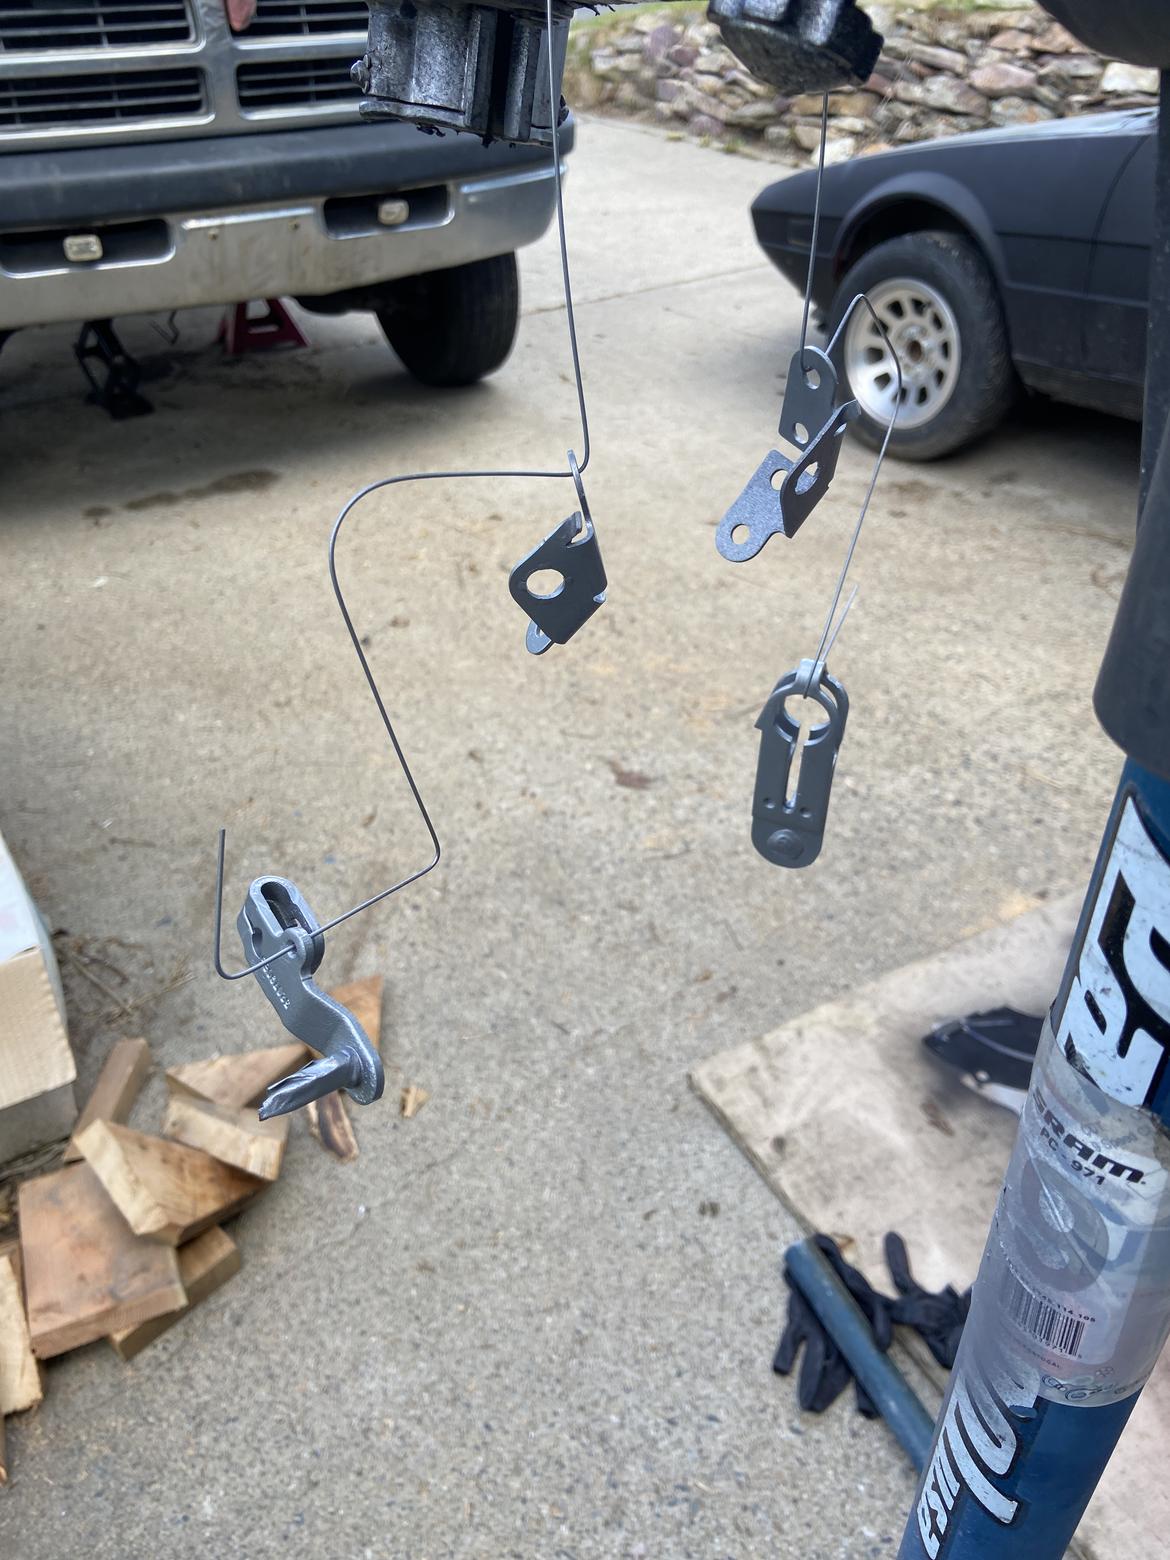
Mechanically I made some progress and encountered a few things as well. I will try to update again soon when I get time.
Things got interesting when I was reassembling the rear direct clutch pack. It specifies a measurement from the flat snap ring to the end plate and mine is in excess.  This snap ring is apparently a "selective" and available in different thicknesses to adjust this gap. I have ordered a set and will come back to this bit when they arrive. Moving on, I snapped a bolt while using a torque wrench!?! This is a new thing for me since the point of using the torque wrench is to keep from damaging things.
I broke the bolt with this cheap clicker so to test it I put a 3/8 socket in it and a 3/8 Allen in my beam torque wrench and watched the beam move until the click. It looked like at 13ft/lbs I saw more like 15-16 on the beam. Still surprised that it would break the bolt but I needed to find a replacement. After digging through all of my bolt archives I found a near match. Same length, with a washer and correct size and pitch. Allen head.  the Allen head is slightly taller than the hex bolt it replaced and it is under the overdrive apply piston so I had to make sure it wouldn't foul. Measured the bottom position of the piston without the bolt and then installed it and checked.
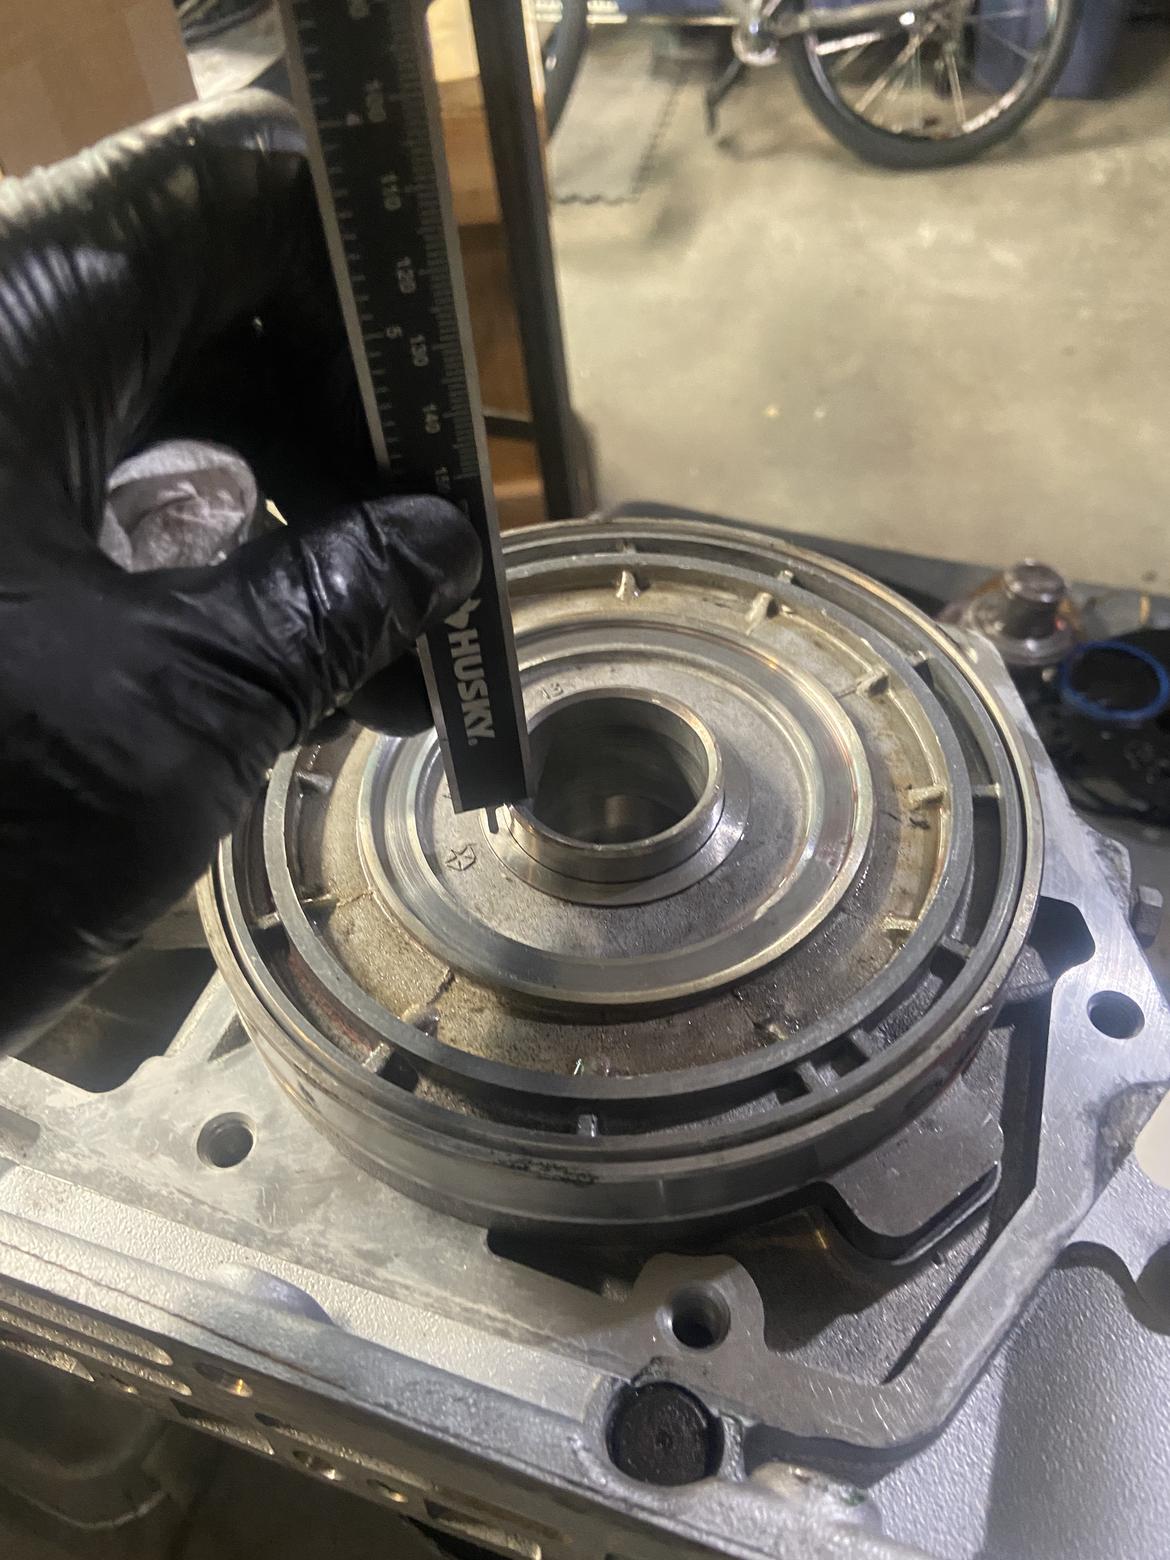
Fit confirmed. Installed 5 hex and 1 Allen and torqued with the beam. 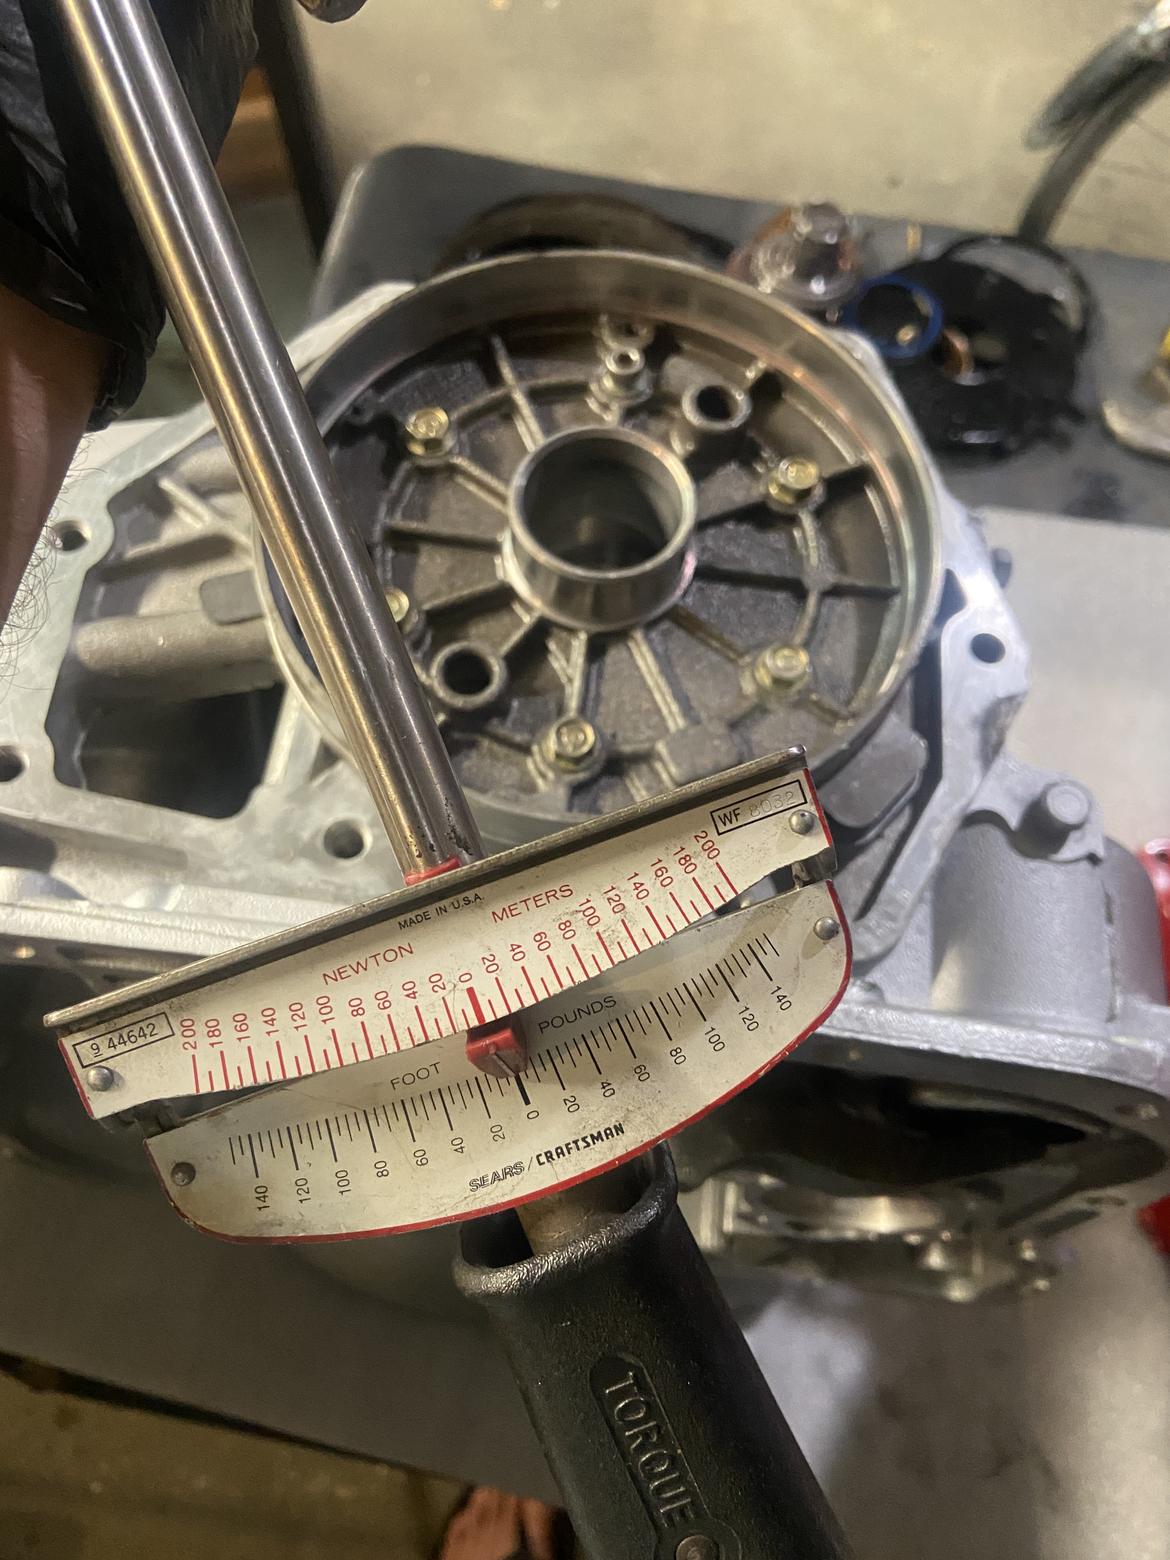
Feeling good about the hurdle behind me I installed the servos in the case including the fancy billet upgrade super servo. 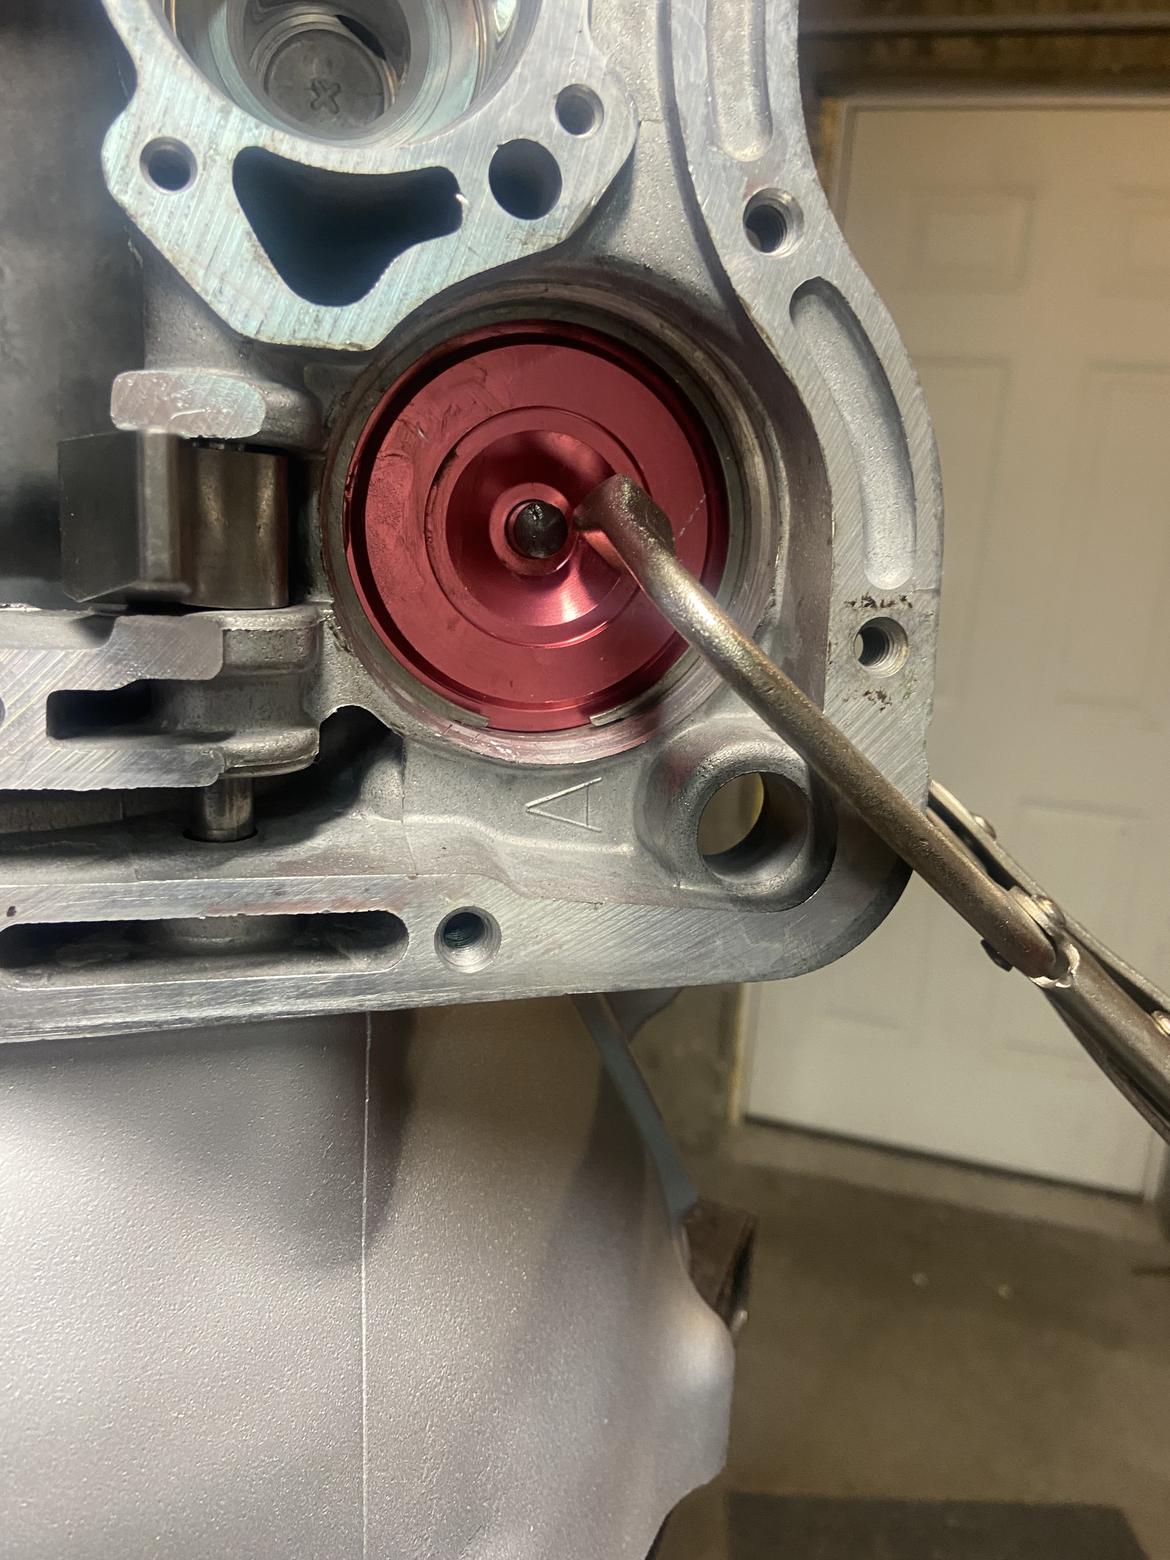
This took me a humbling number of attempts to get the snap ring into but eventually it went together. 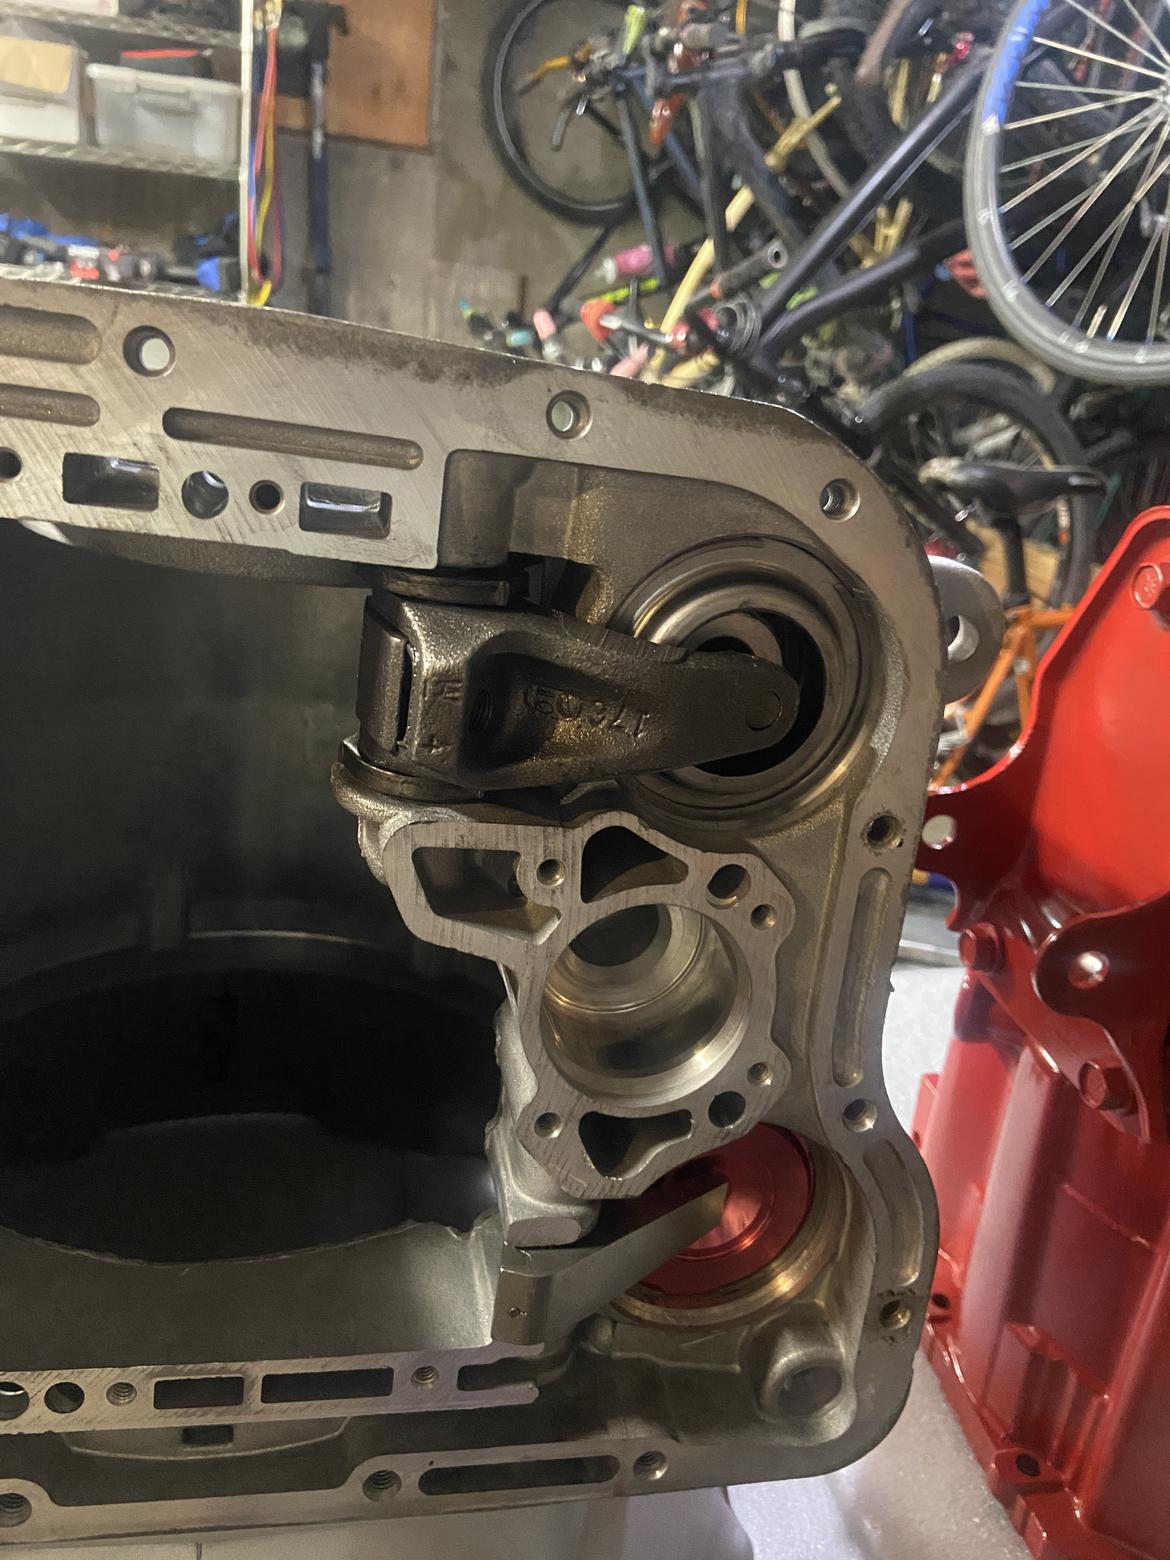
finished for the night and picked up again last night with a visit to my friends shop to use his press. More to come.
In reply to GoLucky :
Who did you order your rebuild parts from? I have a TF-8/A727 rebuild on the horizon...
In reply to Recon1342 :
I will look at where the kit came from when I get home. I went for the Alto brand for US made friction materials. Converter, cooler and shift kit are from good ole Rockauto.
So anything stand out as the reason for the 'failed' trans?
did you confirm it had the correct level of fluid? (you mentioned not alot came out earlier)
In reply to wyndscreen :
OD clutch pack is smoked. Warped, missing friction material etc. 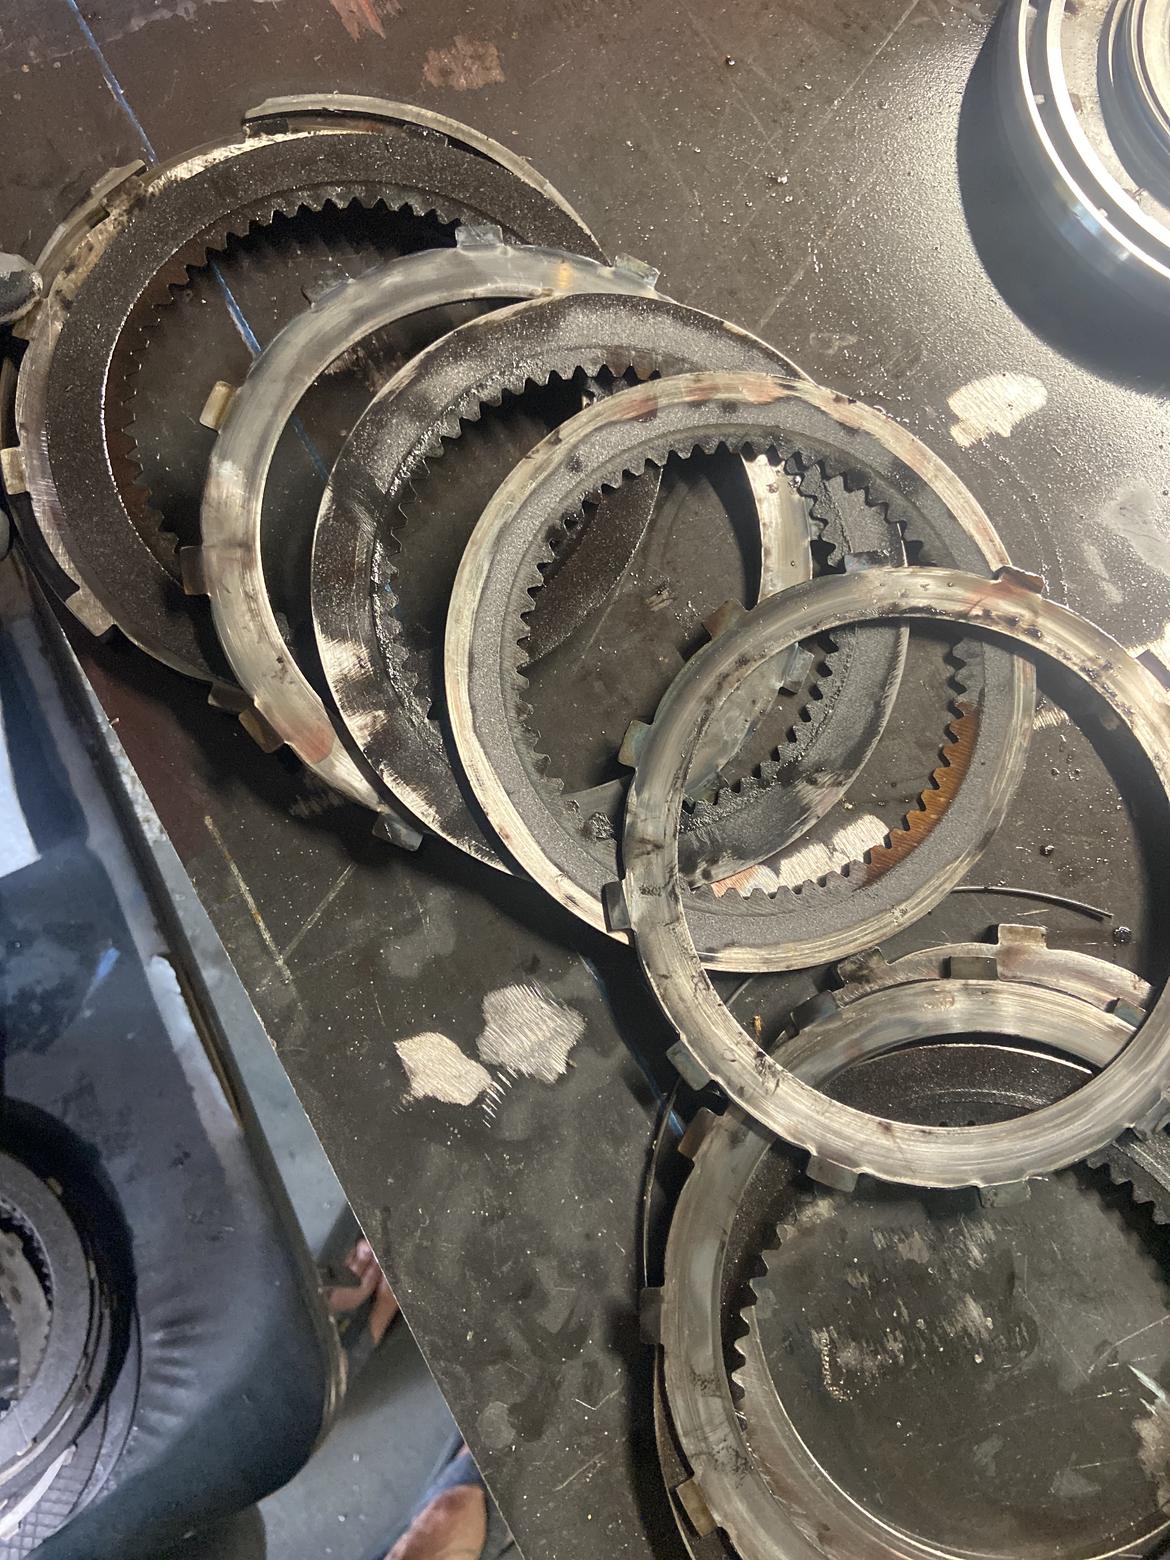
I was kinda holding out because I didn't get the OD direct clutch (heavy spring/special tool) apart until last night but it too looks good. Plenty of fluid came out of the trans, I just expected more from the converter because in my limited auto trans experience they usually spill what seems like a lot all over me/the ground/etc. Awaiting valve body disassembly to confirm, but it looks like the "buddy" who borrowed the van last from the PO may have towed with it in OD.
On Mondays night I went to my friend's shop. He has a shop press (2 actually) and I used the special overdrive spring compressor tool for its purpose. 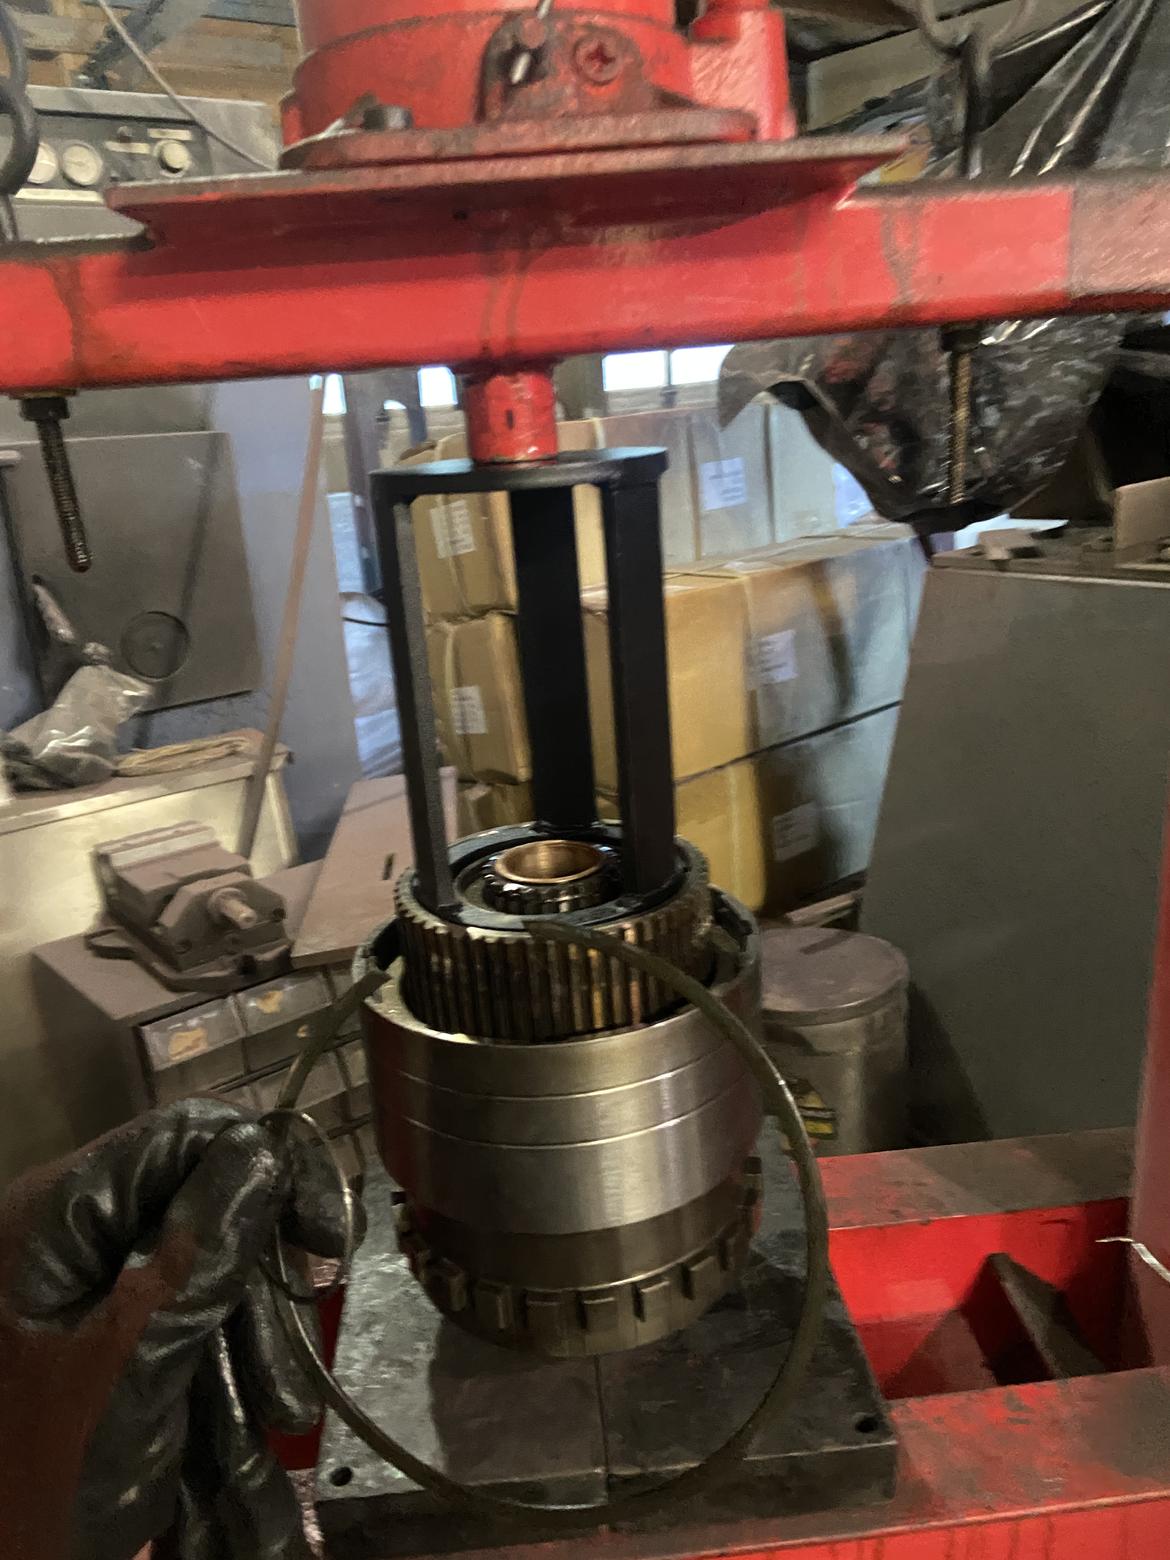
It works great and went quite smoothly. The OD direct clutch pack came out and looks mint. 
Things went off track when I dropped the sprag roller retainer on the floor. 10 of the rollers shot out everywhere. Embarrassing and frustrating? For sure. We located 9 of the rollers within 30 seconds. And then spent the next hour looking for the last one. It ended up waaaay under a pallet below a milling machine in a pile of metal scraps and chips. At least my friend's shop is cleaner than before. #10: 
I packed up everything and headed home.
Last night I pulled the parts out and cleaned and dried them off. Changed the bushings in the OD sun gear. 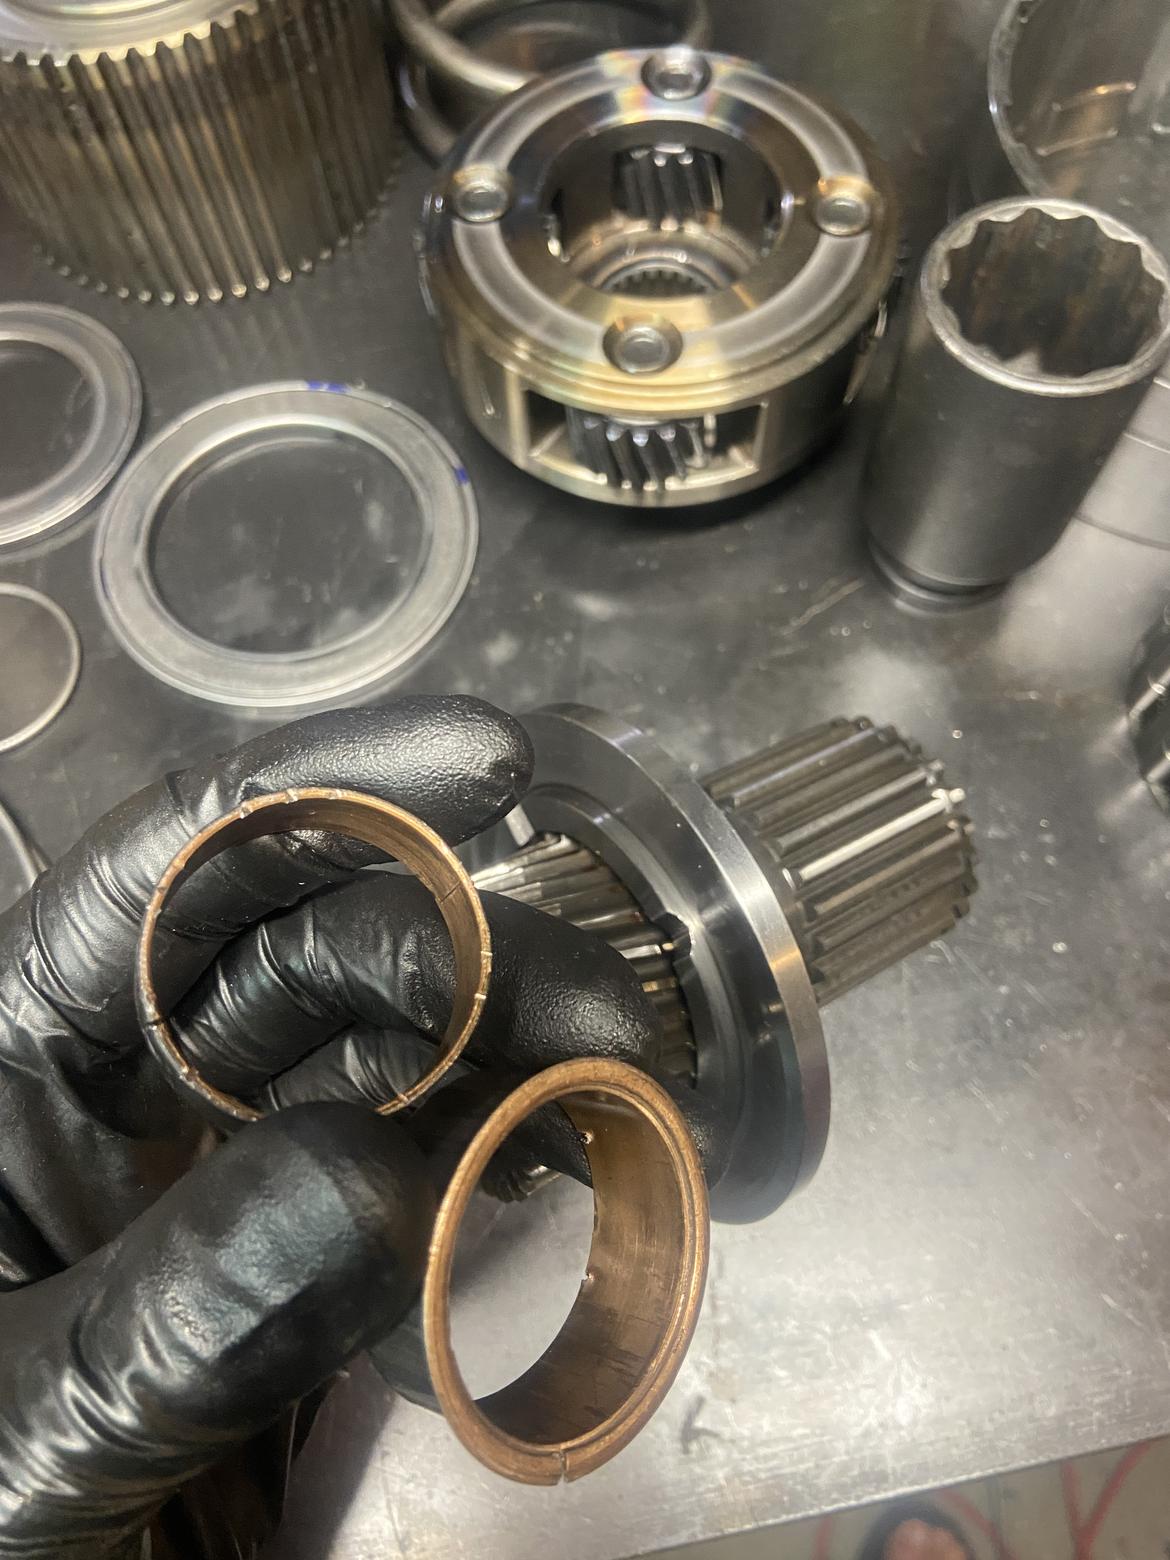
I put in the new friction discs and set everything up on the special alignment tool awaiting installation when the new "replace every time" snap ring shows up and it can get pressed back together.  New output bushing and lip seal.
That's where it stops for now.
The OD snap ring arrived today. After work I headed back with parts and a service book and put it together on the press. 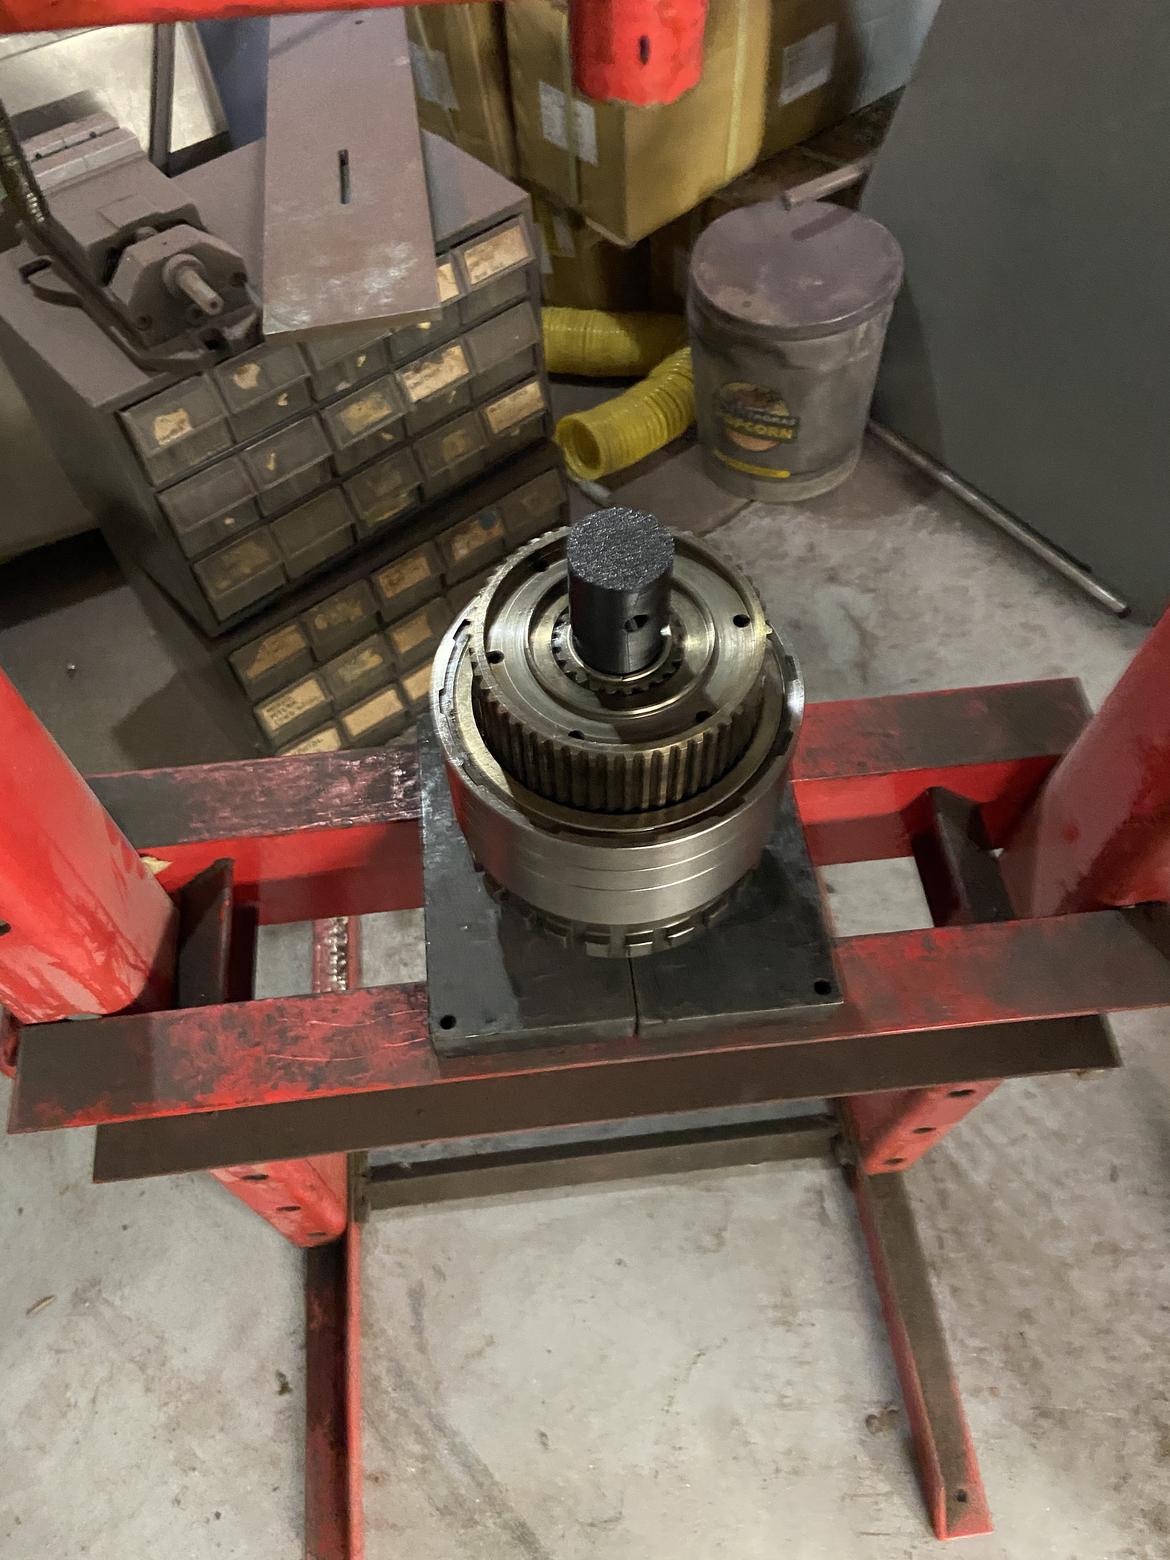
Another step closer.
My set of selective snap rings arrived so I installed a thicker one and now the rear direct clutch pack measurements are good. 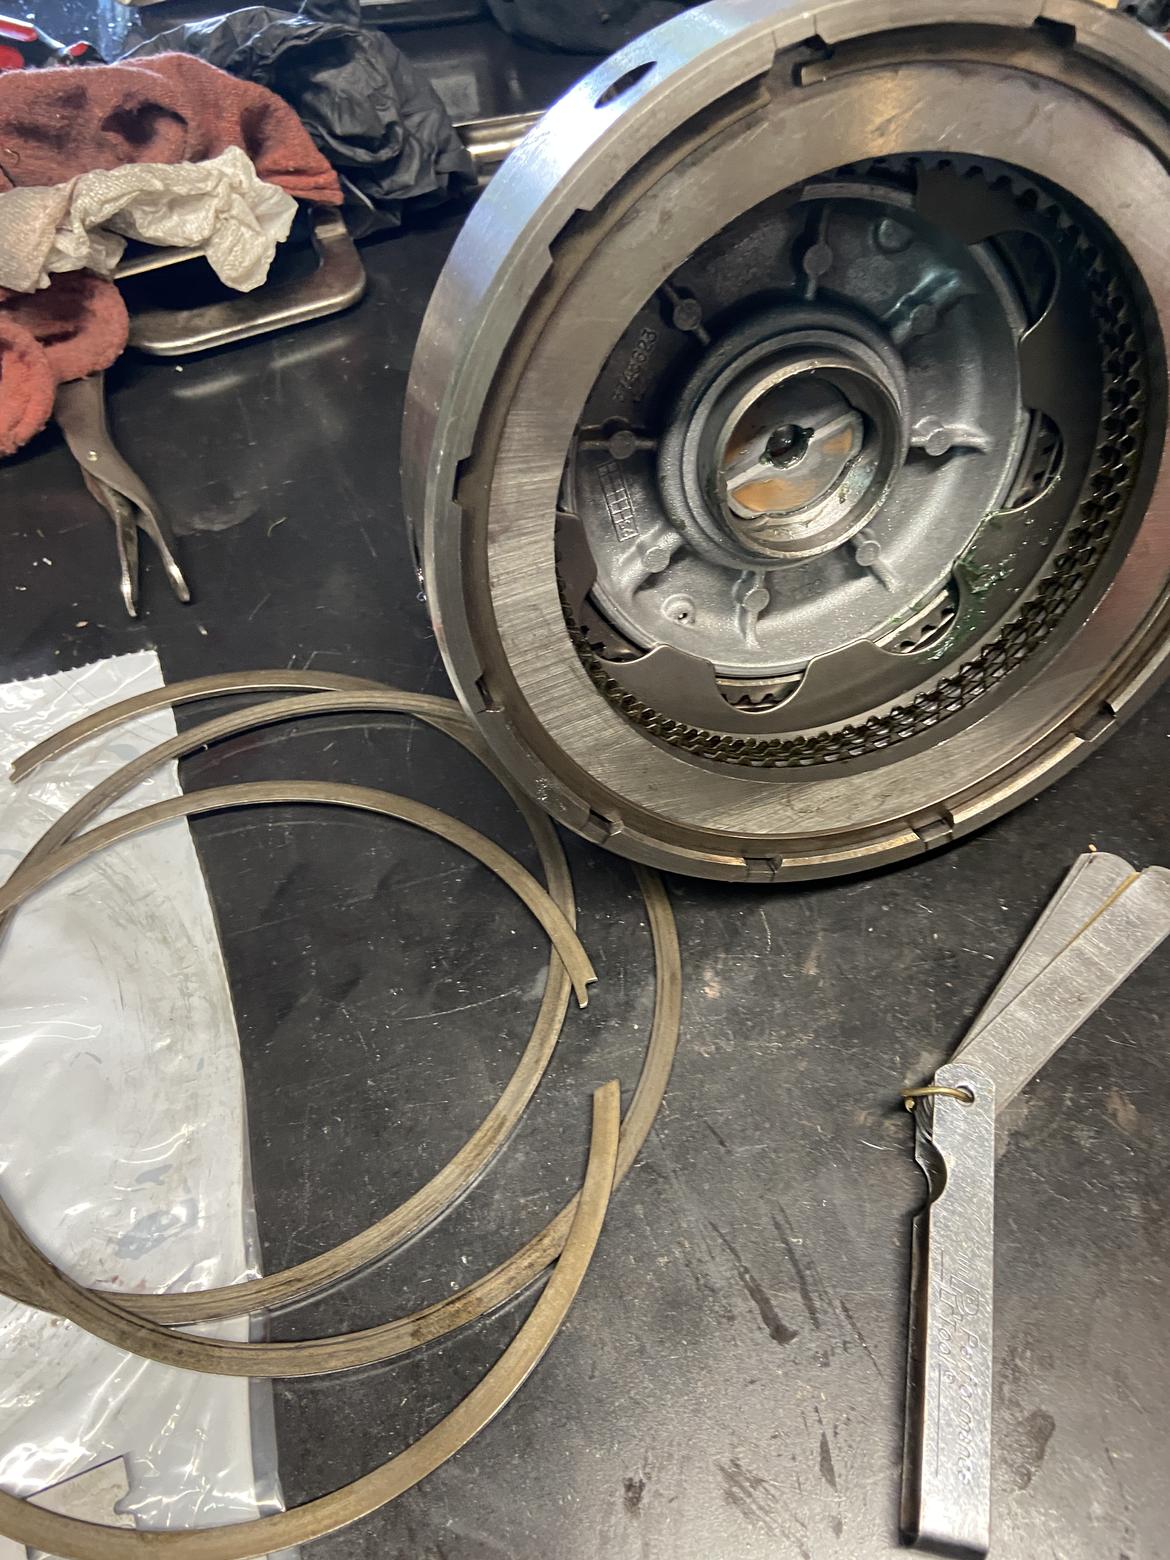
With a medium low level of struggle I got the overdrive direct clutch assembly into its housing. 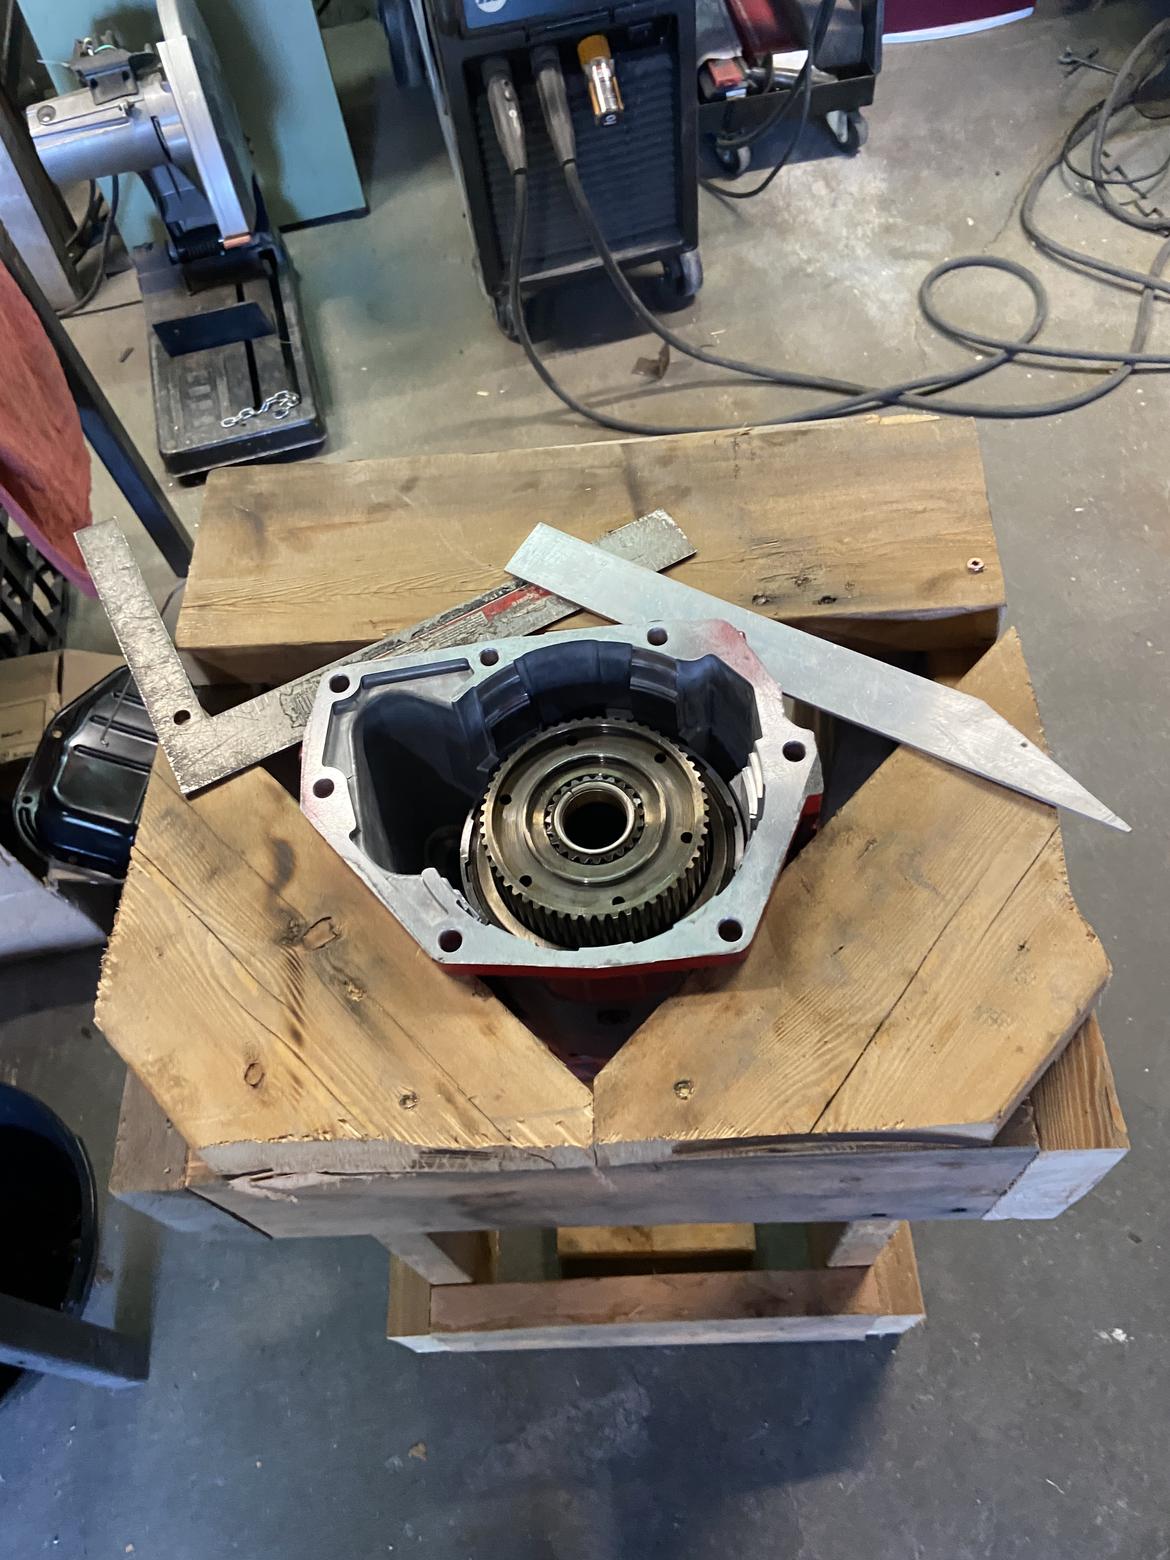
OD clutch pack installed. This was the only part of the transmission that was bad. My service manual calls for 5 friction discs with only 1 thick steel. The trans, when disassembled, had 4 friction discs and 2 thick steels. I do think that this is a reasonable setup since the thick steel measures out to basically the same as one more friction disc and 2 thin steels. I'm at the point now where I need to make some measurements of the OD section to confirm or pick new selectives. The video series fellow says that this step can be skipped if there are not changes or specific concerns. I have some concerns since the damage could have been caused by improper usage OR bad setup. I am choosing to add a friction disc to the OD clutch pack since that doesn't actually impact the measurement for either of the selectives that I will try to measure.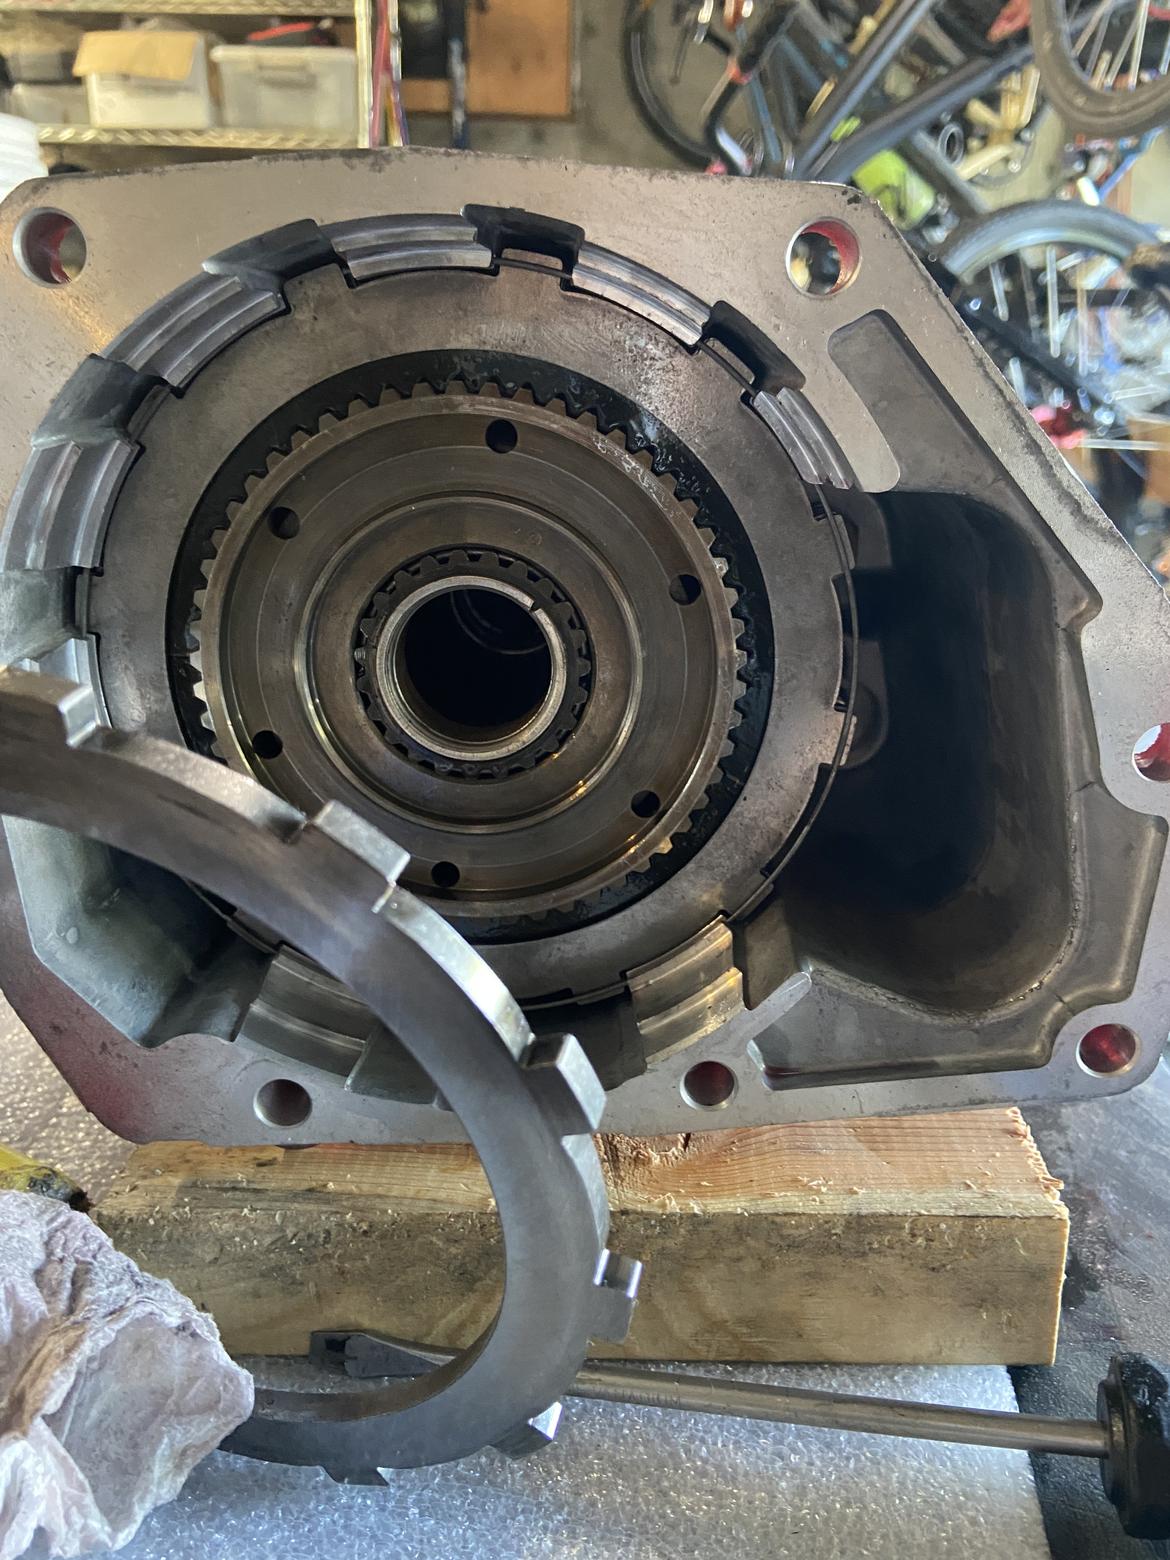
There are a pair of special tools that are used to take measurements and use a chart to convert those numbers into a proper spacer. I hope to use some alternative diy tools to accomplish the same thing. I wrapped up my evening by installing a fresh gasket and the bearing retaining snap ring cover. 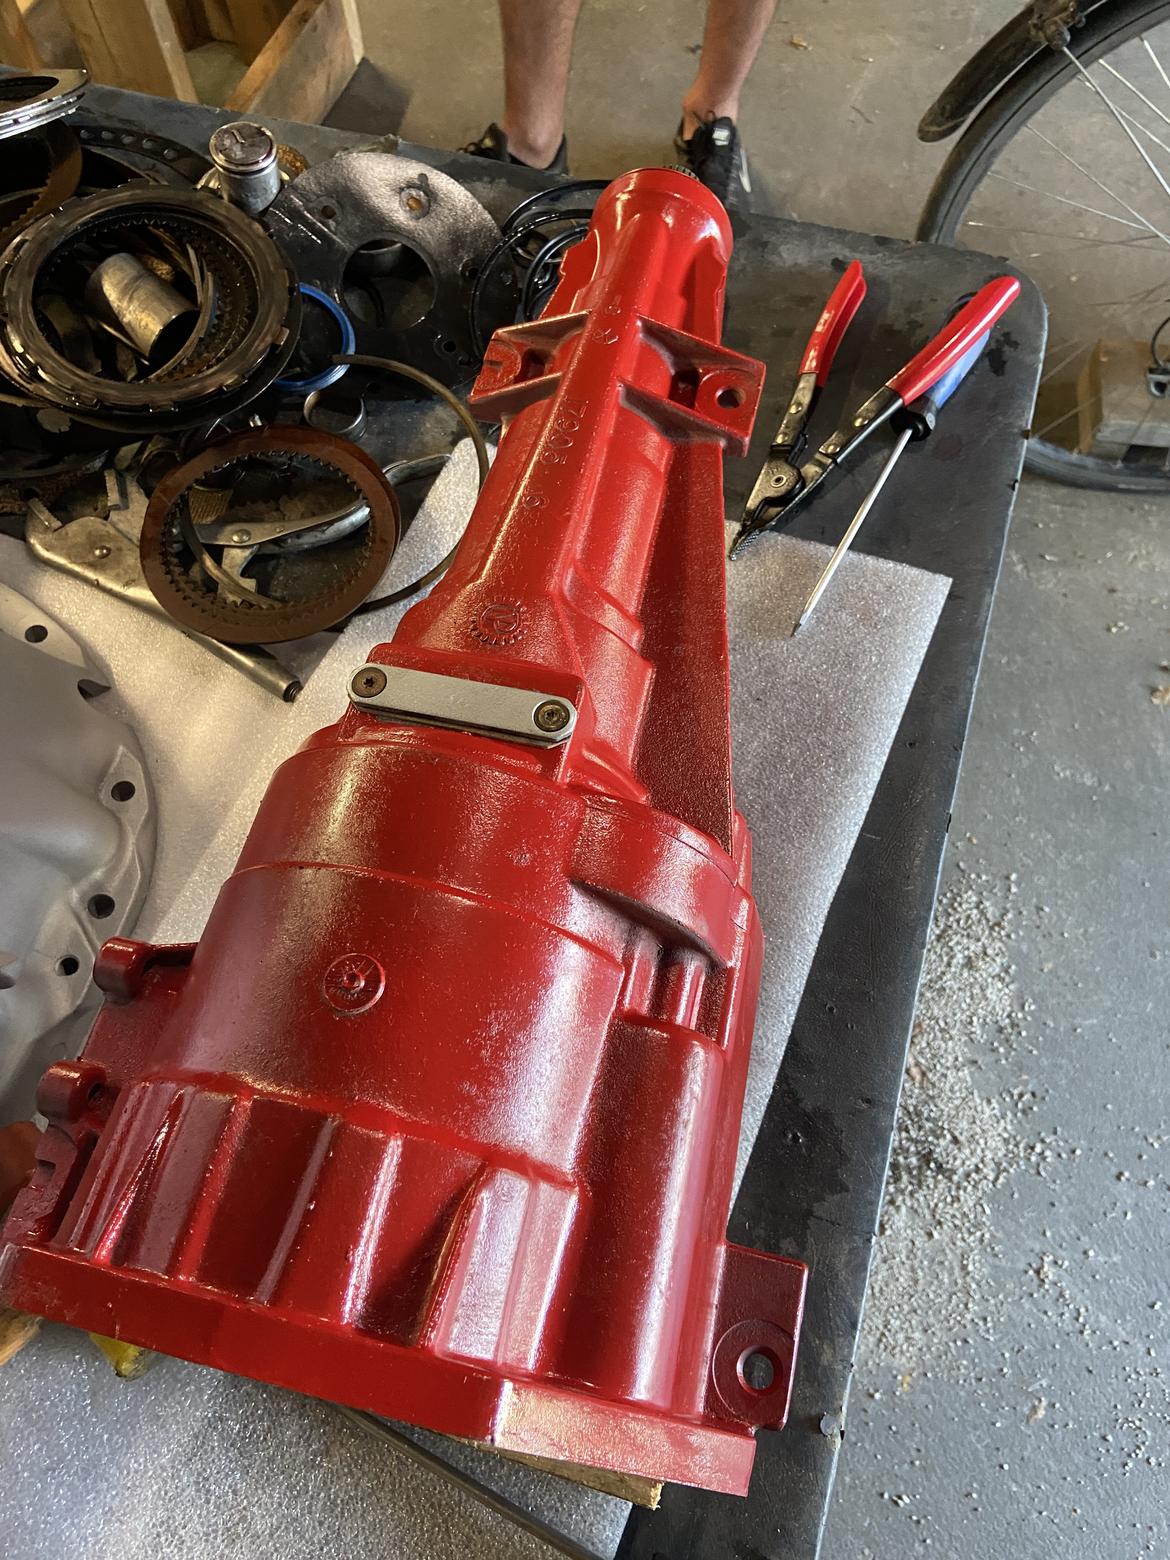
Today I need to come up with some measuring tools.
Thanks for taking time to photograph everything and write this up.
In reply to RandolphCarter :
My pleasure, glad you're enjoying it. The pictures are happening anyway. I take WAY more pictures than make it into posts usually to aid my memory and as bread crumbs.
Part of my recent hustle on this project was the idea of driving the van to our annual family camping trip this weekend. It looks like I might miss that deadline though.
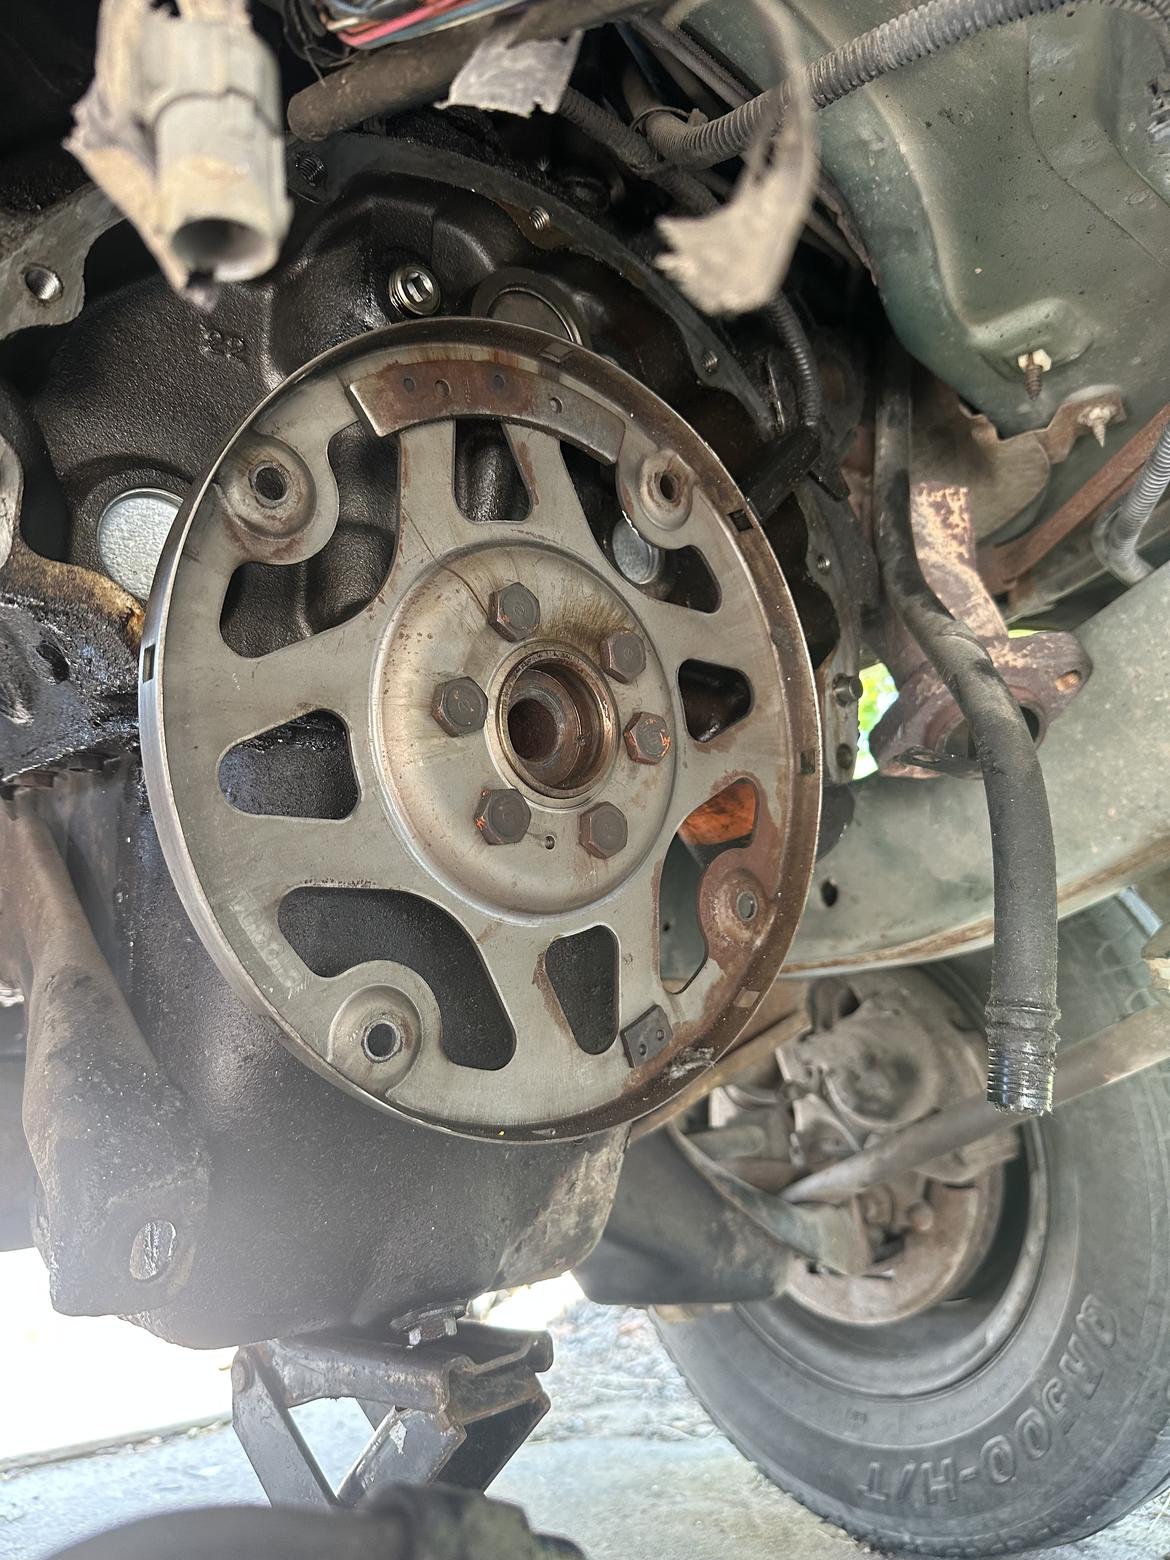
I got 3 gallons of ATF +4 after work and started back in. Got the trans out of its wooden frame and onto the tranny jack. 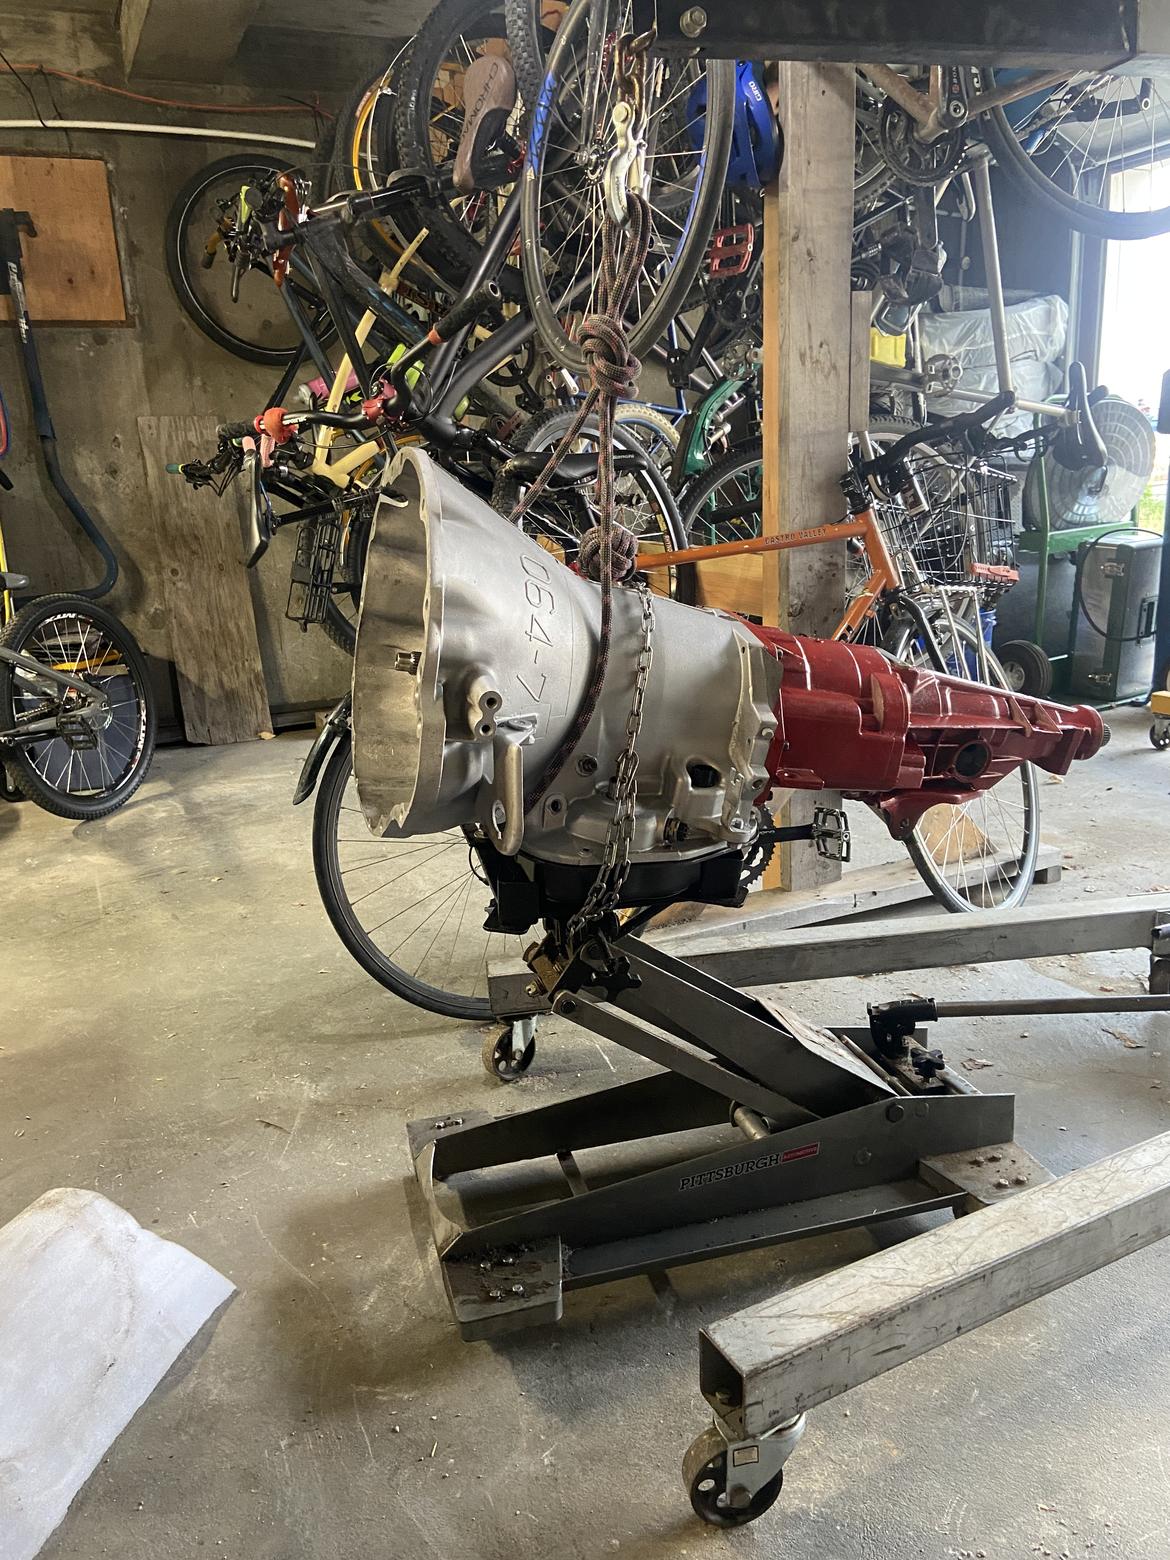
Then I spent the next hour trying to install the new torque converter. I kept trying and thinking that I must just be bad at it or super unlucky or suffering from a curse. Turns out the new part is significantly different from the old one. The old one will let a 33 mm bushing press drop through and the new one won't. It is a no fit. 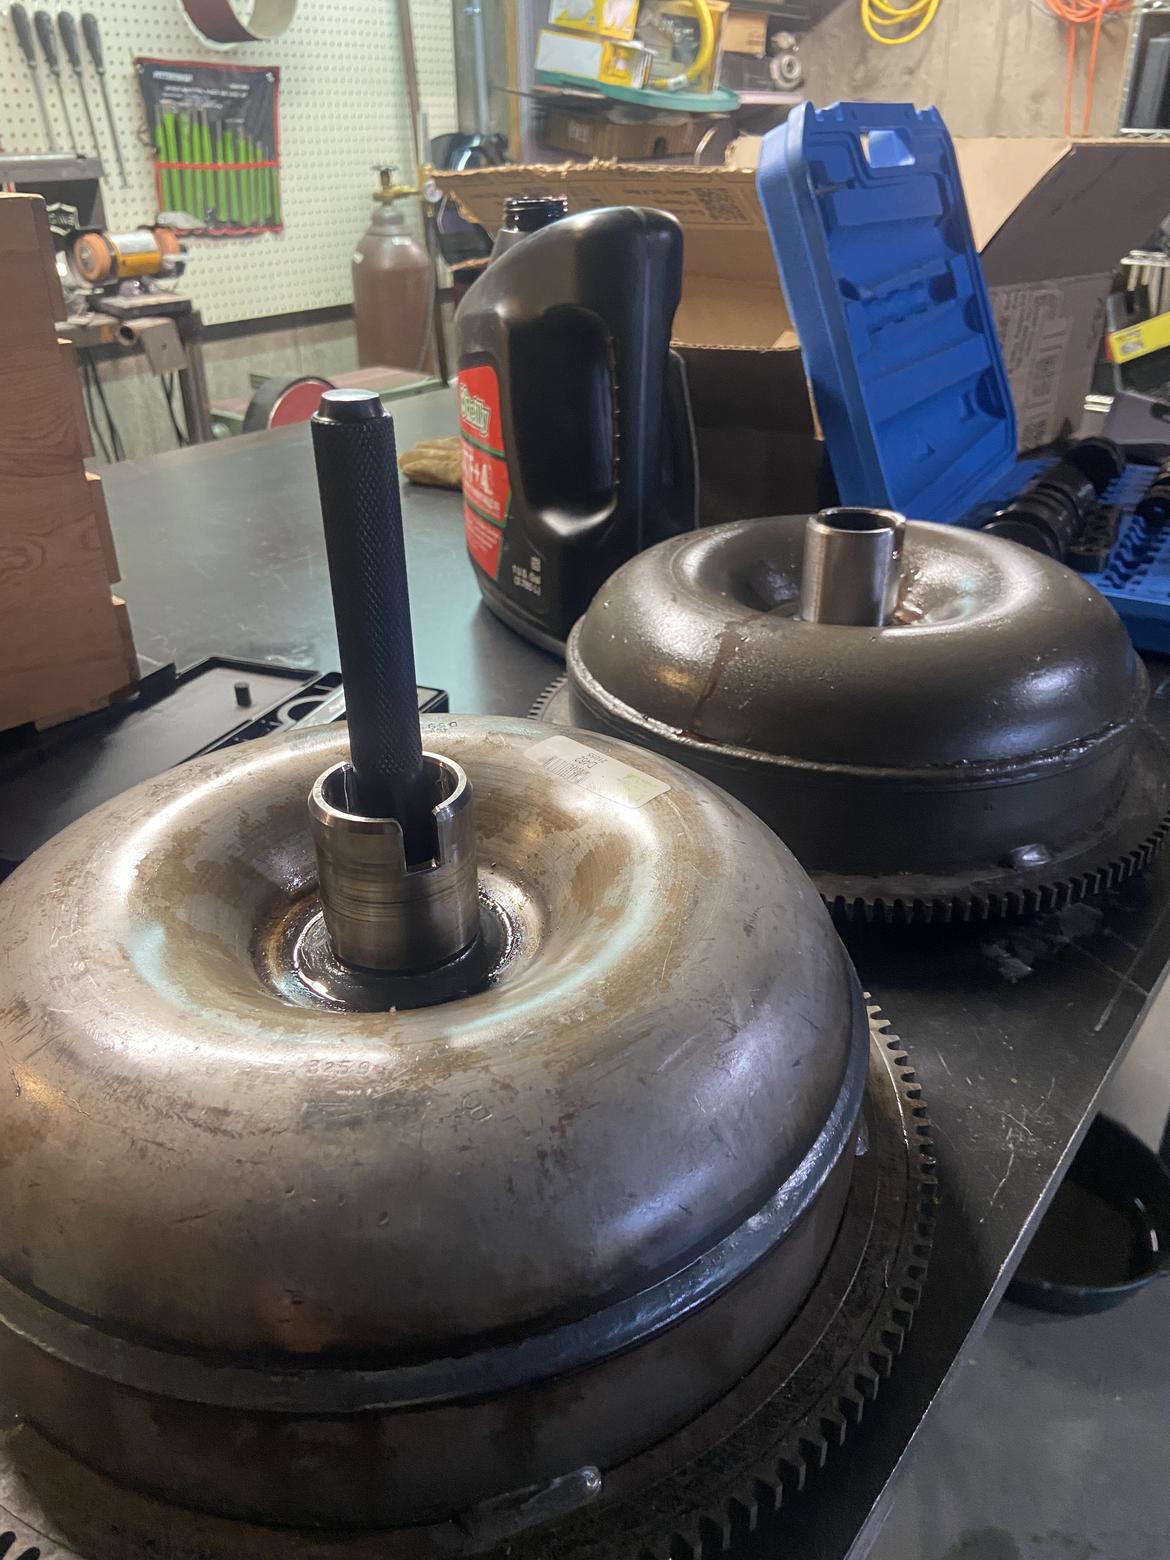
Feeling bummed, it's too late to return the converter (plus I filled it) and a core is my best recoup. I had a look at the fluid coming out of the old one and it's not pretty. I poured in and out a couple of old quart remnants but it still isn't good looking. Leaving things like this for the evening and going to see about a local replacement tomorrow. 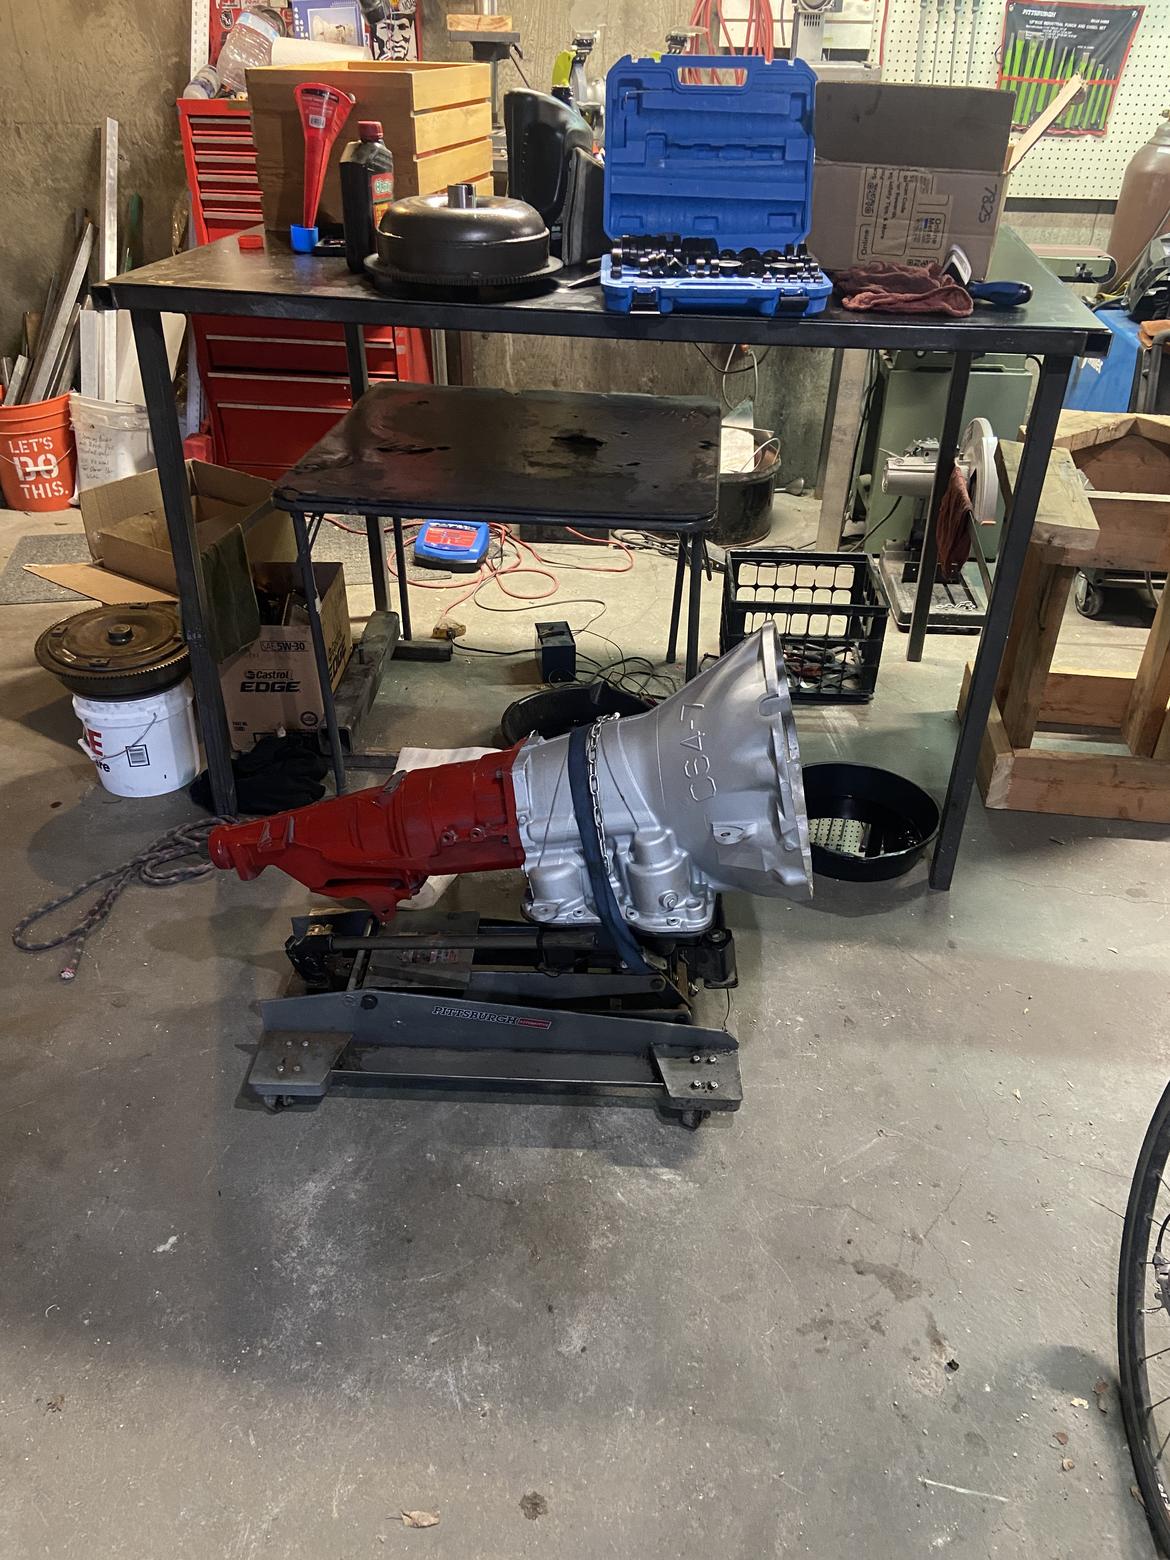
Local trans shop is supposed to call me back today with pricing and availability. They are optimistic about it being there tomorrow morning. Fingers crossed.
I took my old converter in to the trans shop and the owner seemed to think it should have weights on it. The book (actual paper) lists 96+ as being that way. Their TC supplier has to build one for me so, not going to happen before my trip. I did confirm that my flexplate has weights so that makes their absence from the converter make sense. I wonder if it is a Van lagging behind the truck changes kind of thing? Either way I will be checking the stator bore size before the TC leaves their shop.
On the plus side my "delayed shipment" of hardener showed up today. 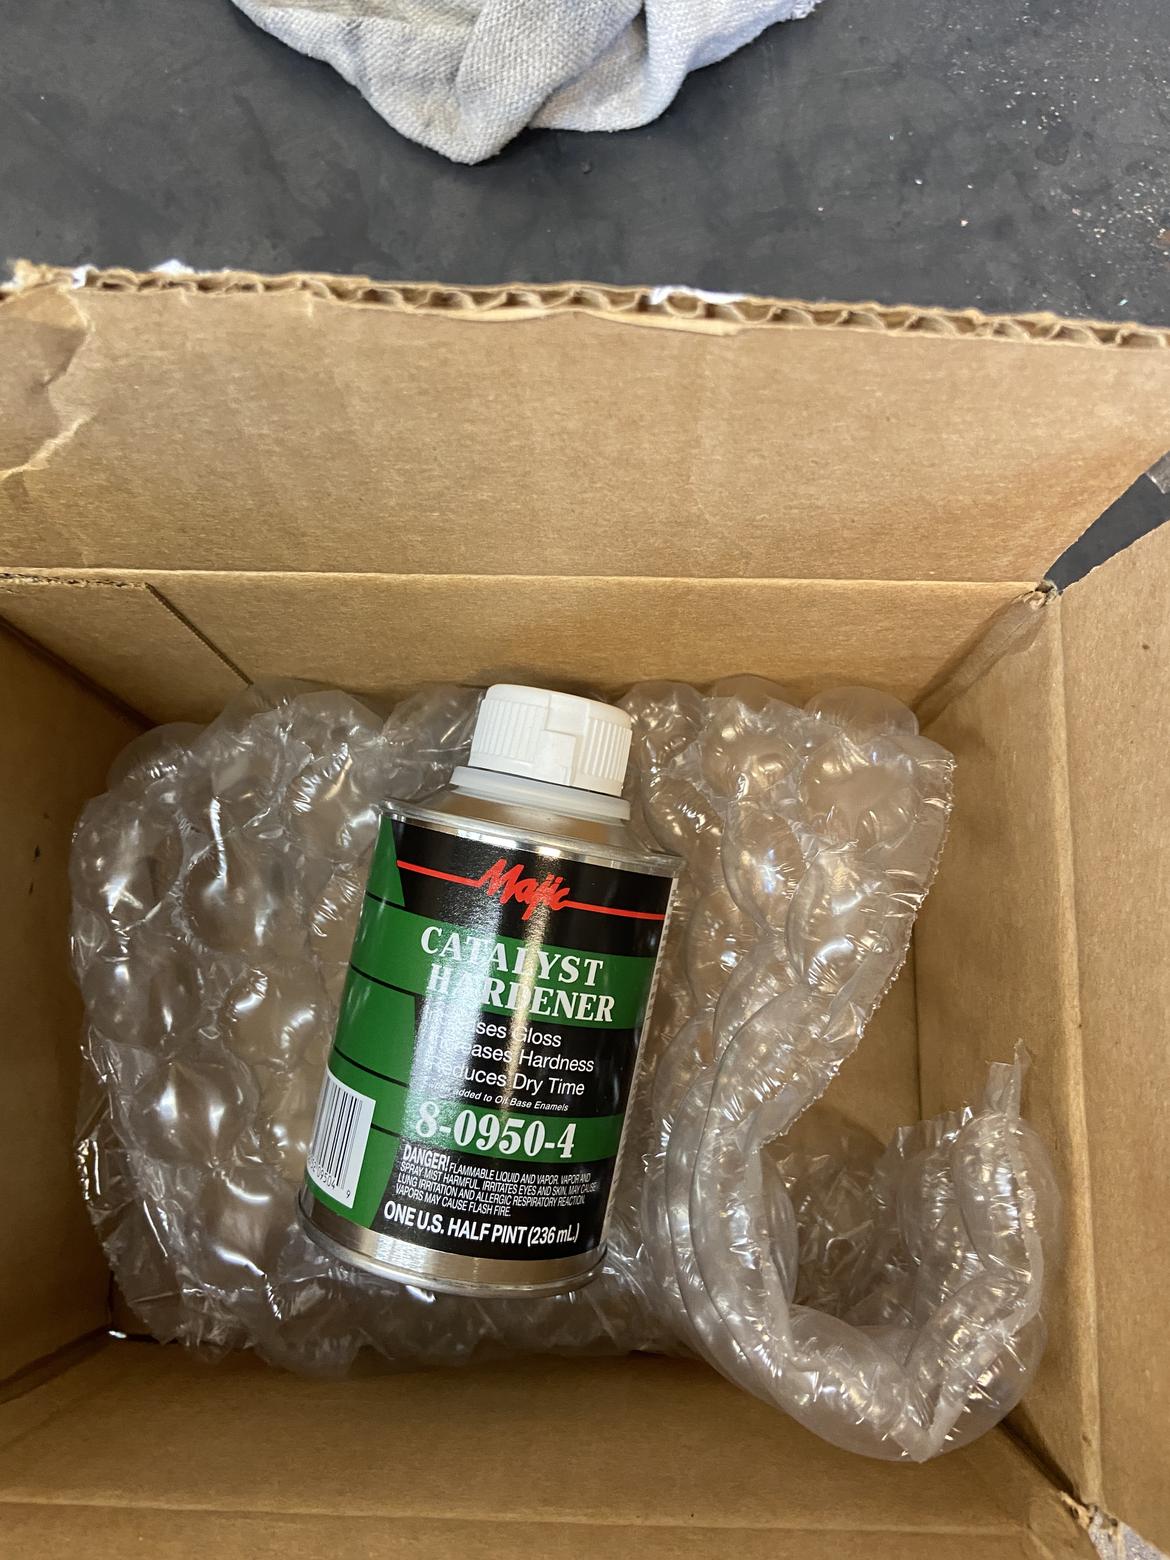
With the mandatory break of awaiting parts I may go swim in lakes or ride bikes or possibly even put some effort into my Fiat X1/9 re-swap.
Last night, free from mechanical obligations I went for a skate and jumped into the lake afterwards.
In a surprise twist, I had a message this morning from the transmission shop that they had a torque converter for me. Went in before work and it passed the visual and 33mm drift check. 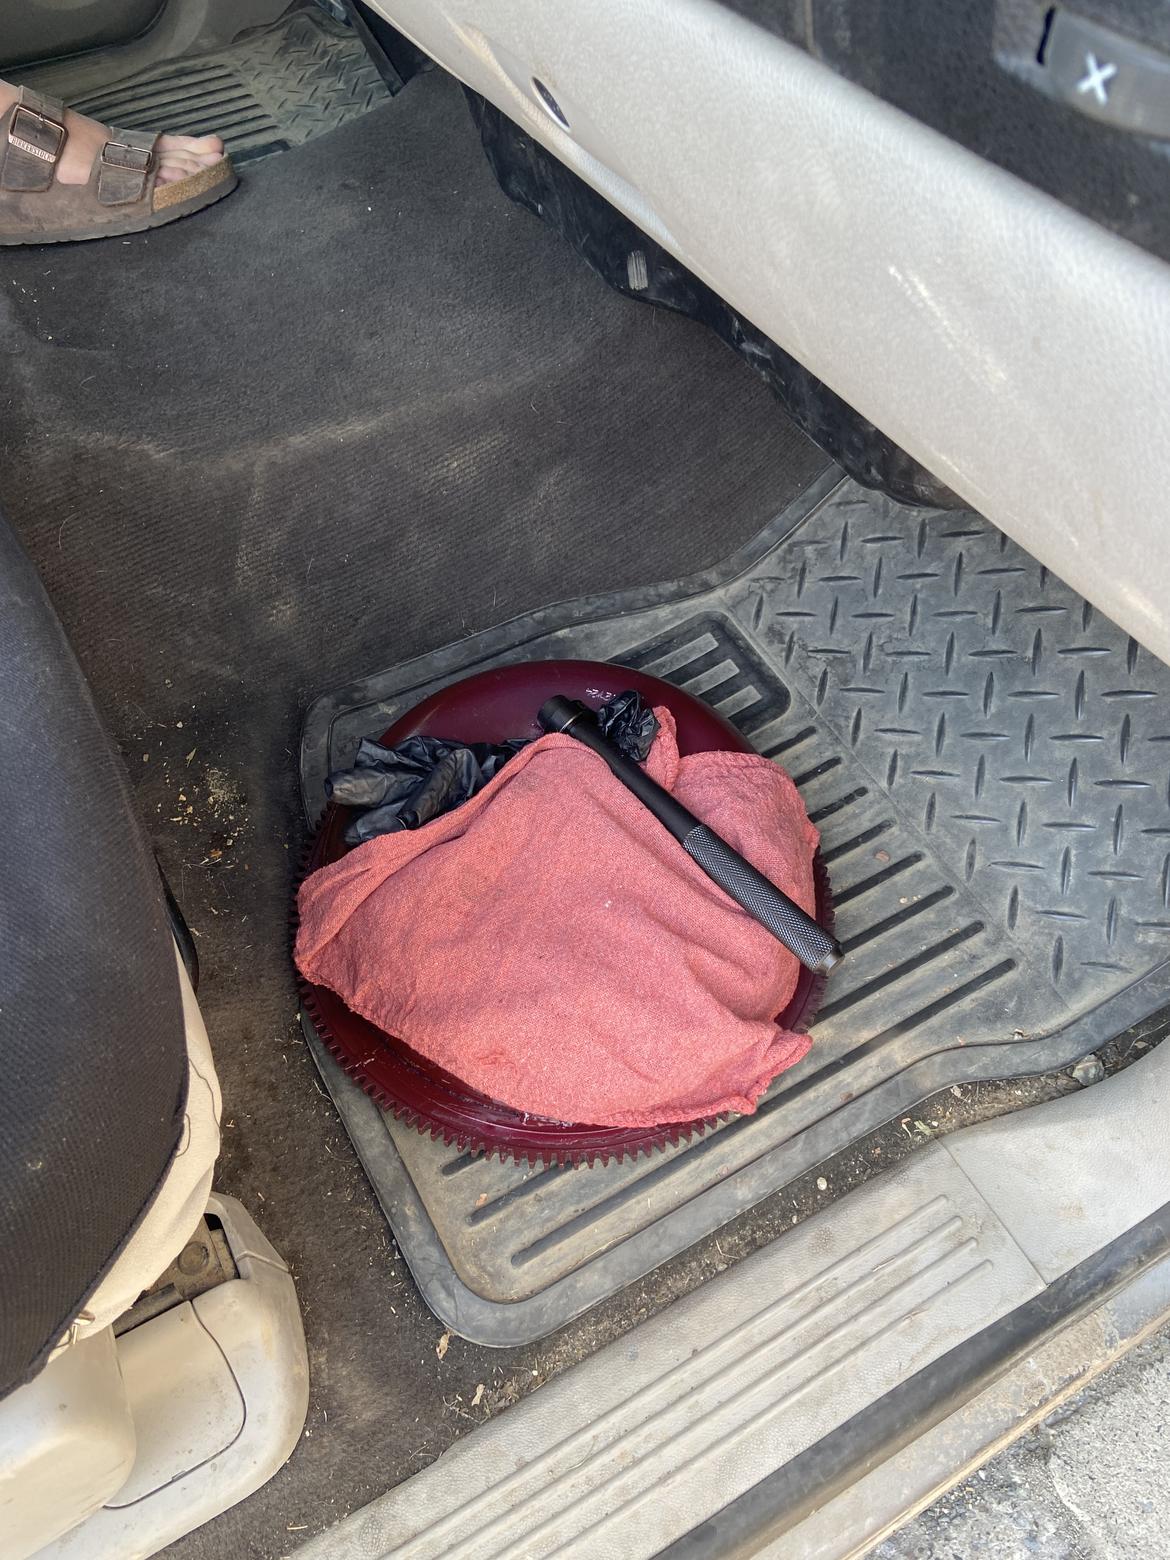
I will see how much reassembled I can get this evening after work.
Lunchtime parts run on my bike. 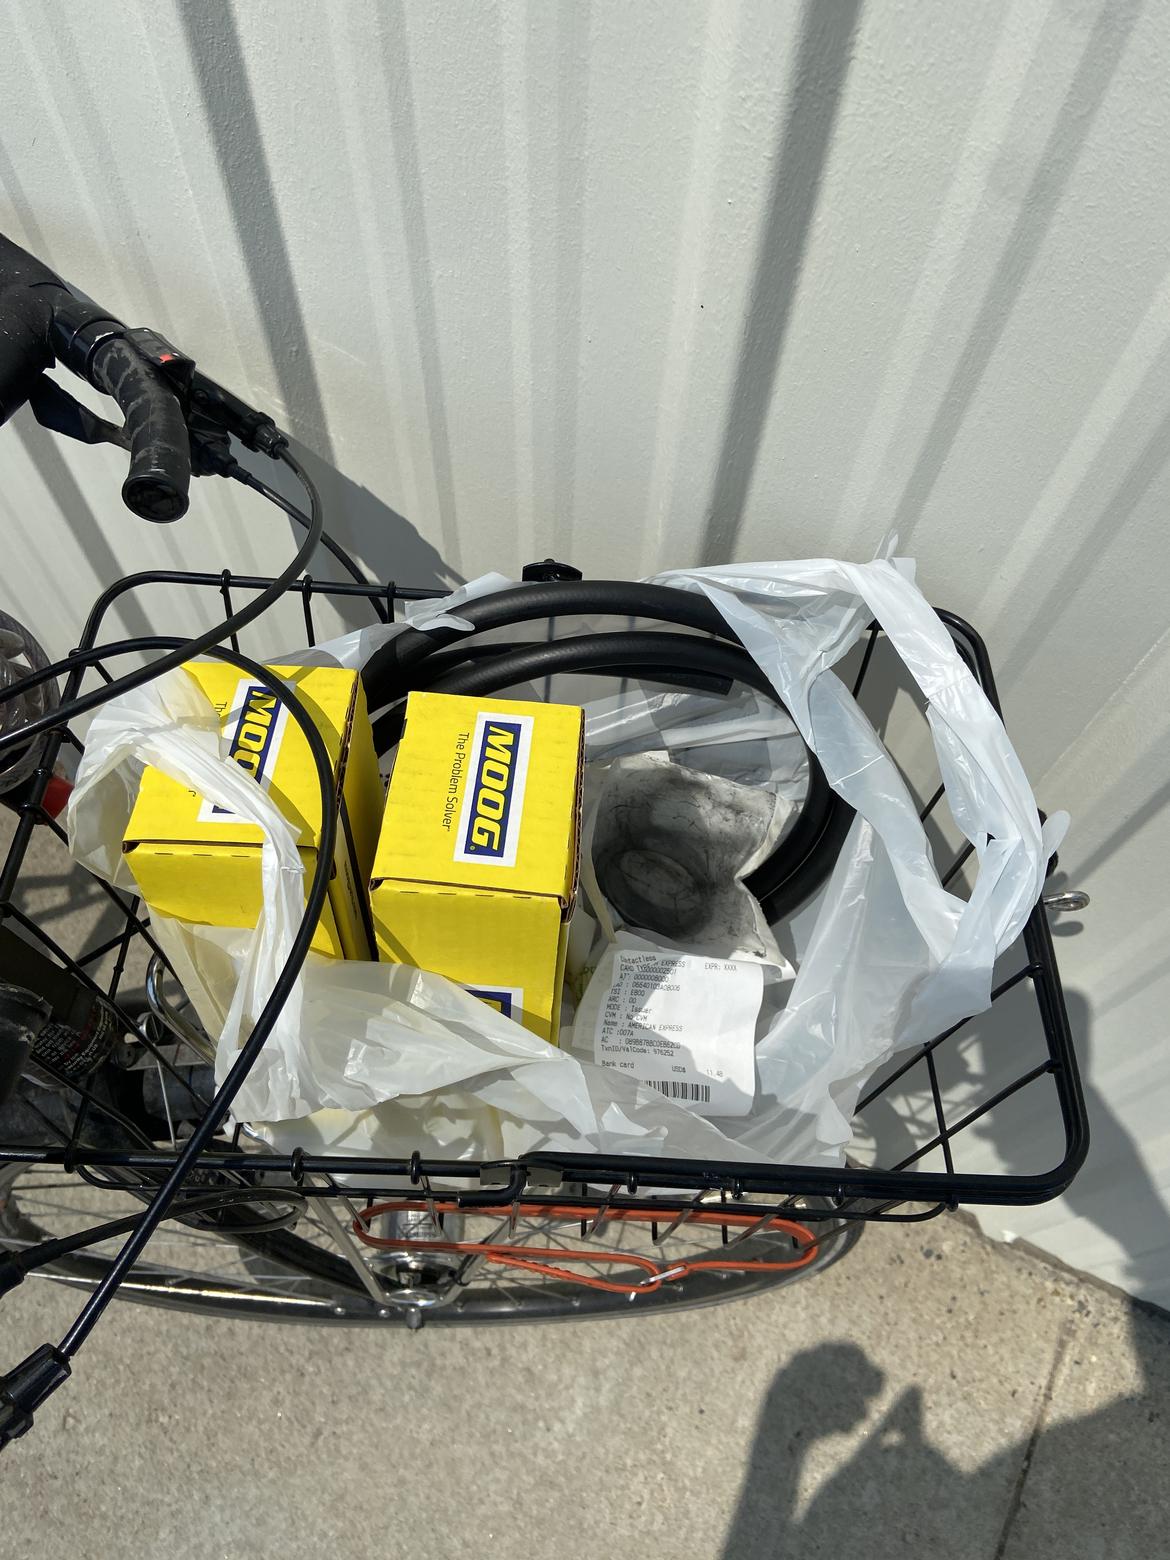
I'm assuming the converter you just picked up is neutral balance?
Because a weighted one isn't going to work for you unless you have a neutral balance flex plate. (Pretty sure you already know that, but I wanted it to be clear)
In reply to Russian Warship, Go Berkeley Yourself :
Neutral balanced. Yes, the converter actually has small weights to balance itself but not the large engine balance weight.
I fussed with the neutral/park/reverse switch plug after checking out every fuse. 
runs and drives! Got to go down the highway AC blasting. Cruise works. Went and got a pair of junkyard tires. Headed out camping


 The official measurement tool is 5.5" and this one is more but rather than cut it down I thought the difference could be subtracted out. The distance from the face of the OD case to the top of the tool turned out to be a negative number, but with the straight edge I was back to positive numbers.


 It didn't take long for the spacer to get hot and to shoot across the garage. I needed a holder to efficiently remove material and it would be nice if I could spin it while it was against the belt. A large hole saw and some steel scraps:
  This worked great! I used thick leather gloves and kept rotating the holesaw and checked thickness every so often. I am pleased to report that the spacer came out almost as flat as it started and within spec for the chart. Buoyed by my spacer reduction I started disassembly of the final section of the transmission: the valve body. This is where the Genies make their homes. Lots of pistons, springs, clips and balls.


 the problem screw was a screw issue so a new one from my archives was installed.
 Eventually all the spinning bits were in and there was one more measure to make. The end play. I used a similar setup because I have verneer calipers and not dial indicators.
  not enough hands to get good pictures of the process but I measured down to the input shaft and then took the same measurement but with the shaft lifted up using snap ring pliers inside the hole in the shaft. I did the process a few times since it is kinda awkward. All the measures are in spec. I installed park rod after a few minutes of fussing with it. Then the valve body. I finished the day with the pan going on.
  then to cool down I cleaned my work table.
  next steps will be converter and fluid and then reinstalling the trans into the van. I'm typing this and the previous update from the waiting room at the DMV

 Yessss! Only 30 seconds of fussing with it before it went on. Feels good to have the missing piece in place. I ate some dinner and then straight back in on making some progress. Got the lines flushed with solvent and compressed air until they looked clean. I already have a new trans mount and figured now is the time to install it. Then it didn't go as easily as I wanted. The new studs don't fit the old nuts! And, none are included.


