as I sit here on easter Sunday, I reflect about the previous year I’ve had. Easter is a time of rebirth, of good news, of new beginnings in my home. In the last year, I’ve ended a 20 year career in frontline mental health services, started a career in industrial sales, watched my daughter start eighth grade and then move onto the early college, watched my wife rebuild her girl scout troop from some pretty horrific events, buried a few friends, stepped up to help my parents more as they age, took control of ,my health and finances, and generally tried to become the man I believe I’m supposed to be, not the man I generally am. I’m happier, a little skinnier, poorer in wallet but richer in faith and love. I celebrated 19 years of clean and sober, 16 of marriage, 14 of fatherhood, and 15 of homeownership. It’s been a hell of a year.
As far as cars, I sold the Prius, sold the neon, sold the amc, gave the stepside to my daughter, resurrected the miata, drove the duster more, got dads 49 ford cab almost done, and busted hump on the MoCar. For this update, I want to take time to look at where we’ve been, where we’re at now, and where we’re going.
On 4/28, I posted this
Dusterbd13-michael said:
 20220428_161044 by Michael Crawford, on Flickr
its definitely interesting to tow
But, i own a stock var of indeterminate age and manufacturing!
By 5/10, I was here:
 20220510_075317 by Michael Crawford, on Flickr
Other milestones included parting out two dusters in Crossville Tennessee, another in my dad’s shop, cleaning and painting the chassis, fitting the ls and four speed, learning about grand national hubs and vintage wilwoods, and spending a lot of time with my father and best friends learning how to do a tube frame build.
I could bore you with milestone pictures, but they’re all her on other posts, along with far more information than I can summarize. However, what isn’t there is the growth of skill this project has seen. Id never built heat shields, rebuilt calipers, modified a firewall, made cad templates, worked with pop rivets, worked with aluminum, repaired roll cages, or many other things. Thinking three steps ahead of where I was in the build, and how a decision today would affect things downstream were skills I had to learn and apply. I’m still learning them, and having to revisit things I didn’t think through enough. But I’m improving at it.
The overall culmination of this build is a fast, reliable, safe race car that is street legalish and looks like a duster. You’ve seen this mockup picture, cause I’m damn proud of getting here.
 20230211_171528 by Michael Crawford, on Flickr
The mockup gave me the shot in the arm to push through to now. But, just because im methodical, ill show you how we got there first.
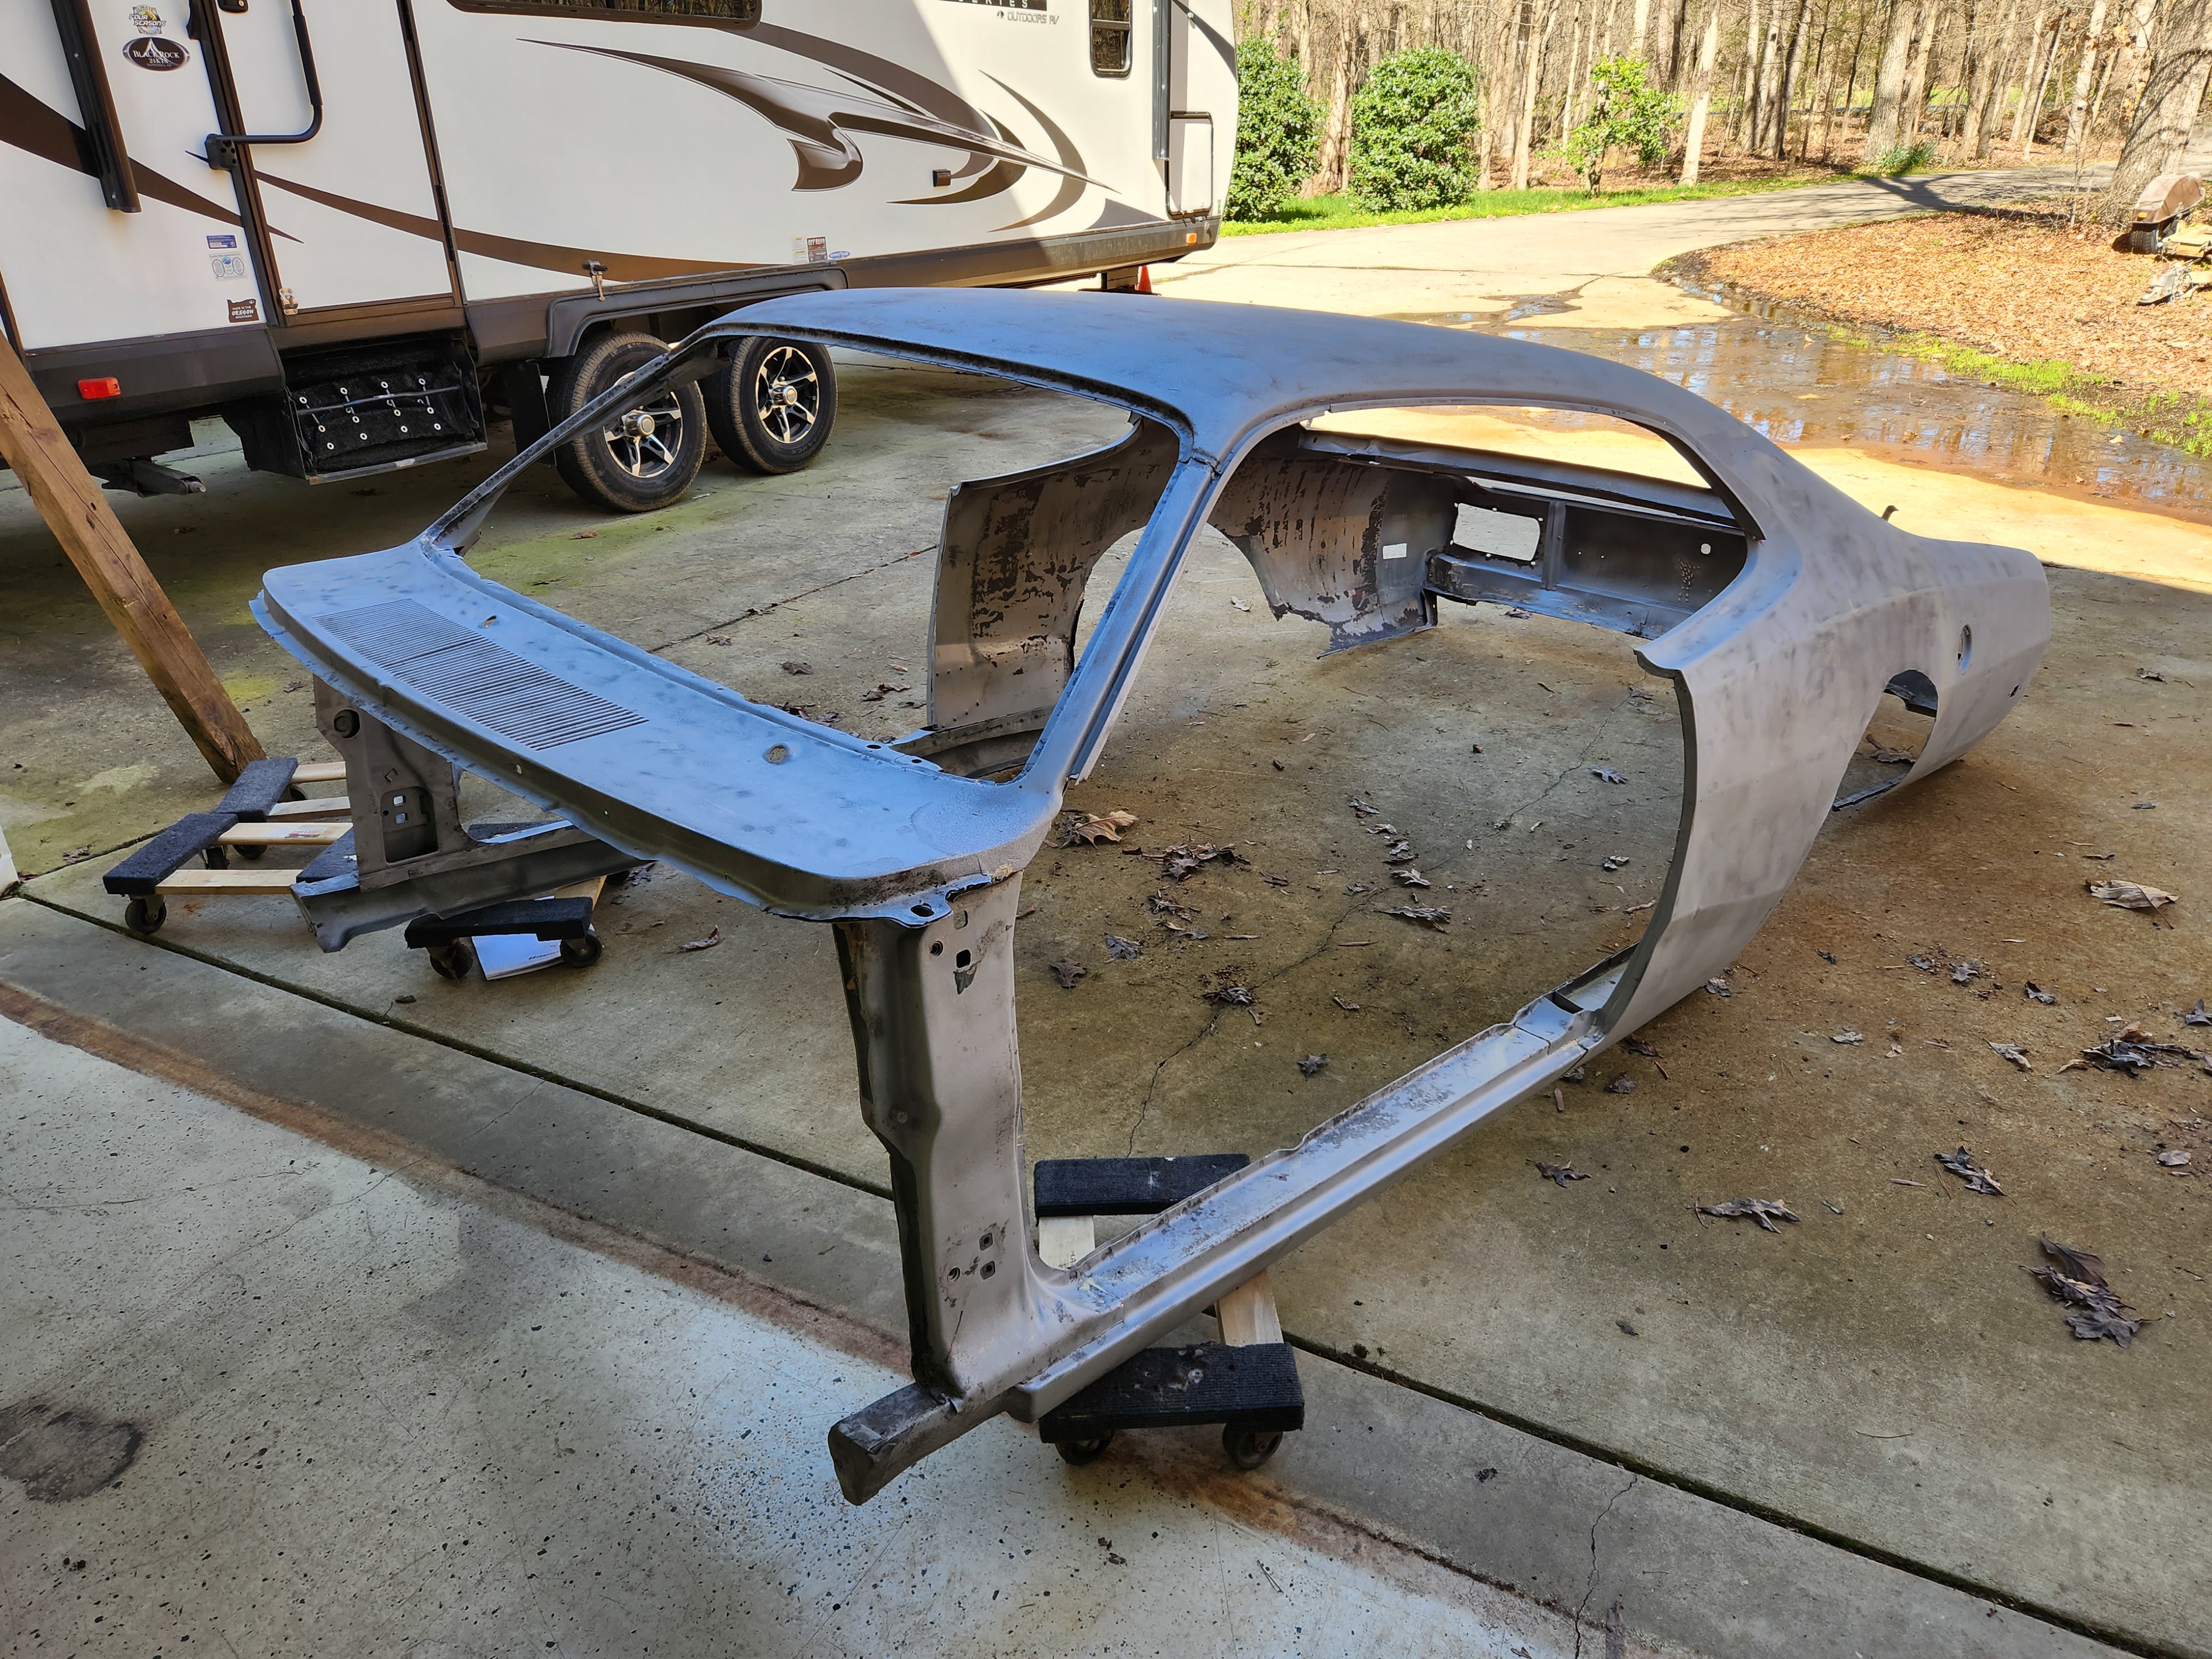
We had the body fit pretty well, when we found a lot of bondo. The decision was made to have the shell blasted when we did dads truck. I went a little overboard and had more blasted than I originally expected to, which cost more. But I think it was the right call overall.
 20230304_100448 by Michael Crawford, on Flickr
 20230304_114105 by Michael Crawford, on Flickr
 20230304_130054 by Michael Crawford, on Flickr
 20230304_135436 by Michael Crawford, on Flickr
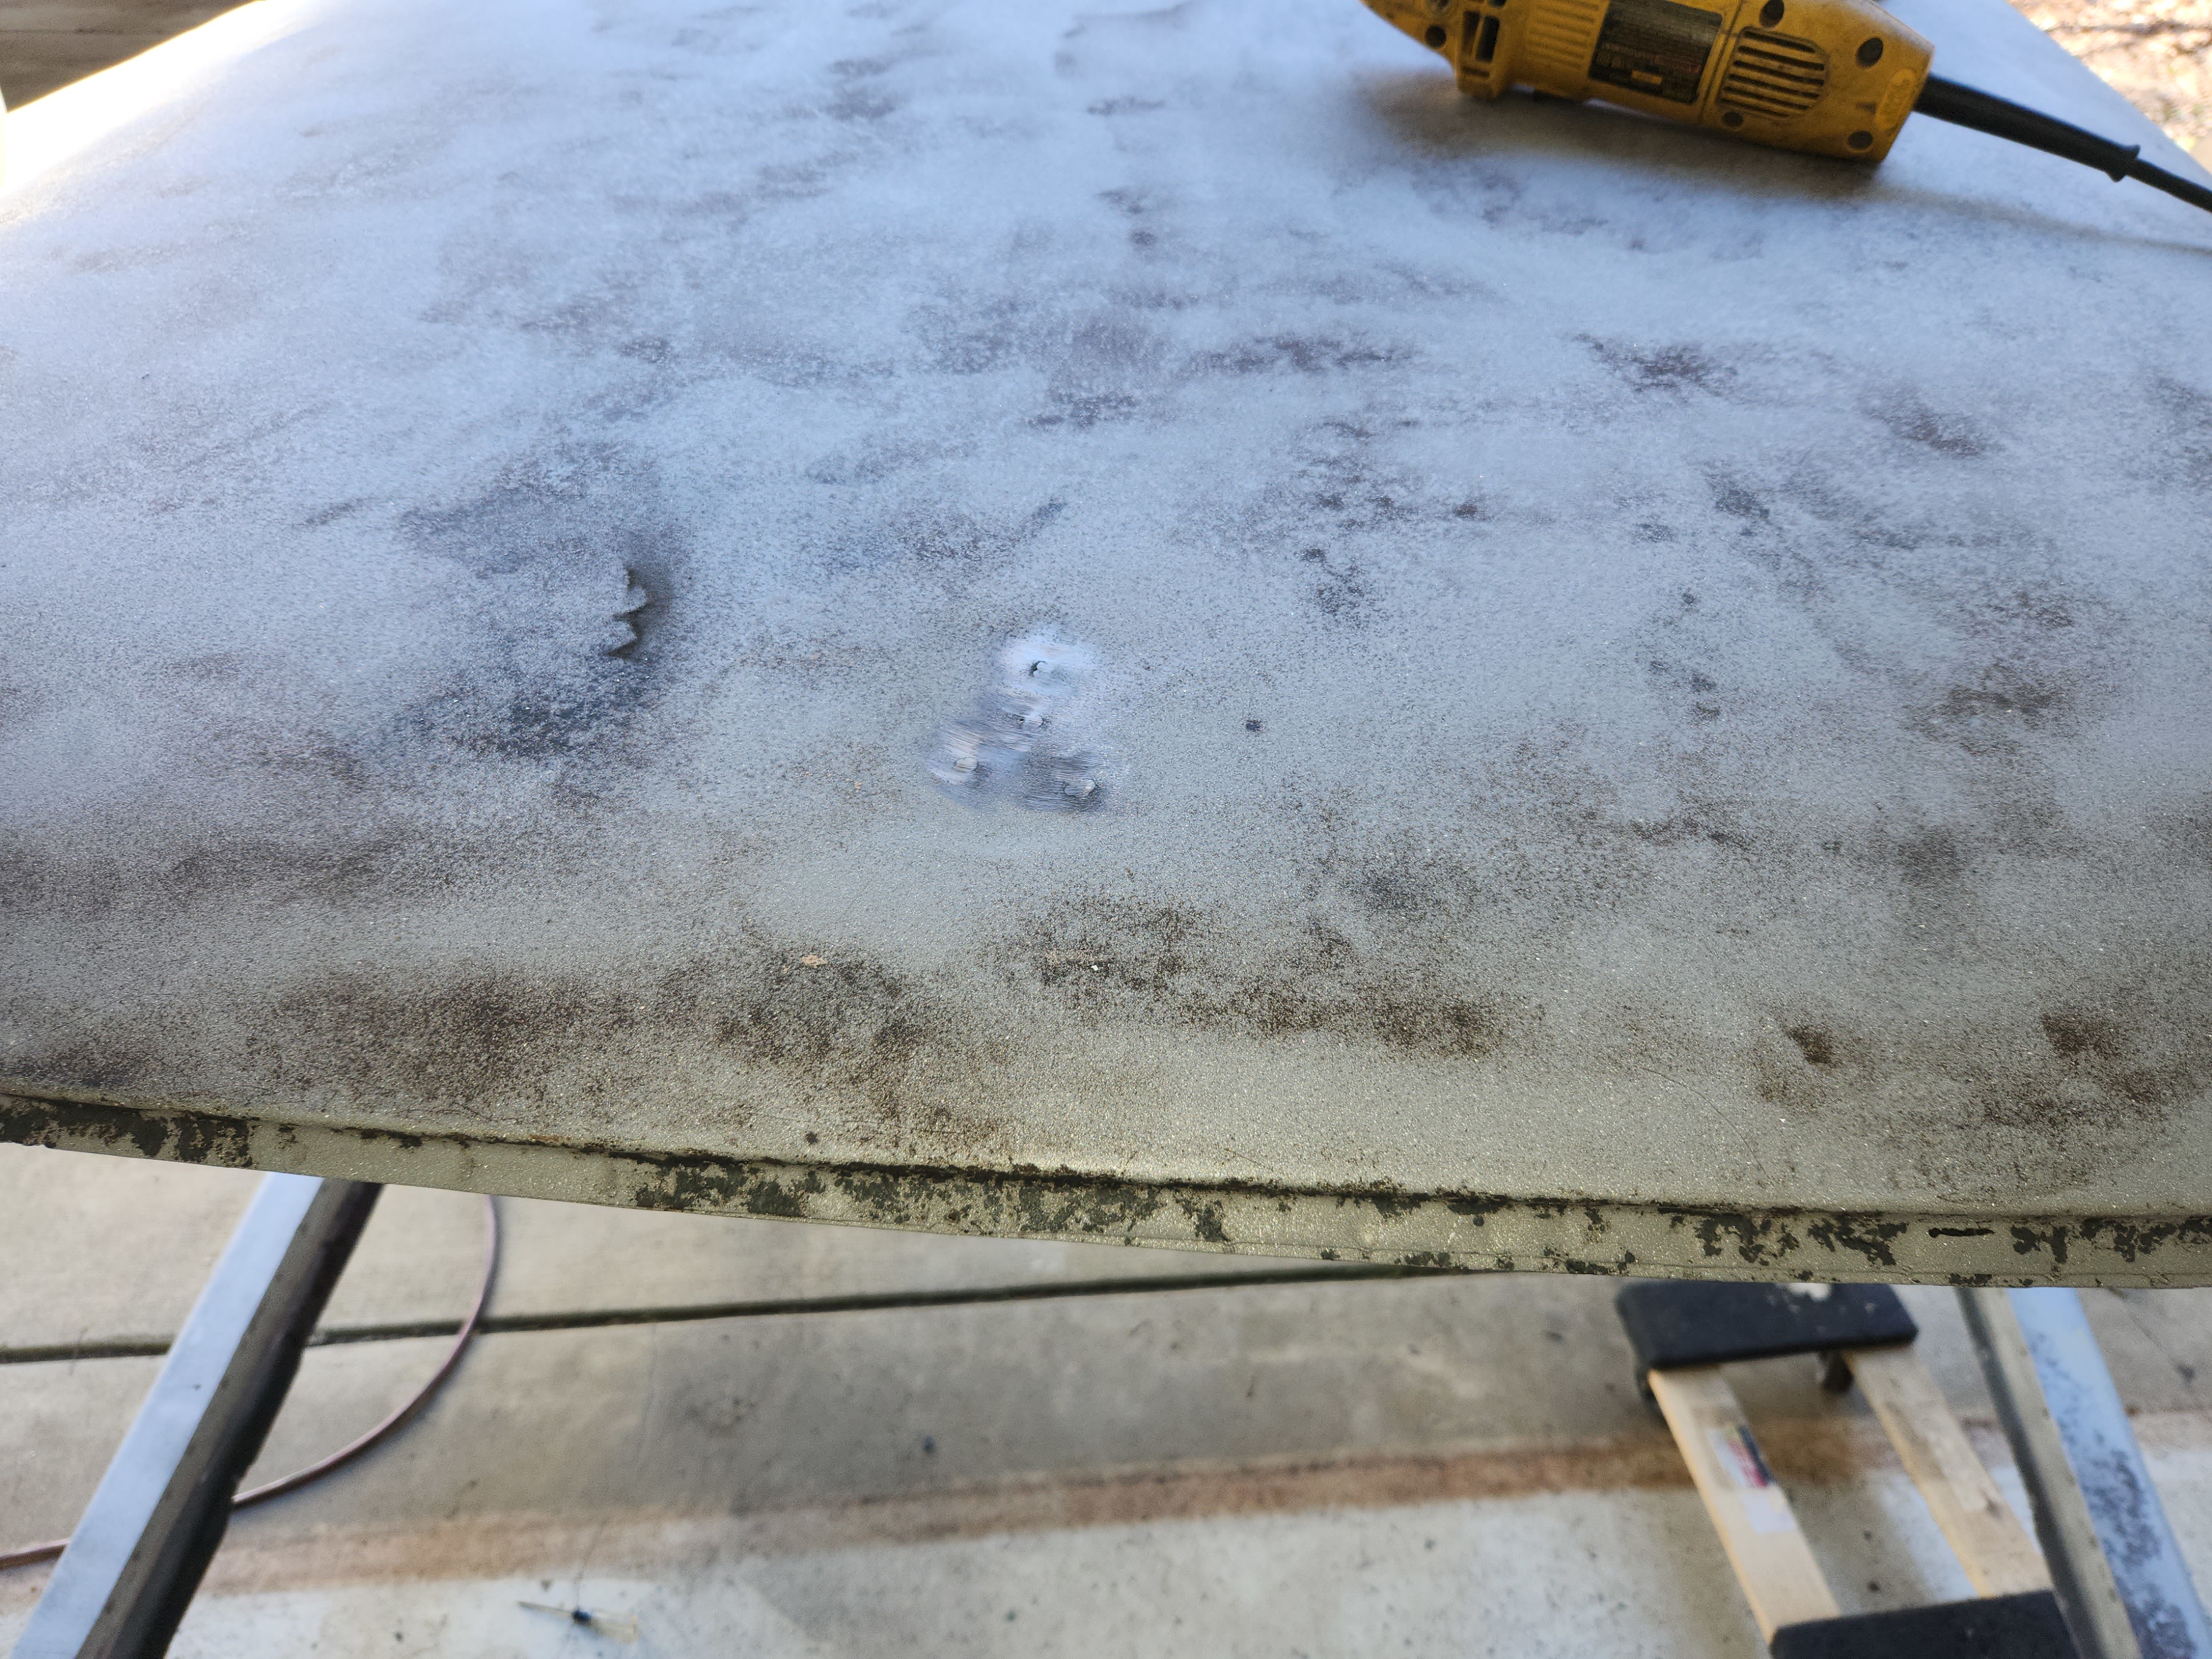
This revealed a lot more body damage than I expected, as well as far more trim and sheet metal screw holes. I went ahead and welded up every hole I could find, shaved the filler cap and rear side markers, and began hammering damage straighter than it was. Bodywork is not my forte, but we made it suck less.
 20230305_103322 by Michael Crawford, on Flickr
 20230305_103328 by Michael Crawford, on Flickr
 20230305_110615 by Michael Crawford, on Flickr
 20230305_110621 by Michael Crawford, on Flickr
 20230305_110630 by Michael Crawford, on Flickr
I then spent a WHILE sanding everything with 180 grit on a DA, as this is what is needed to be done to a sandblasted surface prior to applying primer. Afterwards, dad art and I spread out some tarps, ran air hose out, loaded white epoxy primer in a harbor freight gun, did a final wipe, and shot a gallon of primer across 10 separate large panels, including the inside/outside/underside of the cab and duster body. It was a LONG 10-hour day of priming and prepping. But, done. It was only in the high 40s, so we moved all the parts inside after they tacked to where we could let them cure at 68 degrees for a few days.
 20230308_134759 by Michael Crawford, on Flickr
 20230308_140526 by Michael Crawford, on Flickr
 20230308_164728 by Michael Crawford, on Flickr
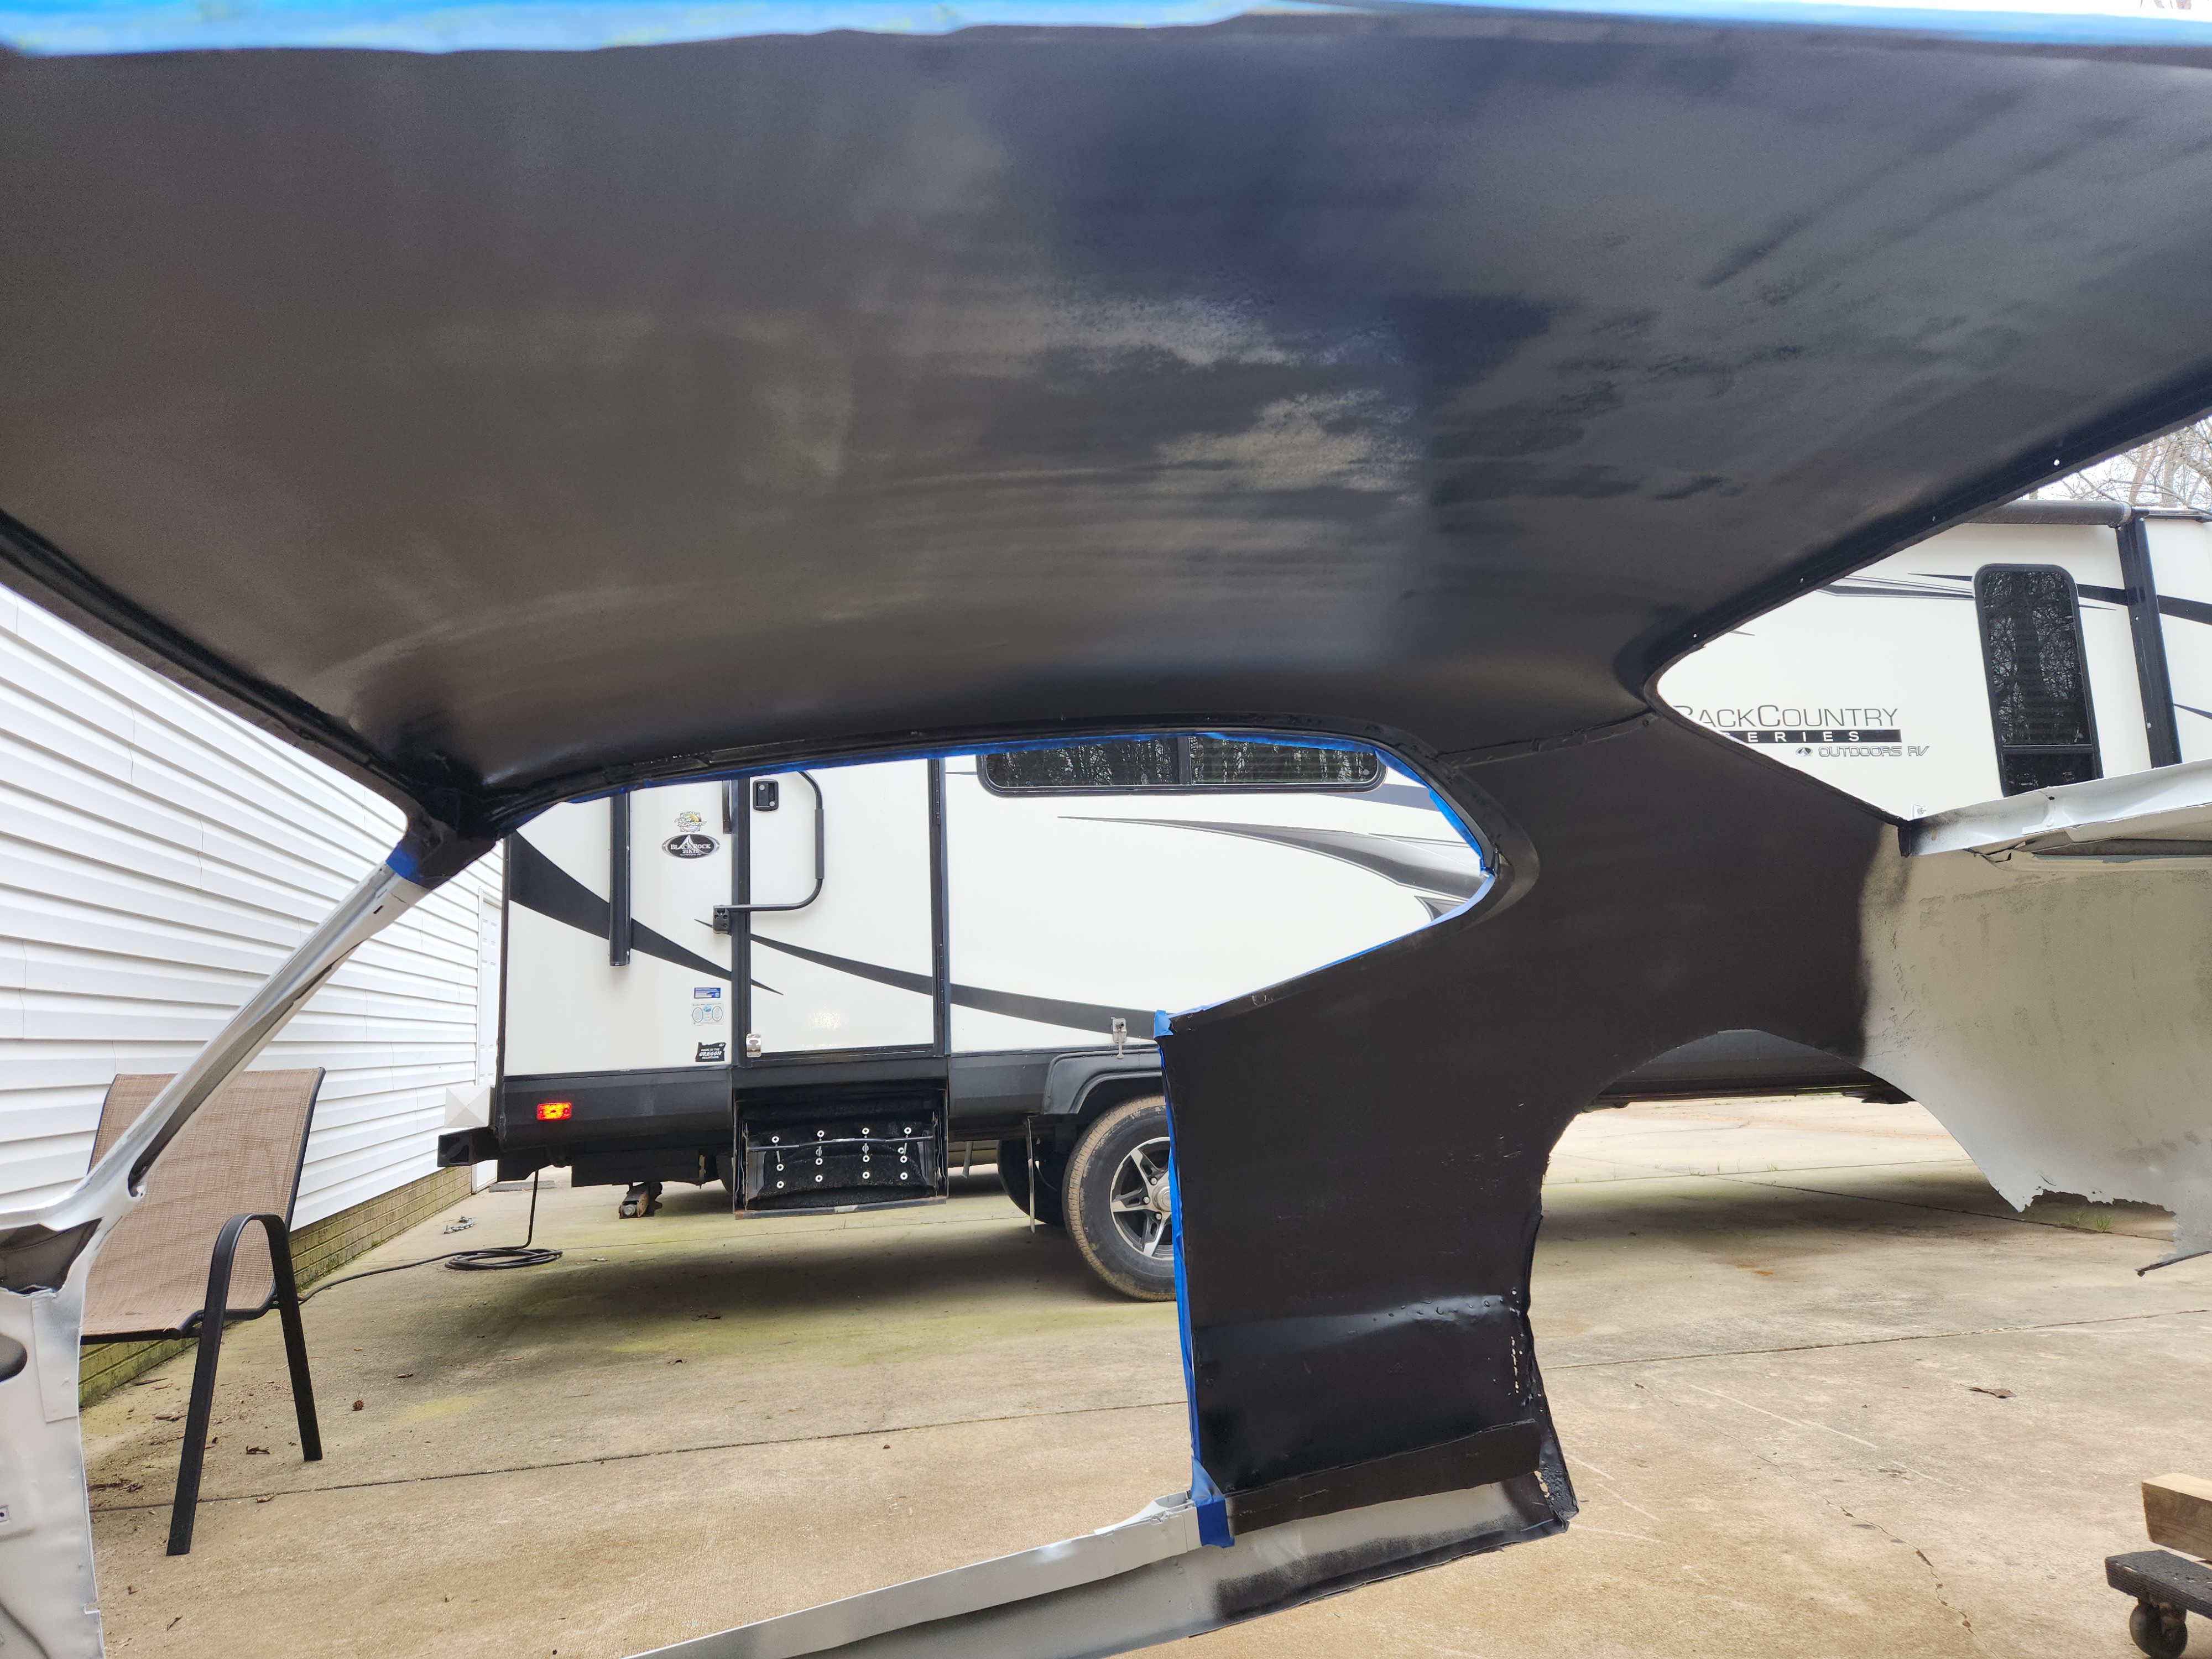
Once it was cured, I prepped the epoxy with some 320, and used two cans of John Deere blitz black to do the roof and quarters. I’ve used this stuff in engine bays, and its help up to small fires. Good stuff for a satin/flat finish. I left the A pillars unpainted, and anything I plan to do in grey. The second coat really took care of the tiger striping visible in this photo
 20230309_173127 by Michael Crawford, on Flickr
We then moved the body onto the chassis. This is where things got technical. And precise.
First, we leveled the chassis on 6-inch setup blocks as this was the minimum ride height I want to set the car for. Its what makes the exhaust and front crossmember a reasonable amount off the ground. We then leveled the car side to side, and made centerline reference marks for the body and chassis side to side. Using a cheap amazon laser level with vertical and horizontal lines, we lined the center of the body and the center of the cage and made our first tacks.
 20230318_142801 by Michael Crawford, on Flickr
We worked our way around, squaring up the chassis and body in every axis we could. There’s still some fitment oddities, but with Mopar quality control being what it wasn’t, and the nature of a tube chassis, it came out pretty square, level, and nice. We strapped the body in place, along with a few tacks, and mounted the doors and fenders to make sure everything was playing together nicely.
Next, we went ahead and found the centerlines of the axles, giving ourselves references with the laser. I made a template from cardboard and the nascar slick, giving a 1-inch margin form tire edge. I also gave a centerline to line up with the laser, then traced the templates with a sharpie.
 20230318_190154 by Michael Crawford, on Flickr
 20230318_190309 by Michael Crawford, on Flickr
 20230318_190534 by Michael Crawford, on Flickr
We put the engine in and called it a night then.
 20230318_193206 by Michael Crawford, on Flickr
 20230318_202630 by Michael Crawford, on Flickr
Took a plasma cutter to the wheel wells. Out a fresh tip in every panel to ensure the cleanest cuts I could get. I also left about 1/8-1/4 beyond my cut lines so I can flap wheel back to a nice even radius. Then, ill make a 1.4 tipping die to flange the panel around the wheel wells for strength. Haven’t done it yet….
 20230319_152449 by Michael Crawford, on Flickr
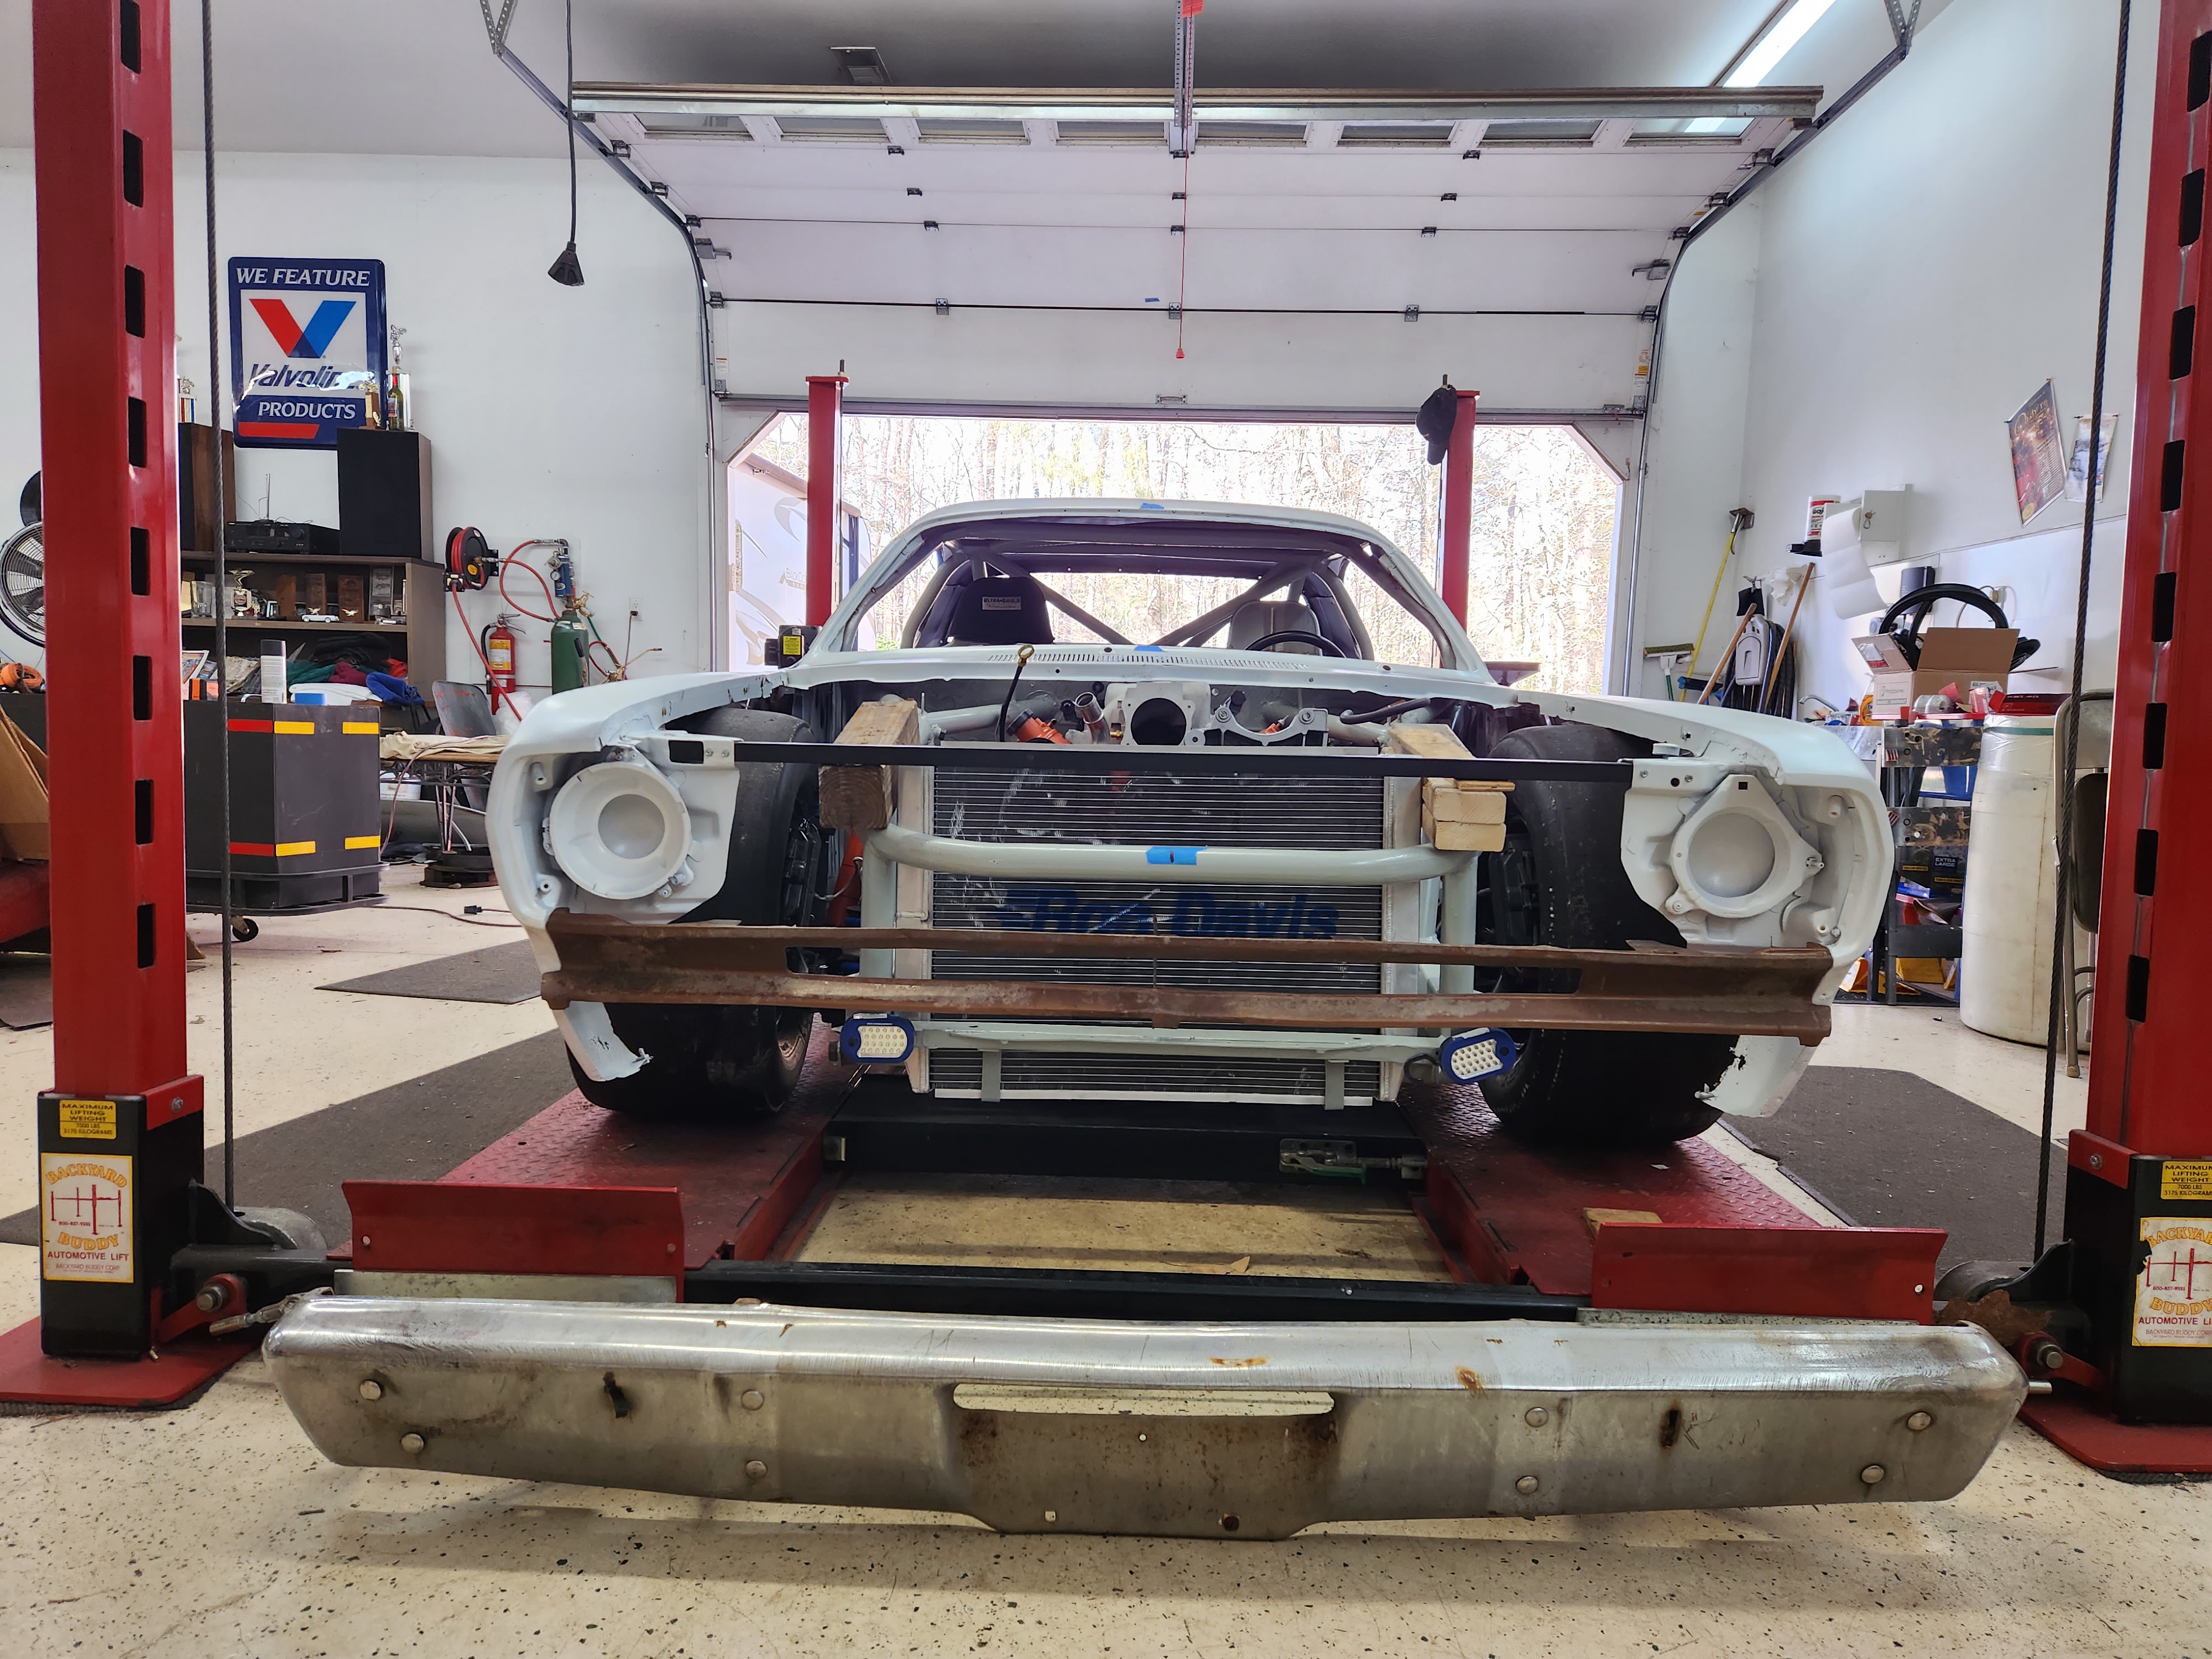
Went ahead and set all four wheels, the radiator, blocked up the front clip where it needed to be, and stared for a few to figure out next steps. Look how much tire is inside the fender. Its evil….
 20230319_164236 by Michael Crawford, on Flickr
This did show some more issues to address. Hood clearance, as well as master cylinder reservoir clearance, and how to attach thinks in a strong and light fashion. The engine is buried under the cowl. Oh, and there’s no way to run a factory grille.
 20230319_164236 by Michael Crawford, on Flickr
 20230319_165742 by Michael Crawford, on Flickr
I noodled on this for a while. I finally came up with the solution to the front clip mounting, which is a piece of 1x1x.065square tube across the car, with a pair of weld nuts in it to bolt to the fenders. Then, a pair of tube standoffs with nuts welded on, grade 8 studs, and some nuts for adjustment.
 20230409_103622 by Michael Crawford, on Flickr
The grille is a work in progress. I took the melted one, cut all the fins out of it, zip tied in some gutterguard, and added the 73-76 headlight bezels. I kinda like it, but needs a more closed mesh, and ill figure out a way to actually attach things together in a way that will survive a light breeze. But, the proof of concept is solid.
 20230409_104414 by Michael Crawford, on Flickr
That brings us up to where we are today.
 20230402_111826 by Michael Crawford, on Flickr
 20230402_111859 by Michael Crawford, on Flickr
 20230402_111940 by
  20230402_120236 by Michael Crawford, on Flickr://www.flickr.com/photos/150940429@N02/">Michael Crawford, on Flickr
 20230401_161939 by Michael Crawford, on Flickr
I’m in love. Its exactly what I had in my head in high school. The rear wheels need to come out a bit more, the rot needs fixed, the body panels need permanent attachment, there’s closeout panels to make, etc. long road ahead. But, here’s where we are headed.
I enlisted appleseed and Gameboy to do some photobashing for me, with the idea that there was no wrong answer. The thing in my head was the lapis blue from the neon, with 340 hood treatment and stripes. I have a quart leftover. But I asked them to go nuts and show me what they thought of.
Gameboy led with the 73 340 scheme
 tommyboy_rear by Michael Crawford, on Flickr
Appleseed went nuts with all the color options
 .pending-1681680308-Duster 1 Pink by Michael Crawford, on Flickr
 .pending-1681680339-Duster 1 Yellow by Michael Crawford, on Flickr
 .pending-1681680352-Duster 1 Orange by Michael Crawford, on Flickr
 .pending-1681680357-Duster 1 Green by Michael Crawford, on Flickr
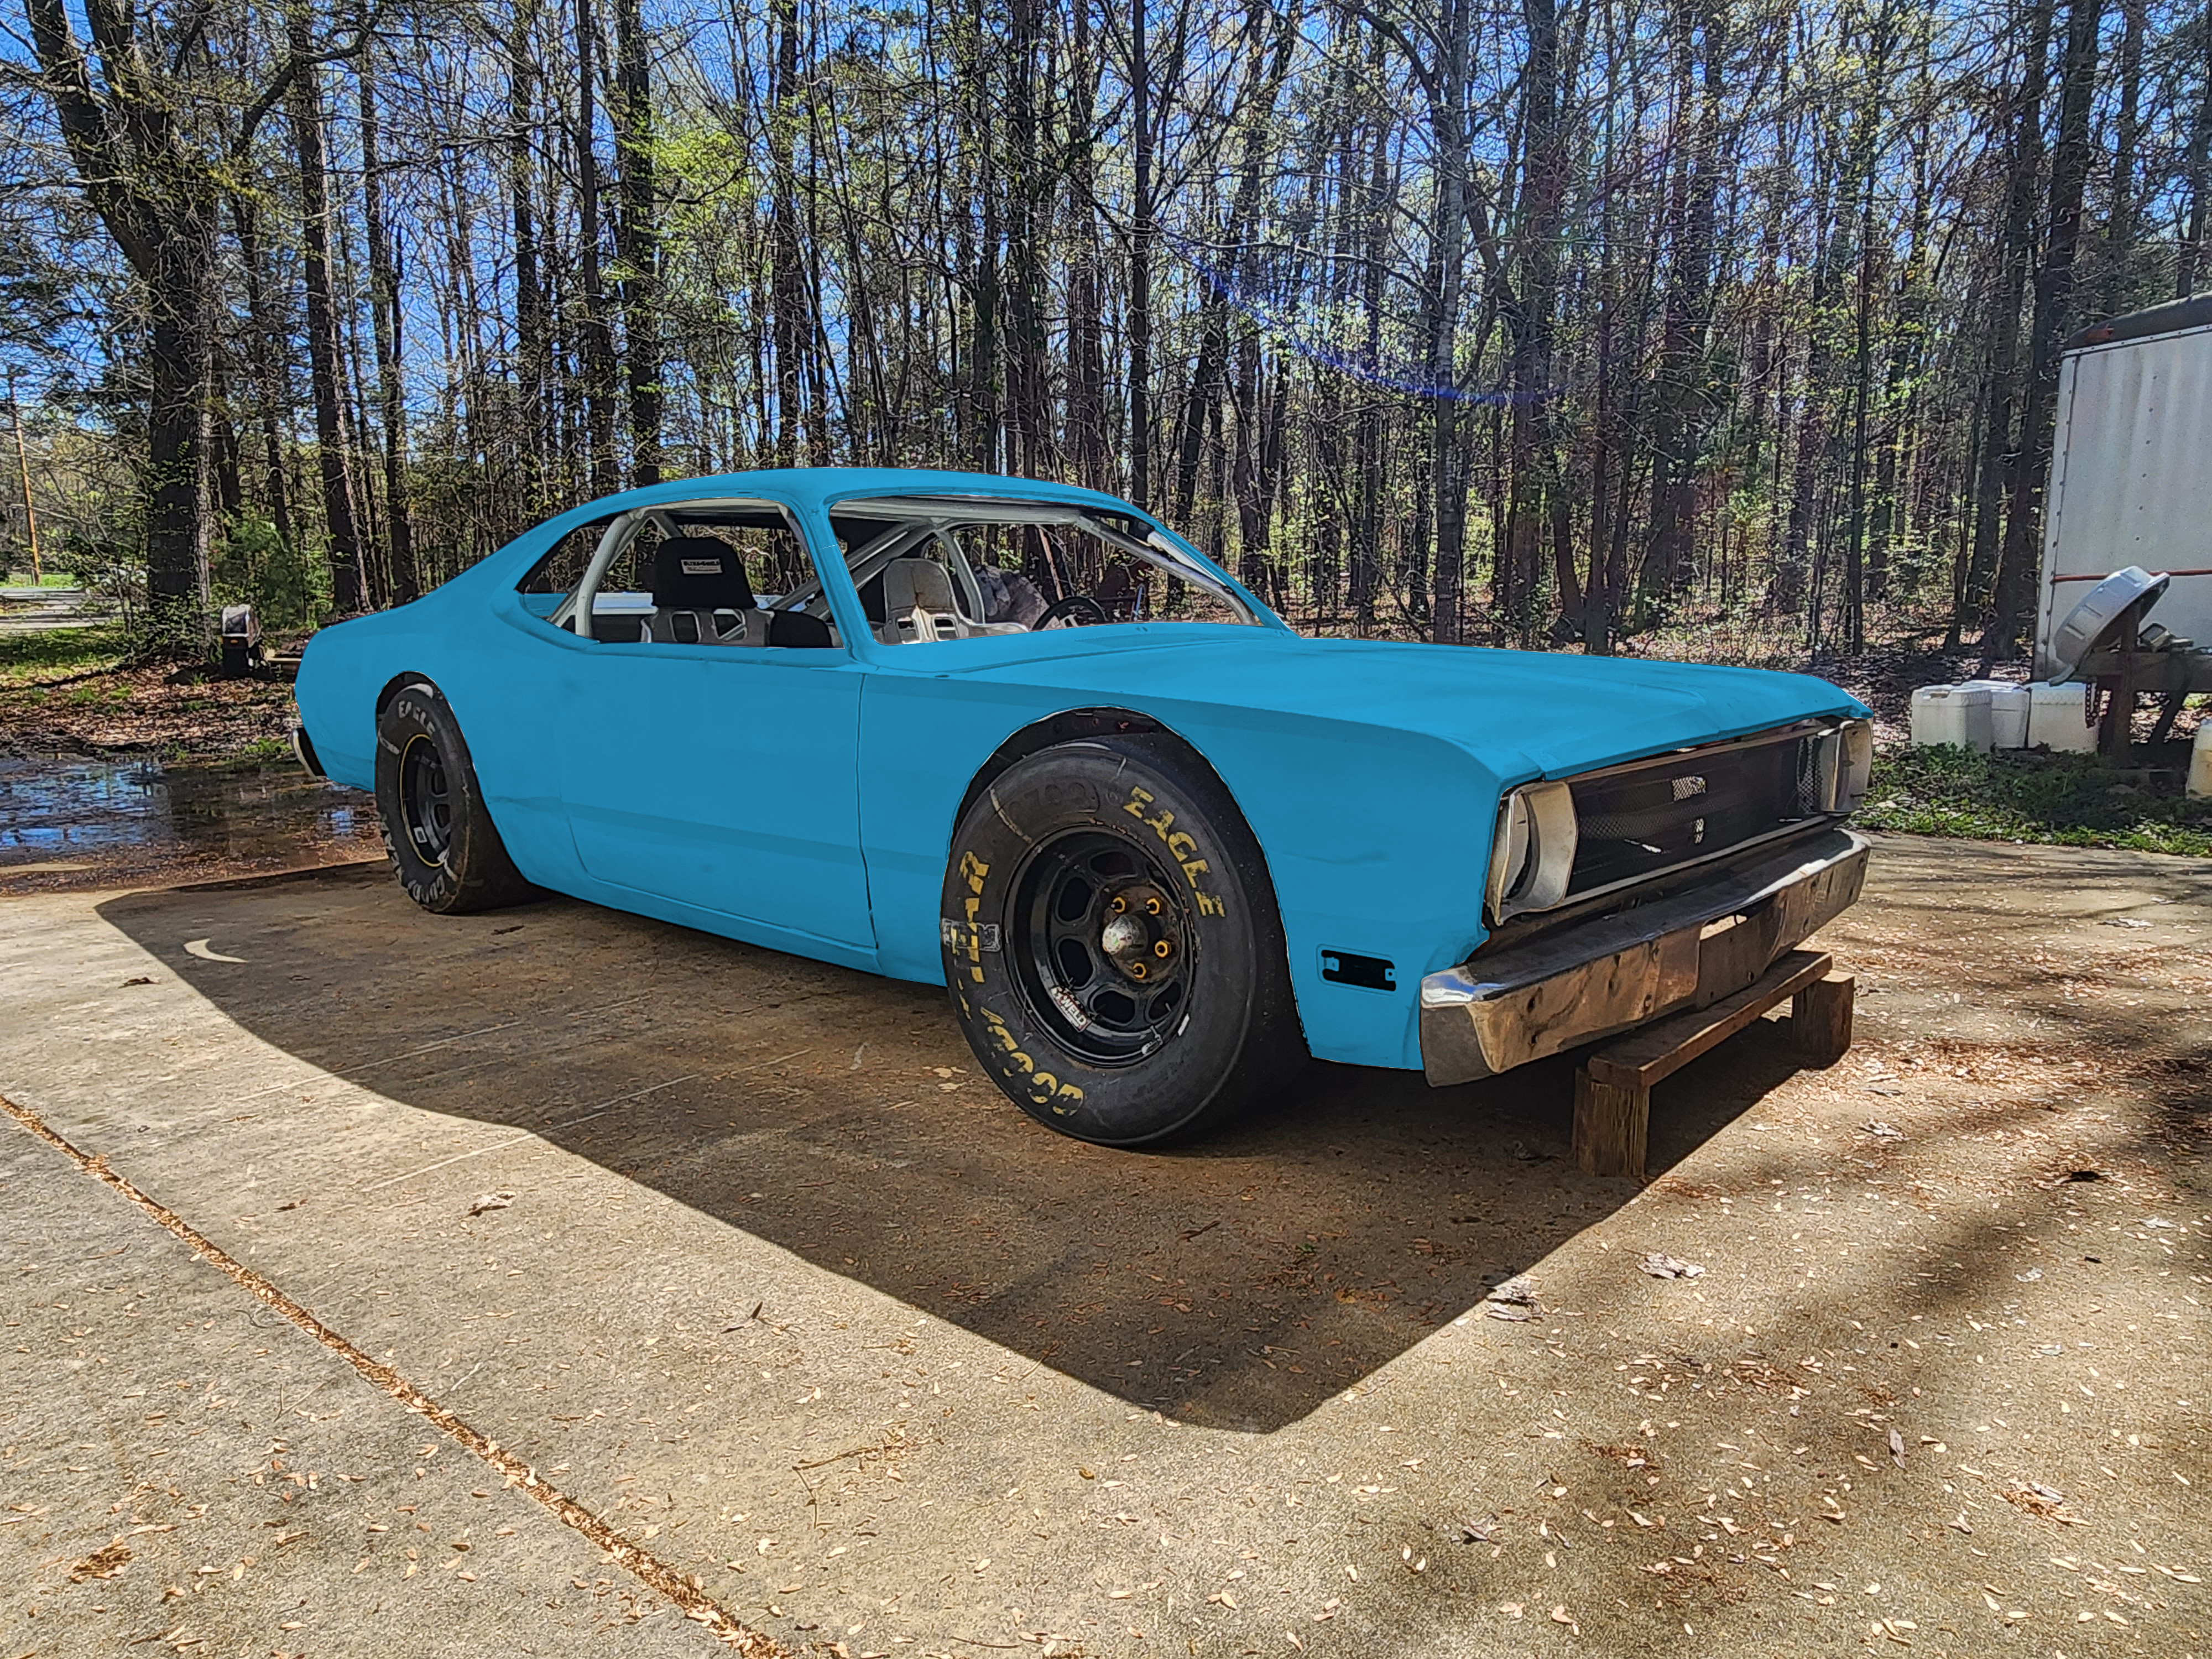 .pending-1681680367-Duster 1 Blue by Michael Crawford, on Flickr
The final winner of the day is lapis blue, 71 340 blackout hood and window treatment, 340 stripes. It speaks to me, as the thing I loved the most about the neon was the color and its contrast with the black trim. This makes me happy.
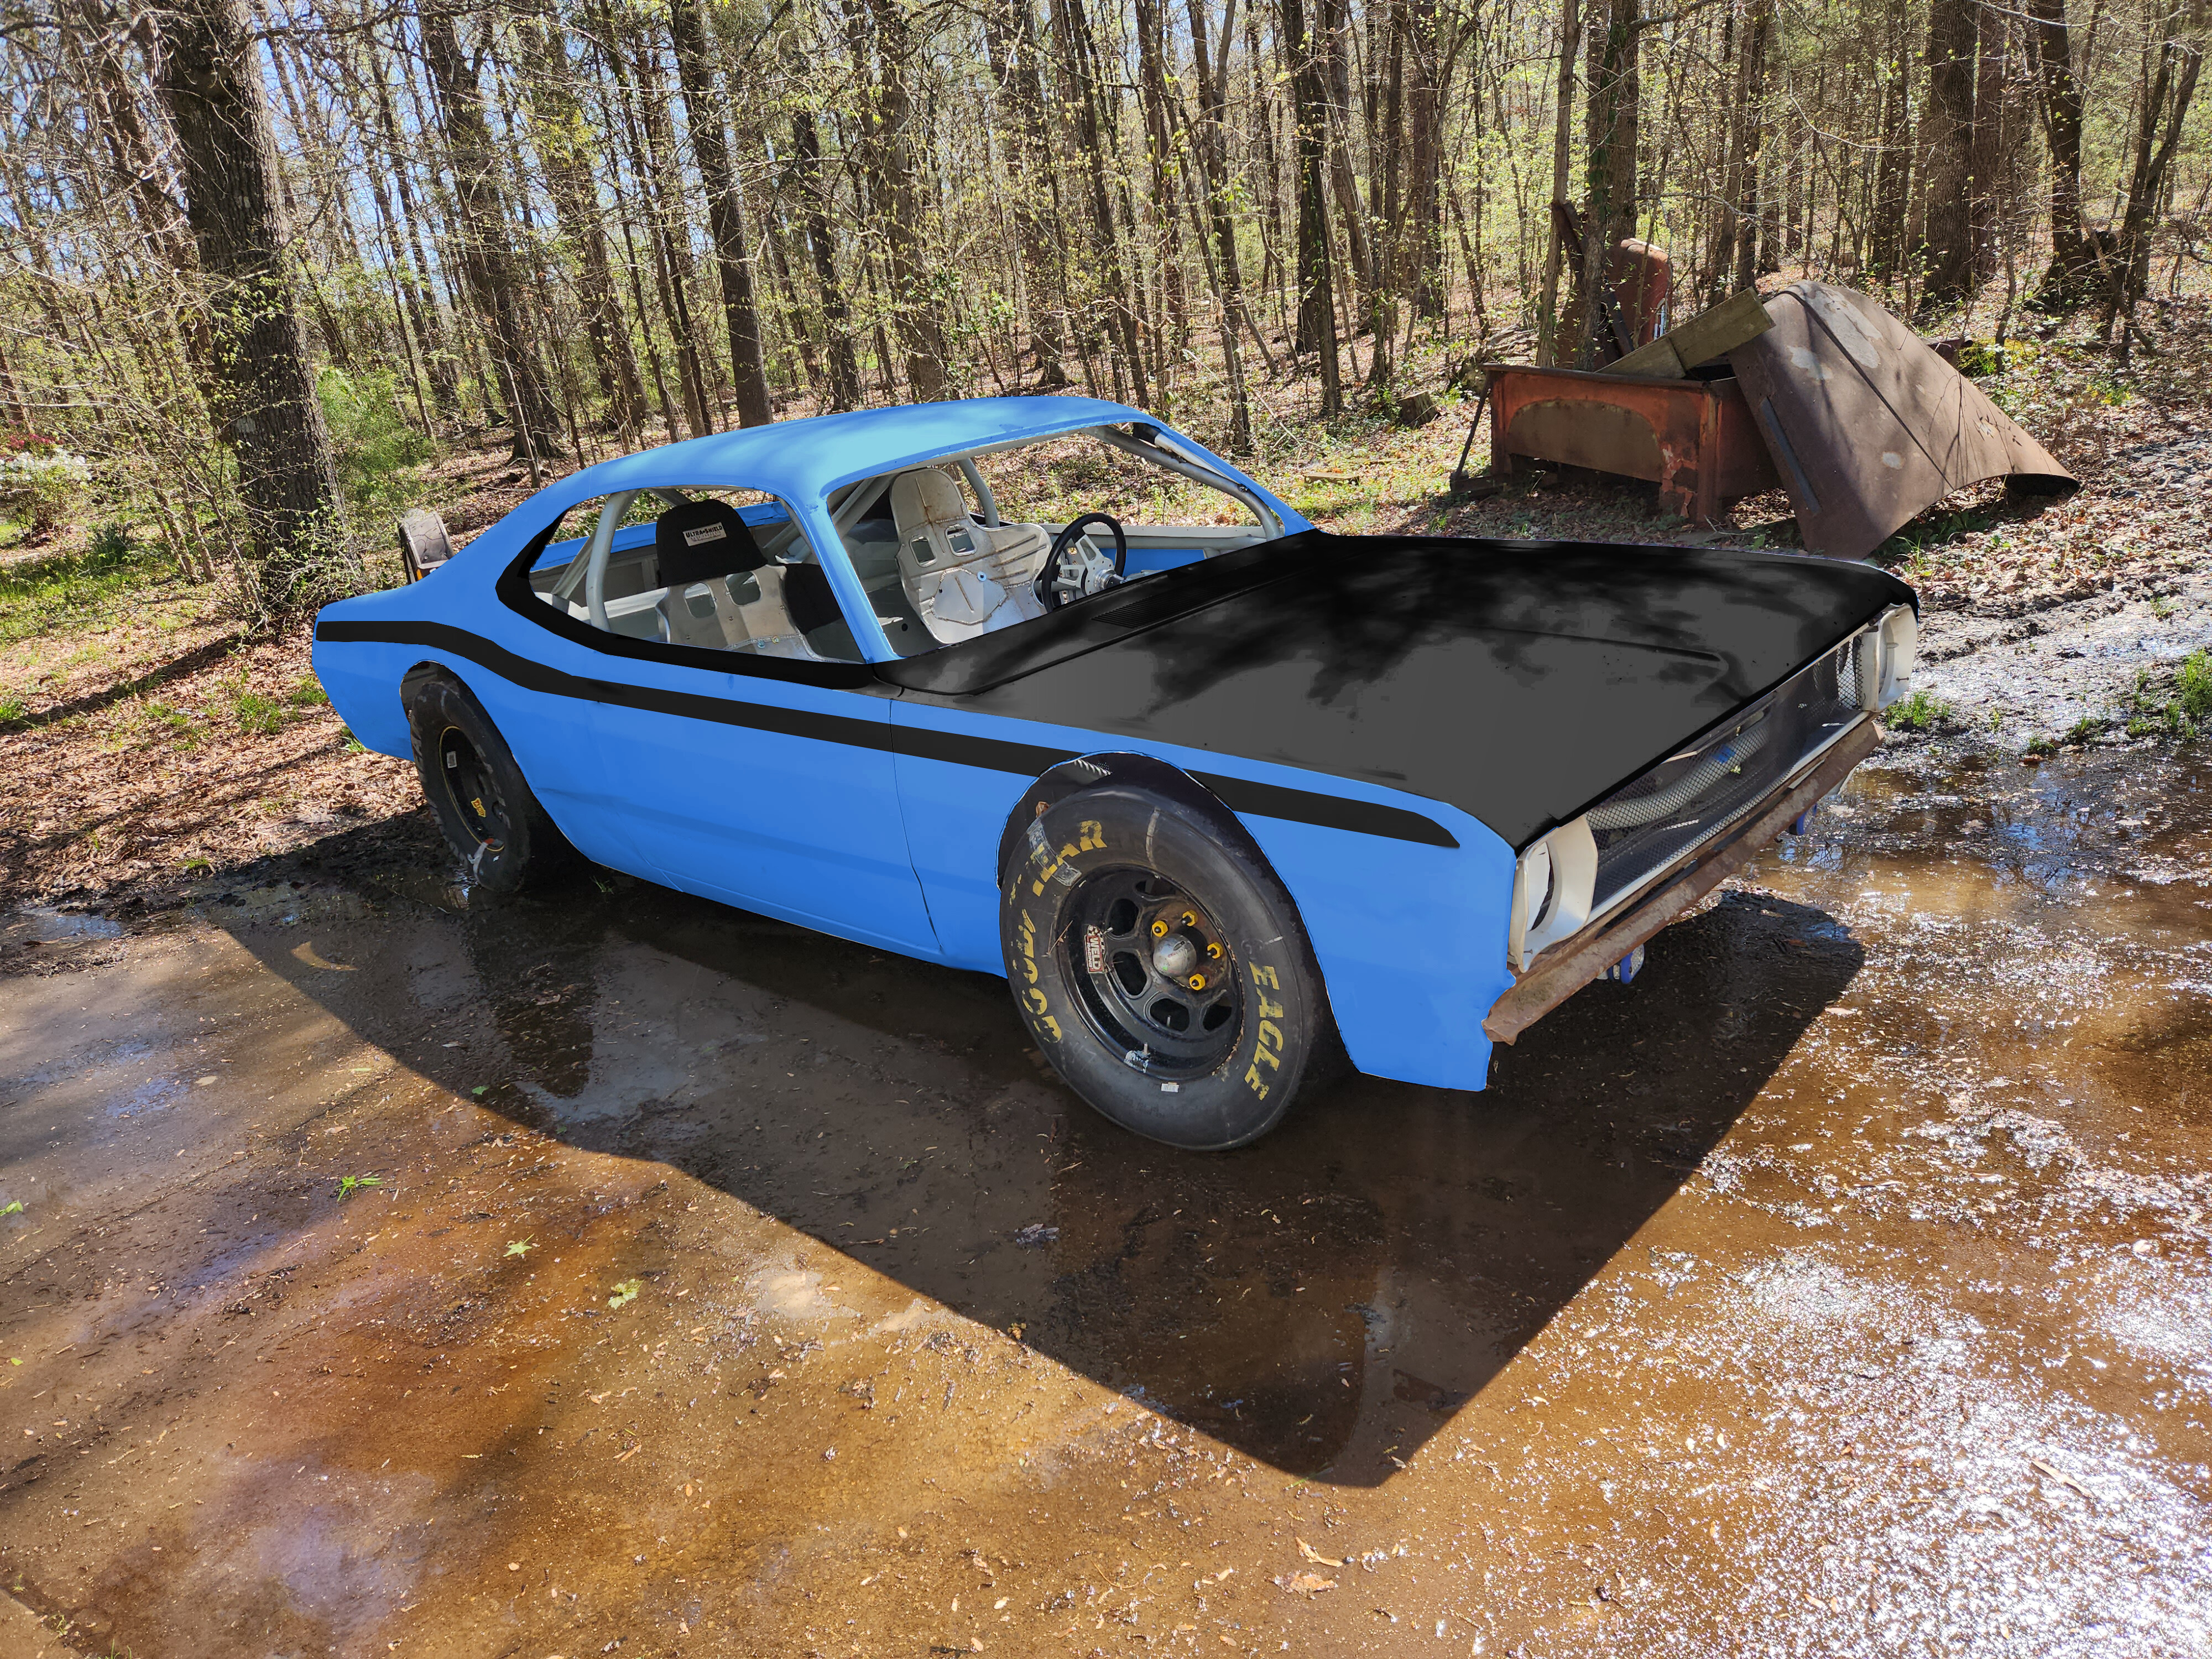 Duster blue 3 by Michael Crawford, on Flickr
 tommyboy_71_front by Michael Crawford, on Flickr
Its been a wild year y’all, and is shaping to to be another one! Go love your families, and count your blessings. We all have blessings, and things to be grateful for. We just have to focus on them.


 fiberglass door with handle and latch, uncut and unmodified
  steel door, just the upper hinge, cut to bare minimum weight


