Holy 323 hoarding batman! Very cool to see some many of these rare animals in one place being brought back to life. I've had mixed results mixing and matching gears it looks like you've got it down to a fine art.
Holy 323 hoarding batman! Very cool to see some many of these rare animals in one place being brought back to life. I've had mixed results mixing and matching gears it looks like you've got it down to a fine art.
Thanks guys for the compliments. I hope people find this info useful. With the age of facebook forums its getting hard to find good documented information at times.
With phase 2 done and having great success driving the car for a while that bring us to the present, where I started in on phase 3..
With my son away with his mom for 3 weekends in a row, I figured that would give me about 5 weeks to complete this phase. I had cleaned up the garage and got the race car prepped to do daily driver duties while I worked on the GTX.
And here we go.
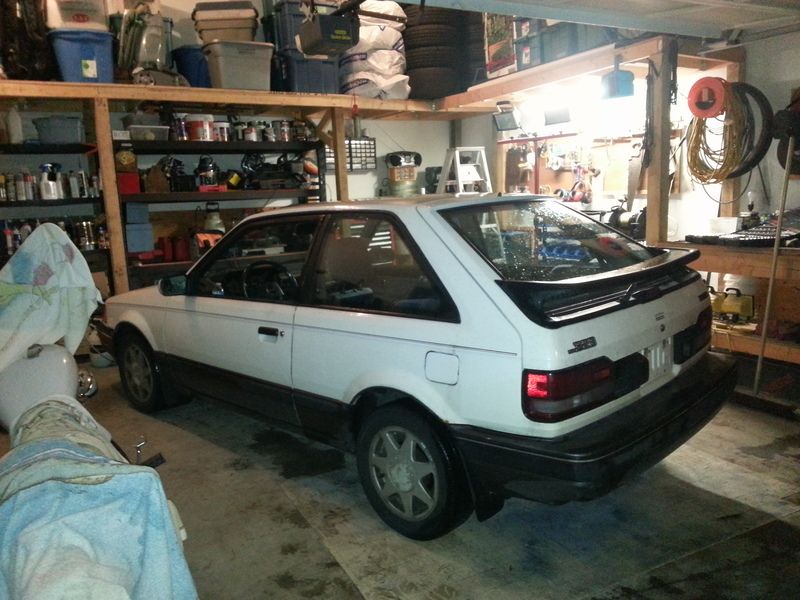
The goal for this phase was to strip the interior and fix a lot of past wiring issues, clean up the interior and rust proof the doors.
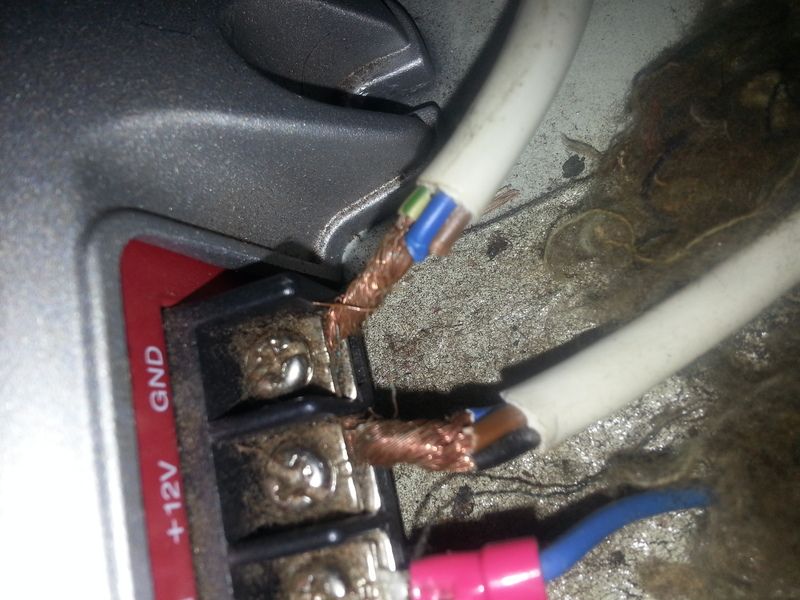
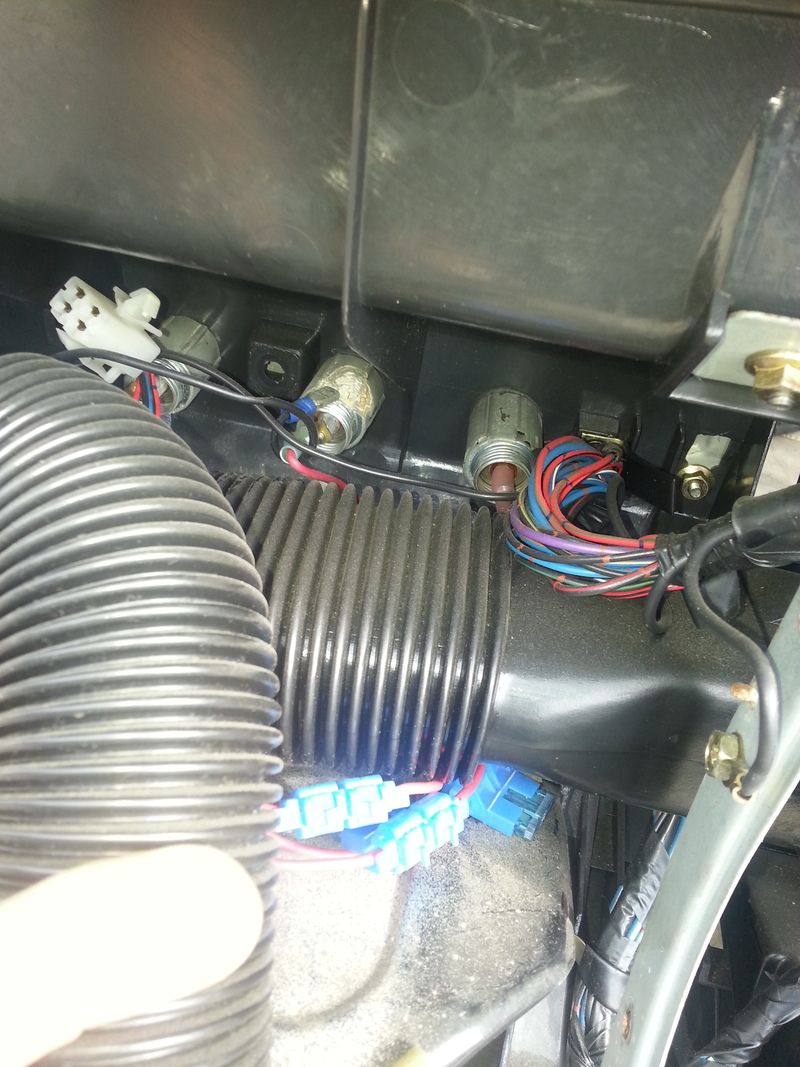
The tear down, as you can see the stereo had been installed pretty sloppy.
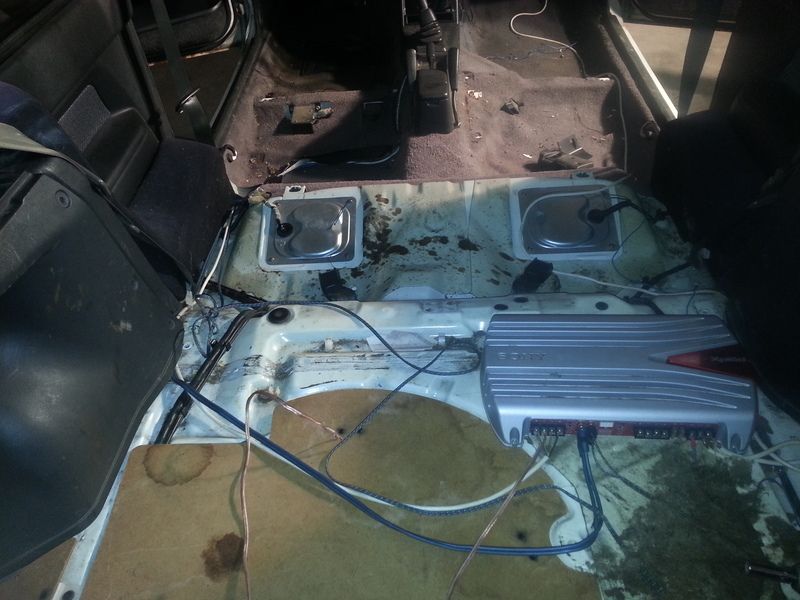
No inline fuse for the amp as well..
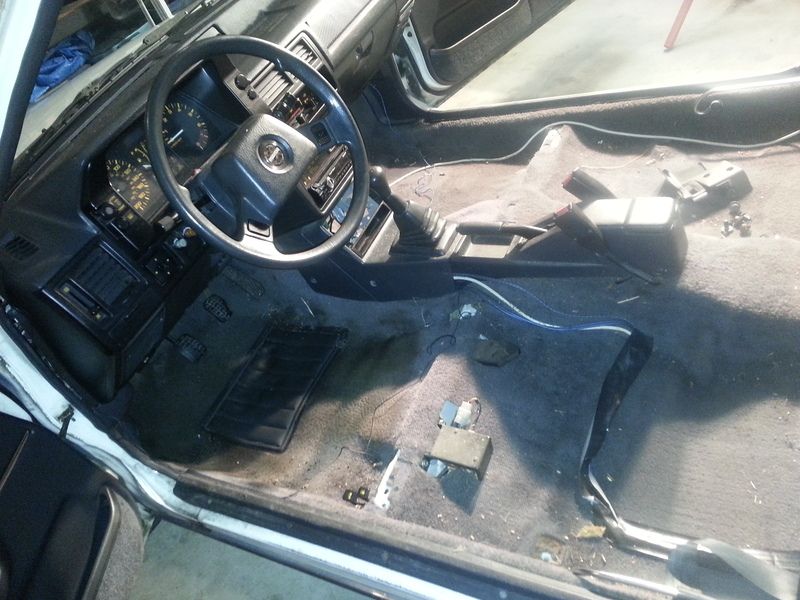
Yep completely gutted..
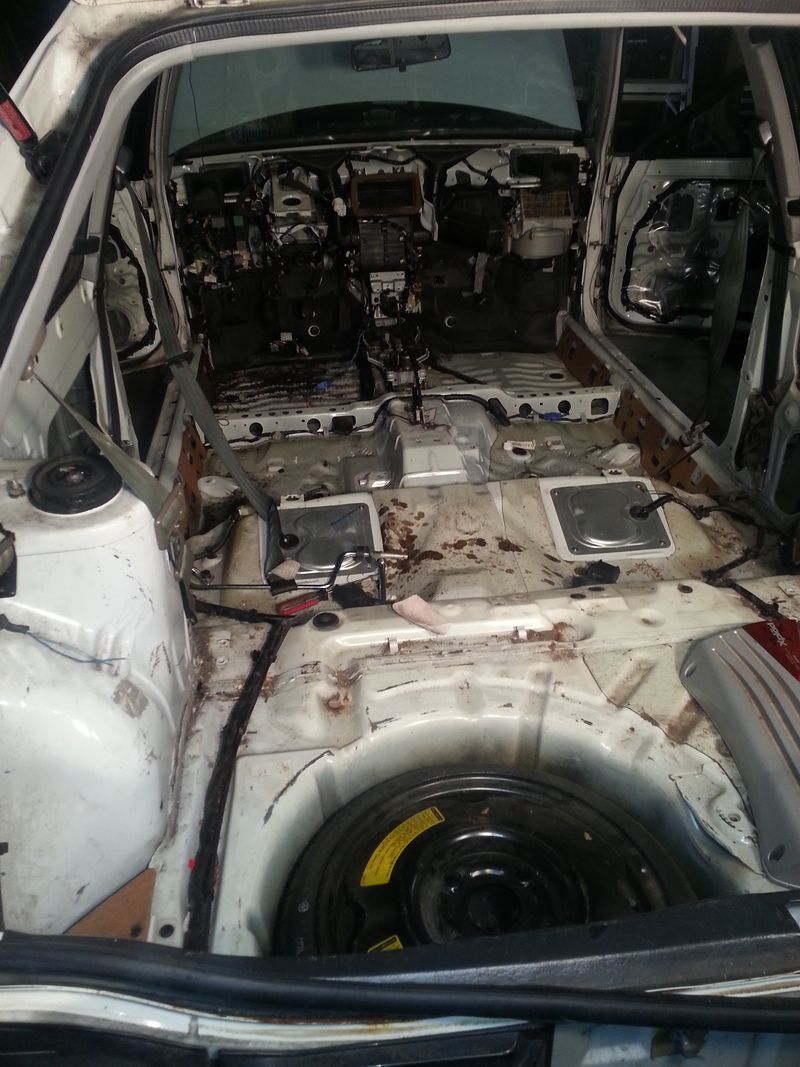
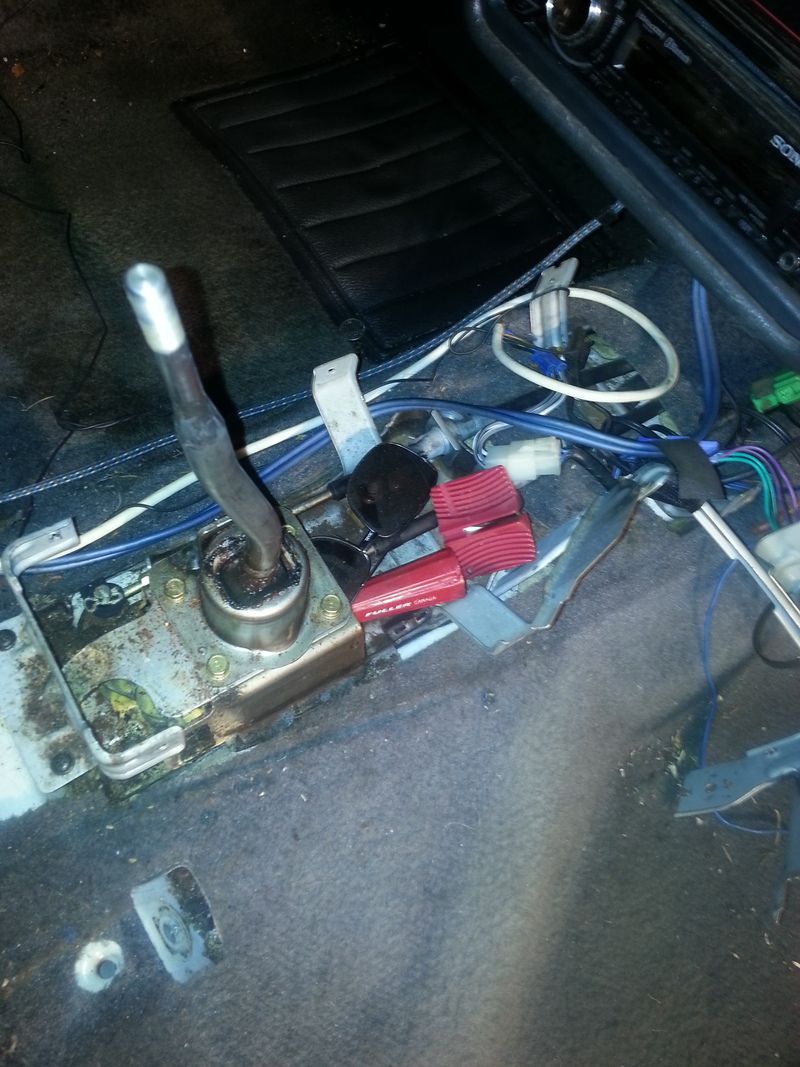
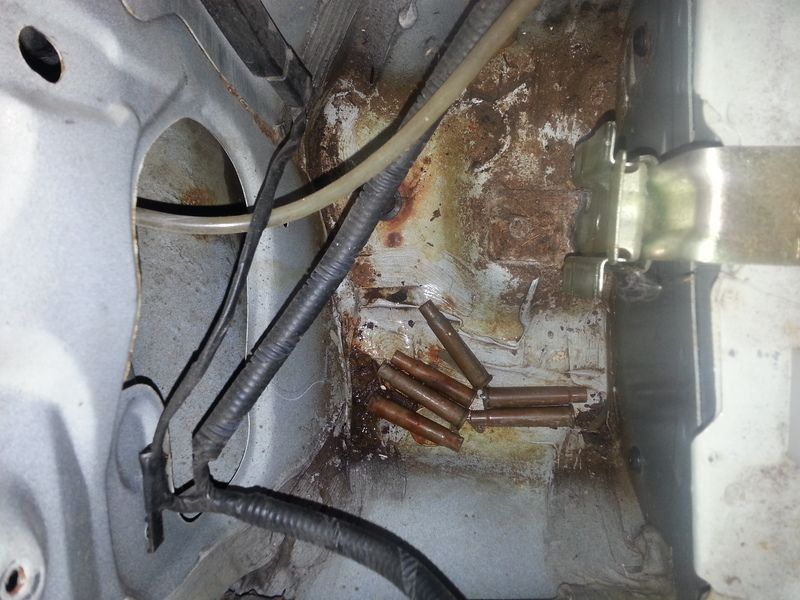
Its amazing some of the fun things you find when tearing a car apart.. In the case some 30-30 shells under the rear washer reservoir, some glasses and a knife sharpener? wedged in the shifter assembly.. Even a hair clip in the sun roof..
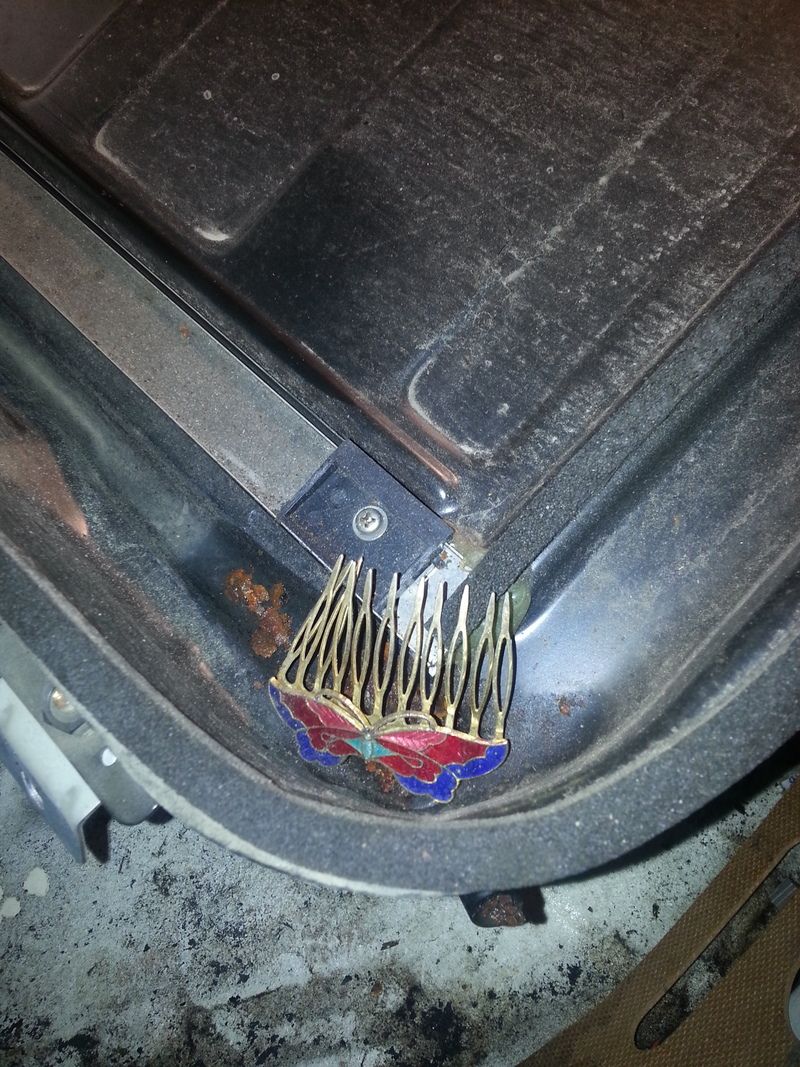
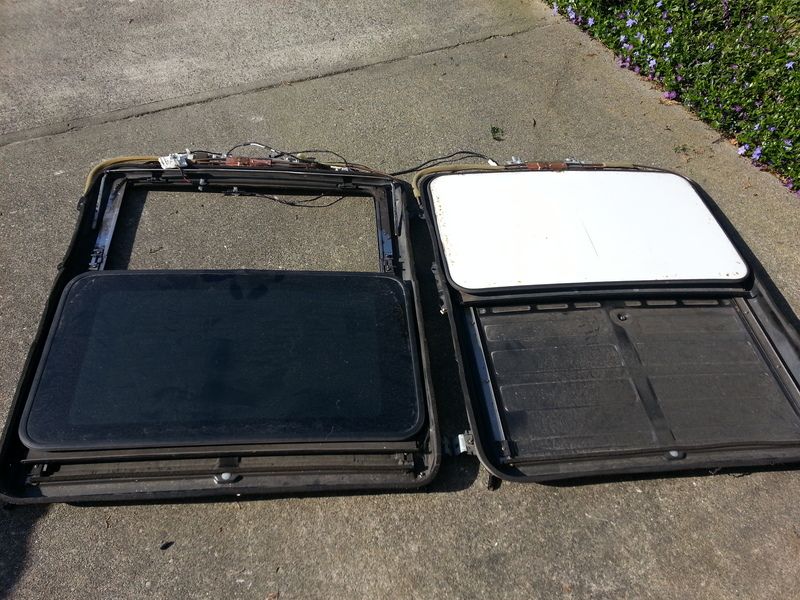
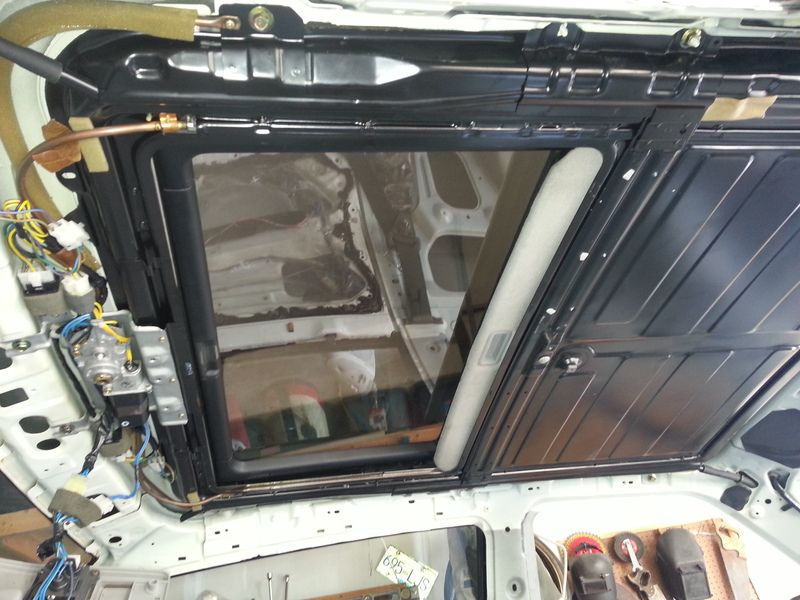
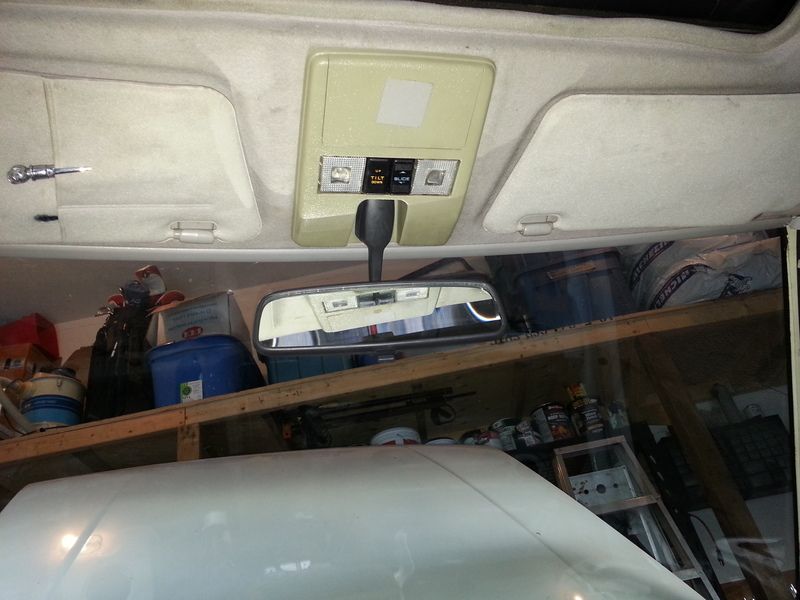
First order of business.. Power glass moon roof swap... This was very straight forward.. Unbolt the old sun roof.. Bolt in the new one.. Unplug the old wiring for the over head lights and plug in the new wiring.... All done...

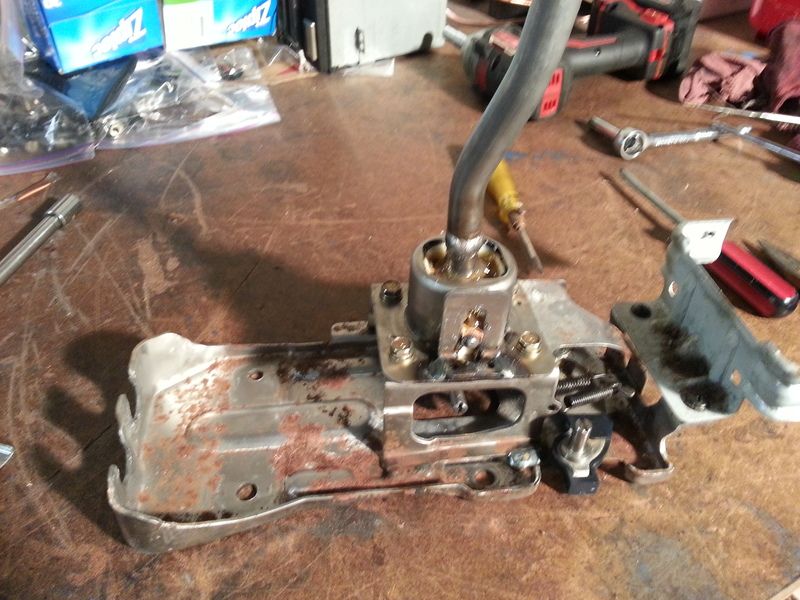
Next order of business.. Fixing the sloppy shifter... I found this little alignment bushing busted allowing the shifter to twist causing some of the slop.. The rest of the slop was the lack of plastic bushings in the shift cable eyelets..
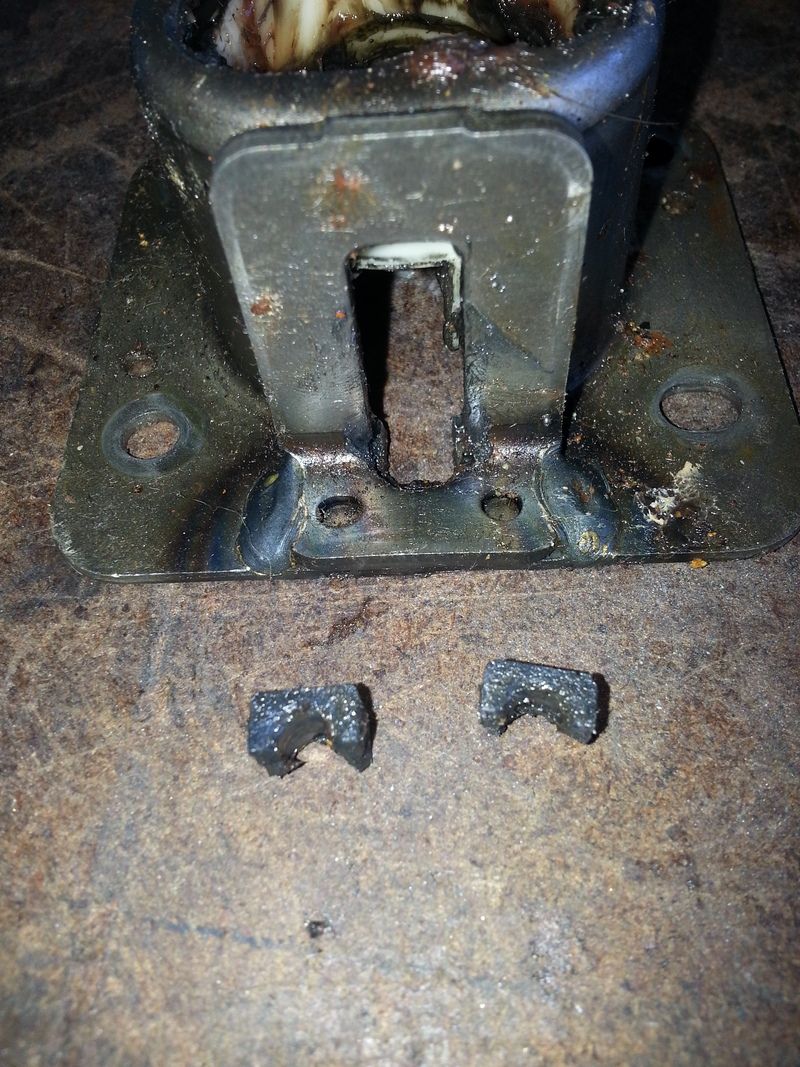
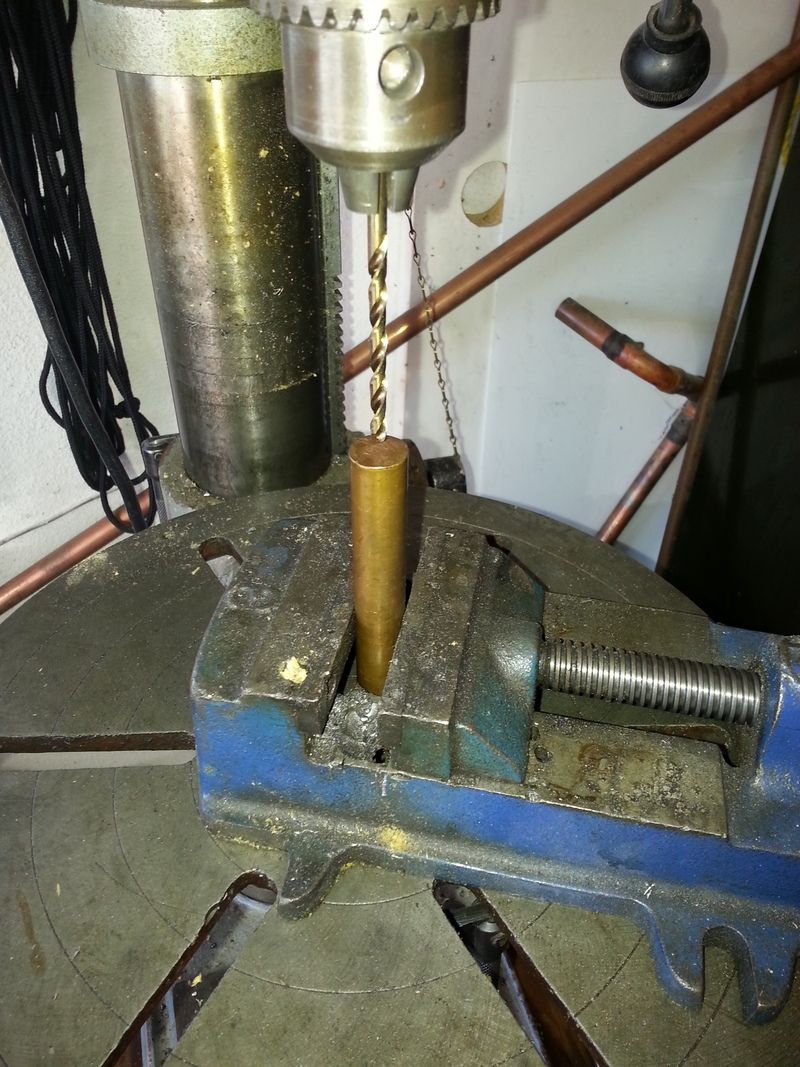
An old brass drift gave up some of its material for me to make the alignment bushing.. It took some time to drill it out, then slowly grind off material till I had it the right size..
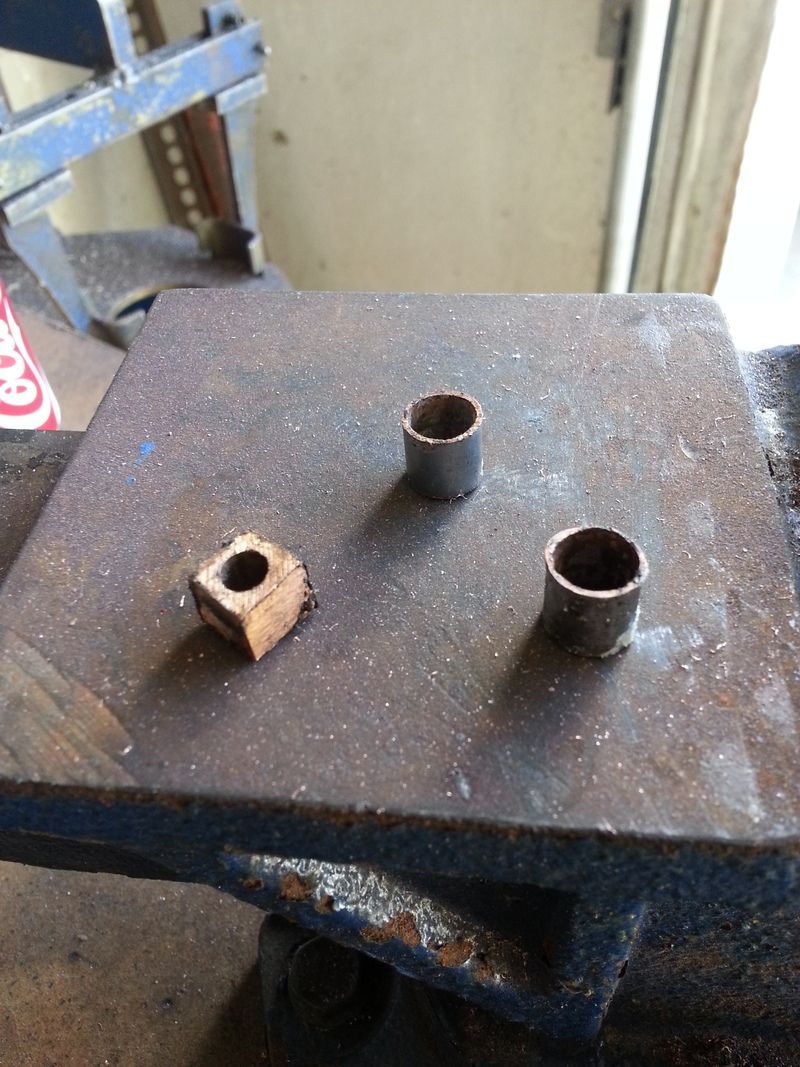
Next up was bushings for the shift cables.. Well it just so happened the toilet had all its internals replaced the morning before.. The copper water tubes just so happened to be the right size to fit perfectly as bushings.. 2 cuts later, problem solved..
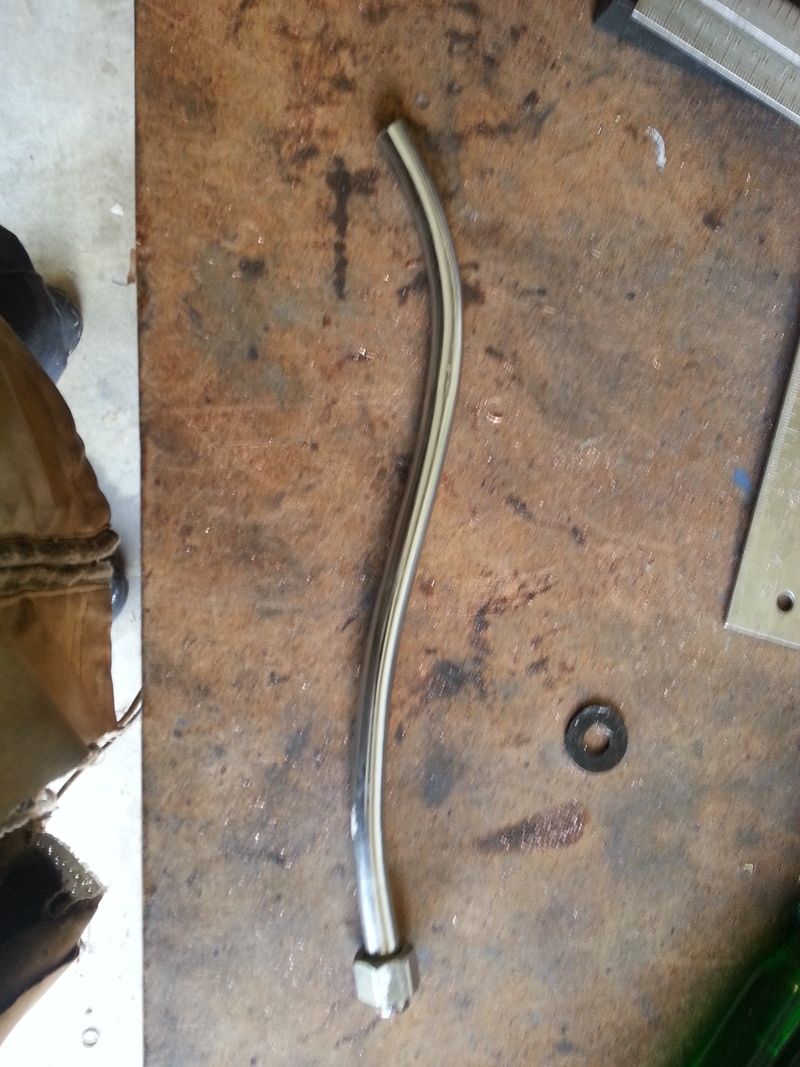
After a couple hours I was left with this.
Since I had the shifter out I figured I would take it all apart and regrease it all..
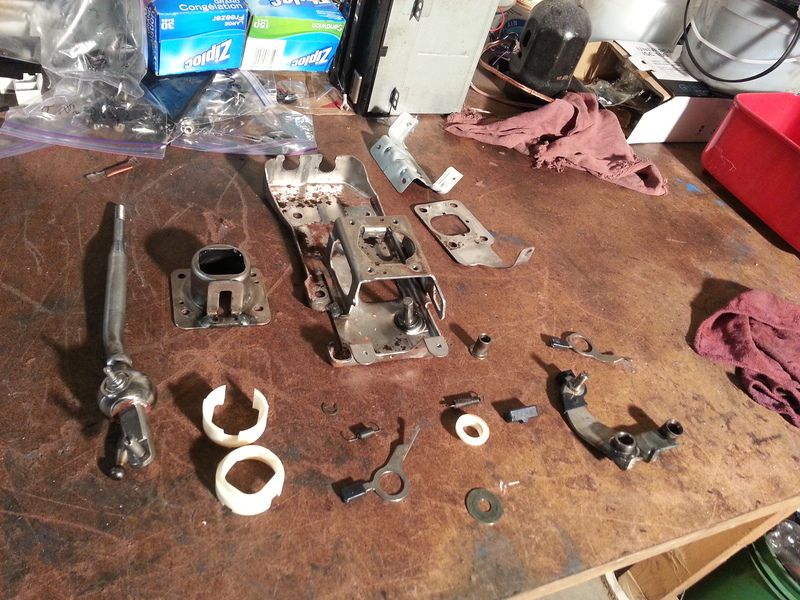
Ready to reinstall..
I have had issues with my fuel gauge only reading down to 1/4 tank and then stopping... While I had the car apart I figured I would pull the sending units out and test them.. The previous owner told me this issue started after he replaced the fuel tank... I found the secondary sending unit was bad.. Thankfully I had gotten the old tank from the previous owner... The secondary sending unit was good in the old tank..

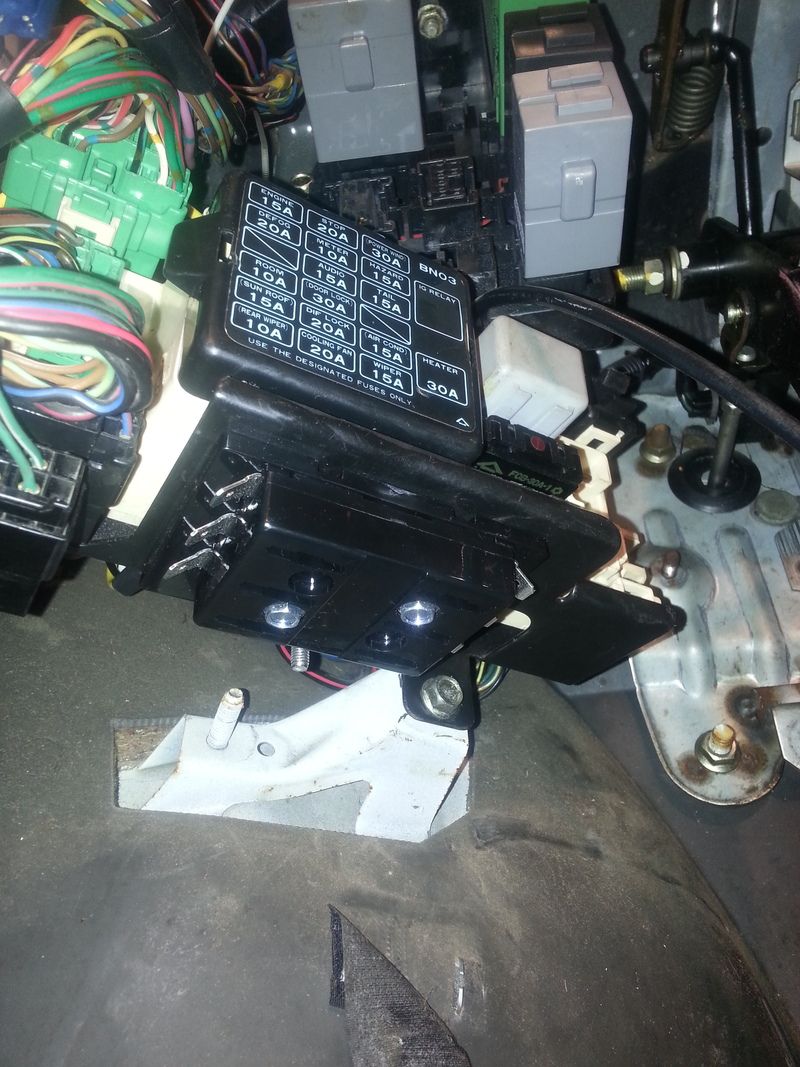
I also wired in an accessory relay to power up an extra fuse box.. This is going to be used down the road for rally lights and other additions I have planned...
Mounting my amp was an interesting task... The arm rest in the rear panel protrudes into the cavity I wanted to mount the amp.. This meant I had to play with various spacers to get everything to fit.. Once the amp was in place I didn't have any way to put bolts in it.. So I had to come up with some spacers with nuts welded to them... These spacers were then epoxied to the amp so that I could just feed bolts in and tighten it all up.. While I was at it, I wired in the stereo..

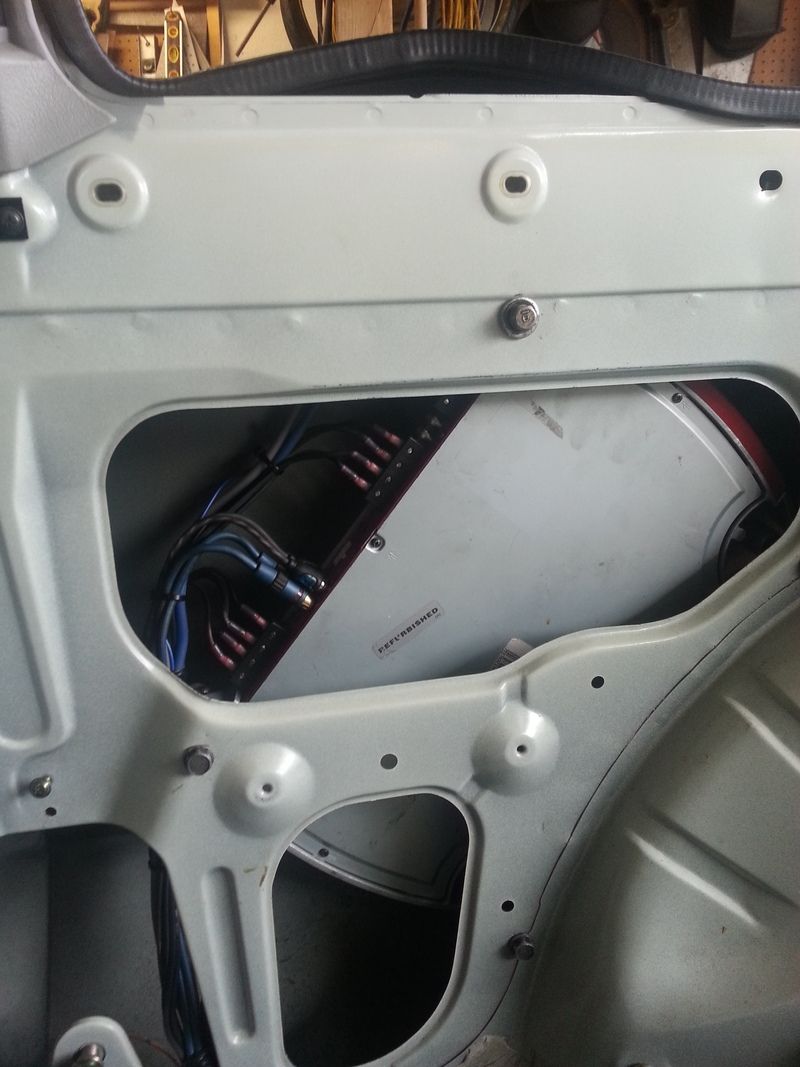
Yes I like that location. Good luck trying to find that if some little tweeker breaks in looking for something to steal.
Was wondering if you could use the stock shock housings for inserts. Then find a shock that would work inside of it?
Wish Carrera Shocks was still around they were perfect for having shocks like that. They even had some designed just for that purpose. After QA1 bought them out they got rid of all that.
brad131a4 wrote: Yes I like that location. Good luck trying to find that if some little tweeker breaks in looking for something to steal. Was wondering if you could use the stock shock housings for inserts. Then find a shock that would work inside of it? Wish Carrera Shocks was still around they were perfect for having shocks like that. They even had some designed just for that purpose. After QA1 bought them out they got rid of all that.
I could have used the stock shock housing and found some Koni inserts to use, but I didn't want to spend the cash on that. I had the BG suspension sitting around doing nothing so thats why I modified it to fit the car.
There are also still companies like K-sport that make coil over kits for the cars..
Well we are just about caught up. The last thing I have been working on was some rear speaker shelves.
Little card board template fun..
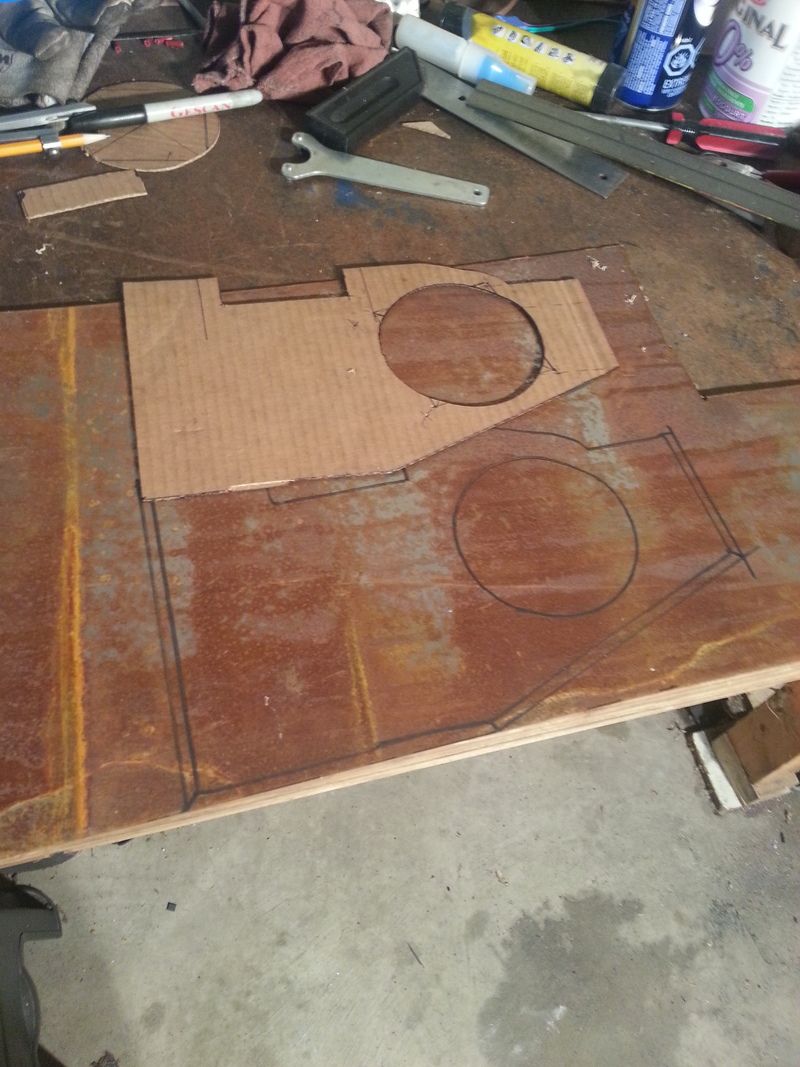
build one, test fit and if all goes well, flip the template over and mirror it for the other side and bingo.. Now you have 2..

Add a couple of legs to bolt to the body.
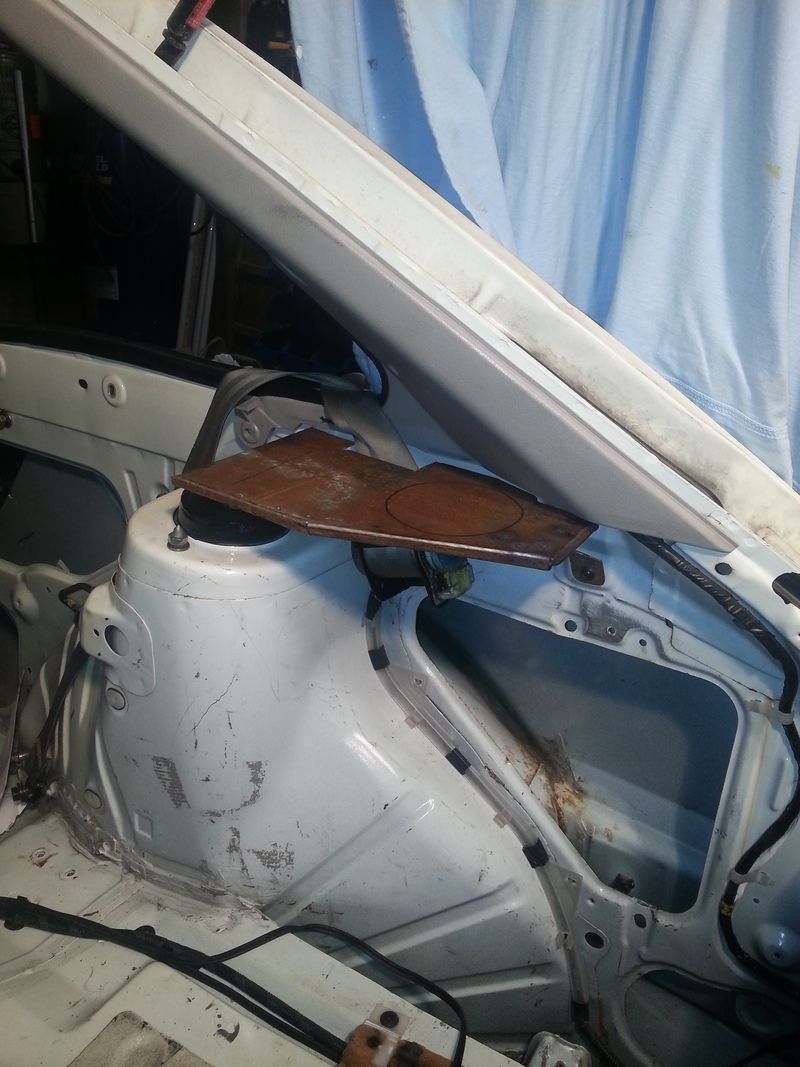
The plate not only holds the little 4" speaker, but it supports the rear panel as well.
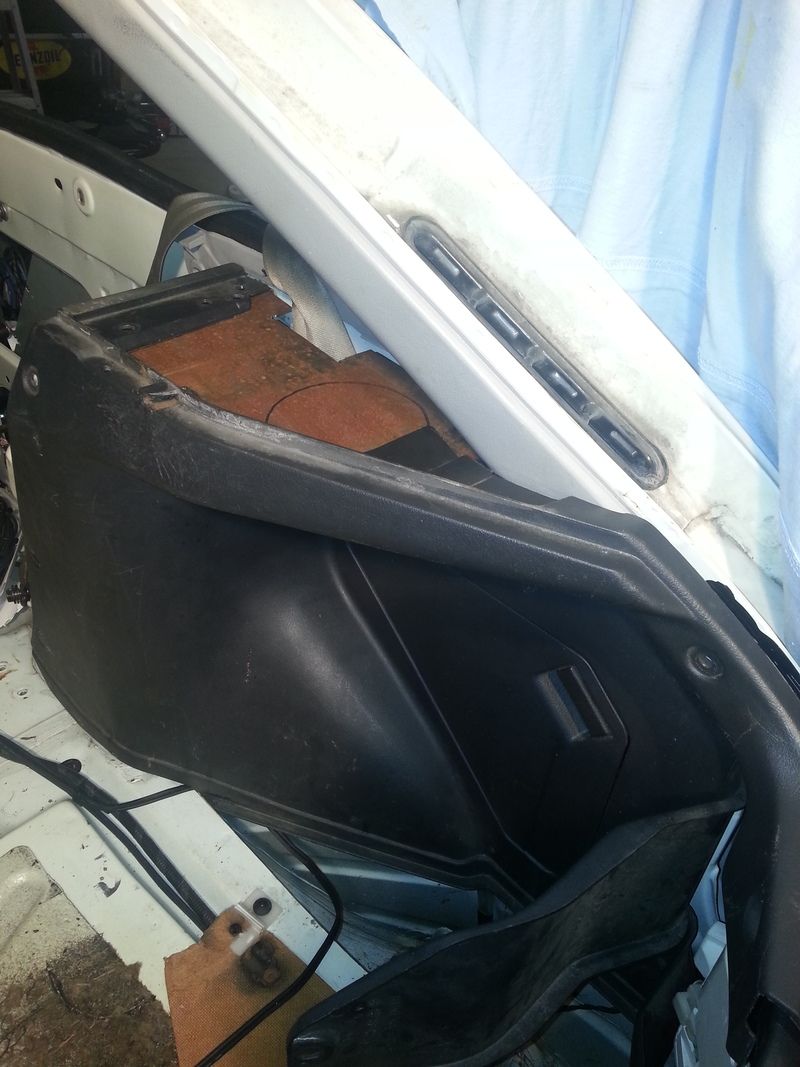
Copy and repeat for the other side. $35 later for a 4" hole saw and we are ready for paint.
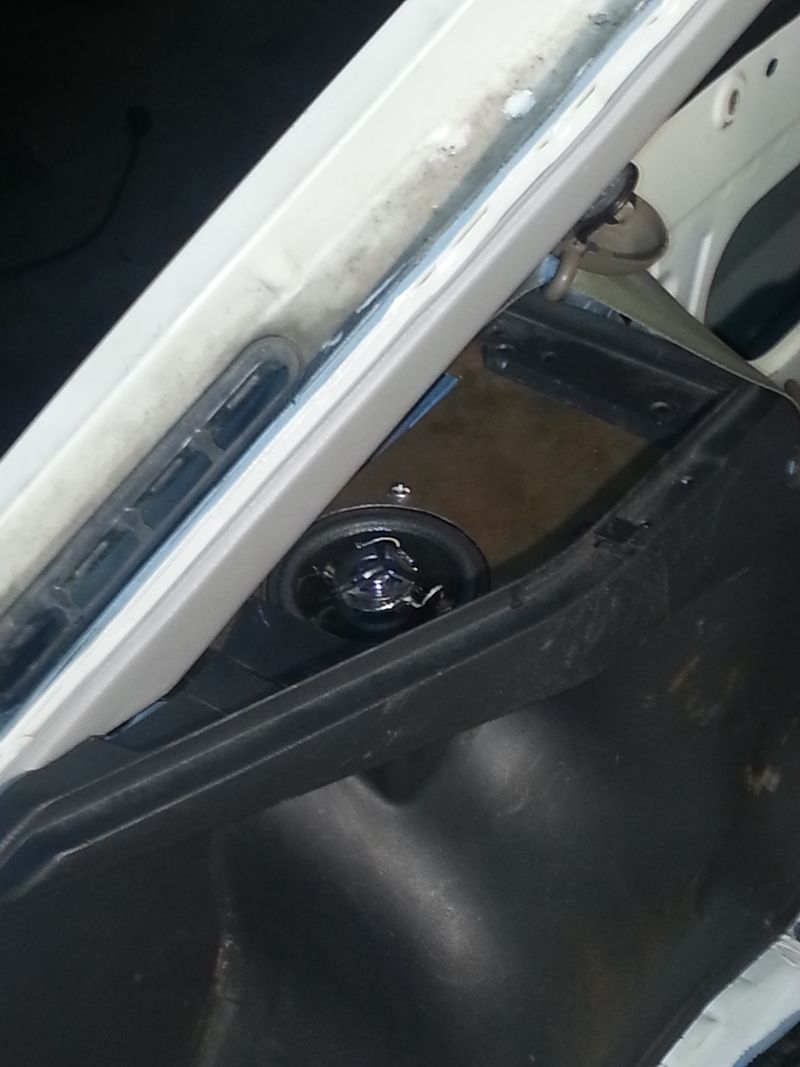
This brings us completely up to date. This weekend is my last planned free weekend to get things done. We'll see how much gets finished, I'd like to have to car back to daily driver status before next weekend.
jgrewe wrote: Yep, interested?
Haven't recieved an email, but i have reason to believe that email doesn't work. try rufledtp at gmail dotcom.
I looked over my dash and rear interior parts. Nothing worth saving. Even the rear seatbelts were in bad shape from outside storage in the Florida sun. I'm thinking about going through the rear suspension links and subframe and powder coating stuff to offer up already done parts.
I think my GTX has the exact same shifter issue, it's very loose and twists slightly. I've been meaning to check that out, but winter hit first and it was stored away before I got time. Are those parts still available, or will I need to fab them up too?
Rufledt wrote: I think my GTX has the exact same shifter issue, it's very loose and twists slightly. I've been meaning to check that out, but winter hit first and it was stored away before I got time. Are those parts still available, or will I need to fab them up too?
I know it is available for the BG shifters... not sure if it is for the BF, I didn't look for it.. if it is available it would be plastic and just break or wear out again.. what I did with brass will last longer...
drivendaily wrote: The aluminum can bushing sleeve won me over.
Thanks bud.. I thought people might like that trick.. I thought it was pretty good when I heard of it.
Some more work done on the car over the weekend. Not much that was picture worthy. Things have started to go back in the car which feels good. I painted the rear speaker supports, installed and wired in the rear speakers. Then I bolted in the rear panels. This is the first time since I have owned the car that the rear panels have been bolted in and secured.
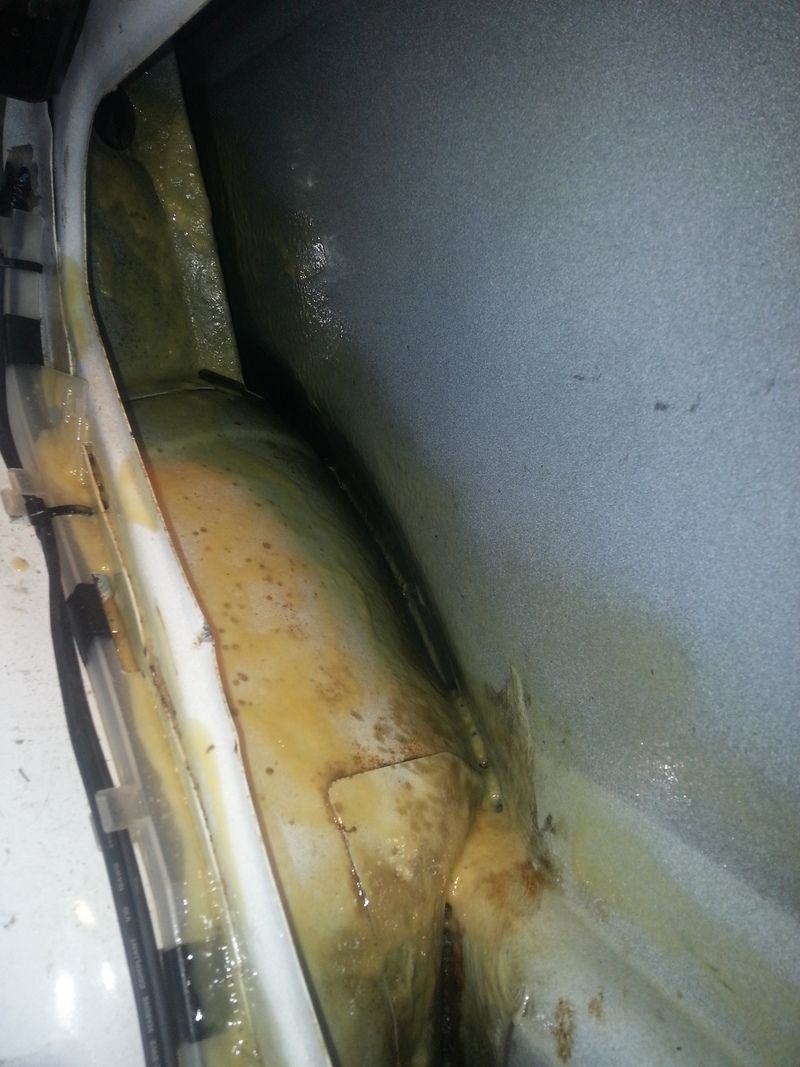
Before installing the panels I did some rust proofing. Since I can't really reach behind the strut towers I used Fluid Film and sprayed it in all the seams to help seal them up. This is really good stuff my aunt and uncle use on their sail boat to prevent rust.
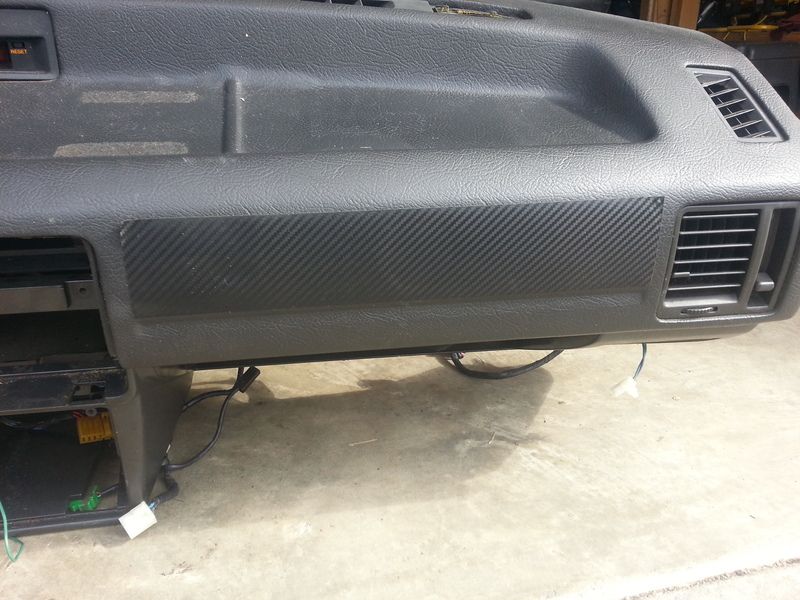
Some left over pieces in the dash from back when this car was a TSD Rally car. I'd be nice to get my hands on a good dash. The carbon fiber sticker blends in nice enough to cover the holes, but its starting to peel off now.
While I was at it, I tested the stereo system. Since The amp hadn't been hooked up right in the past I was worried it might be faulty. At first I couldn't get rear channel to work. After playing around with things, I discovered the rear RCA out put on my head unit was garbage. Made sense why some one had wired all 4 speakers in to just the front out put on the amp now. So I went shopping. The new head unit was on sale and with it mocked up to test everything worked good.
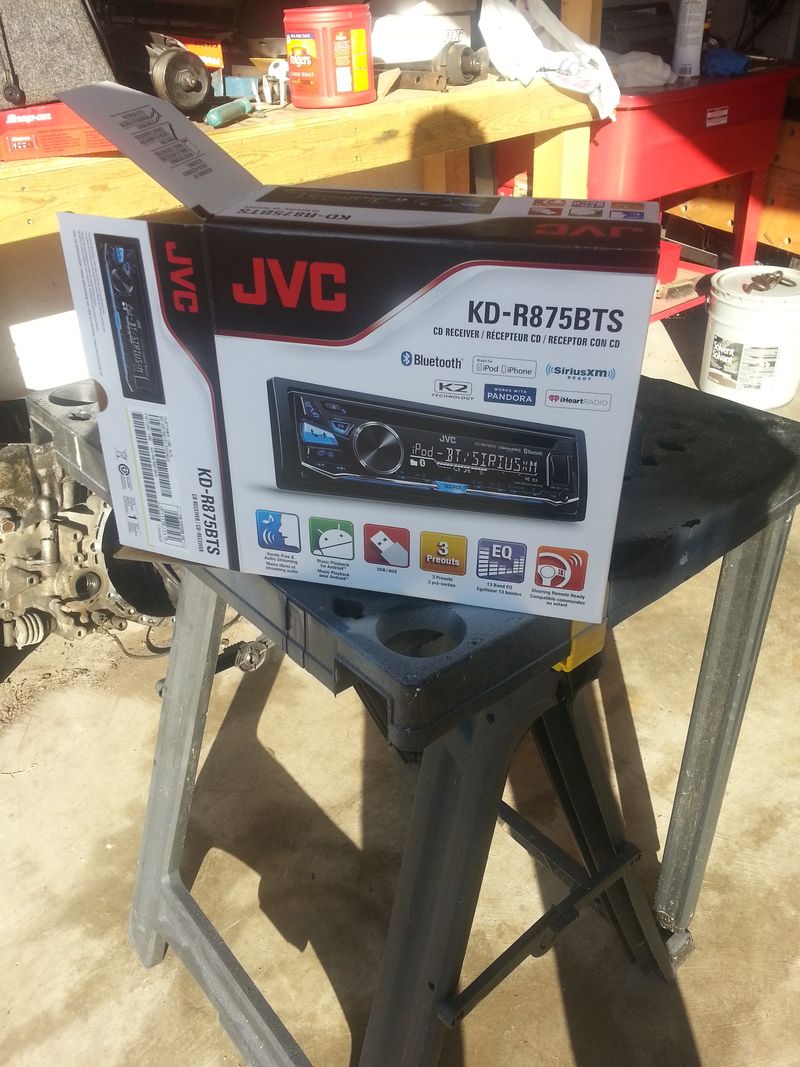
This is where everything went sideways. I finished off installing the dash and putting a bunch of things back together. I properly wired in the new head unit and got it installed. At which point I tested it again. In my previous test all 4 channels worked good, this time I had lost my right rear channel. ARRGG!!! So there I was pulling E36 M3 apart to test. I discovered one of the brand new RCA cables I got had crapped out at the connector. My attempt to fix the connector failed, so I had to pull all the carpet up and rear panels to remove the broken cable and replace it. Thankfully I had a spare one, but I lost an evenings worth of work. Its all back together again and everything works fine once again.
Well I haven't forgot about the car. Life has been in the way lately. Some little things have been done though.
I installed the little storage compartment from a 2wd car, since there was nothing but a big hole in this area before. The dark blue of the GTX plastics is unique to a GTX only. So that meant I had to find a paint that would match. Its not perfect but its pretty close. I gave it a light sand to start with and laid down a good plastic primer to give the paint a good base to stick to.
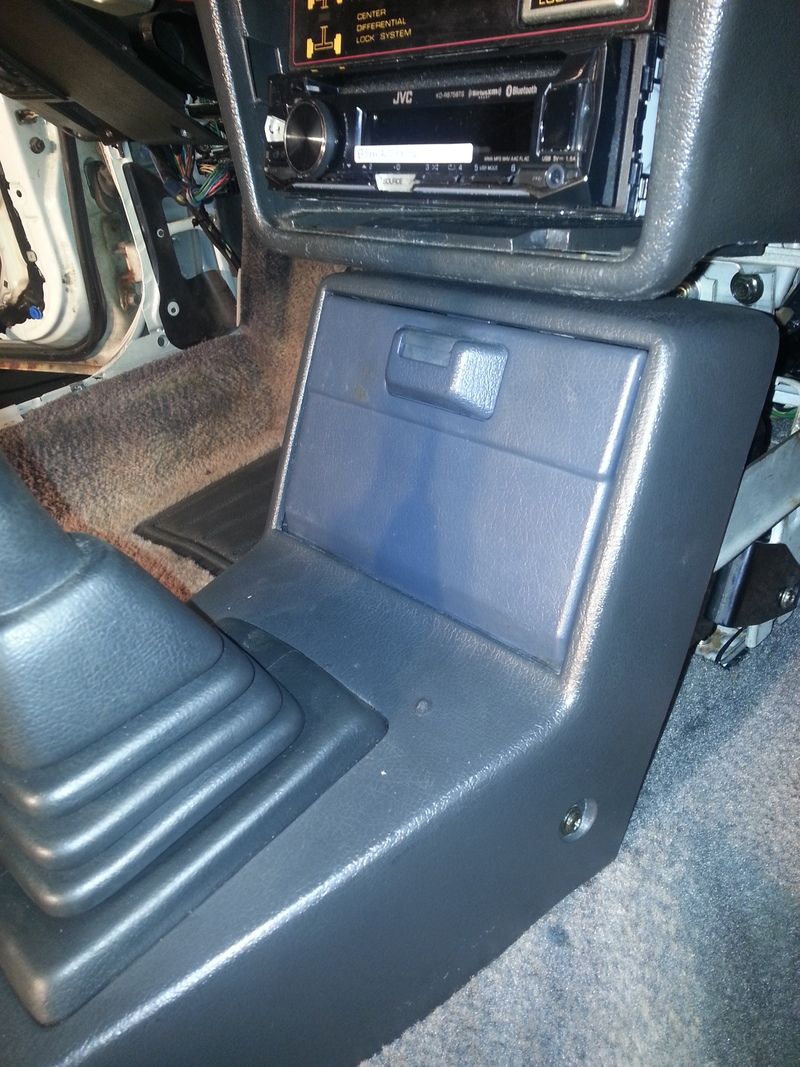
The install was pretty straight forward, I just used the GTX outer portion of the center console and all the guts for the compartment. It did require some modifications to make it work, but it was pretty straight forward.
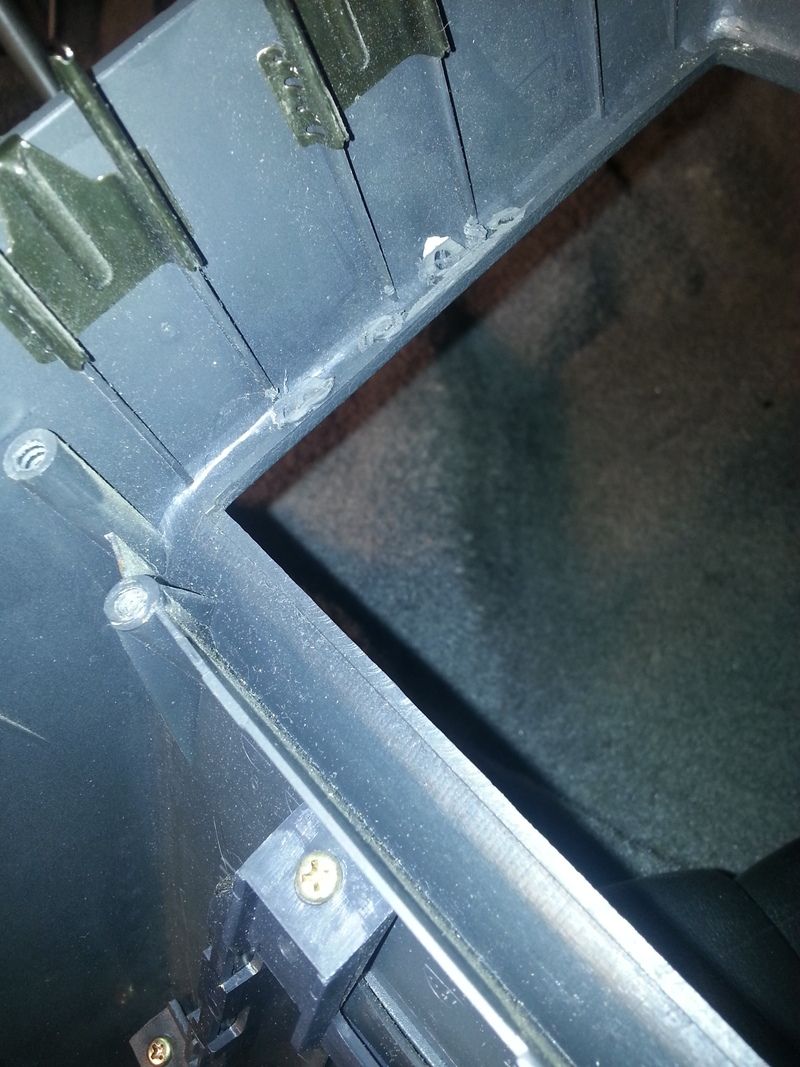
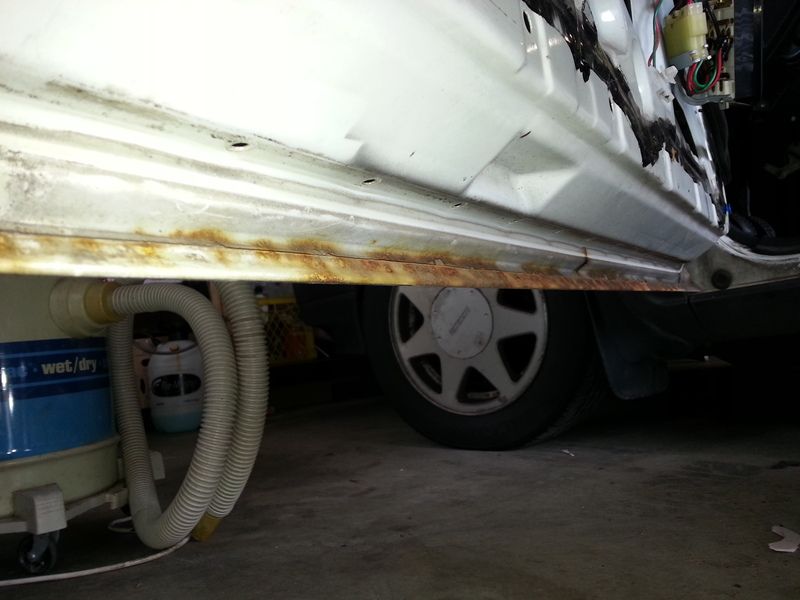
From there I moved on to my doors. This is the worst of the rust thats on the car. I decided to run some POR15 over it and make sure it wouldn't get any worse..
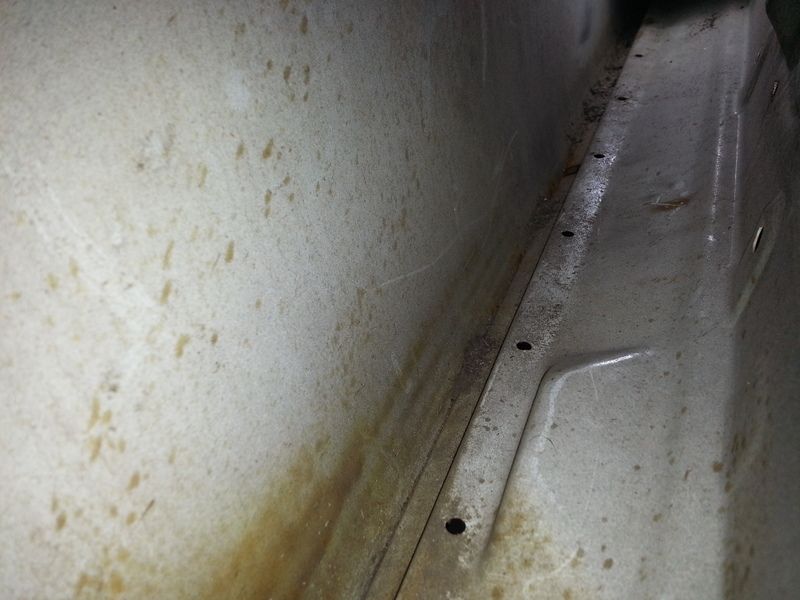
 As you can see the inside of the door isn't to bad.
I enlisted the hand of some little hands to paint the inside of the door after a little sand a clean up later.
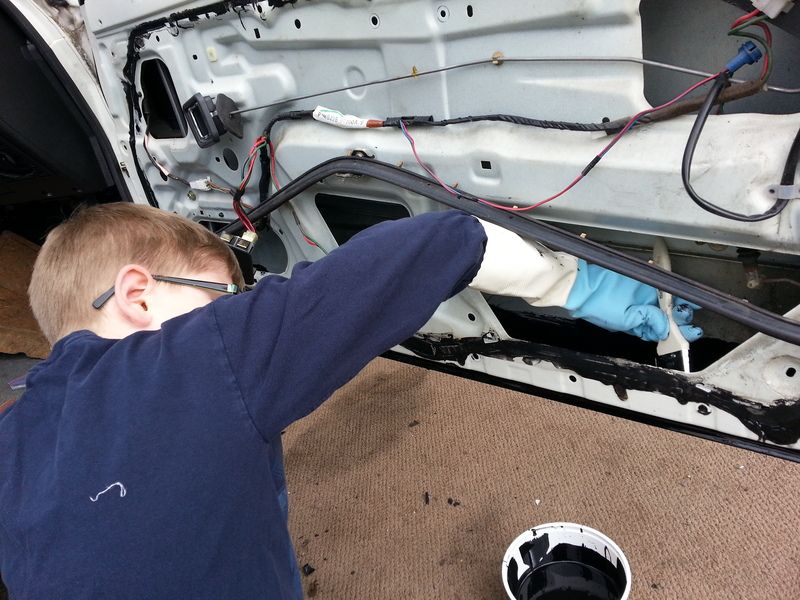
The final product so far. The plan is to paint the part of the door you'll see, white again. I just haven't gotten that far yet.
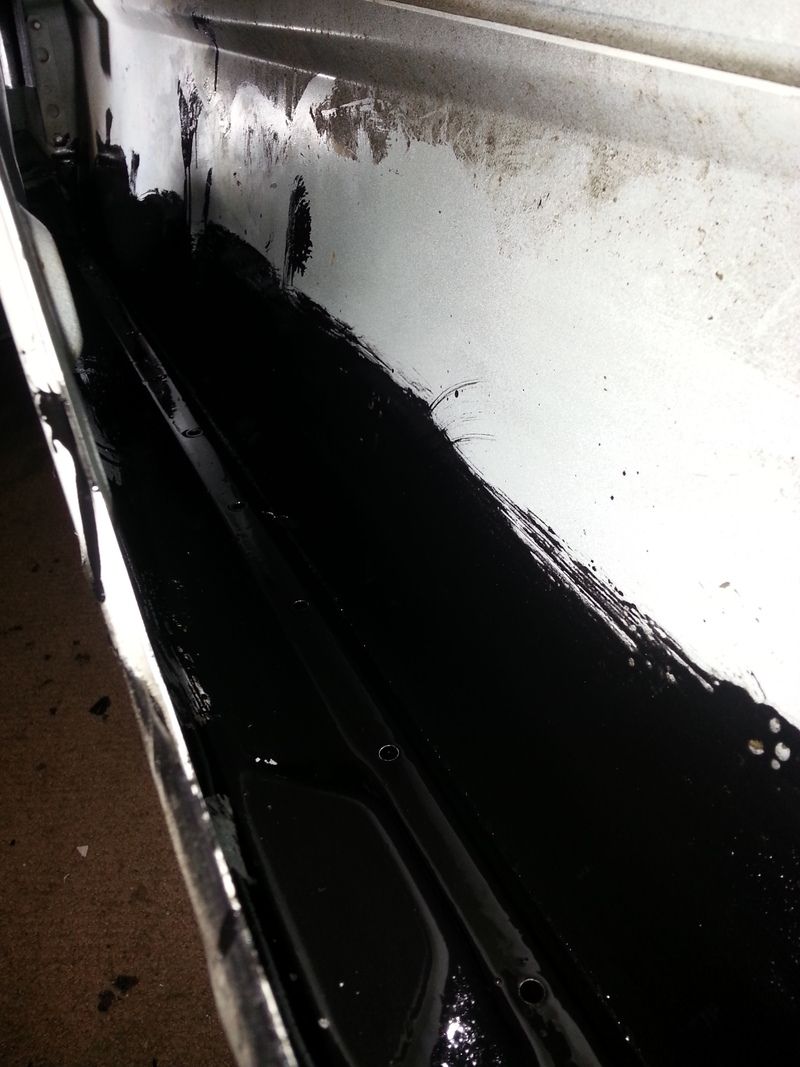
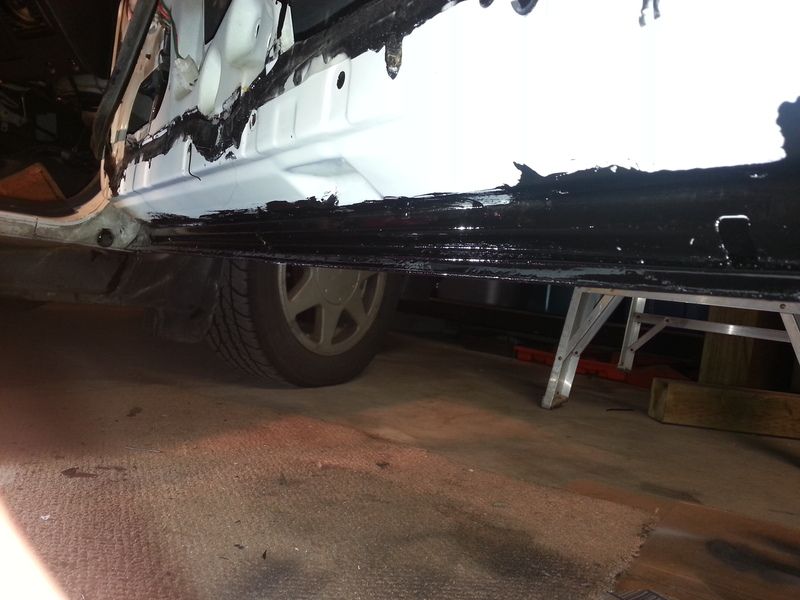
Lately I have turned my attention else where. Can anyone guess what this little set up is for? and why I would have done it?
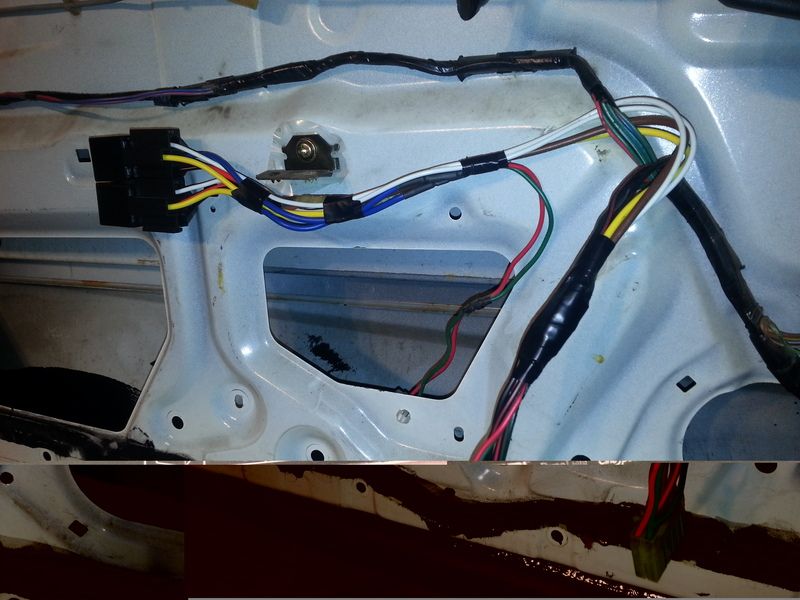
So I finished putted the gtx back together a few weeks ago. It was a scrabble doing it so I didn't take make pics and never finished the detail work I wanted to.
This weekend I enlisted in some help to give the exterior some love. 7 hours of polishing later. She look pretty great from 10 feet away. Get up close and you can tell the body has been beat up pretty good from its days as a TSD rally car..
A little before and after during the the haze removal stage... The car had been washed twice and clay bared all ready. So you can get a sense of just how beat up the paint was.
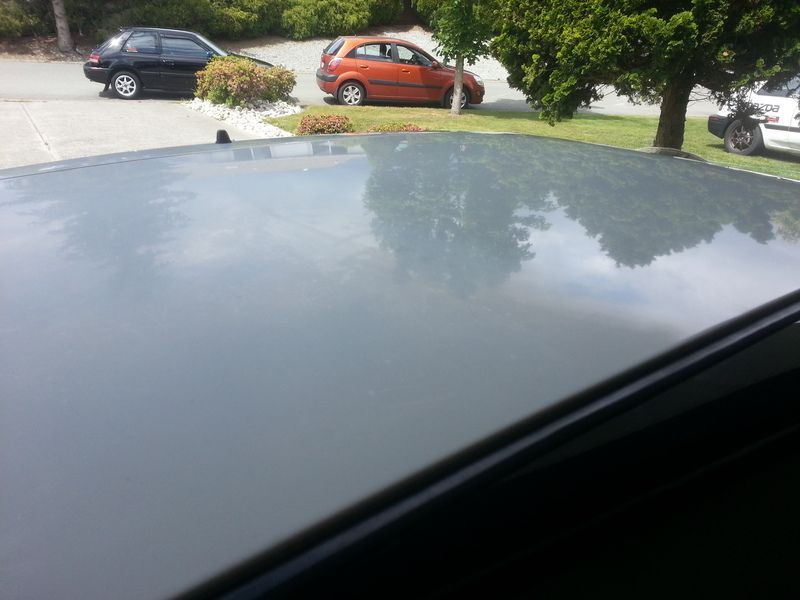
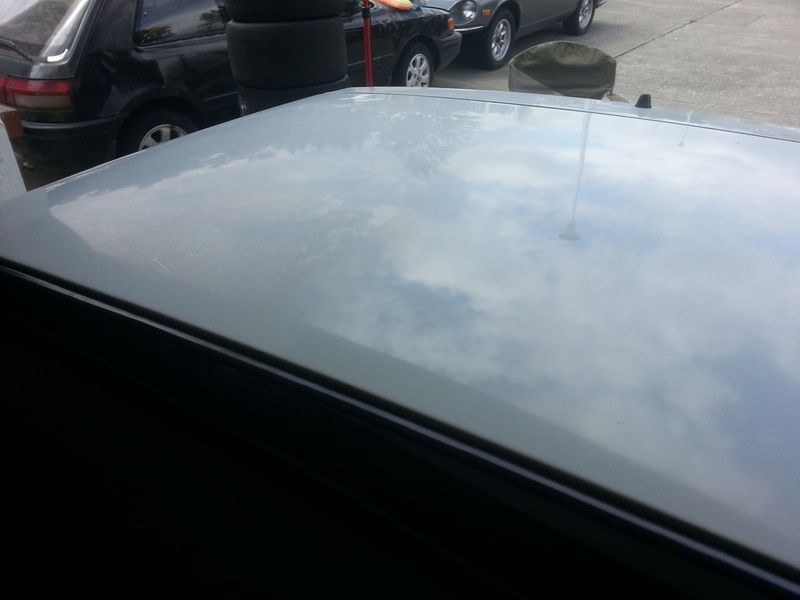
Haze remover stage just done by hand at this point.
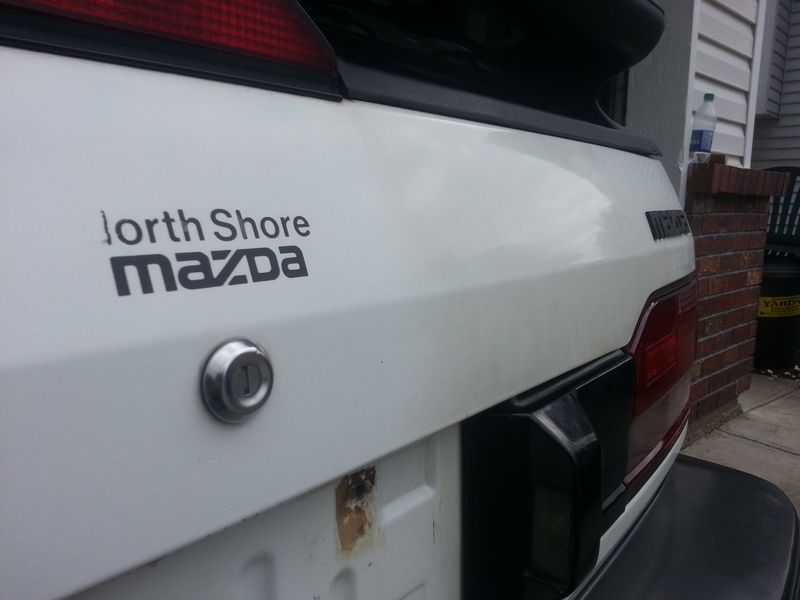
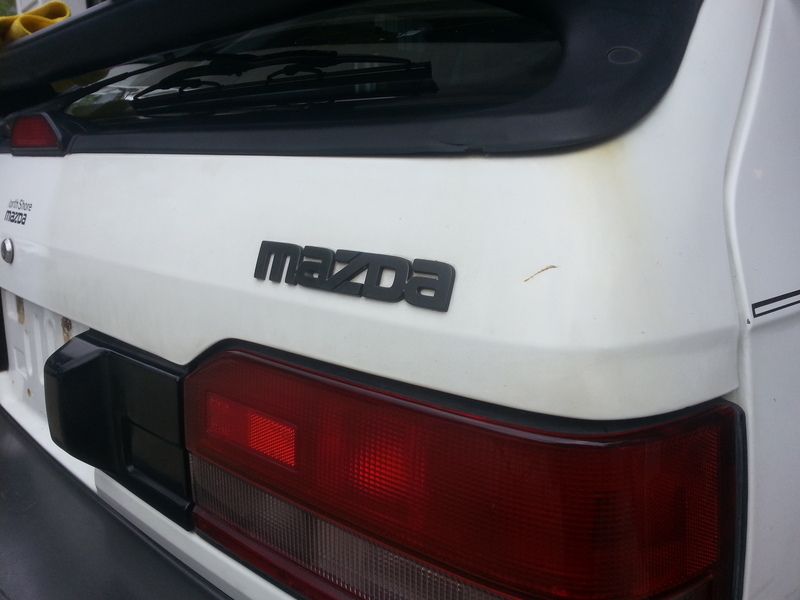
The after glory shots.. the bumpers and lower great area got a little butter wax job by hand.. the paint was to be at up to hit it with any machines. The rest got a single stage polish and any rubber got hit with some revitalizing products and buffed out. All the windows were polished as well.. after the polish it got a good wax job.
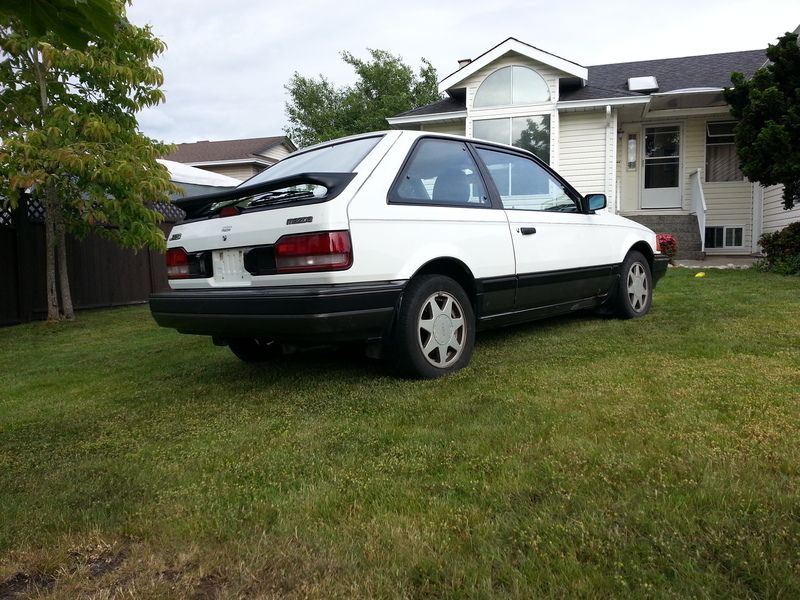
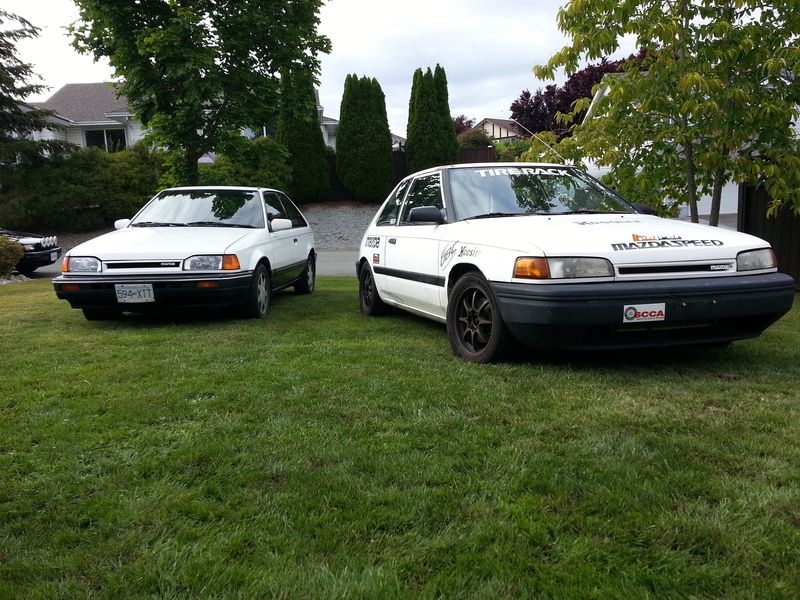
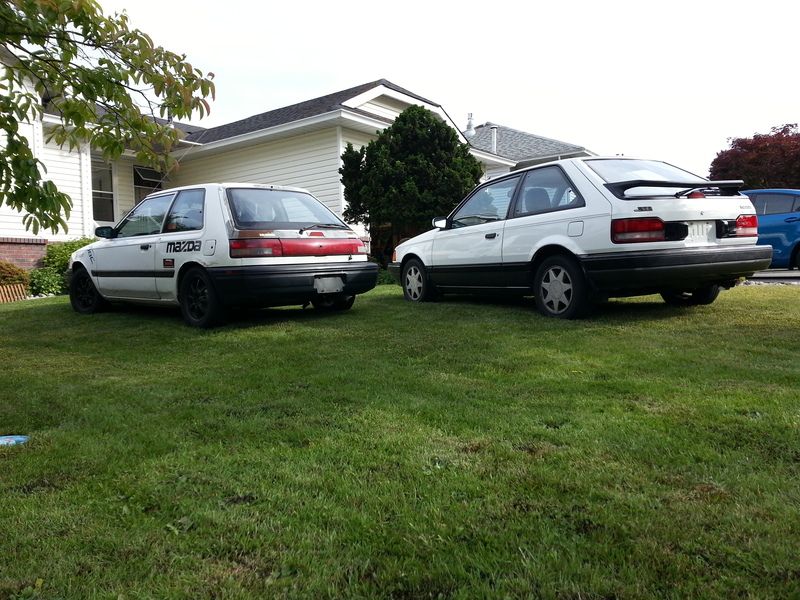
mm shinny..
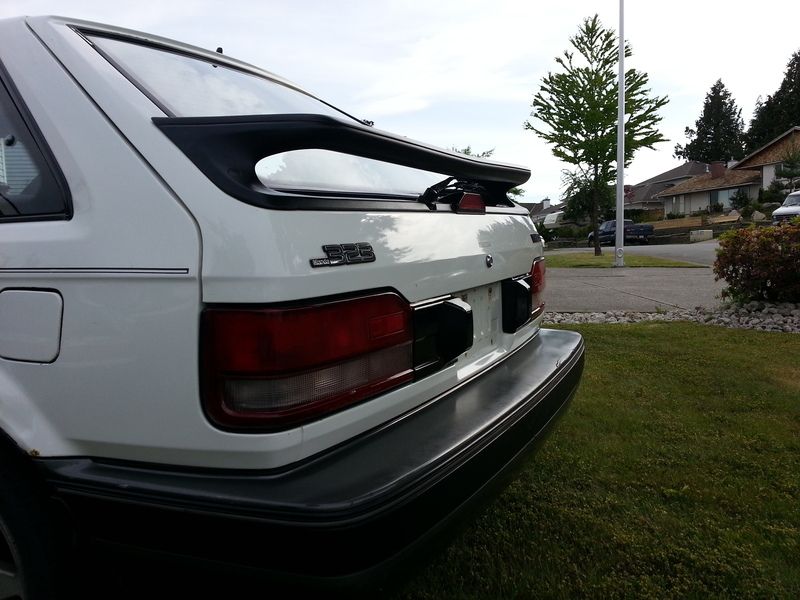
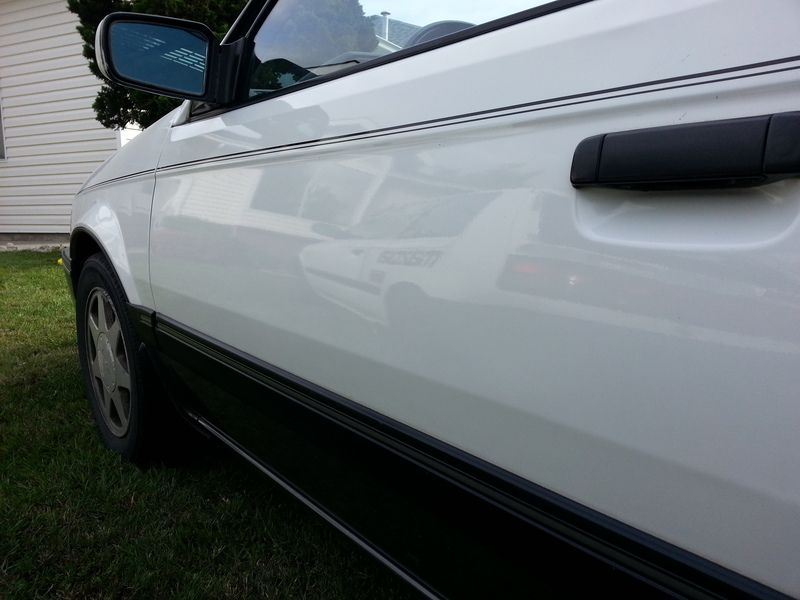
In reply to Nick (LUCAS) Comstock:
thank you.
I was pretty amazed my self. It doesn't look like much but it's a great way to help preserve an old car.
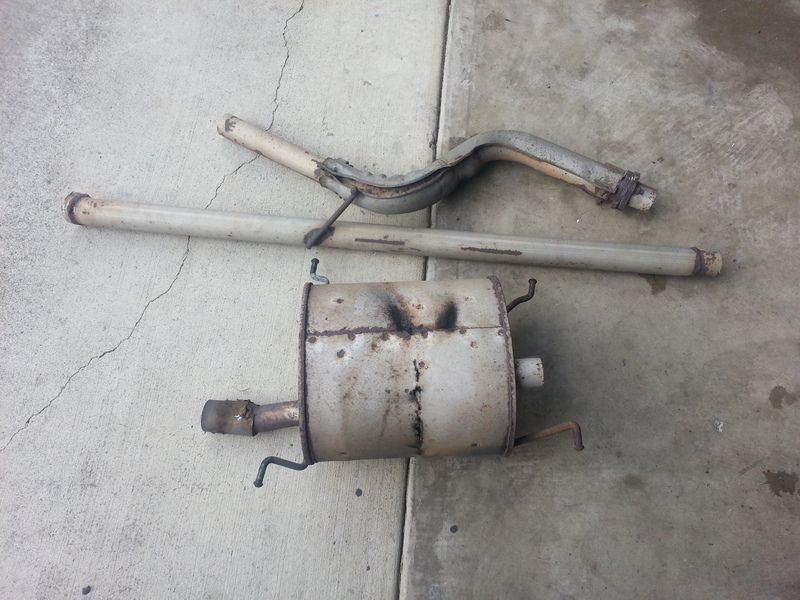
Well last weekend it was time to do some more work on the GTX. The 28 year old muffler had bit the dust and split open. The exhaust gas was cooking everything in my trunk. No such a good thing.
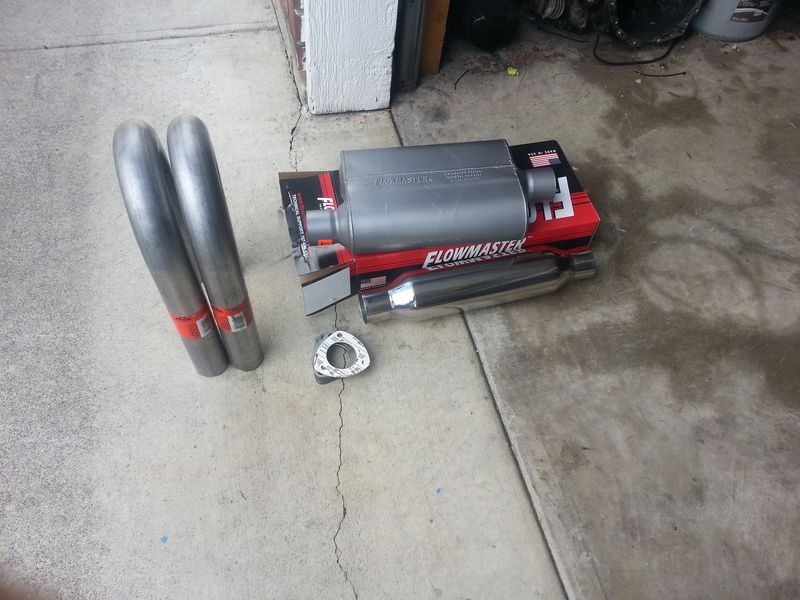
A little trip to the store and I came home with some new goodies. A flow master 50 series, vibrant resonator and some 2.5" mandrel U bends.
Out with the old.
The GTX has a lot of little bends in the system which makes fabbing your own exhaust a bit of a pain in the ass.
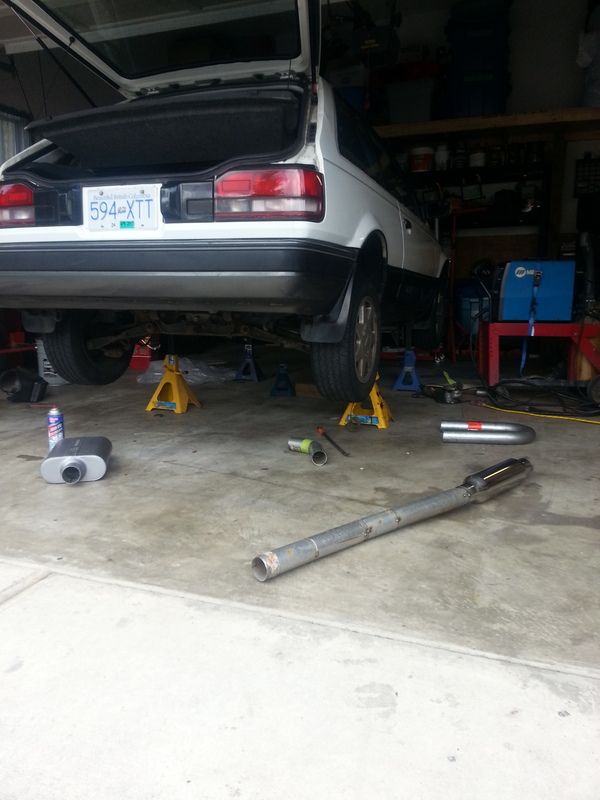
This is what I call quality time with the little one... ![]()
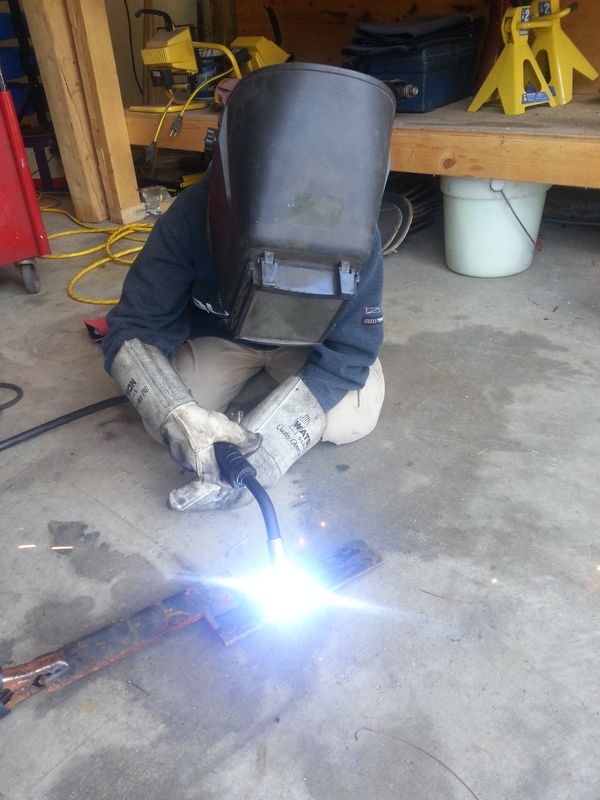
![]() He was sure excited by all the sparks flying and everything.
He was sure excited by all the sparks flying and everything.
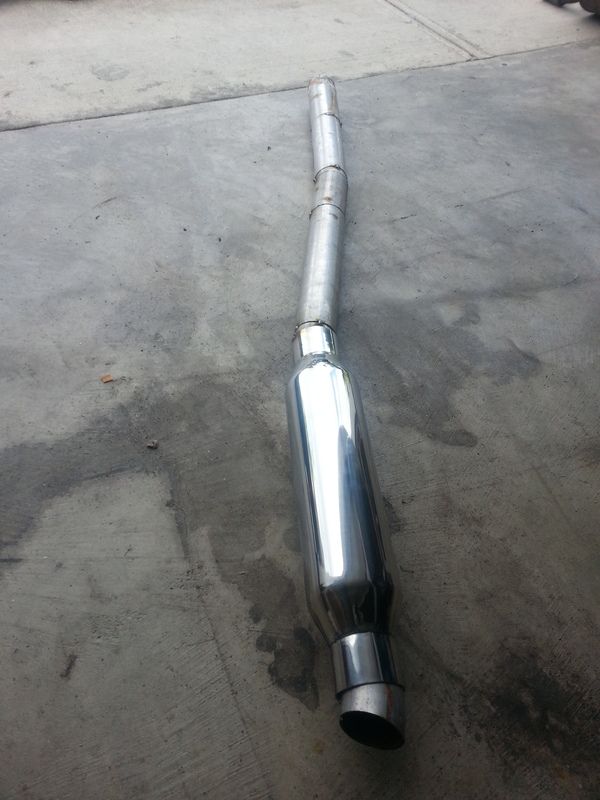
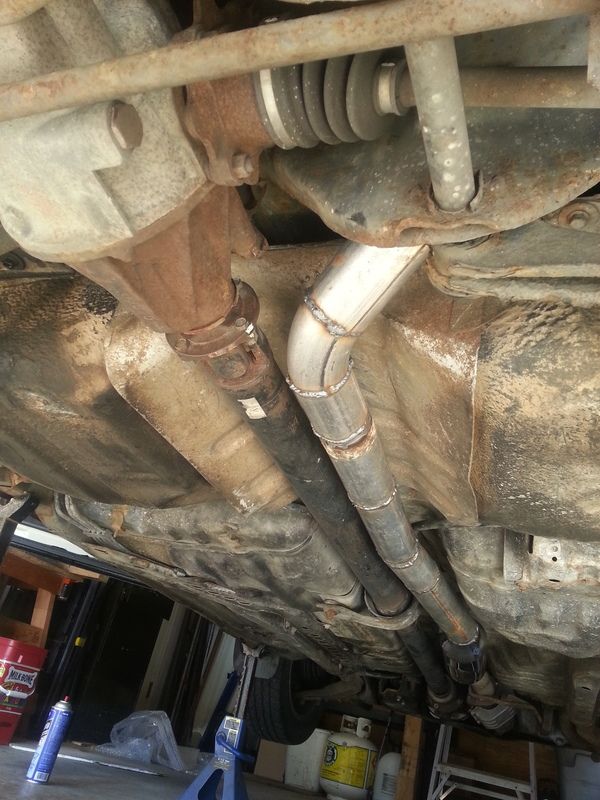
The finished product. I need to dissasemble it though and retrieve a nut that dropped into the pipe during fabrication.. ![]() I didn't notice what had happened until I was all finished and fired it up. I could hear the little rattle and instantly knew what I did.. doh!!!
I didn't notice what had happened until I was all finished and fired it up. I could hear the little rattle and instantly knew what I did.. doh!!!
I have plans to change the tip. But I am not sure what I want to do. Any suggestions? I was thinking a little twin 2" chrome tip.

You'll need to log in to post.