1 2
Kenny_McCormic
Kenny_McCormic PowerDork
11/18/13 11:30 p.m.

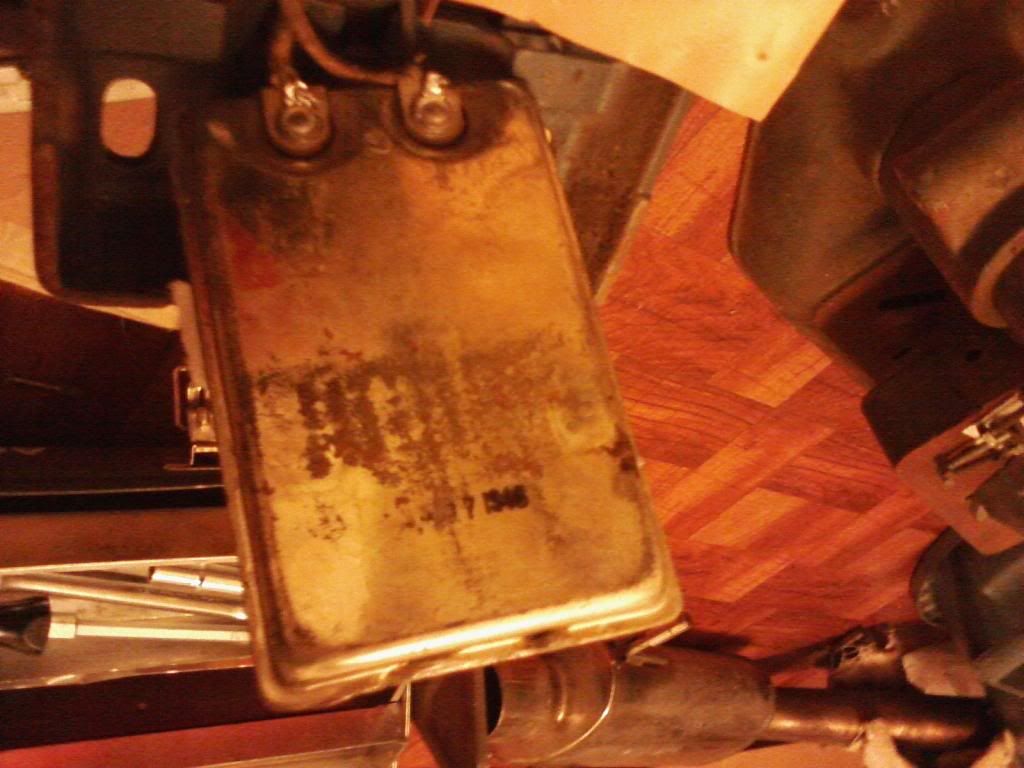
Edit: Brainfart, judging by the date on the bad motor starter cap of AUG 17 1945, this is actually more of a very late WW2/Very early postwar period drill press. If a mod gets bored, feel free to fix it.

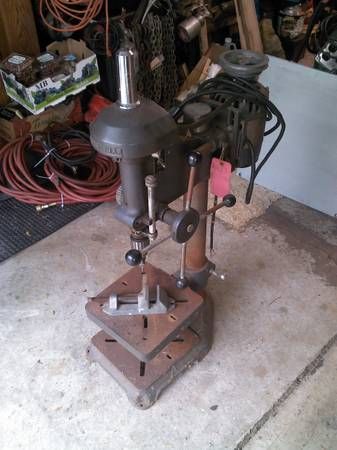
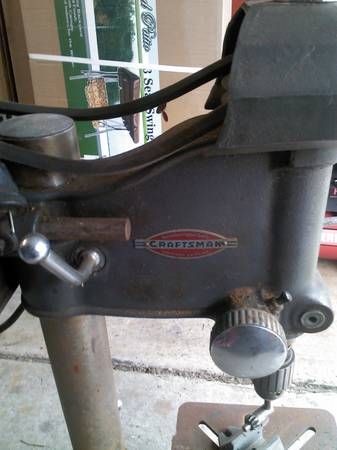
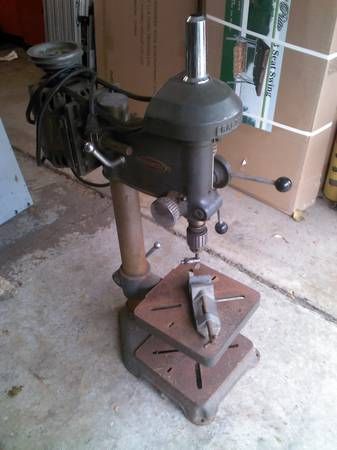
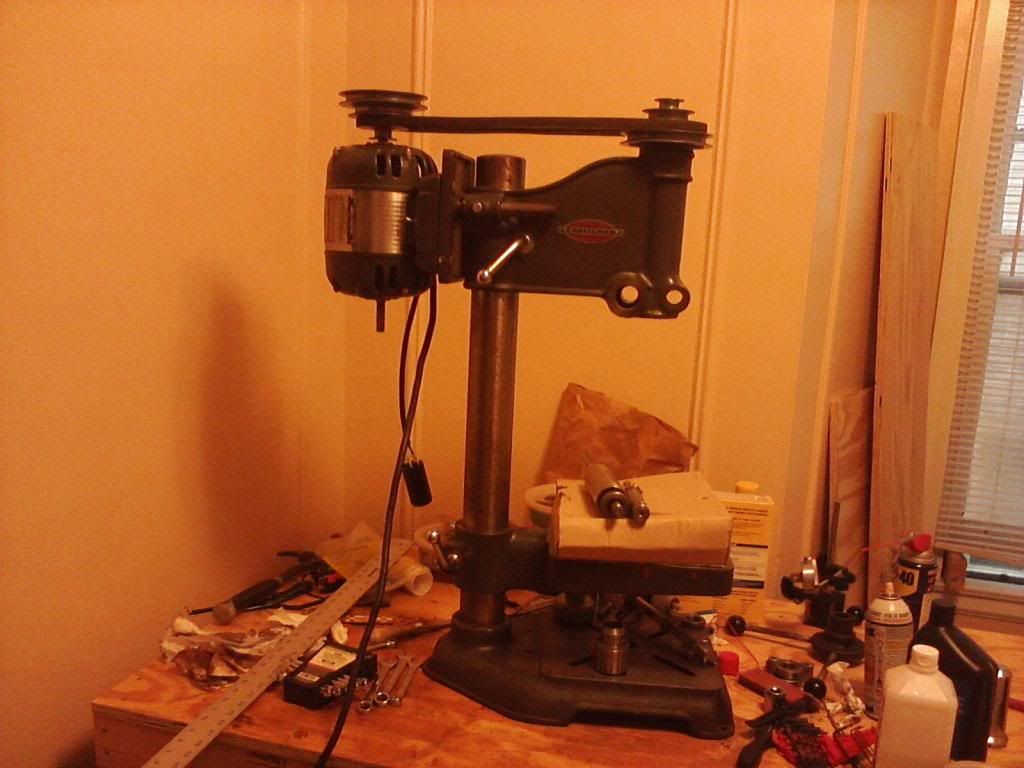
I spotted this on CL for $100, kinda thought about it, then emailed the guy and he immediately dropped to $50 without asking as a "get it out of here" move. I fell for it and now its in my dining room(I'm in an apartment currently). Everything that needs to be tight is still very tight and besides the quill lock bolt its all there, that red tag is the factory lubrication tag. I don't think its seen much use.

For those unfamiliar the 101 in the model number indicates this was built by the Atlas Press Co. in Kalamazoo MI, the same that made all those great lathes. Crafstsman back then meant the best Sears had to offer, and it shows. This is an extremely well built drill press, the spindle rides on 2 ball bearings, and the spindle is floating, the driven pulley rides on its own set of 2 ball bearings, pre WW2, these would have been SKF bearings. I can run the quill all the way down and don't feel any play in it unless I really lean on it. It still has the original Jacobs chuck. It has to weight AT LEAST 150 lbs. I think this one was made in late 1945. Going by the 1942 Sears catalog featuring a similar model, inflation adjusted it cost about $1200 with the optional 1/2 HP ball bearing motor.

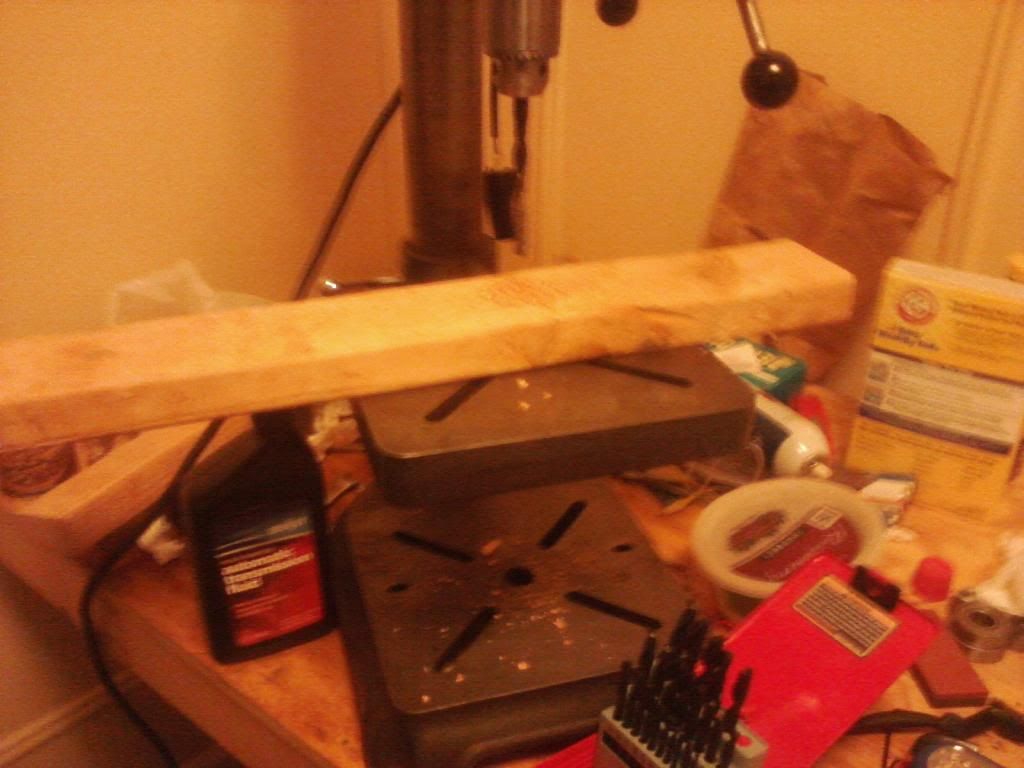
Here's the CL pics.  photo 01313_56jHtX6Temd_600x450_zps0074a19c.jpg  photo 01717_inNjlhKzpxB_600x450_zpsfeaa5218.jpg  photo 00202_32BhB8iPARv_600x450_zpsf1b0e472.jpg

And in my dining room, check out the stalled coffee table project in the background.  photo P11-18-13_19-251_zpsa664184b.jpg
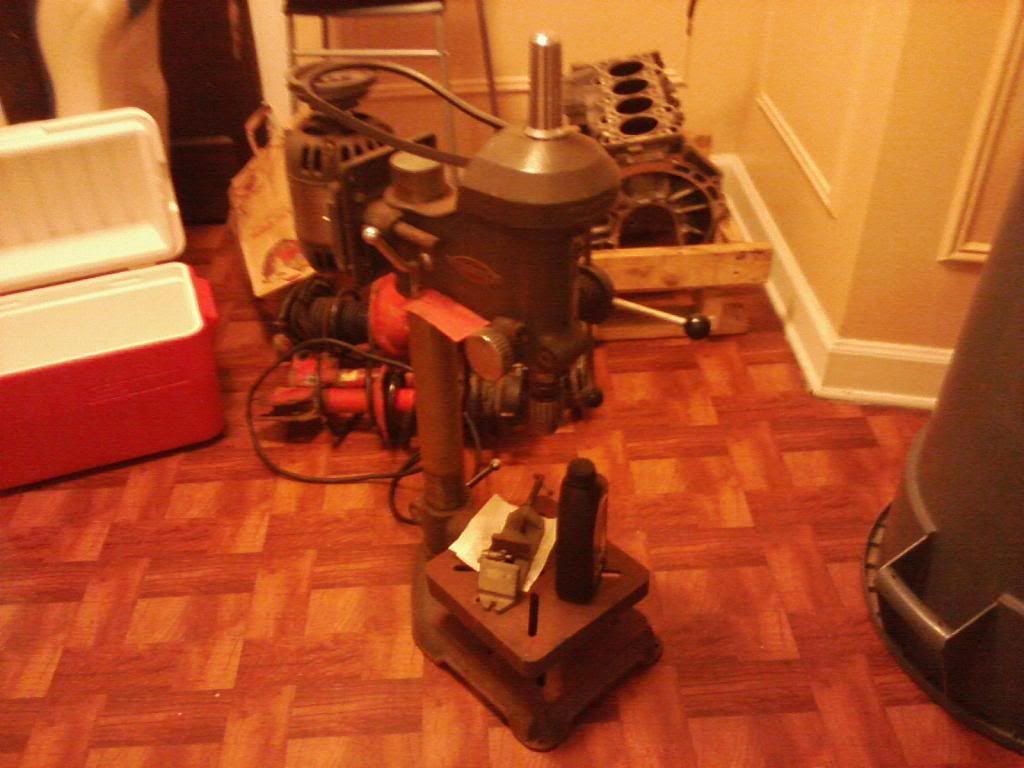
Plan is to get the motor working, tear everything down and clean and lubricate, then put it to work. Most of the paint is still there, so it should clean up nicely. I want this to end up looking like it would have if it were properly cared for its whole life.

Should you want to ask the question "Aren't you kinda crazy for having a drill press in an apartment?" Have you ever had the freedom to drill a hole in something WHENEVER you want to? It's awesome.

Kenny_McCormic
Kenny_McCormic UltraDork
11/18/13 11:49 p.m.

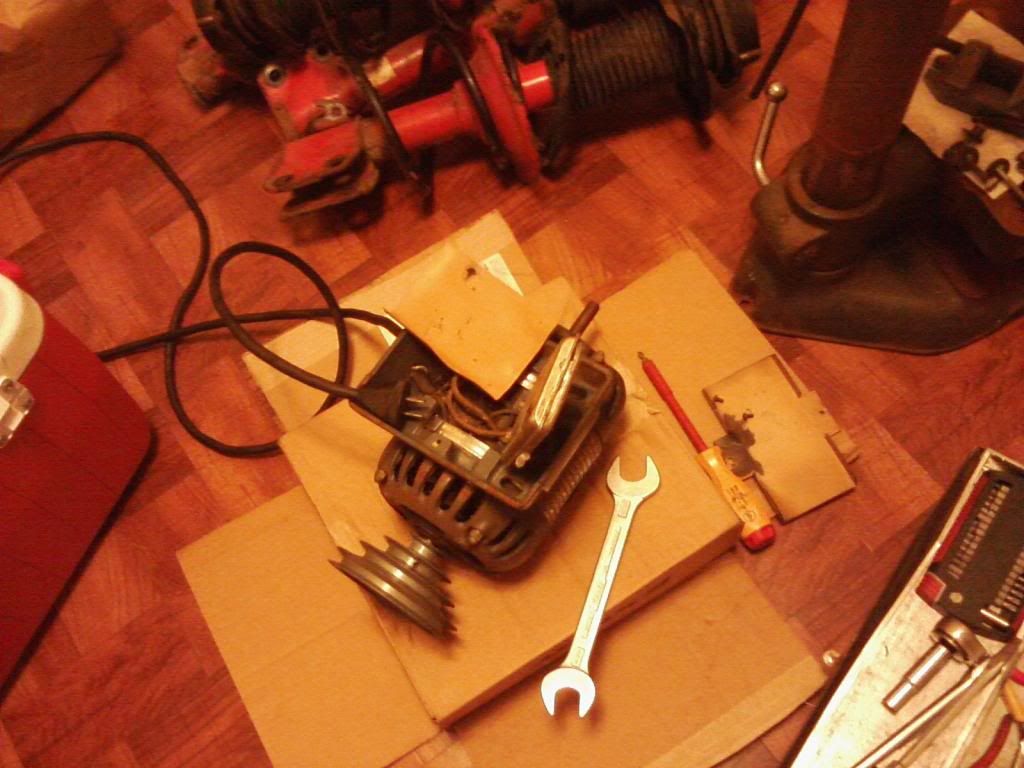
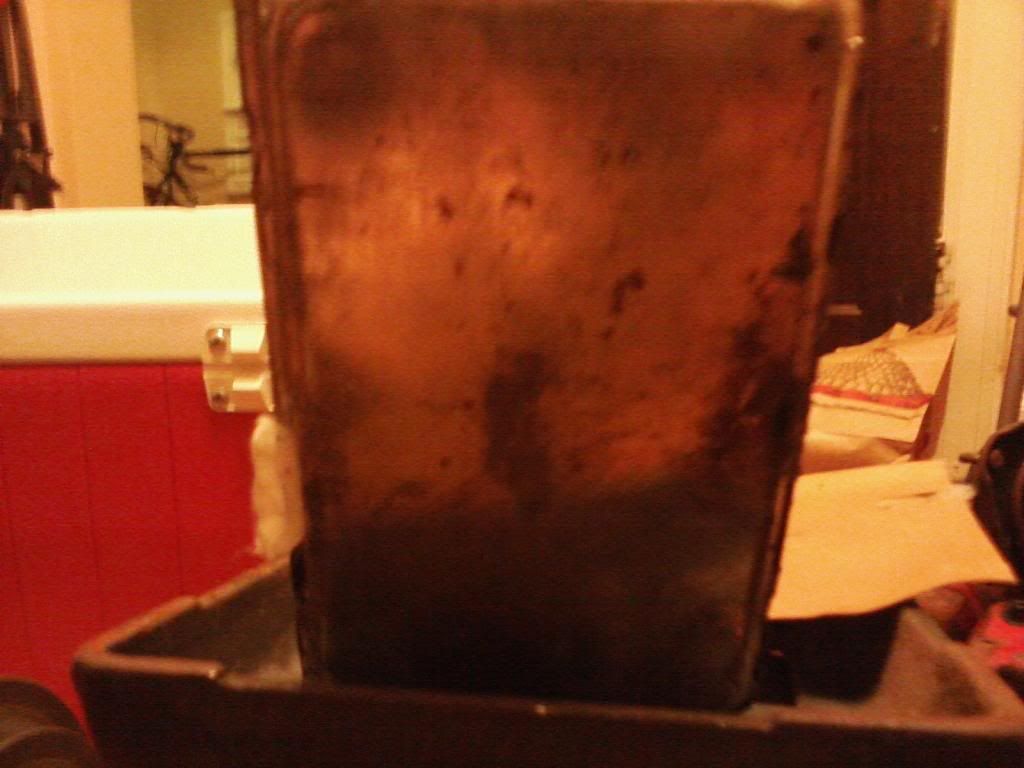
First order of business is fixing the motor, it wouldn't start on its own. I diagnosed this as bad capacitor, so off the press it came.  photo P11-18-13_23-361_zpsb9d5d1ae.jpg
This capacitor is over 68 years old, I think its time to replace it on general principle.  photo P11-18-13_23-35_zpsfabcce35.jpg
That and the hole rusted in it.  photo P11-18-13_23-36_zpse5a0e53f.jpg
Anybody know where to buy a capacitor like this? It has no marking on it besides a date, sears doesn't acknowledge its existence, and mcmaster doesn't sell them in this shape.

RossD
RossD PowerDork
11/19/13 7:49 a.m.

Granger should have what your looking for. If you can find a rating of the motor they should be able to get you one sized close to the old one. I've seen run capacitors at Home Depot so they might have start capacitors. I am not sure if you can use one for the other or what the difference is physically.

I wouldn't worry much about the shape other than where you will fit the new one.

Mouser/Digikey/Allied Electronic should have them too if you want to look online. Grainger's online is pretty good too.

ditchdigger
ditchdigger SuperDork
11/19/13 7:59 a.m.

Every old Crafty drill press like this I have ever used spun too fast for working with steel and bits over 3/8". You might consider looking for some sheaves to slow it down a bit.

Those are awesome machines.

Kenny_McCormic
Kenny_McCormic UltraDork
11/19/13 12:54 p.m.

I know I can use any old cap roughly the right size for this, but I'd prefer to get one that fits where the old one did. Where to look first? Ancient hardware stores? Anybody know of a good Detroit area motor shop?

In reply to ditchdigger:

There was an optional jackshaft two belt kit for these, maybe I'll make one for it when I have a working drill press.

RossD
RossD PowerDork
11/19/13 1:41 p.m.

The thing that sucks is unless they made that shape later, the NOS (new old stock) ones will probably be old and tried up/leaky too.

http://en.wikipedia.org/wiki/Electrolytic_capacitor#Reliability_and_length_of_life

That's not to say that I, personally, wouldn't try and look for an original to fit in there.

Kenny_McCormic
Kenny_McCormic UltraDork
11/19/13 2:23 p.m.

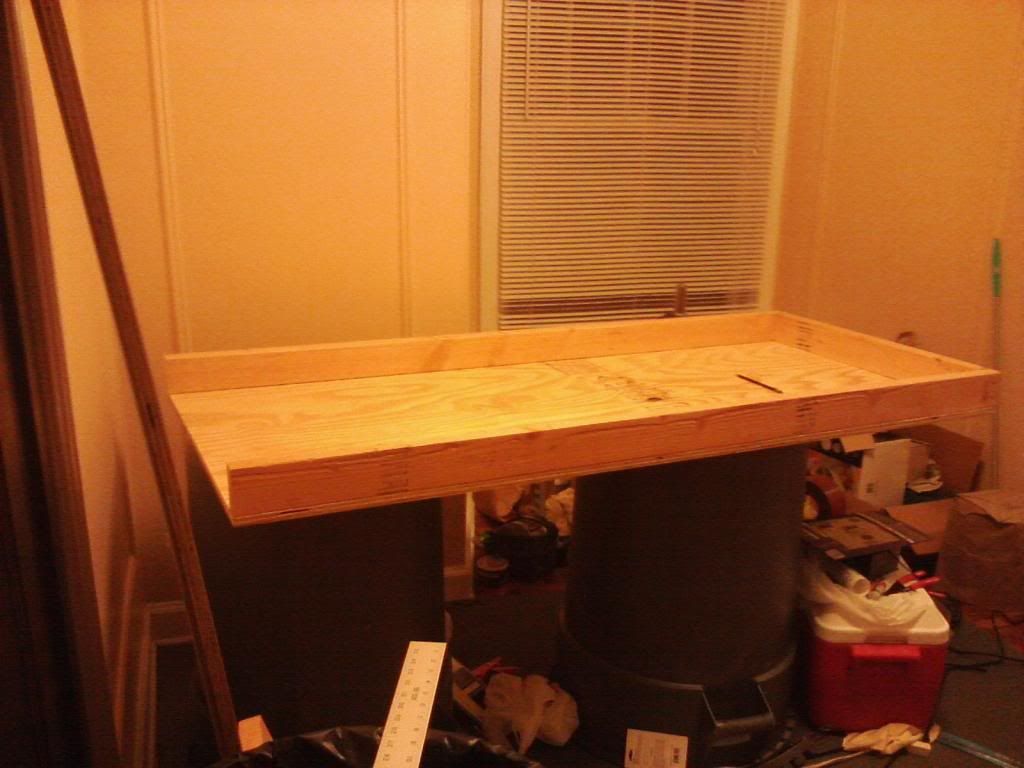
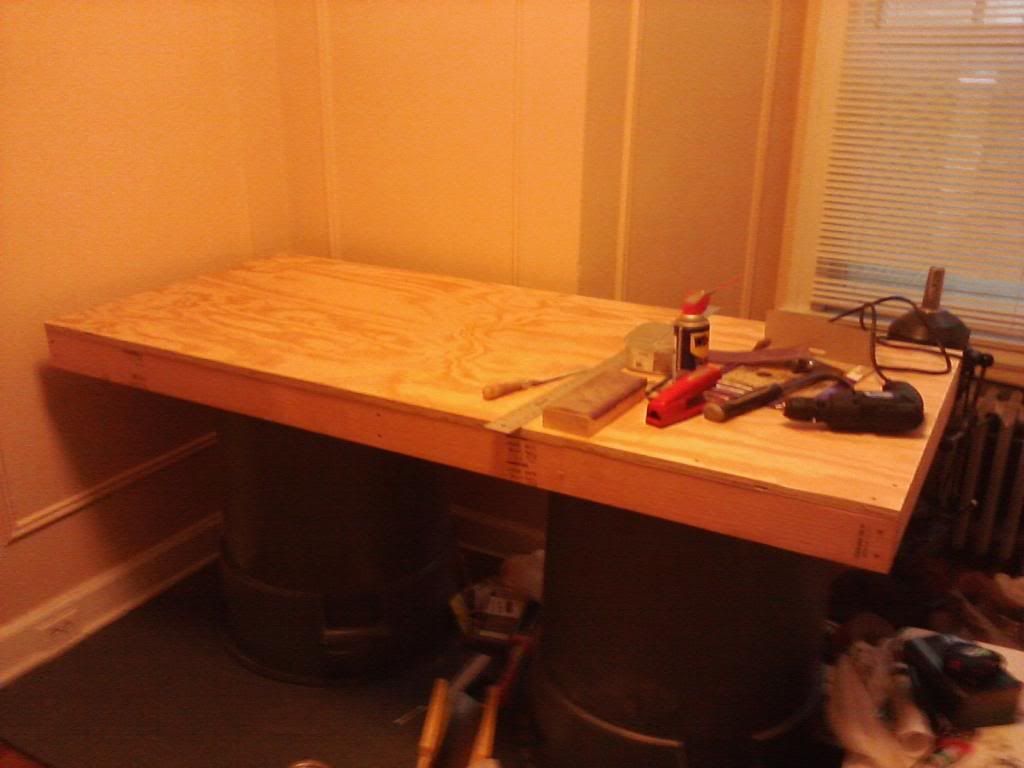
I'm in no rush, especially until I can get a workbench pieced together and quit working on the floor, plan for that is two overturned, 55gal "brute" trash cans with 3/4" plywood on top, cans should flex enough to deaden any noise(will put old blankets inside in the interest of my neighbors below). I'm awaiting arrival of can #2.

Kenny_McCormic
Kenny_McCormic PowerDork
11/20/13 4:39 p.m.

Big thumbs up to Lloyd's Electric Co. INC. in Ferndale MI. Electric motor shop straight out of the 50s. A man immediately identified what I had, told me I'd need a time machine to get another one, confirmed my cap was dead, and handed me a good used one that would work well enough for free, in the politest manner possible, in about 4 minutes. If I ever need motor work done, that's where I'll be going.

Junkyard_Dog
Junkyard_Dog Dork
11/20/13 6:24 p.m.
Kenny_McCormic wrote: Big thumbs up to Lloyd's Electric Co. INC. in Ferndale MI. Electric motor shop straight out of the 50s. A man immediately identified what I had, told me I'd need a time machine to get another one, confirmed my cap was dead, and handed me a good used one that would work well enough for free, in the politest manner possible, in about 4 minutes. If I ever need motor work done, that's where I'll be going.

Bah. If he was any kind of salesman at all, he would have handed you a Flux Capacitor, told you where the time machine was hidden, and remind you to tell the younger him not to marry the blonde with the crazy sister.

mndsm
mndsm UltimaDork
11/20/13 6:28 p.m.
Kenny_McCormic wrote: Big thumbs up to Lloyd's Electric Co. INC. in Ferndale MI. Electric motor shop straight out of the 50s. A man immediately identified what I had, told me I'd need a time machine to get another one, confirmed my cap was dead, and handed me a good used one that would work well enough for free, in the politest manner possible, in about 4 minutes. If I ever need motor work done, that's where I'll be going.

This guy sounds like the freakin MAN. I'd have flipped him a 20$ on principle. Shops like that don't make great cash.

Keith Tanner
Keith Tanner GRM+ Memberand MegaDork
11/20/13 6:49 p.m.

I dunno, I suspect Kenny might come back and drop significant money in the future

Kenny_McCormic
Kenny_McCormic UltraDork
11/20/13 8:22 p.m.

There was also a grumpy looking older dude hand winding what looked like a sub 1hp motor(I didnt think anybody bothered repairing them that small nowadays). To give a better idea of how old school this shop was, there was a urinal next to the utility sink. My friend bought a sealed ball bearing for $4 to fix the noisy idler bearing on his car while we were in there.

I (in a crude, hazardous, rapid, and temporary manner) hooked up the new to me cap, its 200uf one, on the high end of what is specced for 1/2 hp motor. Damn thing almost jumped off the overturned trash can it was sitting on when it started. A celebratory beer was had.

Motor bearings feel a tad rough, so I'll pull them out next and assess.

Kenny_McCormic
Kenny_McCormic UltraDork
11/20/13 11:49 p.m.

After a thorough degreasing, one bearing was found to be in good shape and the other was tight like new. These are likely the original New Departure bearings (this is a Craftsman branded GM/Packard Electric built motor). They'll be repacked with the tighter one mounted on the PTO end.

What grease should I use? Wheel bearing/chassis grease?

Fr3AkAzOiD
Fr3AkAzOiD New Reader
11/22/13 1:08 a.m.

Cool project you found.

RossD
RossD PowerDork
11/22/13 7:47 a.m.

In reply to Kenny_McCormic:

Ask the guy you bought the cap from. I'd probably go out of my way to buy stuff and generally ask annoying questions with that guy.

Kenny_McCormic
Kenny_McCormic UberDork
2/9/14 10:33 p.m.

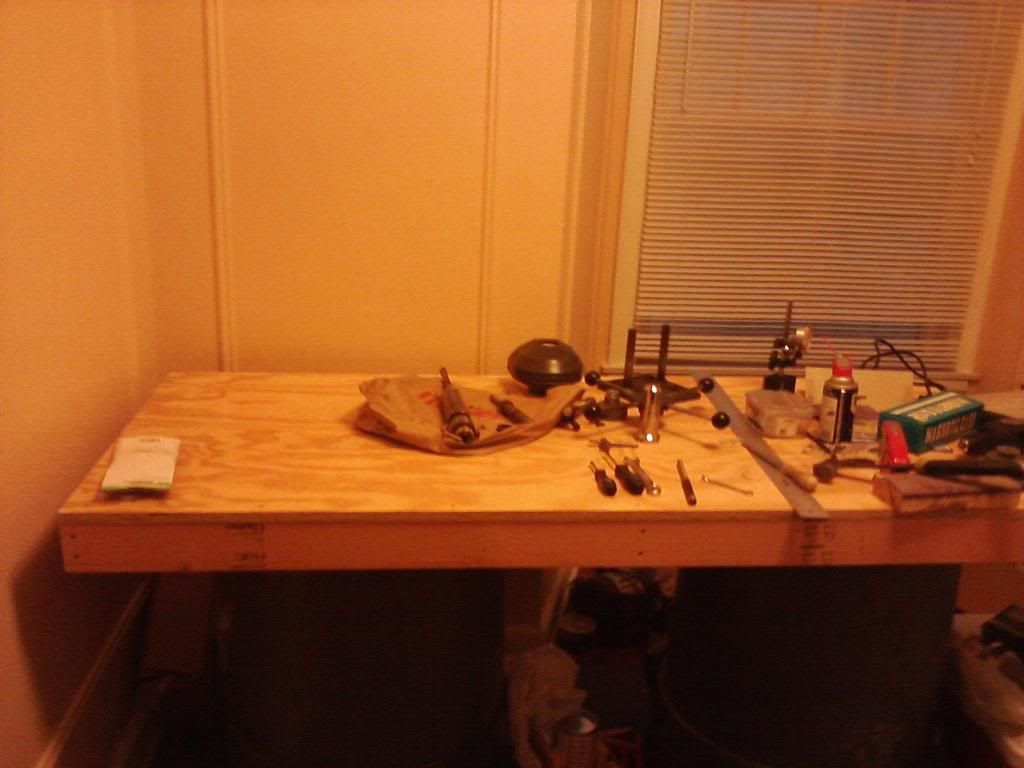
A workbench is built. #2 fir 2x4s from the always great Public Lumber Company, I only spent like 5 minutes picking them out! "3/4" inch(actually .703 now) plywood from hell depot, cut there too so its about 1/4" off square. Yes, those are trashcans, no, I didn't steal them.  photo P02-03-14_21-12_zps5f7a7ee1.jpg

Finished with some butcher block oil I had and sanded a little with 220 grit. Its flat within 1/8".  photo P02-04-14_17-04_zpsf4d8502b.jpg

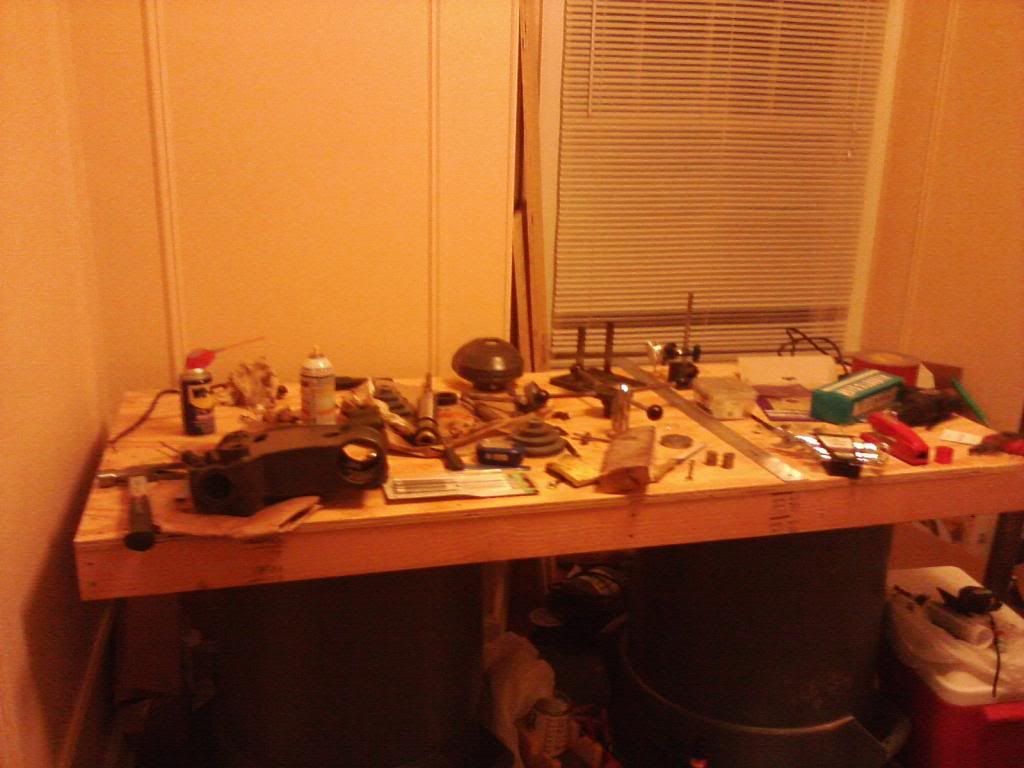
Begin the explosion  photo P02-04-14_17-41_zps67d2cb50.jpg

Current  photo P02-09-14_23-08_zpsc0203be4.jpg

I have the head ALMOST completely torn down to components(need to go buy chuck wedges to start the more delicate quill disassembly). The upper pulley bearing (the pulley on this press is FULLY independent of the quill, rides on a hollow shaft on TWO ball bearings) is stuck in the head good due to dried up oil, the whole mess should slide out the top pretty easy. I think I might have to trash the upper bearing(just a Norma) and drive the lower(APPEARS TO BE A REAL SKF) out complete with the shaft by beating the shaft through the upper bearing and dropping it through the head casting. The bearings feel a bit rough anyhow(and the upper has been drowned in WD40 for months), the lower is grease fed so its likely the good one of the pair.

Dusterbd13
Dusterbd13 Dork
2/11/14 12:44 p.m.

im currently looking for a dometop delta for my shop to go next to my 58 dewalt radial arm, 37 craftsman lathe, 66 rockwell chop saw, and 50's era makita sawzall.

i LOVE old tools. cant buy stuff that good anymore.

may need to start my own old tool thread.....

Kenny_McCormic
Kenny_McCormic UberDork
2/11/14 7:02 p.m.

After the bright idea of flipping the head over and supporting it on blocks, I was able to beat the pulley shaft and bearings out. Both are bad, upper is rough feeling and lower feels a touch rough, but closer inspection indicates the bearing skidded(ring of little hot spots on the shield/seal).

Interesting design flaw, presumably due to supply chain issues of the time, the lower bearing has a grease cup dumping grease on top of the bearing, but the lower bearing is a 6204 RS(sealed, BOTH SIDES). So old is has steel and felt seals, not rubber. I'd expect a design like this to have a single side shielded bearing with the shield down, so you know, that grease actually lubes the bearing. Upper is a shielded factory greased unit with an oil hole to it, another oddity. I'll likely replace both bearings with a modern sealed units and leave the grease cup on for appearance. Cost is some issue here, I refuse to use no name bearings here, and SKF and the like get costly fast when you get away from run of the mill stuff.

Kenny_McCormic
Kenny_McCormic UberDork
3/18/14 2:30 a.m.

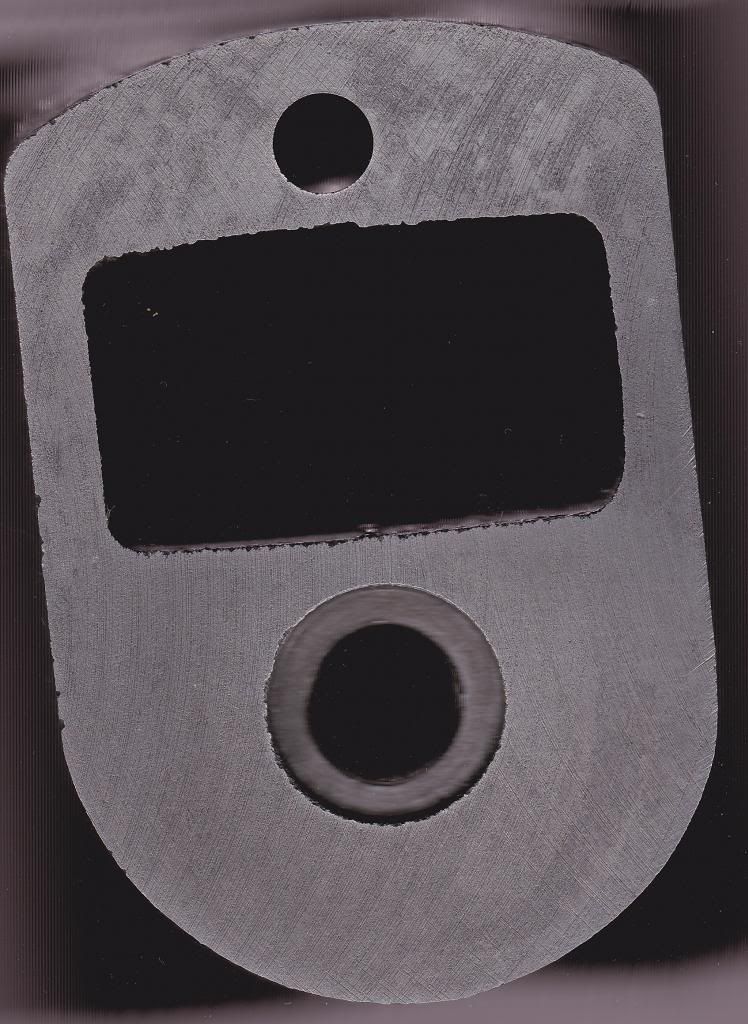
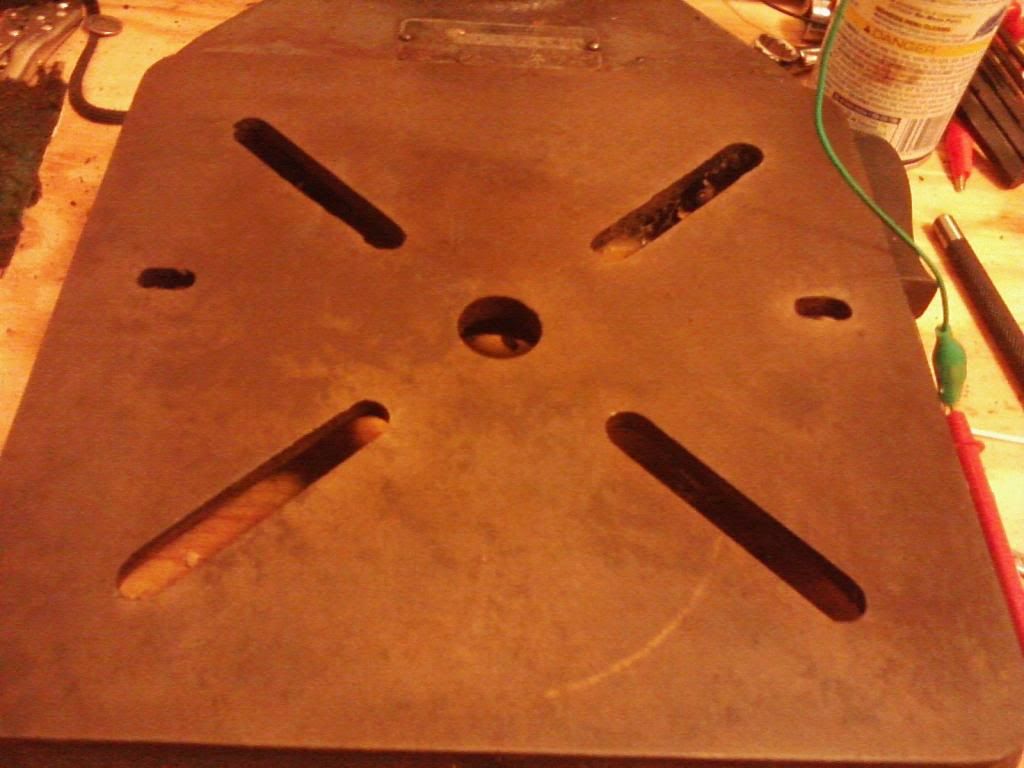
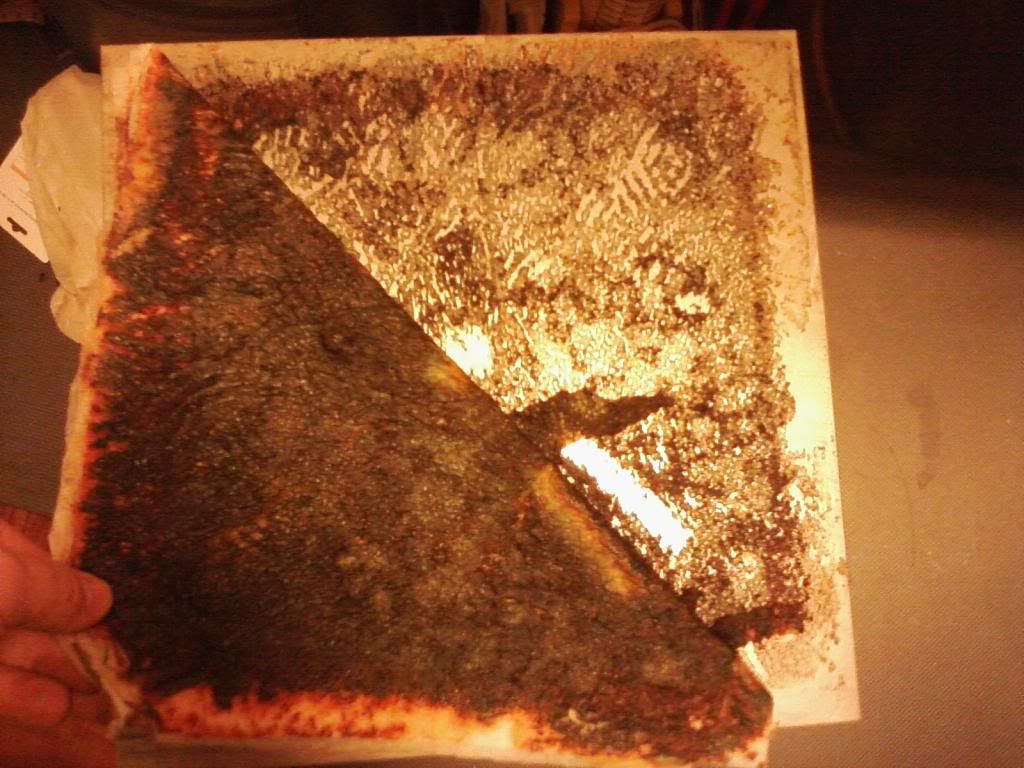
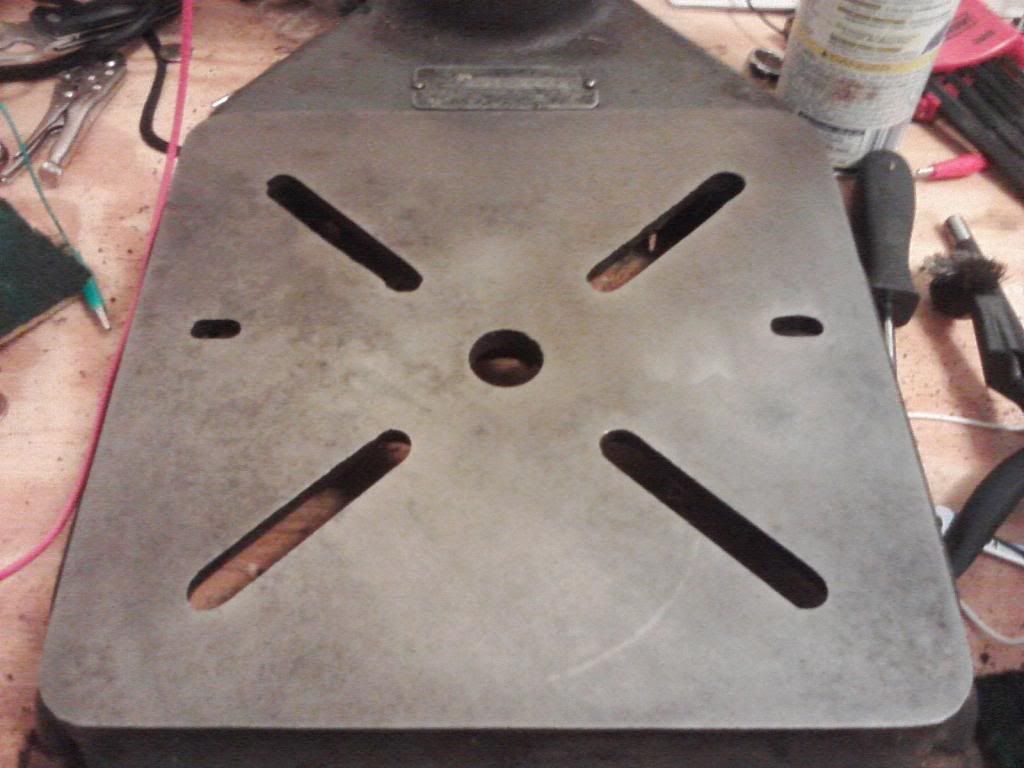
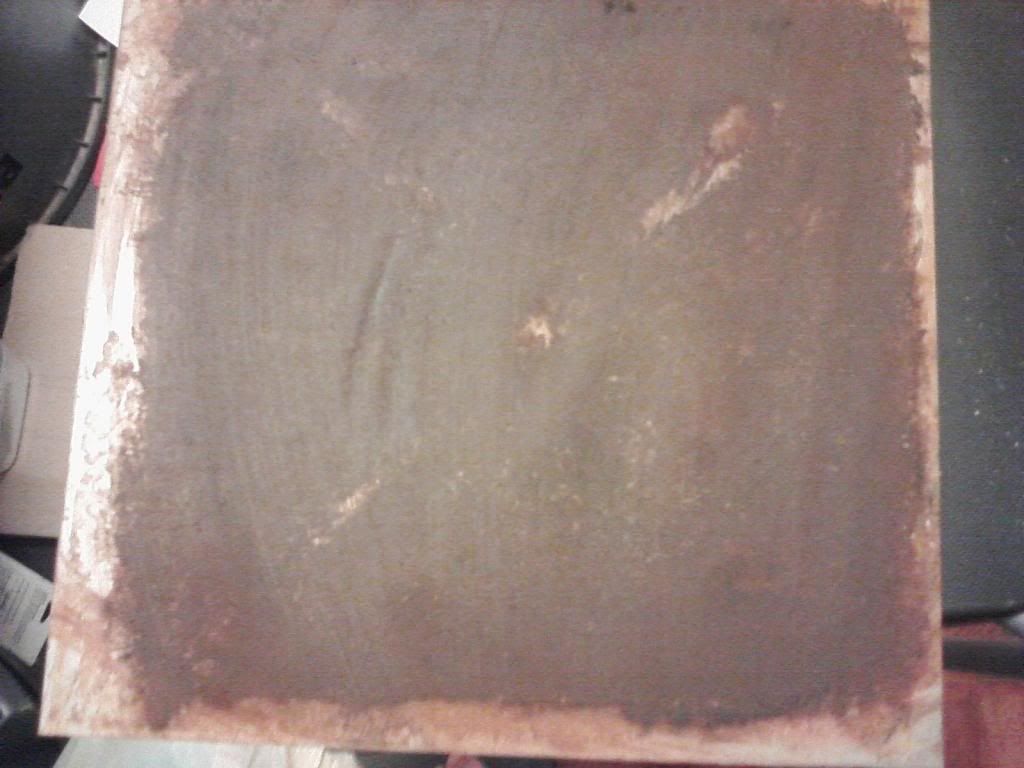
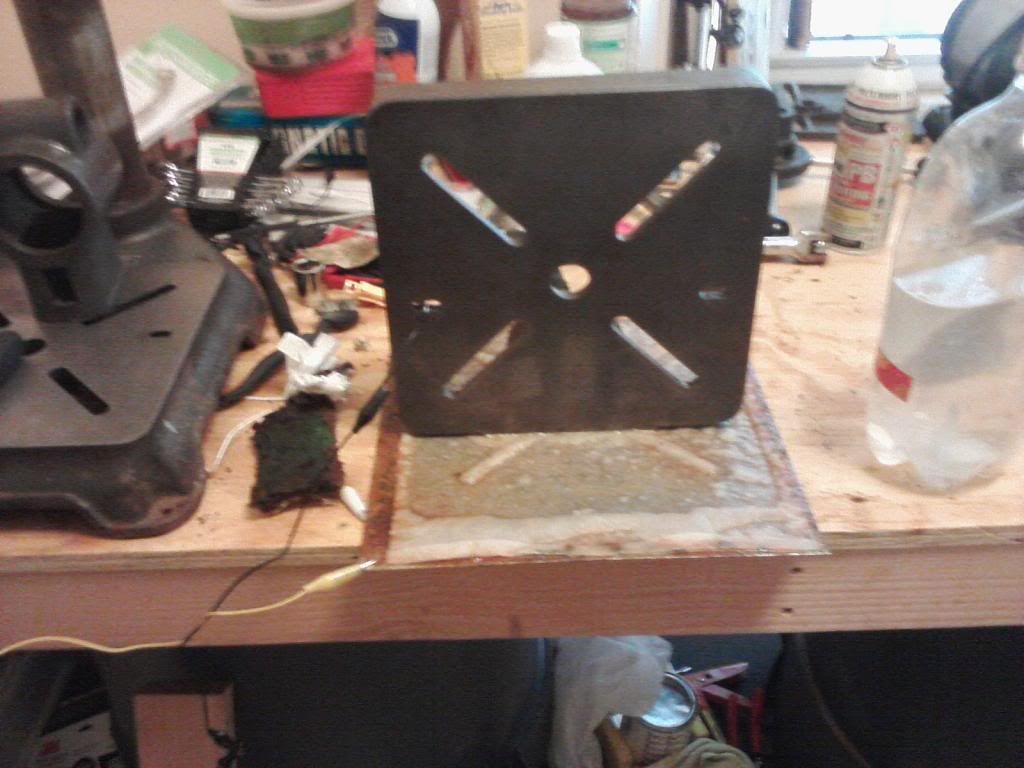
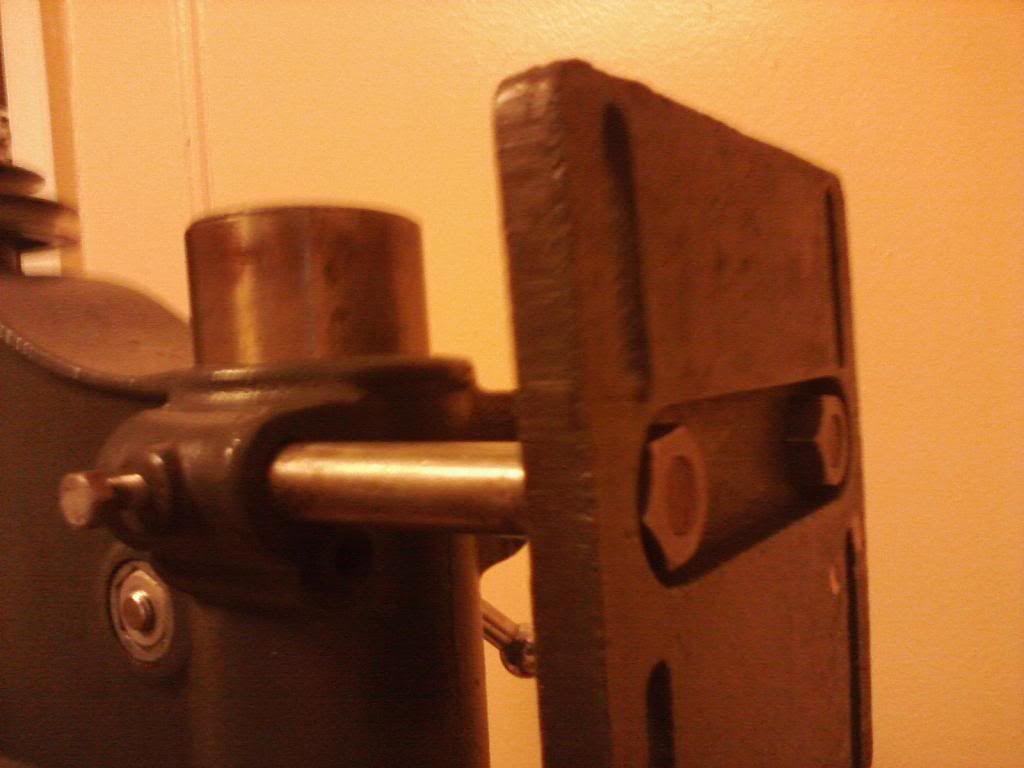
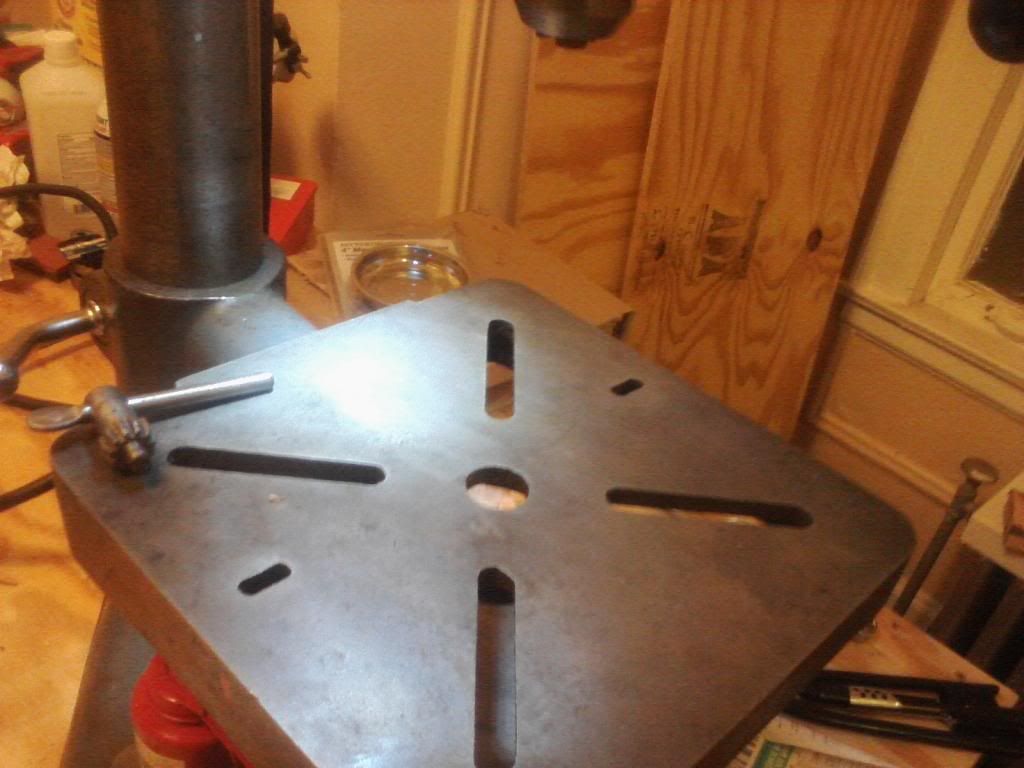
I've been working on desrusting the important big flat surfaces (tables, mating surfaces in the table tilt feature) with electrolysis, this is the mating surface of casting that clamps onto the column, to which the table itself is bolted to with big custom stud. Took 3 hours. I was so impressed at how effective my electrolysis rig was I put it on the scanner at max res to really show how it digs all the rust out of the pitting, but does zero harm to what metal remains, note how sharp the tool marks and casting imperfections around the edges still are. More pictures later.

RossD
RossD PowerDork
3/18/14 7:36 a.m.

Cool stuff man!

Kenny_McCormic
Kenny_McCormic UberDork
3/21/14 7:11 p.m.

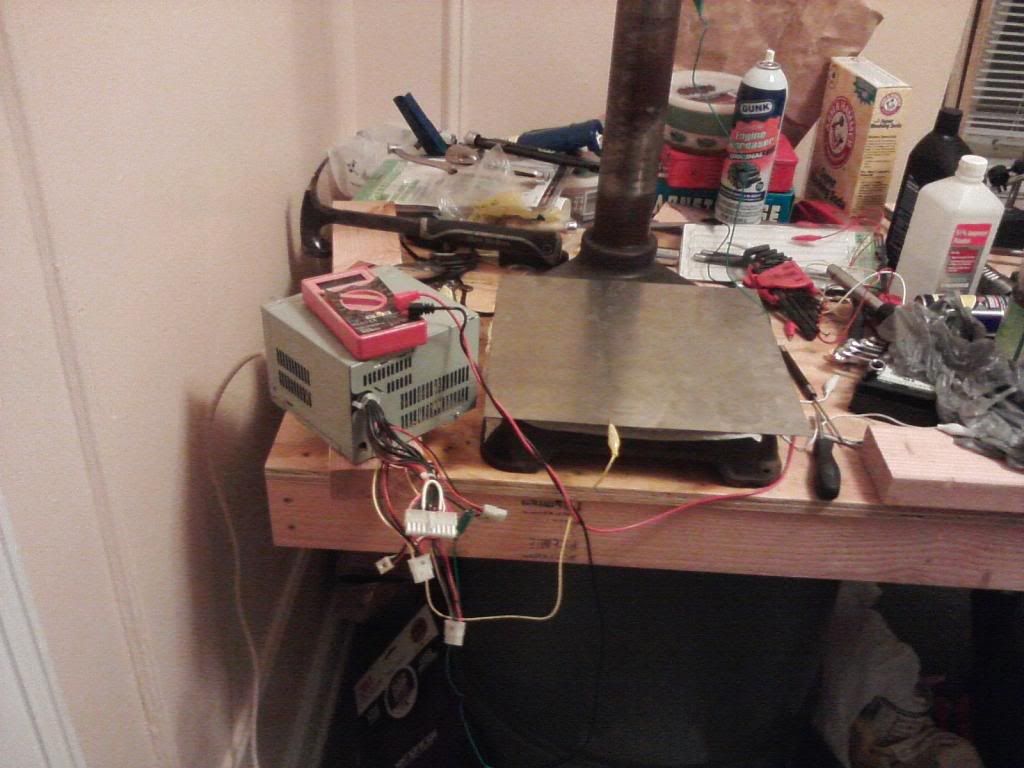
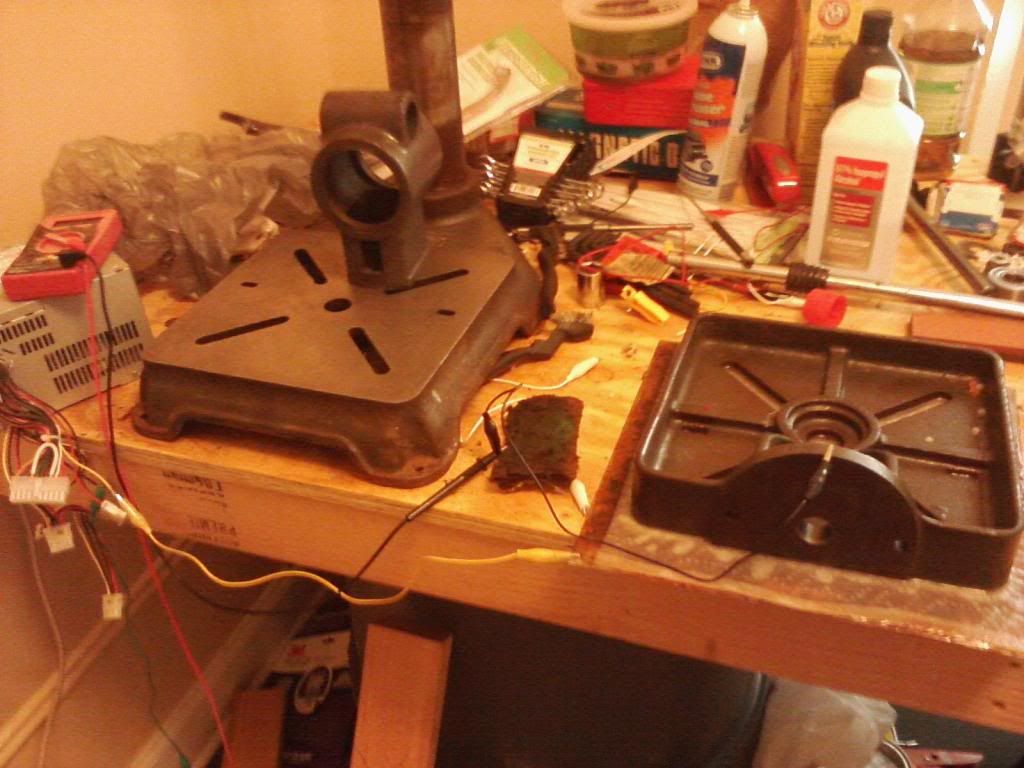
The electrolysis setup on the bottom table, thats a piece of 20 gauge sheet mild steel(DO NOT USE STAINLESS!!!), under it are a couple layers of paper towels soaked in water with 2 tablespoons/gallon washing soda dissolved in. Positive goes to the plate, negative goes to the part being derusted.

Note the HF multimeter being used as an amp meter, this is important, the starting load is relatively high (8+amps) the first few seconds till gas bubbles start forming and reduce efficency, and will trip the ATX PSU overload if you hook it up directly, the HF meter has such crappy leads however, they soak up the overload and get warm.  photo P03-17-14_00-58_zps9f87f4ff.jpg

1 hour later, scrubbed with green kitchen scouring pad and WD40.  photo P03-17-14_01-23_zps05bb27cb.jpg

You can see the rust starting to migrate to the sacrificial electrode now.  photo P03-17-14_01-24_zpsae692726.jpg

3 hours, done  photo P03-17-14_18-10_zpsdd7485fa.jpg

 photo P03-17-14_18-112_zpsc43c33dd.jpg

Table and its tilt face get the same treatment.  photo P03-18-14_15-47_zps6c3fef57.jpg  photo P03-18-14_17-09_zpsb56e7da6.jpg

digdug18
digdug18 Dork
3/21/14 8:54 p.m.

Are you just applying a layer of oil to the de-rusted parts or going so far as to paint the side of the base? Have you checked out some of the builds over at garage journal. Some of the guys over there go a bit nutty on having the correct looking paint color.

Looks good though. I've got a Rockwell stand up drill coming to me from my parents house that was my great-grandfathers. It's about the same era as yours, but my grandfather completely rebuilt the motor in the 60's.

Kenny_McCormic
Kenny_McCormic UberDork
3/21/14 9:06 p.m.

I'm only derusting the critical surfaces, everything else gets cleaned up with a brass wire brush and W40, there's too much original "battleship paint"(seriously, a wire brush struggles to scratch this stuff) left on this thing for me to strip it in good conscience. The paint cleans up surprisingly well, I dont think I've really documented that. This isn't a restoration so much as a thorough cleaning to bring it back into service.

Kenny_McCormic
Kenny_McCormic UberDork
3/21/14 11:13 p.m.

Assembly went quick, and I was excited to have it running, so there aren't many pictures.

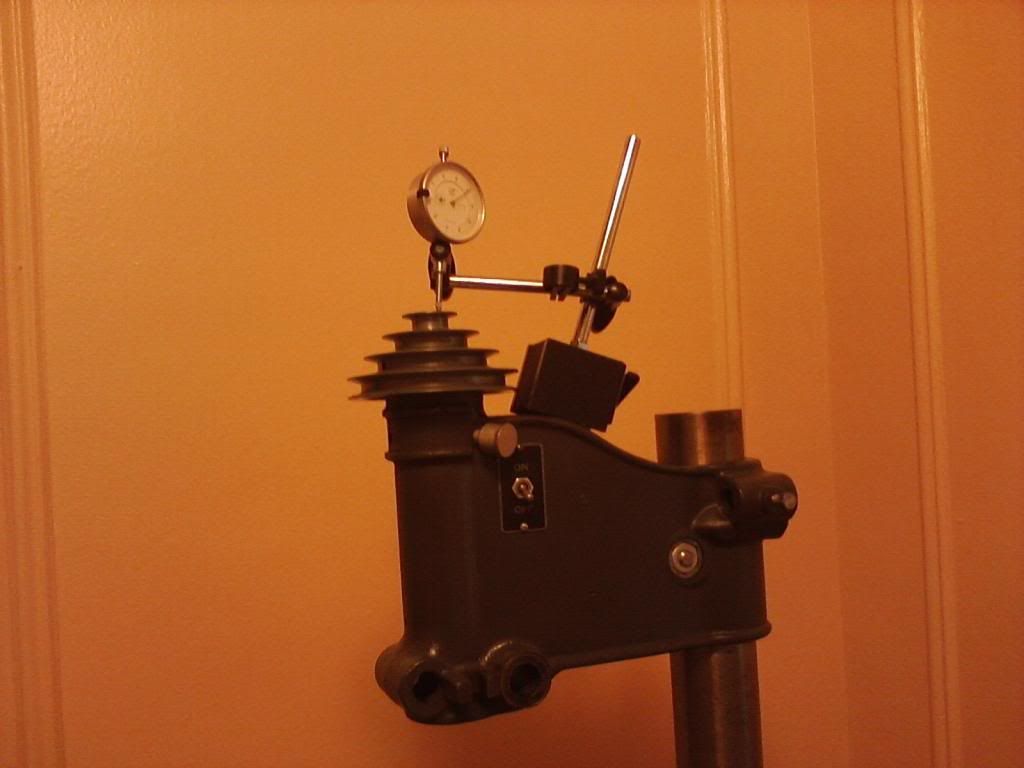
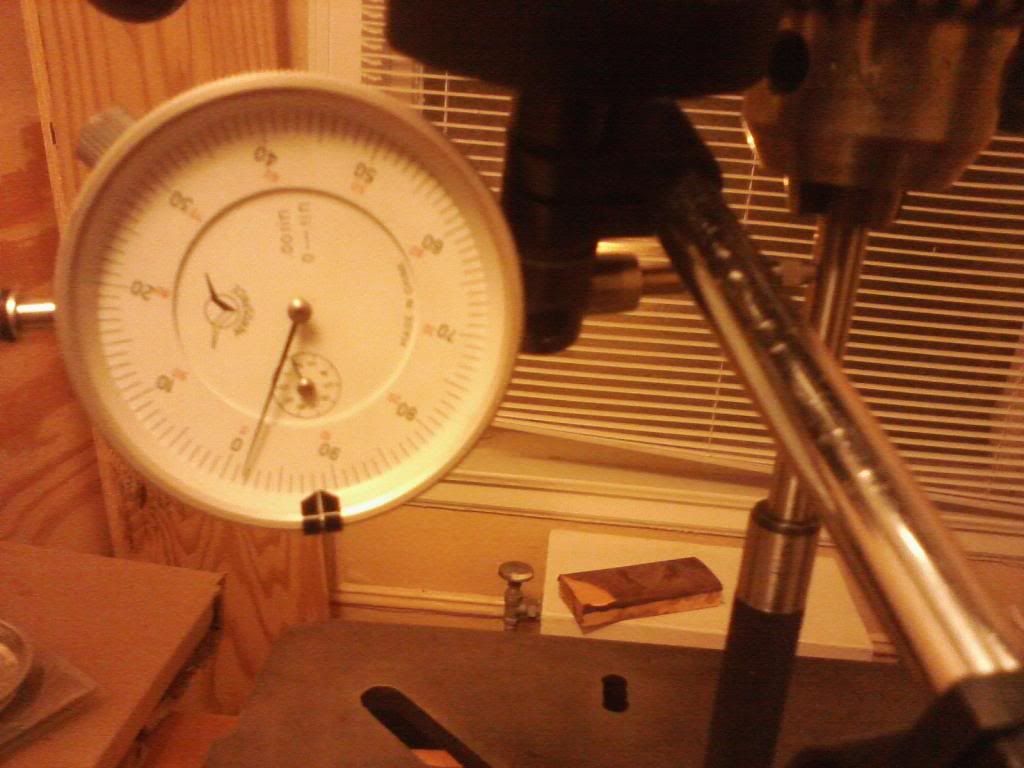
First the had goes on the column, then the driven pulley goes on the already installed pulley shaft which I have fitted with new, sealed, SKF bearings. Indicator is used to double check nothing got tweaked pressing on the bearings and the pulley is on square.  photo P03-19-14_16-07_zps35568be4.jpg

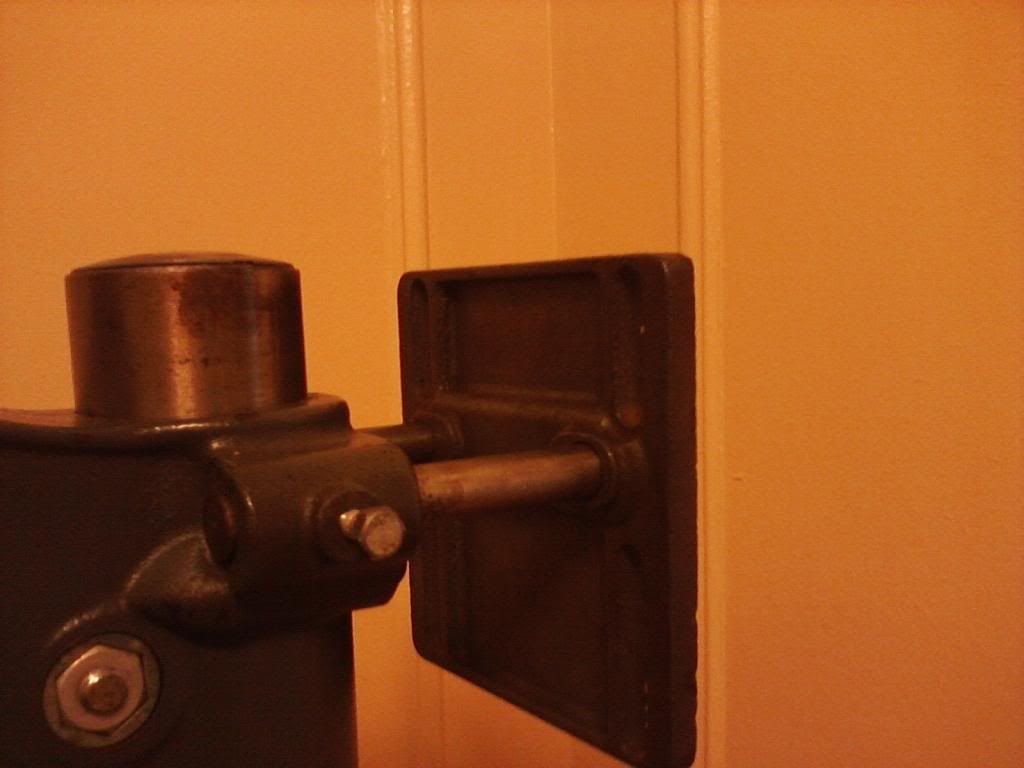
Next the motor plate is assembled and installed, getting the pegs tight took some thought(they don't key into the plate, just spin when you try to tighten). I ended up making a ghetto impact wrench by putting my ugly found in junkyard breaker bar on the nut and then hitting the bar with a hammer while I held the peg in the other hand.  photo P03-19-14_16-31_zps44cfd1ee.jpg

 photo P03-19-14_16-311_zps9bbe0ad1.jpg

Then I hung the motor and halfass lined it up, threw the original belt on it and hit the switch just for fun. The belt is kinds warped and twisted, so it will need to be replaced, but works ok at lower speeds for now.  photo P03-19-14_18-40_zpse050e099.jpg

Then the spindle, pinion shaft, tensioner, handle, spindle guard and chuck were installed, lubricated as needed, in that order. Several squirts of ATF went into the spindle bearings to ensure they had plenty of fresh oil available(I decided not to take the spindle apart), and I drilled a hole in the first thing I saw.  photo P03-19-14_21-19_zps42a0adb3.jpg

I considered clocking the chuck(lining up the concentricity errors of the chuck and spindle 180* from eachother to minimize runout), which I had fully disassembled, cleaned, and regreased, but as installed, I only have about 0.0017" of runout, indicating off a HF pin punch, so good enough.  photo P03-19-14_22-41_zpsb00e7031.jpg

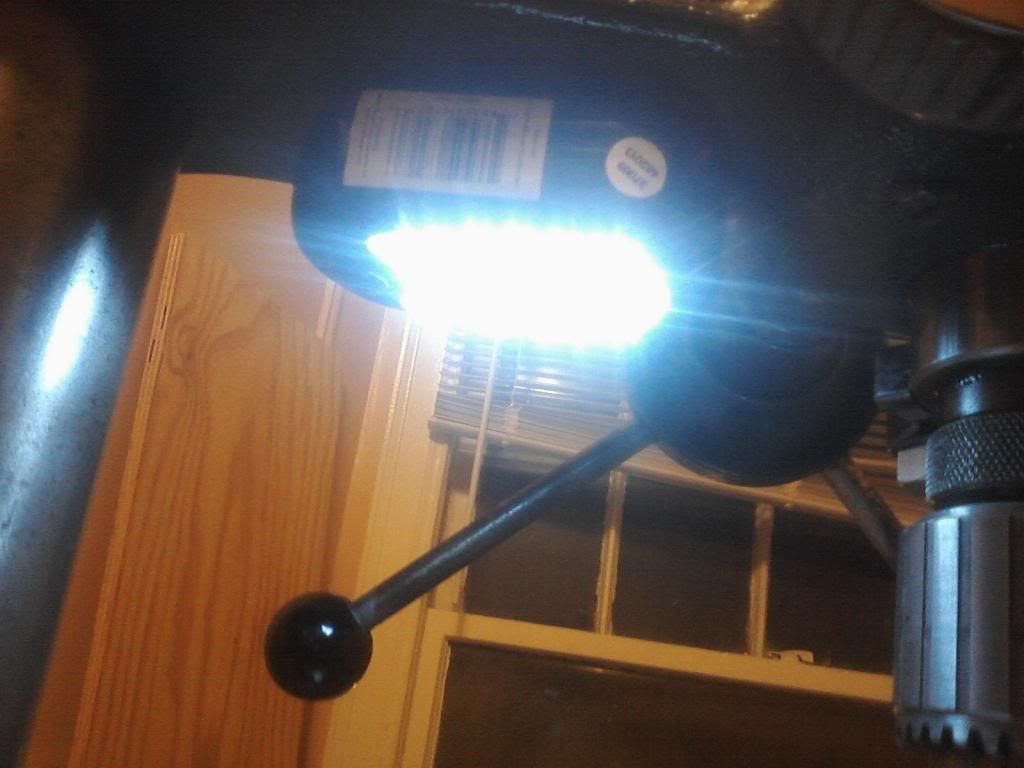
A handy (and free) light has been added.  photo P03-19-14_21-441_zpsb953315b.jpg  photo P03-19-14_21-44_zps94c4d1b7.jpg

Kenny_McCormic
Kenny_McCormic UberDork
3/22/14 3:22 a.m.

Still to do.

  1. Bolt to table.
  2. Ground it.
  3. Mount start capacitor.
  4. Fix quill lock(missing bolt).
1 2

You'll need to log in to post.

Our Preferred Partners
LgENGzc5r38XpyE7vUrM73Gy8c3ILHYL0sgSz7iuYyoZbV30g5C2i6v7ZmXzMpew