olso3904 said:In reply to irish44j :
That's a good idea, I'm trying to do a rough layout of the cage and was looking at the best way to mount the main hoop. Looks like most people put a hole in the floor just in front on the crossmember and run a spreader across the floor to the crossmember and door frame. I like the box idea, but does it give you enough room to drop the cage down far enough to weld the top seams?
Also is it easier to run a halo bar or separate side bars with a windshield bar, or do tech inspectors have a preference?
yeah, it allows you to get low enough to do the top welds assuming the box has several inches of height.. Plinth boxes are really the "industry standard" for good cages - both because using them doesn't structurally weaken the floor and that they are simply much, much stronger than mounting to floor plates thanks to being tied in on mutliple planes and sides to the chassis. I've seen too many pictures of rolled rally/track cars where the feet of the main hoop get punched through the floor, even with plates properly installed. Floors simply aren't that strong unless you bolt directly to a frame member or something - which usually aren't present out near the rockers that far back on a car.
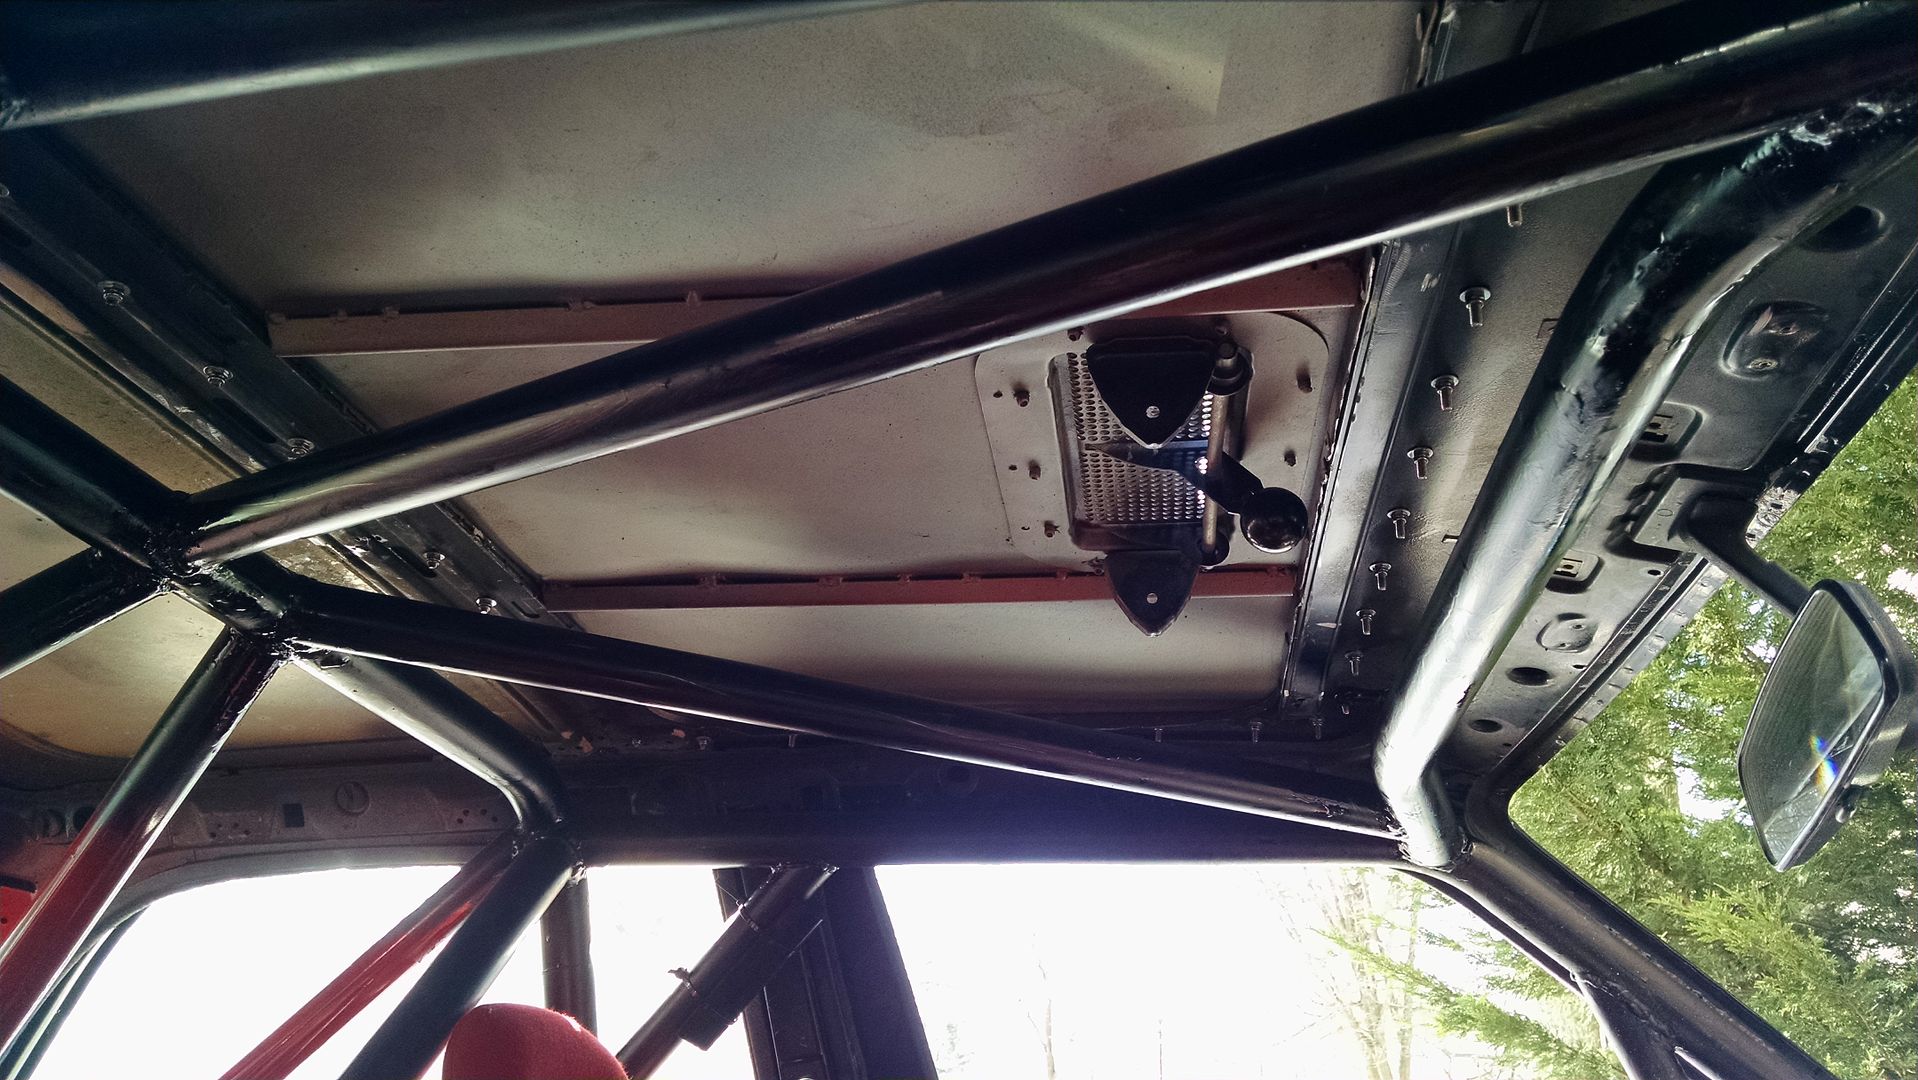
Most cars I've seen at rally run side bars with a windshield bar (including mine). You can get the a-pillar bars tighter to the pillar with this method. Mine are pretty much touching the a-pillars (and have connector plates as well). With a halo car, since there's a bend there, it's sometimes harder to get the a-pillar bar tucked in tight. I don't know that tech inspectors care one way or the other, as long as its all within spec in terms of distances from corners (read the rules closely on this, I had to re-do my roof bars because they were 20mm off at the front ends).
Also: not required, but highly recommend two optional additions to the cage:
1) dash bar (not only makes everything way stronger in a side impact, but also a great place to mount rally electronics and stuff if you cut out the passenger side of the dash like we did (see my thread for pics).
2) extension forward into the footwell. I still need to add this to mine but I think it's pretty important for protection in rally, and it also adds structural support to the cowl and firewall area.
Another note is the rear downbar arrangement. It's totally dependent on how your roof bars are (there are three options - X, V, and upside-down V). On ours we have the roof bars reverse of the diagram above (i.e. it gets wider going forward). This provides better support for the front of the A-pillar curve, which takes the brunt of the impact in most rally-style wrecks.If you do that, the rear down-bars have to be different, in a "double-V" arrangement. The only downside to this is it kind of limits you to a single center air vent rather than twins, but we've never felt that we needed a second one anyhow.
note: in the pic below....if I was doing it over again, I'd probably flip the windshield bar the opposite direction. We did it this way with the thought of keeping sun visors, but that didn't work out anyhow (and black vinyl works better anyhow!). You definitely learn some lessons when you build the cage, and will end up with a couple regrets no matter what you do :)

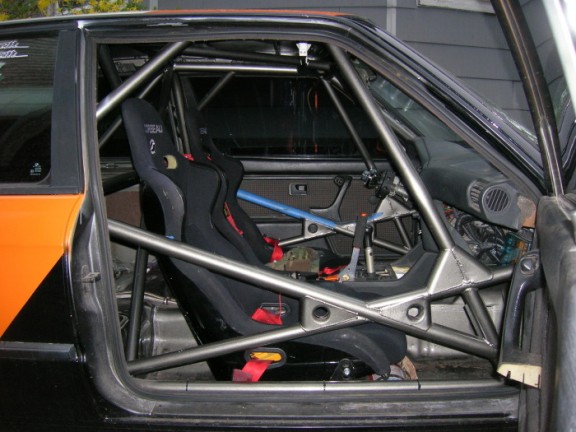
We also used an X-bar on the doors, which are stronger and make better accessibility getting in and out than teh straight bar. Keep in mind a door sill bar is also required. Keep the door bars as low as you can within the regulations. You get in and out of the car quite a bit in rally compared to road racing ;)
Ours are actually a bit lower than these in another e30 (can't find a pic of mine though)


