
I've been a bit of a clock freak for a while. I buy broken mechanical antique clocks and fix them. There are 30+ around the house that I've collected over the years. My wife complains it sounds like the house is going to explode if I wind more than two at a time.
This will be my first kit. It should be a challenge. Clocks are very finicky about alignment. If everything isn't just right it won't stay running.
The kit came from Amazon, but is made in Canada. It's all laser cut wood. Very clean so far. When it's all done it should look like this.
https://www.youtube.com/embed/IaCrrdtilbg
Some assembly required.
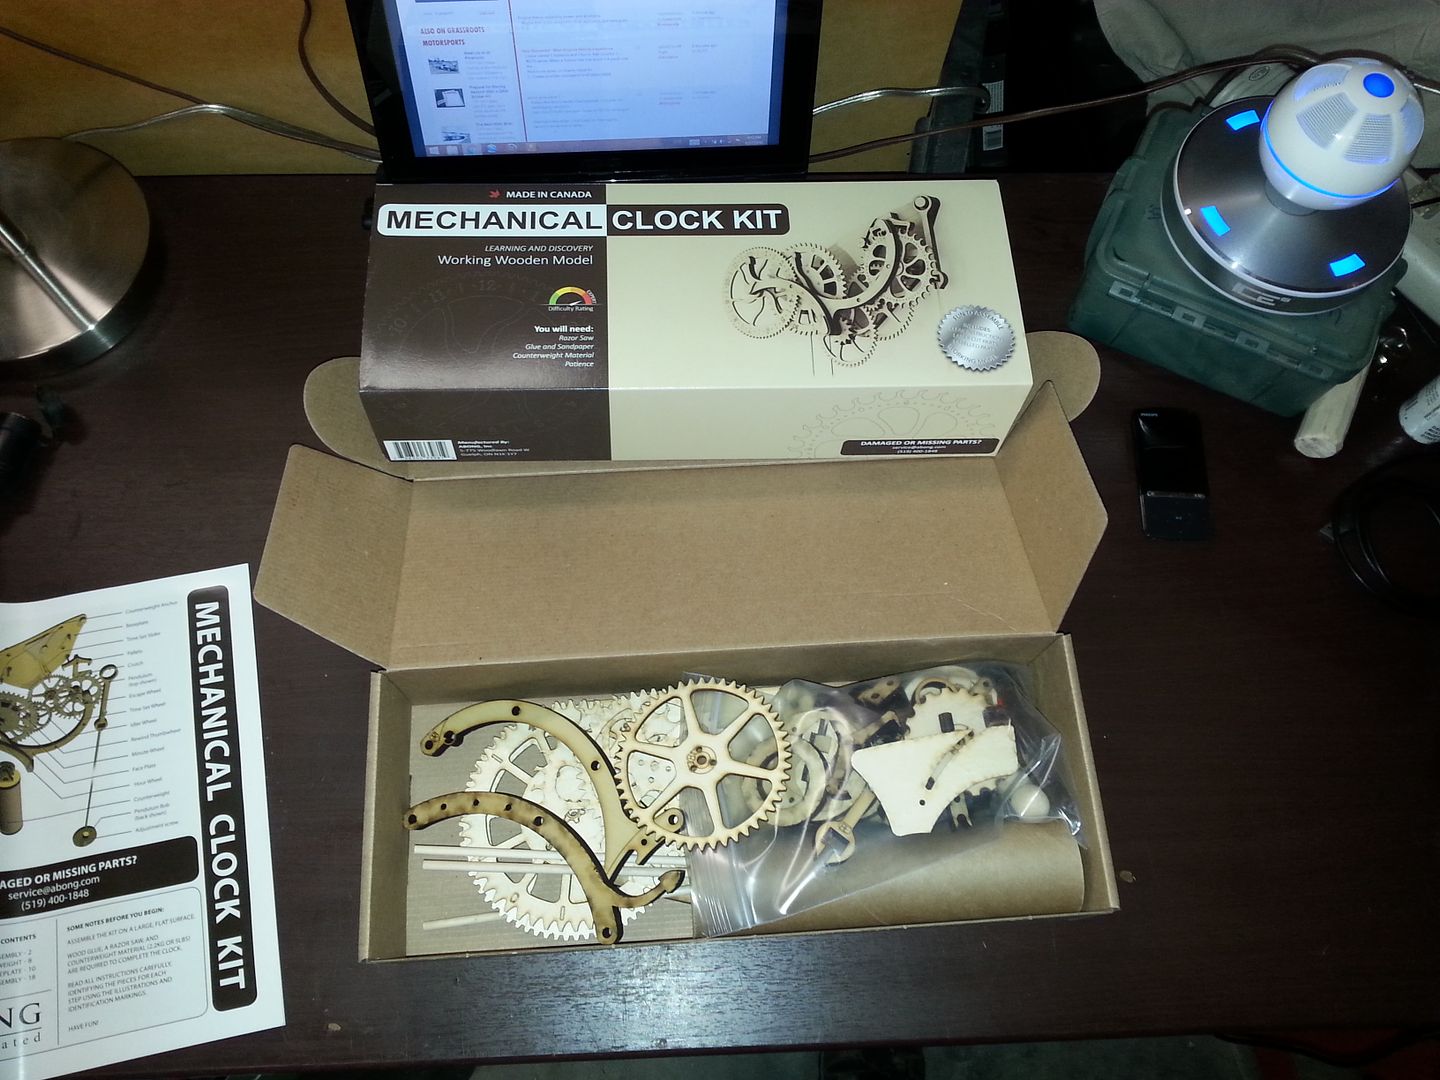
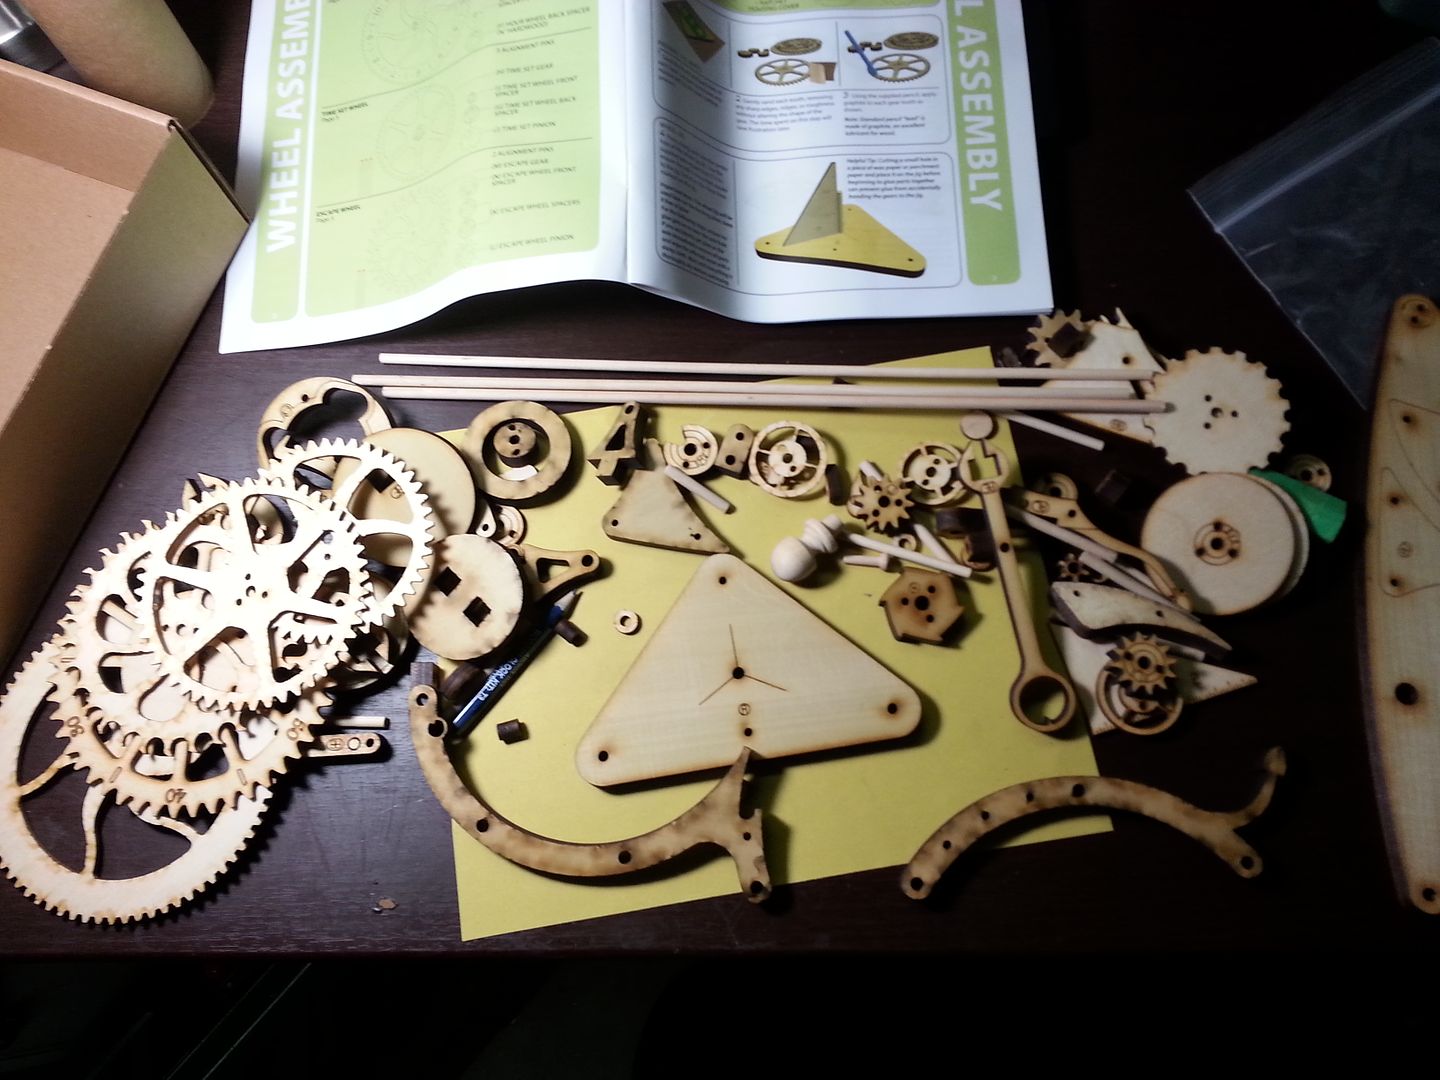
By far the hardest step so far was cleaning off my desk. 
So far I've sanded most of the parts and assembled the idler gear and pinion. The big center dowel is the axle, the 4 smaller dowels are alignment pins. The triangle piece is a jig for aligning the gears.
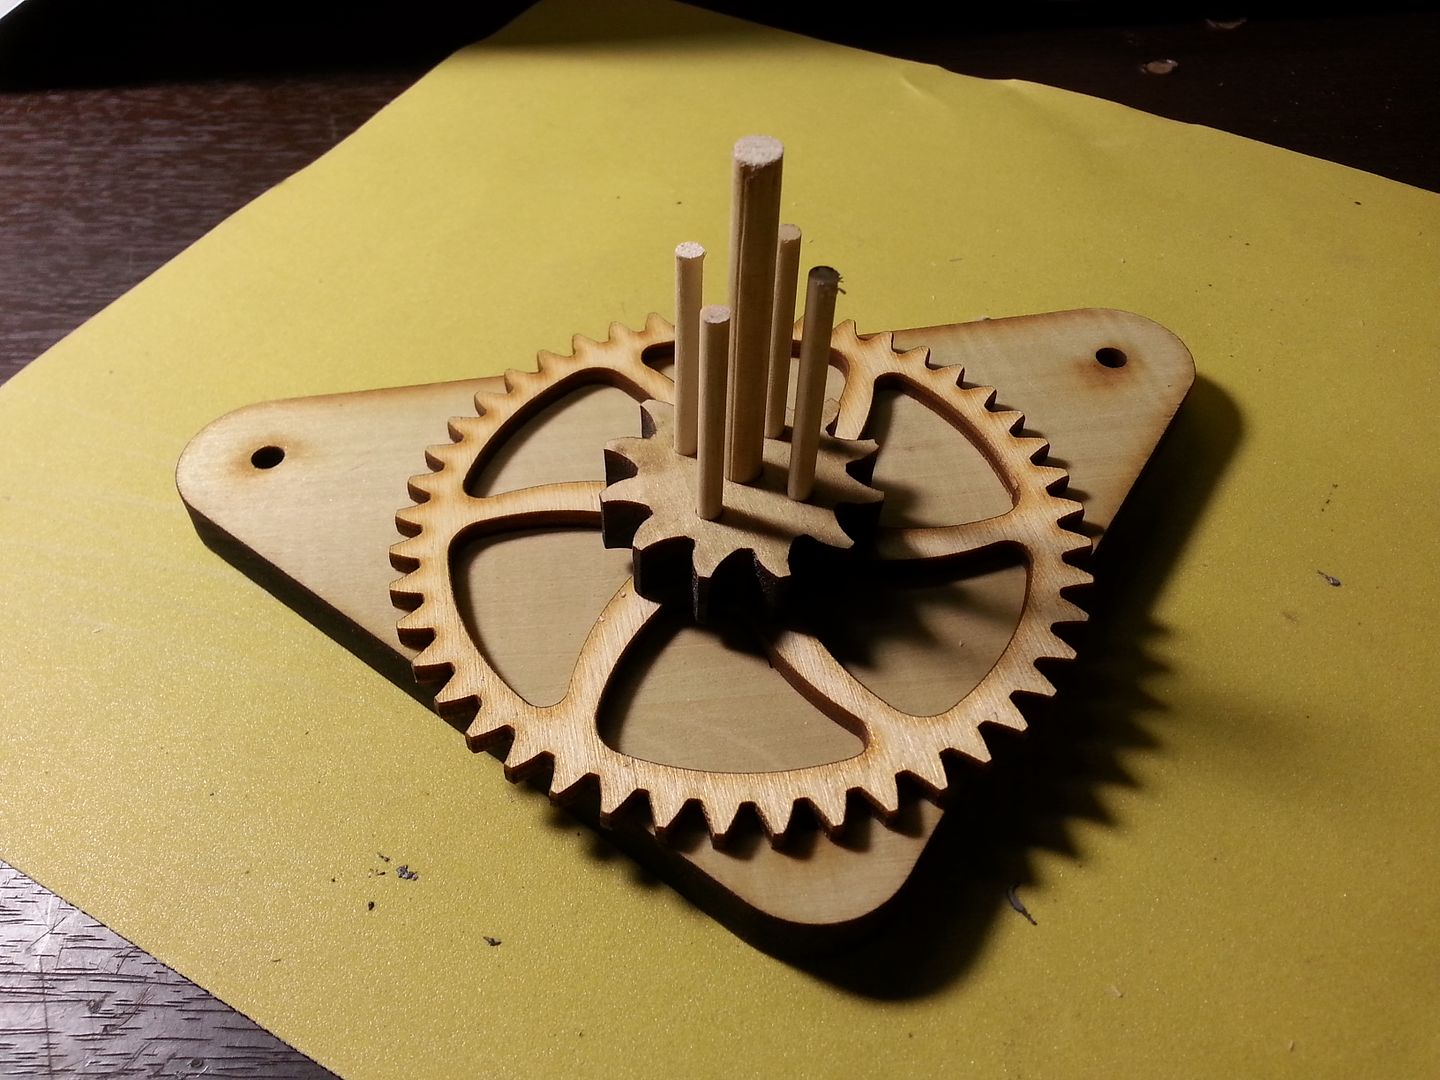
The glue is drying now.
That's it for today. We have several days worth of building an assembly and waiting for the glue to set.
More to come.
Very cool. I love exposed mechanical items.
Super awesome. If you are ever in Denver and want to talk to another guy who is into restoring old clocks, I know a guy. His basement will blow your mind.
Clock Geeks unite!
I have four mechanical clocks within arms reach here in my office right now. I saw your post on Instagram and was excited to see you've got a build thread. This is definitely relevant to my interests!

RossD
UltimaDork
4/28/16 11:55 a.m.
I'm in. I've wanted to build a clock for a while now.
A little more progress.
The idler gear is done.
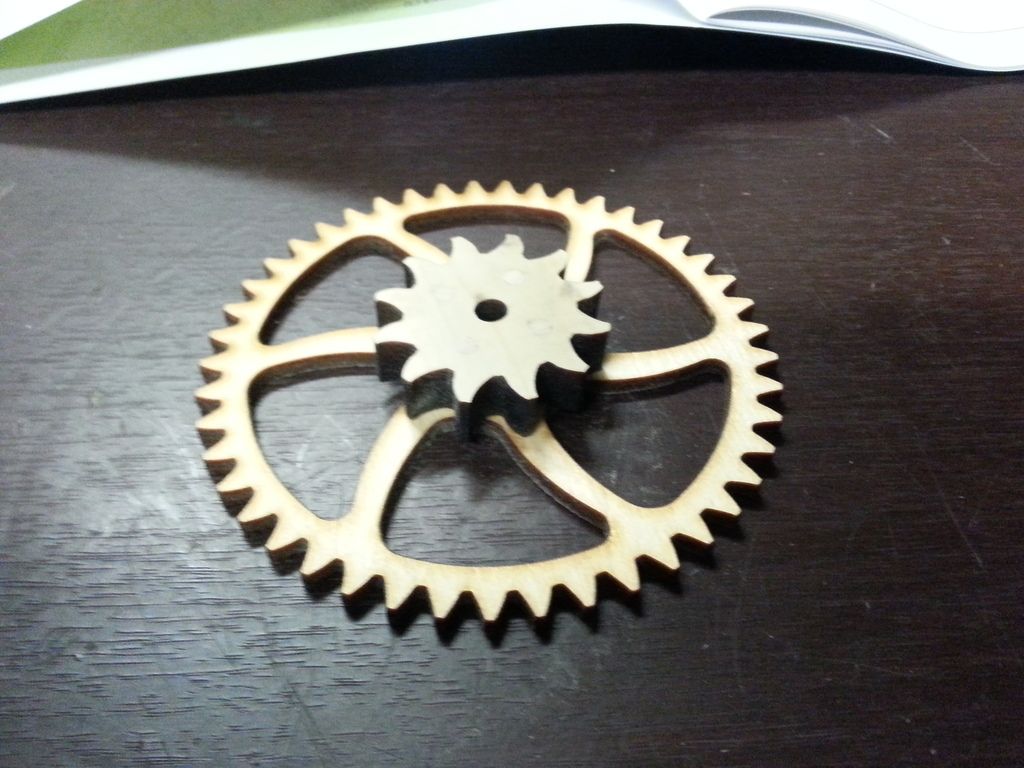
The hour gear is glued up and done as well.
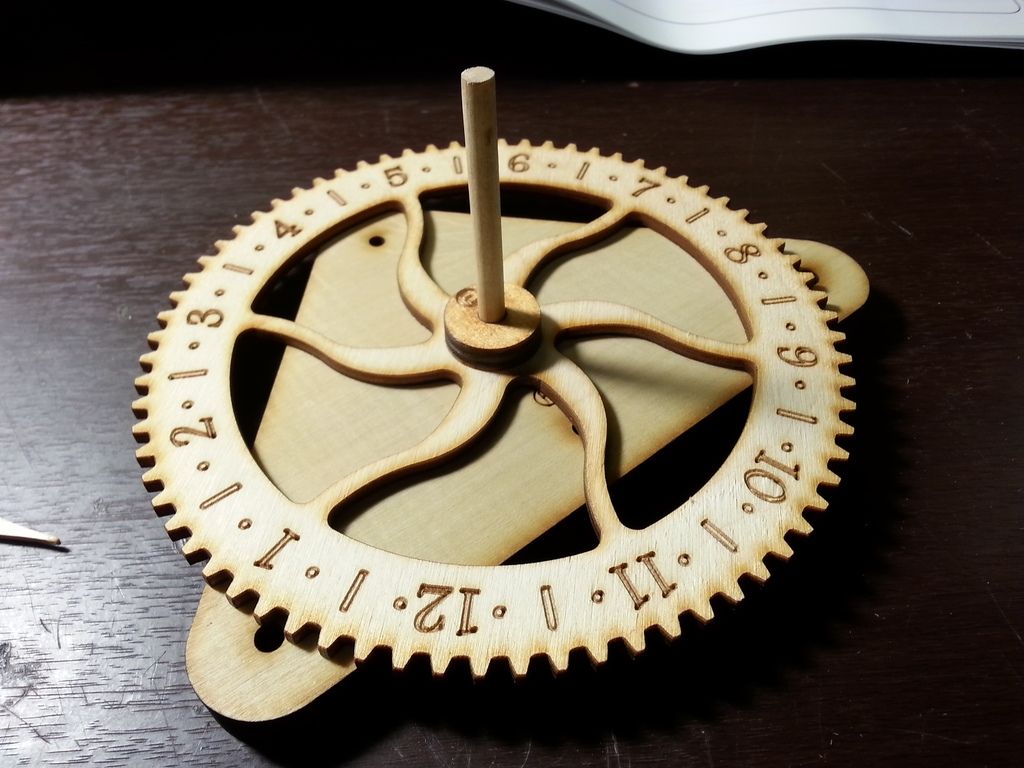
As is the time set gear.
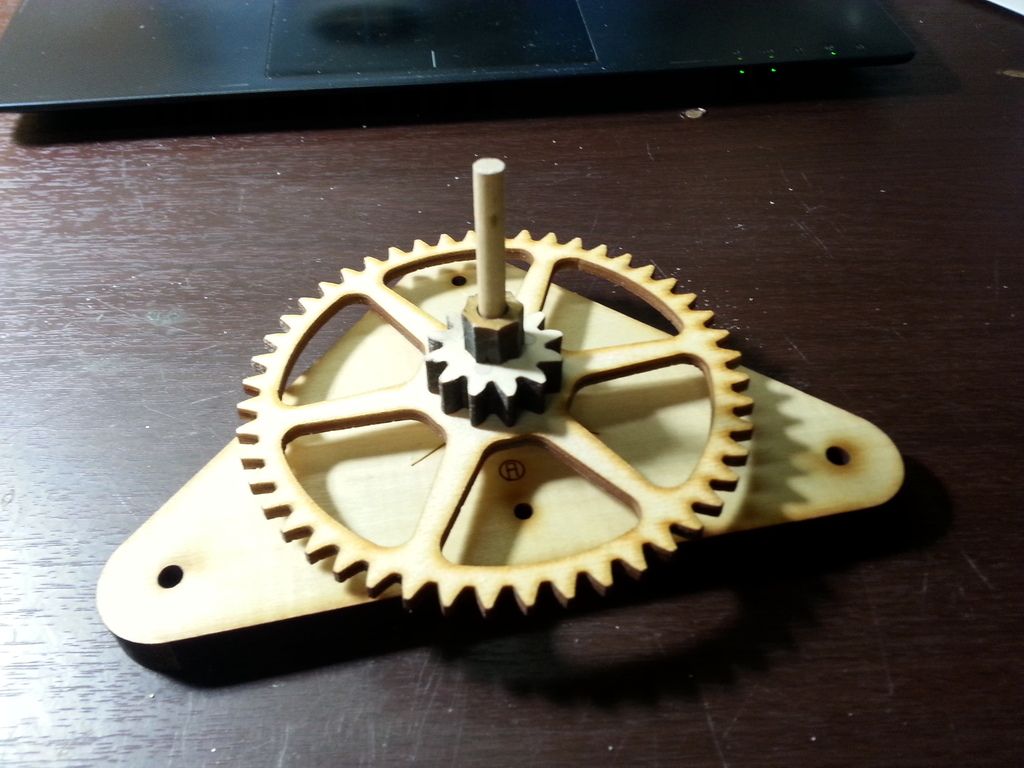
And escape wheel
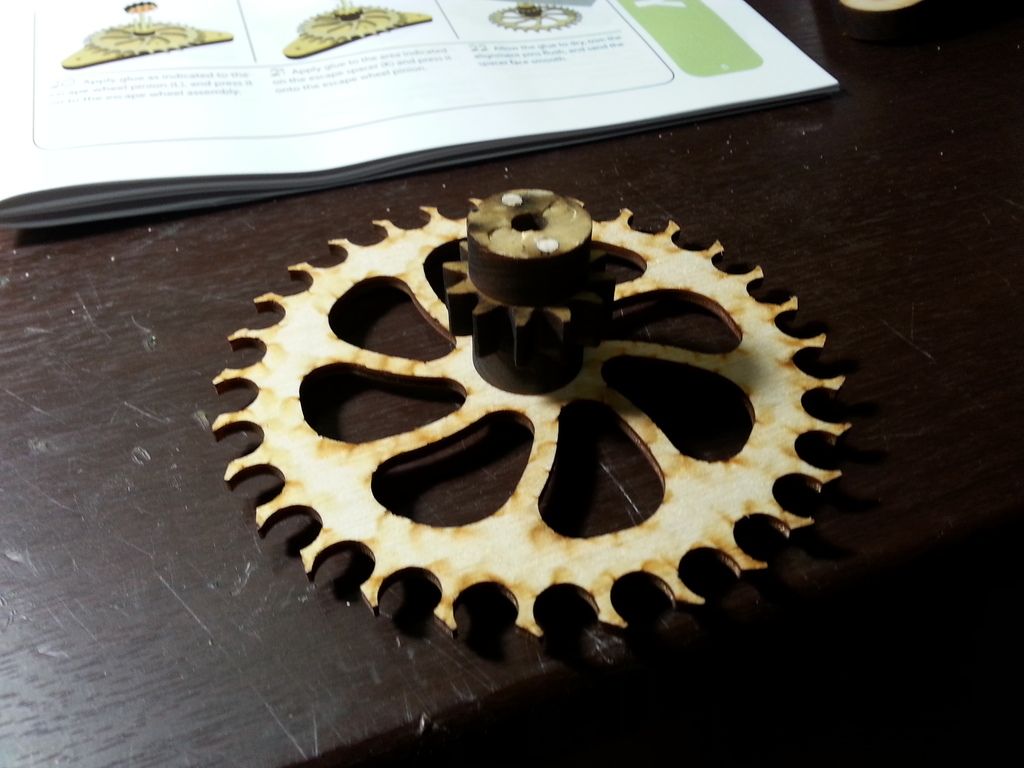
Just for an FYI. I'm using tiny amounts of glue, applied with a high tech applicator...made out of a tongue depressor.
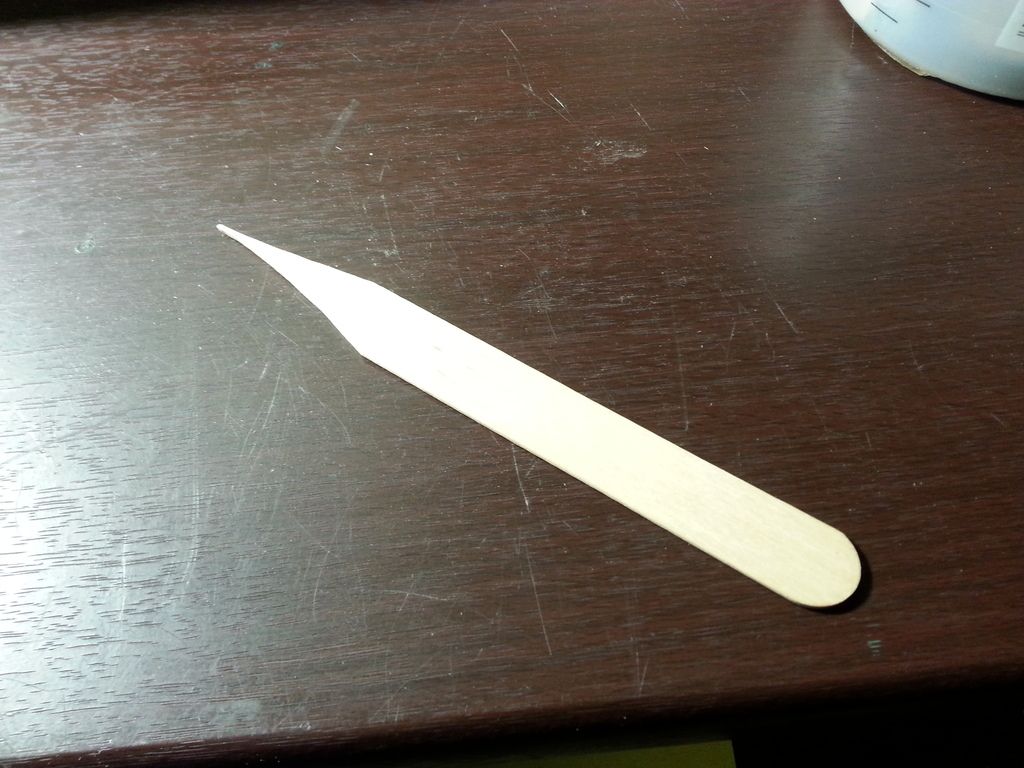
All these gear sets have to be glued up without gluing them to the jig or the assembly axle.
More to come.
I spent a little more time on the clock yesterday.
This is the minute wheel assembly. It also has the winding mechanism built into it. Kind of tricky gluing the parts that needed to be stuck and not gluing everything else.
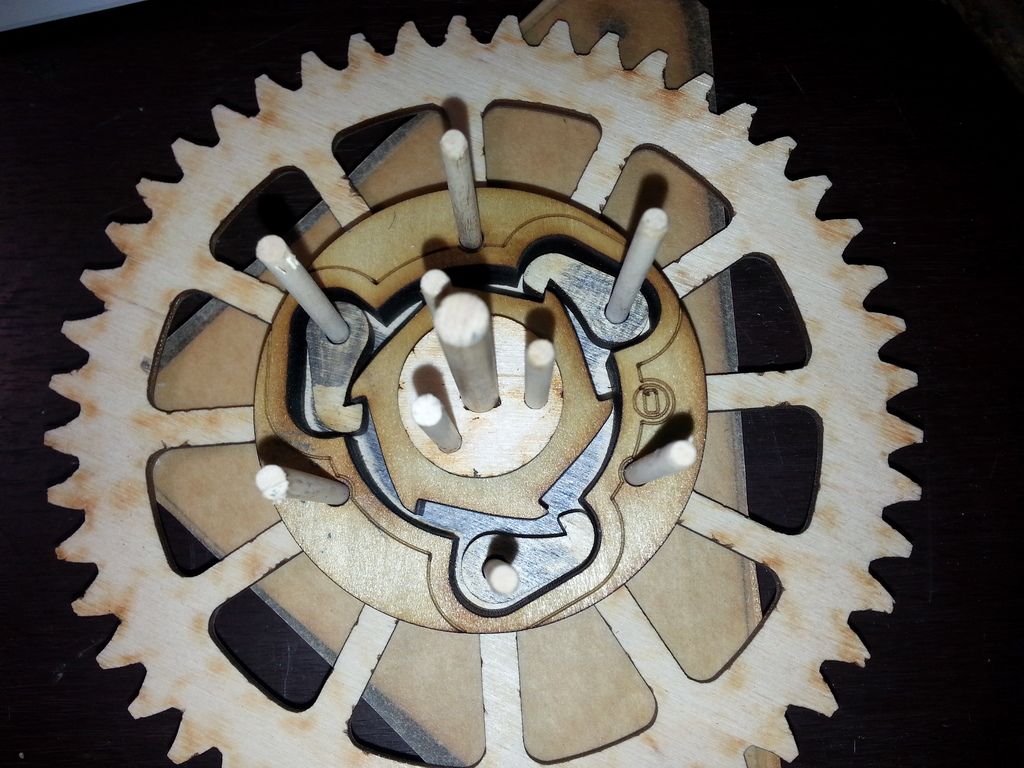
The gray lubricant is a regular #2 pencil that came with the kit.
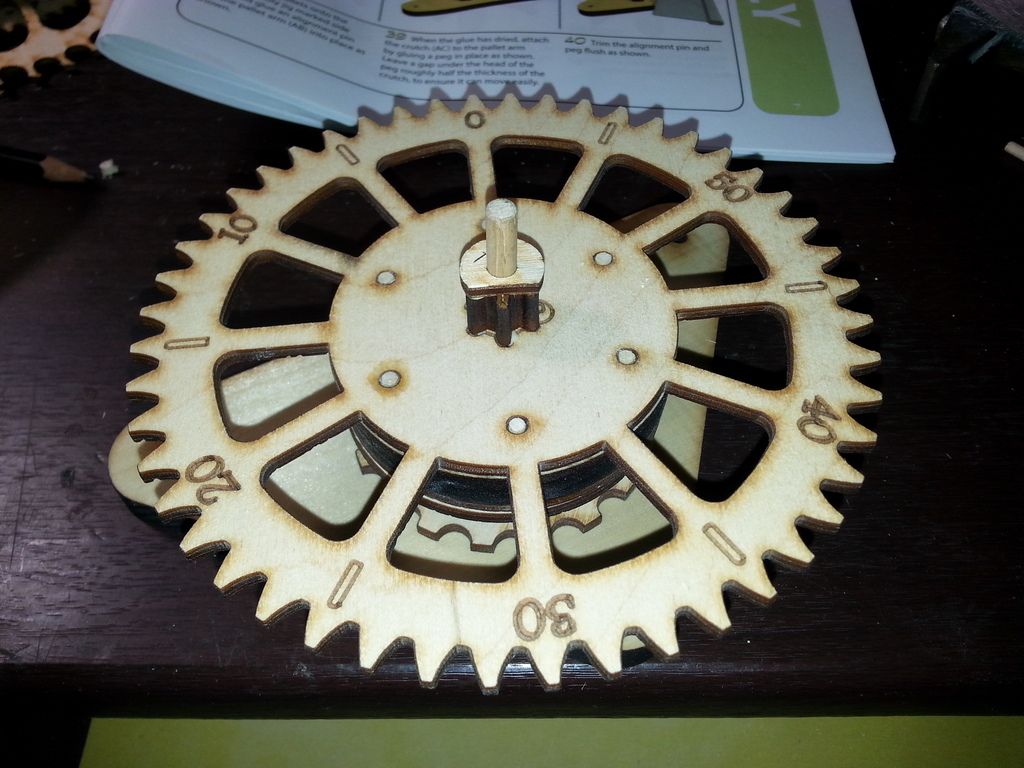
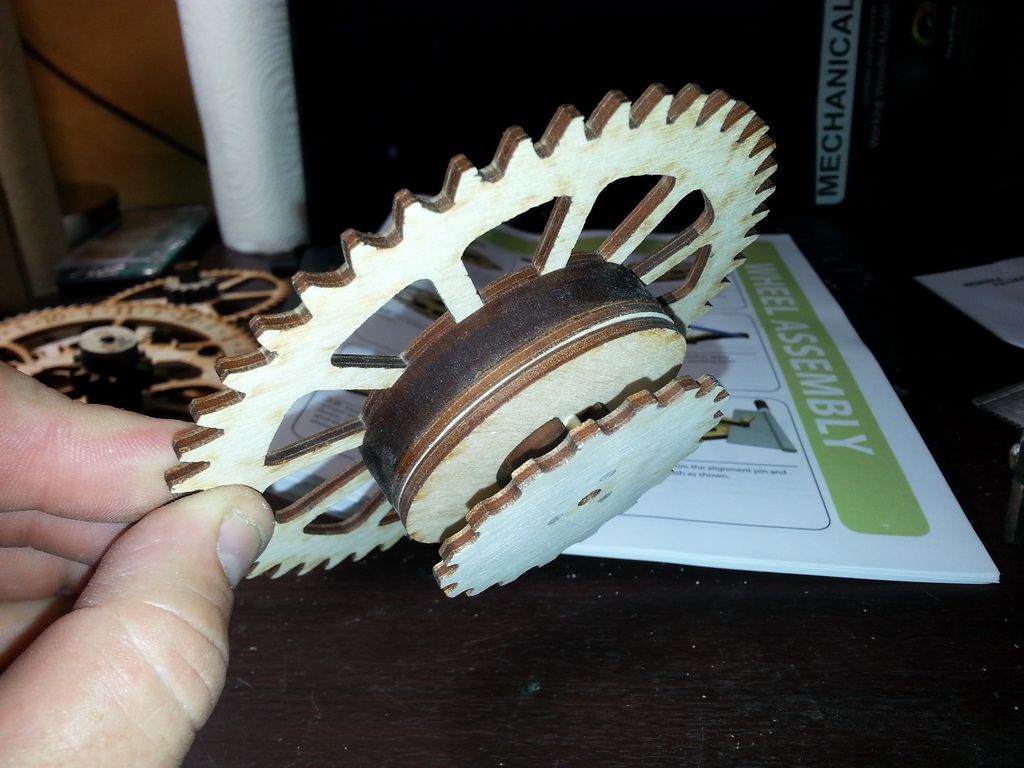
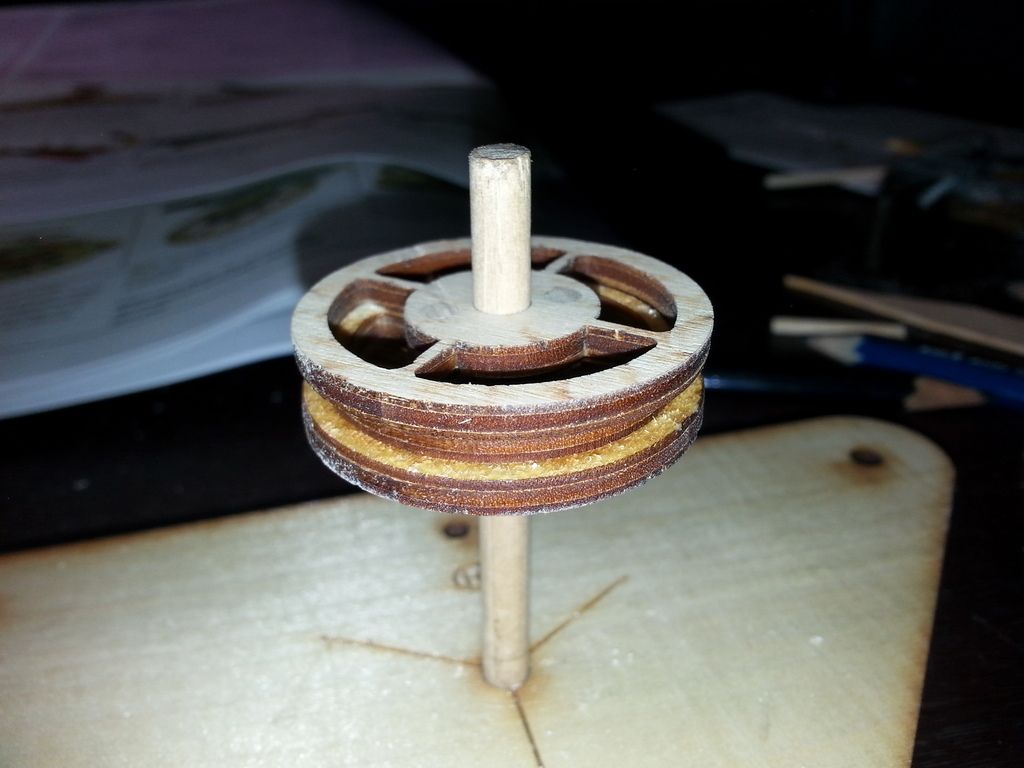
The escapement is also glued up, as is the weight pulley.
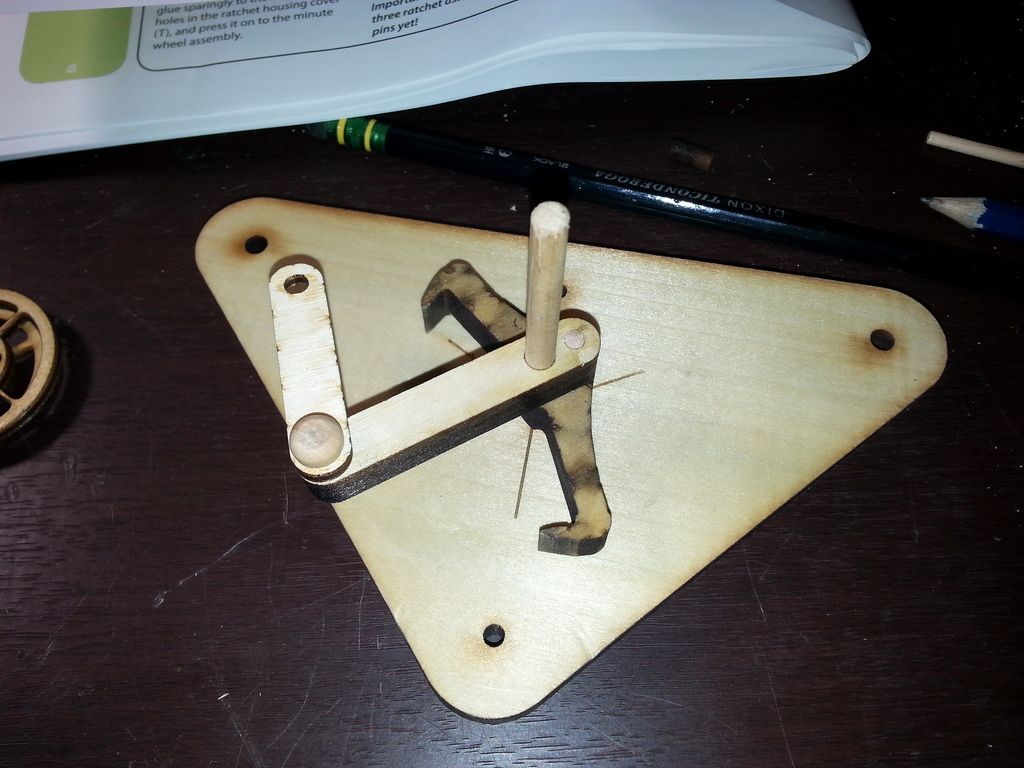
The assemblies are multiplying. It will be time to assemble the assemblies soon.
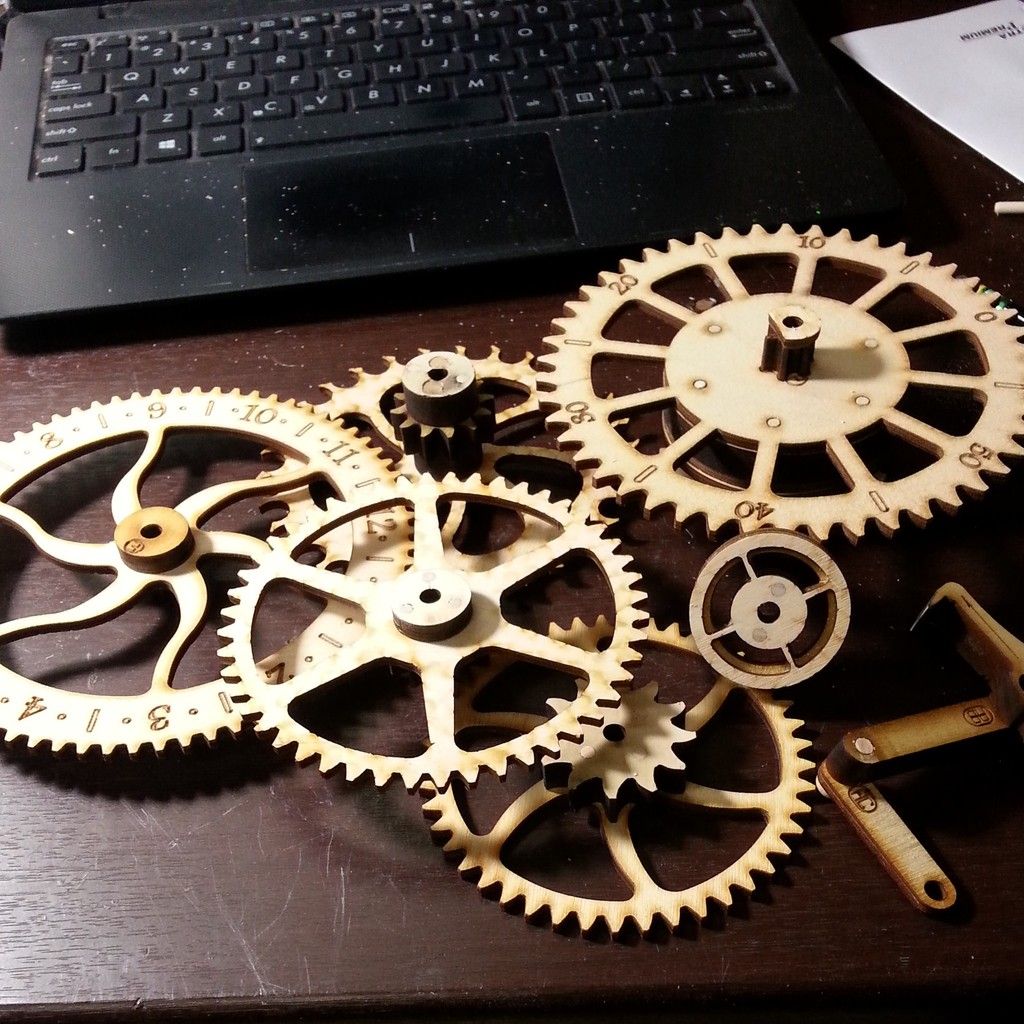
More to come.
nice job - I've never seen a kit like this.
My dad was given a grandfather clock kit for an anniversary gift and built it from scratch. My brother is now the care taker of the clock. I have many memories of that clock gonging late into the night as I tried to sleep.
Datsun310Guy wrote:
I have many memories of that clock gonging late into the night as I tried to sleep.
I would have destroyed....er sabatoged a gonging clock interrupting my sleep. 

Ian F
MegaDork
5/1/16 8:11 a.m.
Very cool. And tempting. I found this one online:
https://www.scientificsonline.com/product/mechanical-clock-kit
Same one?
Granted, I'd have to leave it off most of the time as the clicking would drive me nuts at night while I was trying to sleep.

I spent a couple of more hours on the clock today. I'm past the get a lot done in a little time stage. Now comes the tedious parts.
Right off the bat, I broke the top of the pendulum in 4 places. Not a good start, but I did manage to get it glued back together and it looks like it should work fine.
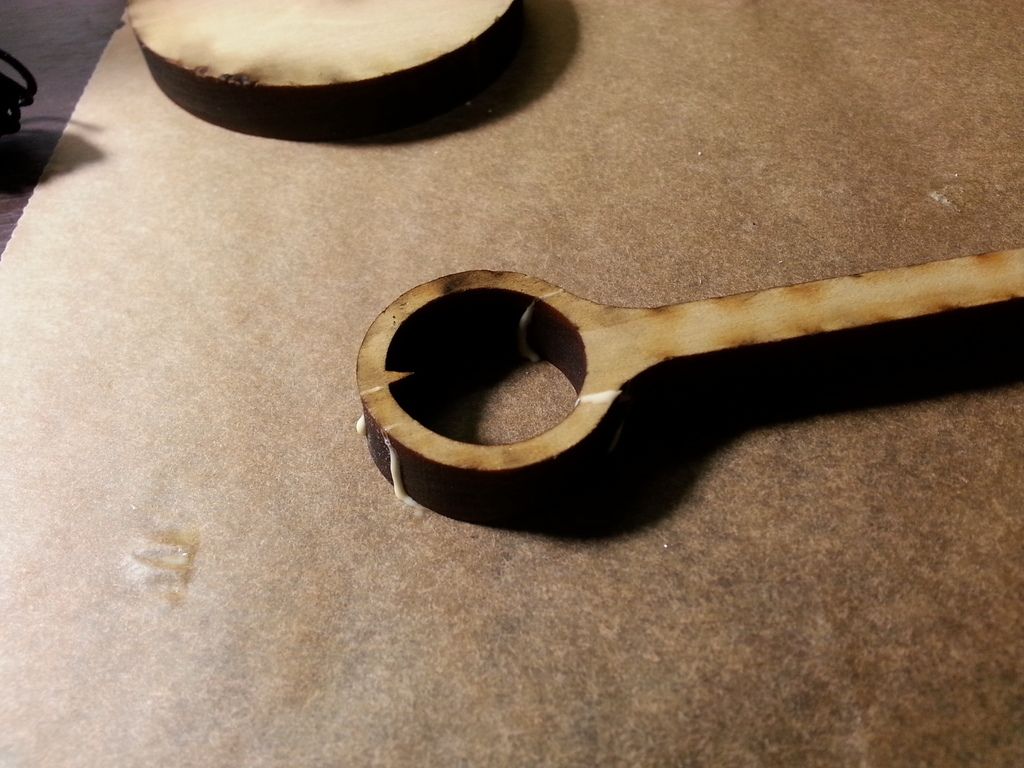
At any rate, the pendulum is built, the weight is built but still needs 5 pounds of weight added to it, and the front frame is built.
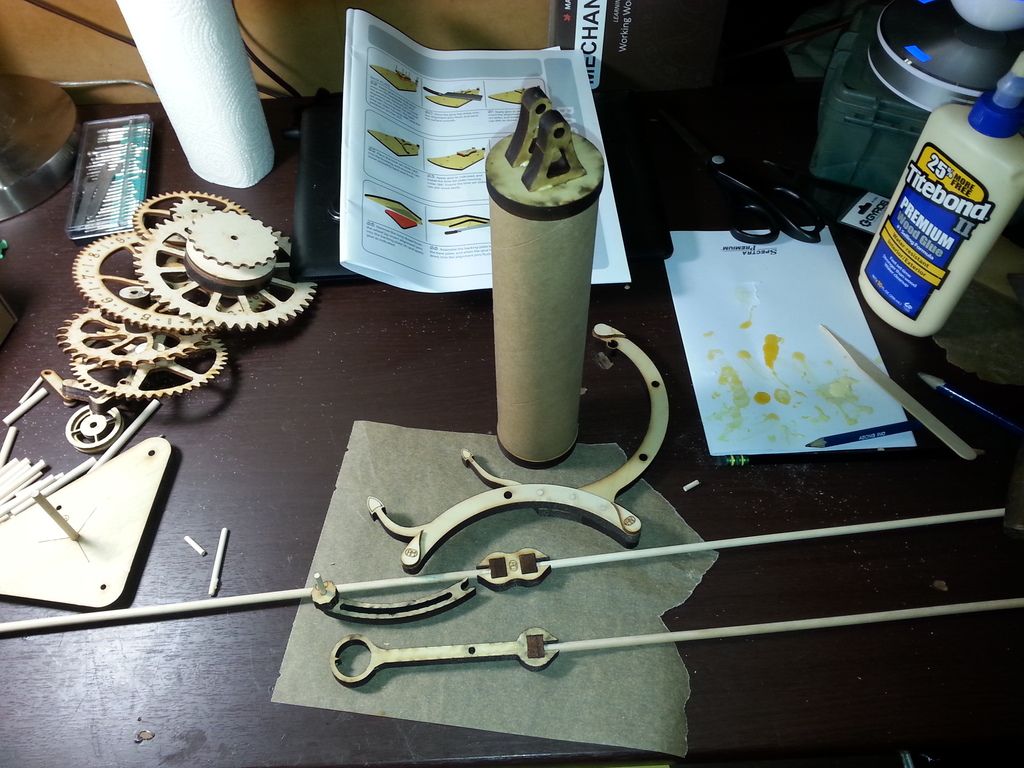
Then it was time to start on the base plate. First the time set lever is added.
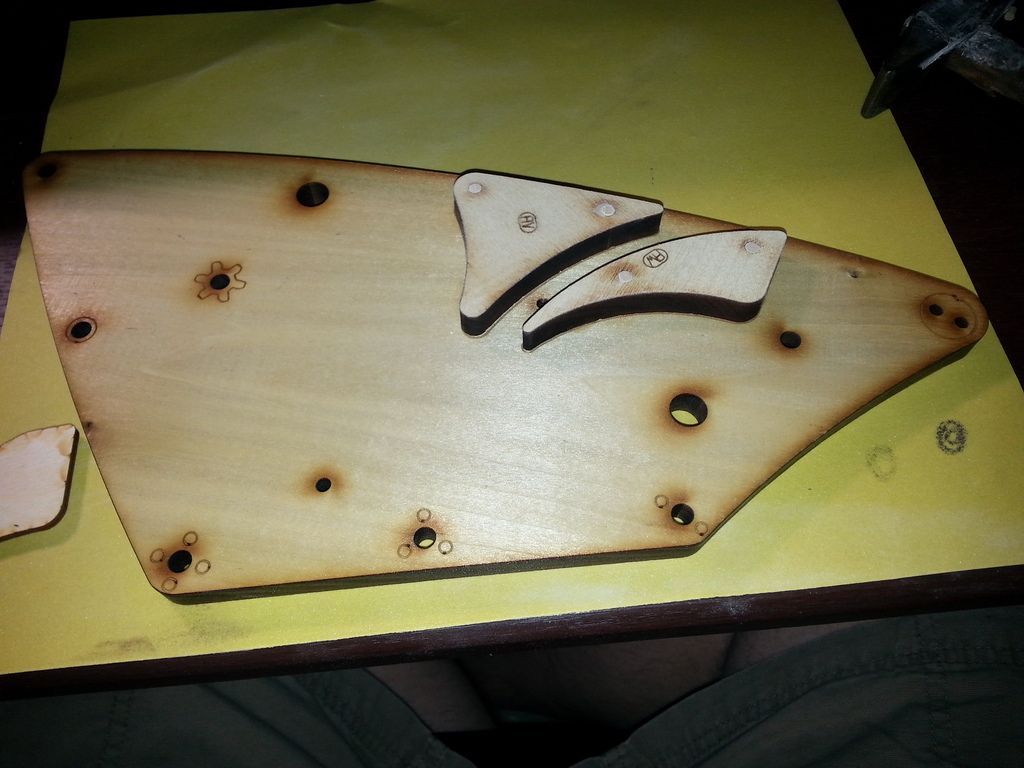
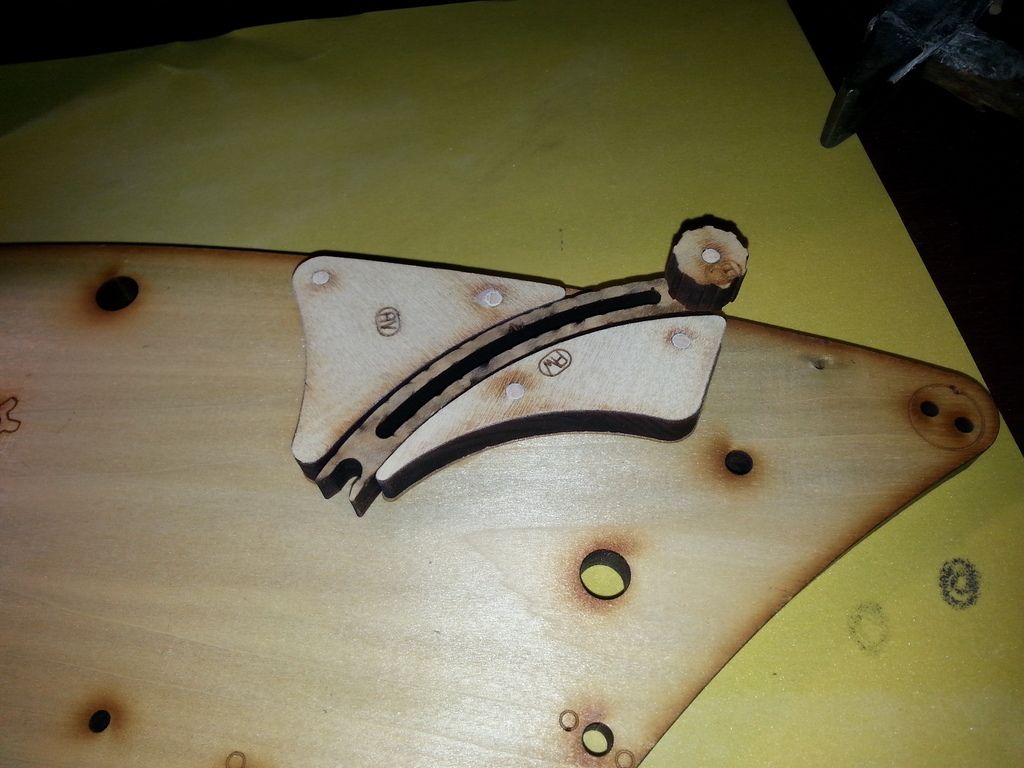
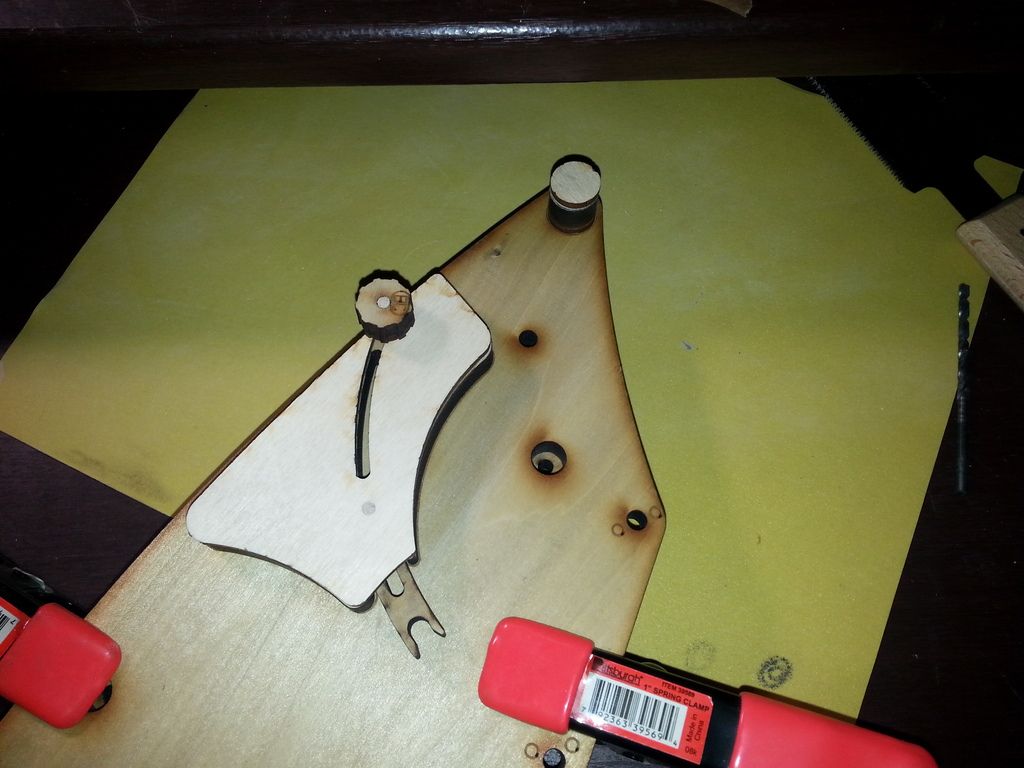
Then the gear assembly jig gets glued to the back of the base plate.
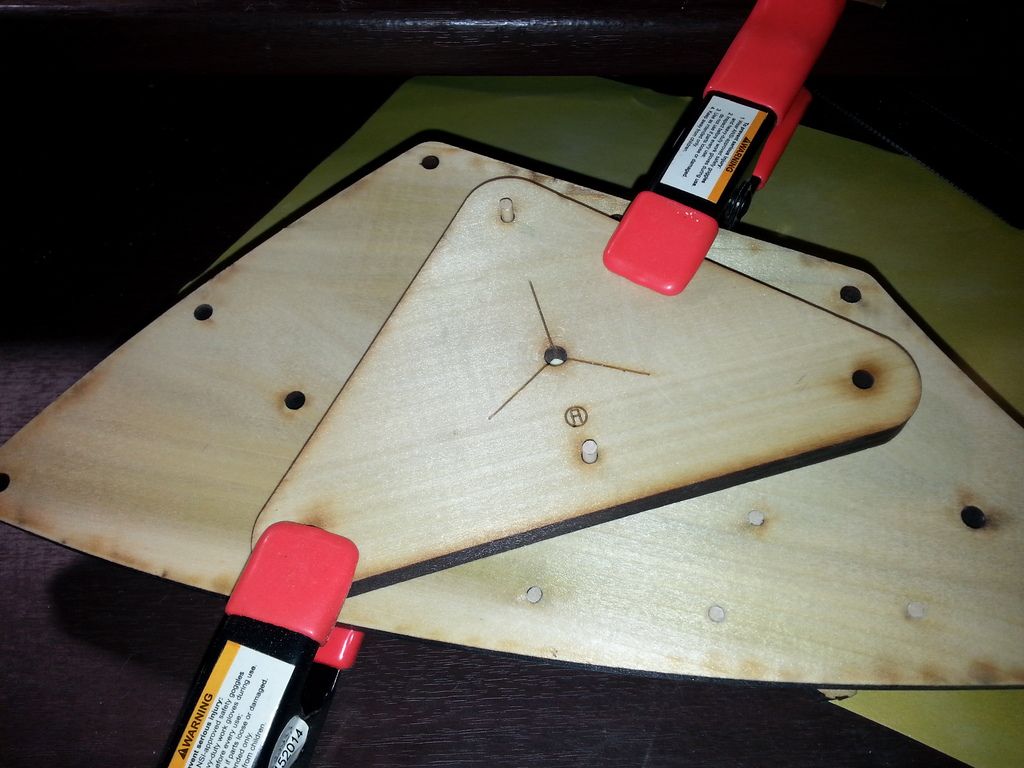
Then it's time to start sanding axles and gluing them into place. That's the tedious part. A jig is supplied with the kit as a guide for sanding the axles. Every one has to be sanded until it will fit through the jig without binding. I spent about 15 minutes on the first one before I started chucking them up in the drill. Much faster, but still tedious. As the axles are glued in, they get spacers where needed and are lubricated with the pencil. I didn't get all of them done before quitting for the night.
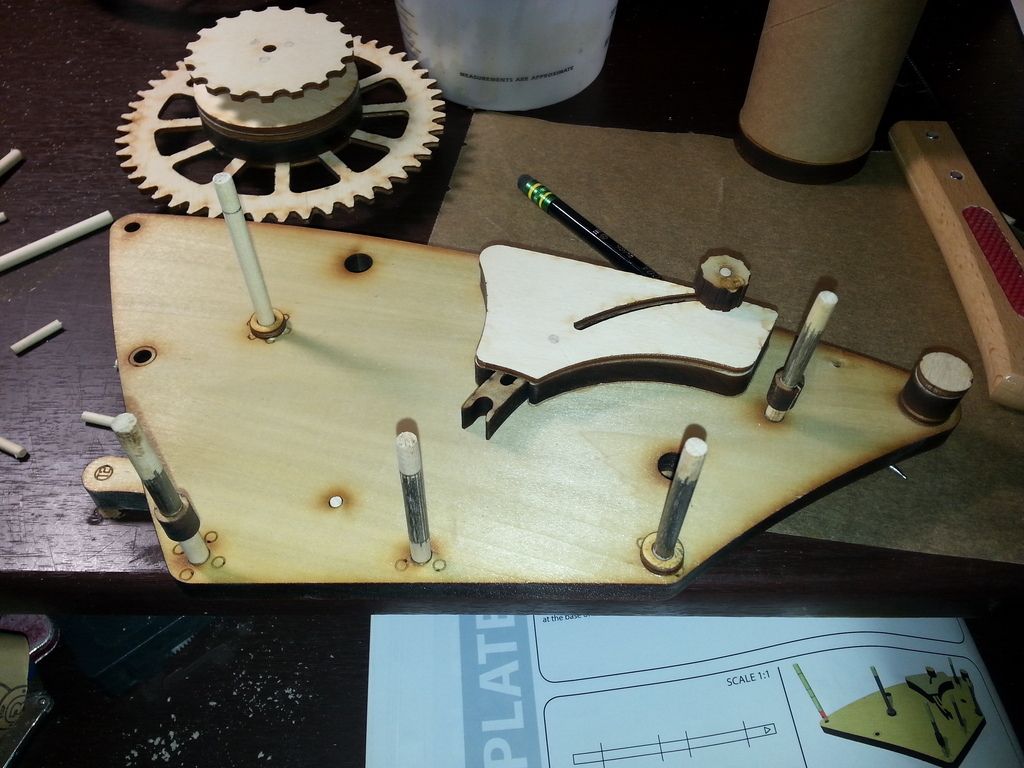
More to come.
I sat down tonight and finished the clock. All the shafts are installed, wheels fitted to the shafts and turning freely.
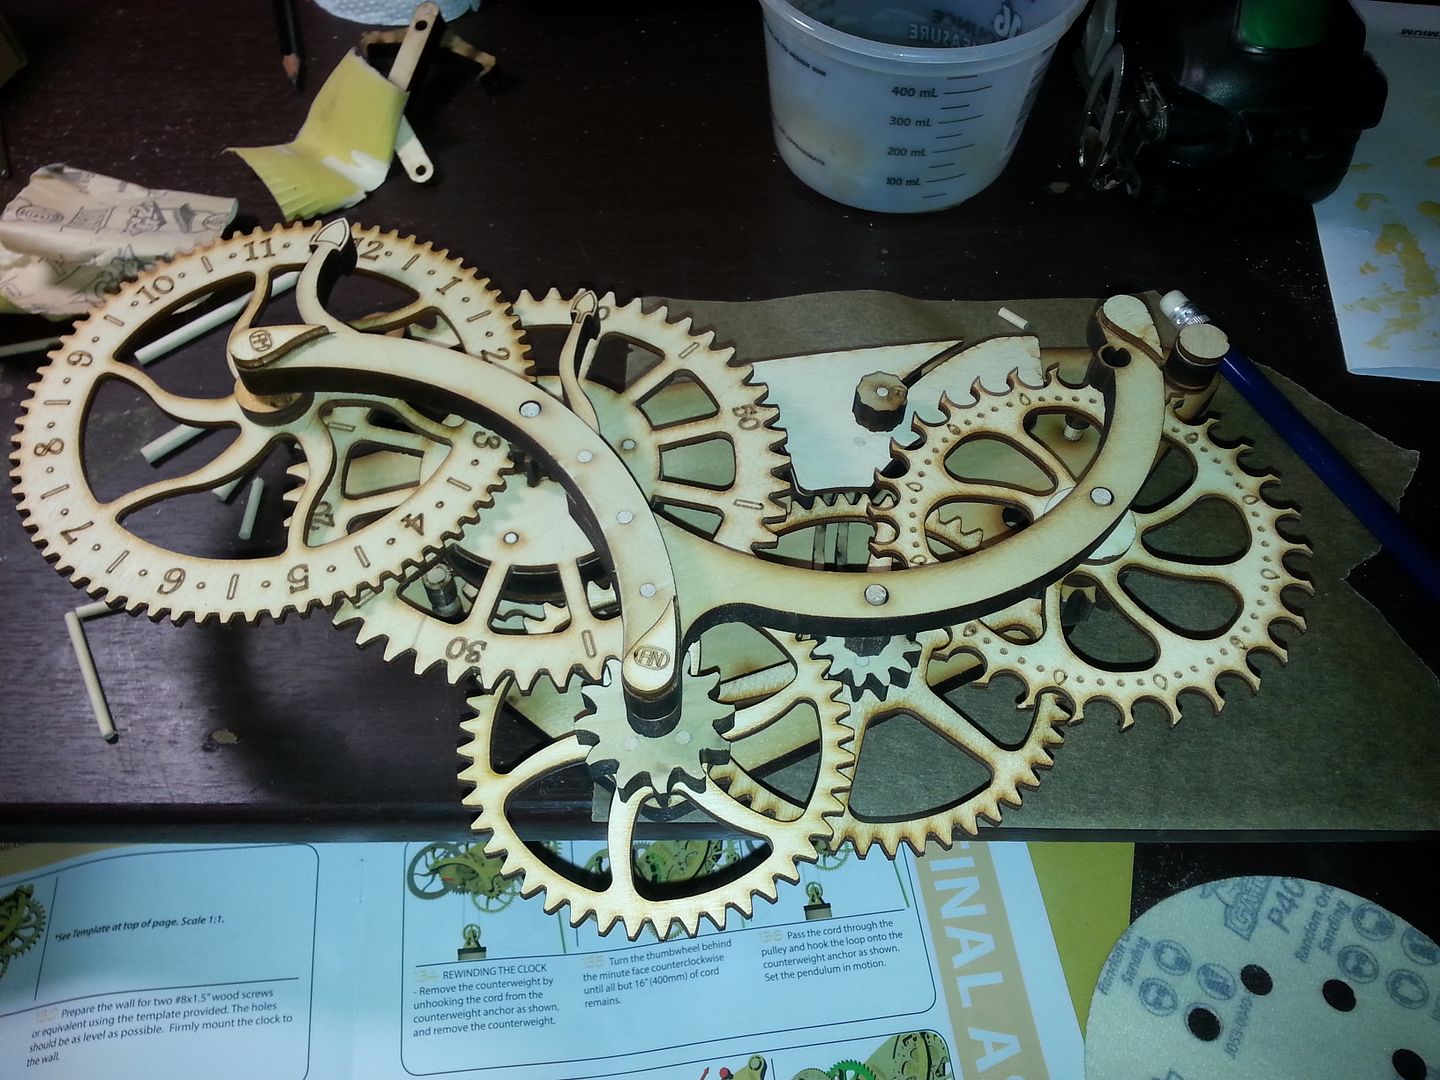
And hung in the house.
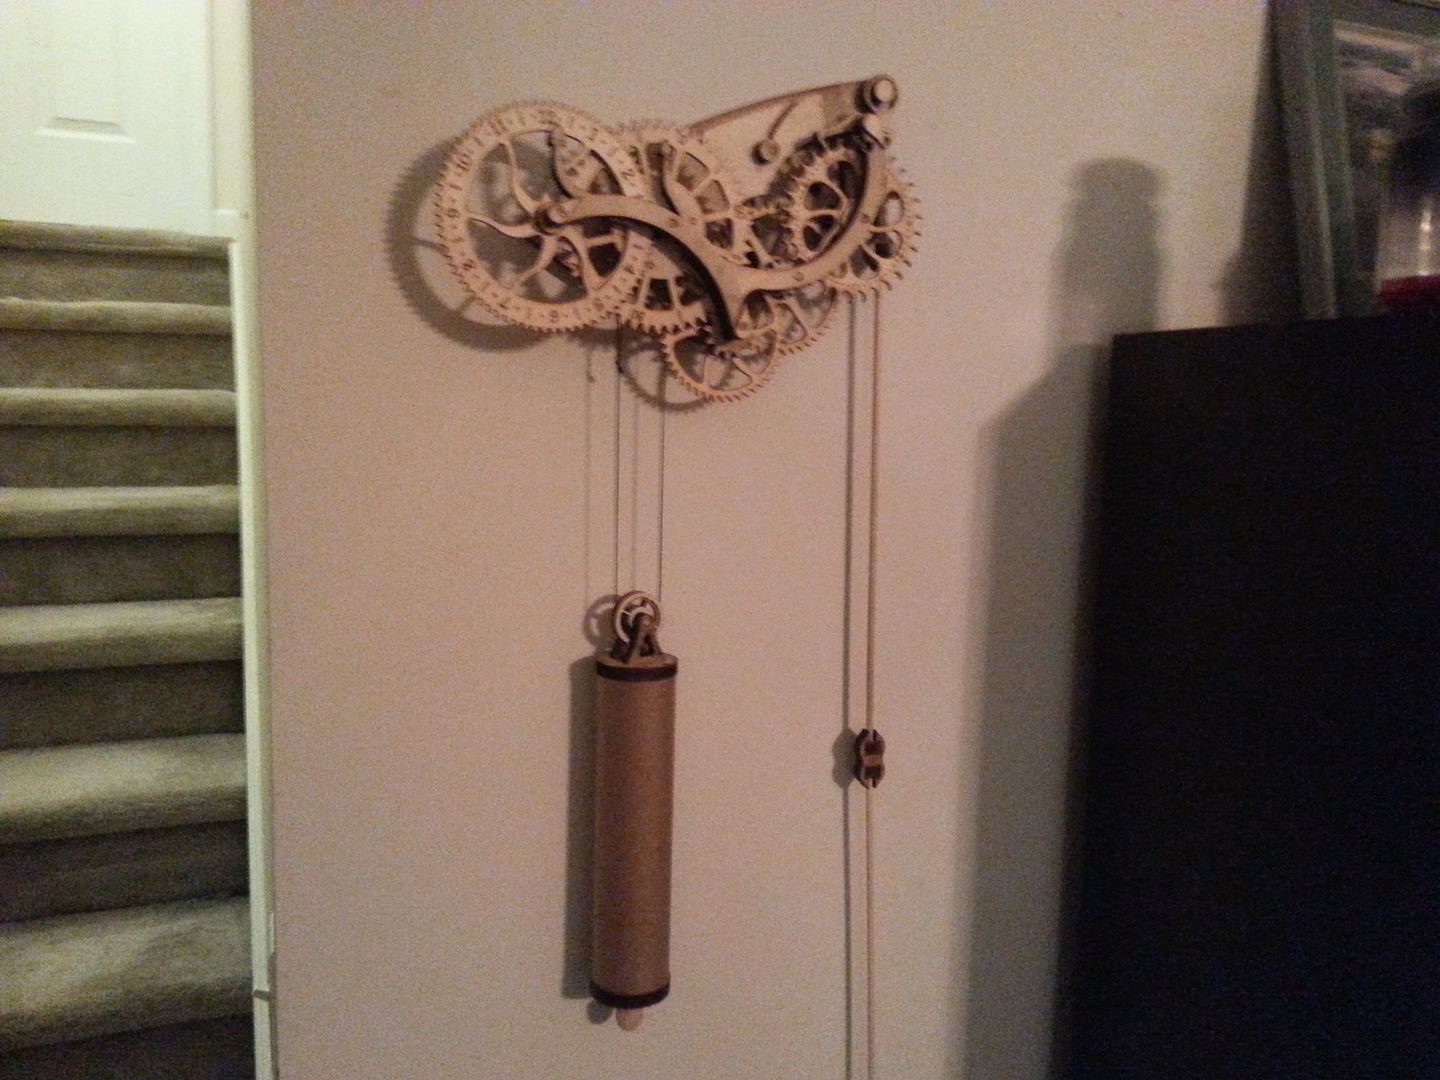
This was a fun kit. Parts of it were a pain in the behind. The axle pins were over sized and required a lot of sanding to get them to size. I ended up chucking them up in the drill.
Total time spent was about 6 hours.
I'm already looking for another one to build. Maybe this one.
https://www.youtube.com/embed/cfec-s8ubSs
It made it through the night and stayed running. Looks like it lost a few minutes, so there is some adjusting to do. I'm calling this one a success.
In reply to Toyman01:
I must warn you. I made a wooden Grandfather clock. No the clockworks were bought, installed and adjusted, and adjusted and adjusted etc. Decades later I still adjust based on weather, humidity, and the stock market prices..
I'd never built anything out of wood except a Project in 7th grade woodshop that I got an F for.. Building the grandfather clock gave me so much confidence that I built (am still building) my house.
It's a 5500 sq ft. double timberframe made out of locally grown hardwood like black walnut, white oak, etc..
30,000 man hours so far (a normal house require 2500-3000 man hours from start to finish..)
Sine_Qua_Non wrote:
Datsun310Guy wrote:
I have many memories of that clock gonging late into the night as I tried to sleep.
I would have destroyed....er sabatoged a gonging clock interrupting my sleep. 
Most have a lever or setting that allows them to remain silent through the night.. I like to hear it gong every 15 minutes but it's far enough away that it's very faint.. That way I don't need to turn on the light and find my glasses to see what time it is..


![]()


