I think it looks very nice in the pictures. I have no problem with the temp cheap paint jobs to tide things over. Good work.
Chris
I think it looks very nice in the pictures. I have no problem with the temp cheap paint jobs to tide things over. Good work.
Chris
so, budget first:
previous total: 5407.21
money spent for this update: NONE.
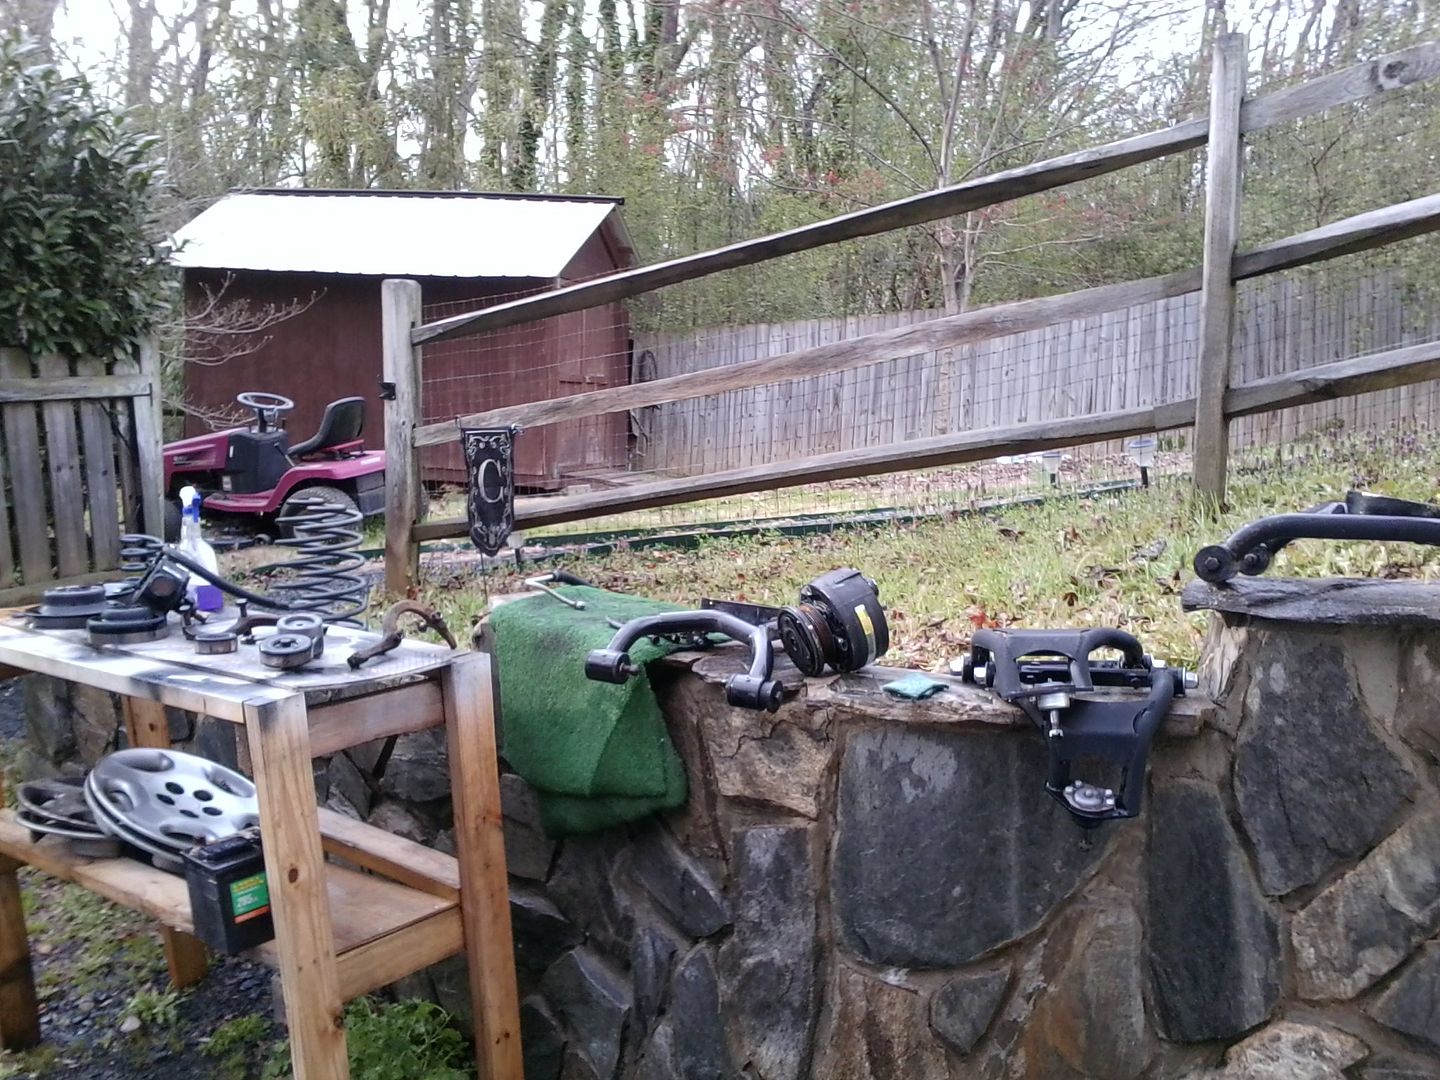
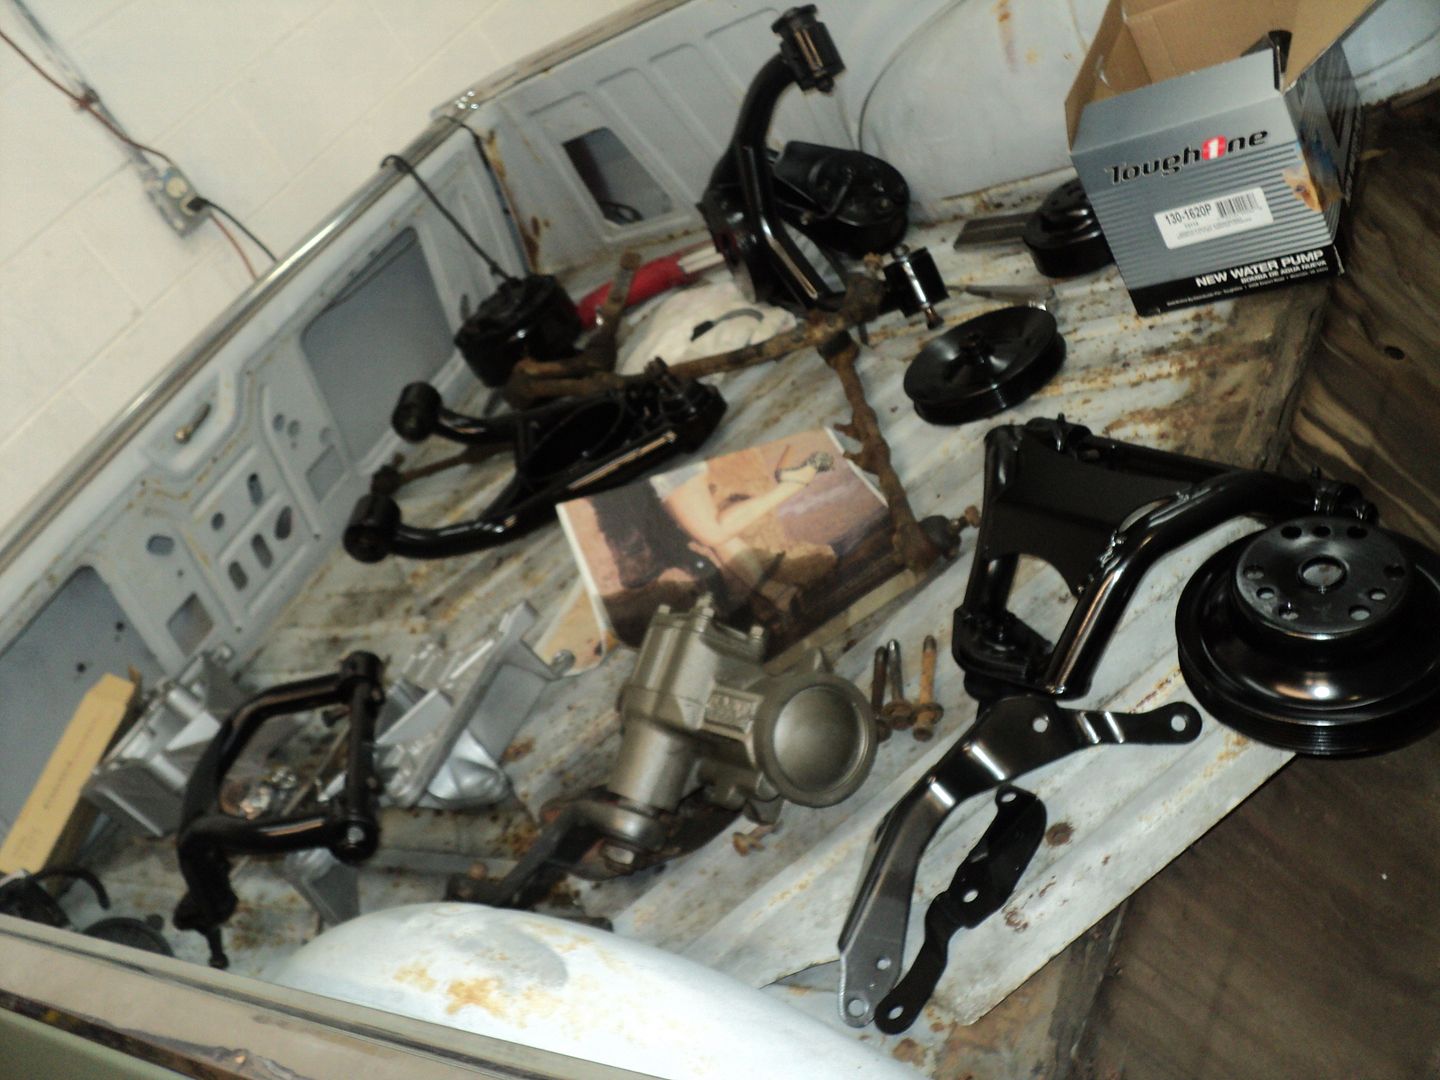
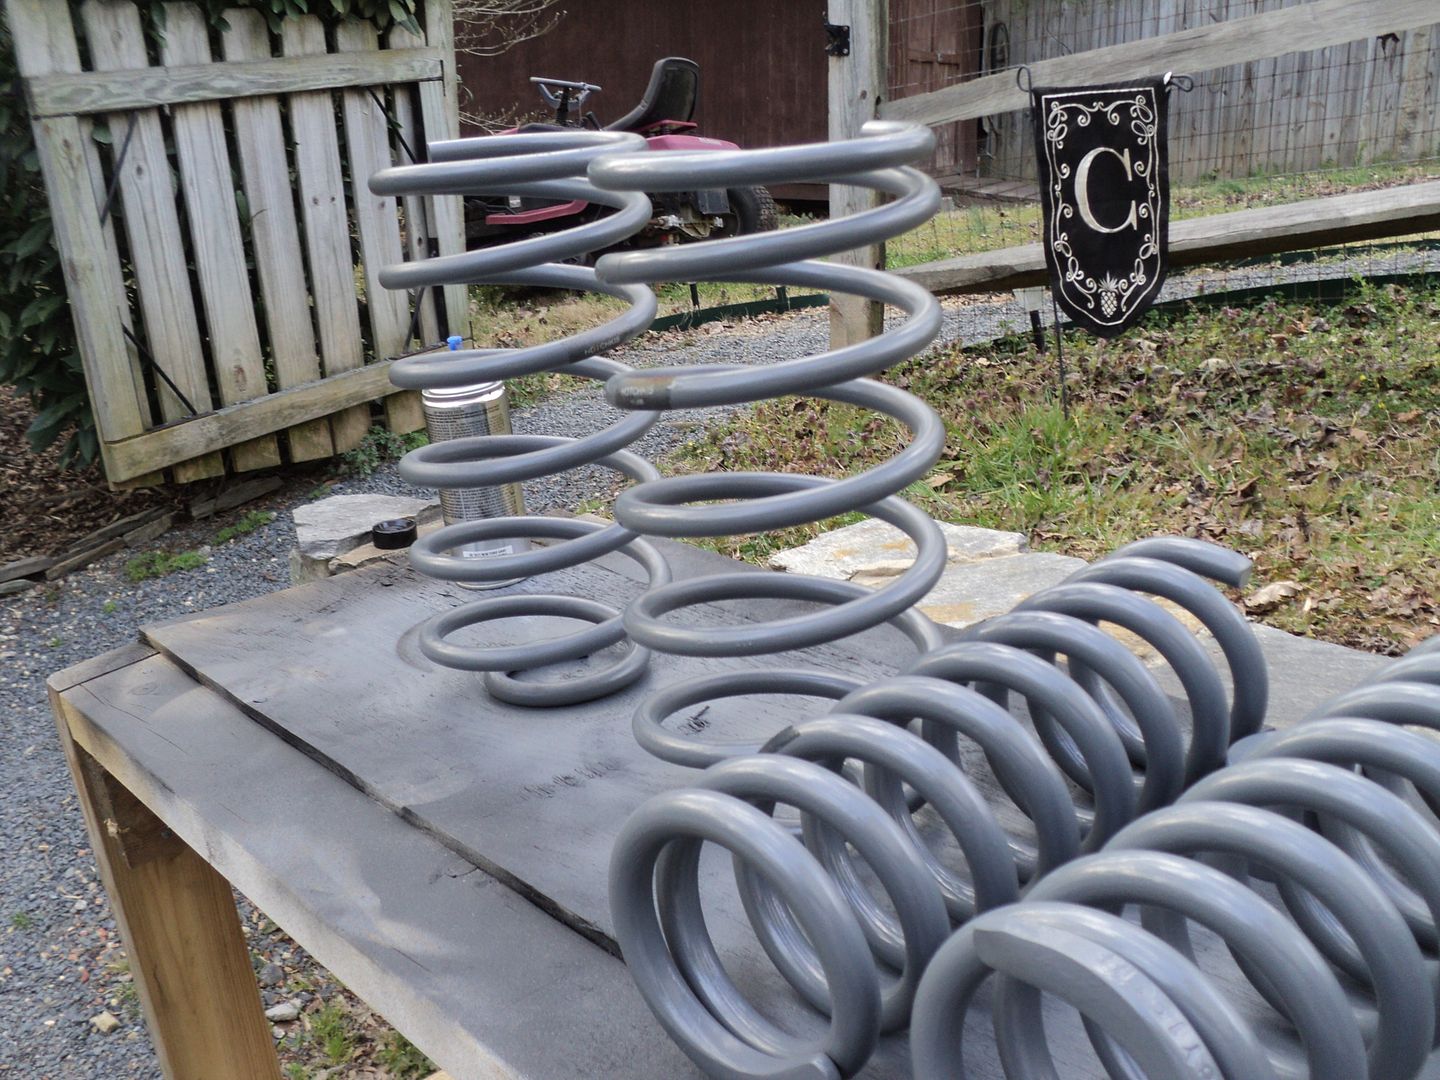
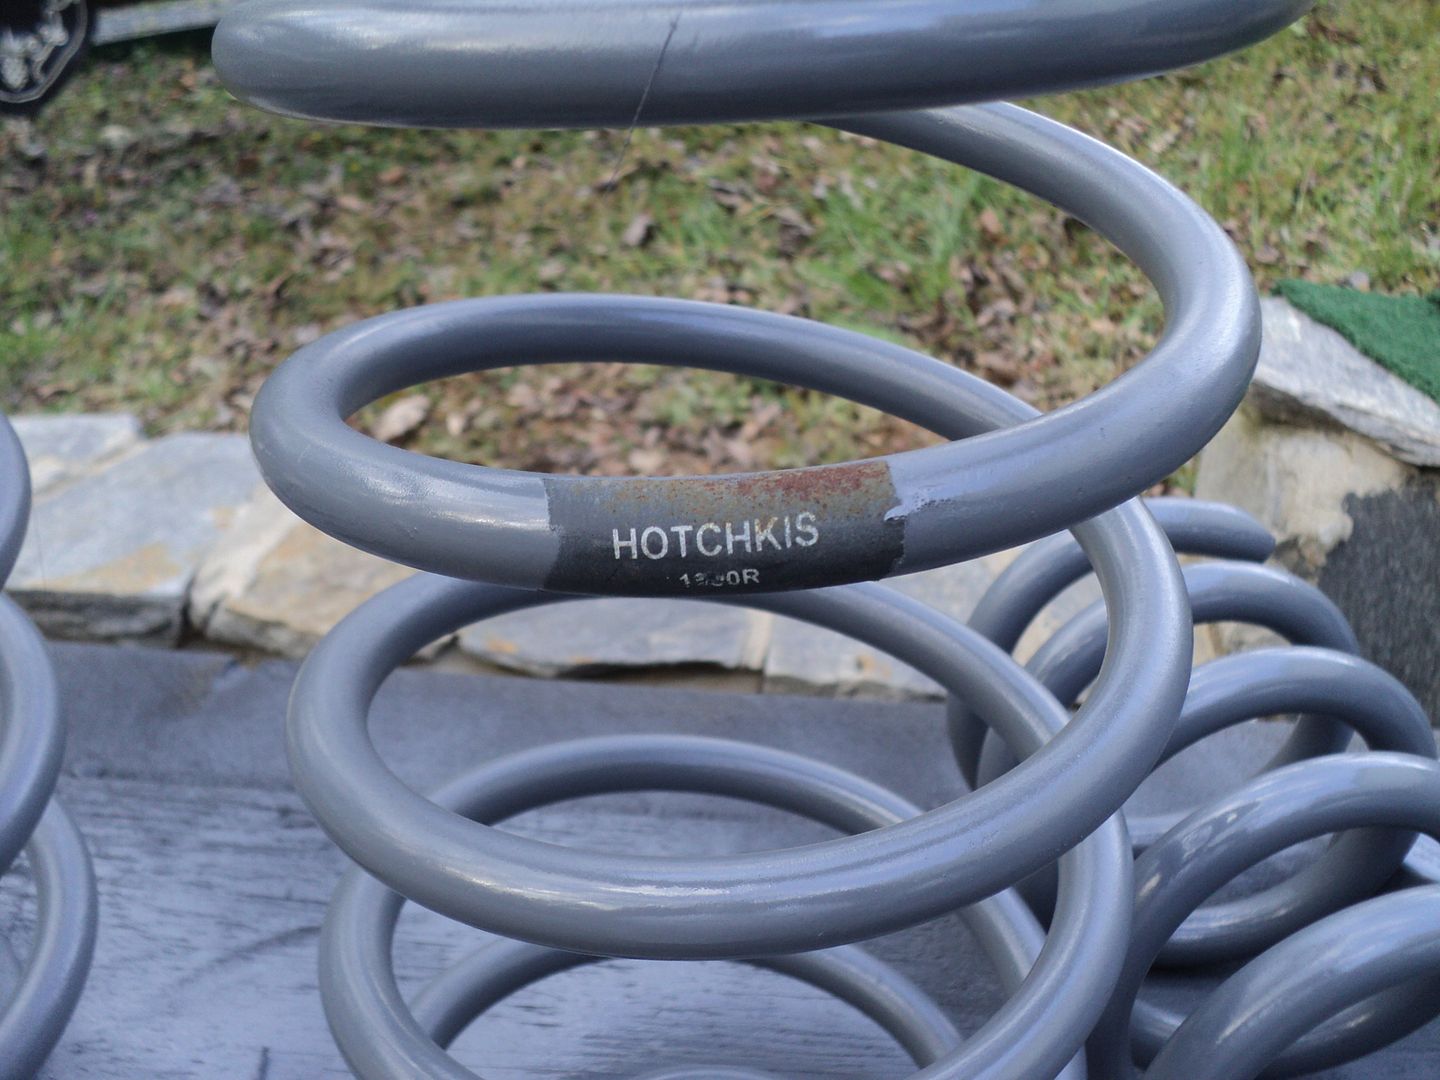
I've finally gotten back to feeling well, and started back in down in the shop. first order of business was to clean, paint, and organize parts. this was done over a few evenings, culminating in yesterday and today which were nice weather days. scrubbed a bunch with super clean and various cleaning implements. still have more stuff to do, but I've gotten the majority finished now. semi gloss black is the previously purchased engine paint, grey is new ford grey that I used on a customer project. matched the hotchkis paint color closer than I thought it would.
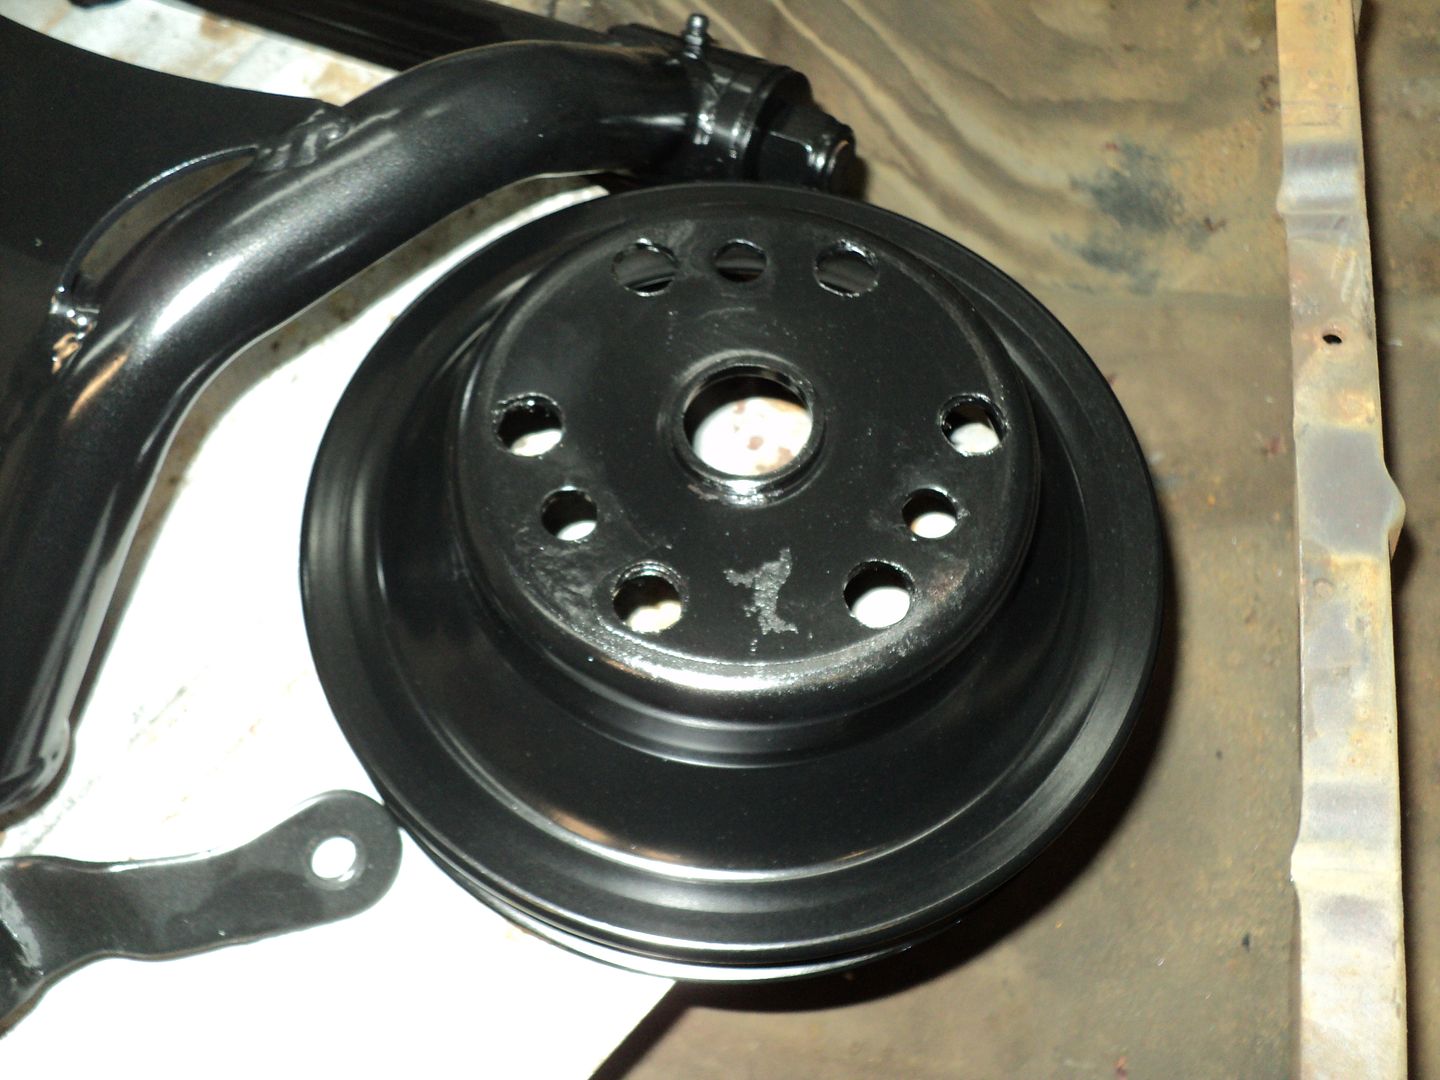
I also finished modifying my serpentine pulley.
last night and today, I got the old front suspension out, frame prepped, and painted with POR15.
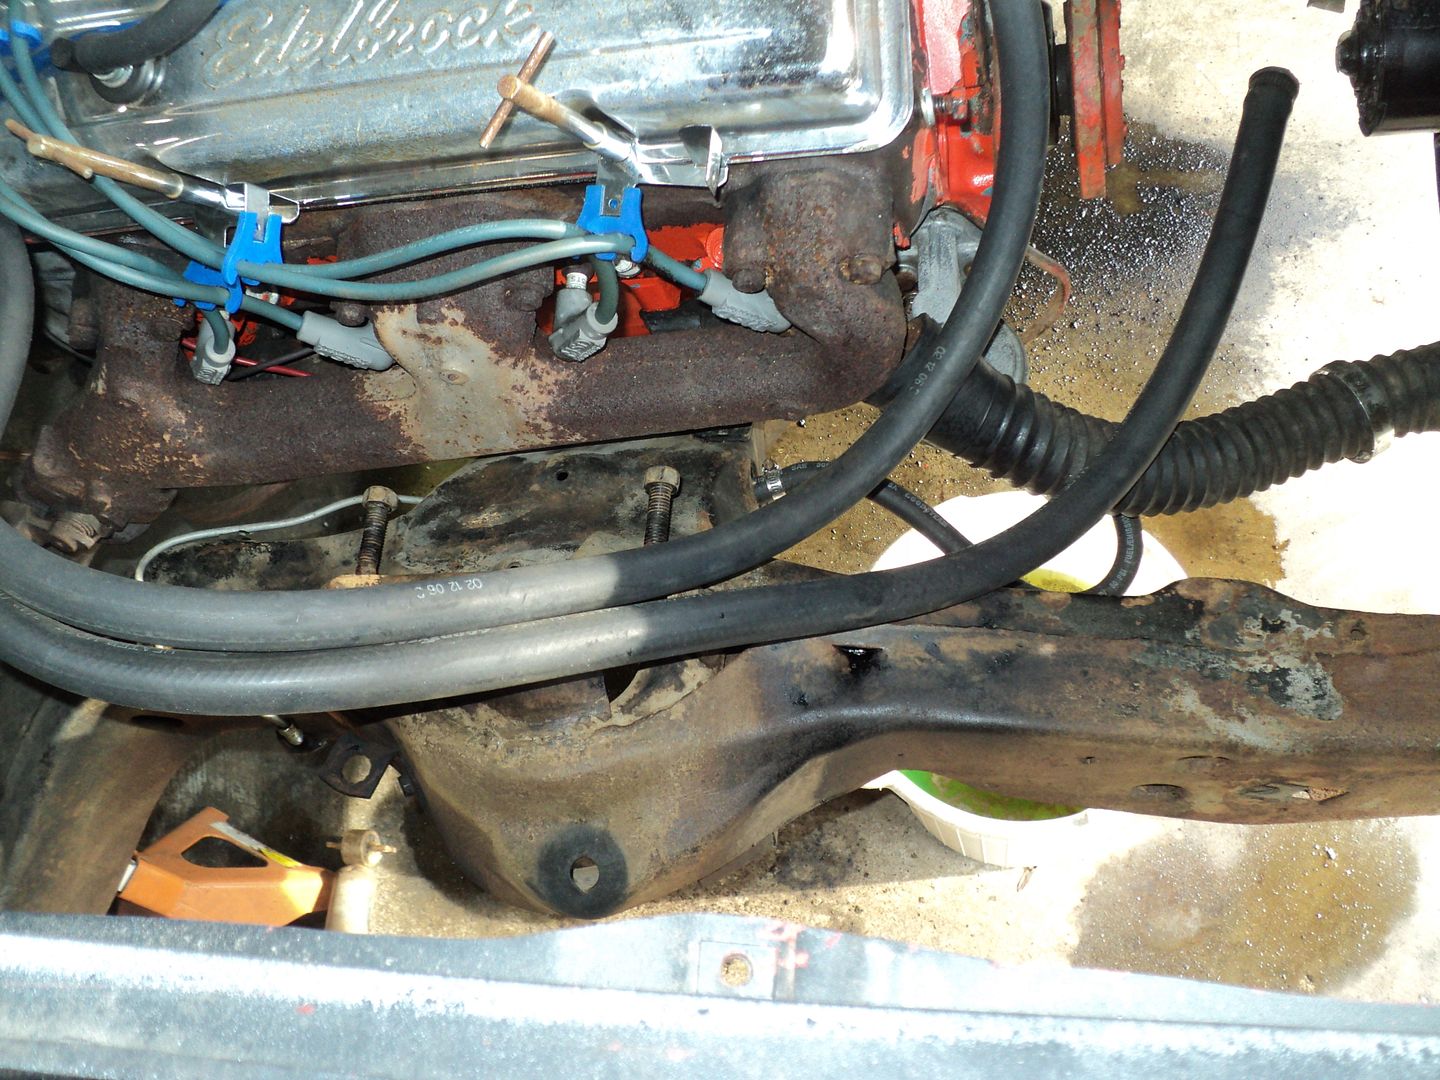
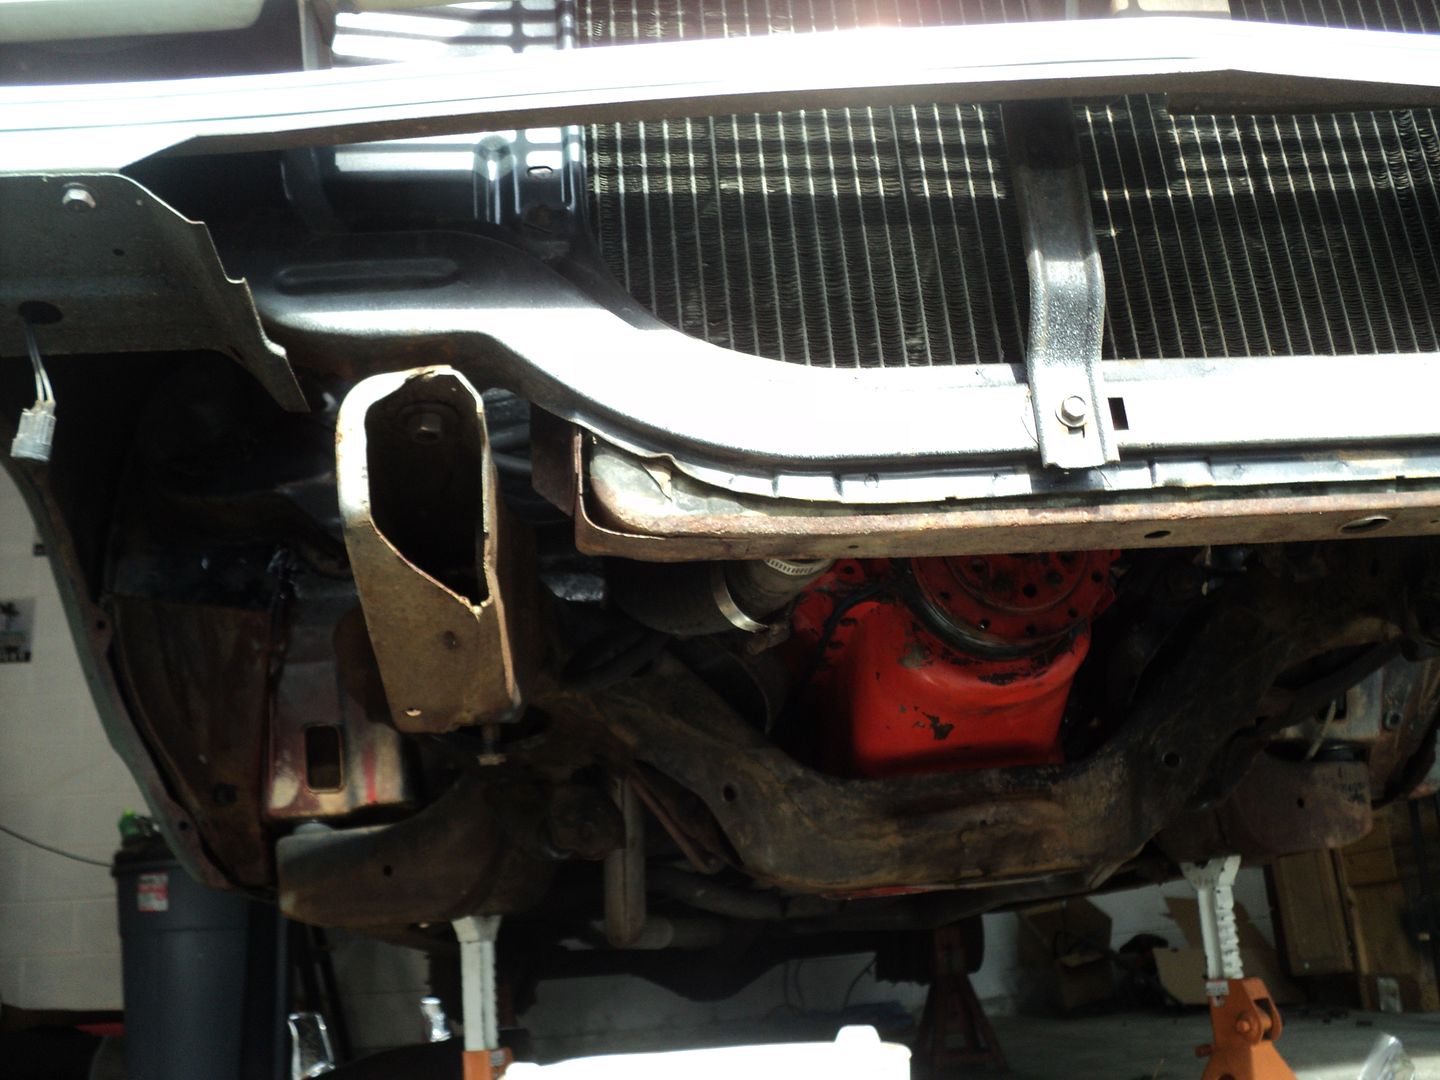
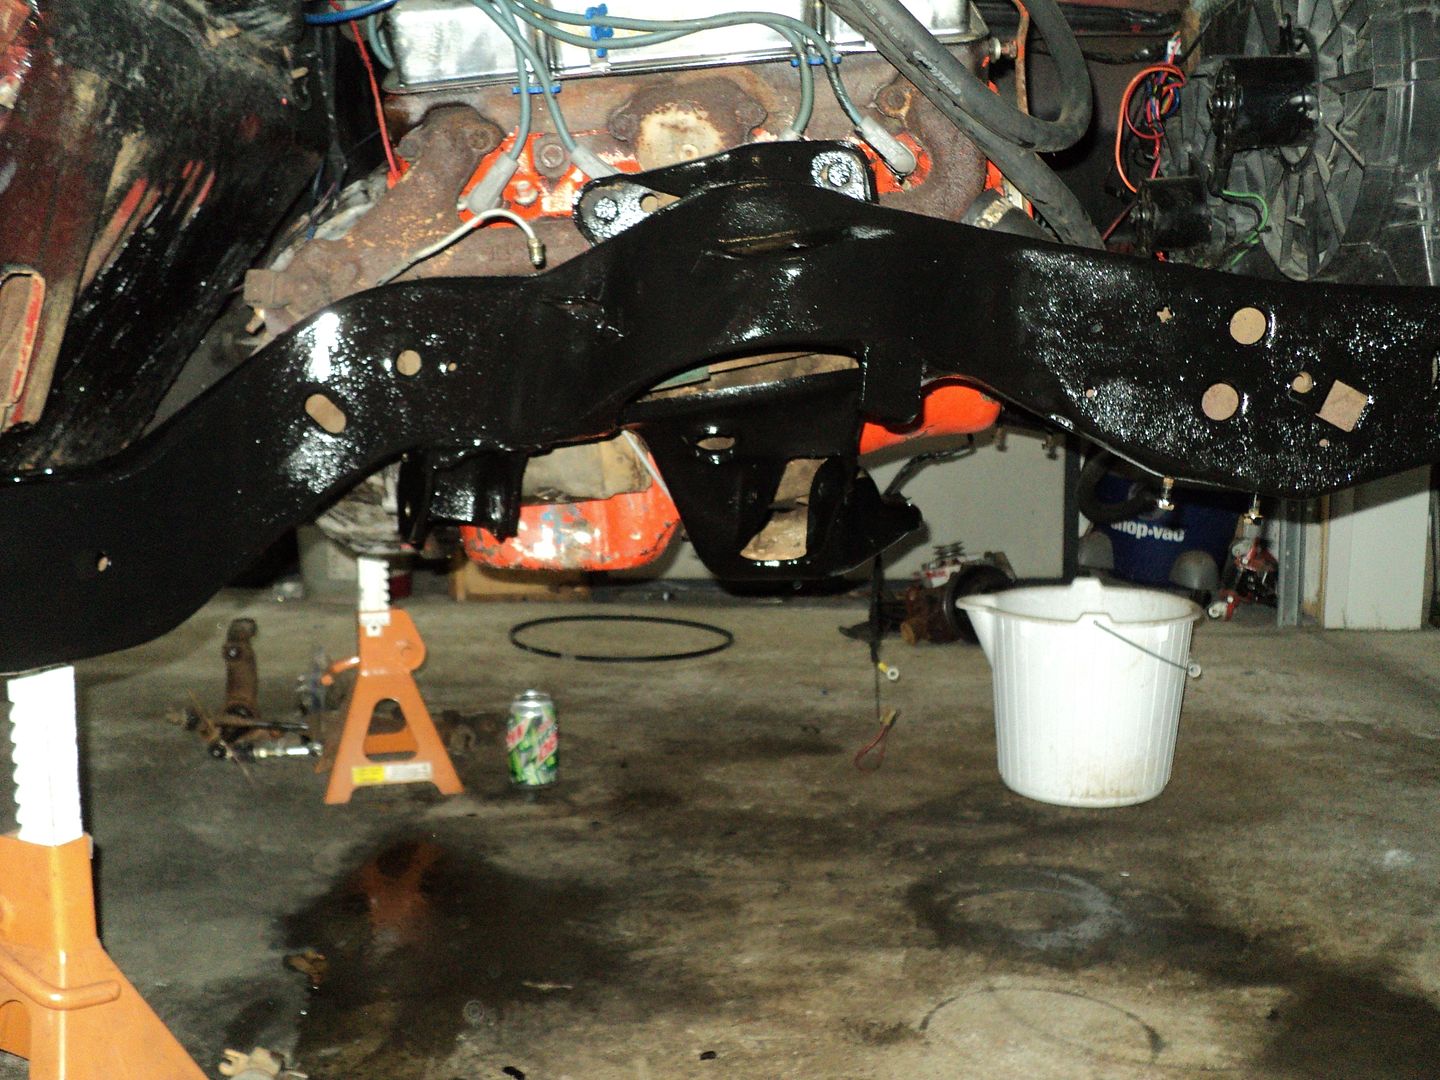
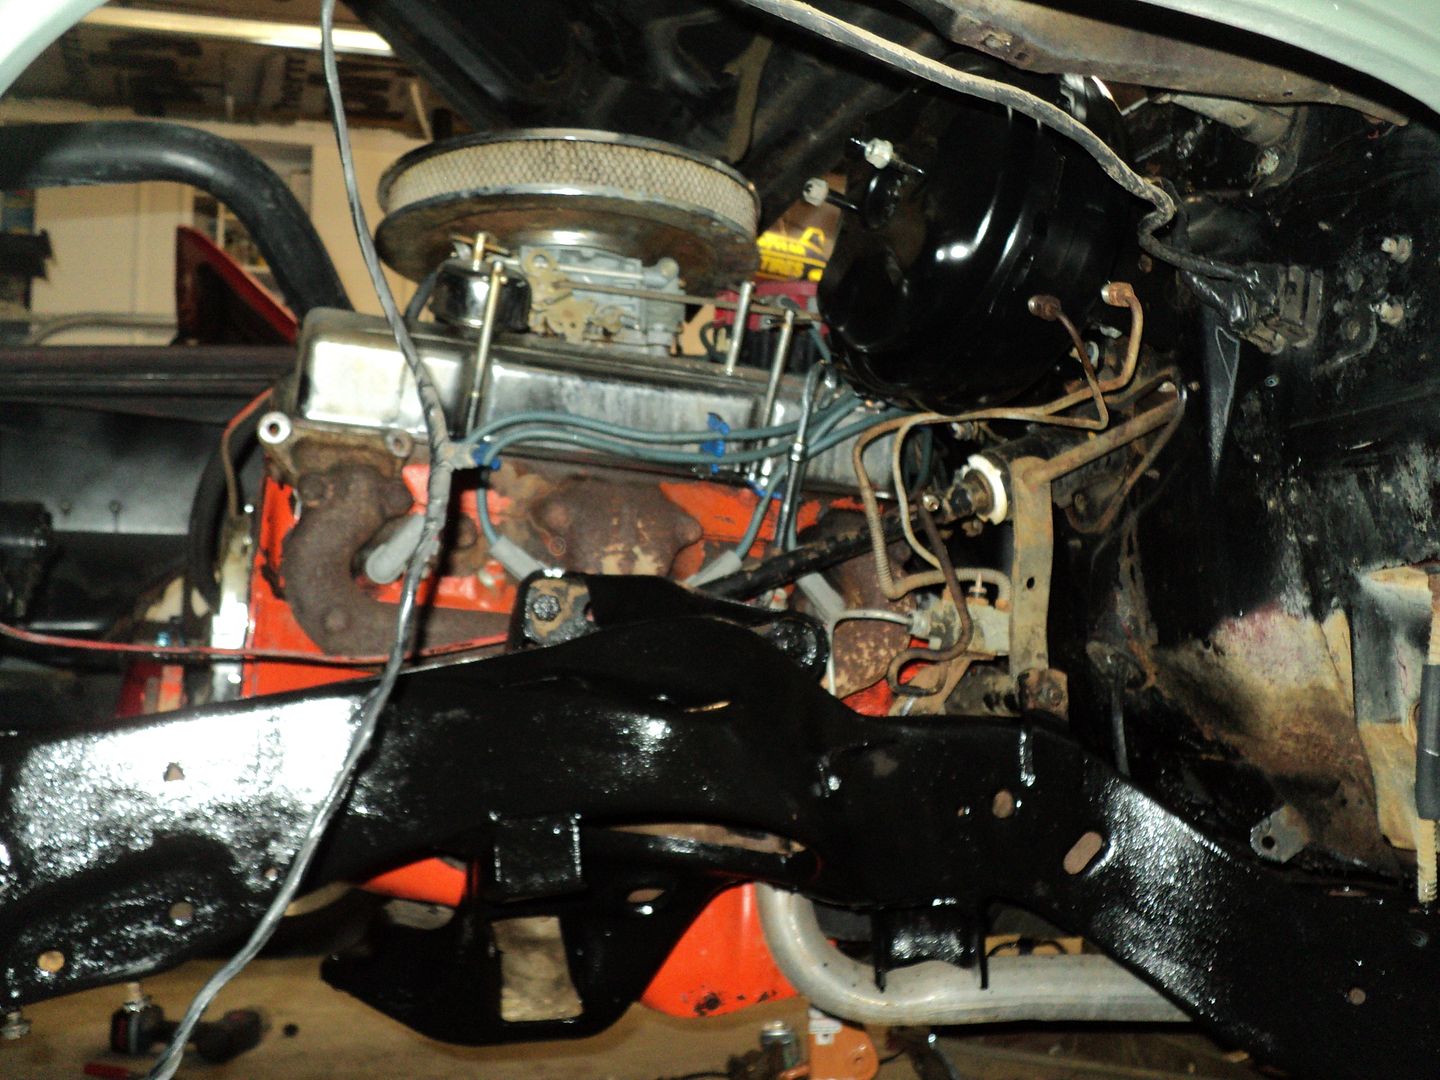
that was a nasty, miserable job. got POR15 as far into the insides of the rails as possible, inside all the nooks and crannies, spring pockets, etc. I would love to find a spare frame to sandblast, reweld, strengthen, etc. and then slide under mine.
also, little tip on POR15 application: wear long sleeves. and gloves. and a hat. and possibly a face shield. the safety glasses protected my eyes, and luckily the only other drips on my face wound up in my beard. but my wife is gonna kill me when she wakes up in the morning....
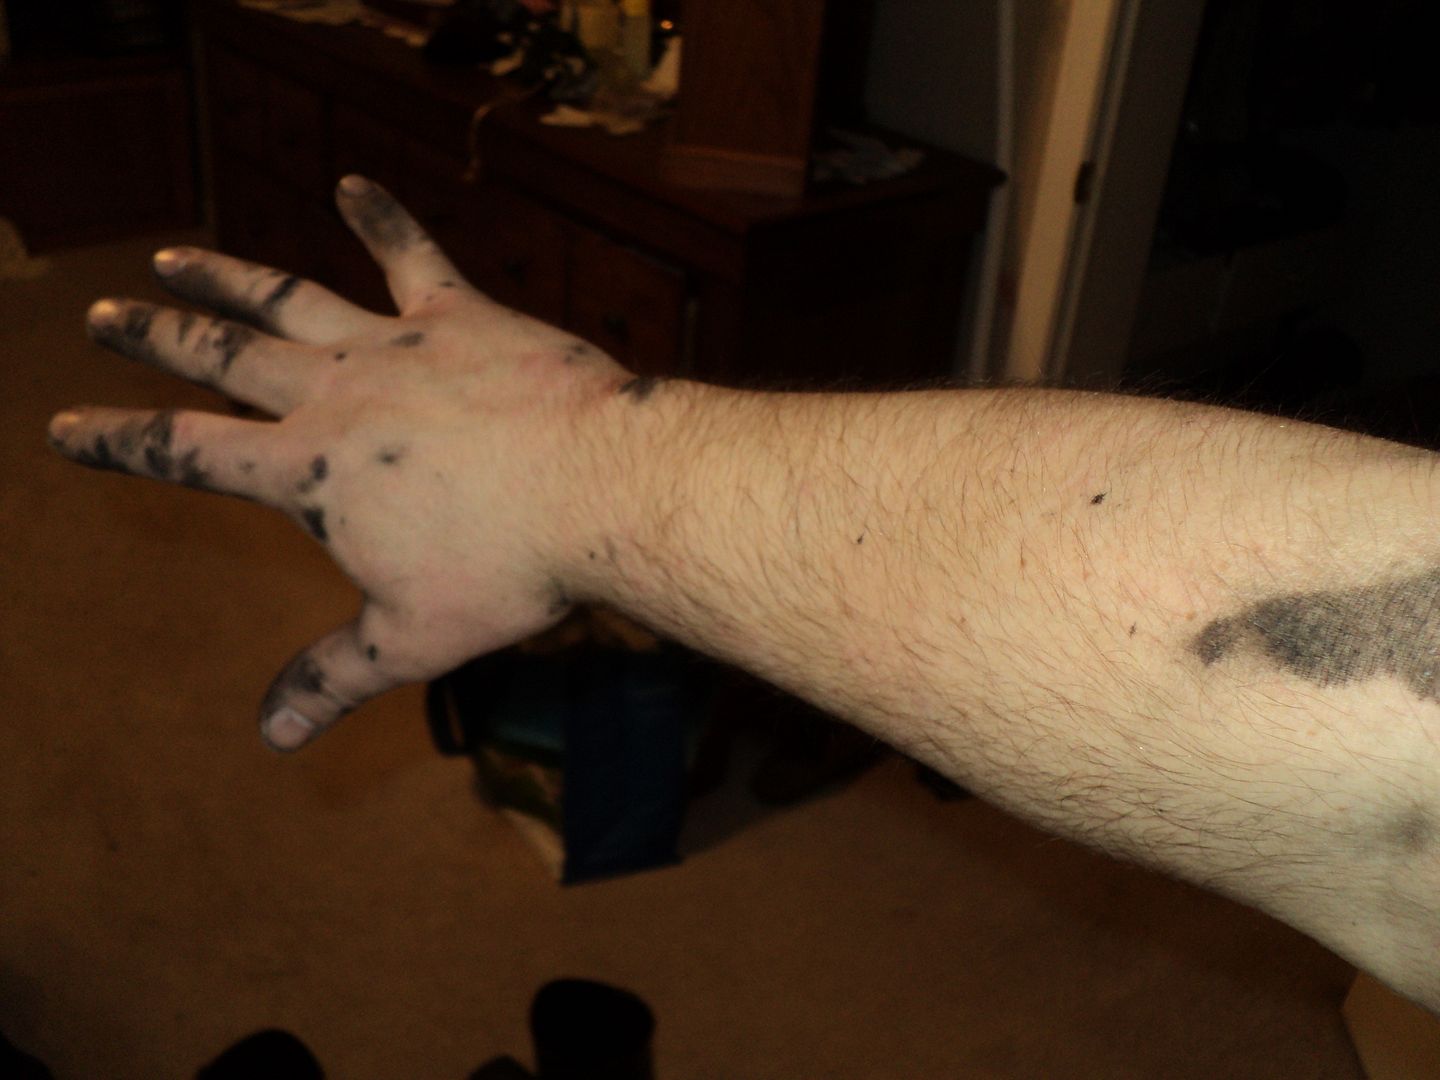
tomorrow, after everything dries, ill shoot a topcoat on, and start reassembling stuff. well, if I have time after Easter service, in laws, my folks, etc.
hope y'all have a good Easter. im looking forward to the hard boiled eggs after the egg hunt.
thanks. id like to take it more places, but it still doesnt drive....
and i dont have the budget to take it as far as id like. still may get twin turbos though, just to screw with people. and pull trailer better.....
so, budget first:
previous total: 5407.21
money spent for this update:
heater hose fitting, metric tube nuts, and a wheel stud from o'reilleys: 9.52
seat belt pair, harness and ECM from 94 Chevy truck, bilstein shocks, new serpentine belt, and steering coupler from pull-a-part:96.77
grease seals, thermostat gasket, and upper radiator hose from oreilleys: 42.56
energy suspension bushings and roll of brake line tubing from advance:33.61
machining of hubs and resurface rotors, hp engines in Norwood nc: 80
throttle body from I don’t know, and auto trans flex plate from a 73 350: free
new cd player and gauges nothing. gifts as a thank you on the cd player, gauges were presents from my wife and daughter for Easter.
sold my spare spindles for 75
sold some of the carb collection for 50
sold the extra drag shocks: 50
new total: 5494.67
I've been hitting it pretty hard lately. I've got customers waiting for my bay, I need a truck, and I'm ready to drive the elky for more than a night. first order of business was suspension. got the control arms put in, steering box in, spindles cleaned up, and all of it assembled. then I went to put on the sway bar. Houston, we have a problem. the thing did not want to play nice. remember, I'm using a late second gen trans am 1 1/4 front sway bar. its about 1.5 inches wider per side. this caused my end links with the rod ends to be in significant bind, and the bind only got worse as the suspension cycled. so I scratched my head, and came up with a solution. move the rod end to the outside of the tabs, build a spacer for the tabs, and run it. sit will be a reinforced single shear sway bar mount, but we should be OK. I've still got to make it though....
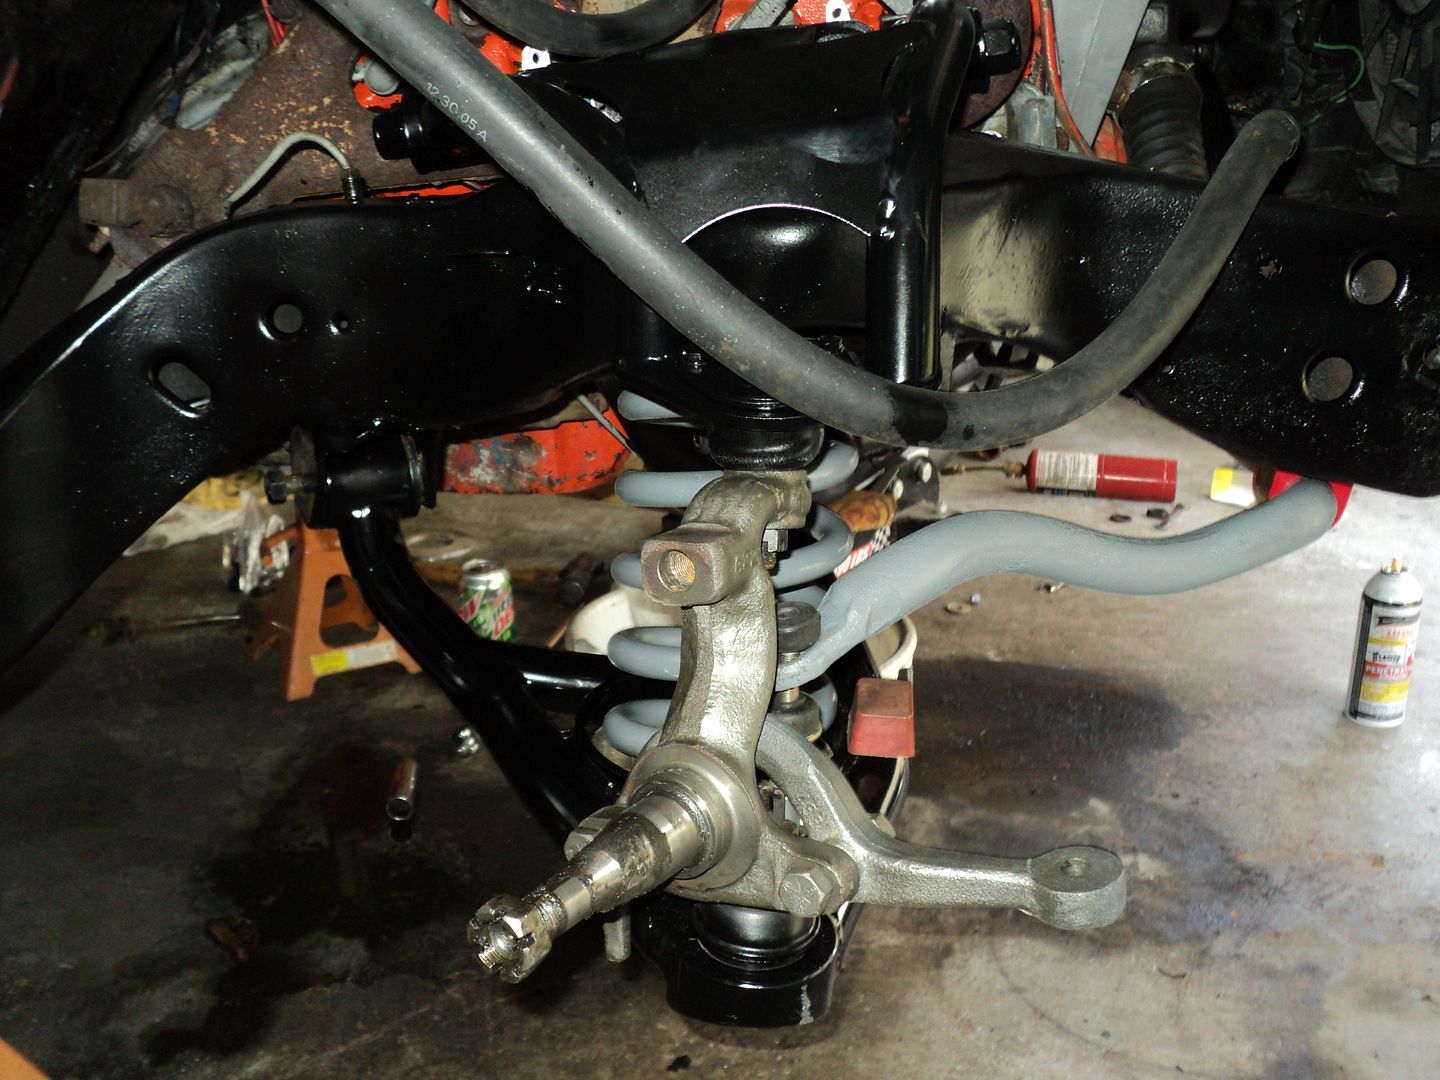
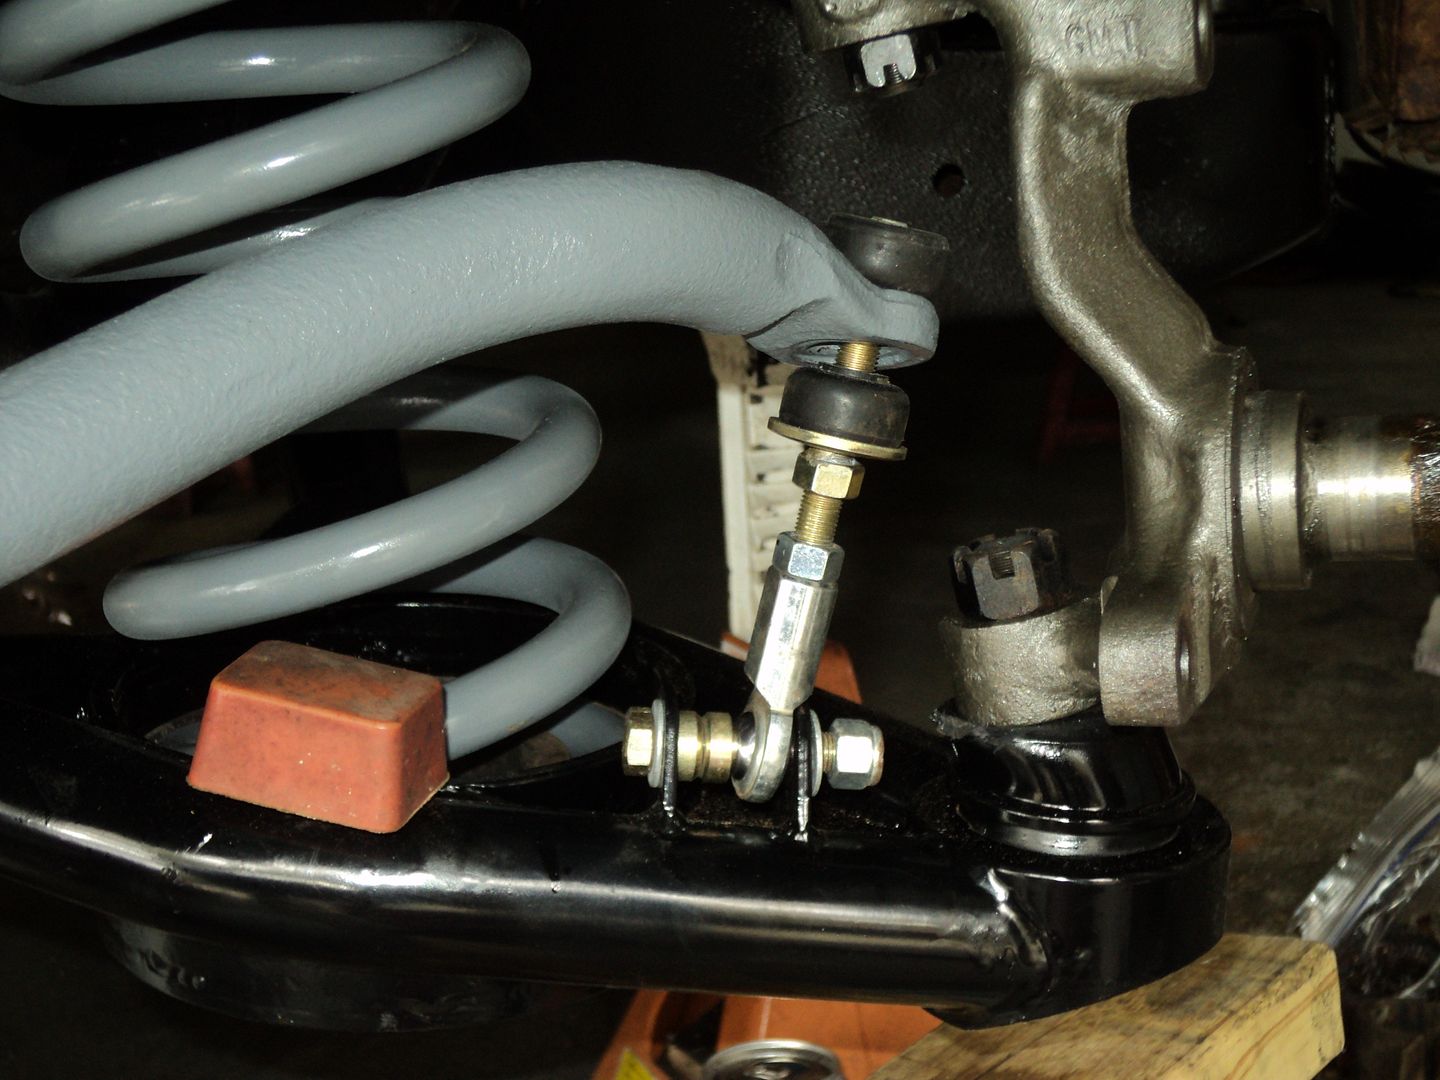
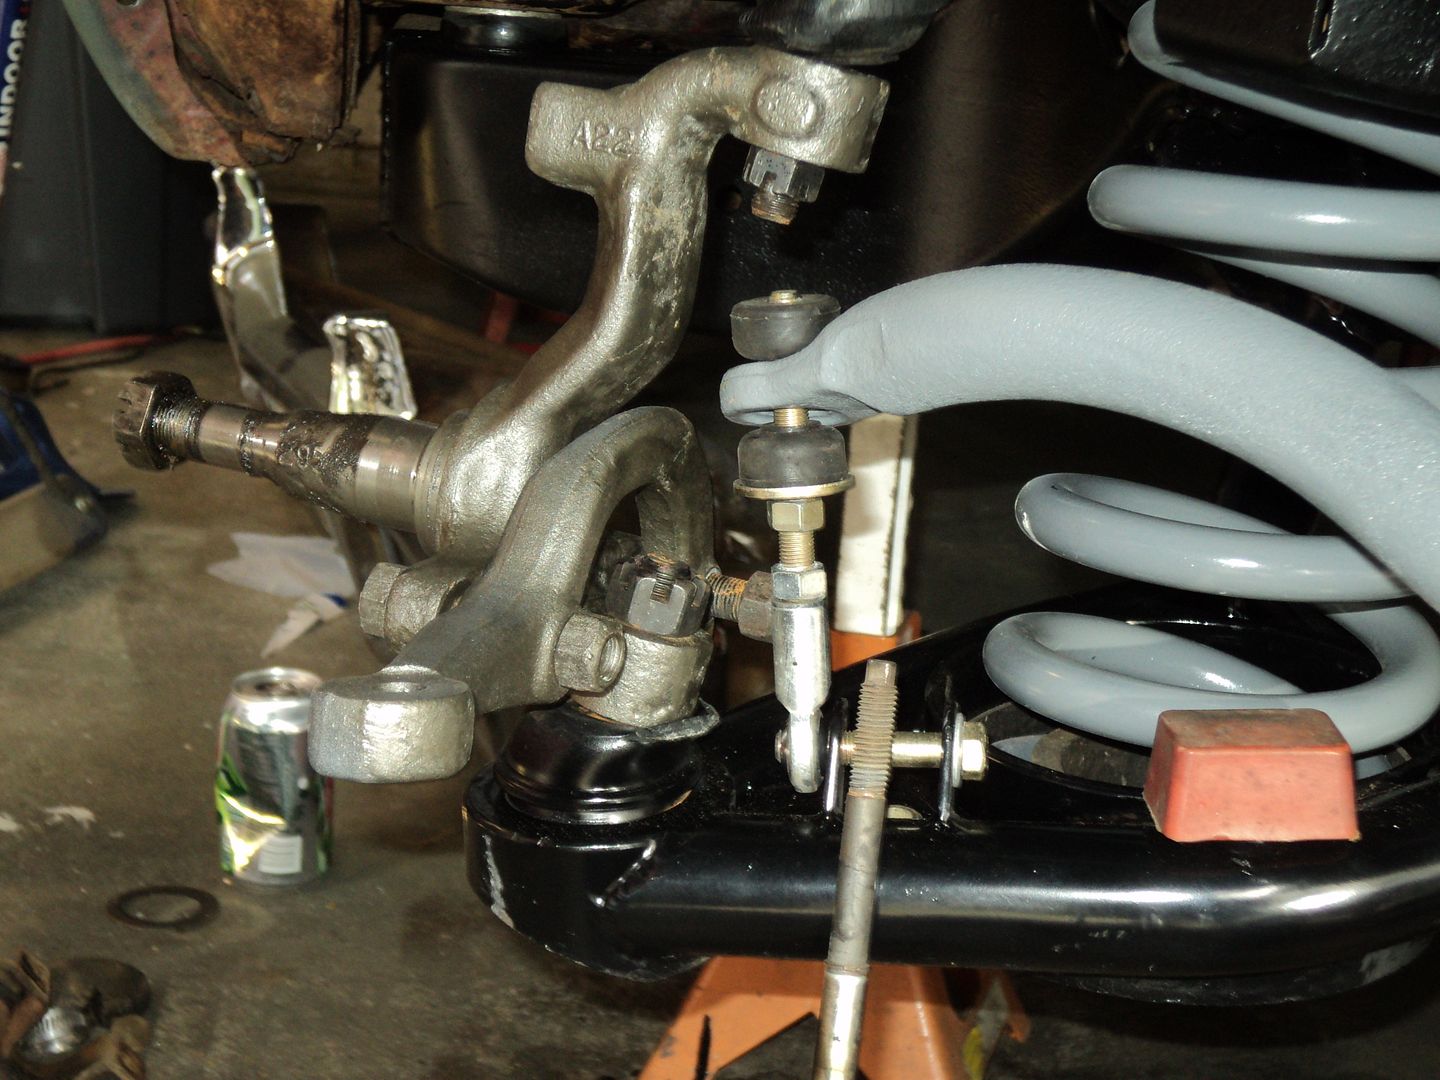
so I was stalled on the front suspension, as I didn’t have any good shocks, and the pitman arm will NOT come off of the jeep grand Cherokee box. I even broke my pitman arm puller. so its soaking in PB blaster, getting repeatedly torched, etc.
I moved on top the serpentine accessories. got everything mounted up (note: get all the hardware when you pull it, or plan on having a very good magic bolt bin. I had to really scratch my head on the block mounting hardware as I didn’t retain that when I pulled it.....)make sure you assemble the AC compressor to the bracket prior to install. put the crank pulley, then water pump, then AC bracket, then alt/ps bracket. you can install alt and PS pump in the car. this is the only order I found worked. the S10 blazer power steering pressure and return worked, I reused the metal line for the box from the jeep on the return side, and had to dig for some m8X1.25 bolts to hold the water pump pulley on.
the only two snags: my passengers side head was only drilled for one f the two bolts. the upper radiator hose will not fit, nor will the blazer upper radiator hose. what I found worked was an upper radiator hose from a mid 90's dodge ram van, with the straight up mopar water neck from a small block (had one). fit like a charm. thanks to Alex at oreilleys for spotting it!
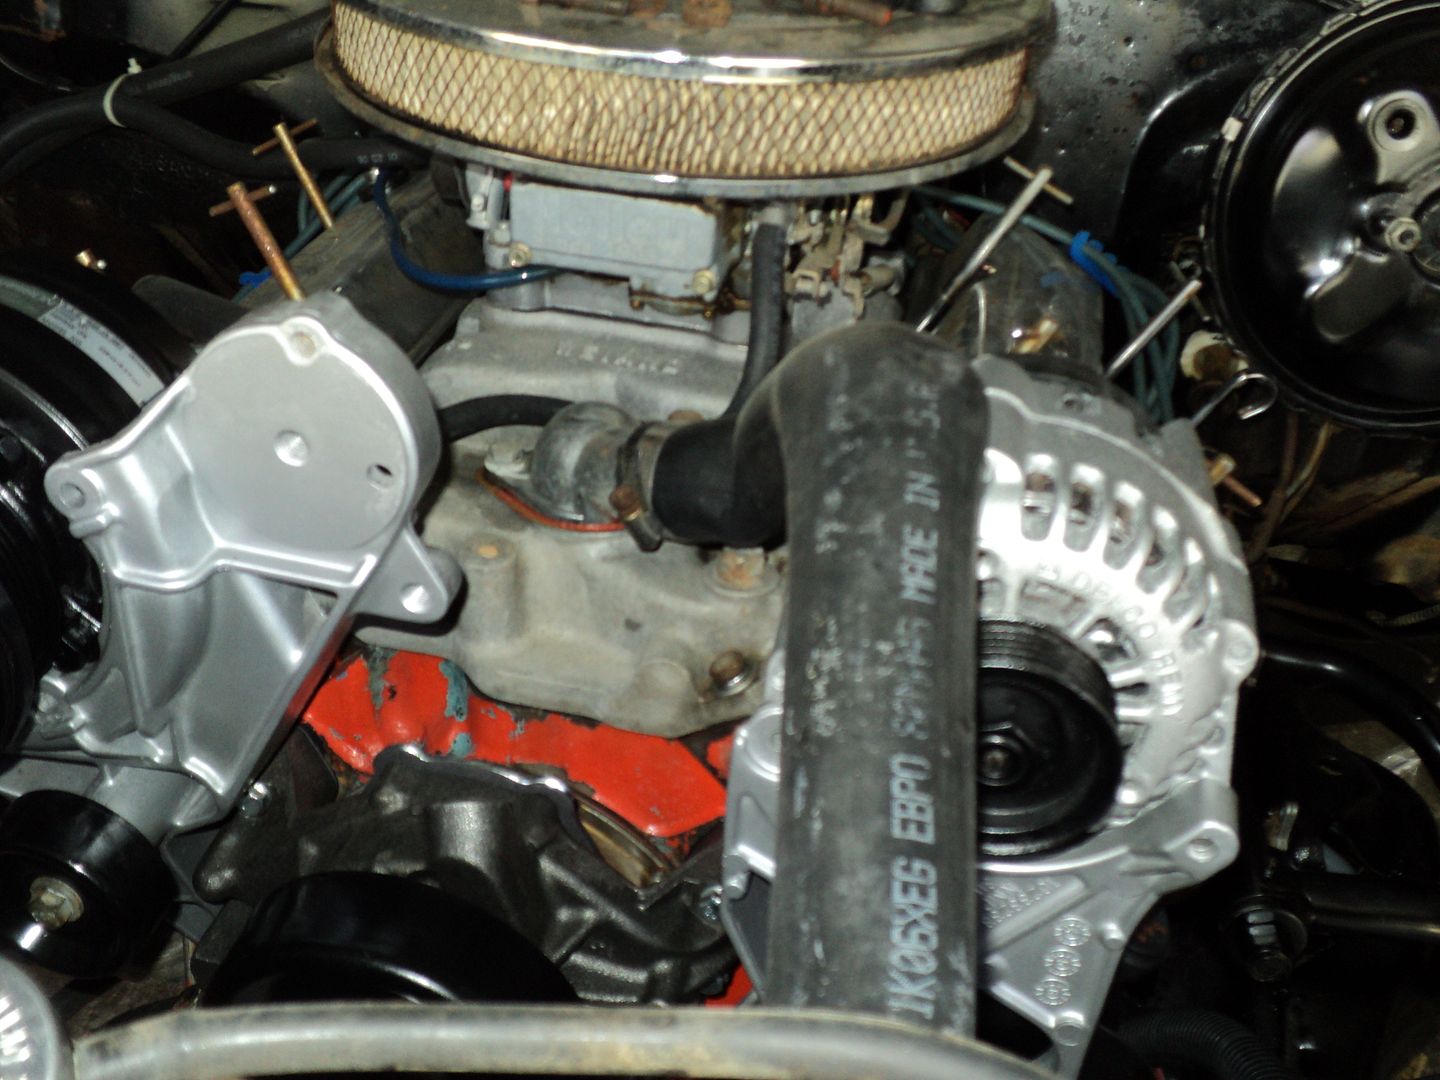
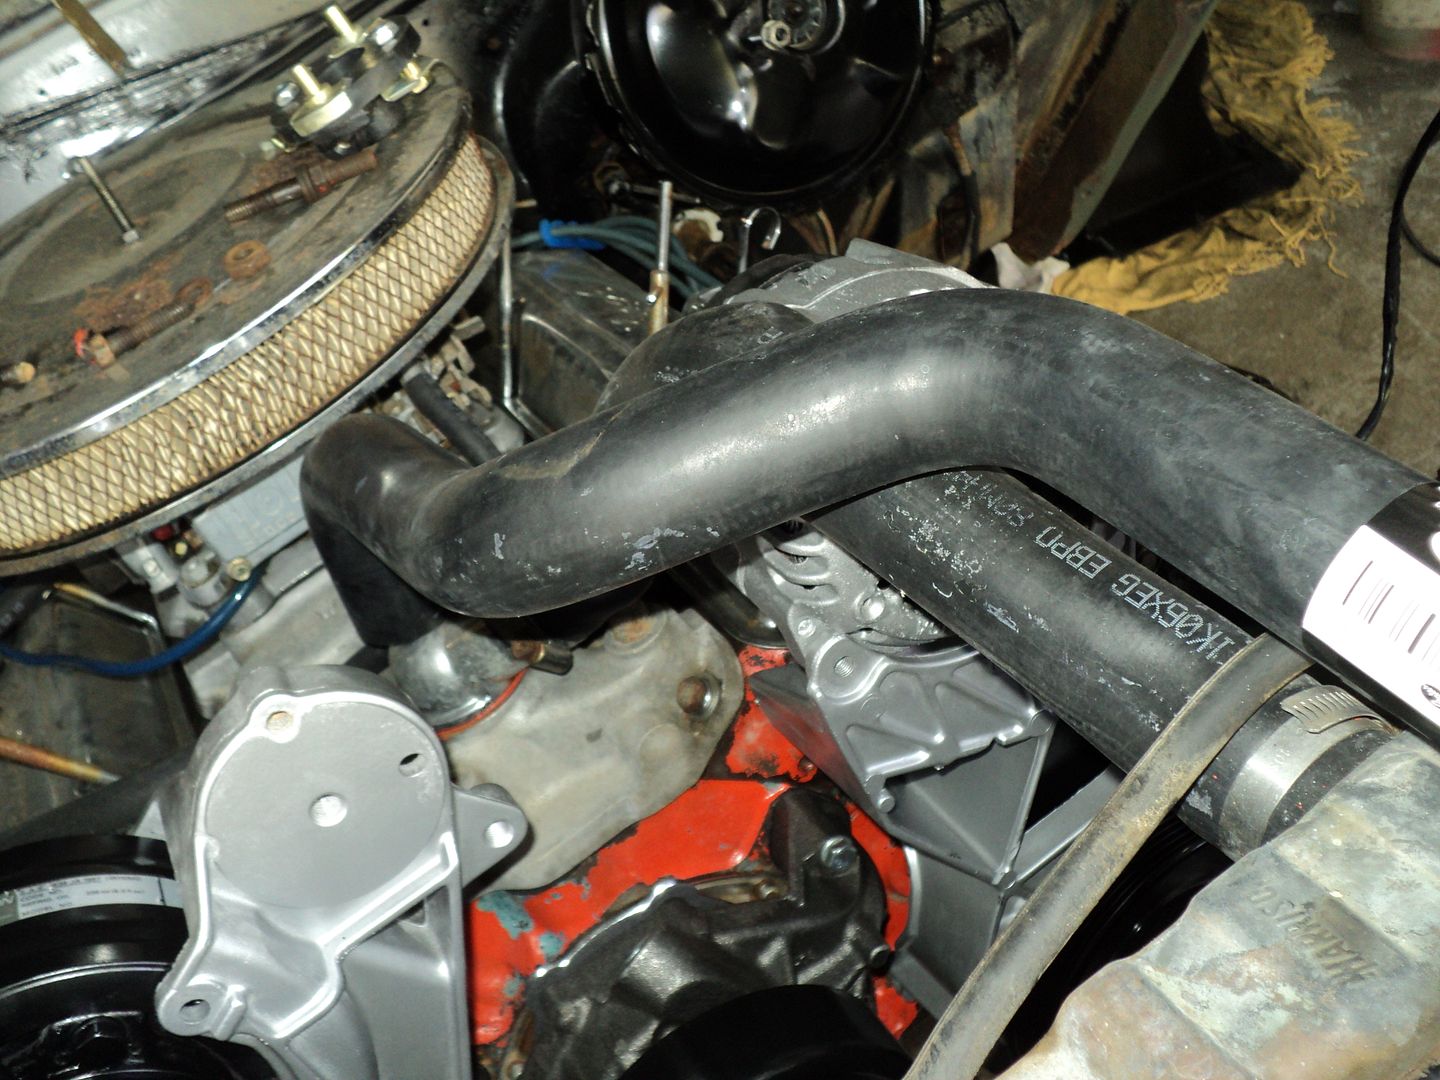
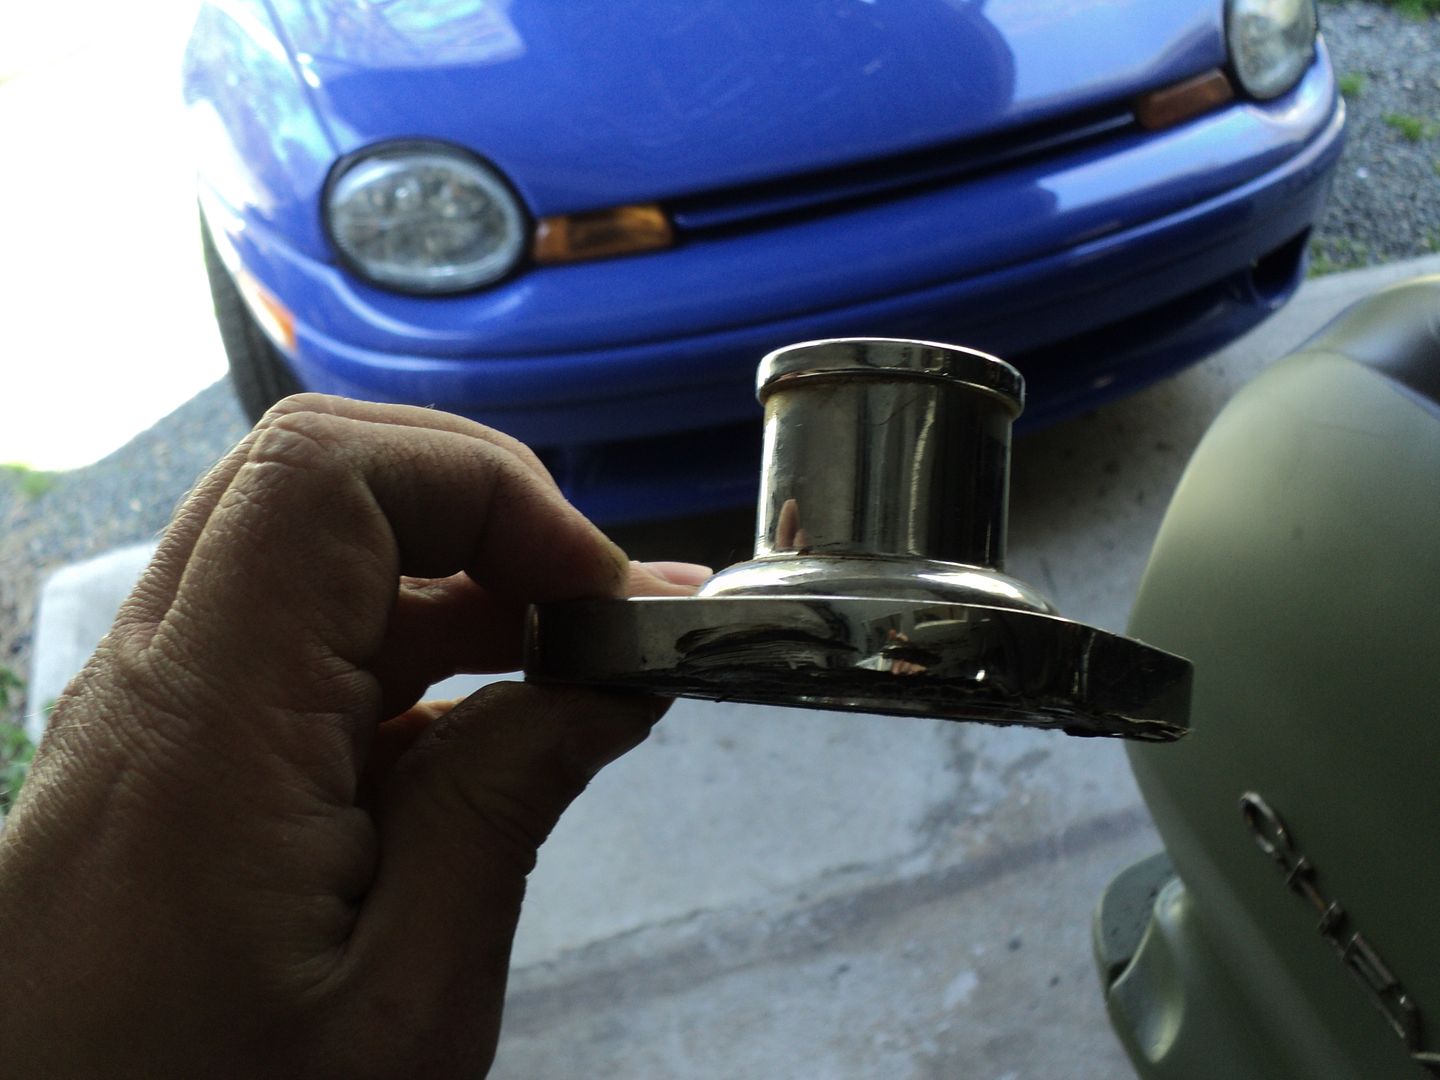
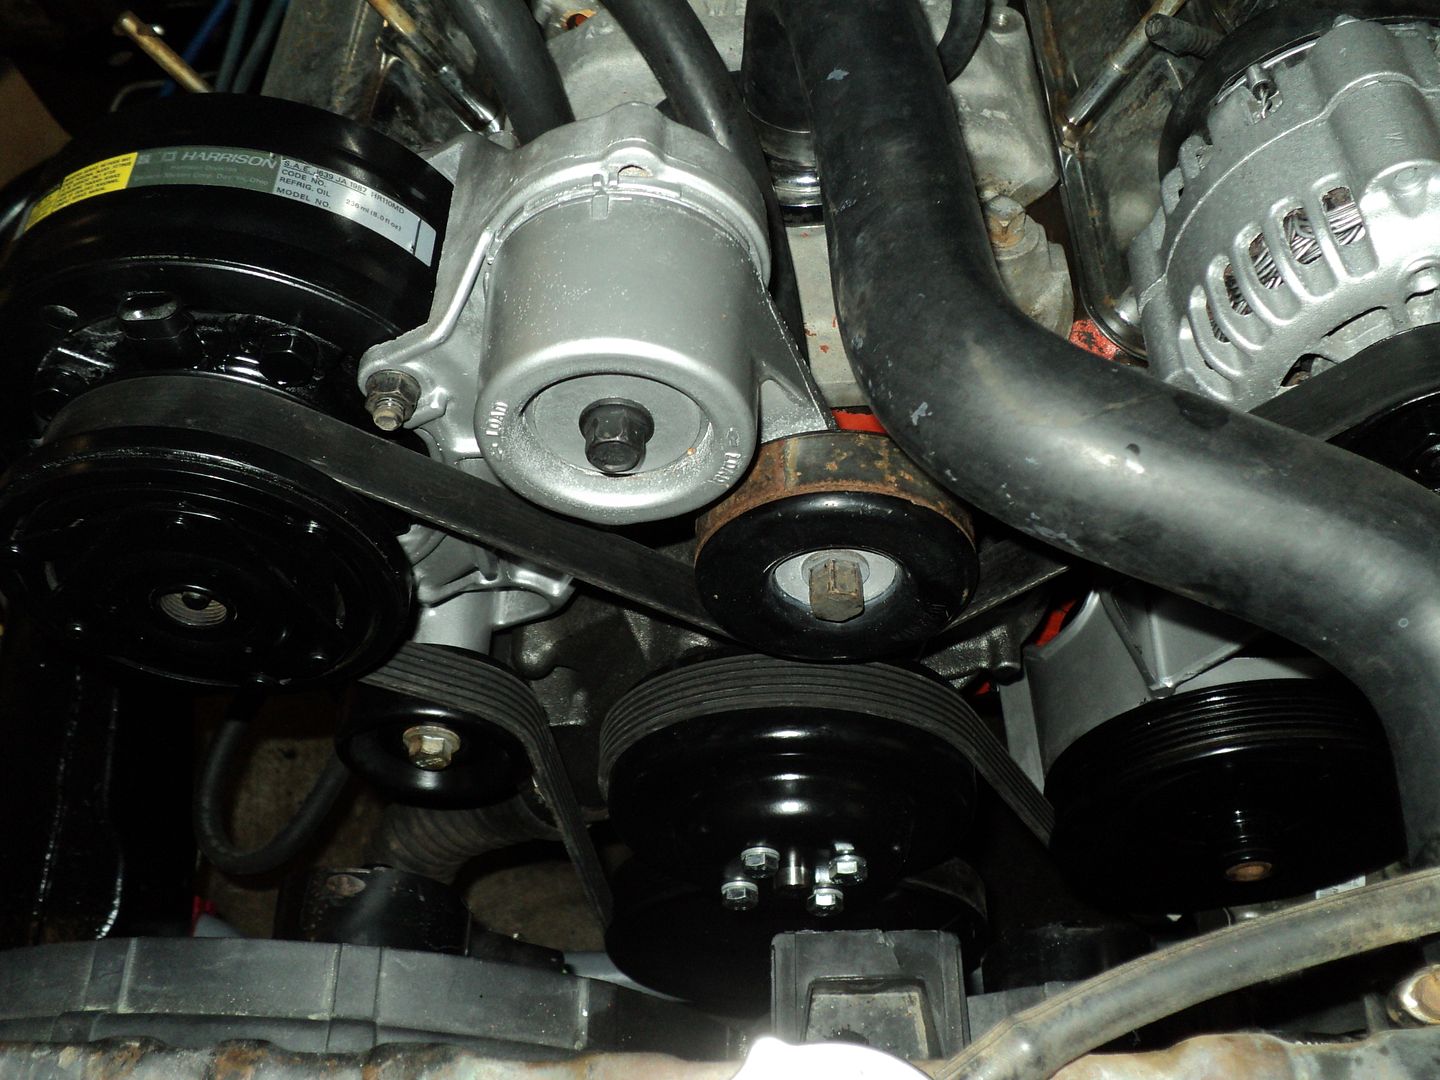
I also had to figure out a heater hose fitting. I'm glad I got the heavy duty water pump with threaded fitting now. pulled the pipe plug, and it was 1/2 NPT. got a short heater hose nipple for a 3/4 hose, put some thread sealer on there, and ran her home. shortened and re-routed the heater hoses while I was at it, and added my new serpentine belt that pull-a-part didn’t charge me for.
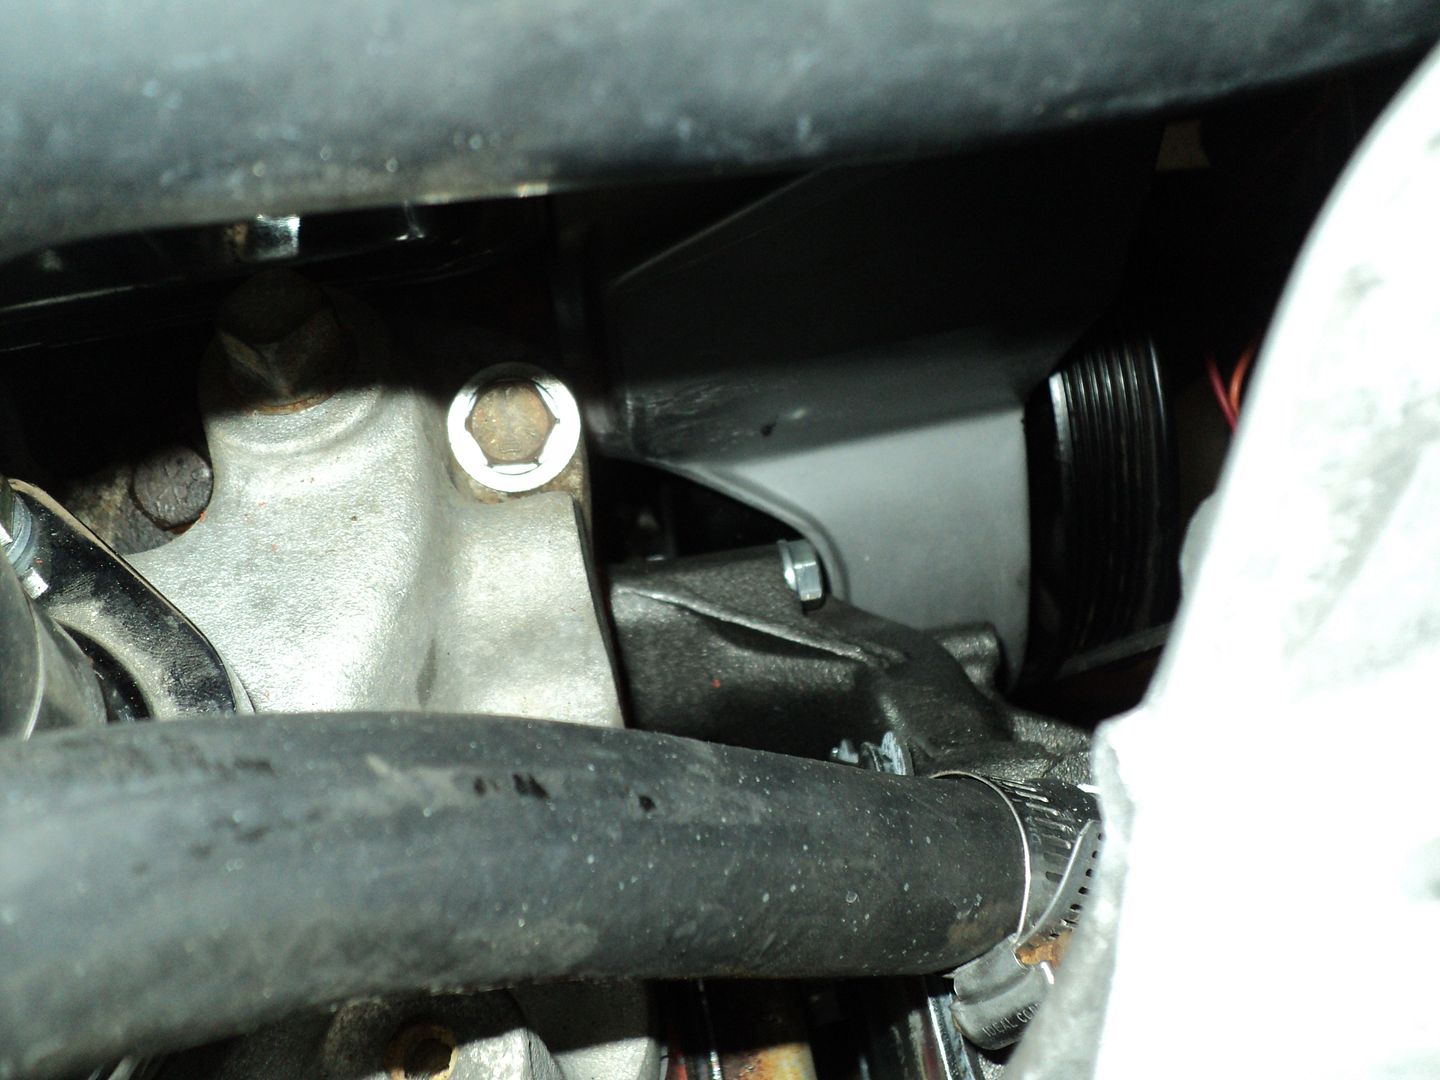
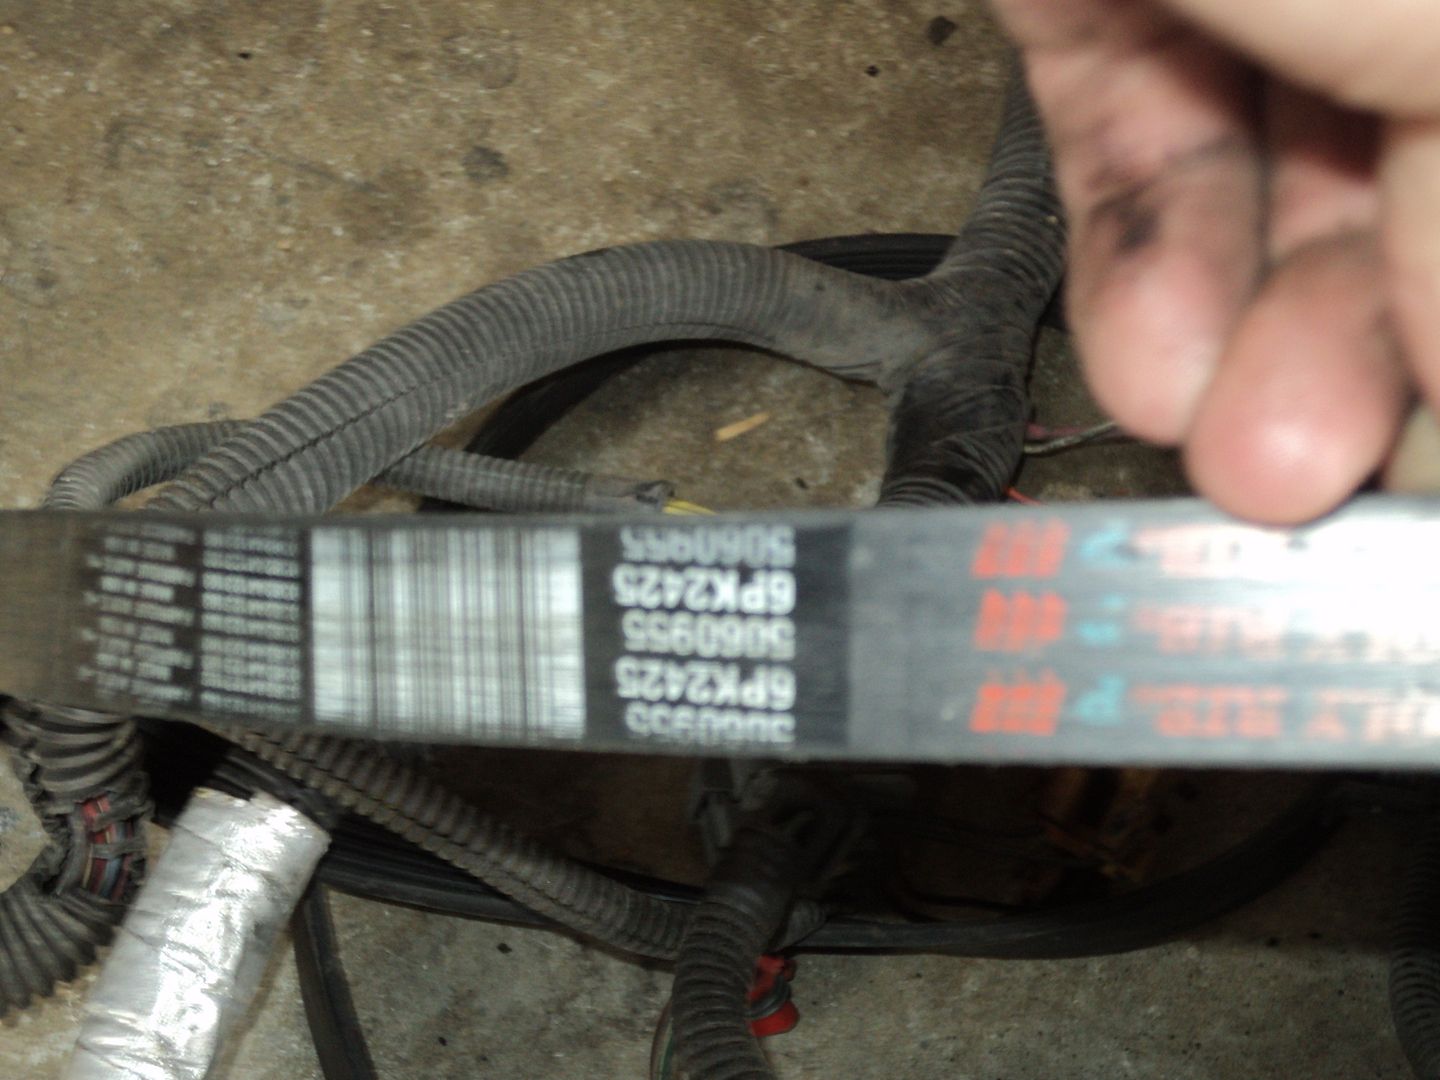
since I mentioned pull-a-part, I need to share my Saturday scores with you. dad needed a scissors jack, so him and I went down. after doing some interchange research, I found the rag joint for the steering box on a Cadillac and the aforementioned serpentine belt. still needed shocks. while driving one day, I had a thought about the factory bilstein shocks from the s10 blazers in the late 90's, early 2000's. after doing some research via the KYB specs catalog, I discovered that they had the same ends as the elky, with an inch less overall. that means shorter at full rebound, and shorter at full compression. since the truck will be lowered about 2 inches all the way around, this should work. so I got a set at less than 7 bucks each. I also stumbled across a 94 full-size Chevy 2wd with a 350 auto. got the harness and ECM. should have gotten the trans, as it looked fresh. I'm hoping its still there Saturday morning, cause I'm going after it. the truck even had a red interior. I nabbed the 3 point seatbelts for a retrofit into the el-camino.
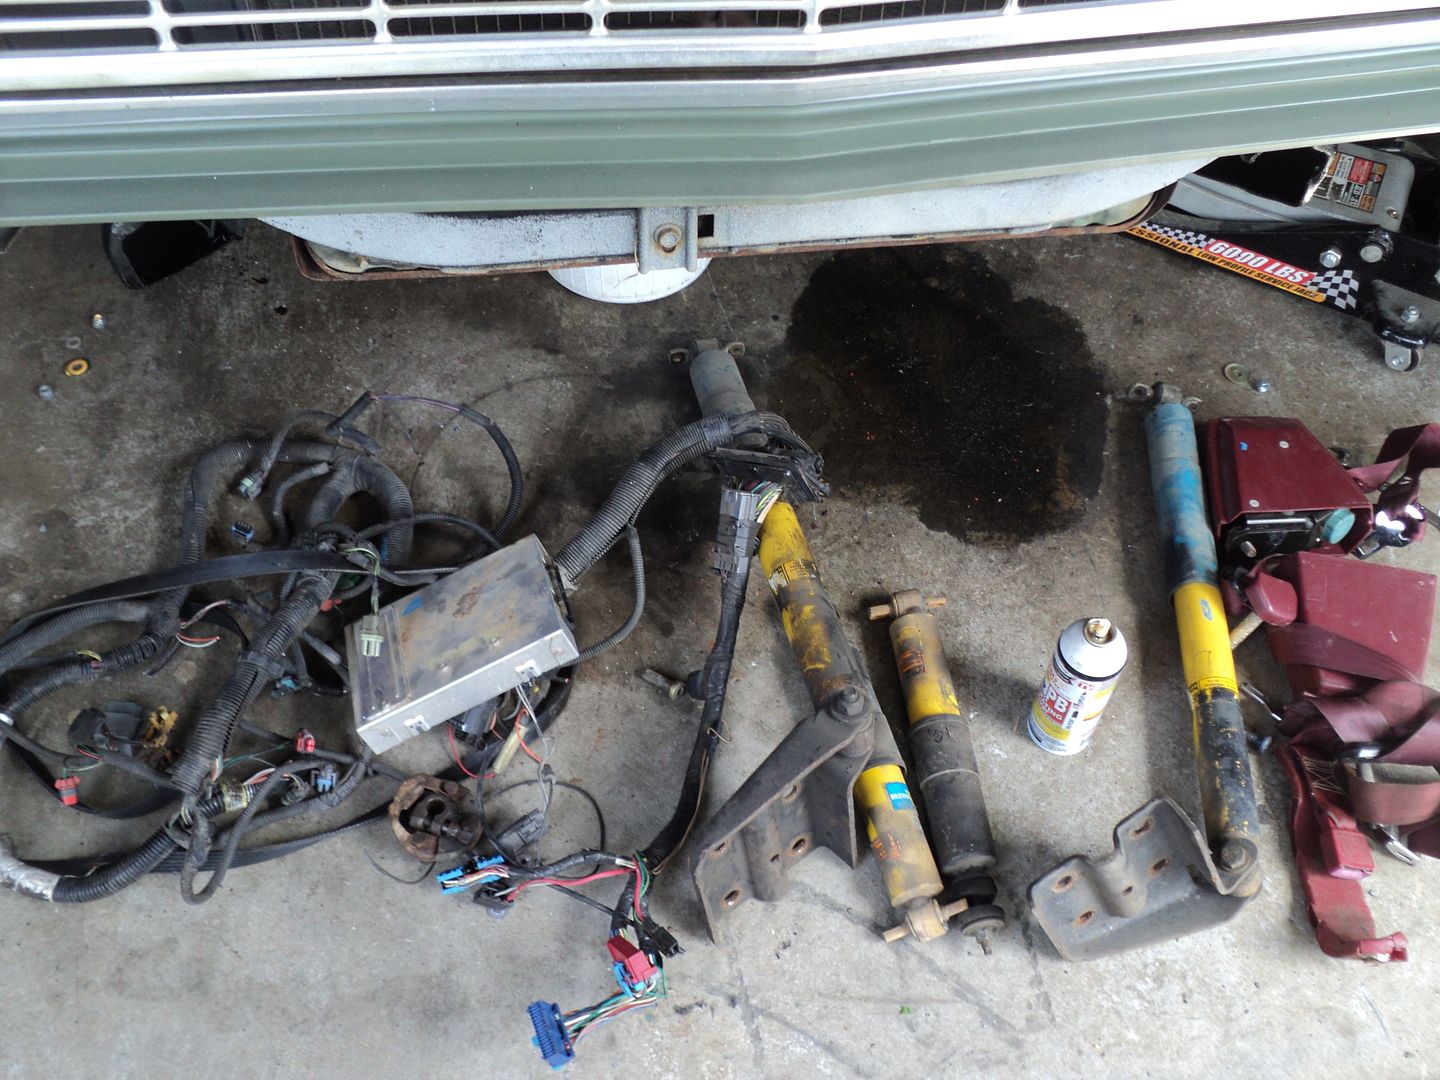
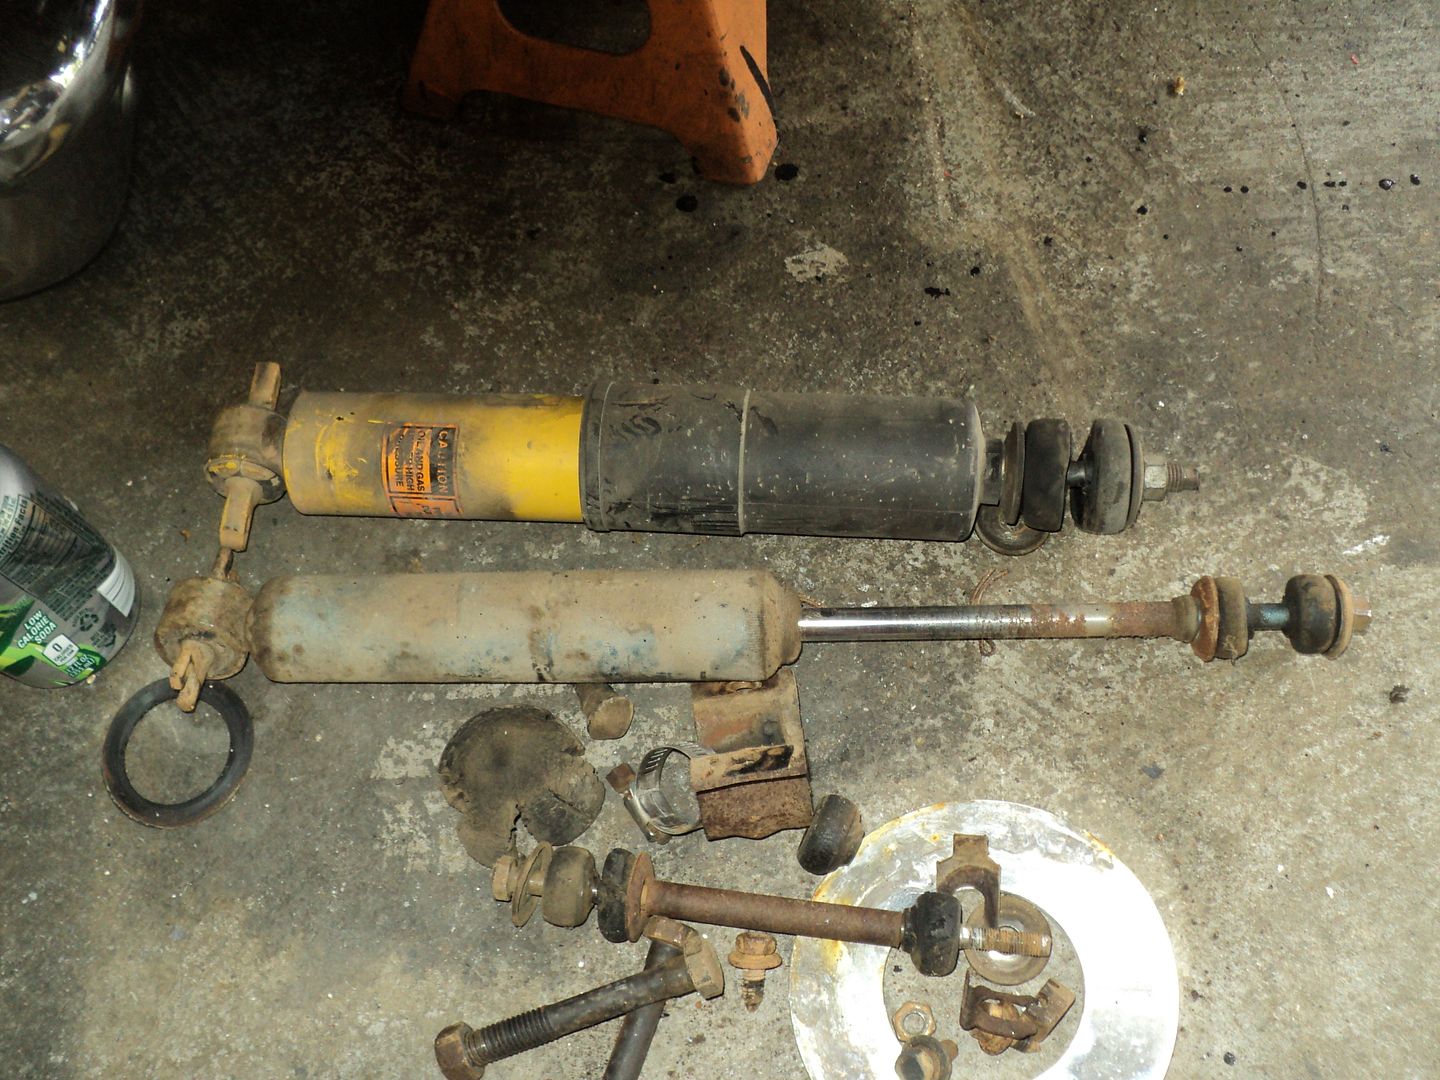
the rear shocks are almost exactly the same as the comp engineering drag shocks I just sold. dimensionally that it. the fronts, on the other hand, look considerably shorter, they are about 1/2 inch bigger diameter on the shock body, and the holes to mount to the LCA are a little too far apart. after scratching my head, and googling some, it turns out that the guys running adjustable shocks, etc, are installing them with their springs instead of enlarging the hole in the LCA. so that’s what I'm doing. grinding the mount holes on the shock until it fits, then pulling the coil and putting the pair in together.
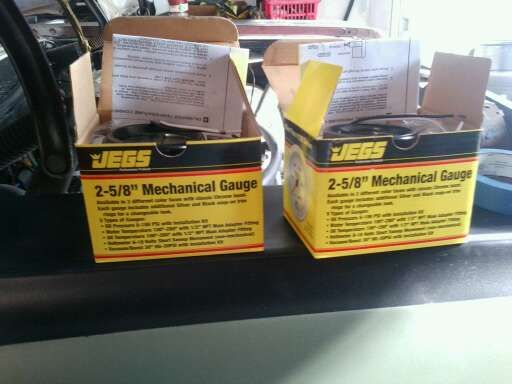
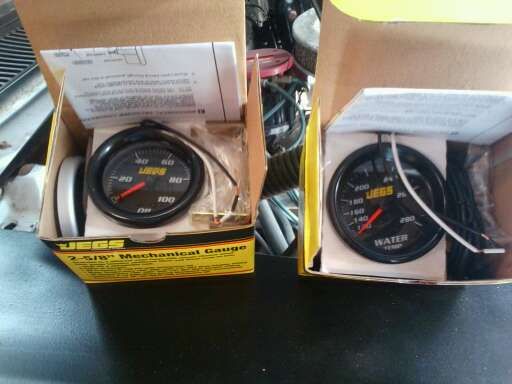
also, over Easter, my wife and daughter got me a pair of jegs mechanical 2 5/8 water temp/oil pressure gauges. this will get sank into the cluster where the AC vent would have been. the factory idiot lights will be retained on the cluster as warning lights. I also got a used sony CD player for helping a guy, sill ill put that in place after bezel repair and clearanceing.
and then, to finish this update, I got my hubs and rotors back from the machine shop today. Hollis, the shop owner, and I are fellow mopar guys. he is also the nest machinist I've ever met. competed in the engine masters challenge, etc. great guy as well. so I went down to pick up my parts after work, and spotted a TBI in his scrap metal pile. I told him what I was doing, and he gave me that as well as a flexplate.
the machining on the hubs and brake rotors (turned) was top notch. he also bead blasted and hot tanked everything....
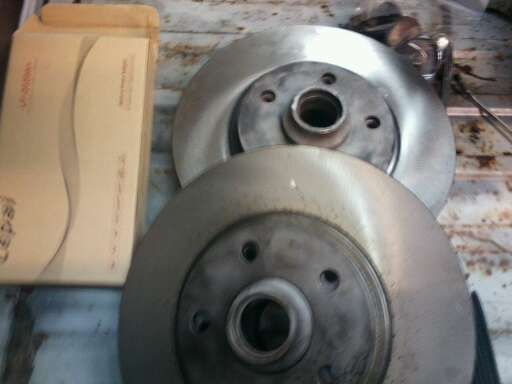
thanks for reading. ill be back at shock mods tomorrow, and hopefully getting the steering box removed again for couple install, and cutting the old pitman off.
so, budget first:
previous total: 5494.67
parts for this update:
new TRW bearings and races for the front hubs: $32 at o'reilleys
second pair 1. wheel spacers: 60
cancelled wheel order that I made in January and still haven't received: -411
sold t-70's to dad: -250
got the z06 wheels and spacers out of storage: Add 120 BACK in.
new 7/16X20 lug nuts: 7 dollars for all 20
new total: 5052.67
so I've been at it HARD since Friday morning. like totalled 6 hours of sleep since then hard. my wife and daughter left Friday morning to go visit extended family out of state, and I was on call so I couldn’t leave the county. which meant it was ON for shop time. brewed a giant pot of coffee (like the pot you see at large meetings, institutions, etc) that was about the consistency of roofing tar, put some van halen on the CD player, cranked the stereo, and dove in. I was splitting my time between on call work, the duster, and the elky.
Friday I got the bilsteins modified, installed, and tightened down. wound up hitting the easy button on that one. cut the cross shaft down to where it would fit through the hole in the LCA, then hit the hole with the edge of a grinding wheel on a 4 inch grinder until it became a slot and fit the LCA shock mount pattern. this was after a futile experiment with the chevelle crosspiece that will not press into the bilstein shocks. different diameter, and I was going to destroy the shock bushing in the process. I also got the sway bar end links made up. used an old sway bar end link spacer cut down to length for the spacer in the LCA. worked like a charm with some longer bolts. when I went to install the bilsteins, I had to compress the suspension considerably to get the top nut on. more on that later.
[URL=http://s54.photobucket.com/user/dusterbd13/media/1964%20elcamino/001_zps5ea8377e.jpg.html]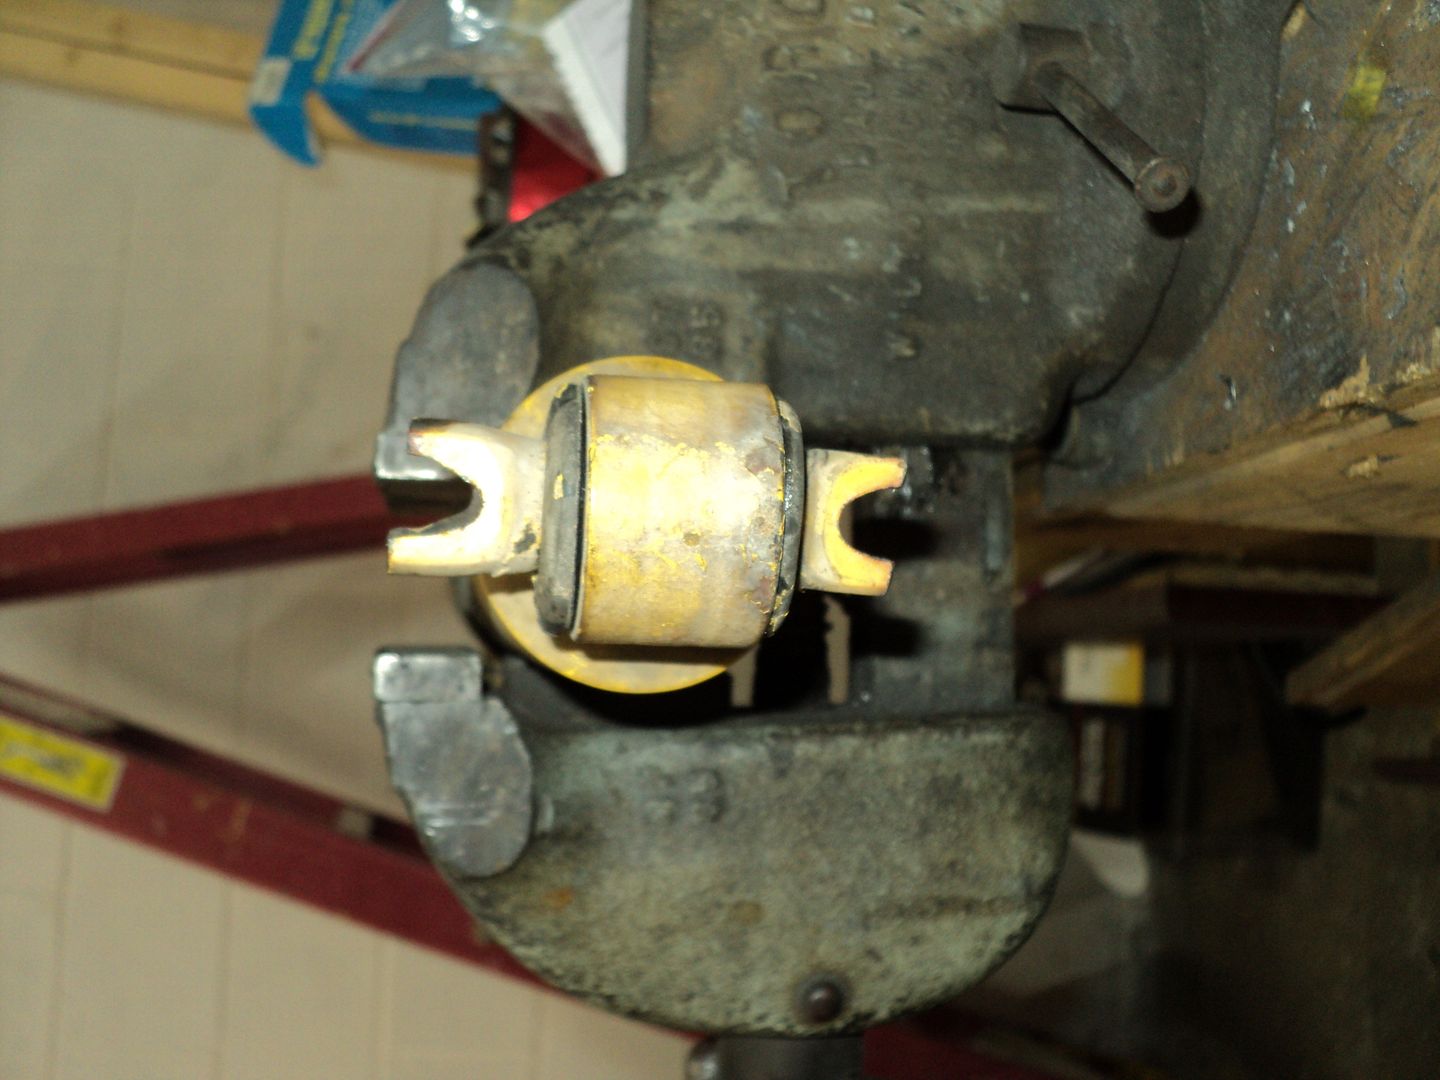 [/URL]
[URL=http://s54.photobucket.com/user/dusterbd13/media/1964%20elcamino/010_zpsd56a165e.jpg.html]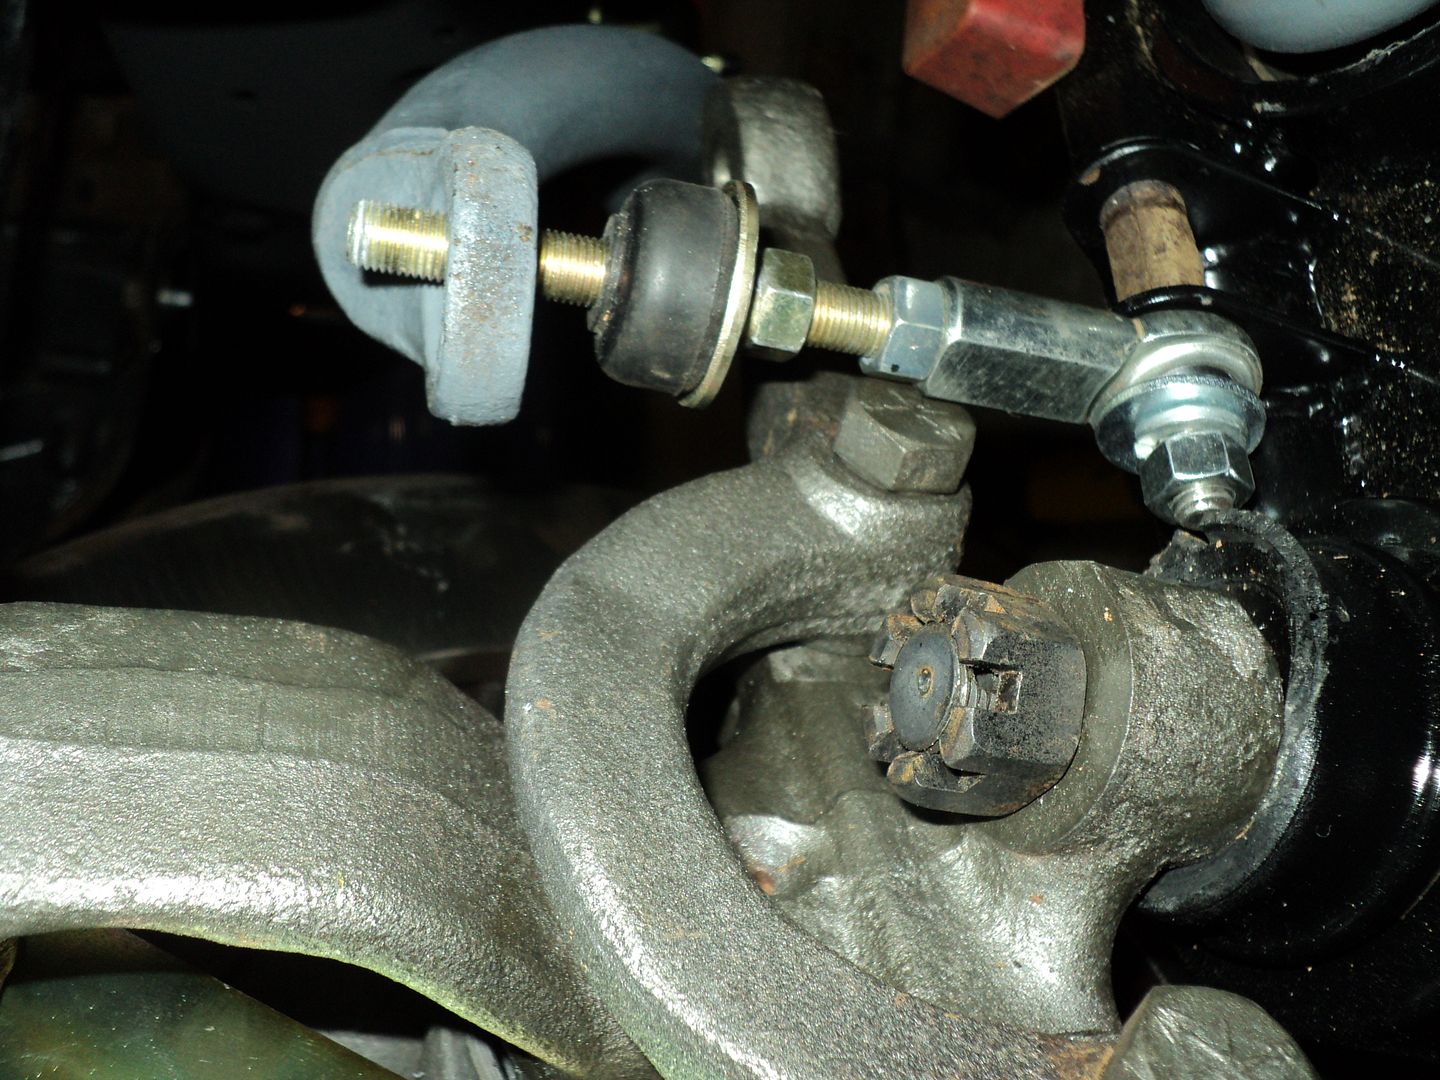 [/URL]
I then turned to the pitman arm. after exchanging my broken puller, I put the new one on and the pitman arm still didn’t budge. after repeated soakings with PB blaster, repeated torching, etc, it still wouldn't move. so I got brave. put a cut off wheel on my grinder, and cut a slot in the arm. not the whole way through, but close. didn’t want to damage the sector shaft in the box. this worked like a charm. put the puller back on, tensioned t with my breaker bar, and smacked the old/cut pitman arm with a 3lb hammer. popped right off. cleaned the splines, put on the new pitman arm after centering the box, and installed the old steering linkage. also installed the rag joint.
[URL=http://s54.photobucket.com/user/dusterbd13/media/1964%20elcamino/007_zps425afe06.jpg.html]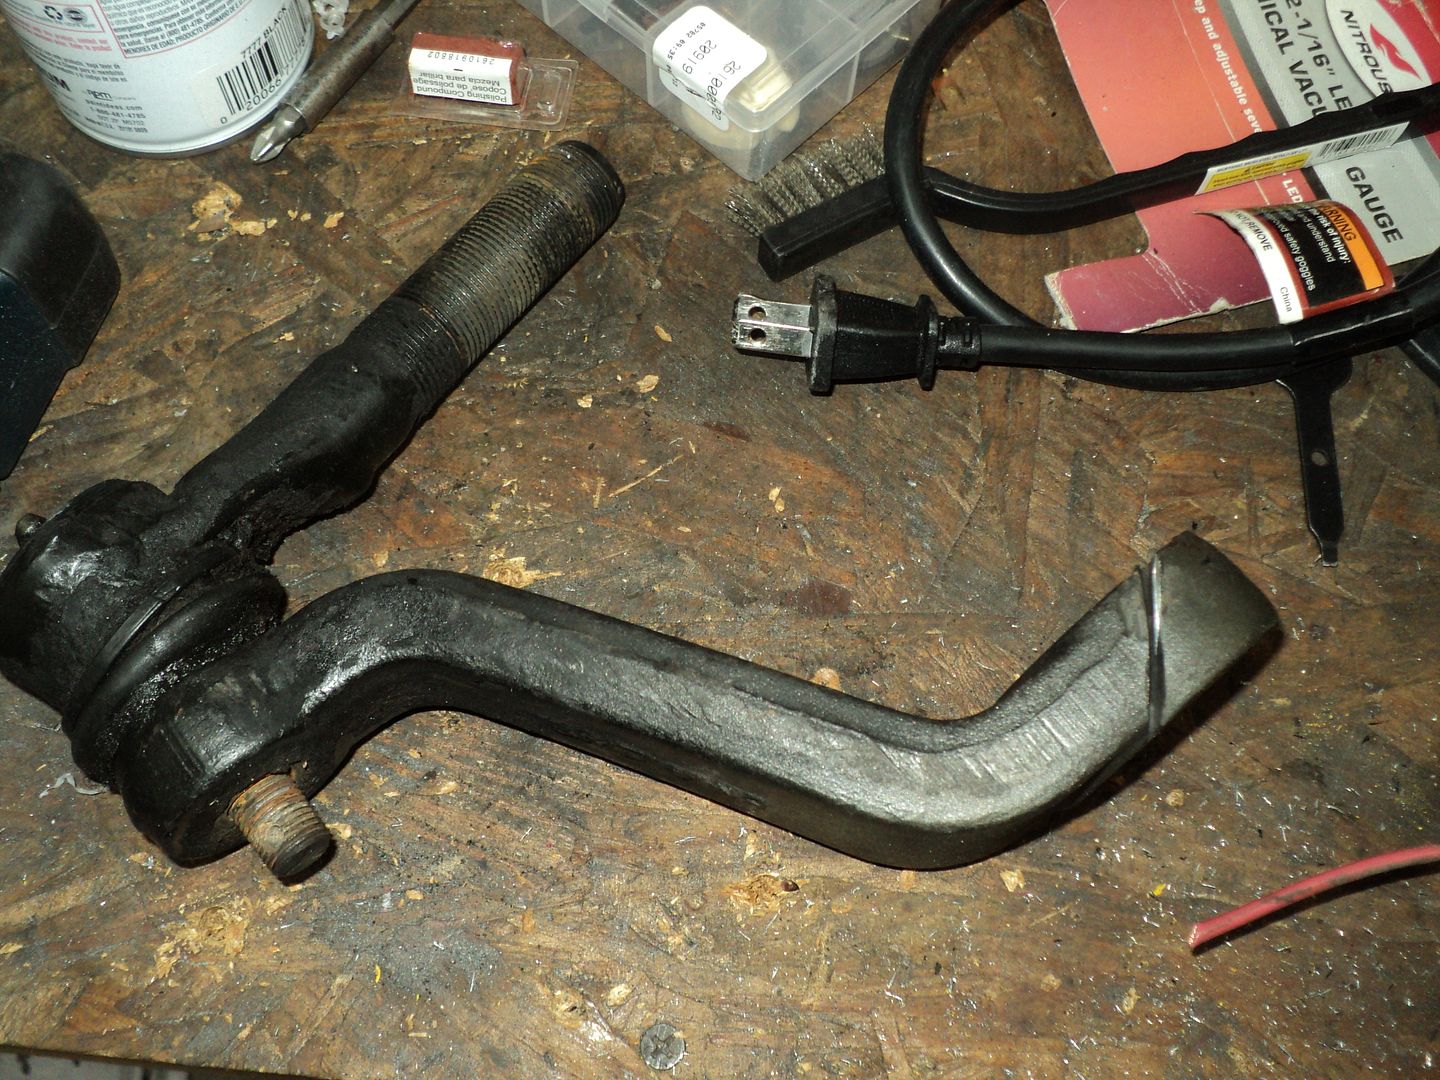 [/URL]
[URL=http://s54.photobucket.com/user/dusterbd13/media/1964%20elcamino/012_zps49756ebb.jpg.html]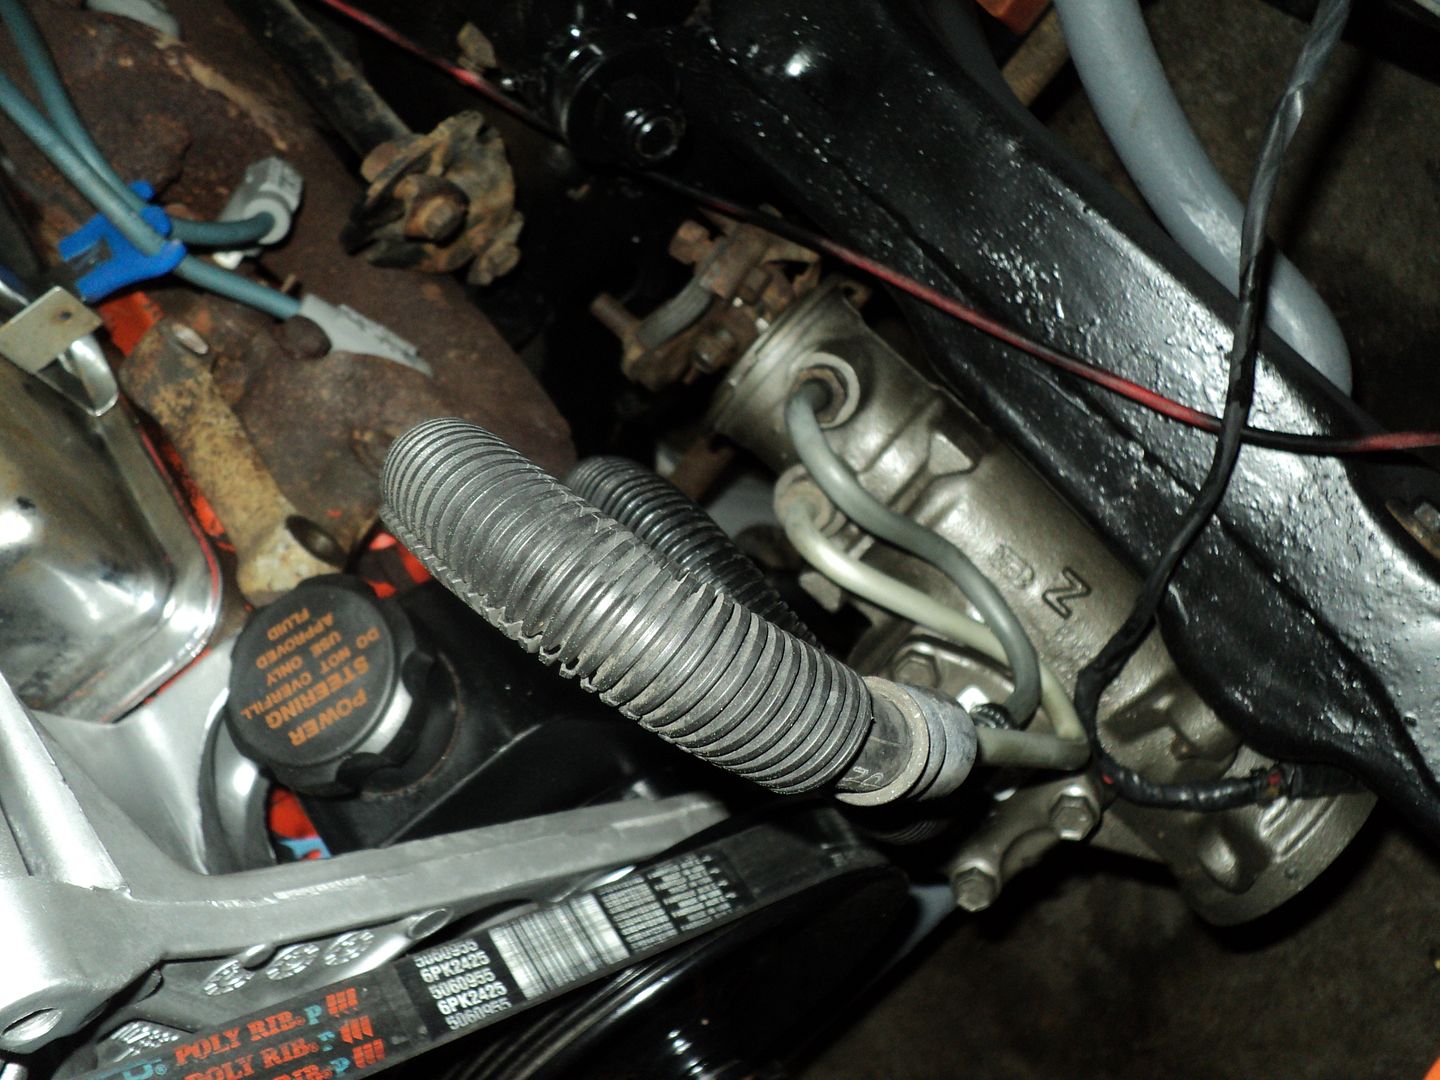 [/URL]
[URL=http://s54.photobucket.com/user/dusterbd13/media/1964%20elcamino/014_zpsb170ea4f.jpg.html]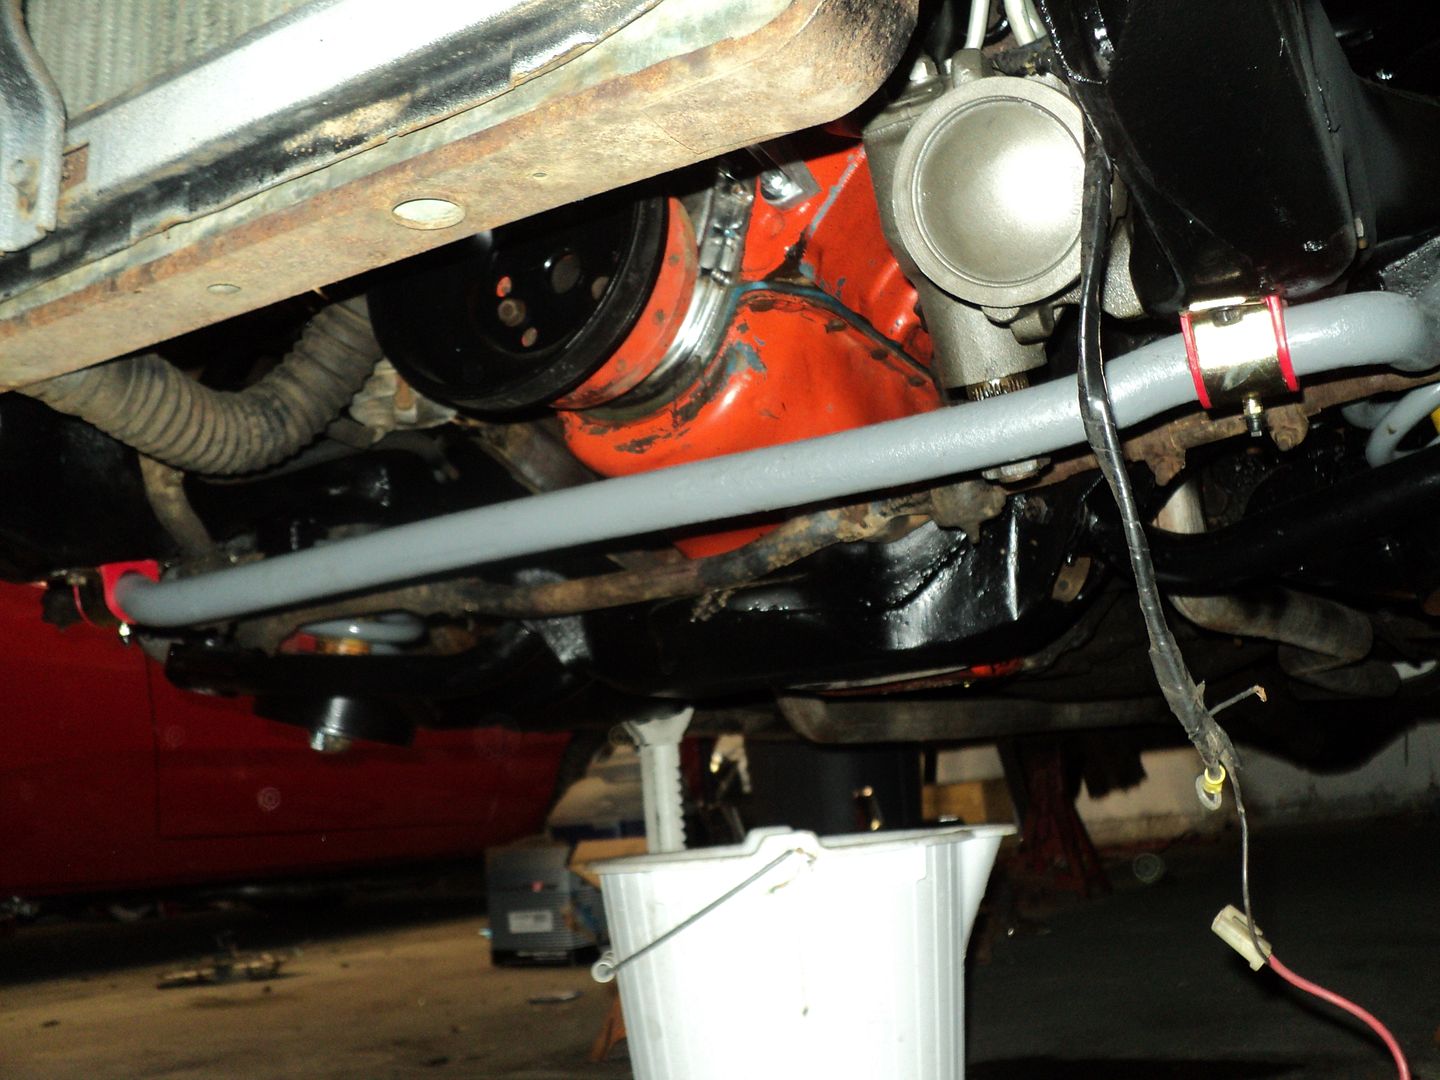 [/URL]
front suspension: DONE! except for greasing, hubs, and tightening fasteners.
I then went down to dads shop to use the parts washer to clean up the old wheel bearings. I shouldn’t have bothered. they were all junk. bent and cracked cages, galled needles, etc. bought new ones with races at o'reilleys, pressed in the races, cleaned up the wheel studs on the wire wheel and pressed them back in. that job was done. when I went to install them, I discovered that the first set of wheel bearings was mismachined by a few thousandths and would not fit. exchanged them, and the drivers side fit perfect. passengers would not go on the spindle. got to looking, and found the spindle was slightly scored up from a wheel bearing failure at some point. so after hand machining with a file and emery cloth , the hubs went on.
I then moved on to brakes to see what kind of spindle mods I would need to do. remember, I had picked up the flyinbye brackets to use LS1 Camaro front brakes. after trying things my way, I read the directions and followed them. they fit, centering the rotor in the abutment bracket. cleaned and painted my calipers, and did a test fit of everything.
[URL=http://s54.photobucket.com/user/dusterbd13/media/1964%20elcamino/009_zpsc4d812cf.jpg.html]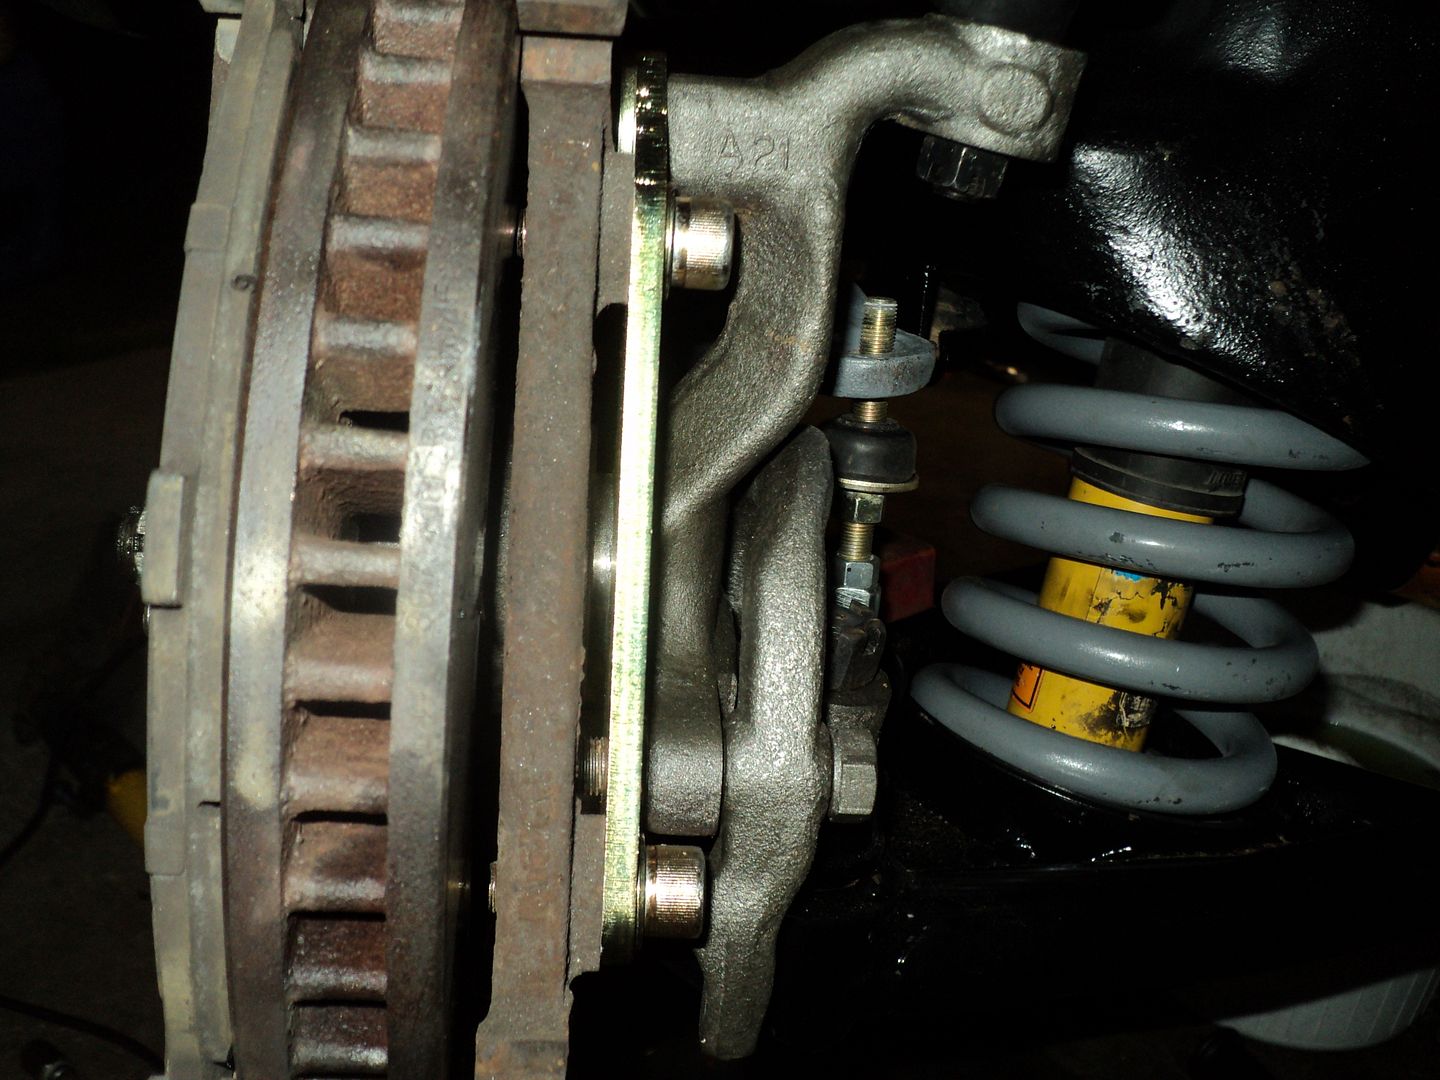 [/URL]
[URL=http://s54.photobucket.com/user/dusterbd13/media/1964%20elcamino/008_zps9bf7e720.jpg.html]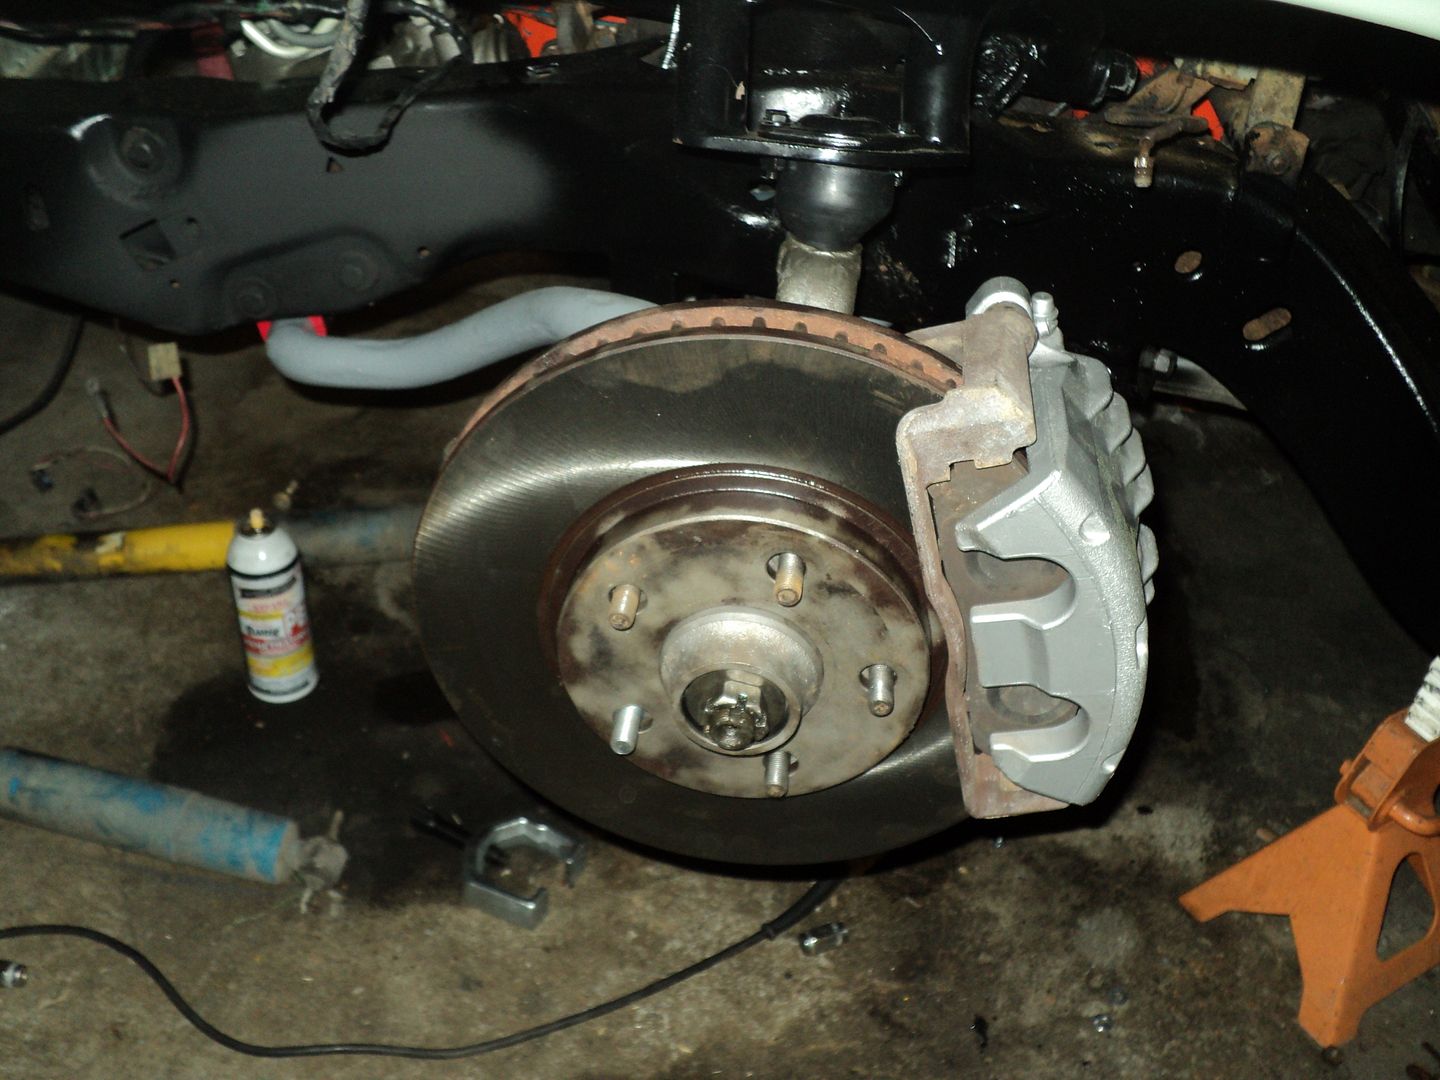 [/URL]
still have to paint the abutment brackets and rotors, but it works. and looks ginormous!
I moved on to the interior, and got the cluster the rest of the way out. its pretty bad. ill show that all in another update soon. the wiring behind it was pretty bad as well. that needs addressed before electrical fire.
[URL=http://s54.photobucket.com/user/dusterbd13/media/1964%20elcamino/019_zps2c6c3250.jpg.html]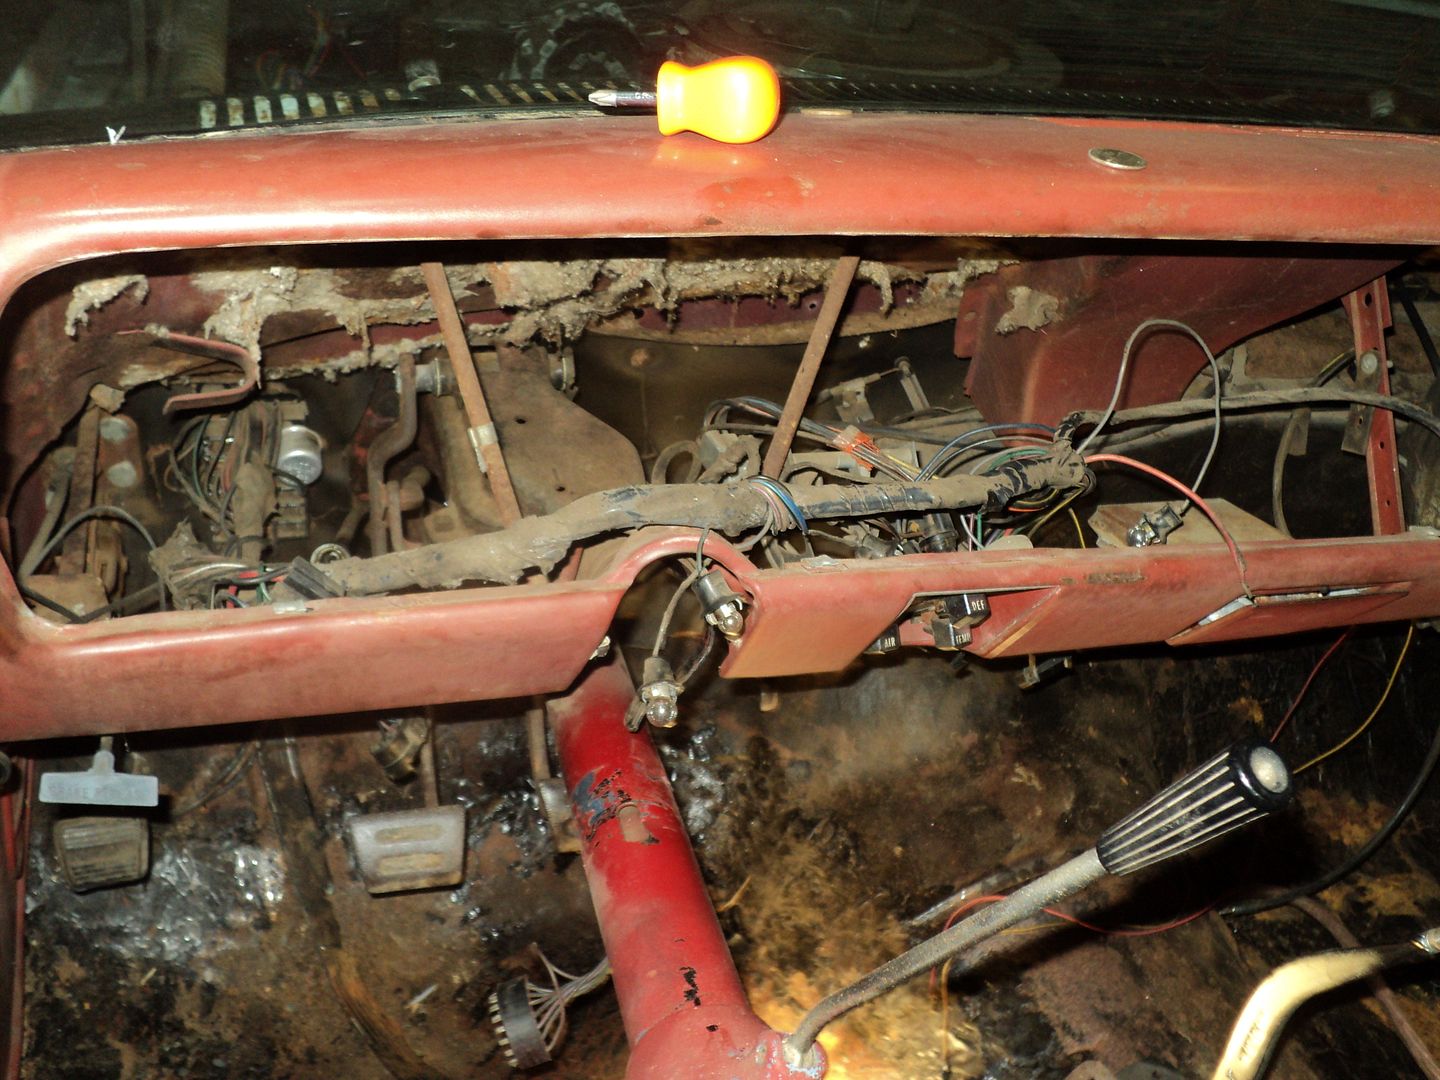 [/URL]
tonight, after a 12 hour workday, and no sleep from pulling a 6 hour third shift last night as well, I had to see some progress. visible progress. I had my tire guy mount some junk 275/40/17s on the z06 wheels on lunch today while I slept in the car. came home tonight, put the wheel spacers on with the new lug nuts, slipped the zo6 wheels/tires on the spacers, and sat it on the ground.
oh, my, does it have the right stance and style. I didn’t like these wheels on this car before, but now they're perfect. also, I discovered today that it would be JUNE before I could get my wheels from wheel vintques. that is unacceptable. the z06 vette wheels with 1.5 inch spacers clear everything with room to spare, at almost full compression, from lock to lock.
[URL=http://s54.photobucket.com/user/dusterbd13/media/1964%20elcamino/031_zps4d38b730.jpg.html]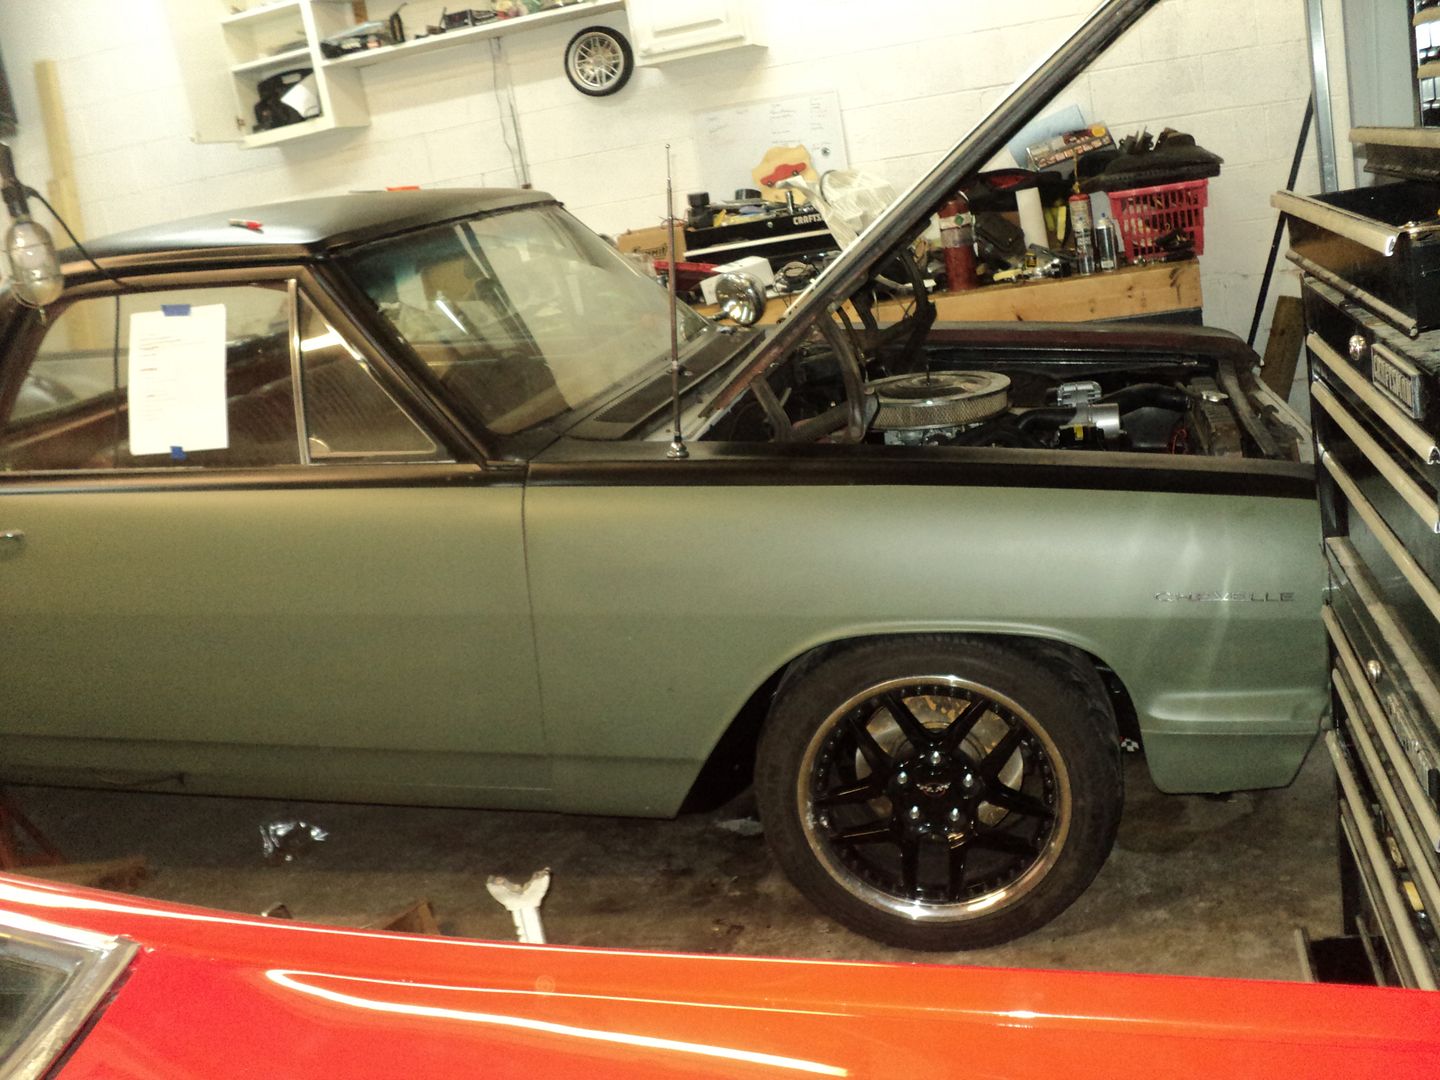 [/URL]
[URL=http://s54.photobucket.com/user/dusterbd13/media/1964%20elcamino/030_zpscb642df3.jpg.html]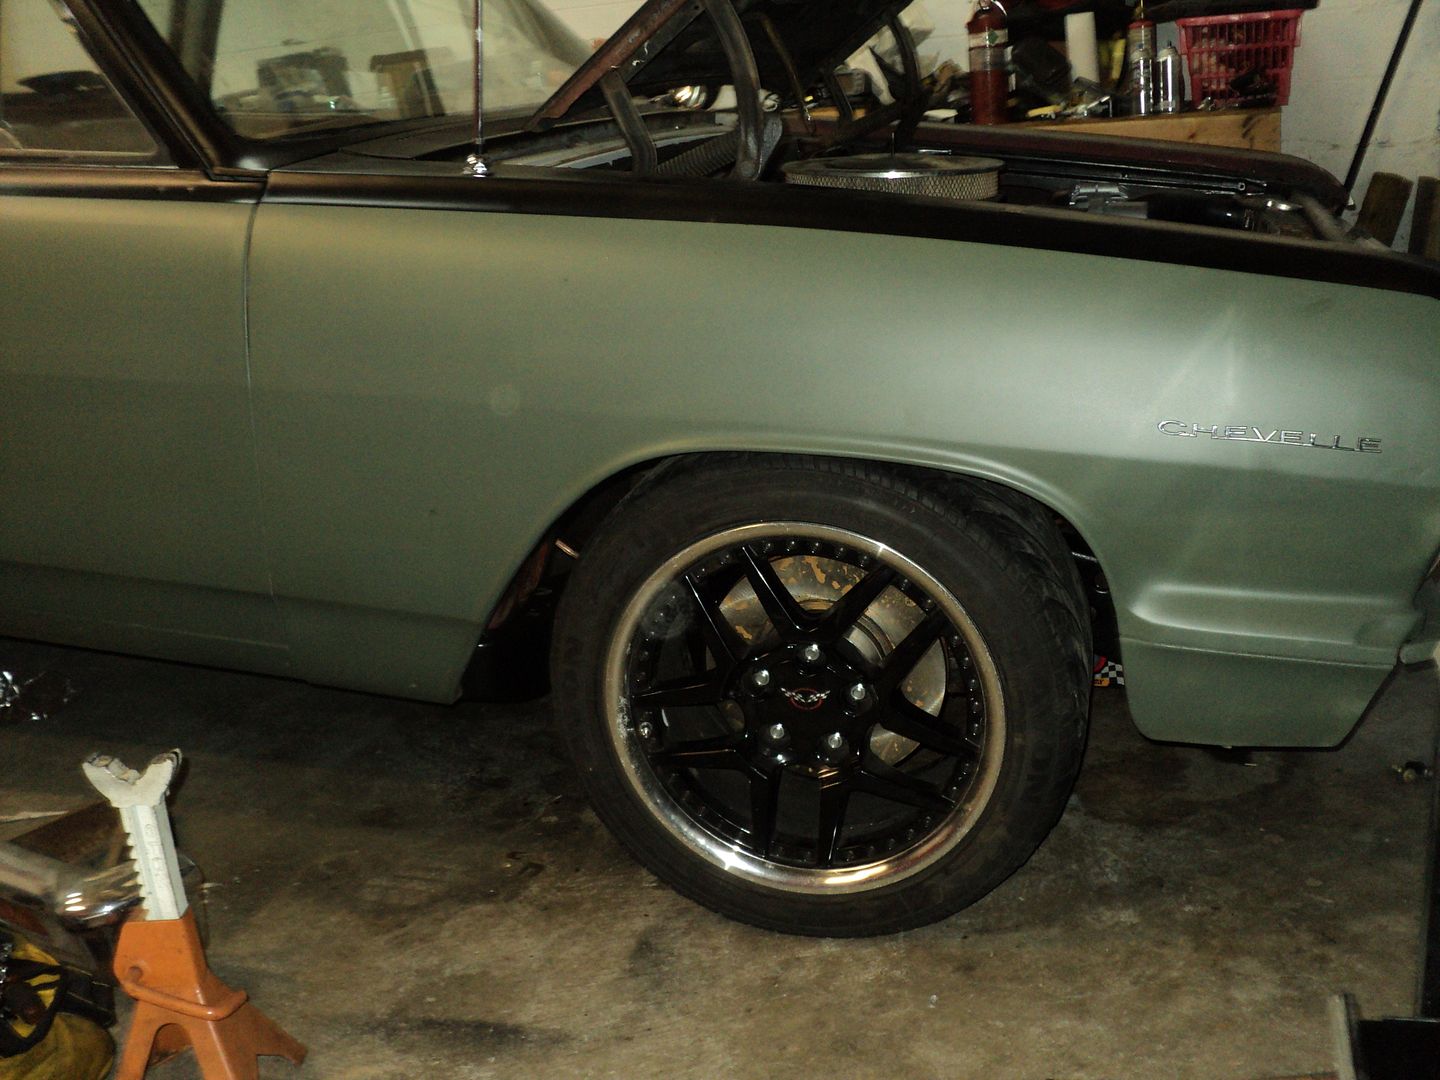 [/URL]
[URL=http://s54.photobucket.com/user/dusterbd13/media/1964%20elcamino/035_zps9236b518.jpg.html]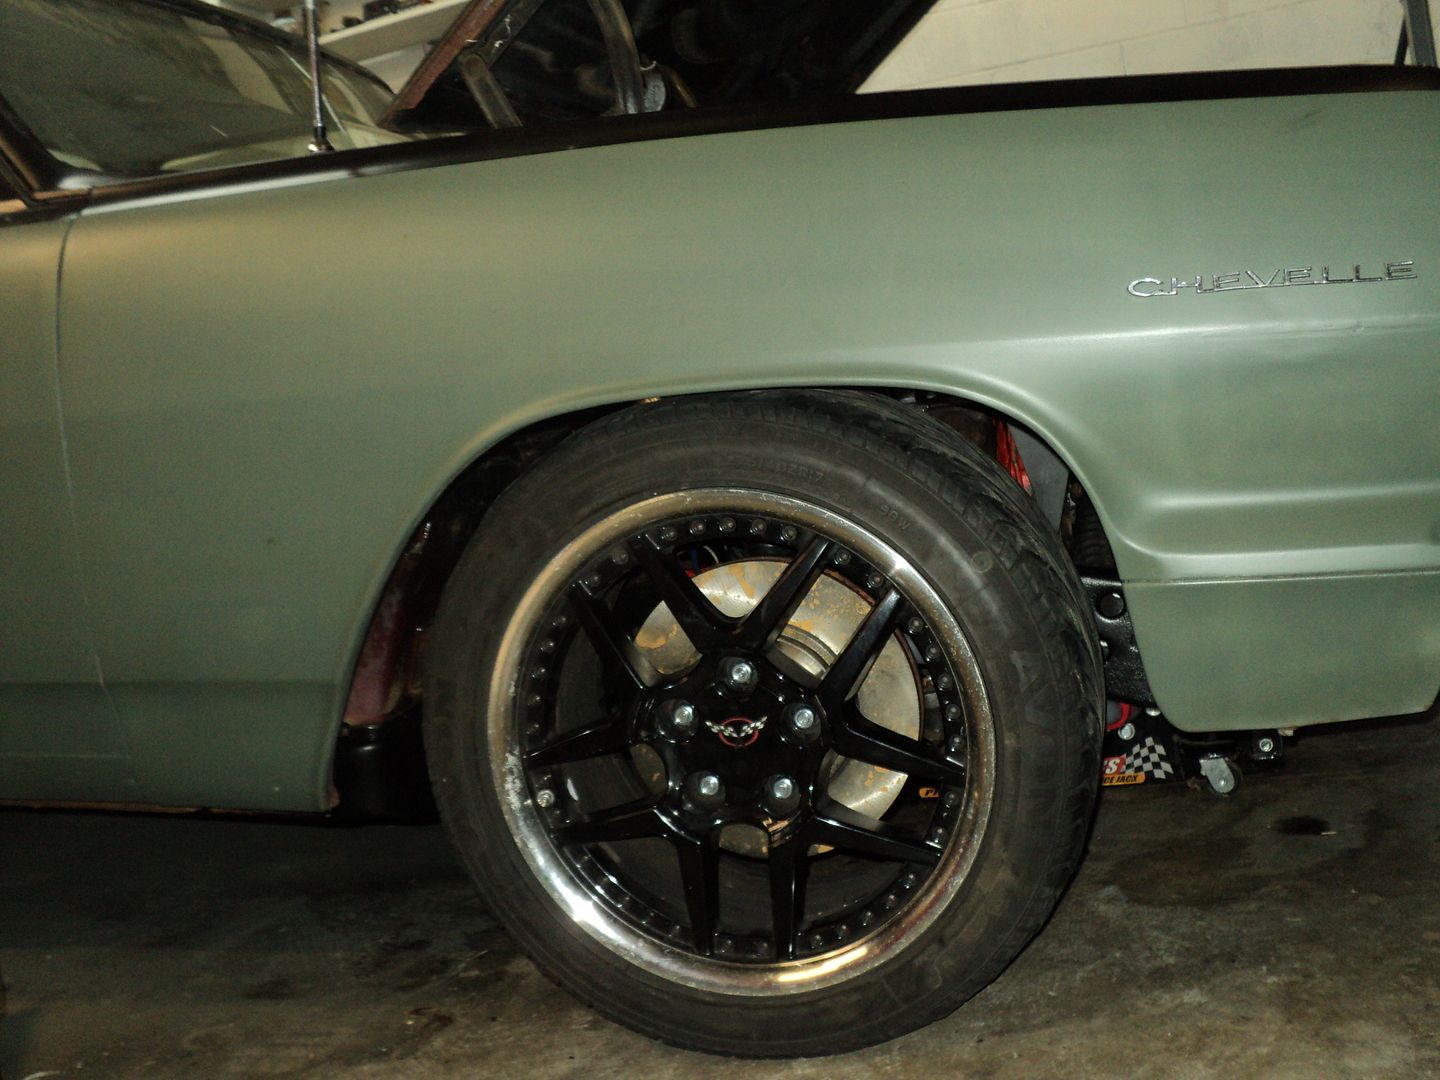 [/URL]
[URL=http://s54.photobucket.com/user/dusterbd13/media/1964%20elcamino/034_zpsb9f241da.jpg.html]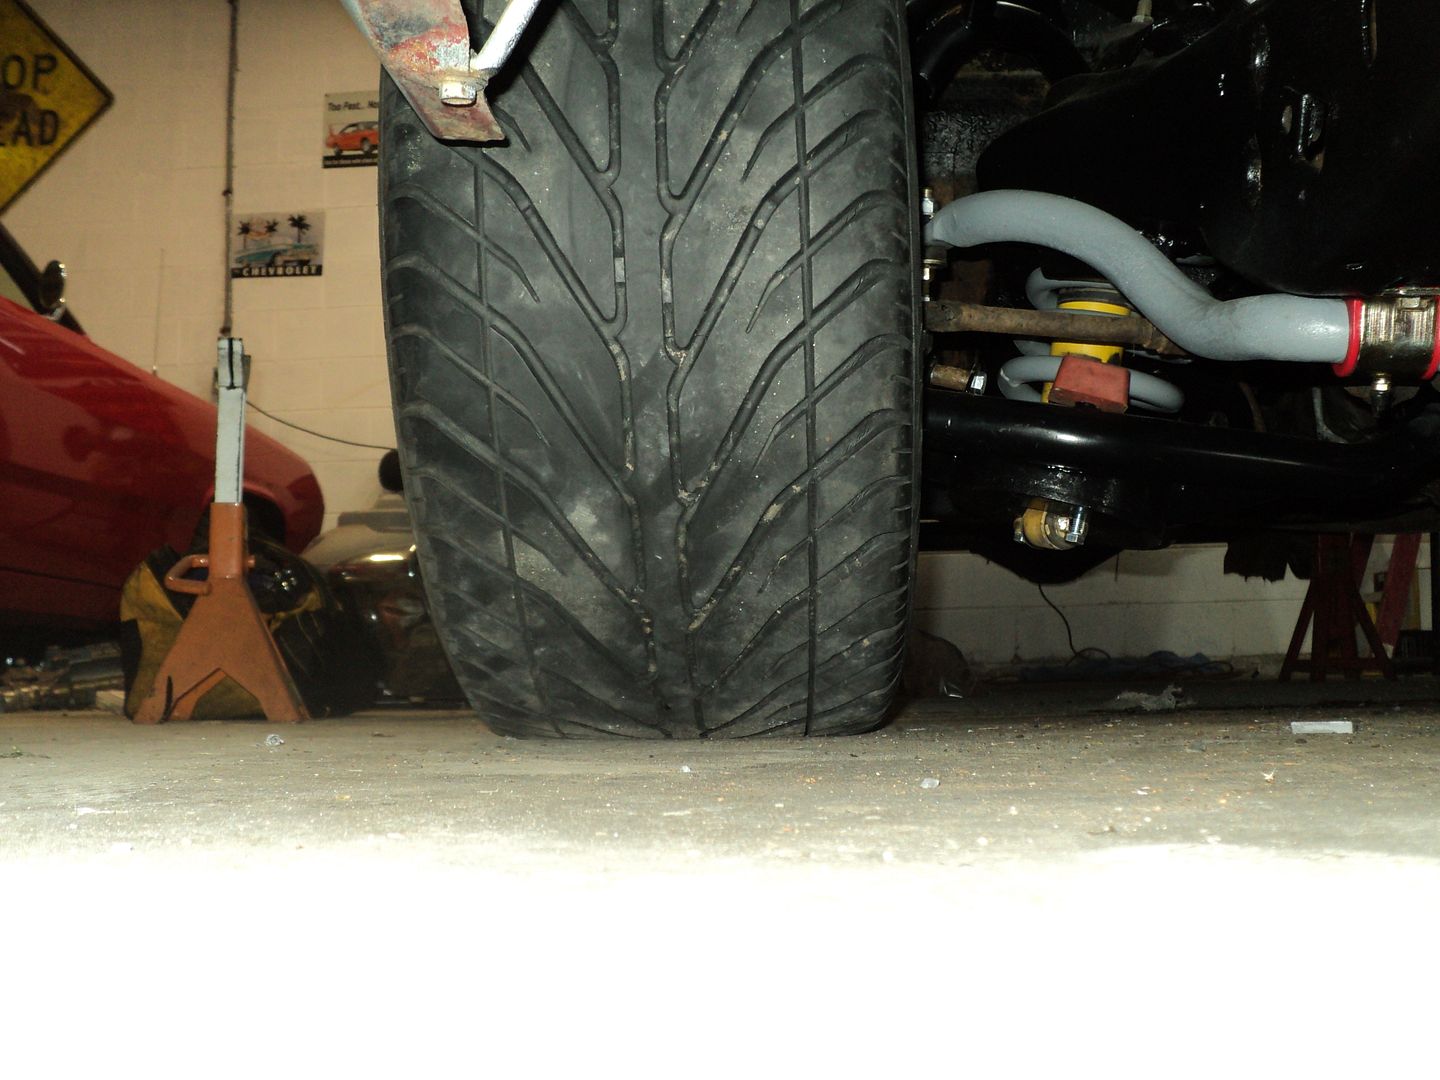 [/URL]
[URL=http://s54.photobucket.com/user/dusterbd13/media/1964%20elcamino/036_zps739fef48.jpg.html]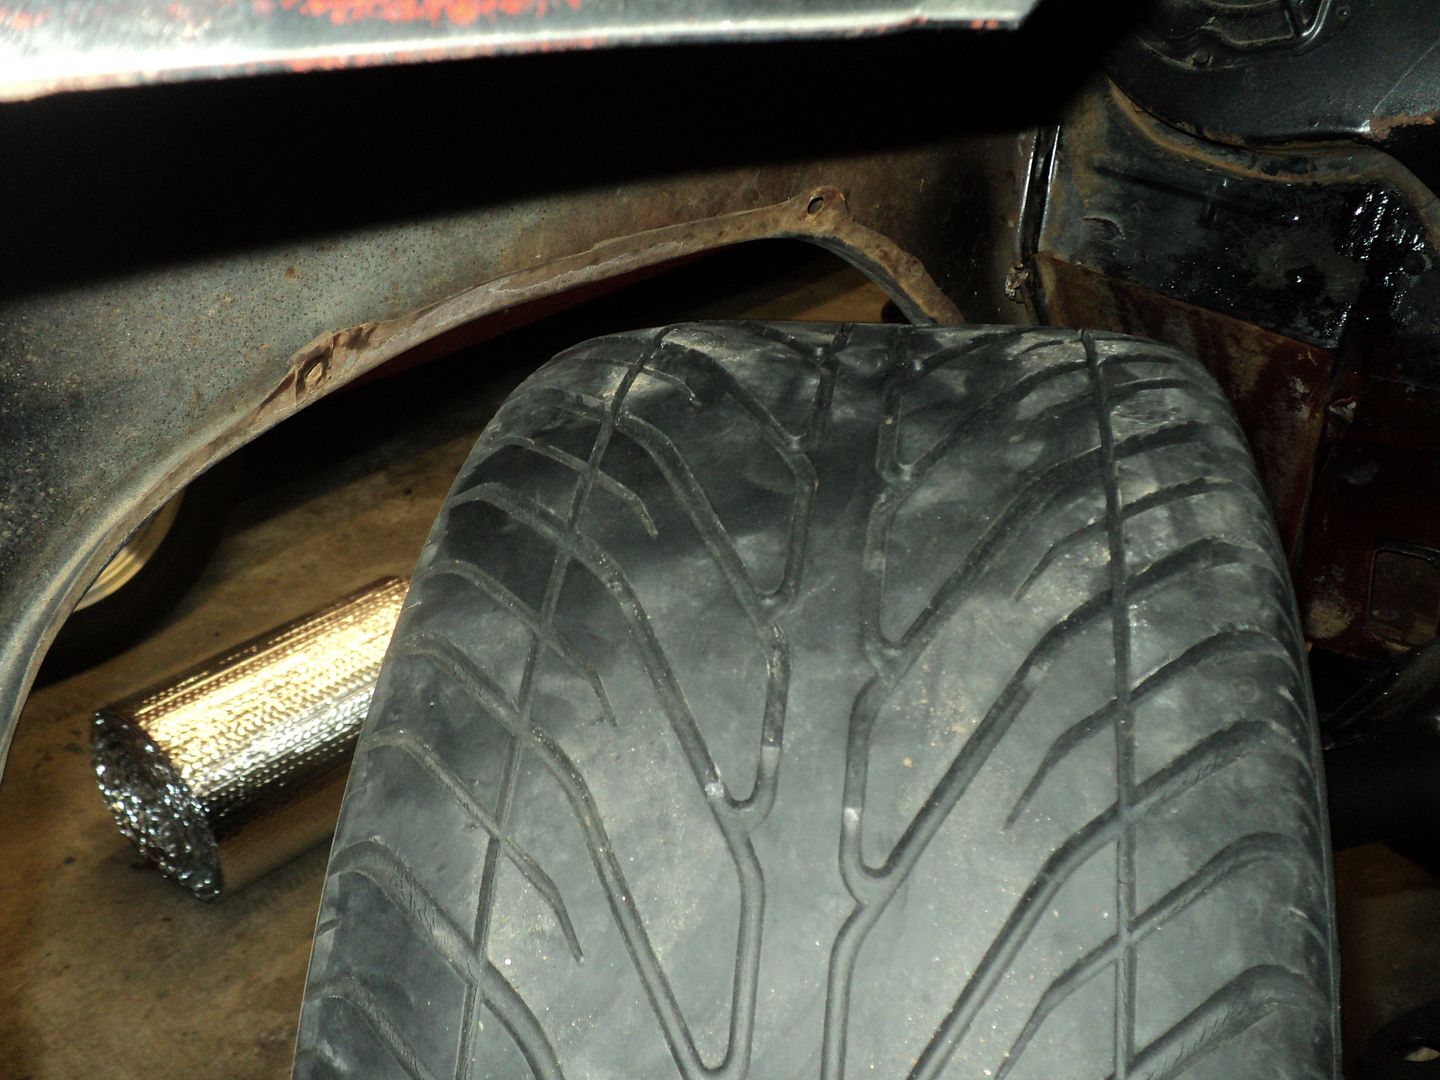 [/URL]
I also discovered that the shocks I'm running have the springs preloaded to the point where the suspension did not compress AT ALL when I sat all the weight on the front. I even pushed down on one side with my wife as well, and we couldn’t get it to move. this tells me that the shocks that were supposed to fit based on dimensions don’t. so don’t try this at home, guys. now I get to pull it all back apart to remove the shocks, and spend some of that newfound money in the budget on new front shocks. ill probably pick up a set of HD bilsteins for a chevelle.
but im stoked. I have the front stance NAILED. I have massive brakes and rubber. I have a groovy suspension. I almost have a roller.
my braided stainless brake lines come in tomorrow for the front, ill get my other two wheels mounted u with tires tomorrow at lunch, and tomorrow evening ill start on getting the inner fenders back in.
I also think I talked my wife into this paint scheme, as it is really groovy to me. I dunno yet, I've got to get some more photo shopping done. I'm thinking this paint scheme, black still, or maybe a Porsche white.
I'm going to bed. I'm exhausted.
michael
i did not hate the wheels before, and now i dig 'em a lot. before, they were the only contemporary element -- wrong stance, wrong body color, wrong brakes showing through. now, they are part of a contemporary package, and it's a package that kicks ass.
nice work!
AngryCorvair wrote: i did not hate the wheels before, and now i dig 'em a lot. before, they were the only contemporary element -- wrong stance, wrong body color, wrong brakes showing through. now, they are part of a contemporary package, and it's a package that kicks ass. nice work!
thats exactly how i feel about them. i may quote you in my next update cause you said eloquently just how i am feeling.
Dusterbd13 wrote: flaring brake lines suck. i just bought the mastercool.....,
oh heck yeah - prebent stuff too much $$$? I hate brake lines. You can spend all day and they always end up looking iffy...
to have the prebent made would have been just shy of impossible. bubble flares, standard IFF flares, different booster/master combos, etc. and i build customer cars with custom lines as well. so, it was time to spend the good money. didnt want to spend it, but needed to get better quality tools for better quality work.
so, budget first:
previous total: 5052.67
vacuum hose: 6.57
brake fluid: 7.49
shock extender hardware: 6.12
oil pressure gauge brass fittings: 12
water temp idiot light sender: 7.99
grant install kit: 22
relay and rear brake shoes, cylinders, and hardware: 46.52
10 foot 8 gauge wire: 6.50
dash lights: 7.50
2 tubes plastic epoxy: 12
speakers from pull-a-part (blaupunkt and memphis belle: 24
battery hold down stuff: 22
fan controller 19
New total: 5252.36
alright, so when we last left off, the front suspension was travel limited, the back was still on stock worn out stuff, there were no brakes, no inner fenders, etc.
a lot has changed since then. I HAD to get this thing as a roller/runner, as this coming Monday I've got customer stuff being dropped off. need my bay back.
well start on the front suspension. upon measuring, a lot, I learned that the shock body is actually 1 inch shorter on the bilsteins, just like the specs called for. what is different is that the shock rod is 3 inches shorter on the bilsteins compared to the chevelle shocks. this is fine with me. it means that I can just use some shock extenders, right? well, not so much. the bilteins are metric thread, m10x1.25. the only readily available shock extenders are all standard, and you can special order m12's. a quick trip to fastenal netted me a pair of threaded rod couplers, and some bolts to cut off and make into studs. used some red locktite to hold it all together, and they worked beautifully. I can now hit full compression and rebound with the amount of shock travel I have. would have rather used threaded rod though.
[URL=http://s54.photobucket.com/user/dusterbd13/media/1964%20elcamino/039_zps39fa6f1c.jpg.html]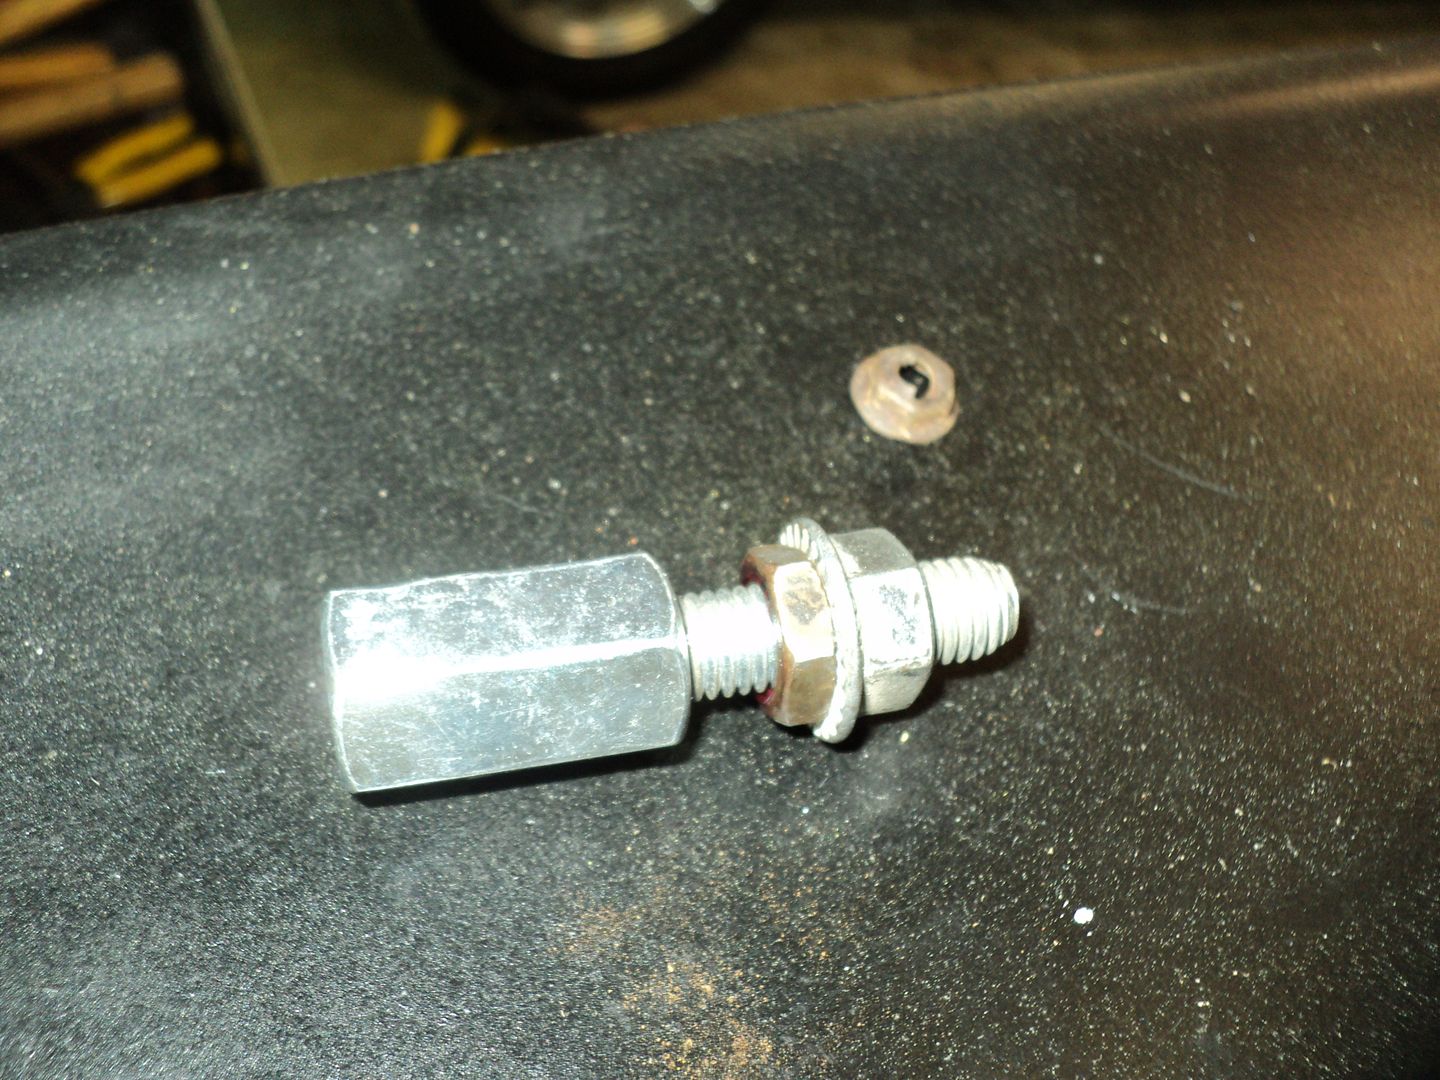 [/URL]
pre extenders:
[URL=http://s54.photobucket.com/user/dusterbd13/media/1964%20elcamino/037_zps8e48be3a.jpg.html]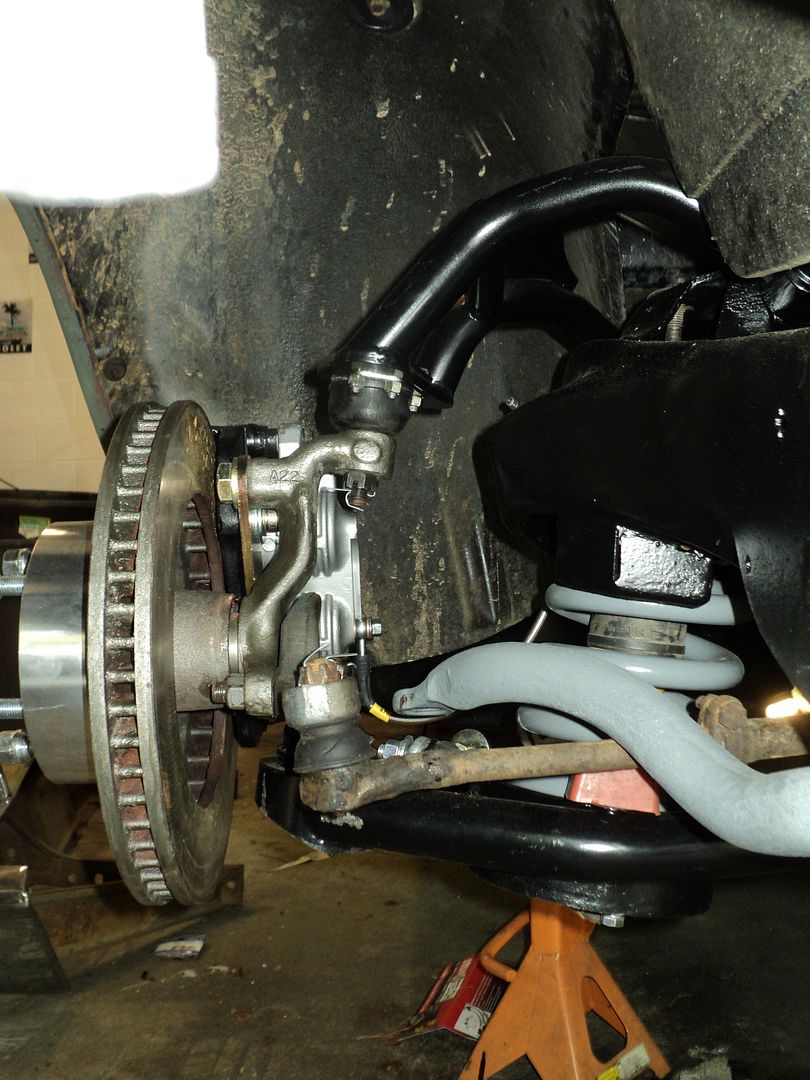 [/URL]
post extenders:
[URL=http://s54.photobucket.com/user/dusterbd13/media/1964%20elcamino/036_zpscf2442ad.jpg.html]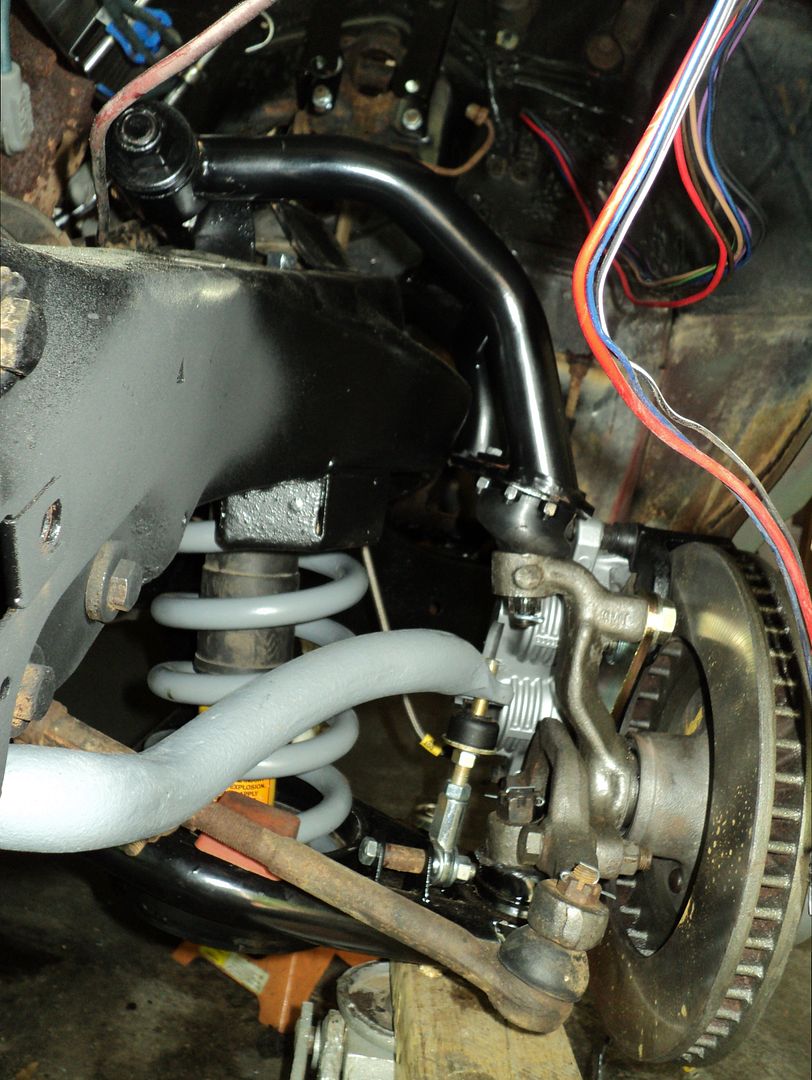 [/URL]
while discussing shocks, well talk about the s10 rear shocks as well. they have more travel in both directions than the old shocks. good for shock life, bad for holding the rear springs in place with no weight on the axle. also, they come out of the blazer with a steel sleeve in the bushing. you'll need to press that out to fit the chevelle/el camino lower shock mount. nothing needed on the top.
this was a lot of work for 7 dollar each bilstein shocks. I think, if I had it to do again at this point, id have bought the RCD bilsteins and been done.
on a side note, I think this truck has had a later frame stuffed under it. the rear springs I pilled out were double pigtail, when according to my research they should have been single with some sort of bolt in plate in 64. this would also explain the factory appearing nature of the dual circuit brake lines, etc. doesn’t really matter much to me, though. is there any way to tell? the hotchkis springs went in fine, though they didn’t lower the rear as much as I would have liked. they ,may need a little trimming, but its too soon to tell yet.
I've also completed the front suspension except for grease. I had some odd binding issues at first, but it turned out that I hadn't hooked up the one sway bar side yet, and it was hanging up the truck. once that was corrected, things went well. I spent a while thinking that I had somehow gotten an incorrect pitman arm for the power steering and that the center link was hanging up before I found it though. truck would raise the front right corner while turning, and it would drop around 3 inches when you got to right lock. this is a first for me. I also had to swap out the end link bushings that came with my control arms. they fell apart when I tightened them. I had 4 left over poly end link bushings on the shelf from YEARS ago when I put a hotchkis suspension on my black dakota. so I finally used them.
[URL=http://s54.photobucket.com/user/dusterbd13/media/1964%20elcamino/007_zps41c6cf86.jpg.html]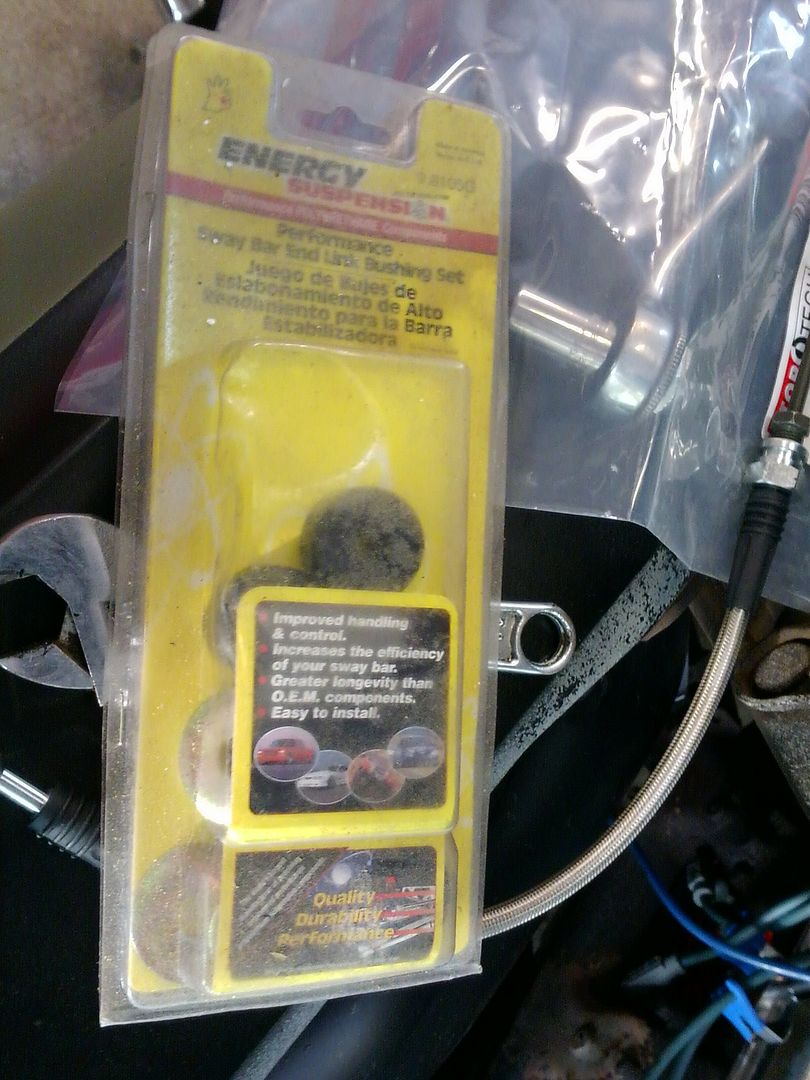 [/URL]
bolted up the front brakes, torqued all the fasteners, bled the power steering system, installed the inner wheel wells using left over body hardware from s10's on the passengers side due to the amount of u-nuts that had failed. drivers side is all original hardware. I had them in my magic bolt bin, so I used them. when I get to body work, ill probably buy a body hardware kit and make life easy for me.
I also reinstalled the bumper while I was at it. came out nice. I do want to tuck it better, which I believe will either require elongating the holes in the frame, or shortening the bumper brackets.
[URL=http://s54.photobucket.com/user/dusterbd13/media/1964%20elcamino/042_zps5db56263.jpg.html]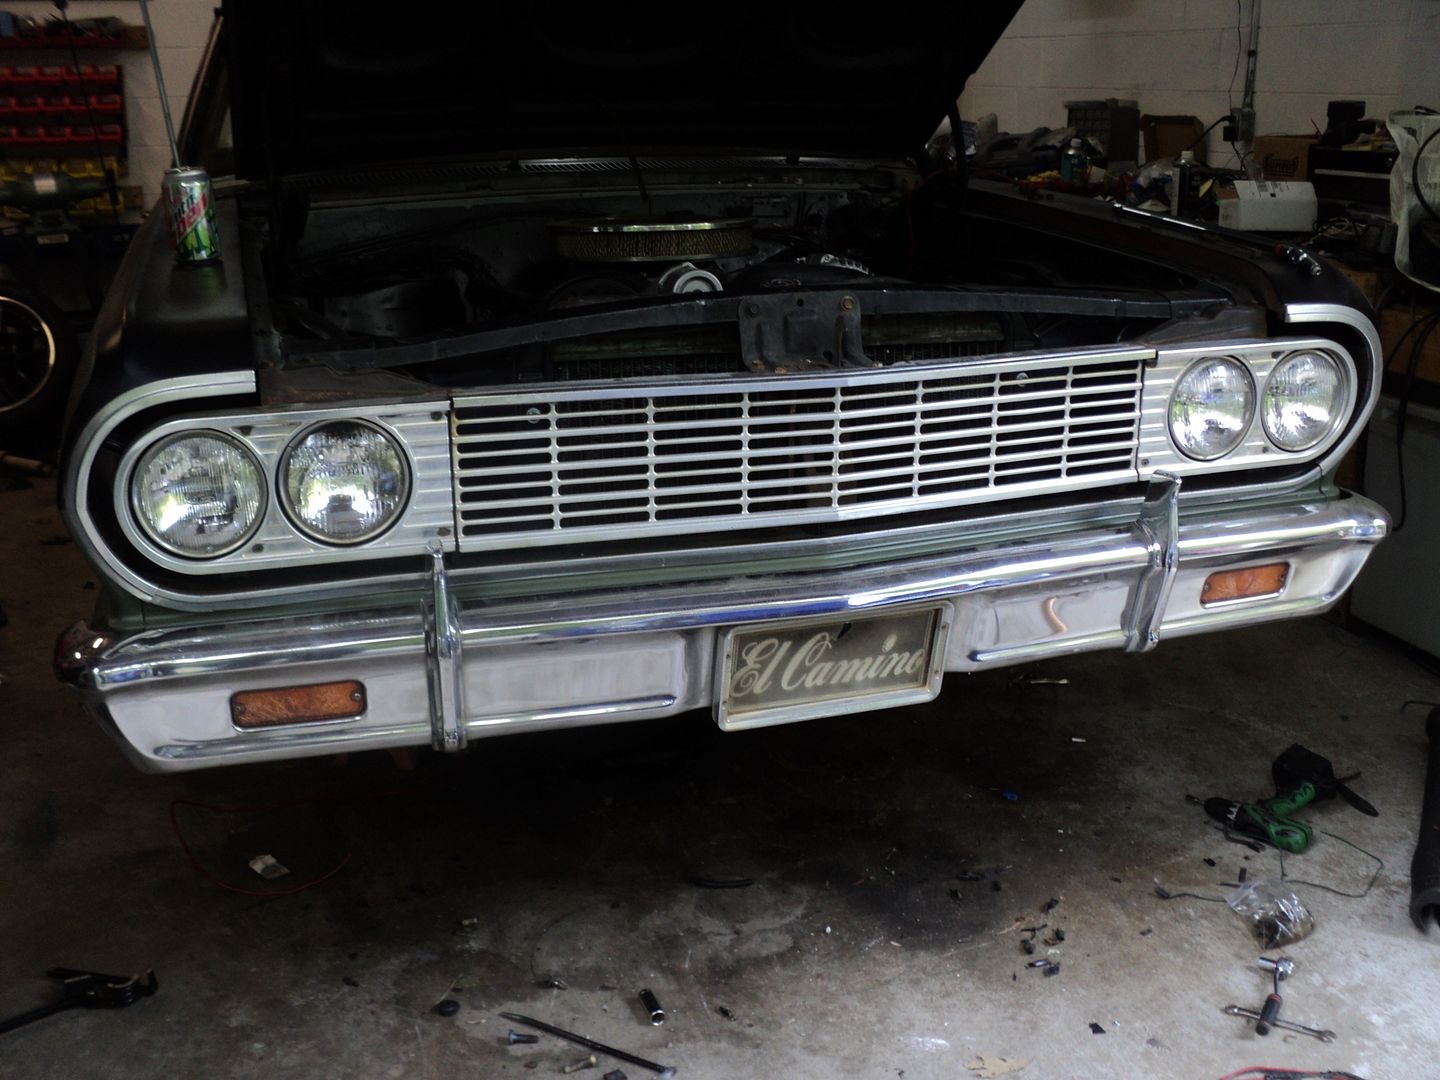 [/URL]
then I moved on to the brakes. the s10 booster/master combo surprised me. metric threads, IFF brake line flares, and perfect fit with the booster brackets from right stuff. I did have to change the push rod, though. it was 1.5 inches too short, and had the wrong end on it. so I cut up the old manual pushrod, cut the incorrect end off the booster, and welded them together. worked perfect, adjusts and fits like stock.
[URL=http://s54.photobucket.com/user/dusterbd13/media/1964%20elcamino/041_zps356995b9.jpg.html]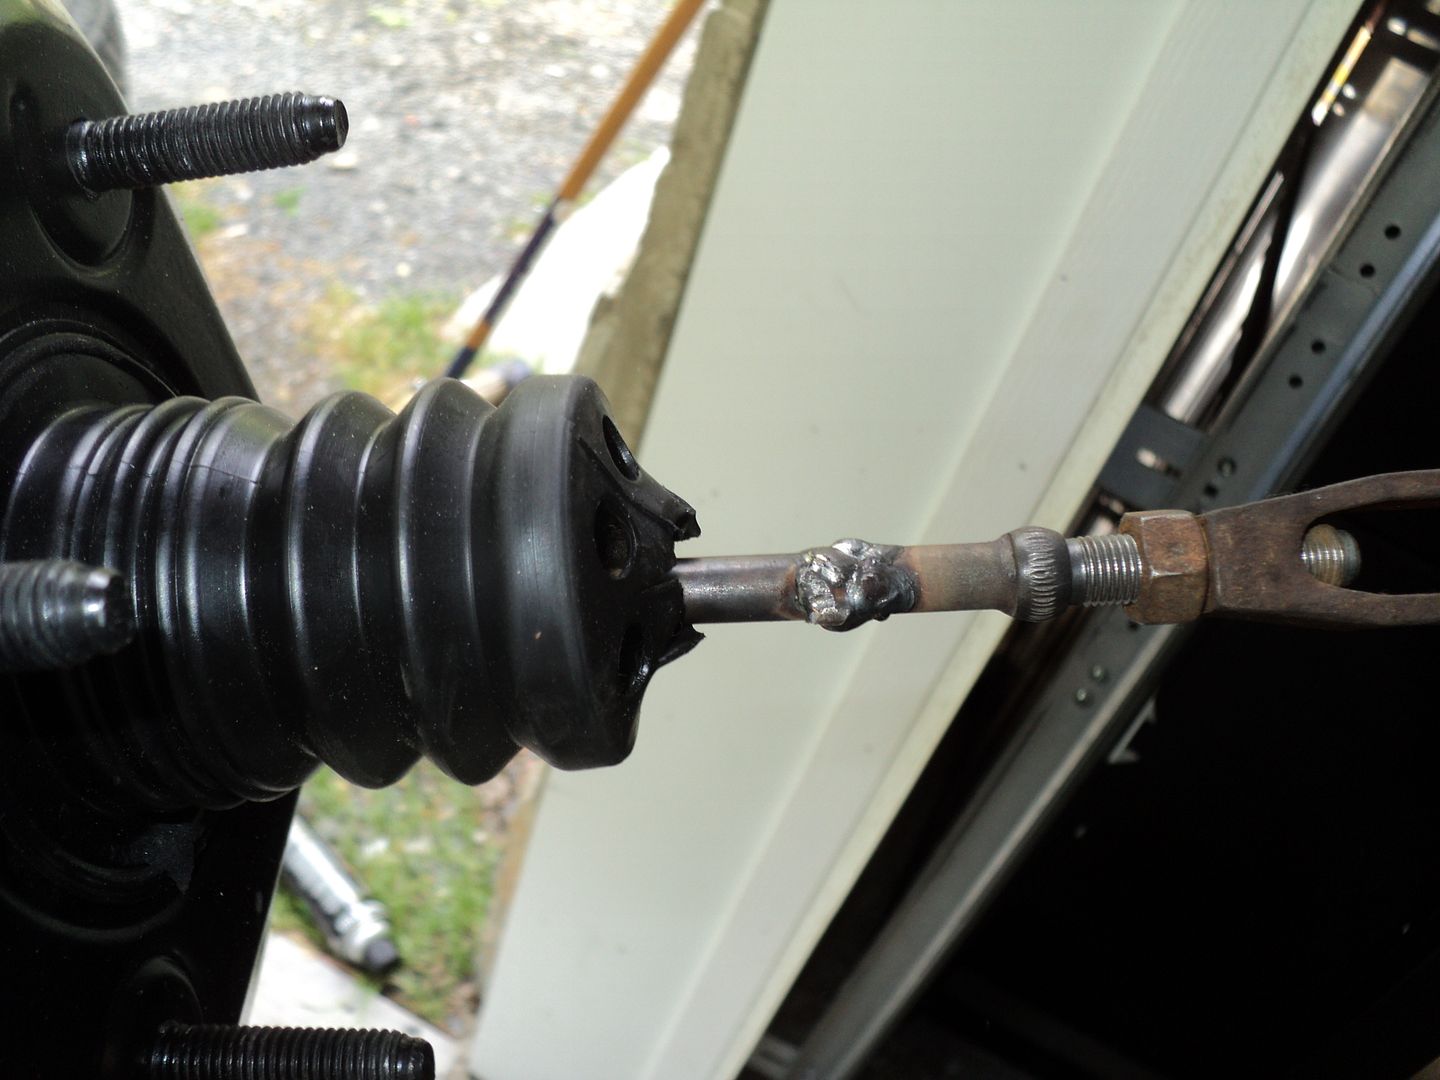 [/URL]
with some bubble flares, some IFF flares, and a bunch of crusty lines, I had to do some plumbing. a while back, I had broken my bar style flaring tool. so I ordered a new one. that failed right out of the box. so I rented one. that broke. and another one, that also broke. I hate crappy tools....
[URL=http://s54.photobucket.com/user/dusterbd13/media/1964%20elcamino/030_zpsf051ddba.jpg.html]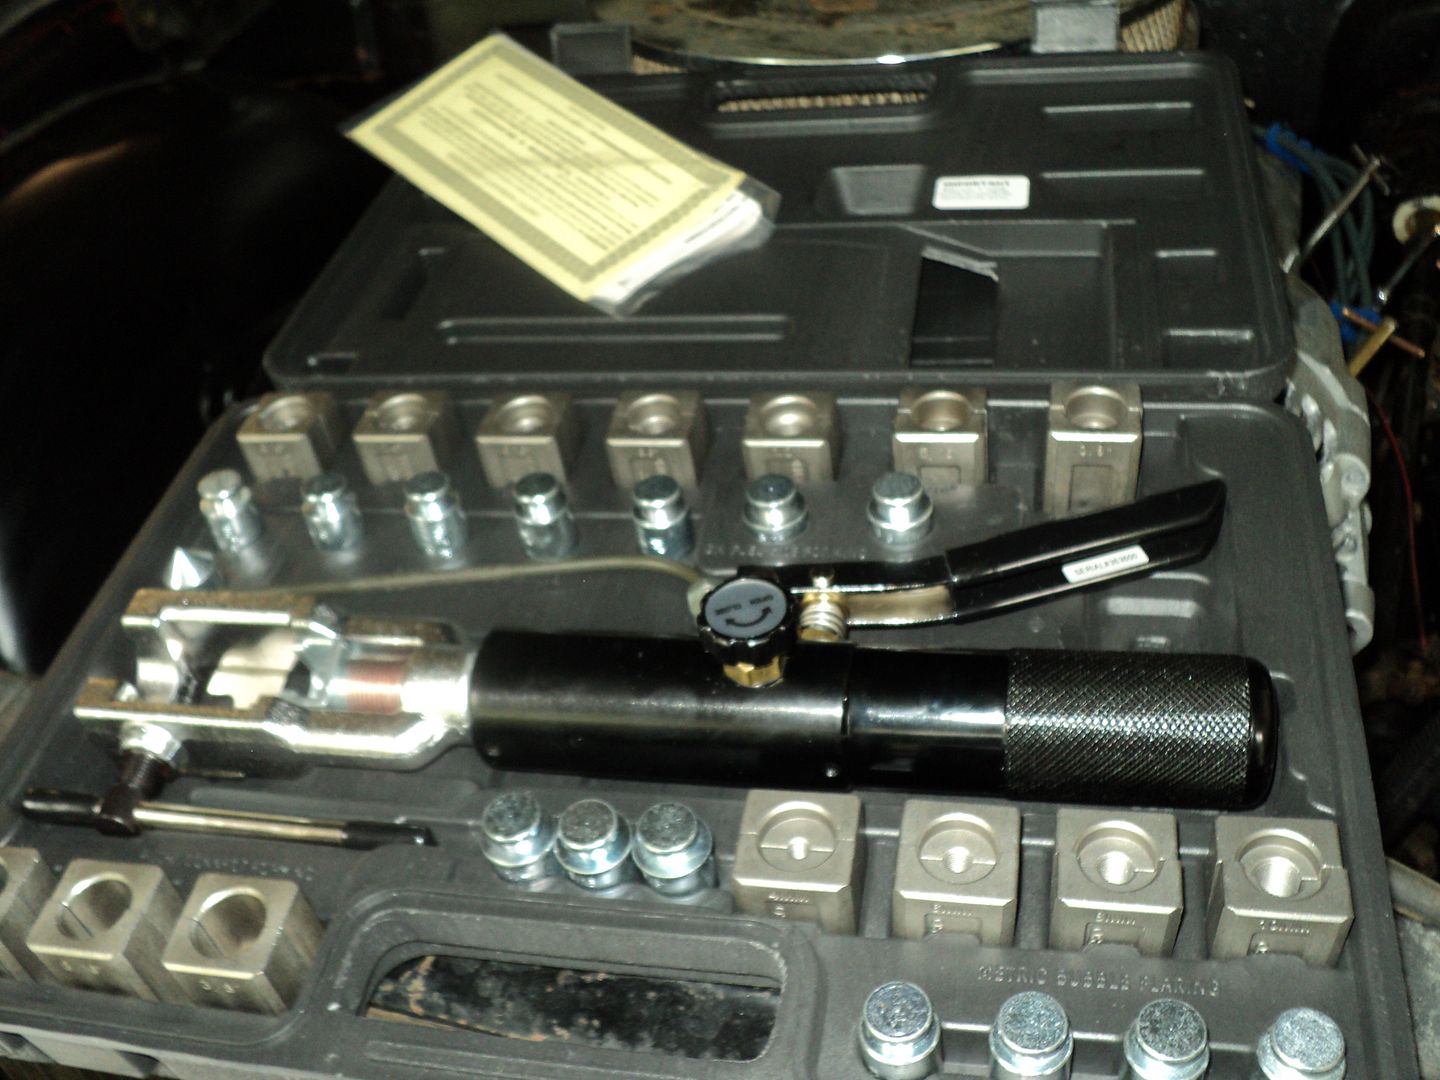 [/URL]
so two days later, this arrived on my doorstep. yes, it was extremely expensive for what it does, but what it does it does extremely well. this is the mastercool kit. single handed flaring operations, both bubble and iff, and not a single mis flare. it was soooooooooo nice to use. it will pay for itself in the long run., as I also end up doing some custom lines for customers. I'm not too proud of my master cylinder lines on this one, and will probably re-plumb them at some point to make them more pleasant.
after that, I got the instrument cluster rebuilt and the underdash wiring repaired. at some point, this truck melted the entire light harness under the dash, as well as that aluminum ribbon under the front seats. repaired it for now, and am planning on a full wiring harness later. I took the opportunity to clean all the connections, and replace all the burnt out bulbs.
then, I moved onto the cluster. there was a ton of damage. the screws holding the gauges to the bezel had broken the mounting studs off, the bezel was cracked and peeling, the light switch had broken through, etc. it needed help.
[URL=http://s54.photobucket.com/user/dusterbd13/media/1964%20elcamino/023_zpsee0be7a6.jpg.html]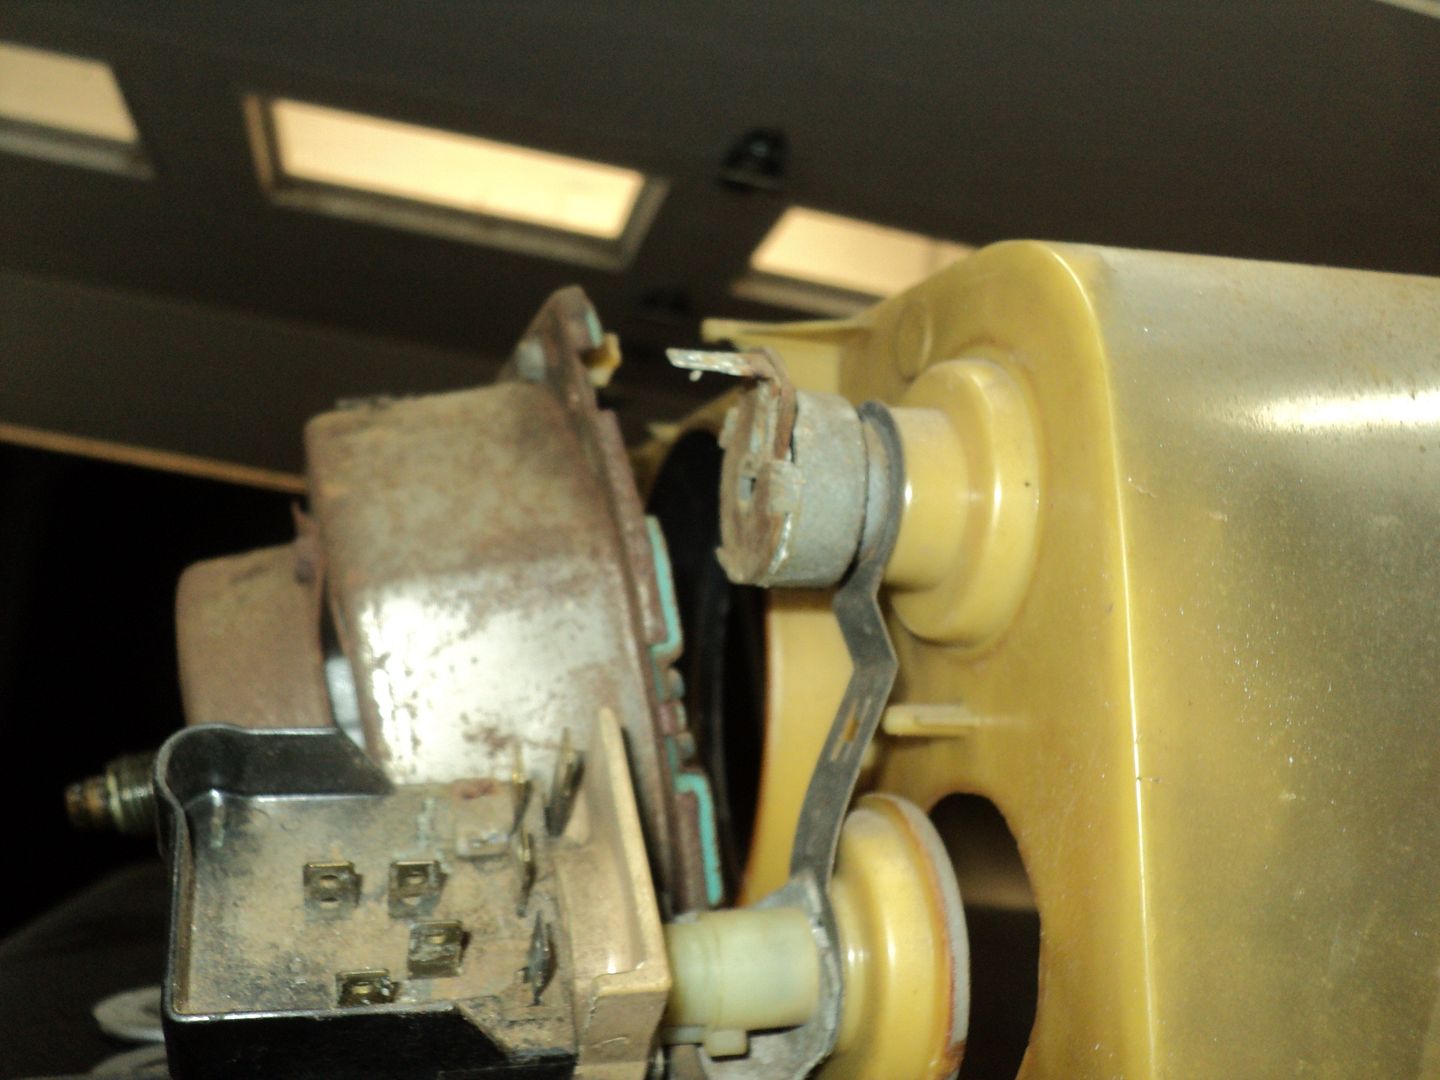 [/URL]
[URL=http://s54.photobucket.com/user/dusterbd13/media/1964%20elcamino/026_zps34a1259f.jpg.html]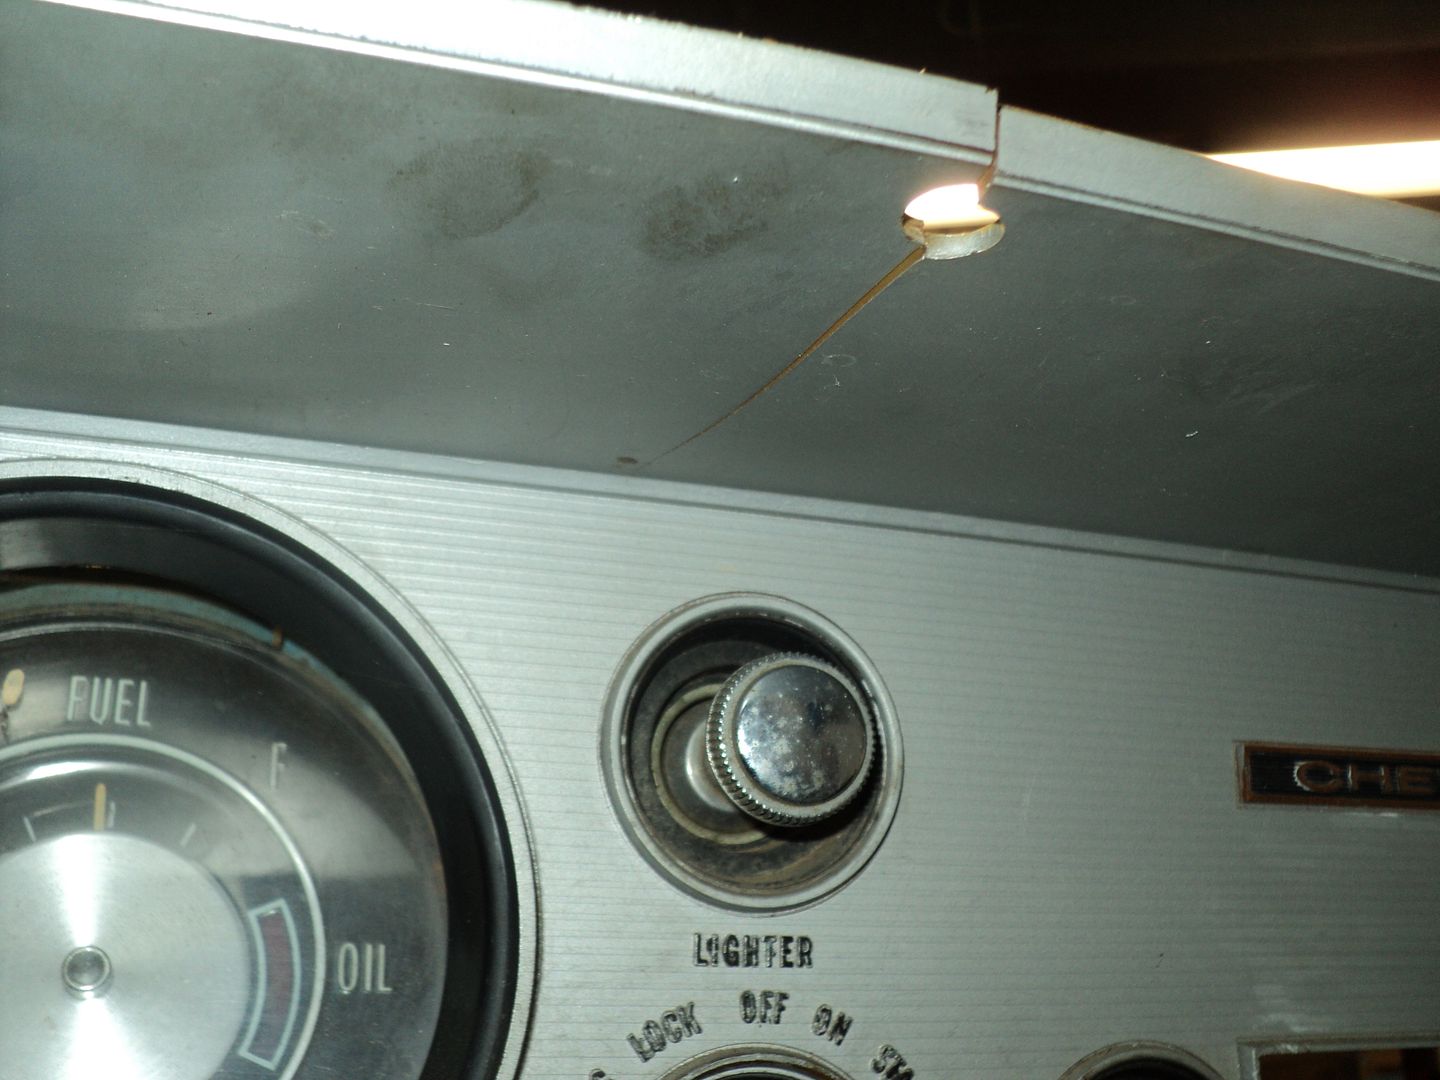 [/URL]
[URL=http://s54.photobucket.com/user/dusterbd13/media/1964%20elcamino/027_zps65e9c323.jpg.html]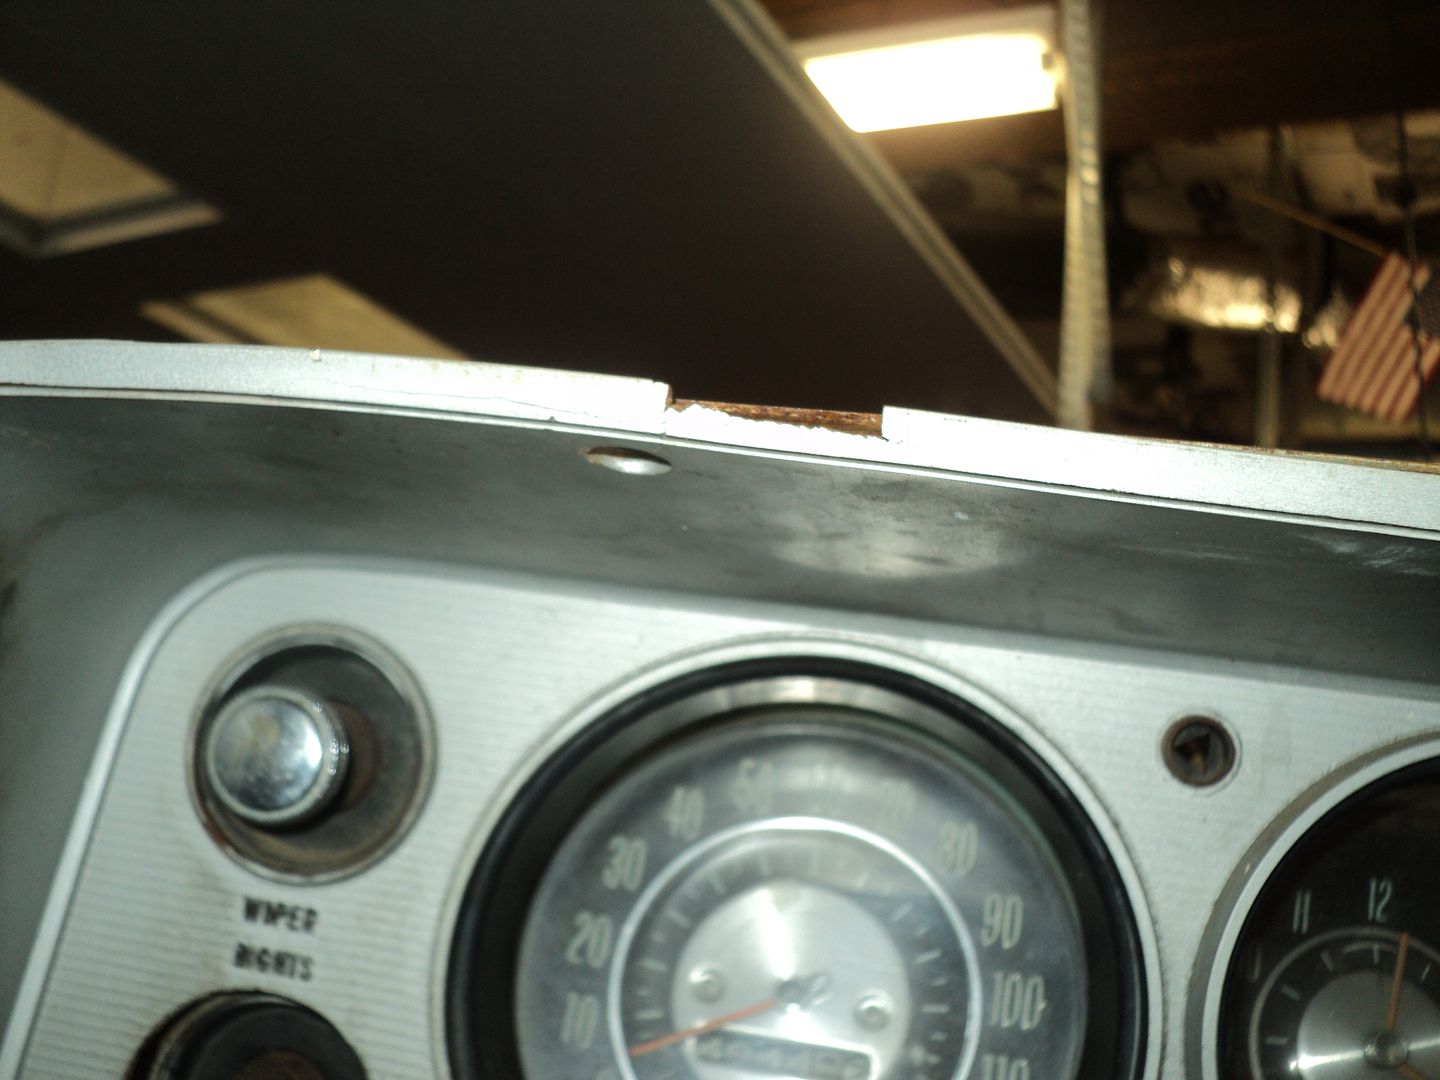 [/URL]
[URL=http://s54.photobucket.com/user/dusterbd13/media/1964%20elcamino/028_zps4ddfb04a.jpg.html]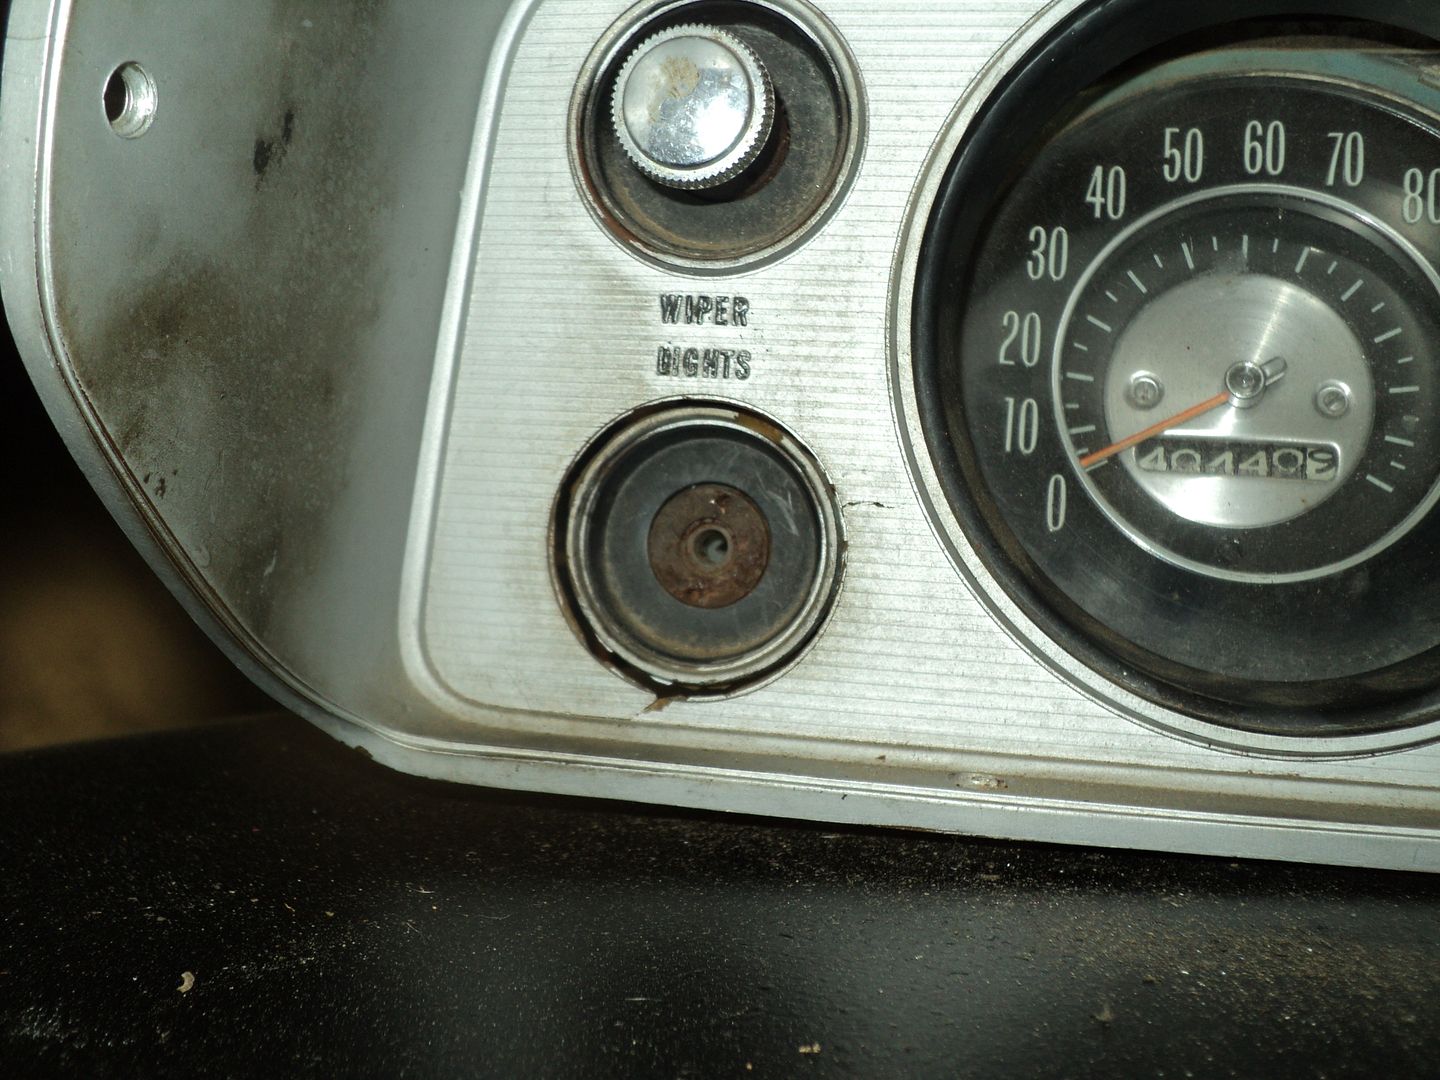 [/URL]
[URL=http://s54.photobucket.com/user/dusterbd13/media/1964%20elcamino/029_zpsed5396fc.jpg.html]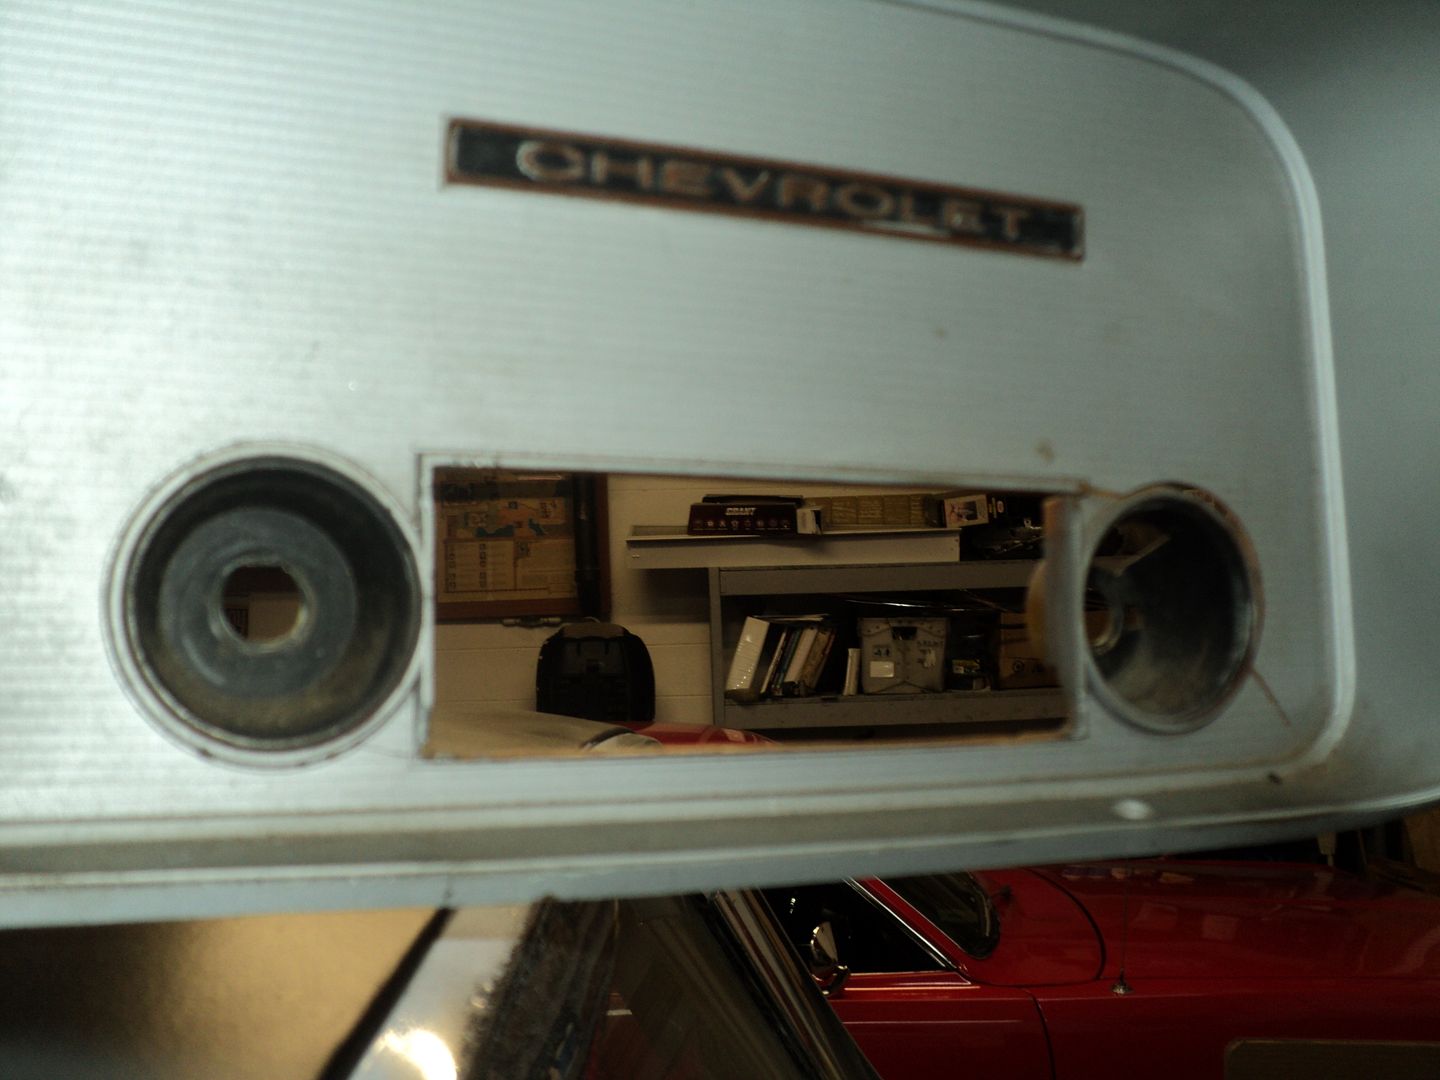 [/URL]
I started by cleaning everything up after disassembly. epoxied the bezel back together, and epoxied what was left of the lugs for gauge mounting in, cracks, broken off pieces, reinforcements, etc. took me two full tubes of plastic epoxy.
[URL=http://s54.photobucket.com/user/dusterbd13/media/1964%20elcamino/020_zpsafd06b5c.jpg.html]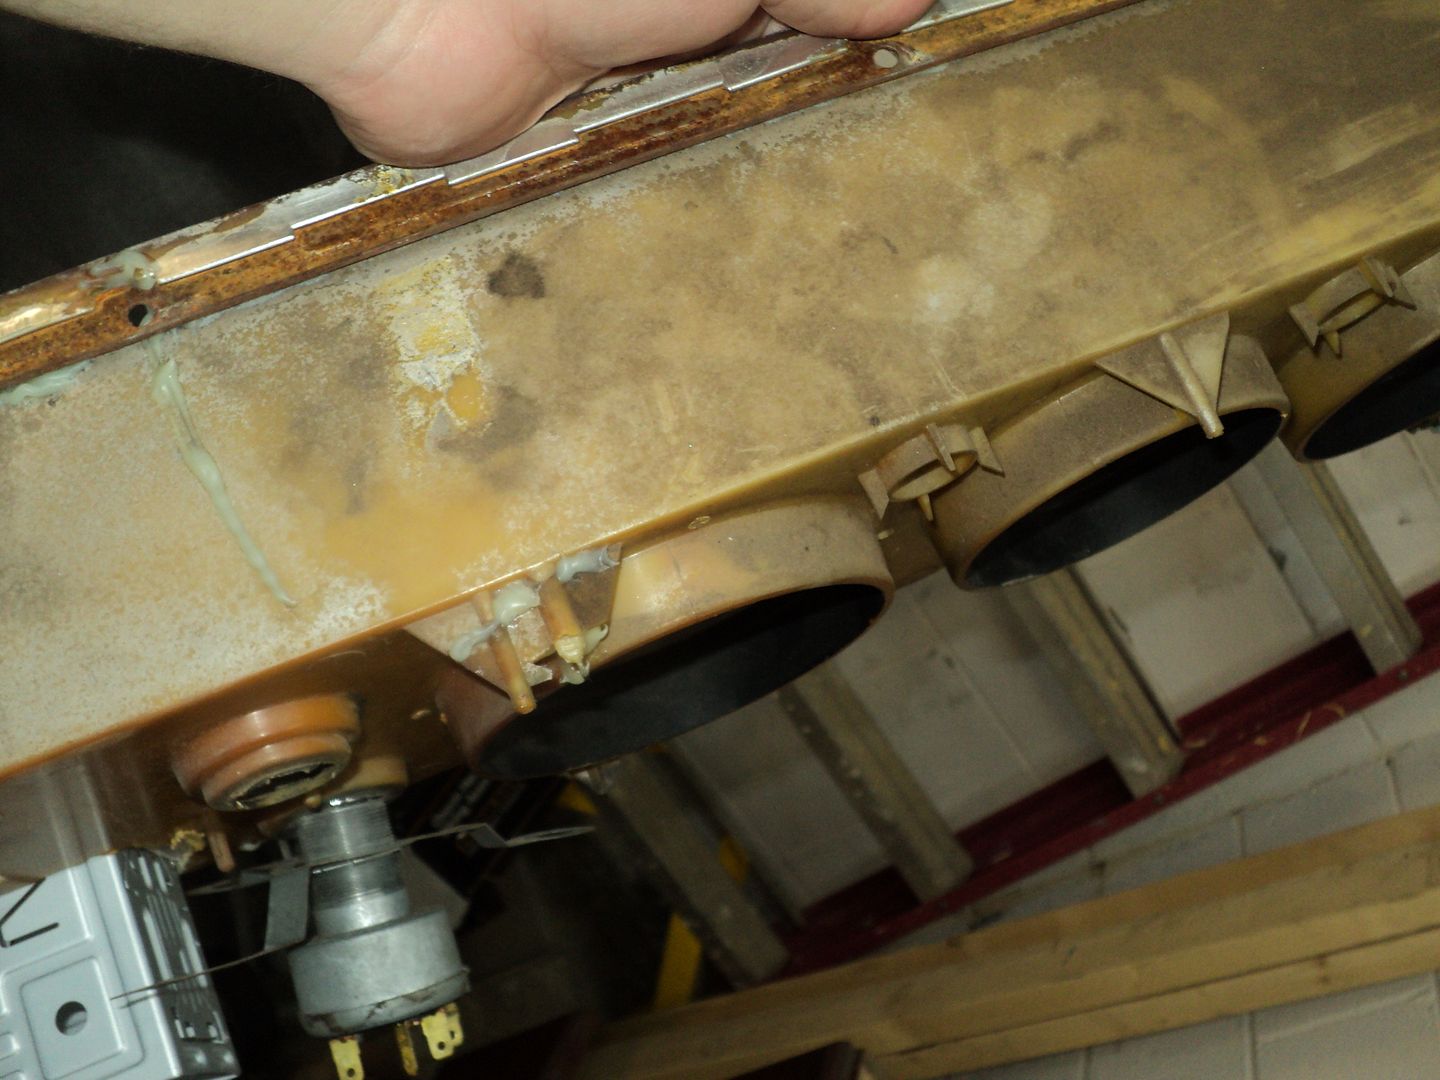 [/URL]
[URL=http://s54.photobucket.com/user/dusterbd13/media/1964%20elcamino/021_zps77c89c7d.jpg.html]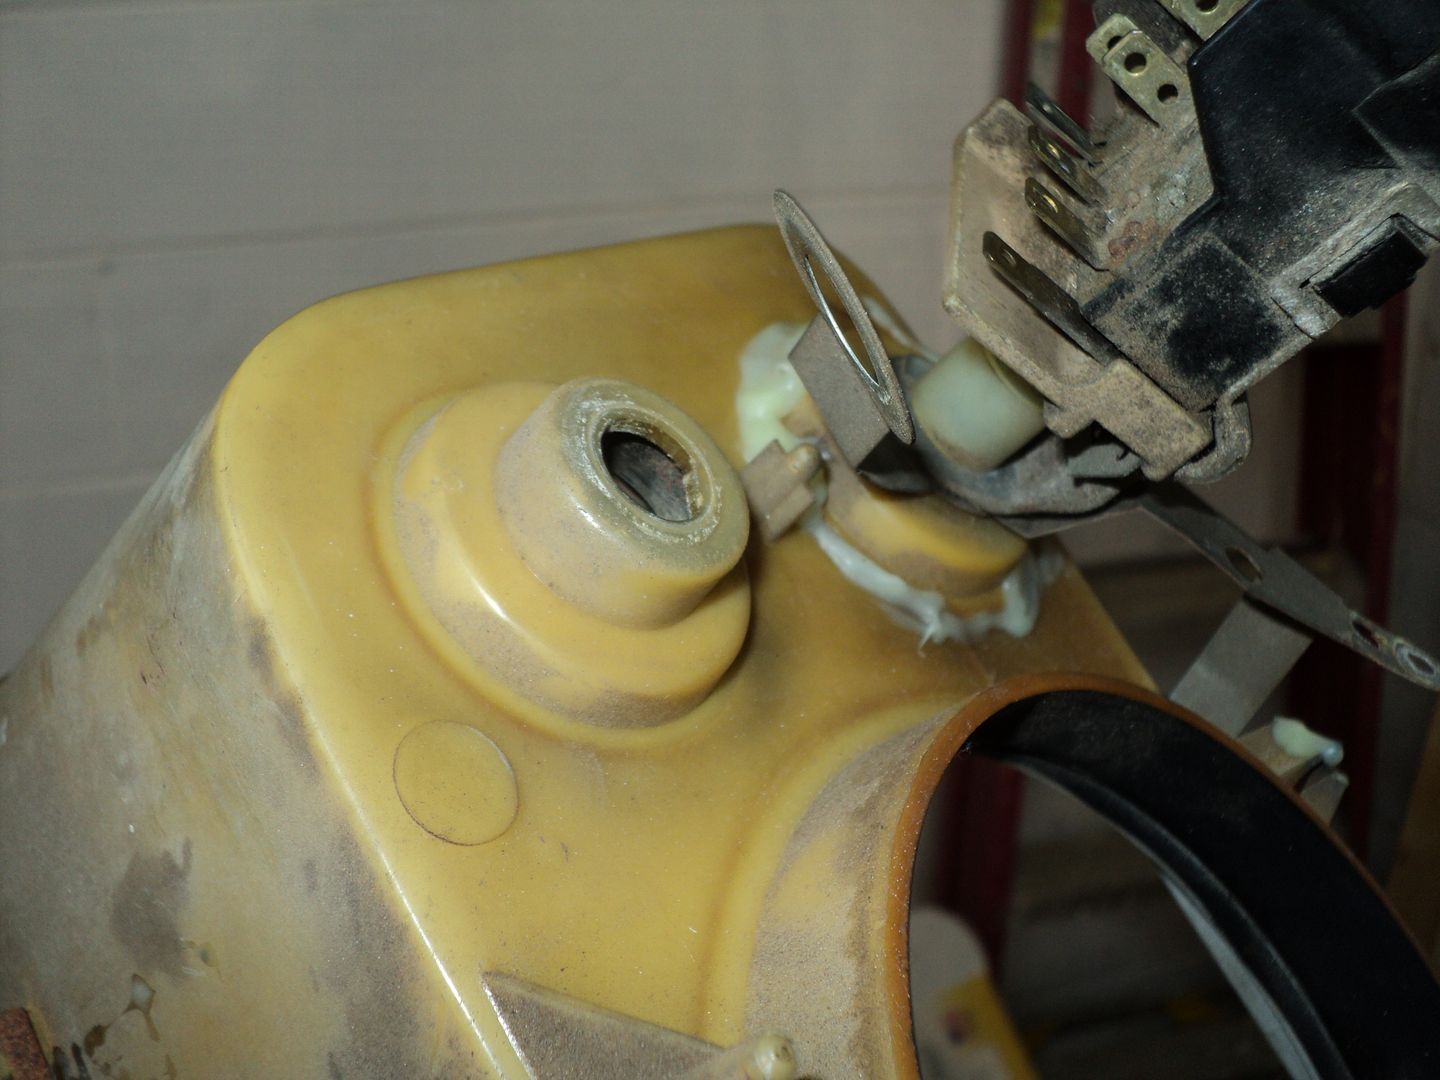 [/URL]
then, I moved on to reinforcement and stereo/extra gauge mounting. made a template, grabbed the last bit of leftover Lexan, and laid out a pattern that I liked and that fit the opening. used a hole saw for the gauges, band saw for the radio mounting and shape. traced that onto the cluster, and cut the cluster with my dremel for clearance.
[URL=http://s54.photobucket.com/user/dusterbd13/media/1964%20elcamino/019_zps04efe3ab.jpg.html]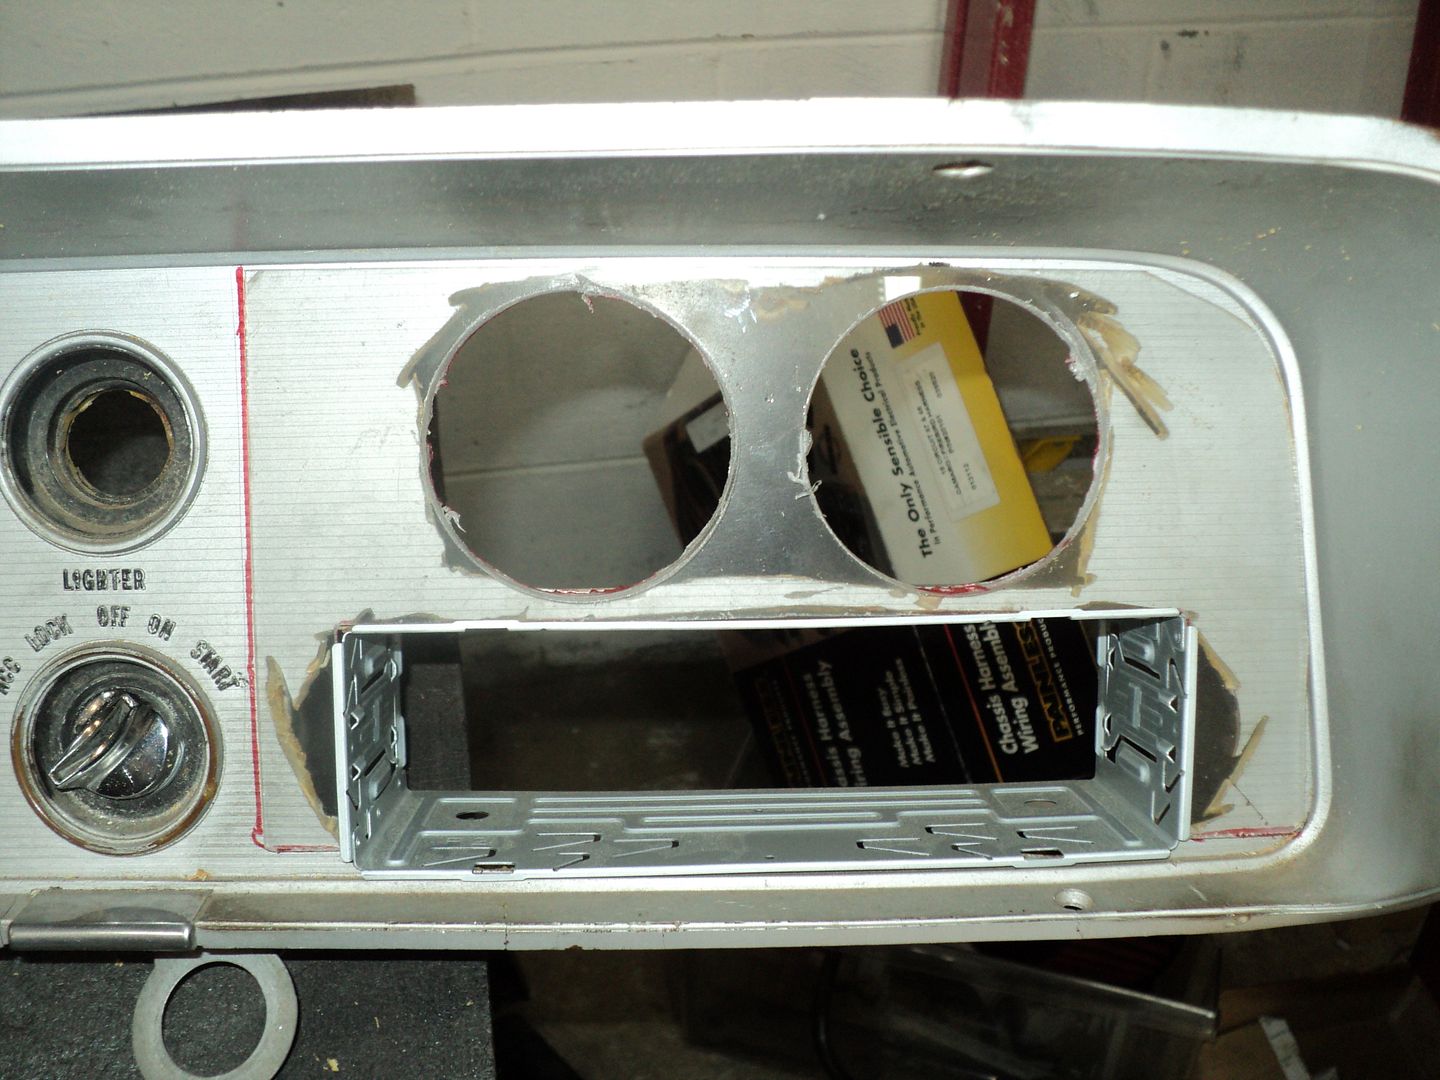 [/URL]
glued the new plate on with epoxy.
sprayed all the gauge/switch bezels satin black
[URL=http://s54.photobucket.com/user/dusterbd13/media/1964%20elcamino/024_zpsf149cc29.jpg.html]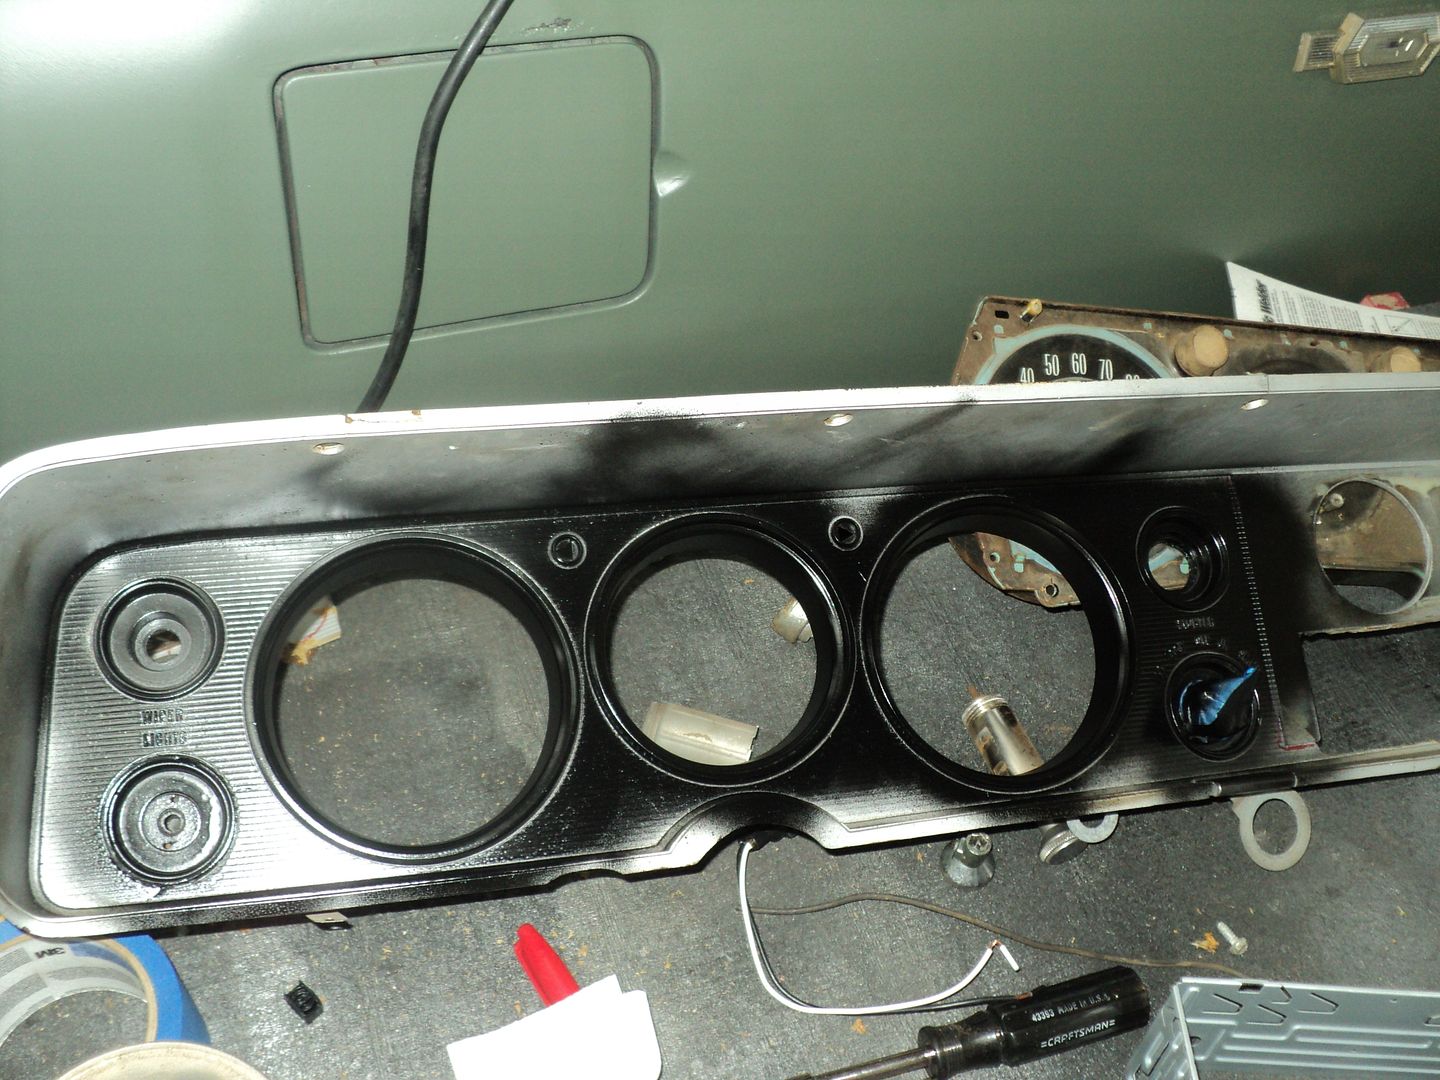 [/URL]
taped those up, and sprayed the base color of eastwood detail gray.
[URL=http://s54.photobucket.com/user/dusterbd13/media/1964%20elcamino/025_zpsf3f0a911.jpg.html]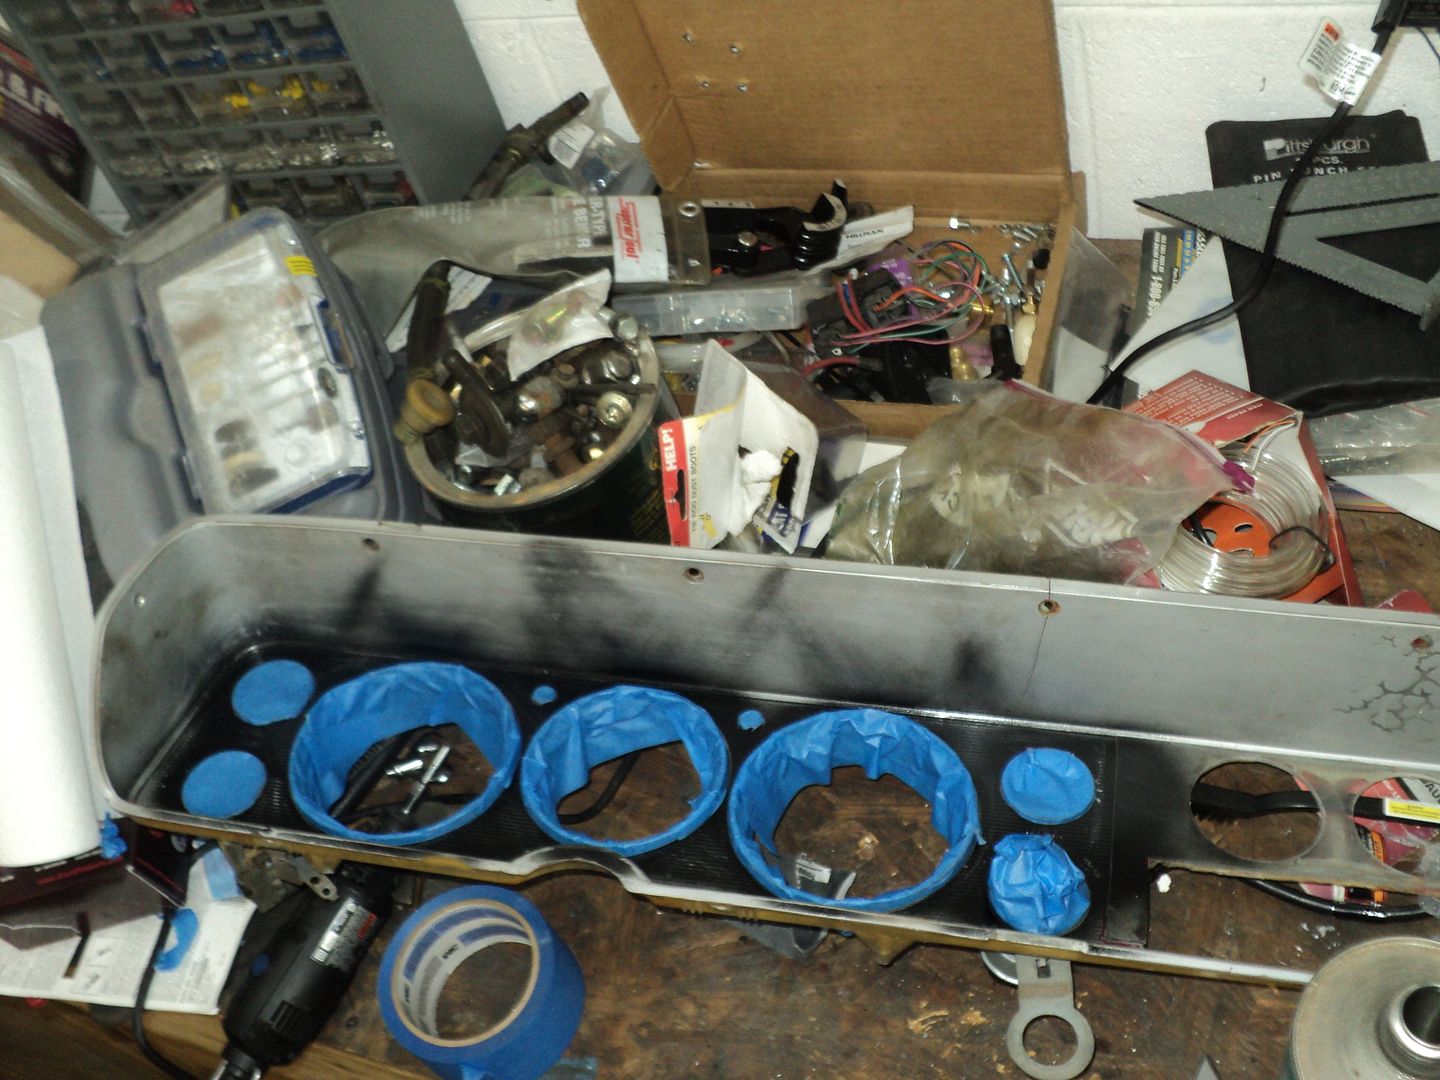 [/URL]
reassembled everything and reinstalled. looked really nice, but id like to do it over with a better bezel at a later point in time.
[URL=http://s54.photobucket.com/user/dusterbd13/media/1964%20elcamino/026_zpsdbbcc133.jpg.html]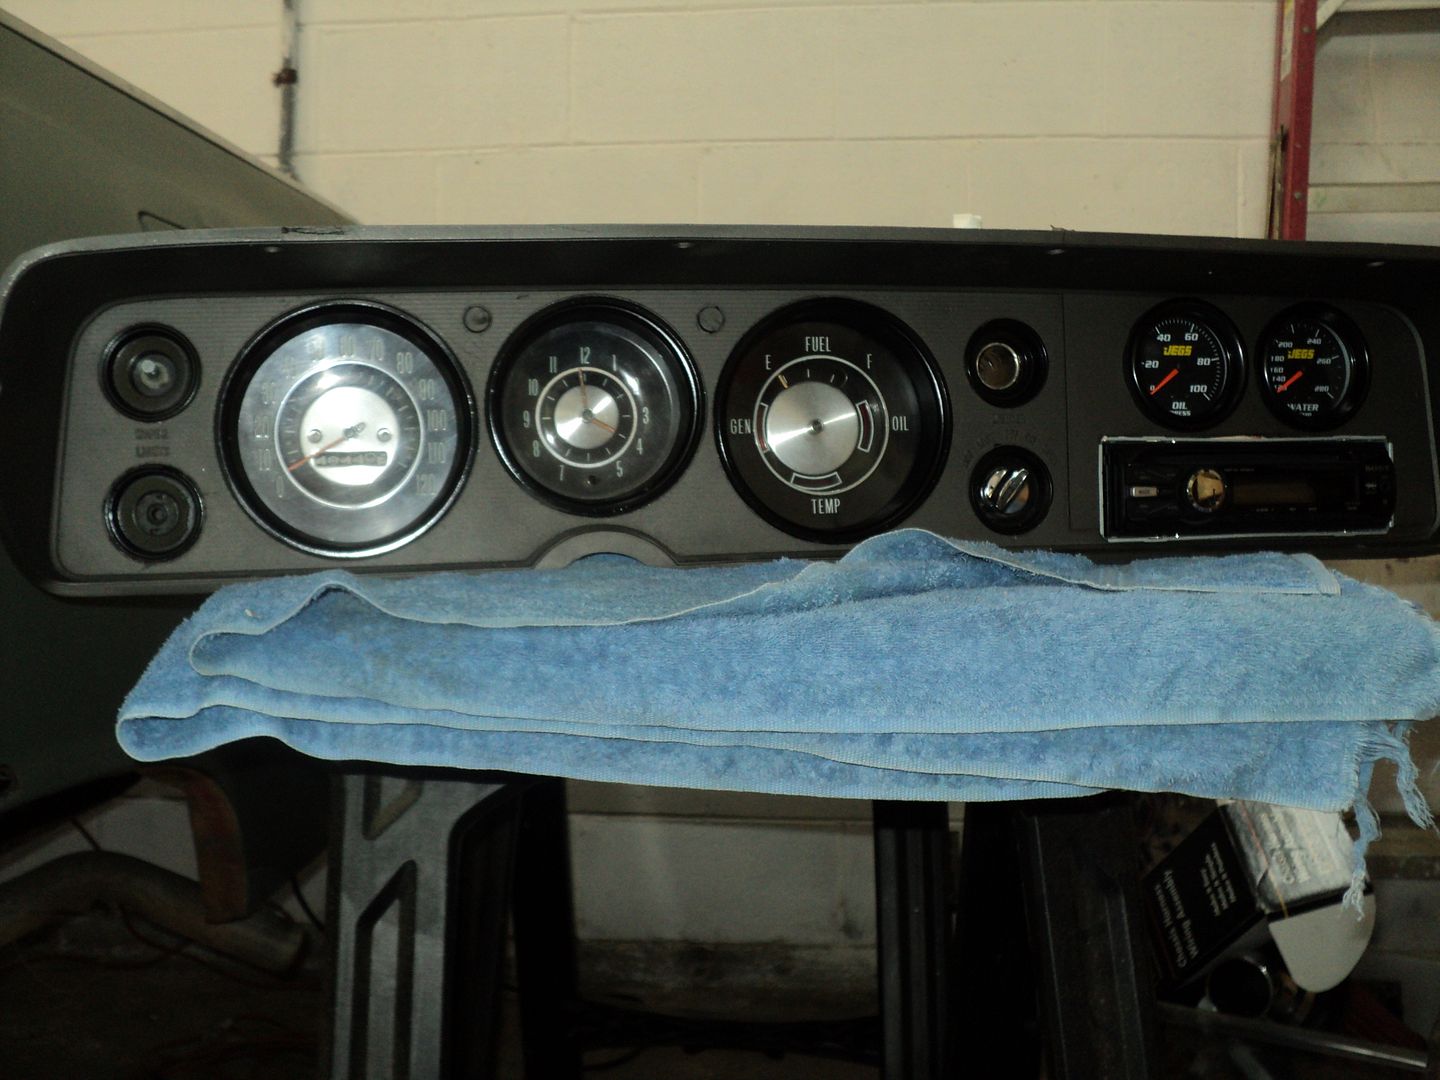 [/URL]
[URL=http://s54.photobucket.com/user/dusterbd13/media/1964%20elcamino/044_zps363d465e.jpg.html]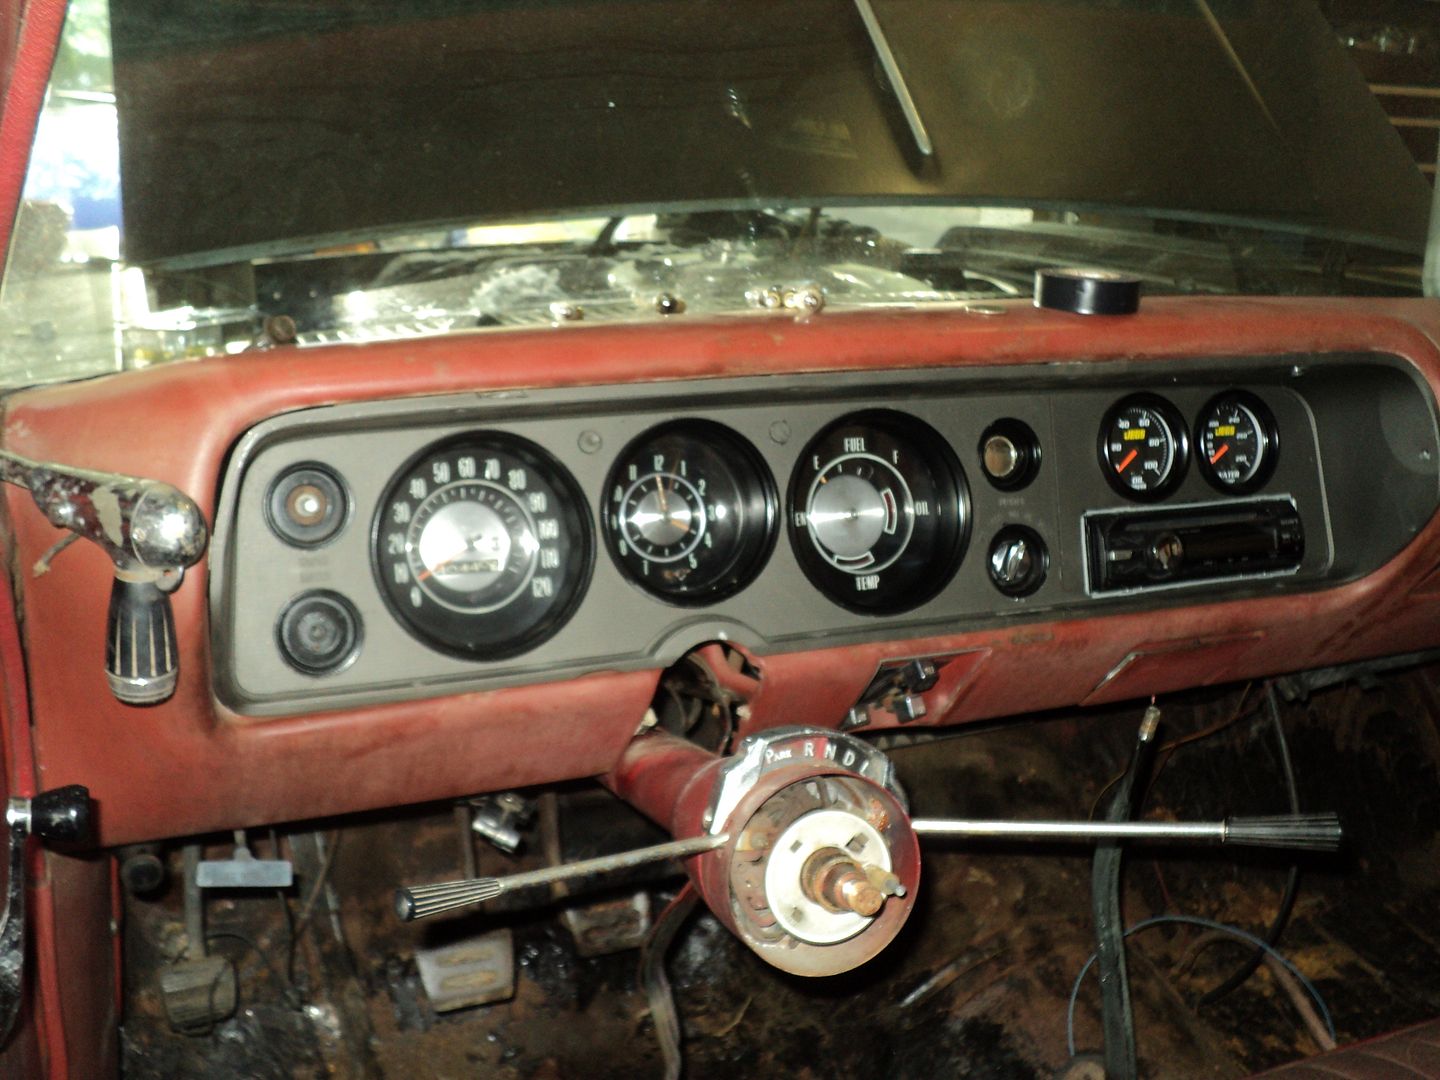 [/URL]
I also got my grant wheel in. bought an adapter kit at o'reilleys, because they were cheaper than summit. fell in place after I read the directions. fits nice, but it needs a 2 inch spacer for my driving position.
[URL=http://s54.photobucket.com/user/dusterbd13/media/1964%20elcamino/014_zpse8aa8cb7.jpg.html]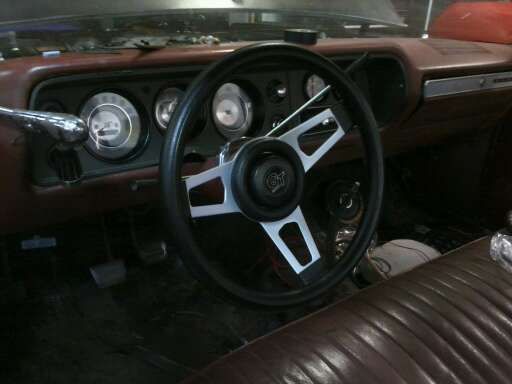 [/URL]
sat it down on all 4s again, and installed the water temp warning sender after finding the lead in the harness, wired the engine bay, plumbed the water temp gauge, installed vacuum hose to the booster, and fired it up. ran good for having sat for months. discovered that upon applying brake pressure with the new power brakes, I popped a rear wheel cylinder. dammit. so picked up a pair of wheel cylinders, shoes, and hardware. them re bleed the rear brakes again. also discovered that the fan controller no longer was. maybe that’s why I took it off the last think it was on. so I rewired it with a new controller. also, while the inner fenders were still out, I put the power bus bar from a late 80's gm full-size truck. fed it with 8 gauge straight from the starter lug for a point to pick up constant hot at in the engine bay.
[URL=http://s54.photobucket.com/user/dusterbd13/media/1964%20elcamino/040_zpsa3c60cd6.jpg.html]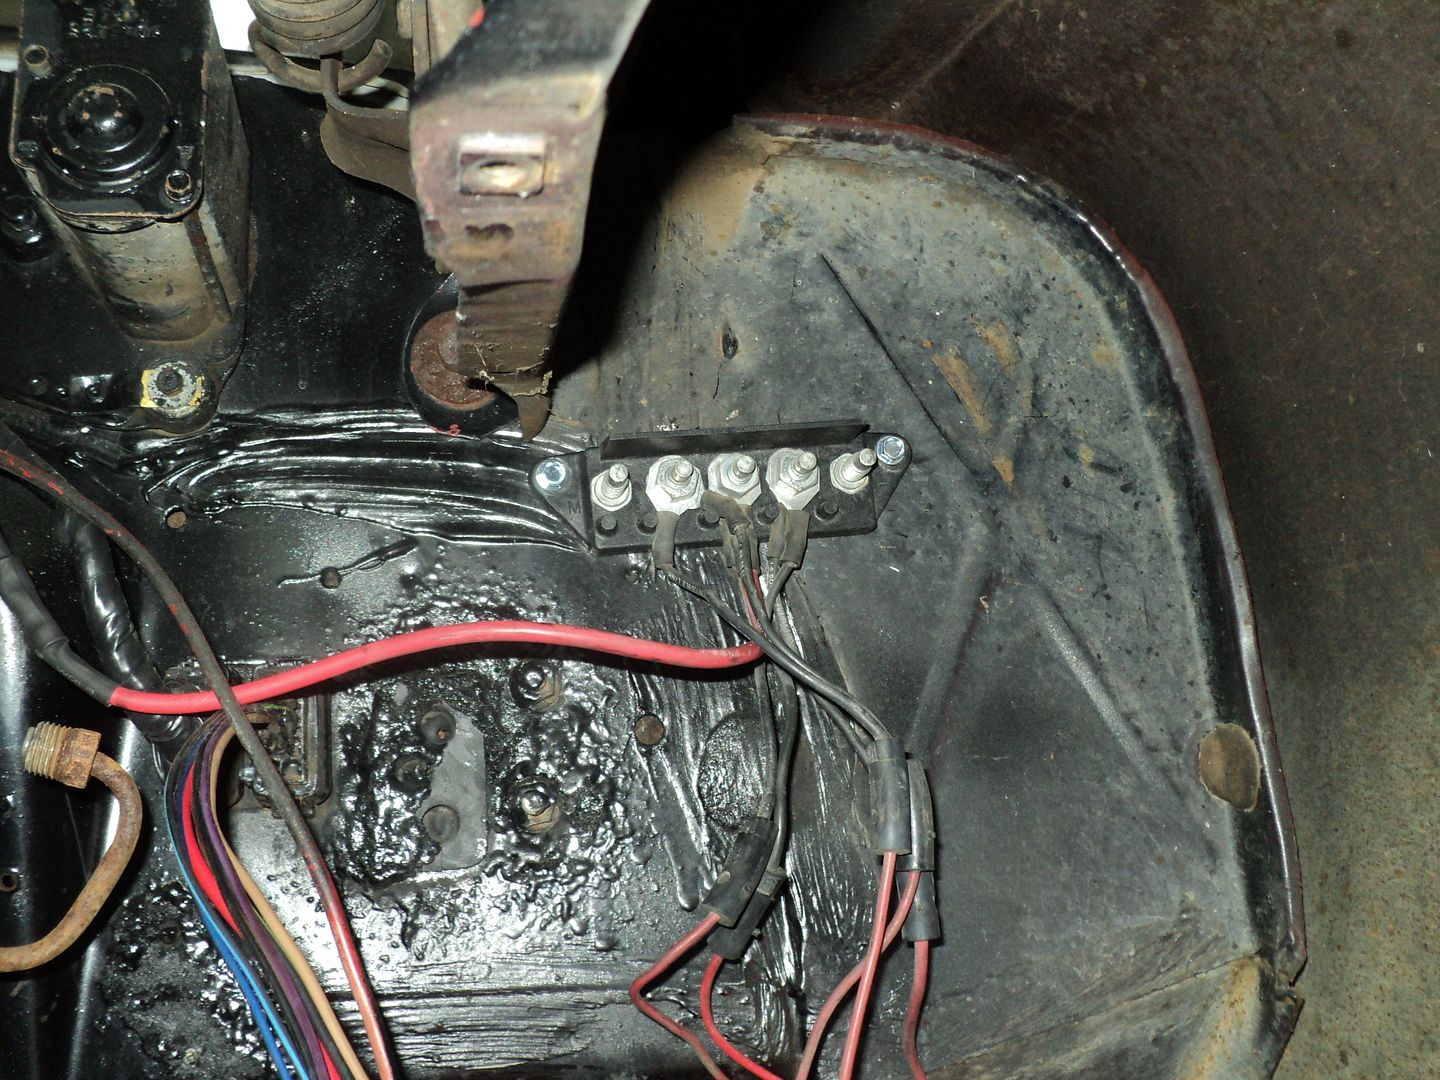 [/URL]
[URL=http://s54.photobucket.com/user/dusterbd13/media/1964%20elcamino/043_zps02d8942b.jpg.html]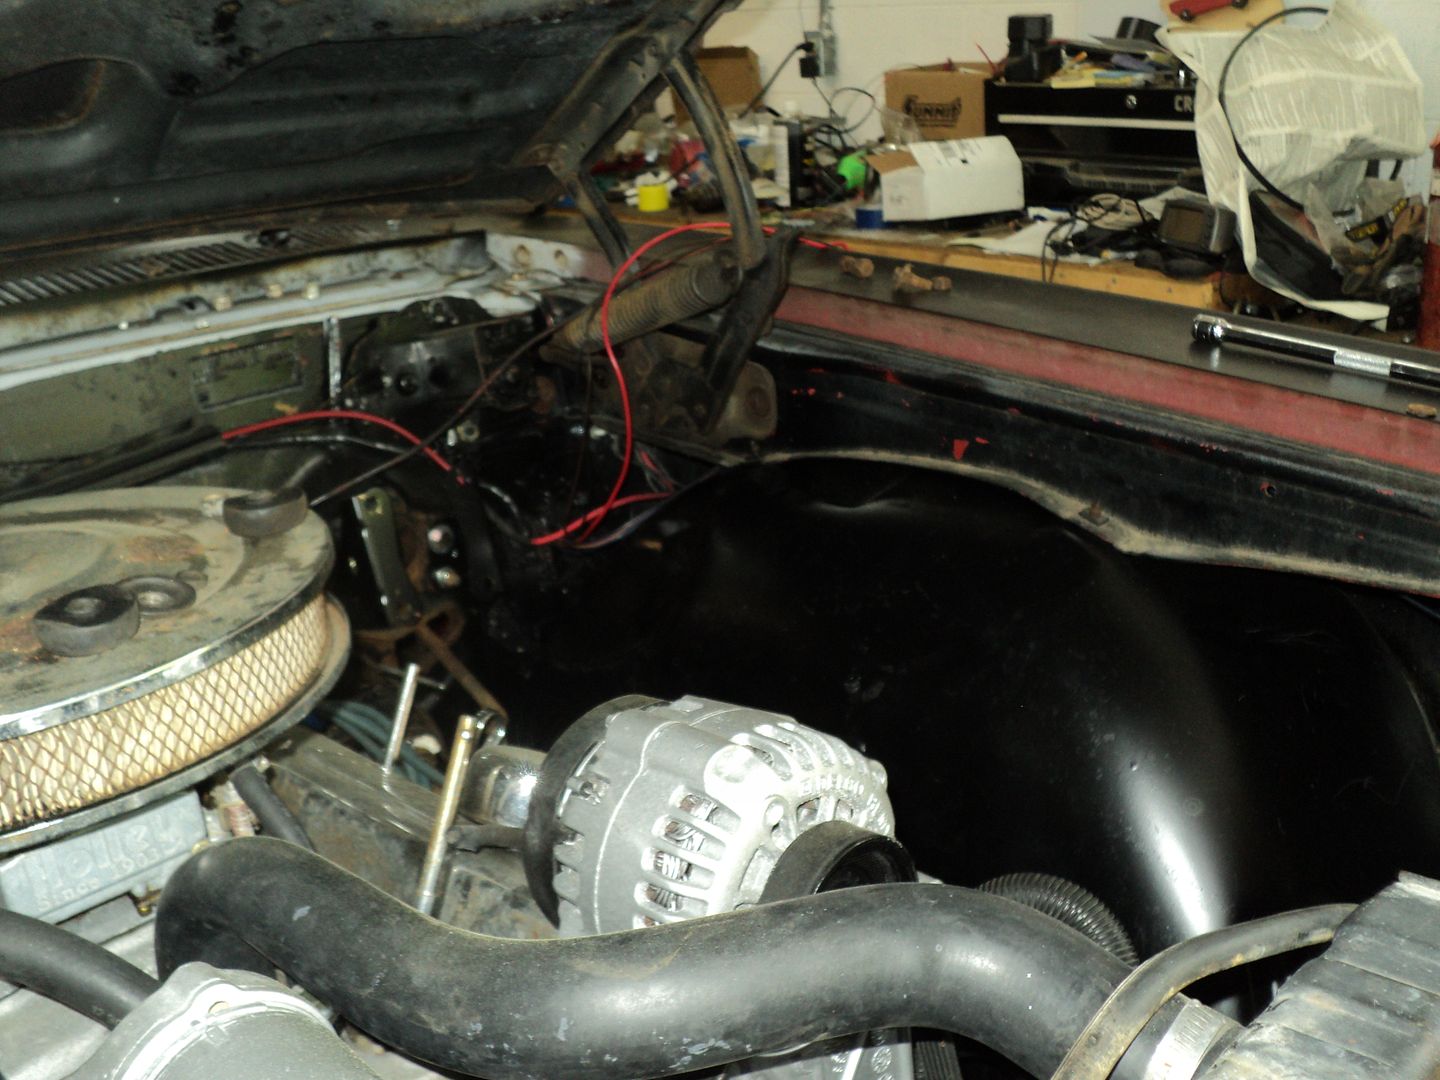 [/URL]
it still needs to come down an inch or so in the front, and a few more in the rear to level out the rocker to ground angle. but it looks good.
[URL=http://s54.photobucket.com/user/dusterbd13/media/1964%20elcamino/017_zpsf57a9771.jpg.html]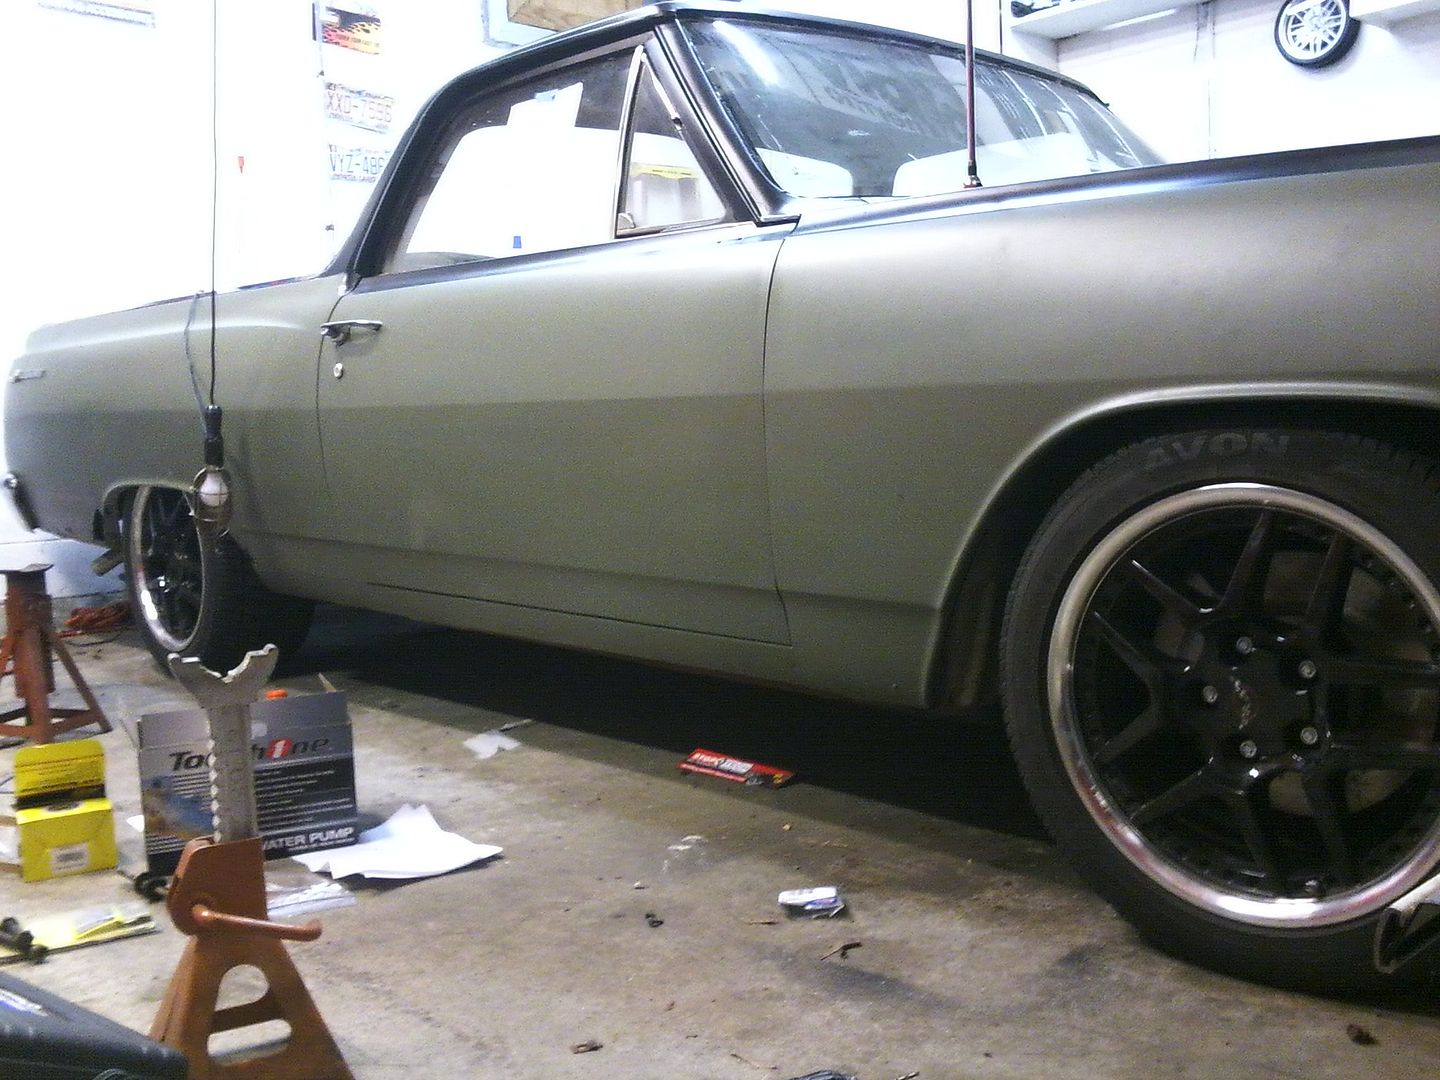 [/URL]
I finally finished installing my rear mounted battery as well. used the tray from up front, a piece of square stock form my odds and ends bin, and some 1/4 inch bolts. works good, and is completely hidden from view, heat, and damage. also picked up some j-bolts, a hold down, and some corrosion donuts from advance.
[URL=http://s54.photobucket.com/user/dusterbd13/media/1964%20elcamino/001_zpsb125f604.jpg.html]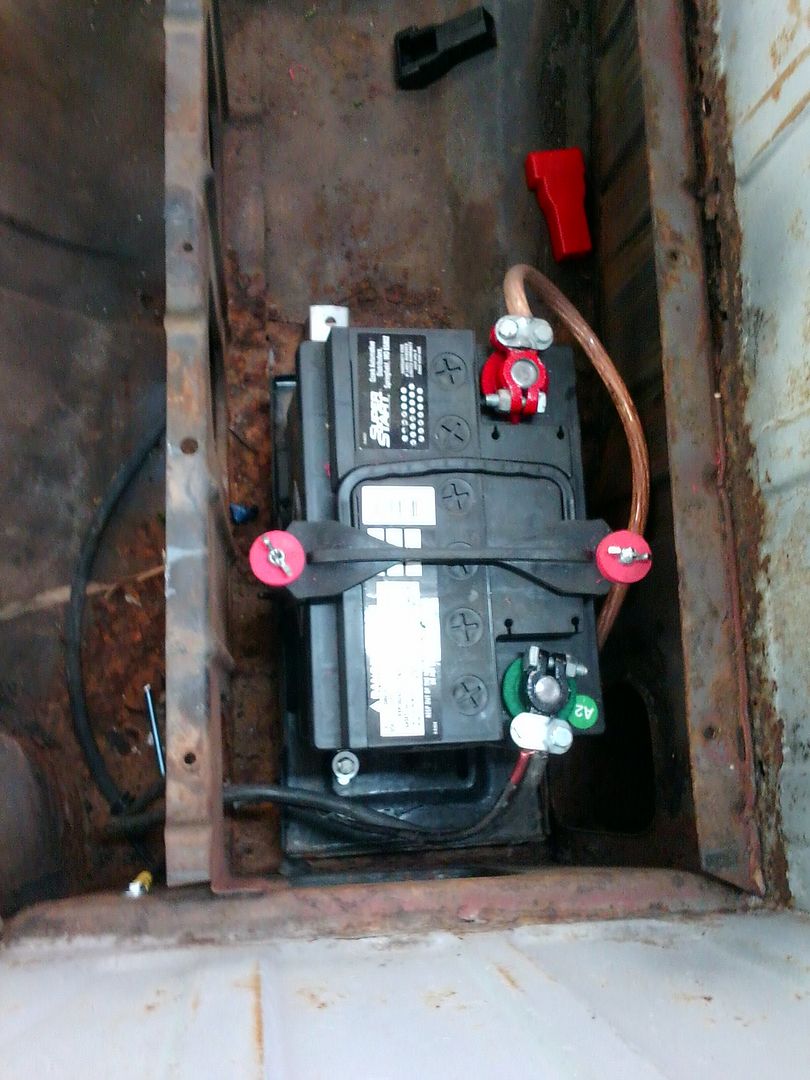 [/URL]
took it out for its test drive tonight. OH MY!!!! this thing will put you right through the windshield when you get on the brakes. its wet, so I didn’t try to determine the bias balance. if my butt is telling me right, its about spot on.
needs an alignment. badly. ill get to that prior to getting a set of decent tires.
it also needs to go down another 1/2 inch or so up front (tall ball joint swap anyone?) and about an inch in the rear.
it also needs a wiring harness. point blank, this one is scrap. ive patched it back together, but the lighting circuits are intermittent, there's more splices than solid wire, poor connections, etc. time for an 18 circuit harness and just be done with it. ill probably do this this fall if I can hold off. ill do AC, EFI, etc at the same time then. it will be much easier and neater when done that way.
I still need to grease thr front suspension, recheck wheel bearing preload, hook up my oil pressure gauge, cotter key check, and splice the rear lights in somehow. but some of that can wait. I've got customer cars that have been waiting on my bay. ive got turn signals and brake lights, just not running lights back there. so I may be able to cobble something quickly to make it work. the rest of the stuff will only take me an hour or so, so hopefully I can get that after church tomorrow. then drive it some more and see how she does.
thanks for checking in guys. I'm super stoked to have driven it tonight!!!!
[URL=http://s54.photobucket.com/user/dusterbd13/media/1964%20elcamino/005_zpscc656212.jpg.html]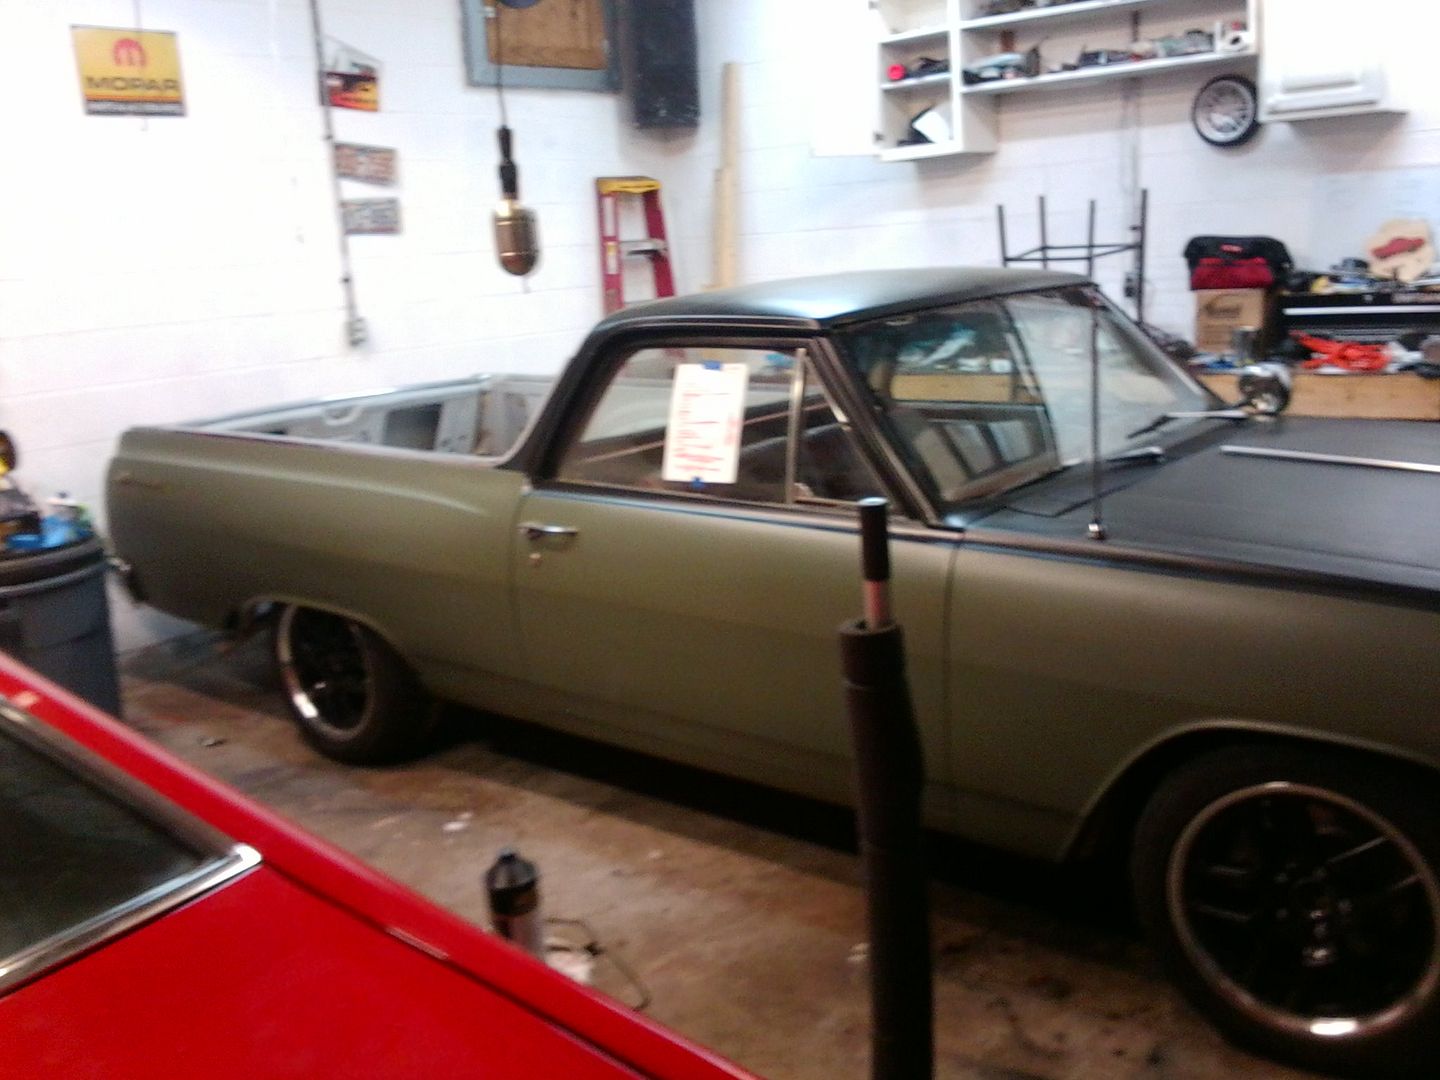 [/URL]
[URL=http://s54.photobucket.com/user/dusterbd13/media/1964%20elcamino/003_zps061ebf0f.jpg.html]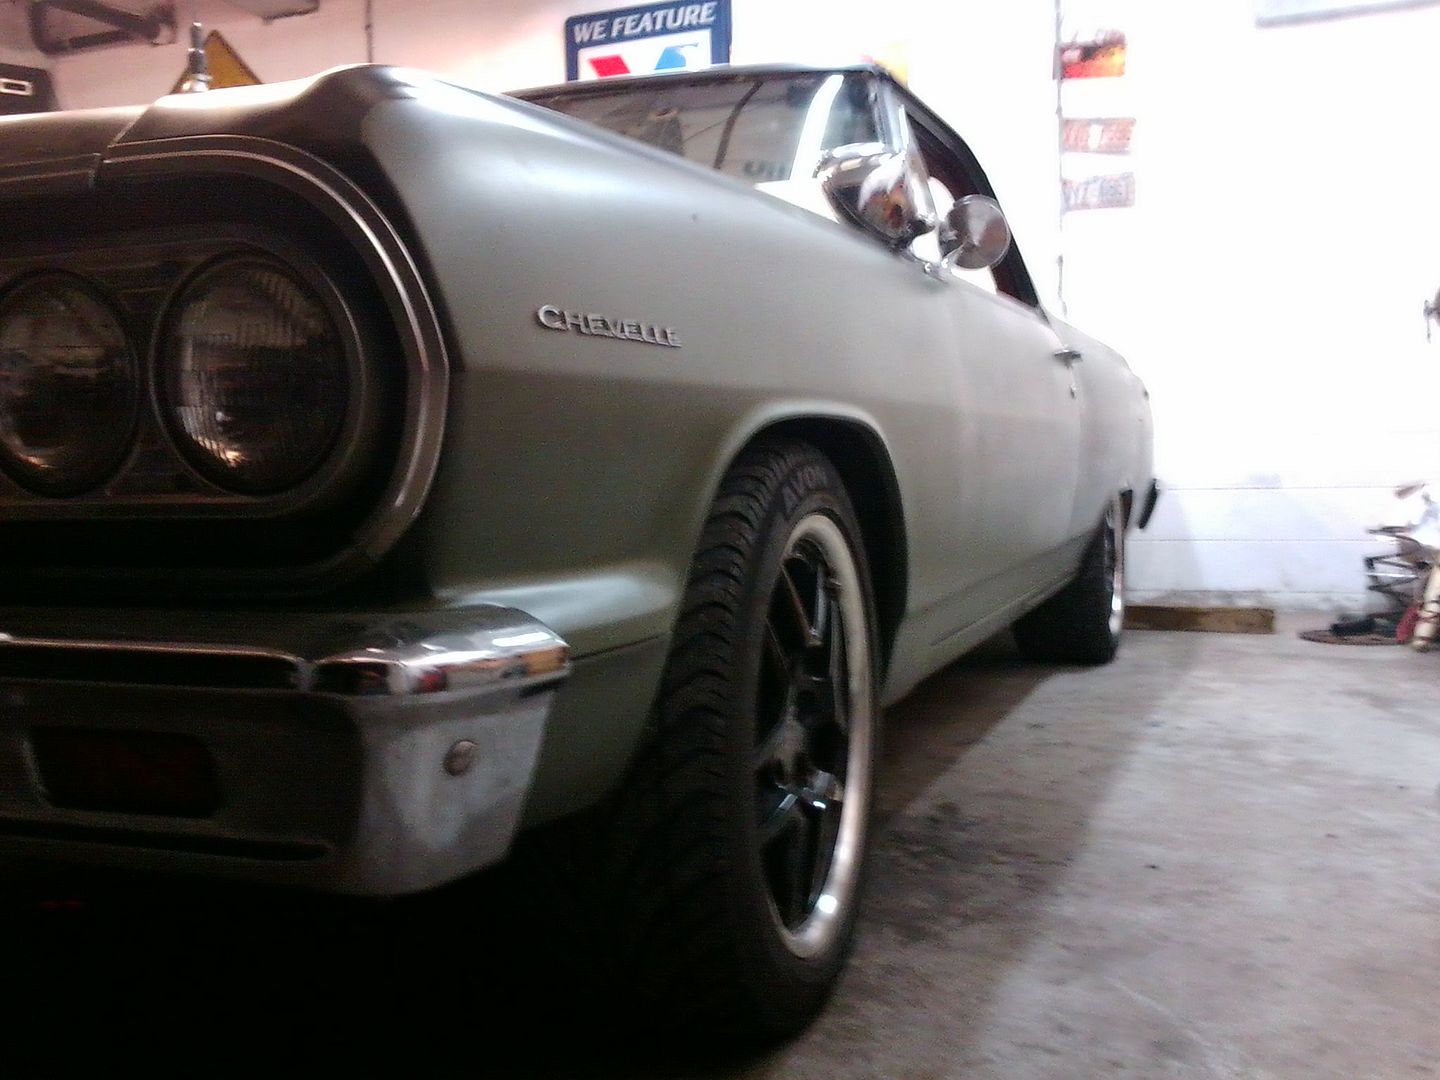 [/URL]
If that's a beater...![]()
Looks at Lincoln
Looks at El Camino.
Looks at Lincoln.
Looks at El Camino.
Hangs head in shame.
Looking good!
![]()
believe me, its a beater. not a straight panel, lots of rust, rattle can, etc. its actually the roughest car i own. the pictures just make it look good.
purely by accident.
Dude, that is a BIG update. That gauge panel did not happen to look amazing by accident. FYI we used some nylon strapping to limit the suspension on the Amazon Lemons car, you may find it useful to limit the travel of the rear suspension.
You'll need to log in to post.