1 ... 3 4 5 6 7 ... 21
Dusterbd13
Dusterbd13 HalfDork
7/6/13 6:02 p.m.

so, budget first:

previous total :6167.36

total stays the same this time.

to get straight to the point, I have opened Pandora's box. this has gotten very ugly, very quickly. it started on the trip to take the car to my dads place for the trans swap and freeze plug repair. started blowing a ton of smoke, and I couldn’t get it to cool down below 250. averaged 260 and steaming.

limped it straight onto the lift where it proceeded to puke its guts out. this was early on July 4th (like 6:3o am) and we had family stuff all day to do. I took the day off yesterday, so I got started first thing on it. I had figured that it would be easiest to do what I needed to if I pulled the front clip. internet wisdom said it would come right off. it fought me every step of the way. I will NOT be able to go back on in one piece. ill have to separate the fenders from core support on the floor. this was kind of an omen of things to come.

[URL=http://s54.photobucket.com/user/dusterbd13/media/1964%20elcamino/007_zpsb8319254.jpg.html][/URL]
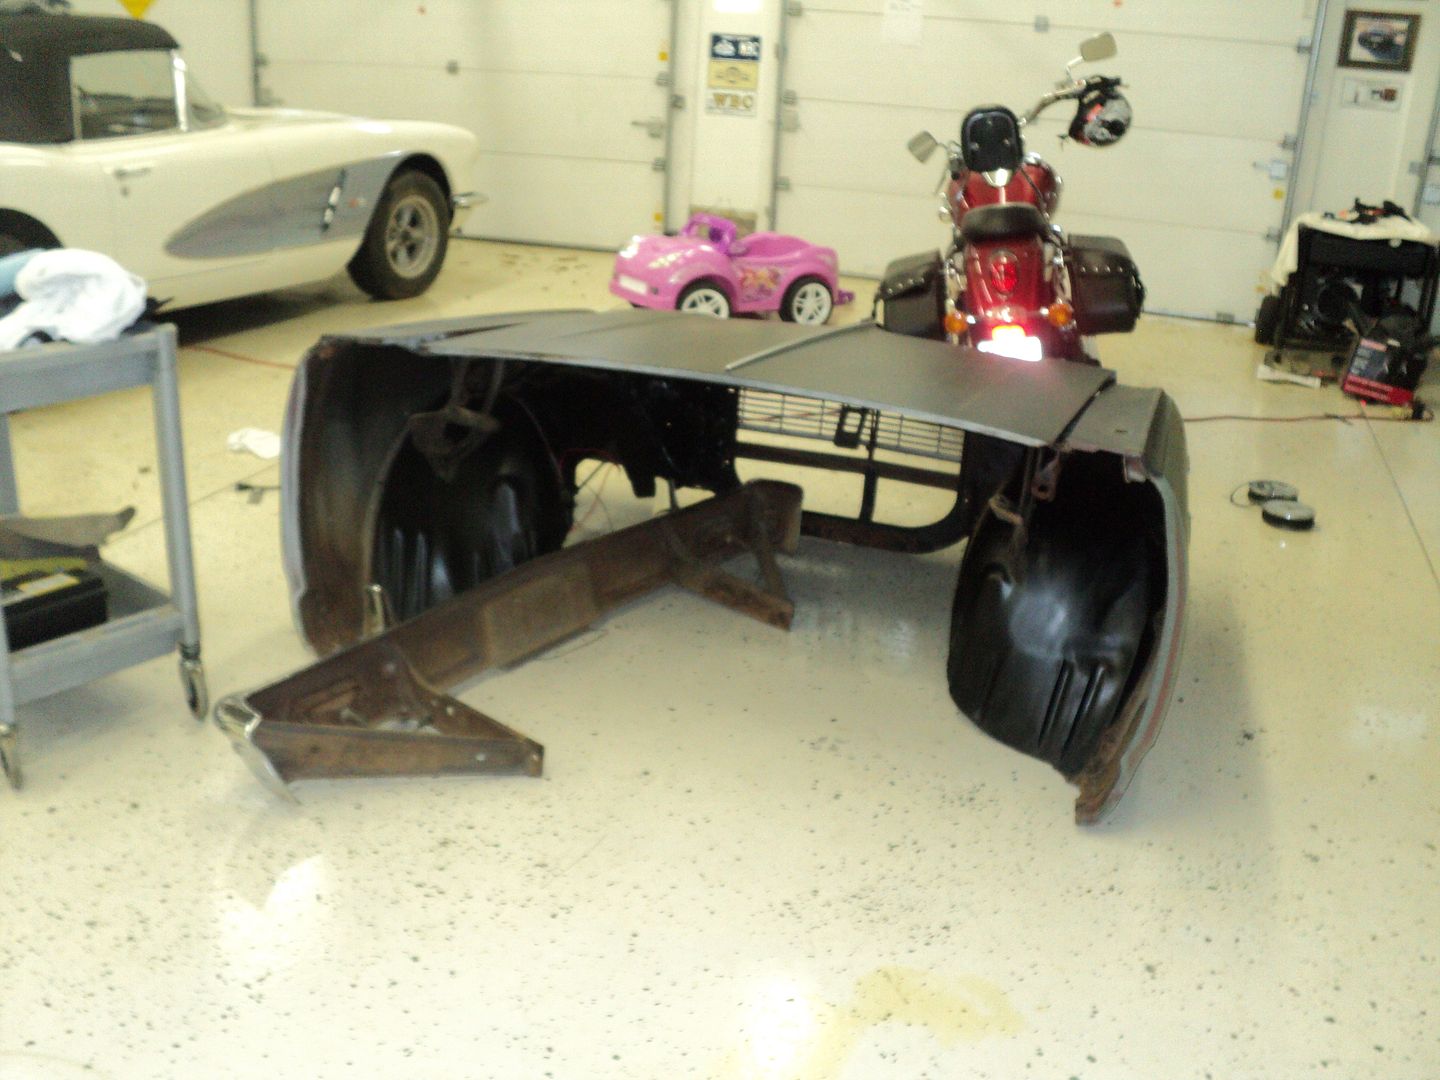
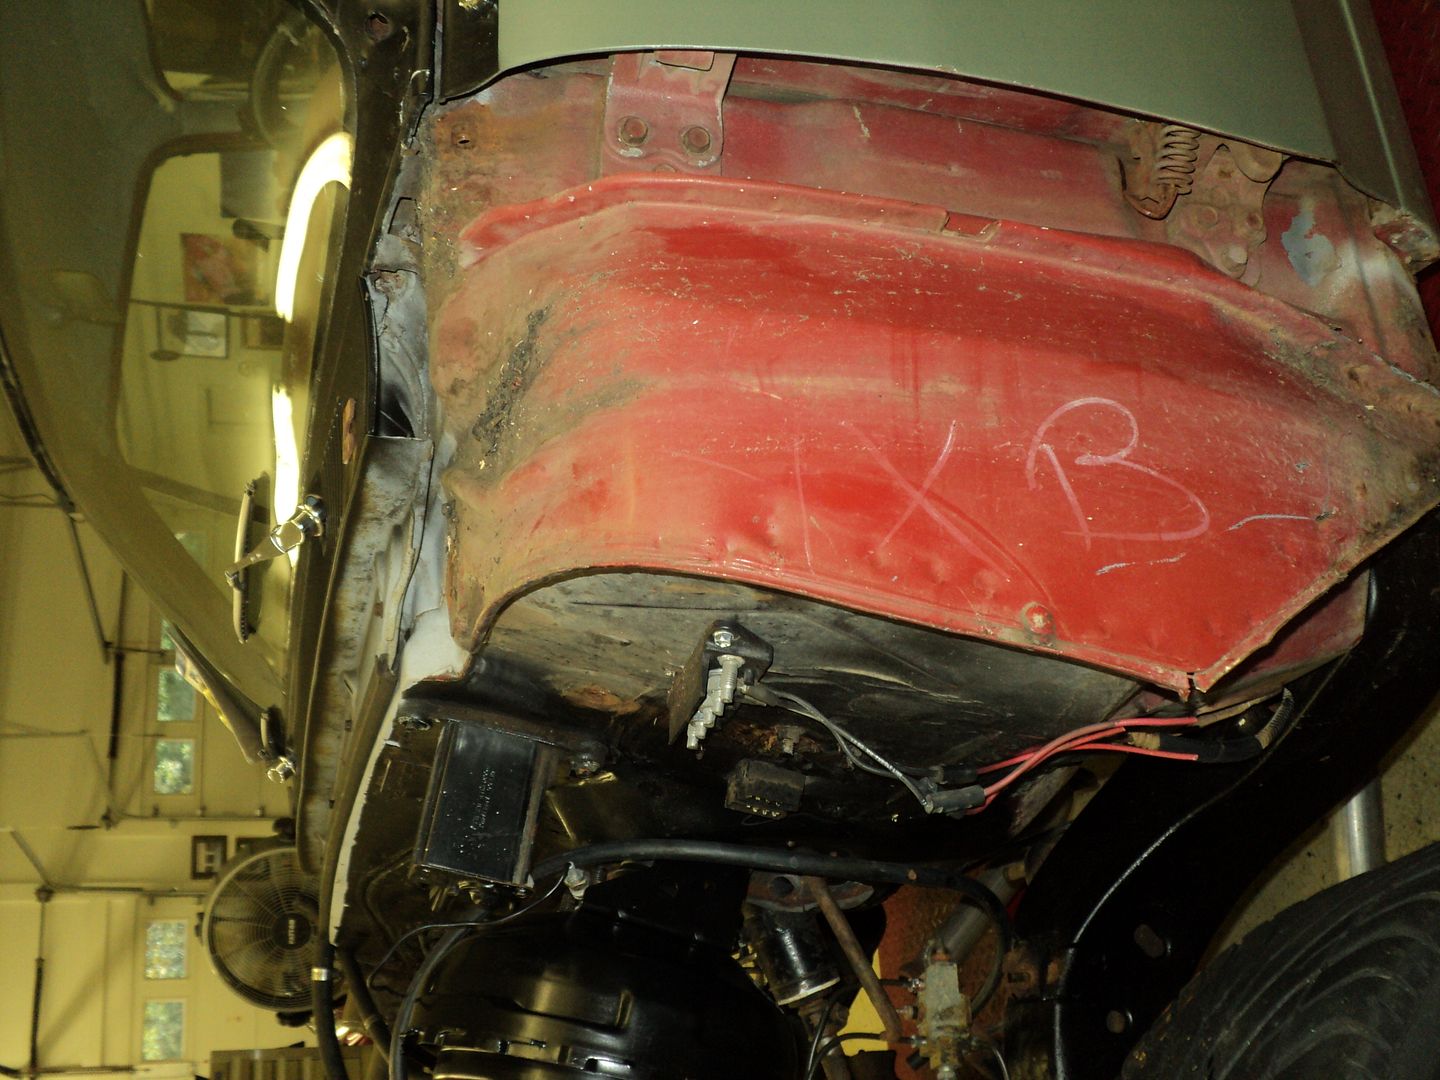
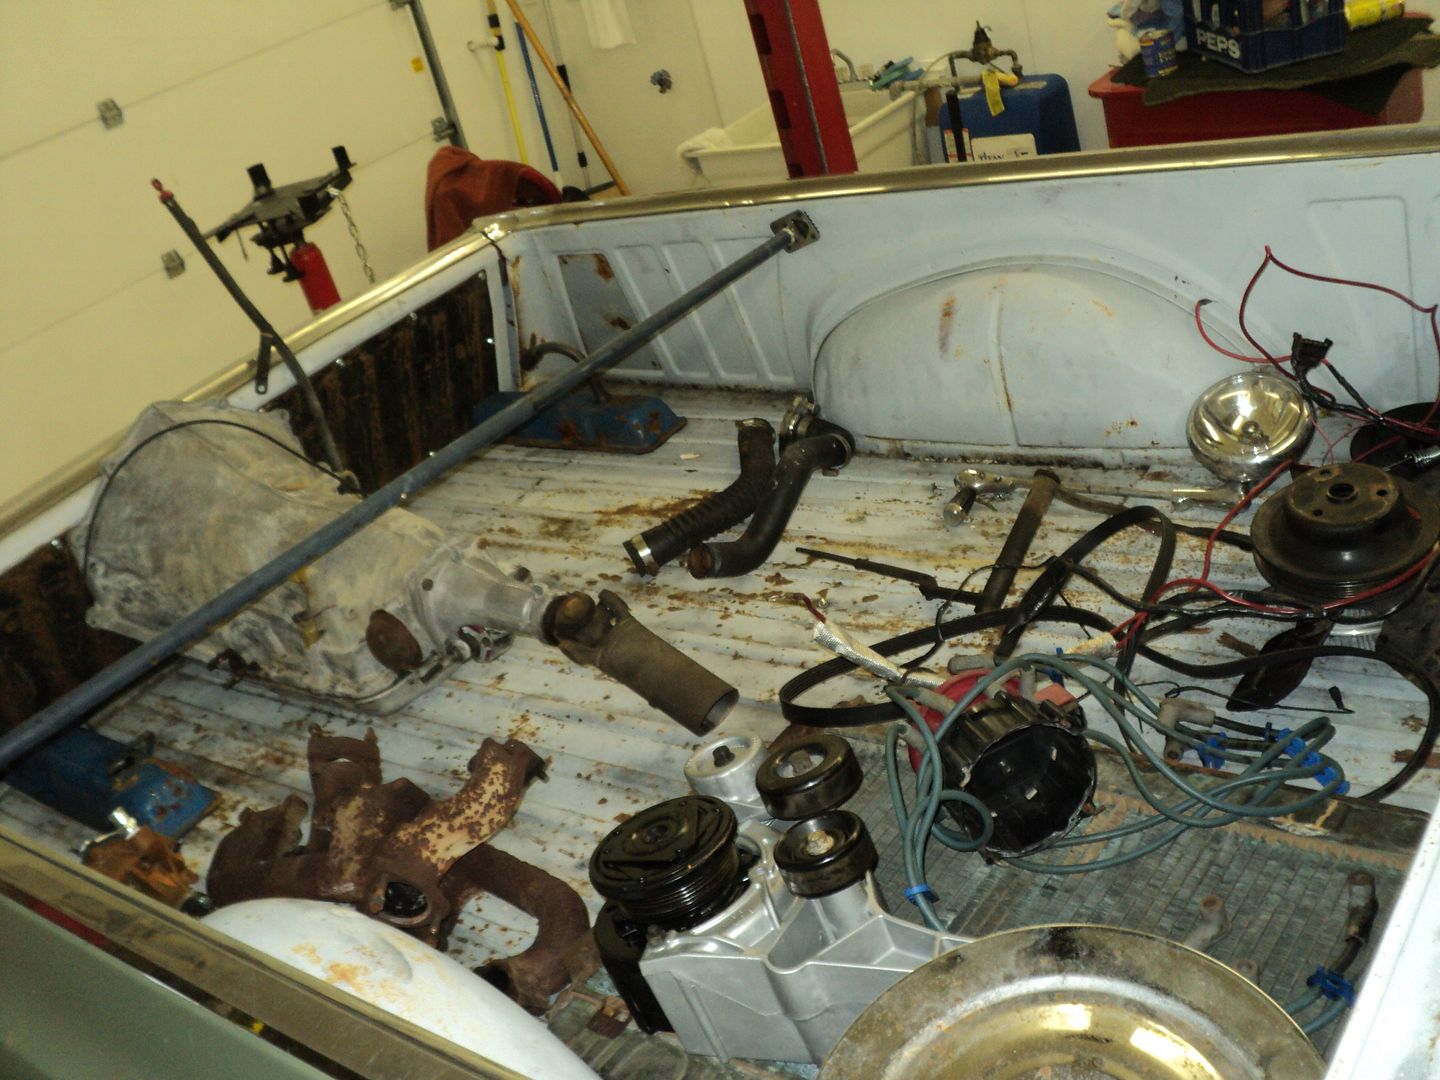
got the engine, trans, etc. out about 3:30 after starting at 9:00 AM. not too bad on time for all the rounded off, rusted, seized, cross-threaded fasteners. found the engine harness in worse shape than I thought, no exhaust manifold gaskets, trashed plug wires, kinked fuel lines, etc. kinda shocked what close inspection revealed about this thing. I did find that the original paint and chalk marks were still on the cowl and inner fenders. kind of cool.

[URL=http://s54.photobucket.com/user/dusterbd13/media/1964%20elcamino/004_zps4ea4edcc.jpg.html][/URL]
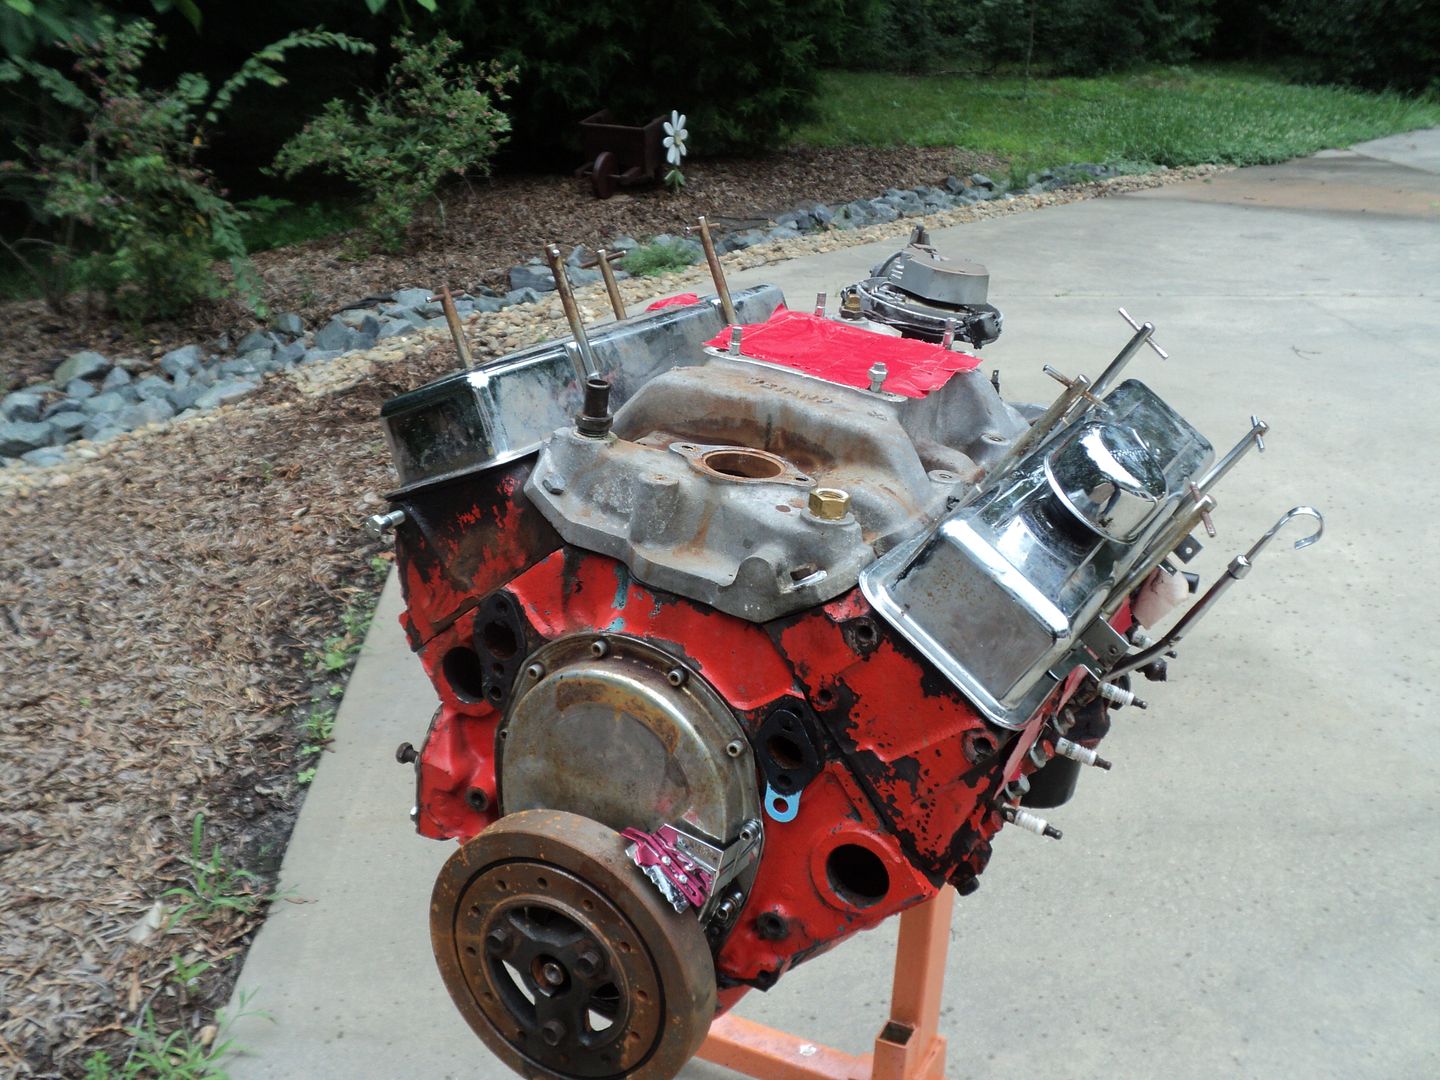
I got the engine stripped down for the most part, and started to get nervous.

[URL=http://s54.photobucket.com/user/dusterbd13/media/1964%20elcamino/002_zpsf0471a74.jpg.html][/URL]
[URL=http://s54.photobucket.com/user/dusterbd13/media/1964%20elcamino/006_zps3a86fd57.jpg.html][/URL]
when I started knocking freeze plugs out, I discovered no water jackets in the back of the block. they were solid. I actually had to take a hammer and chisel and drive it in to hit water. on all the back 4 freeze plugs. which means there was minimal to no coolant flow to those. which meant that the chances were greater for catastrophic failure on those cylinders. oh, E36 M3.

started to clean the water jackets out in preparation for tearing the block down.

[URL=http://s54.photobucket.com/user/dusterbd13/media/1964%20elcamino/001_zps2c9e01d1.jpg.html][/URL]
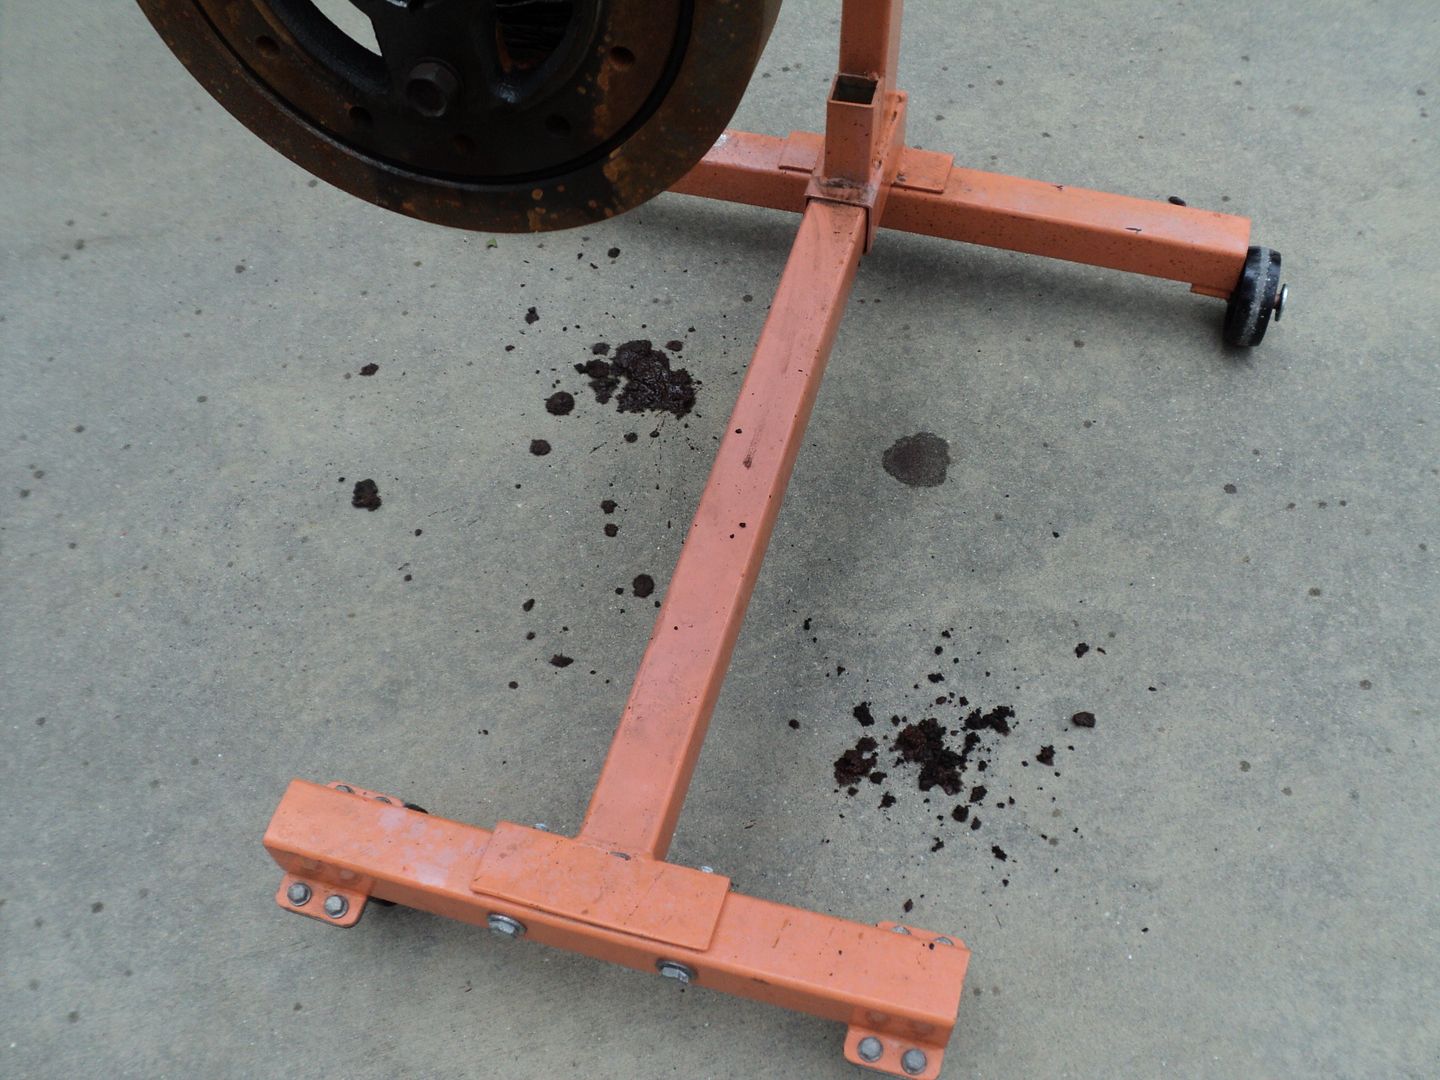
after an hour with coat hangers and a pressure washer, I finally started to get clean water out. no lie, I probably cleaned 10x what the picture shows out of the jackets.

today, I started to open up the engine.

discovered that the intake had sucked both the side gaskets at the back two cylinders.

[URL=http://s54.photobucket.com/user/dusterbd13/media/1964%20elcamino/010_zpscc686b91.jpg.html][/URL]
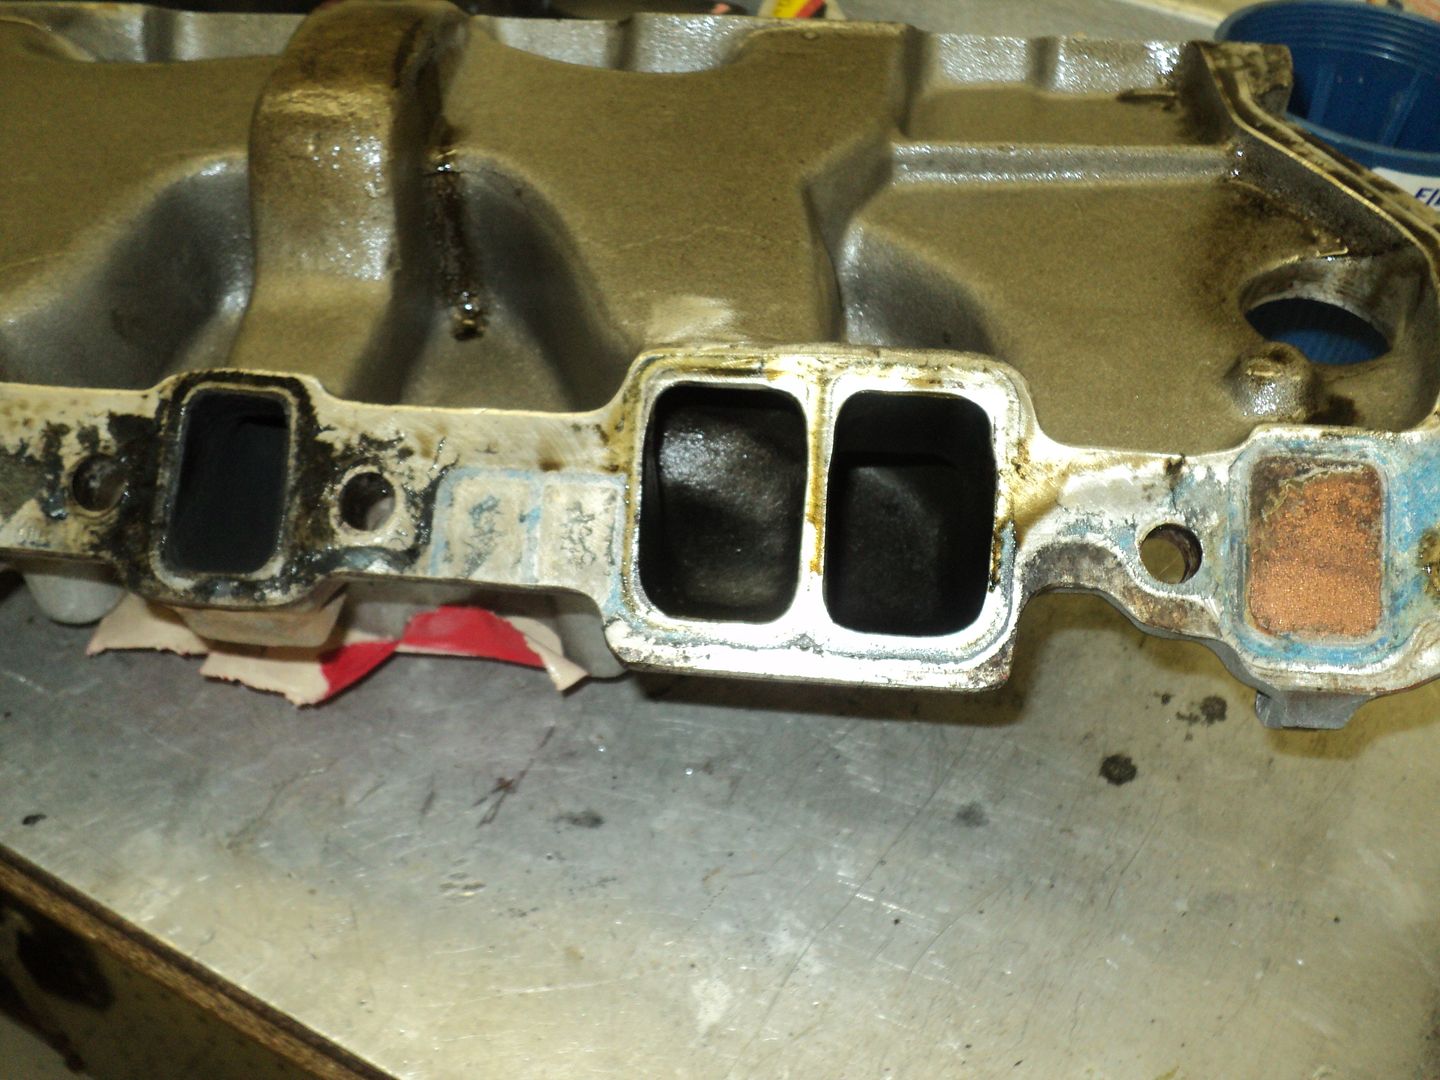
and then pulled the heads to see the damage.

[URL=http://s54.photobucket.com/user/dusterbd13/media/1964%20elcamino/012_zps5c6f5a70.jpg.html][/URL]
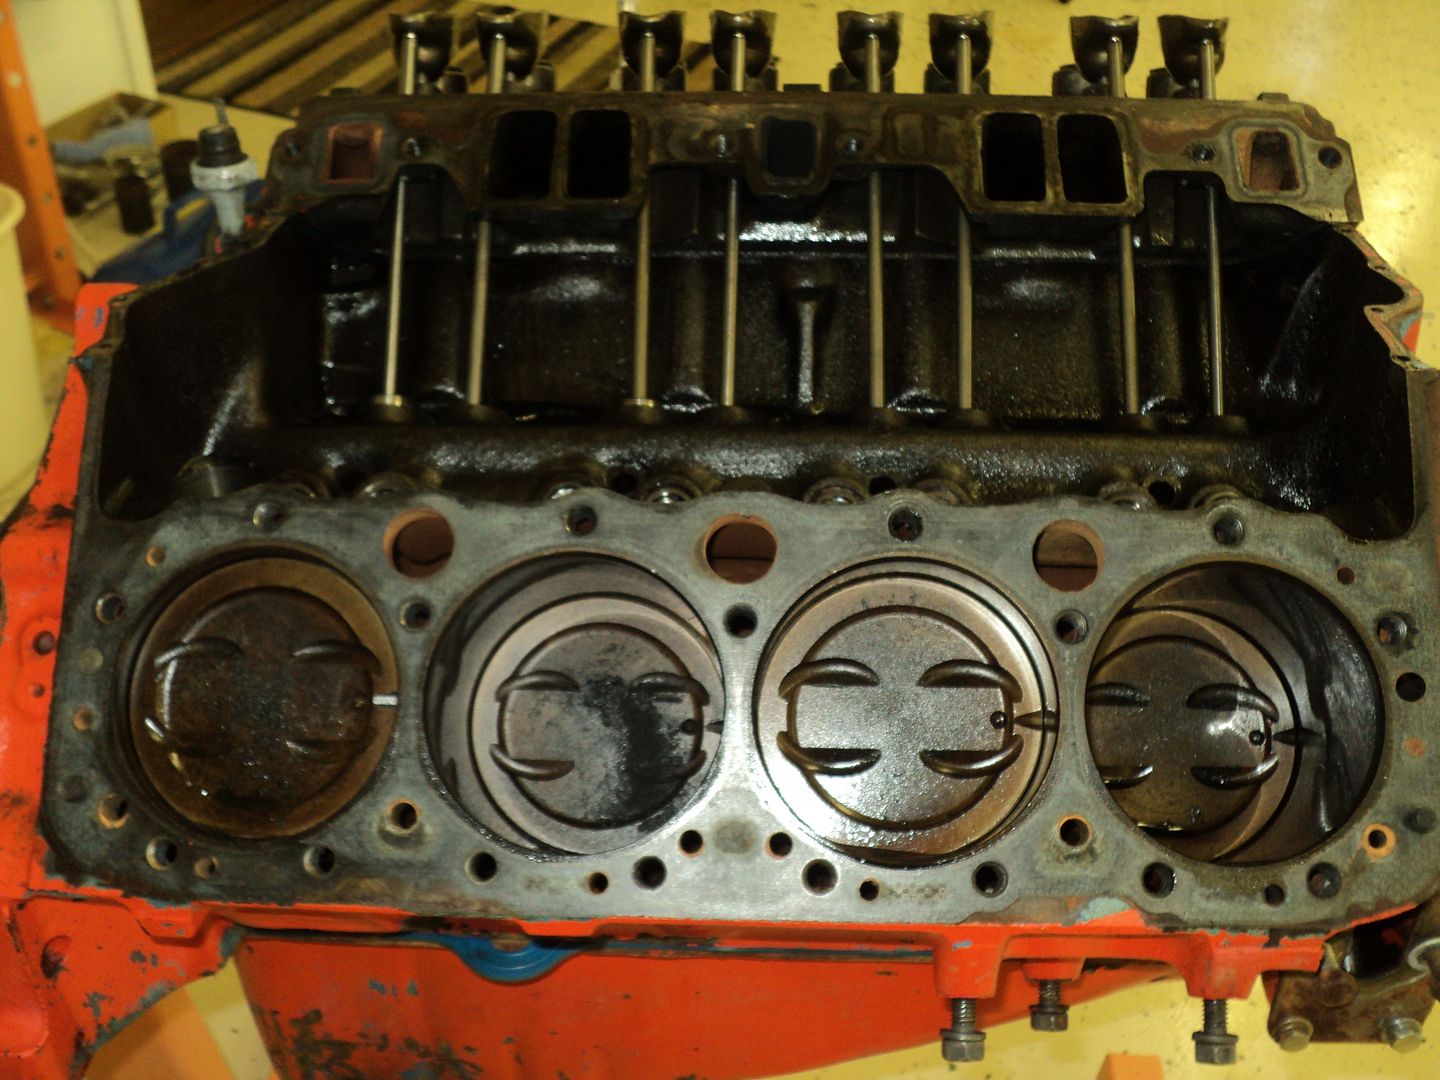
no scoring, deck and heads still straight. heads gasket on passengers side looked as if it had failed between 6 and 8. no valve stem seals left. engine has not been rebuilt as I was told. fairly significant ridge, no crosshatching left. clean inside though....

ill put it all back together with new gaskets, cleaned and painted, and pray for the best. well see what happens. hopefully the Ls swap is still a long ways off.

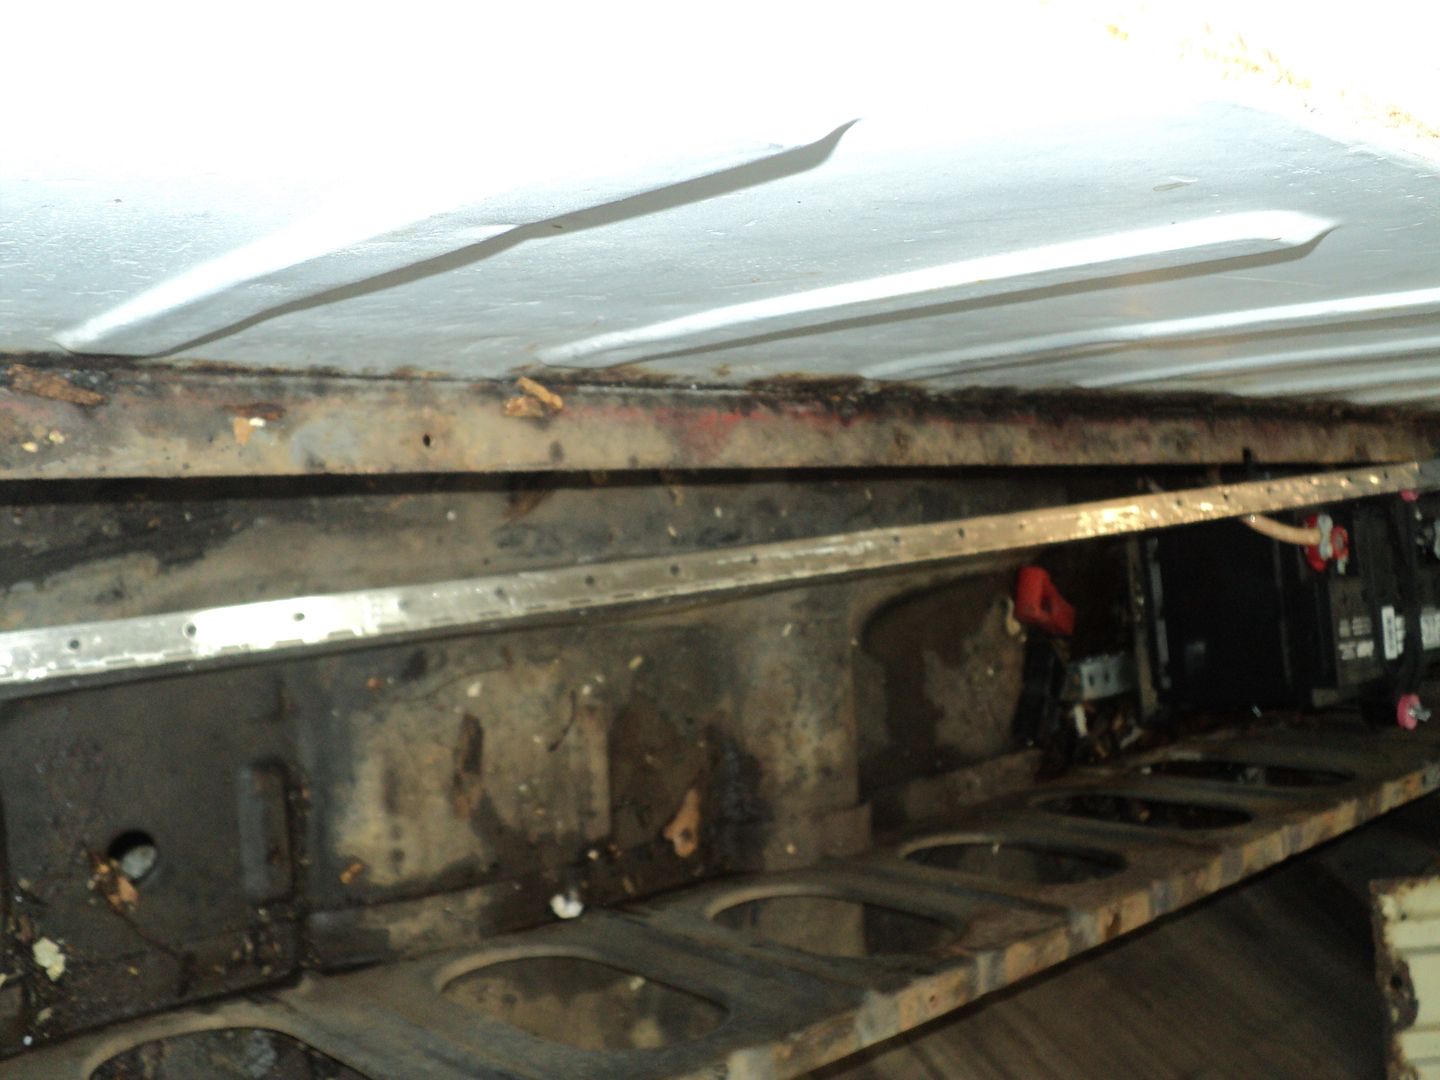
I'm waiting on stem seals for the engine, so I moved onto prepping the firewall and frame for paint. hit it with superclean and a pressure washer after scraping and chiseling stuff off. came out better than expected. except for the heater box cover being rusted out...

[URL=http://s54.photobucket.com/user/dusterbd13/media/1964%20elcamino/014_zps553ee75e.jpg.html][/URL]
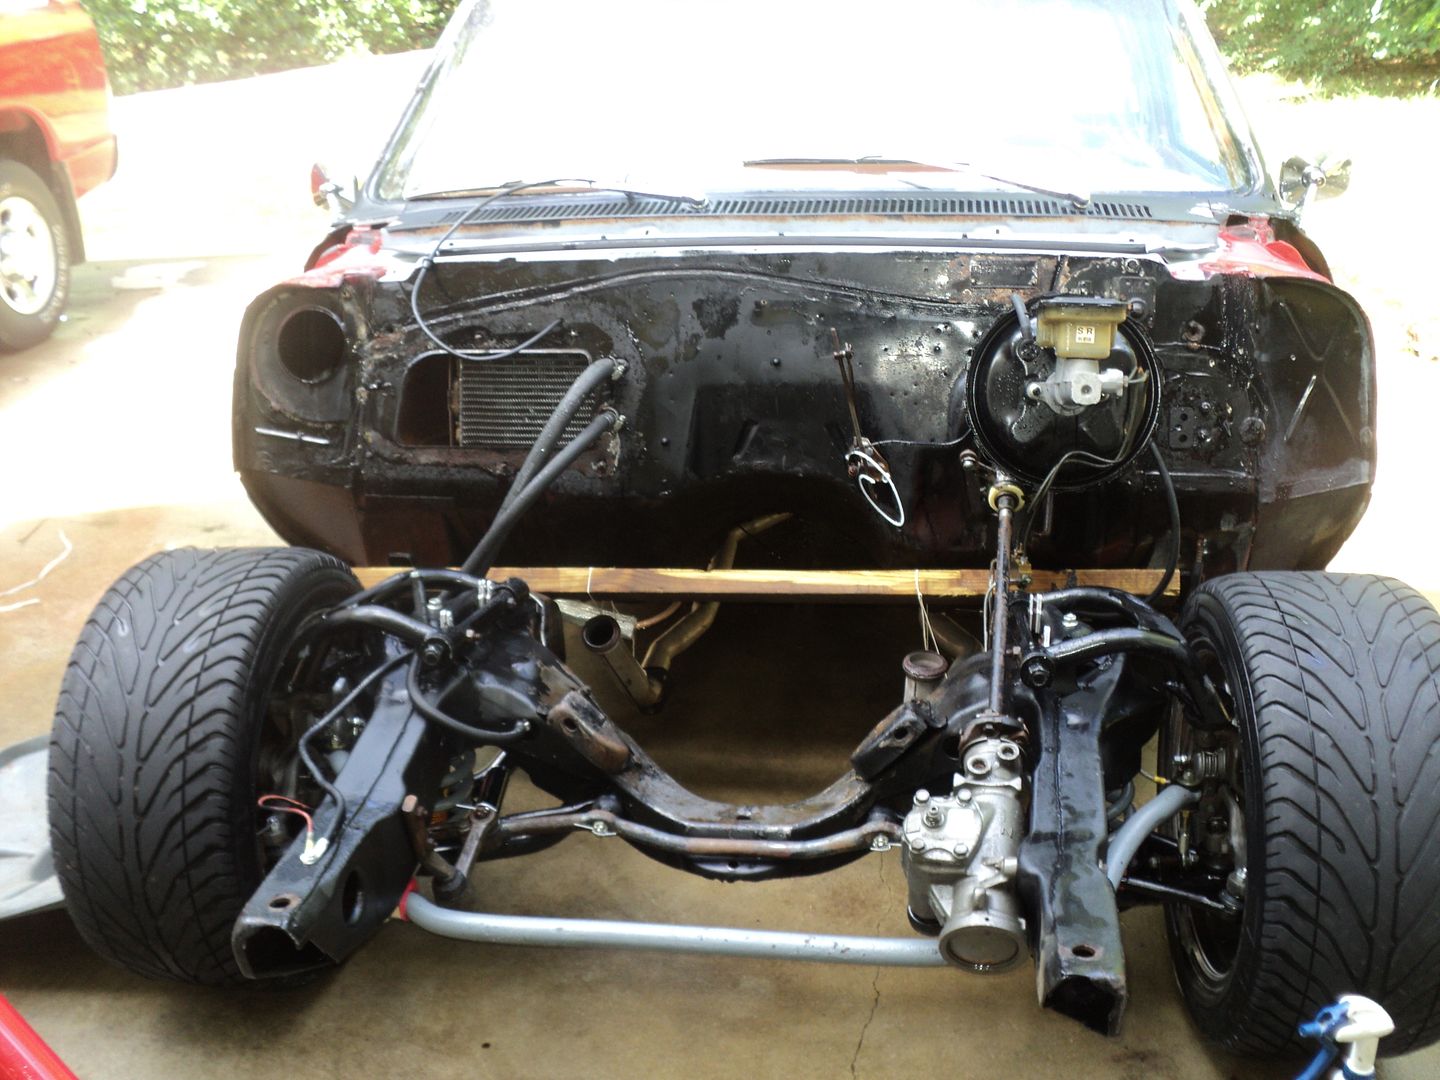
[URL=http://s54.photobucket.com/user/dusterbd13/media/1964%20elcamino/015_zpsc61ed26a.jpg.html][/URL]
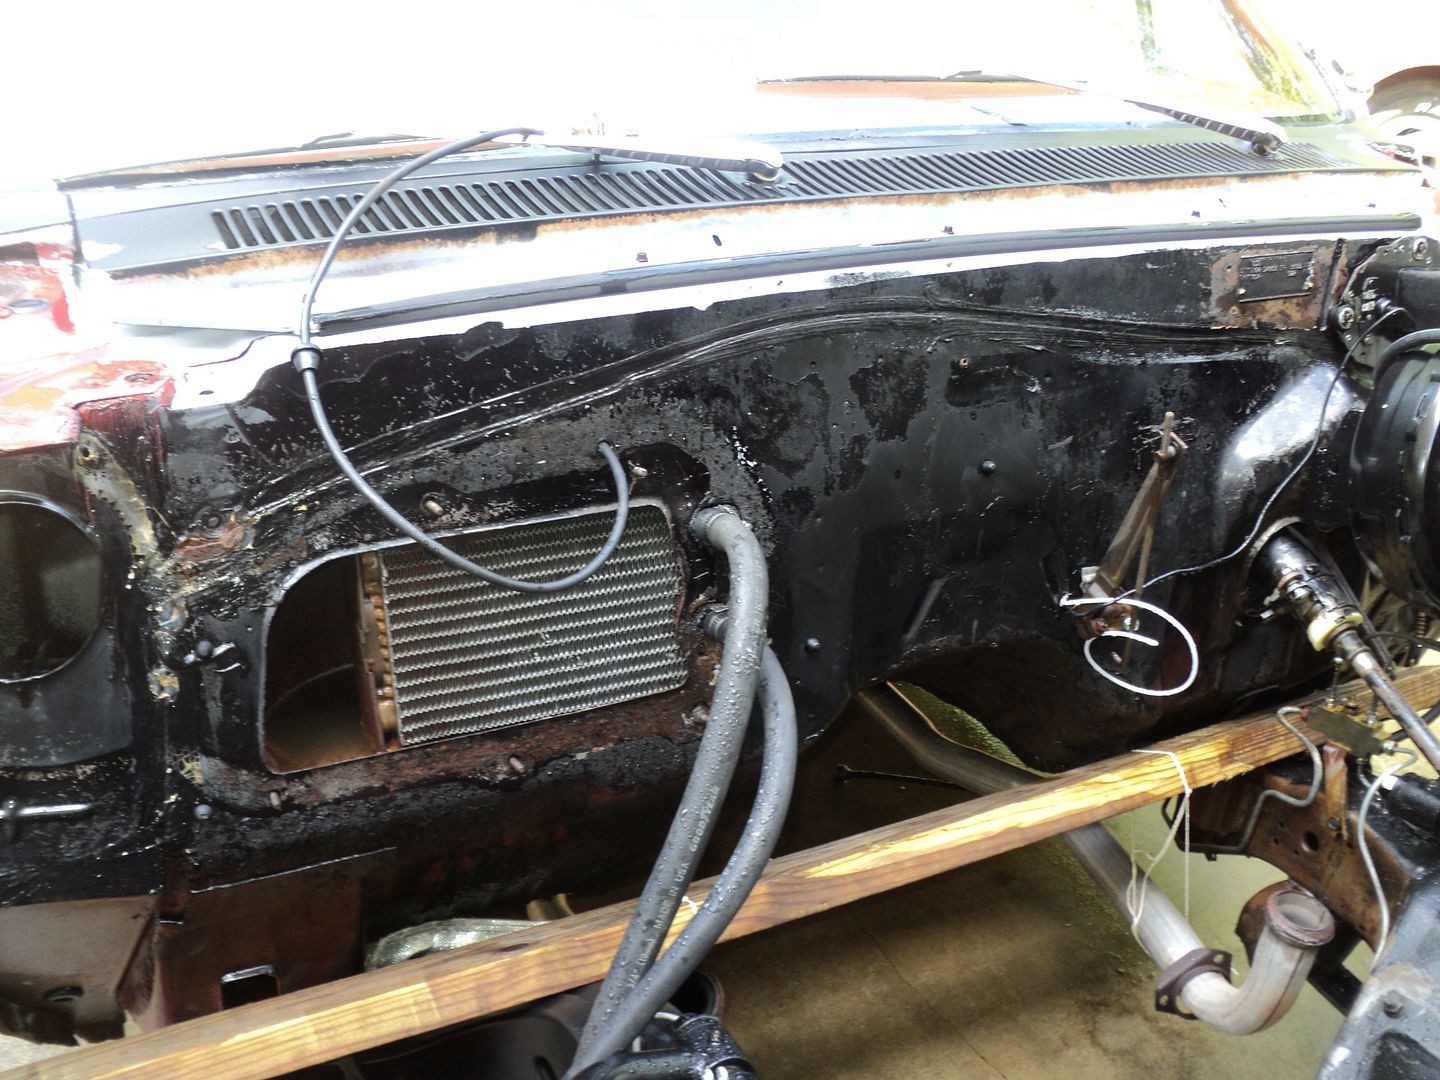
tomorrow will be painting before family movie night. parts should be here Monday, and we can get back at the engine.

tuna55
tuna55 PowerDork
7/7/13 12:05 p.m.
Dusterbd13 wrote:
tuna55 wrote:
Dusterbd13 wrote: I have opened pamdoras box. this is getting ugly, quick.
Can you elaborate? Need any help?
Do you have any idea of how much your offer helped? You are, quite possibly, the coolest guy I know, and I don't even know your real name. Just for the offer I owe you a beer. Ill elaborate tonight. Its ugly, but I'm coming out the far side better than anticipated.

Hey, I'm only a few hours away. My name is Brian. I am glad to have helped, if only with words. We're with you. It looks like you've got a terrible deal there.

If you're going 'full-rebuild' on this this, be sure and check the taper of the bores (diameter top to bottom) and look for a ridge at the top, these blocks are older than we remember they are and the wear shows, if if they had cast rings especially. Those pistons don't look stock, but that doesn't mean it was done properly. I don't see an overbore mark either, so you should probably plan on 30 or 40 over depending on how bad it is. The good thing is that if the heads require any real work at all due to this failure, a set of Vortecs would be cheaper and get you a few dozen horsepower for free.

This isn't your DD, so no rush, right? I mean heck, I've got a 350 that just needs the Qjet rebuilt if you needed one tomorrow sitting in the front of the truck that obviously isn't doing any good right now if it is an emergency.

If it's not an emergency, and you can stand a few extra bucks, throw a mild RV type cam, Vortecs, some new bearings and some basic rebuilt stuff in it and it'll be good as new, but a lot better. You probably planned to do this anyway, just on your own terms instead of as a result of a failure.

Keep us posted. First it gets hit by a tree, then it dun blowd up. A lesser man would have chucked the exhaust manifold threw the windshield and called it good.

AngryCorvair
AngryCorvair GRM+ Memberand PowerDork
7/7/13 12:38 p.m.

get that heater core pressure-tested while the front clip is off!!!!

OHSCrifle
OHSCrifle GRM+ Memberand Reader
7/7/13 12:48 p.m.

Sorry about the storm damage. Glad all's well with the important things.

So lets back up just a bit...

Your Elky ran the autocross 3.7 seconds faster than a well prepared Z06 (with a more than competent driver)?

That is awesome.

Dusterbd13
Dusterbd13 HalfDork
7/8/13 8:51 a.m.

brian: thanks. its going to be my daily as soon as its back together, as my daily is currentlly rapidly approcahing #3 going hunting for air. its only a matter of time, and machine shop wint have the new engine for another month at least.

i really, really appreciate the offer and advice. ive decided that when this engine is done for, ill go ahead and rebuild a later model 350 with a roller cam, or go 4.8 ls swap. this engine just has too much fubard on the block to put much time and effoprt into. only two of the three engine mount bolts on either side are usable due to casting breakage, holes stripped, ridges in the cylenders, etc. its pretty much junk at this point, but if i can get some more life out of it, im willing to try.

osc: yep. thanks. i think it was more due to the fact that hes a track guy running autocross for the first time, and im an autocrosser that occasionally runs track. he should have whupped me by all rights. and i was one of the slower cars there.

michael

Dusterbd13
Dusterbd13 HalfDork
7/13/13 10:46 p.m.

quick update, mostly for brian:

motor and trans back in. heads checked out ok at machine shop. bearings ok. engine just may live a little longer.

ive been at it since Thursday night, only sleeping a few hours at a whack and working on tornado clean up/day job/customer cars.

im whupped.

tuna55
tuna55 PowerDork
7/13/13 11:14 p.m.
Dusterbd13 wrote: quick update, mostly for brian: motor and trans back in. heads checked out ok at machine shop. bearings ok. engine just may live a little longer. ive been at it since Thursday night, only sleeping a few hours at a whack and working on tornado clean up/day job/customer cars. im whupped.

Good news! I am glad to read the update. Keep your chin up, this is super news!

Dusterbd13
Dusterbd13 HalfDork
7/14/13 9:02 p.m.

so, budget first:

previous total :6167.36

money spent:

101.95 from bowtie overdrives for column linkage, indicator, and speedo gears

52 to hollis at hp engines for checking heads, installing valvestem seals, touching up head surface

31.12 for reman starter, o reilleys

28.33 to oreilleys for flexplate bolts, valve cover tabs, and additional gasket kit (exchanged head gasketless one for one with head gaskets)

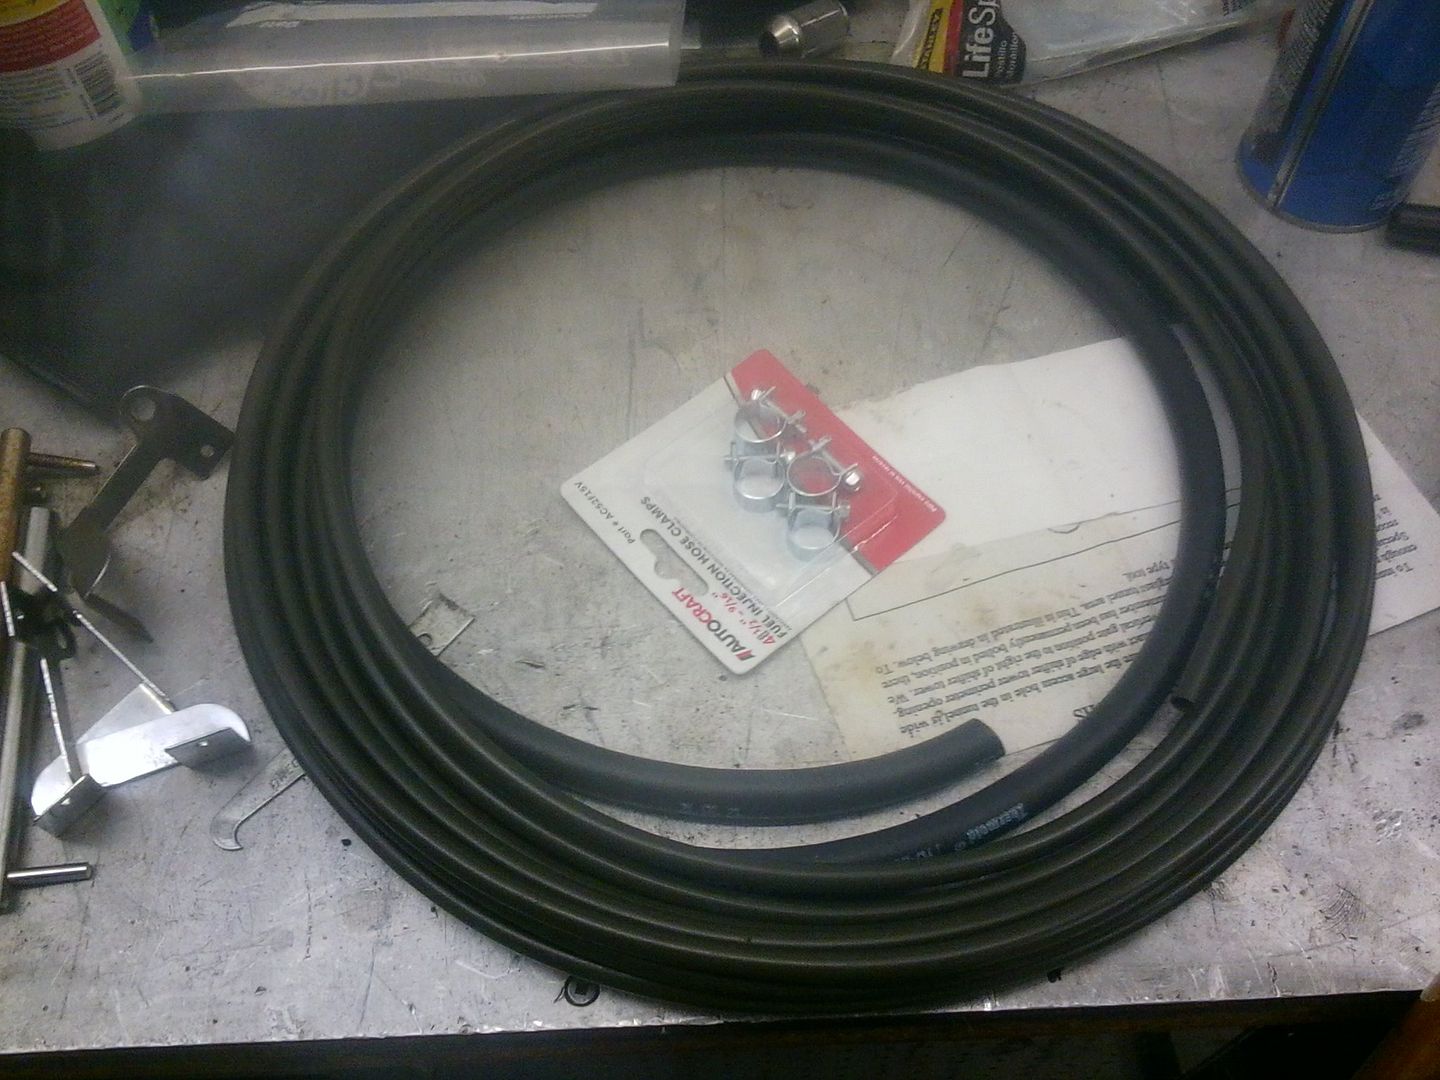
53.70 to advance for coil of 5/16 steel tubing, hose clamps, bolts, trans cooler rubber line, thermostat, tranny mount

new total: 6434.46

so I've been busier than a one armed wallpaper hanger. in the process, I didn’t take many pictures.

last Sunday, my valve stem seals did not arrive. so I spent time painting the frame and firewall, heater box cover, etc. just keeping busy. used por 15 on the frame, topcoated with gloss black enamel. medium gloss on the firewall, high gloss on the heater cover. we also inspected the bottom end for damage. the bearings aren't great, but not too bad, and within range on the couple we checked. no major debris in the pan either, so we believe the engine will be ok.

by wedsday, we figured lout that I needed to take the heads to my machinist for piece of mind (and the fact no one could find the right valve stem seals.) took them over to hills first thing in the morning, and they were done an hour later. I love that guy....

spent wedsday and Thursday putting everything back together and painting the engine.

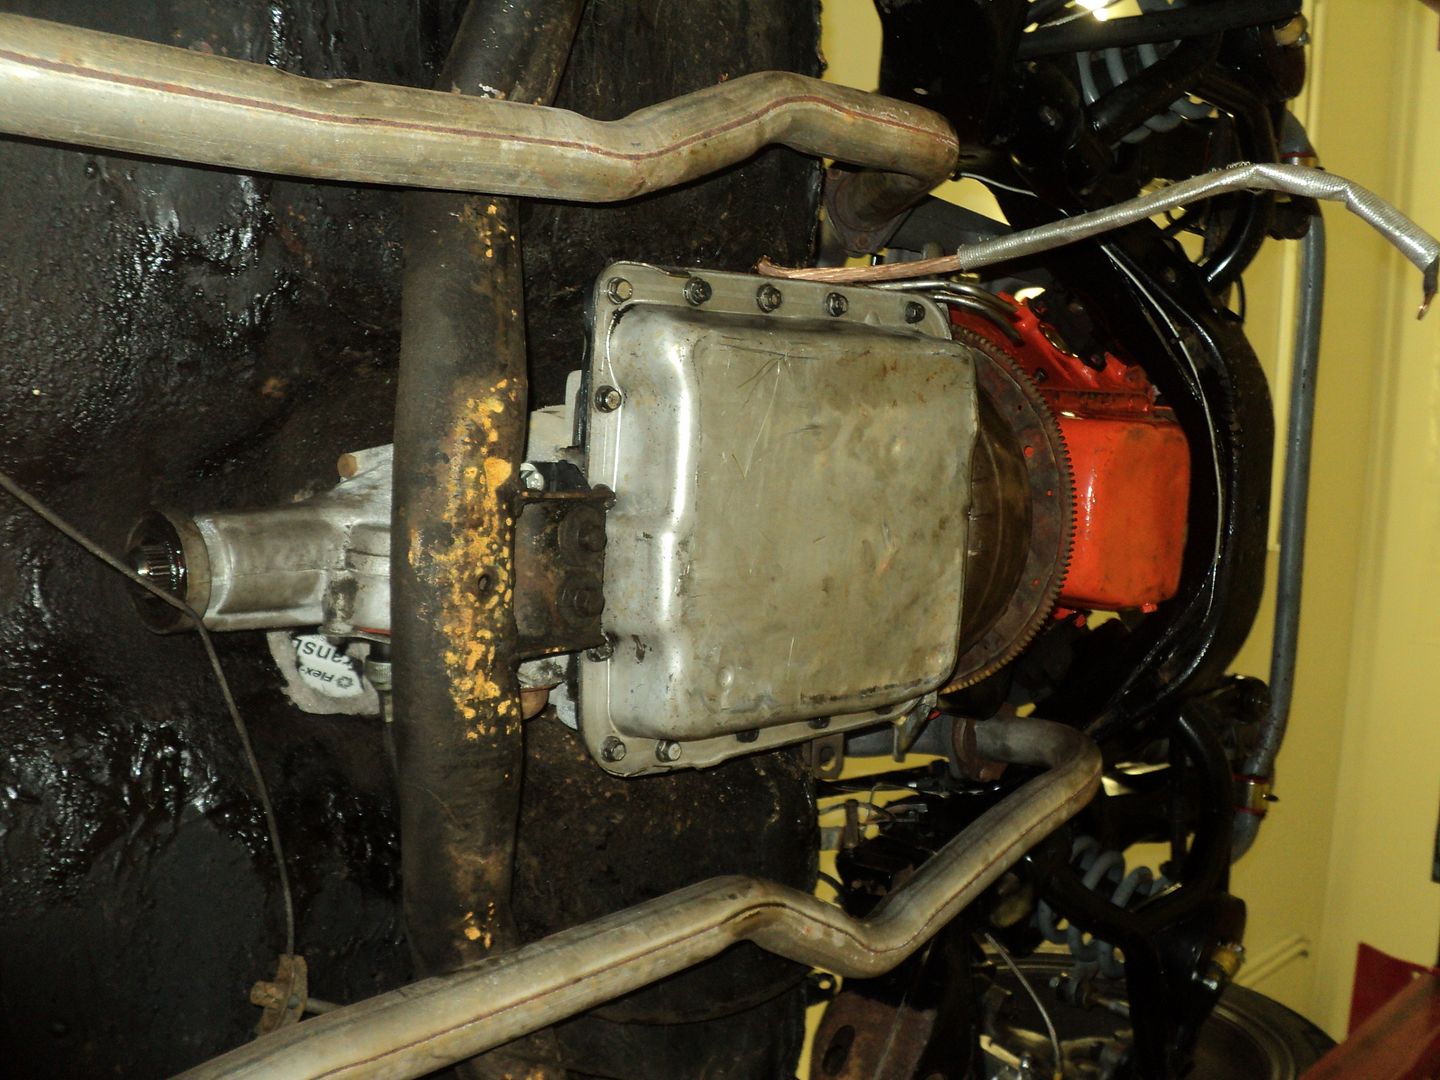
Friday after work, my dad, brother, best friend and I went to town. got the freeze plugs hammered in, exhaust manifolds and all the various other things hung (no front accessories), and went tpo bolt up the flexplate. that’s when I discovered that on a chevy, the flywheels used shorter bolts. got those from the mr gasket isle at oreilleys, and mated the trans to the engine. the four of us then proceeded to slide it in easy as pie. worked really, really well. just went so smooth.

discovered that the 64 chevelle trans mount, along with the caprice trans and sock cross member, fell right into place. using all factory holes. I do have to drill two through the cross member, as the spacing is different at the rear most set for some reason.

I then hung front accessories on it, and stood back complimenting ourselves on a job well done.

I was stoked!!!!

decided to keep going, as it was still early (about 11 or so at night).

got my valve covers on, double checked all my nuts and bolts, and saw the torque converter to flexplate bolts sitting on the bench. no problem....

the torque converter wouldn’t seat. no matter what.

after some head scratching, I threw up some posts, as I could not, for the life of me, figure out what went wrong.

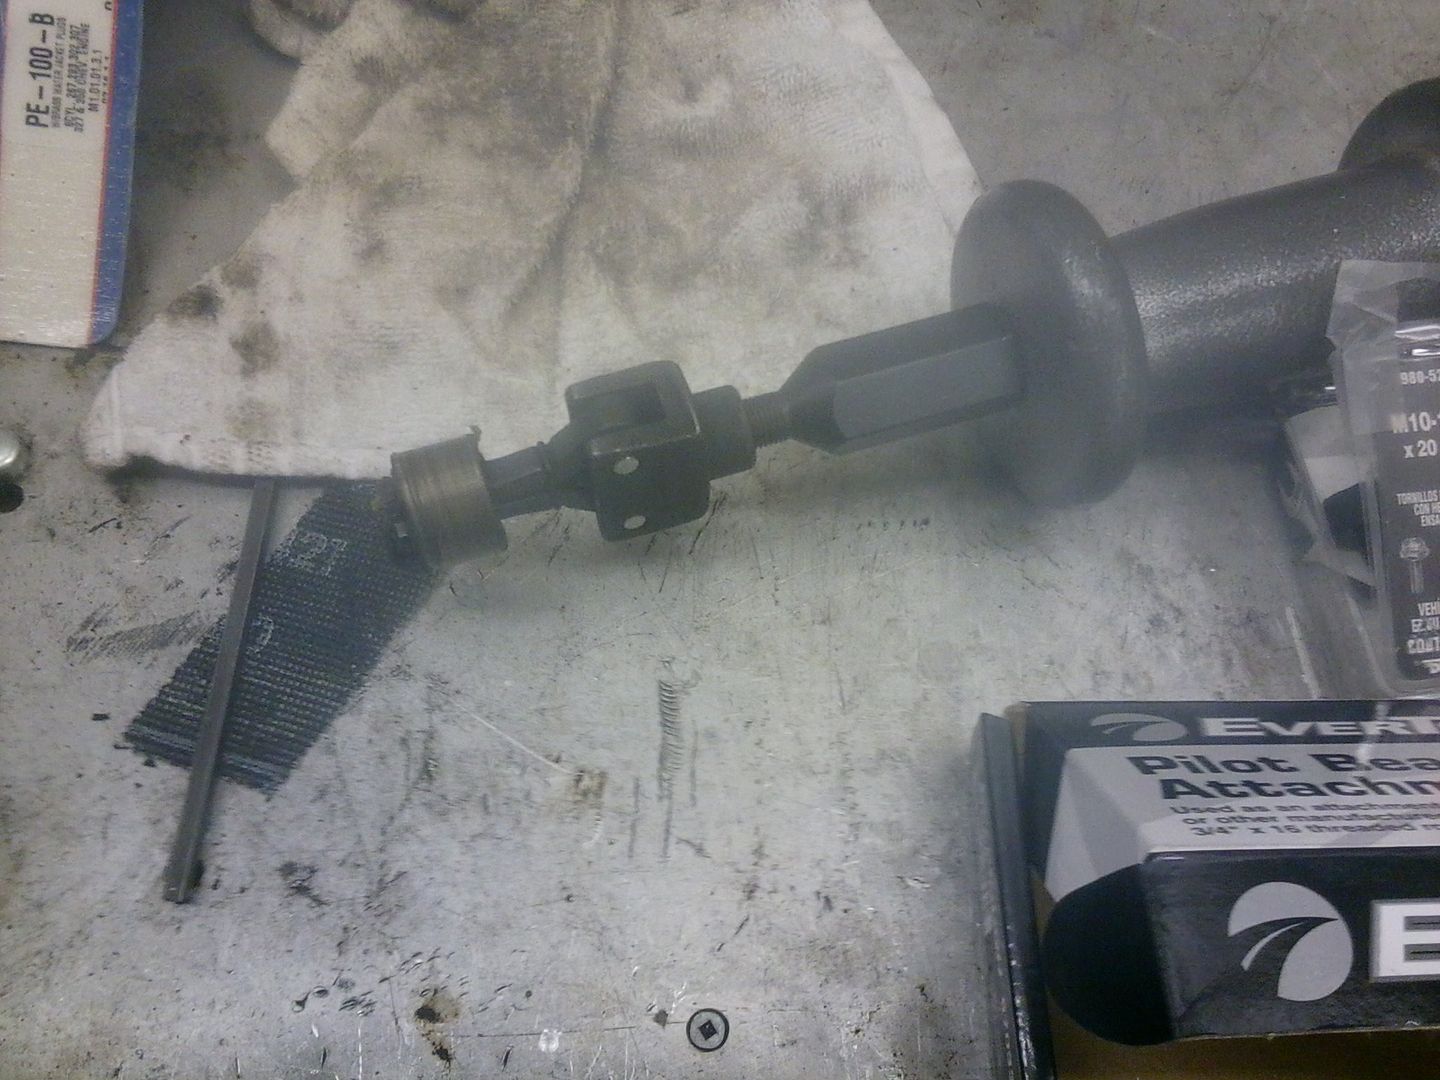
turns out this did:

[URL=http://s54.photobucket.com/user/dusterbd13/media/1964%20elcamino/023_zpsba09ee32.jpg.html][/URL]

in all my research, I never turned up the flywheel bolt differences or anything about pulling the pilot bearing from the manual. I had looked at the pilot bearing while the two were separate, and thought that it wouldn’t be a problem so id leave it in there. it was.

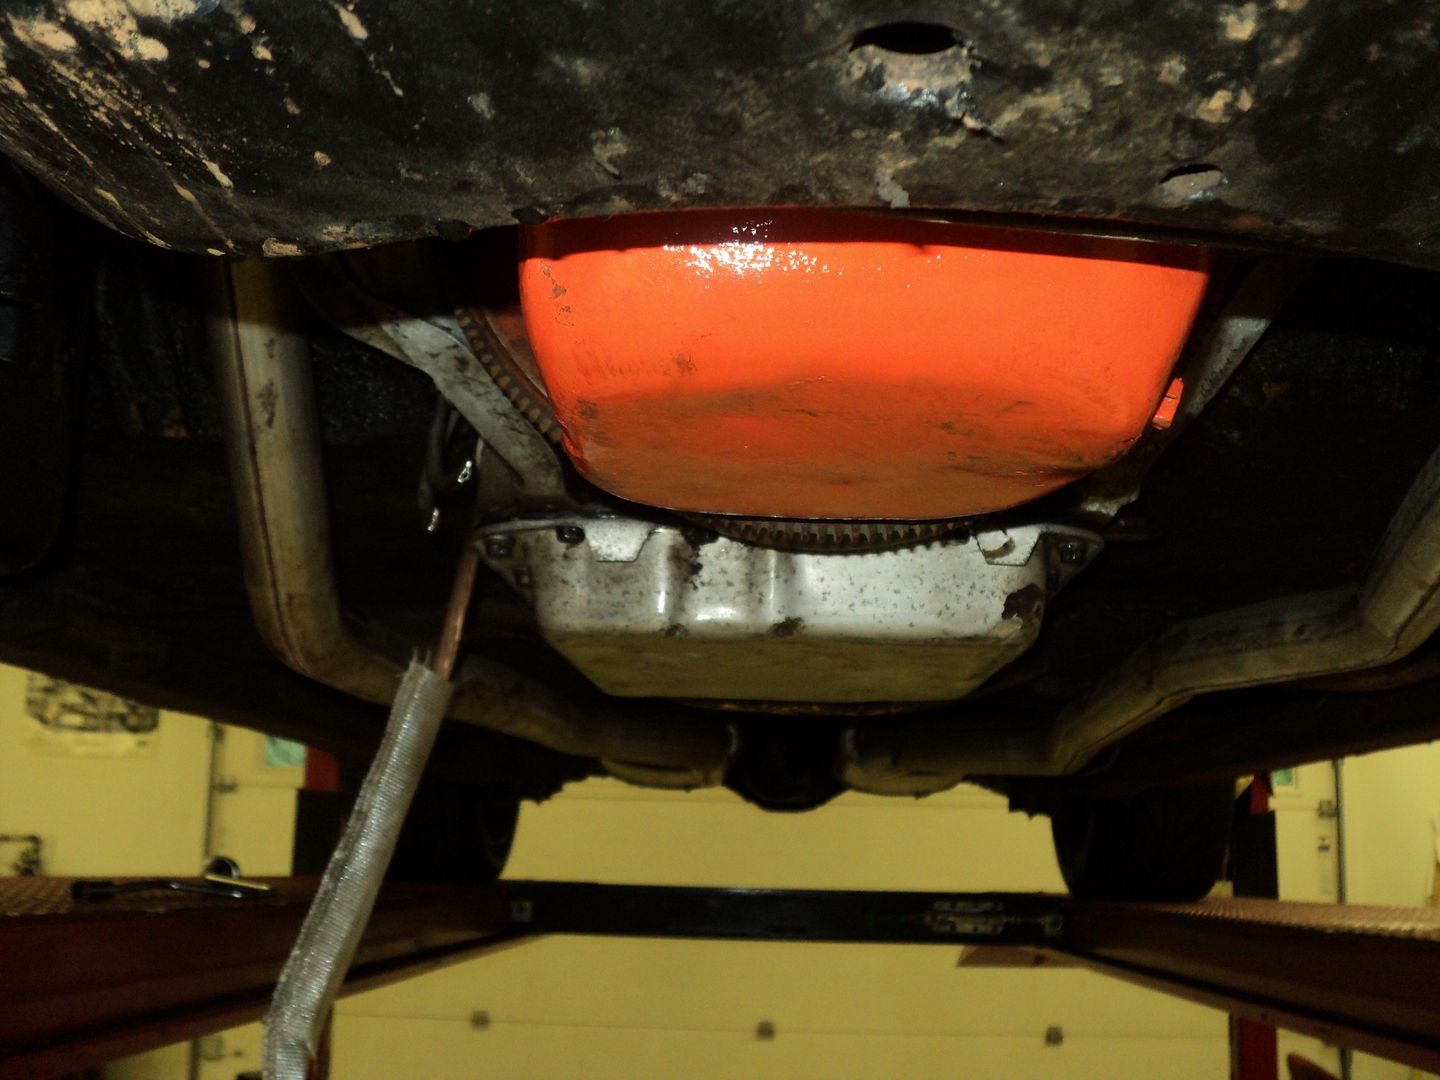
so saturday, I pulled the trans back out. dimpled one small section of floorpan where the trans may have almost rubbed, pulled the pilot bearing, and reinstalled it all. also replaced the pan filter and gasket while I was there, along with the dipstick seal tube. and put in the torque converter bolts. all fit together good this time. I went to install the new to me mini starter, and it wouldn’t fit. neither would my old starter. turns out that the flexplate is much larger for the automatic than the stick, and chevys have two different starters. I did not know that. so I bought the reman piece from oreilleys. still have to get one longer bolt to finish it up, though.

[URL=http://s54.photobucket.com/user/dusterbd13/media/1964%20elcamino/009_zps94edbedc.jpg.html][/URL]

[URL=http://s54.photobucket.com/user/dusterbd13/media/1964%20elcamino/008_zpsdf7ba5b9.jpg.html][/URL]

I then moved on to bolting and finishing more things.

this truck has always felt like it was starving for fuel. the pump checked out good, and there are no filters anywhere in the system yet, so I was wondering if maybe there was a blockage in the line. no fuel had dripped out when I pulled the frame rail to fuel pump hose, so I figured this was a pretty good guess. hooked an air nozzle to my compressor, set the regulator to about 15psi, and just got air blowing back at me. then set it to 150 psi, and heard a tremendous pop. also a loud thunk.

the pop was the blockage coming out. the thunk was my fuel filler door opening when the gas cap left out.

but biy howdy, we got gas flowing now!

I also thought it felt like I was having intermittent cut outs of ignition at highway speeds. so I de-wrapped the harness, and discovered more hackery. and that whoever put in the hei just hooked up the resistance wire for "12 volts". so I need to rewire that, as well as fix some more of the hackery, make it prettier, etc.

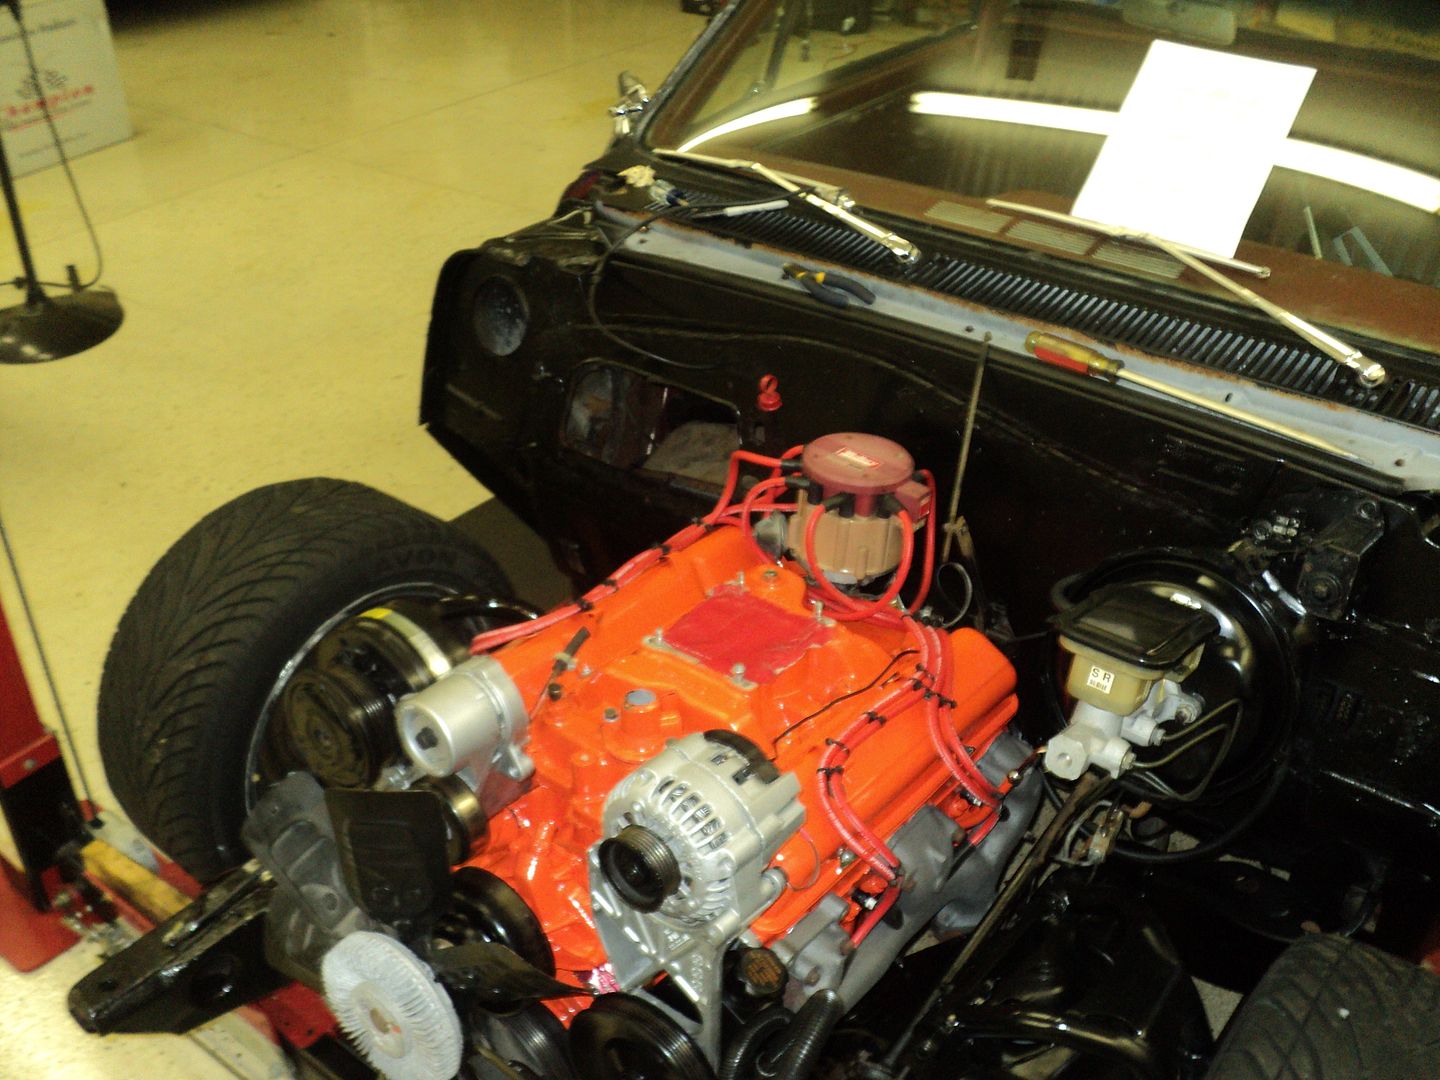
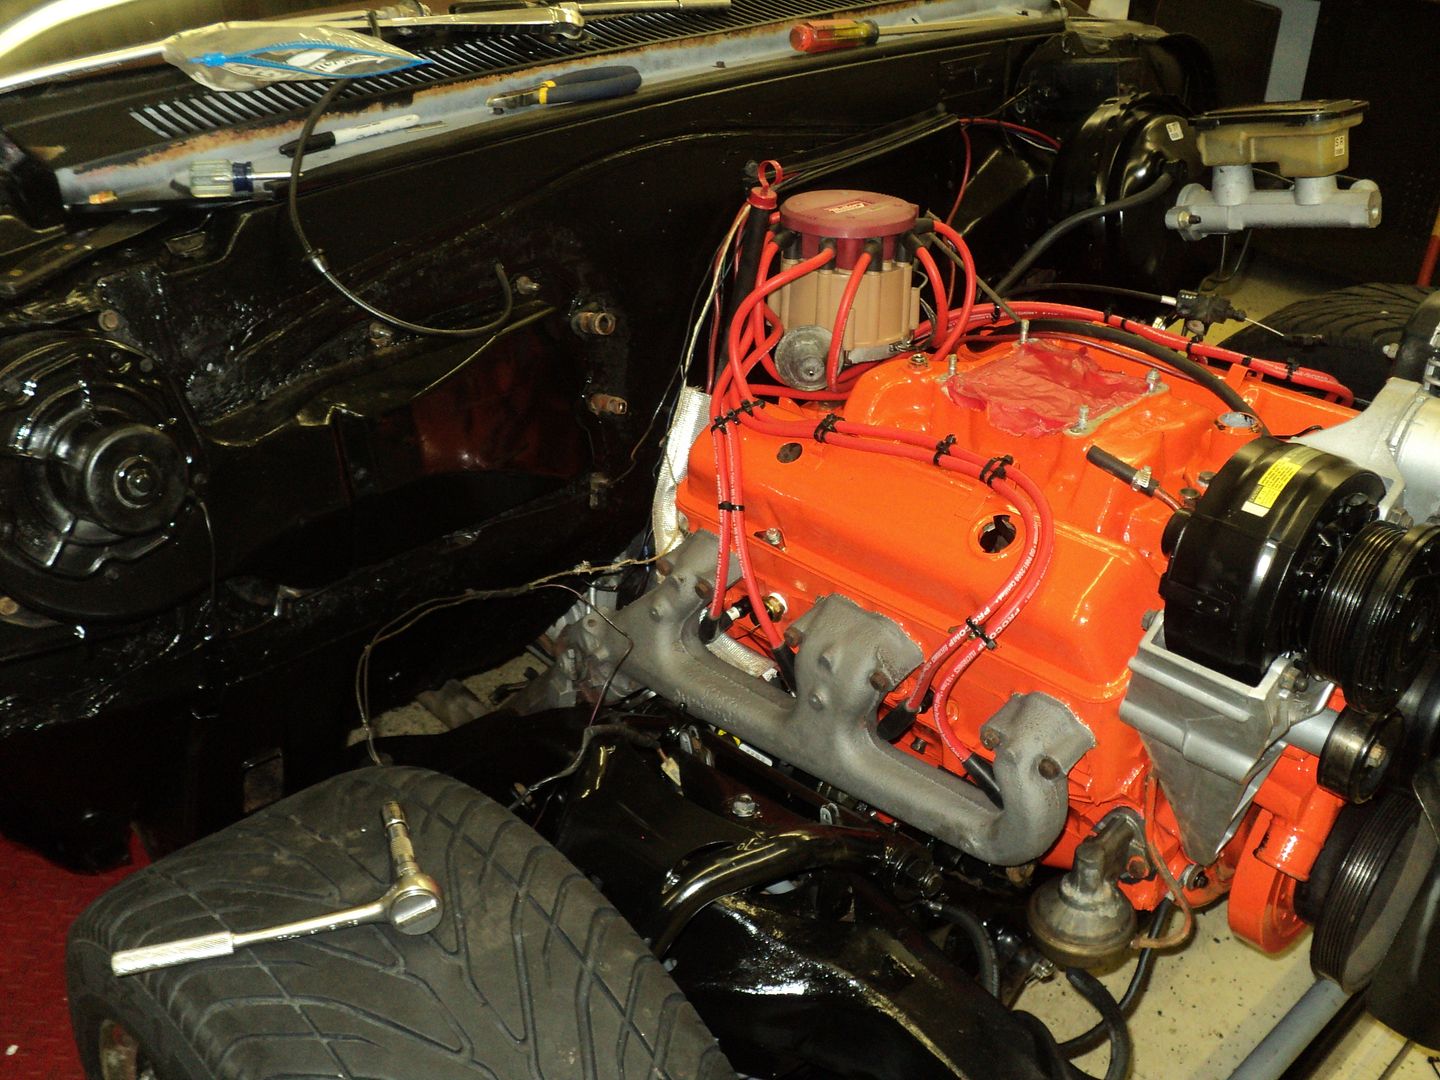
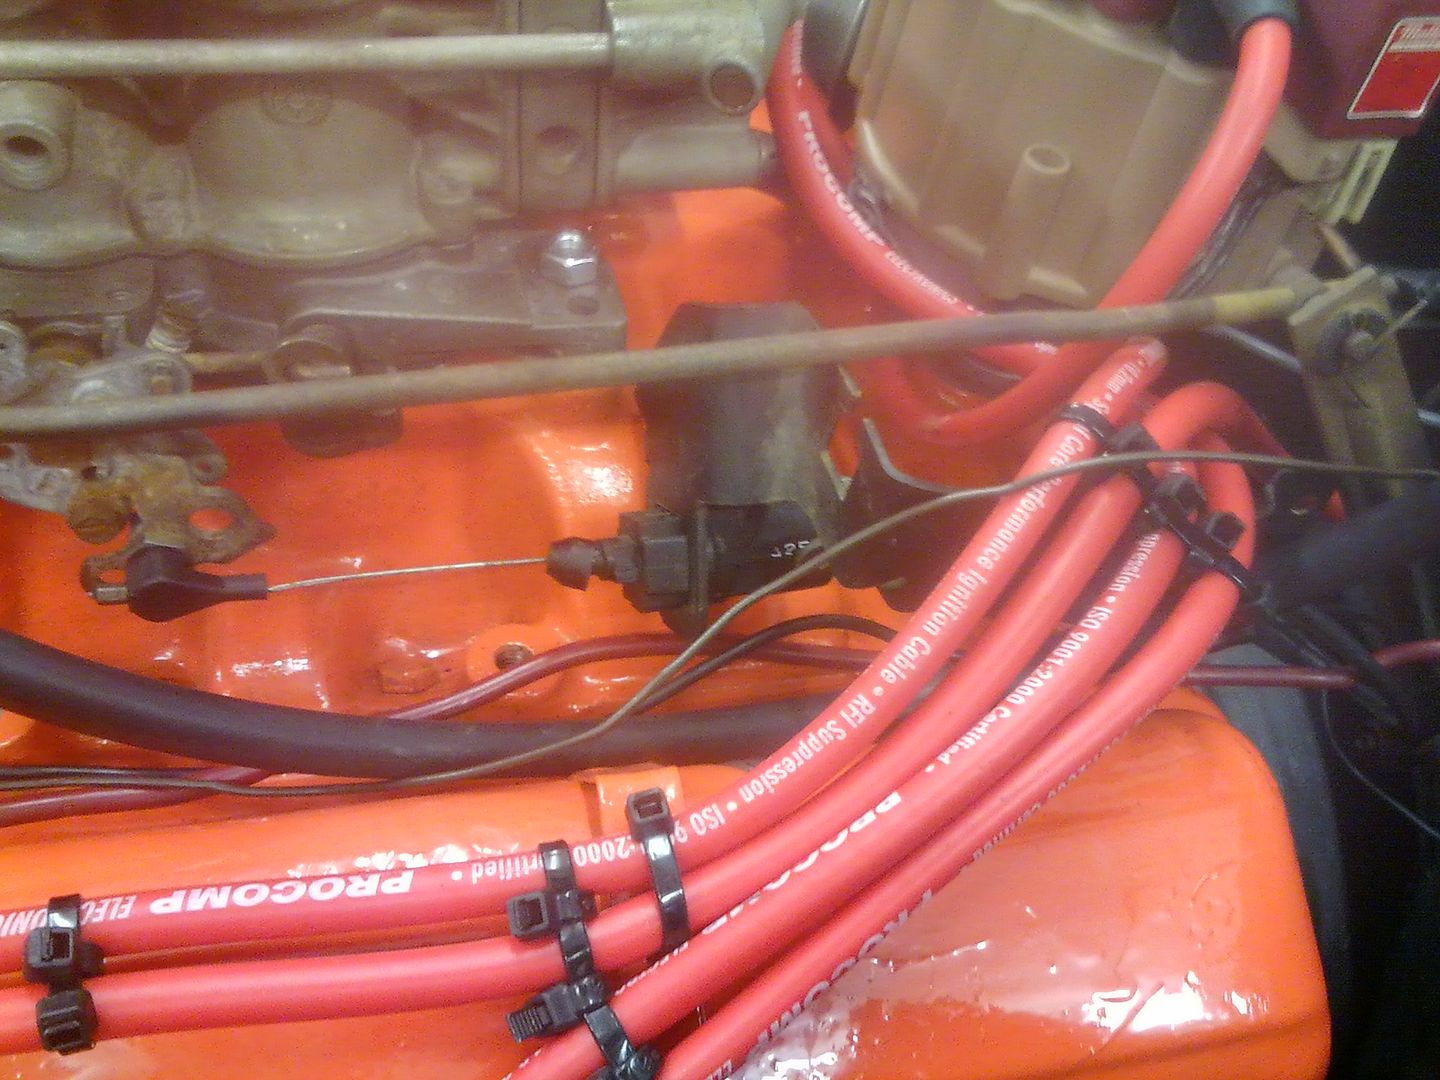
I also figured that it would be easiest to make plug wires with no fenders in the way. I used a set of pro-comp 10.5mm wires that were given to me. they were a cut to fit set that were loomed and fit to a bog block mopar before the discovery of HEI only terminals was made in the box. so I got em for free.

after some zip-tie looming, here's what it looked like:

[URL=http://s54.photobucket.com/user/dusterbd13/media/1964%20elcamino/012_zps94706829.jpg.html][/URL]

[URL=http://s54.photobucket.com/user/dusterbd13/media/1964%20elcamino/014_zpsac53ae7a.jpg.html][/URL]

up next is installing the front clip, figuring out what to do for the spread bore to tv cable linkage, and plumbing. and getting my driveshaft shortened. and....

[URL=http://s54.photobucket.com/user/dusterbd13/media/1964%20elcamino/021_zpsfb05e32f.jpg.html][/URL]

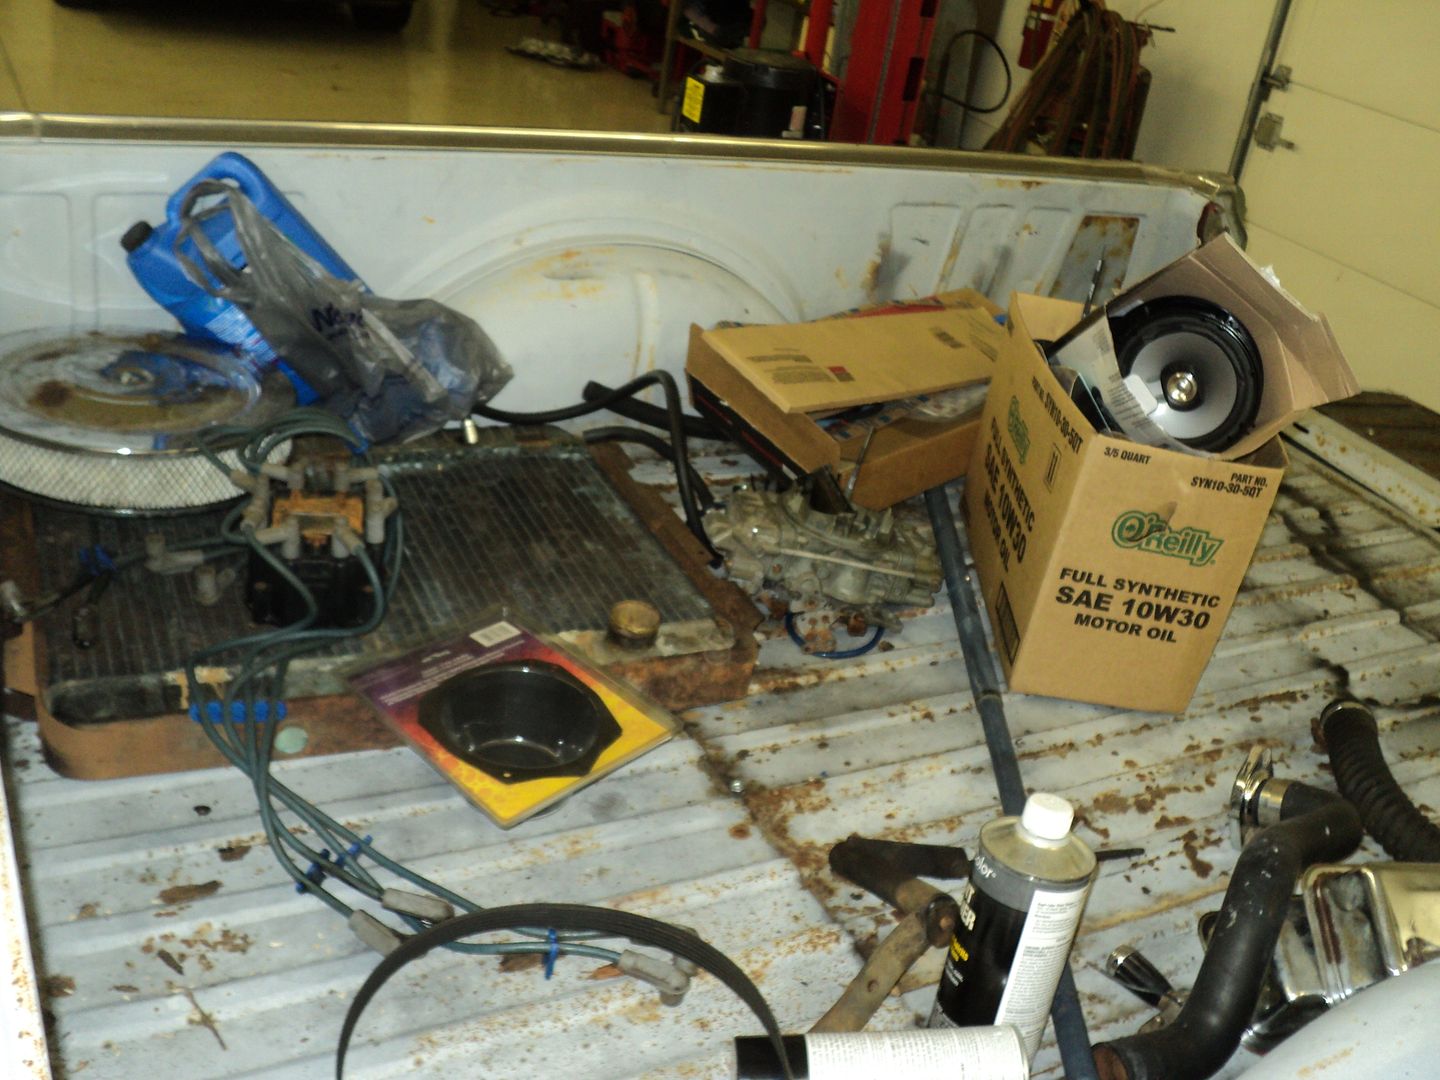
at least the piles of parts are getting smaller

[URL=http://s54.photobucket.com/user/dusterbd13/media/1964%20elcamino/016_zps43fb43da.jpg.html][/URL]

[URL=http://s54.photobucket.com/user/dusterbd13/media/1964%20elcamino/017_zps3b5c3266.jpg.html][/URL]

DoctorBlade
DoctorBlade UltraDork
7/14/13 9:40 p.m.

The suspense is killing me.

tuna55
tuna55 PowerDork
7/15/13 4:56 a.m.

Looks great! Glad you figured out the ignition and fuel issues, too. Sounds like that motor is one tough SOB, keep it around as it's obviously earned its keep.

Dusterbd13
Dusterbd13 HalfDork
7/16/13 6:23 p.m.

yeah, this little engine has definitely earned its keep. itll stay until it goes searching for daylight.

and doctorblade, what suspense?

im planning on buttoning up PITA stuff tomorrow night nad reinstalling the front clip. anyone have a 700r4 torque converter cover they want to send me? apparently they all fell off around here......

DoctorBlade
DoctorBlade UltraDork
7/16/13 9:33 p.m.

Suspense? I'm waiting for the video of the restart.

tuna55
tuna55 PowerDork
7/16/13 9:36 p.m.
Dusterbd13 wrote: yeah, this little engine has definitely earned its keep. itll stay until it goes searching for daylight. and doctorblade, what suspense? im planning on buttoning up PITA stuff tomorrow night nad reinstalling the front clip. anyone have a 700r4 torque converter cover they want to send me? apparently they all fell off around here......

I have an inspection cover from a three speed manual - close, but not quite.

Dusterbd13
Dusterbd13 HalfDork
7/22/13 9:21 p.m.

so, budget first:

previous total : 6434.46

11.50 for line unions

various odds and ends like hose clamps, bolts, washers, body shims: magic bolt bin. I have 3 5 gallon buckets of this crap.....

driveshaft shortening, balancing, and new u-joints: 100 from driveline specialties in Monroe

valve cover grommets: 5

subtract Holley kick down adapter (more on that in update) -20

trans linkage stud: 11

oil fill cap: 5.99

new total: 6549.95

when last we left off with a full update, the engine as just kind of assembled. I had finished plug wires and some other stuff, but not a lot.

well, I've been chipping away at it. few hours here and there since then.

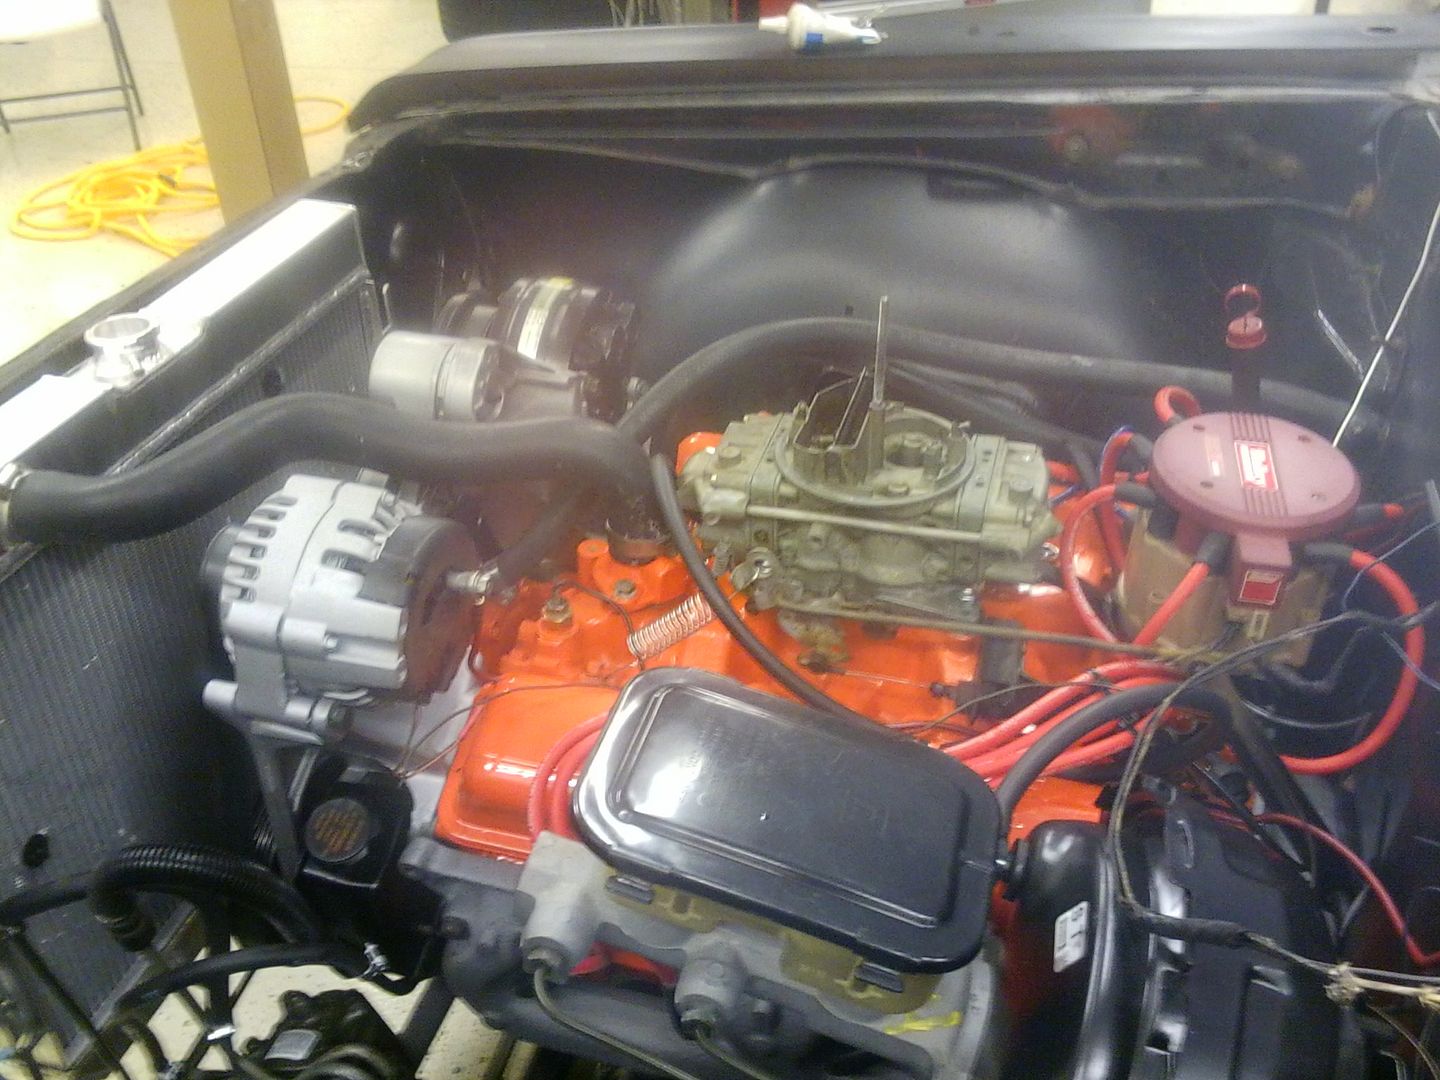
while the front clip as still off, I kind of finished my firewall wiring, installed the carb, created fuel lines, ran vacuum lines, installed PCV valve, etc. when I went to install that old Holley spreadbore, I learned a few things. first, no one makes a bracket for my setup that’s reasonably priced. second, the guy that designed the factory bracket in an 85 el camino needs a kick in the daddy bags. it honestly took me an hour and a half to get the damn thing off in the junkyard. same yard I bought the trans from. they gave it to me.....

only one of the mount points for the factory bracket exists on my intake. so I just used it. It doesn’t flop too much at all, but if there's a reason I need to use the second point, please let me know.

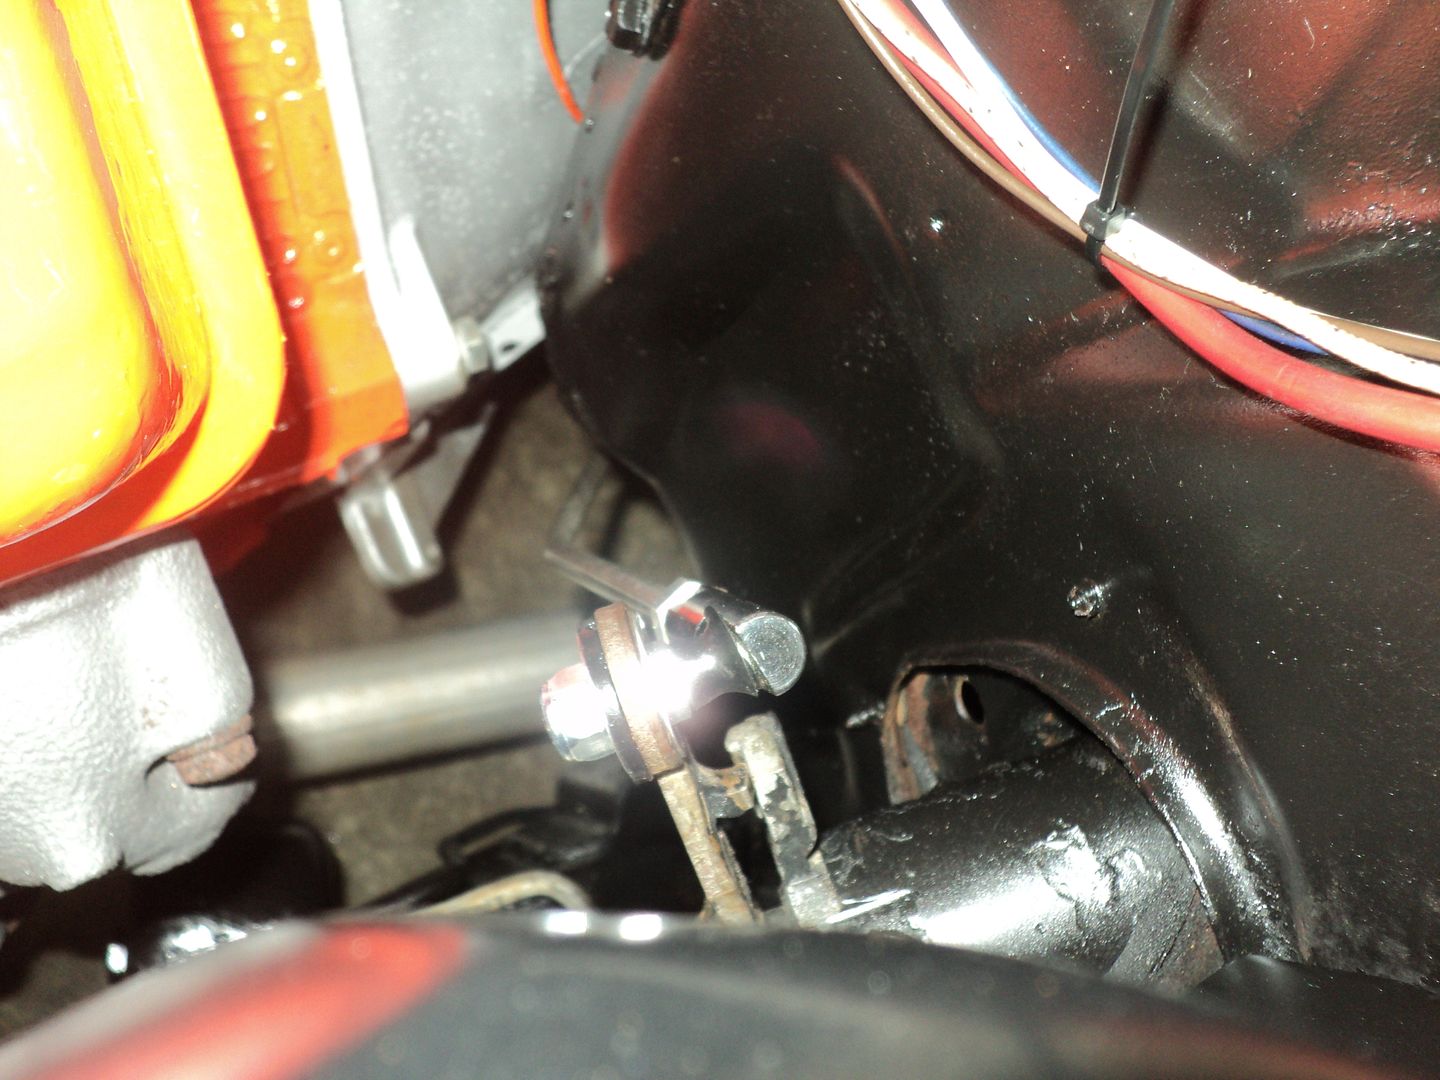
also, when I went to install the Holley TV adapter, I discovered that the stud lined up perfectly with another hole in my linkage. not one for redundancy when not necessary, and due to the fact that it also negated my throttle linkage entirely, I used a standard parts store Holley stud. worked like it as engineered that way....

[URL=http://s54.photobucket.com/user/dusterbd13/media/1964%20elcamino/015_zpsc80ef162.jpg.html][/URL]

then installed the front clip with the assistance of my father and brother, and started my plumbing nightmare.

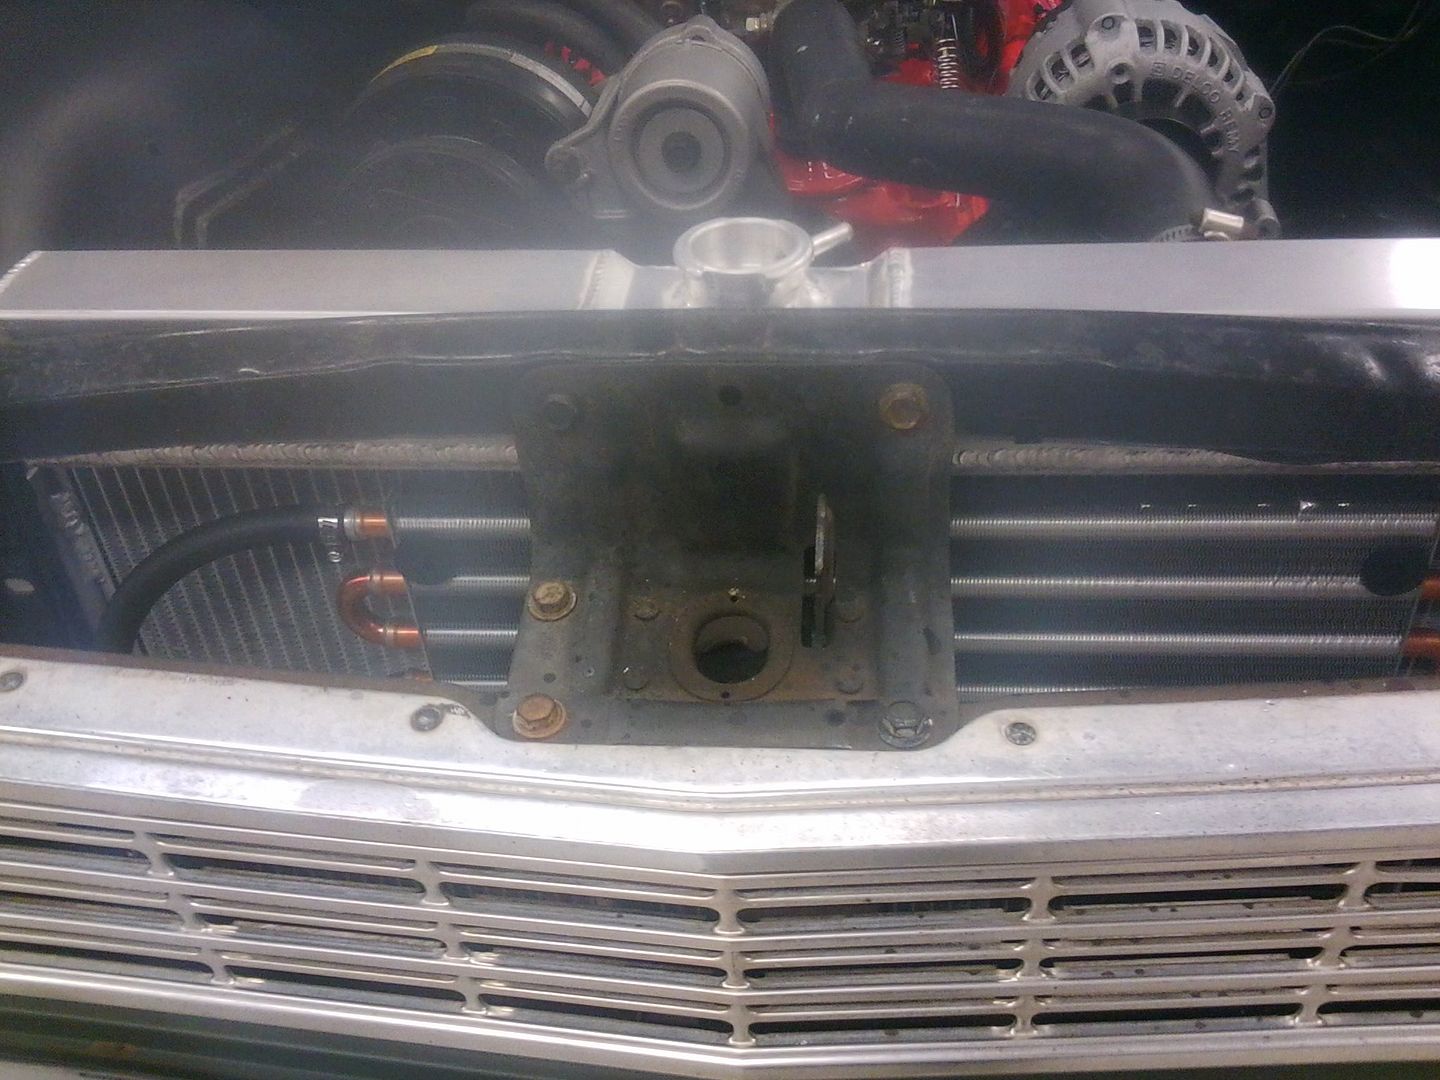
the champion radiator fits great, once you elongate to holes by about 1/2 inch upward. the bottom two to be exact. I did discover it came with a radiator cap, which was a nice surprise. I proceeded to mount my tranny cooler as well, and when I opened the box, I discovered they had supplied the hose and clamps for install. which meant I didn’t need to buy them again....

mounted the cooler up high, directly behind the grille for maximum airflow.

[URL=http://s54.photobucket.com/user/dusterbd13/media/1964%20elcamino/007_zps14afa79f.jpg.html][/URL]

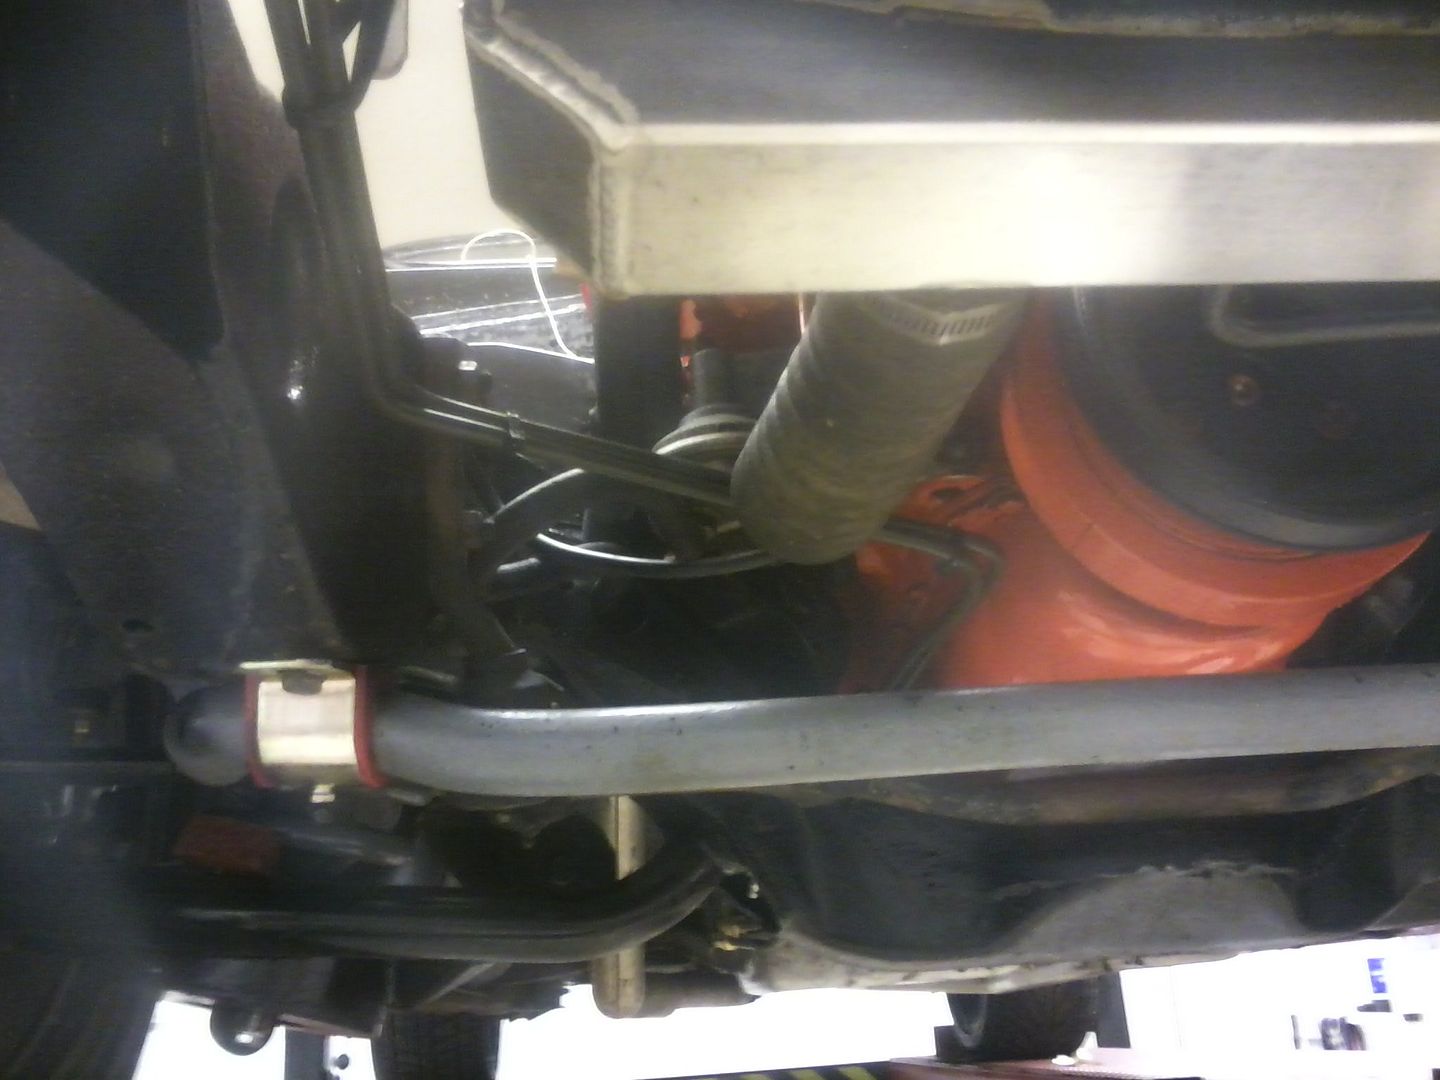
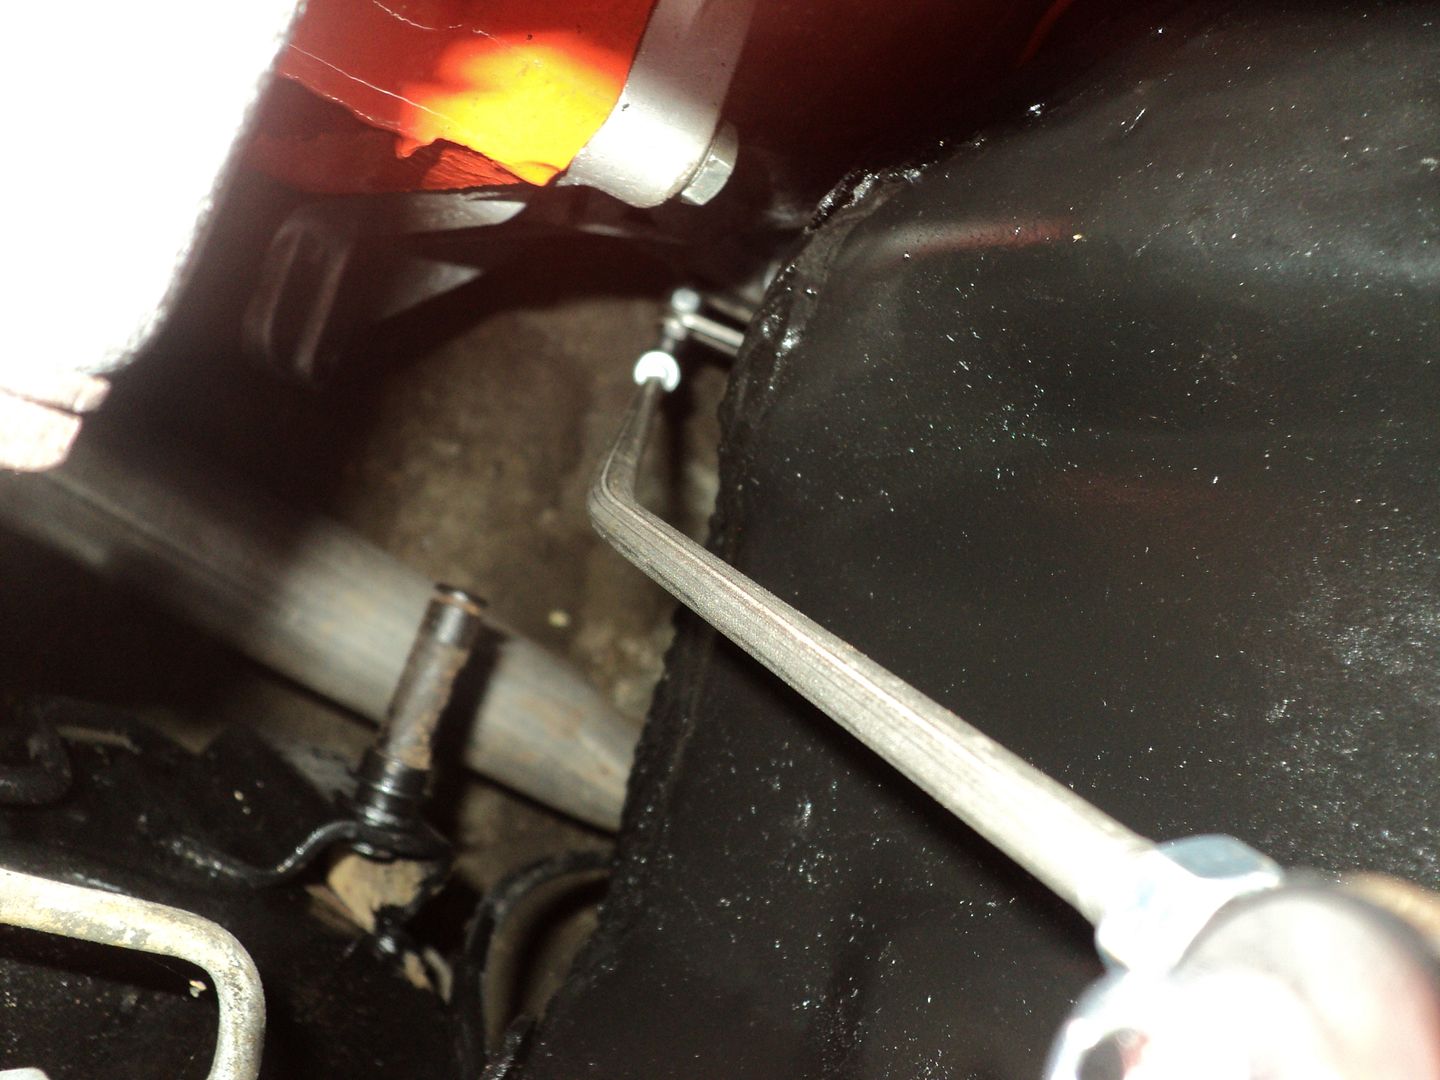
then moved on to the fluid carrying lines. radiator hoses were reused after cleaning what I could out. when I went to install my power steering cooler from WAY back in the thread, I discovered (again) that there was absolutely no good place to mount it. which is when I started looking at the in radiator trans cooler. I know the factory LS powered f-bodies used a radiator hose power steering cooler, so I figured I had nothing to lose. little time with a few feet of that 5/16 roll of steel tubing and my flaring tool, some of the excess of trans cooler lines, and whammo! power steering cooler!

[URL=http://s54.photobucket.com/user/dusterbd13/media/1964%20elcamino/005_zpsb0f0ad98.jpg.html][/URL]

feeling froggy from this success I went on top do my trans cooler lines.

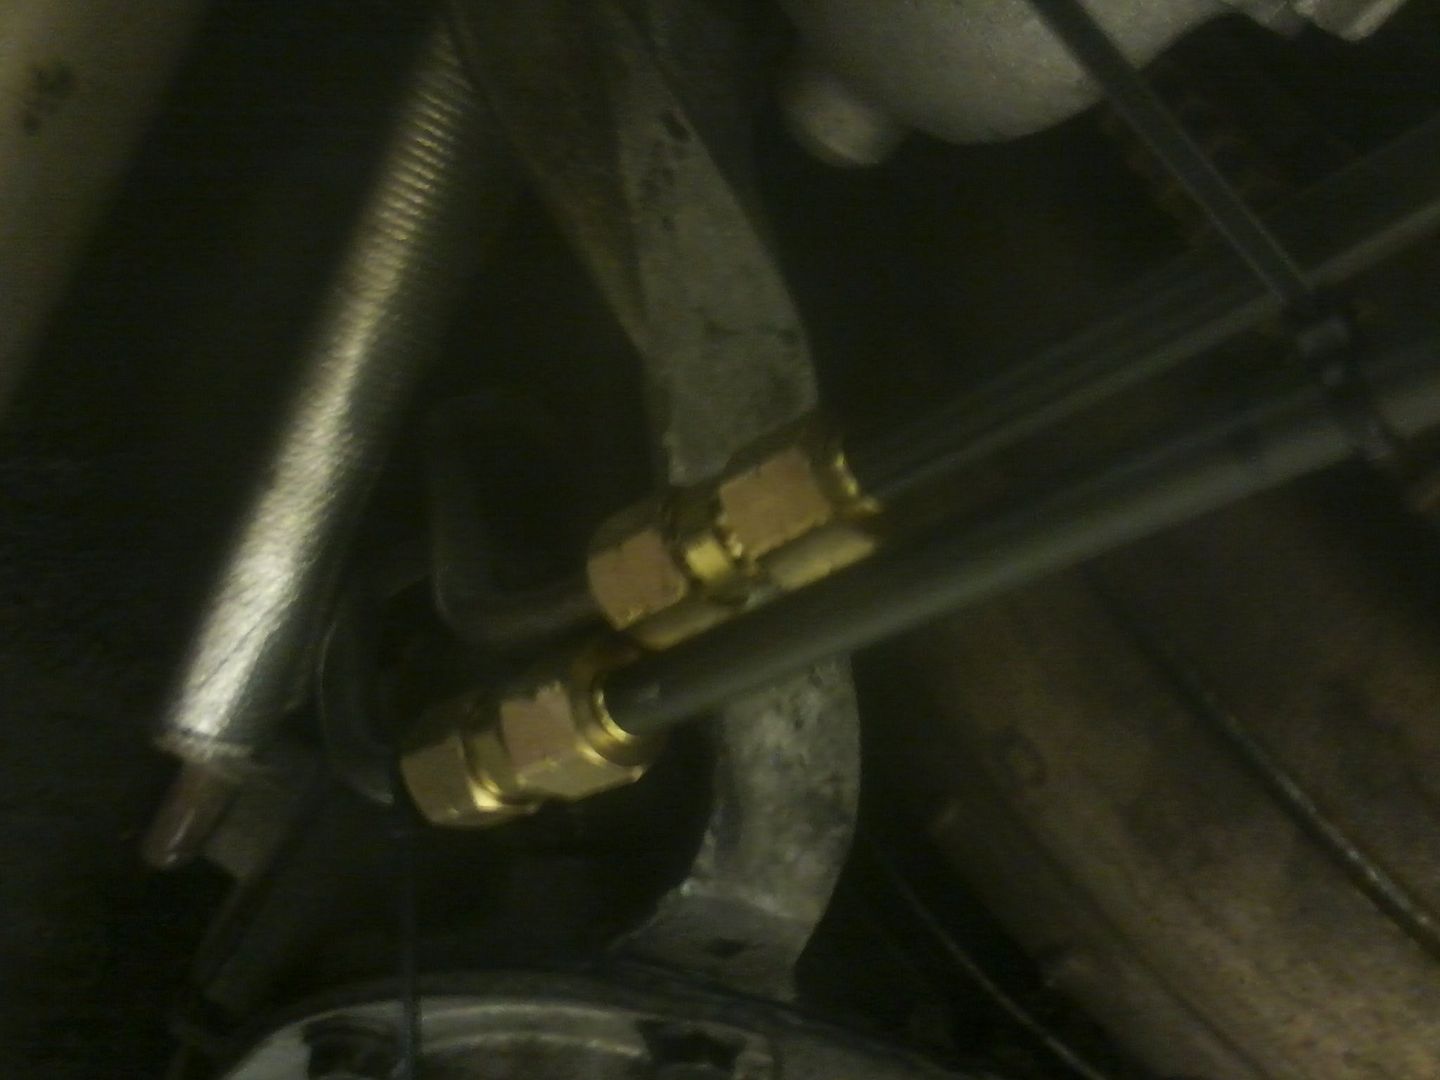
for those of you playing the home version of our game show, make sure you can flare the chunks of line your trans came with PRIOR to putting it in. I could not flare them in place. so instead of dropping the trans again, I hit the easy button. bought a pair of 5/16 unions for gas lines from Lowes, and went about my business of building lines. hopefully this doesn’t come back to bite me....

[URL=http://s54.photobucket.com/user/dusterbd13/media/1964%20elcamino/017_zpsa4cef615.jpg.html][/URL]

[URL=http://s54.photobucket.com/user/dusterbd13/media/1964%20elcamino/023_zps30986e14.jpg.html][/URL]

with the fluid systems buttoned up, it was time to add the fluids. while installing trans fluid, I was reminded that the driveshaft is an essential part of the transmissions fluid holding ability. so I had my wife take it over to Monroe and pick it up while I was working.

[URL=http://s54.photobucket.com/user/dusterbd13/media/1964%20elcamino/019_zps3838ae2a.jpg.html][/URL]

[URL=http://s54.photobucket.com/user/dusterbd13/media/1964%20elcamino/021_zps7b876f0f.jpg.html][/URL]

I had it shortened 2.75 inches per info I found on the internet, but unfortunately in my case the internet lied. I've only got about 3/8-1/2 of travel at the yoke. recommended is an inch or so. hopefully it'll be OK.

after all this, I had to make sure the engine was still good. I crossed my fingers and pulled the pin earlier tonight.

[URL=http://s54.photobucket.com/user/dusterbd13/media/1964%20elcamino/003_zps8ebf7a7b.jpg.html][/URL]

[URL=http://s54.photobucket.com/user/dusterbd13/media/1964%20elcamino/009_zpsbd090cbf.jpg.html][/URL]

[URL=http://s54.photobucket.com/user/dusterbd13/media/1964%20elcamino/011_zpsbf56f004.jpg.html][/URL]

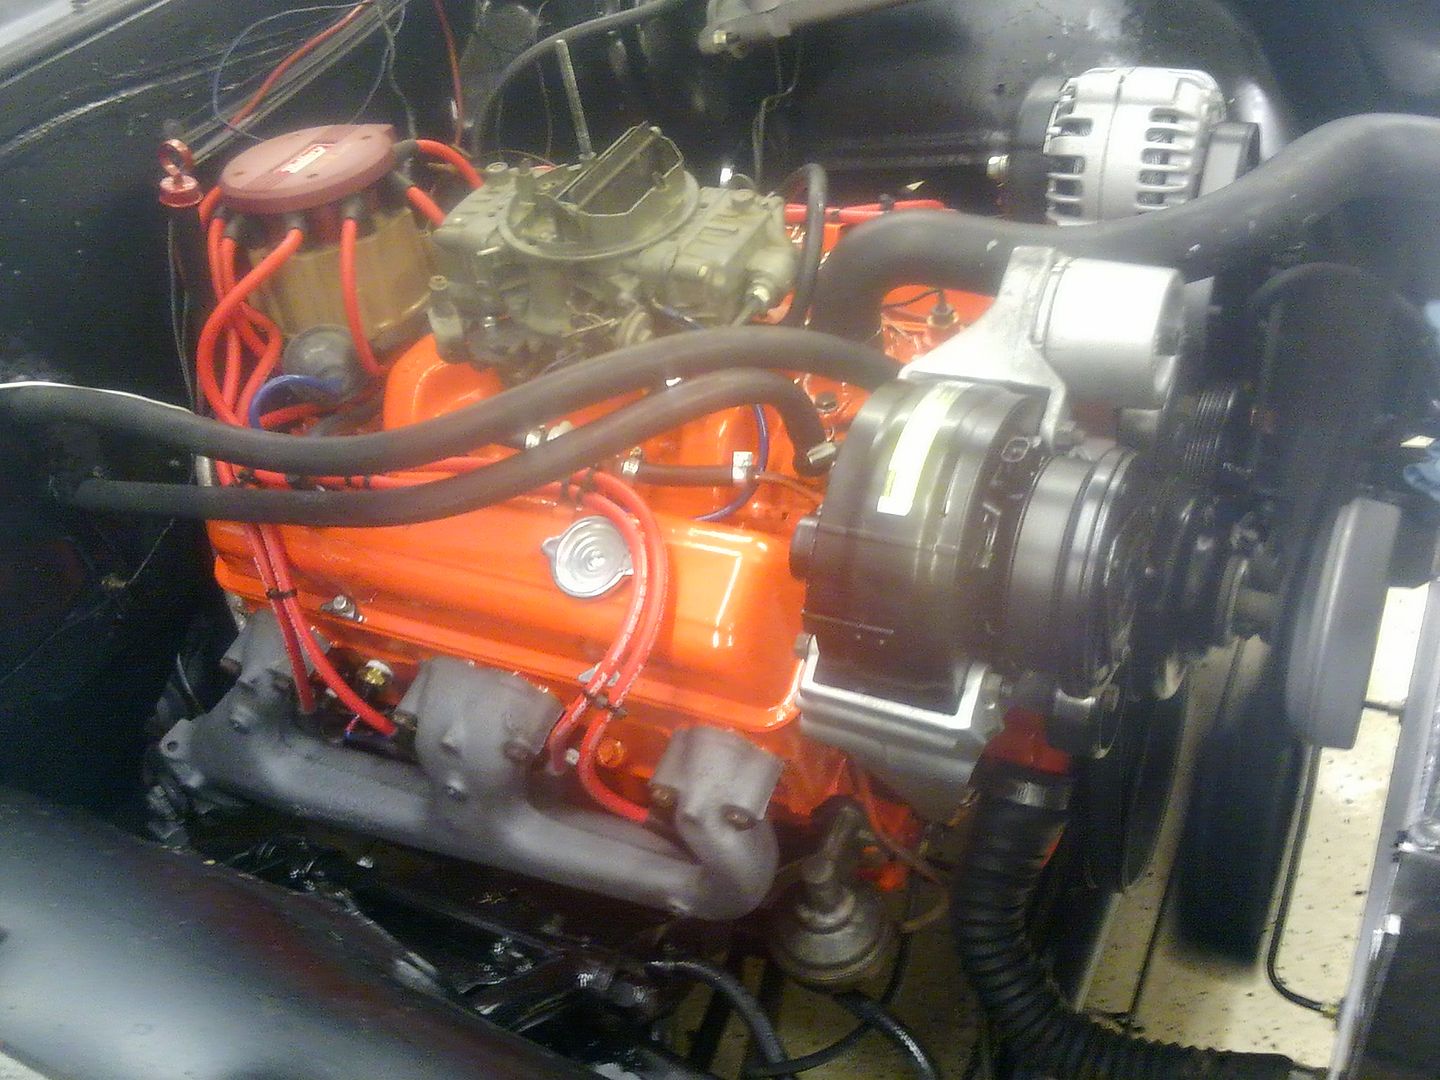
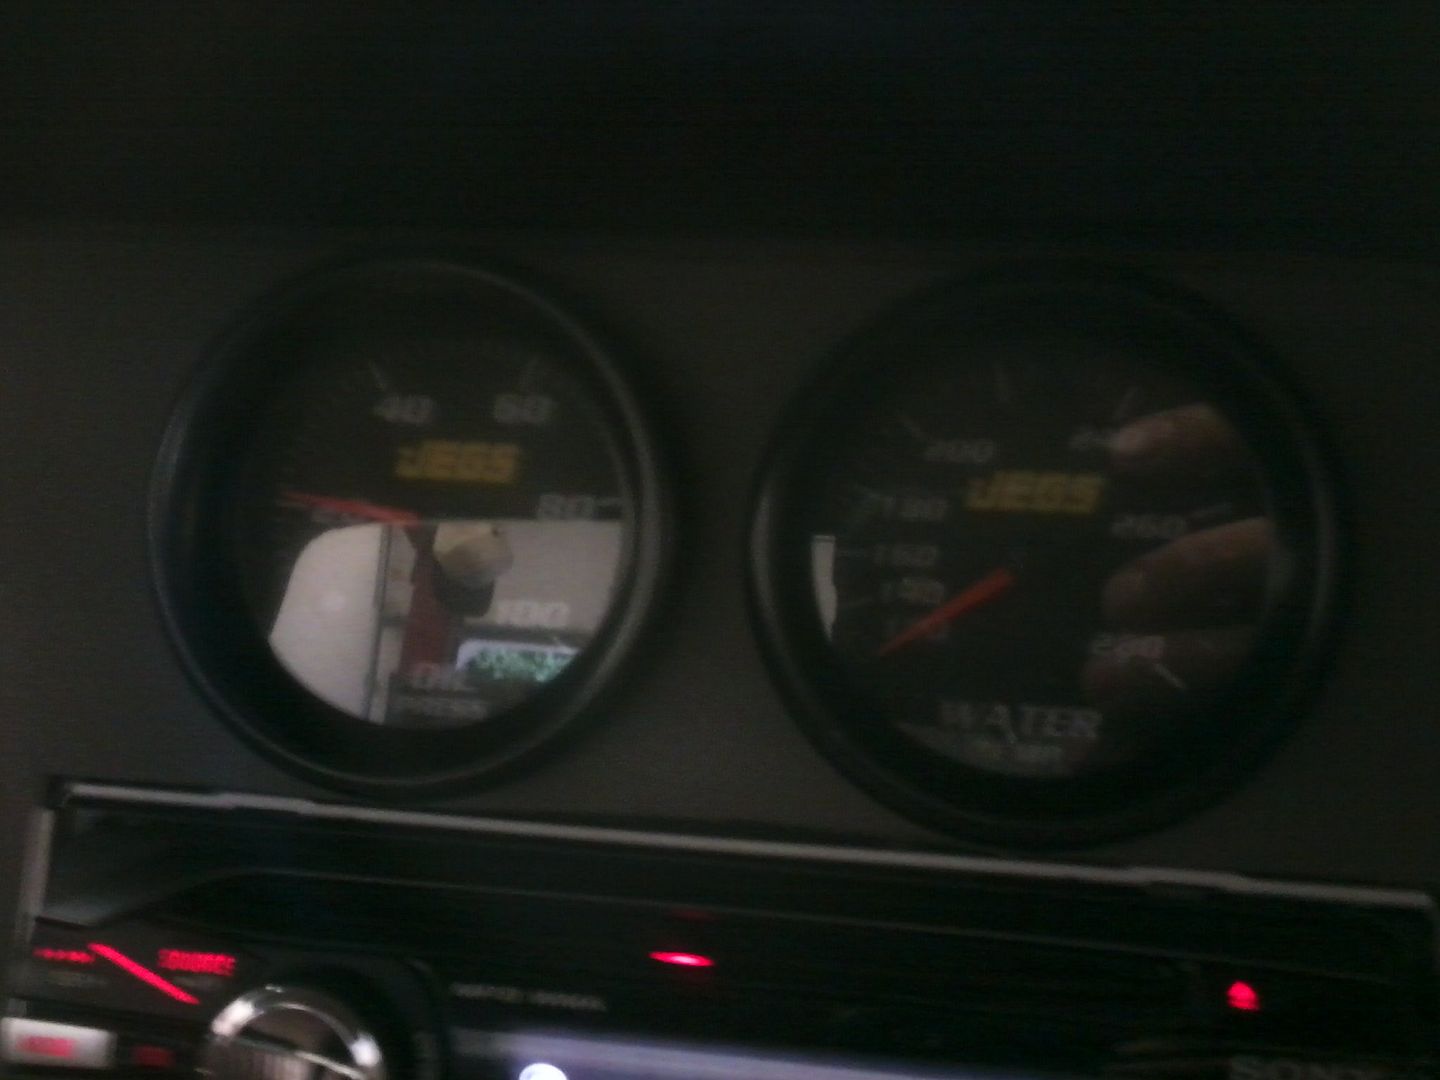
fired right up. no noises, no smoke. held a steady 500rpm idle with 20lbs of oil pressure. wound up getting to operating temp after about an hour of idling......

ill call it healthy at idle and revving in neutral. well see how she does under load.

few quick teething problems:

forgot to clamp one of the power steering return hoses. shot fluid a good 15 feet when it came apart.

my oil pressure gauge leaks from the back. onto my radio. and registration card.

the oil is already black after just a little idling time.

she's pig rich.

I have a fuel leak from the inlet on the Holley.

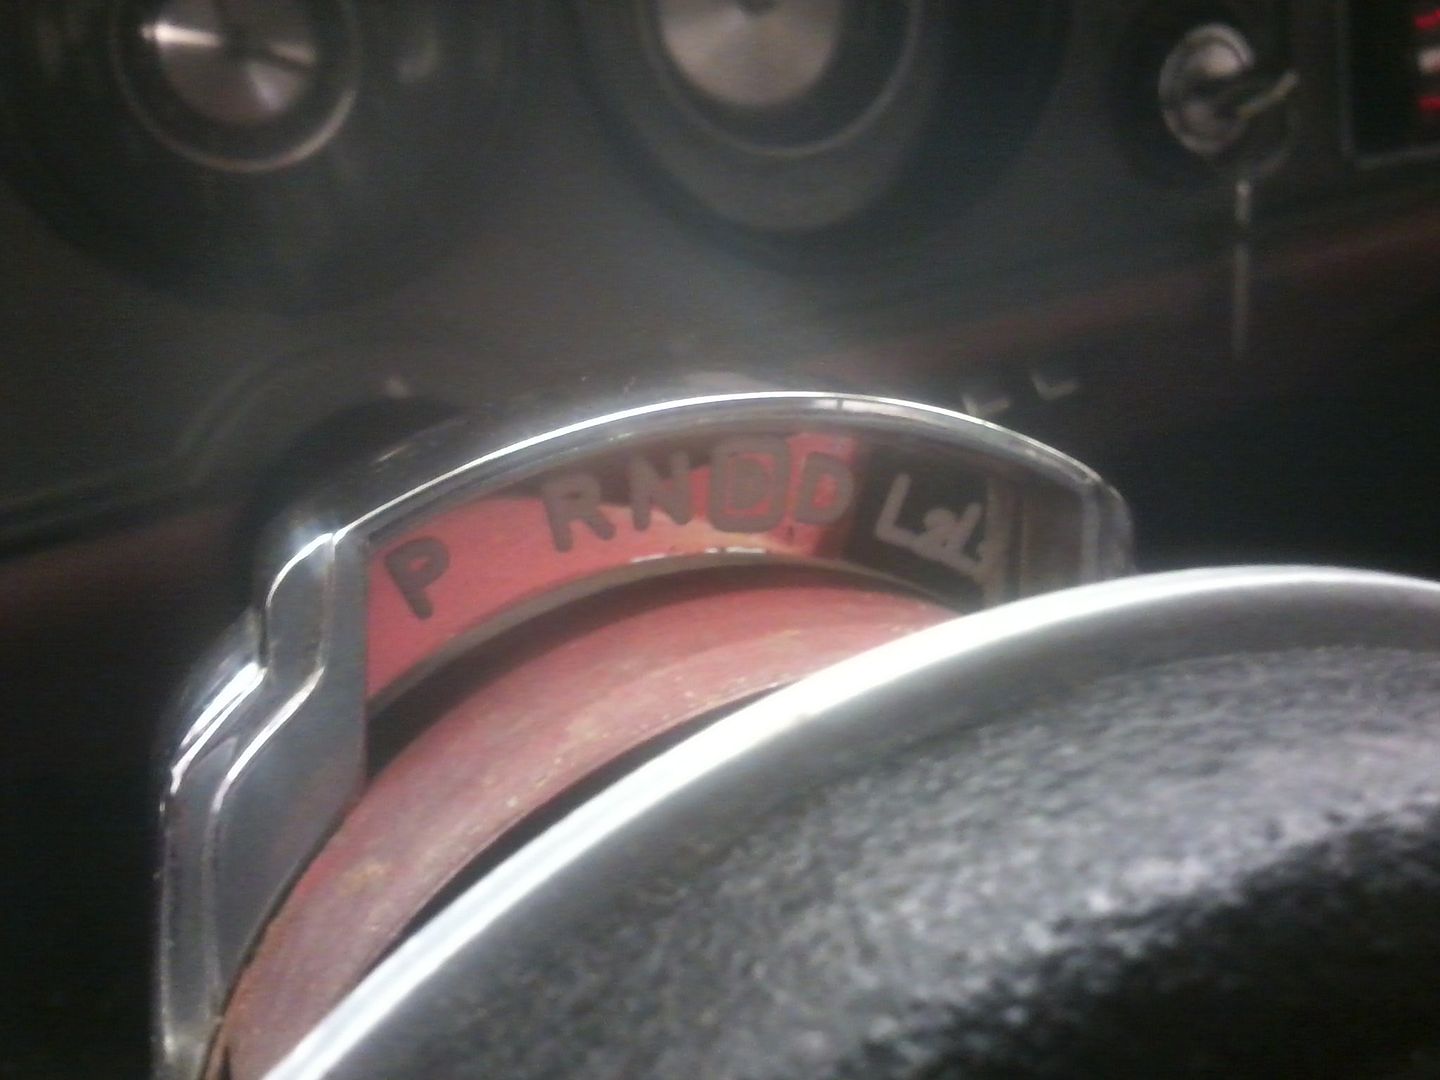
but she's alive, and healthy. I'm stoked. and whupped. to finish off the night I installed the first of by bowtie overdrive pieces: the column indicator.

[URL=http://s54.photobucket.com/user/dusterbd13/media/1964%20elcamino/013_zps374ef965.jpg.html][/URL]

tuna55
tuna55 PowerDork
7/22/13 9:28 p.m.

WOOHOO!!!

Sorry about the oil everywhere. Nice job getting it running. The shot of the belts spinning is magical.

Dusterbd13
Dusterbd13 HalfDork
7/23/13 8:07 p.m.

It moved about 200 foot under its own power tonight, brian.

I'm happy.

tuna55
tuna55 PowerDork
7/23/13 9:06 p.m.
Dusterbd13 wrote: It moved about 200 foot under its own power tonight, brian. I'm happy.

Me too!

I did bike stuff instead of truck stuff, so I'm happy to hear someone made progress!

Dusterbd13
Dusterbd13 HalfDork
7/29/13 10:05 a.m.

i drove it to work today. full udate if i get time tonight.

pres589
pres589 SuperDork
7/29/13 10:40 a.m.

Nice!

AngryCorvair
AngryCorvair GRM+ Memberand PowerDork
7/29/13 12:36 p.m.

this project makes me happy.

tuna55
tuna55 PowerDork
7/29/13 1:17 p.m.
AngryCorvair wrote: this project makes me happy.

same here! nice to know someone is driving their project!!!

Dusterbd13
Dusterbd13 HalfDork
7/31/13 9:32 p.m.

so, budget first:

previous total: 6549.95

7.99 for piano hinge

12.32 for breather

13.50 for antenna

new total: 6583.76

when last we left off with a full update, I had pulled the pin, found the engine healthy, and called it quits while my luck was holding.

unfortunately, it didn’t hold long.

first, I assembled the kugel components column linkage kit I ordered from bowtie overdrives. pretty slick kit, to be honest. went in with no trouble, though it was kind of tough to cut and bend the stainless. once I had it all mocked up, I tightened it down and ran with it. needs some fine tuning for the pointer to line up with the indicator, but that can wait. its pretty close.

[URL=http://s54.photobucket.com/user/dusterbd13/media/1964%20elcamino/003_zpsf8b7da2c.jpg.html][/URL]

[URL=http://s54.photobucket.com/user/dusterbd13/media/1964%20elcamino/006_zps375edb8a.jpg.html][/URL]

got all that done one night, and ran the trans through the gears while on the lift to get fluid circulating.

next day, my dad calls me to tell me that my water had broke. puked the entire contents of the cooling system, and I needed to mop his floor. found that I hadn't fully tightened the lower radiator hose or petcock. simple fix.

after that, it was time to try it out. backed it out of the shop, took it for a spin. to the end of the driveway, where I started hearing some horrendous noises. got out, and opened the hood trying to find them. coming from the trans area....

under the truck there is no inspection cover. looking under there, the noise got louder, and I saw the flexplate moving around a BUNCH. aw, crap.

back on the lift. walk away.

day or two later I got back at it. had done some googling on the subject, and decided first to see if the torque converter bolts were bottomed out. seems that they like a 15mm long bolt, and I had used 20mm long bolts. sure enough, they were bottomed. I could move the flexplate ever so slightly by hand with a ton of force. so I used a flat washer and a lock washer (about 6-7mm paired) under the bolt head, and ran them back down. almost no flex. about 1/32 to 1/16 (and we built a wire indexing point to get a good accurate estimate). close enough for my work. I then drove it around the block twice. (the block is about 3 miles long, by the way). on the second loop around the block, it started raining. hard. and the wipers wouldn’t work. it was interesting getting back to the shop, to say the least.

did some looking, and figured out that the wiper switch had died. as it is single speed wipers, all the switch had to do was interrupt the ground circuit. grabbed an old toggle switch, and wired it in. success!! we have wipers again! (yes its an ugly hack. its temporary)

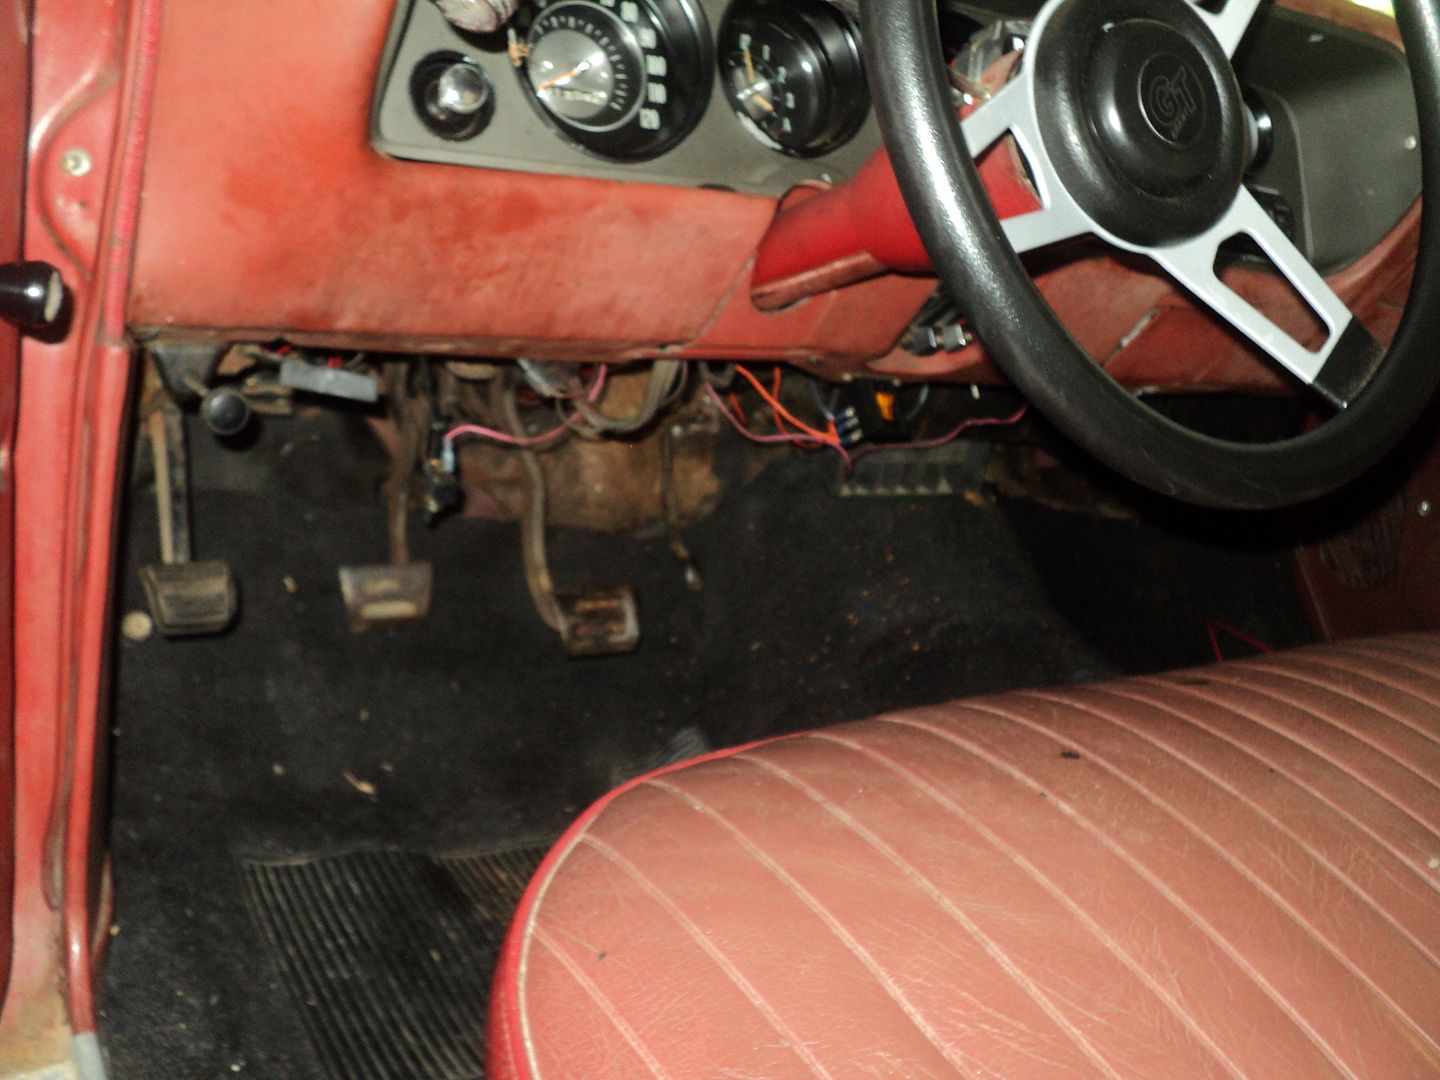
while doing wiring, I also grabbed a used rocker switch and panel to mount under the dash for my torque converter lockup circuit. it’s a PITA to use, but does the job for now. until I go TBI, that is.

[URL=http://s54.photobucket.com/user/dusterbd13/media/1964%20elcamino/008_zpsb9829427.jpg.html][/URL]

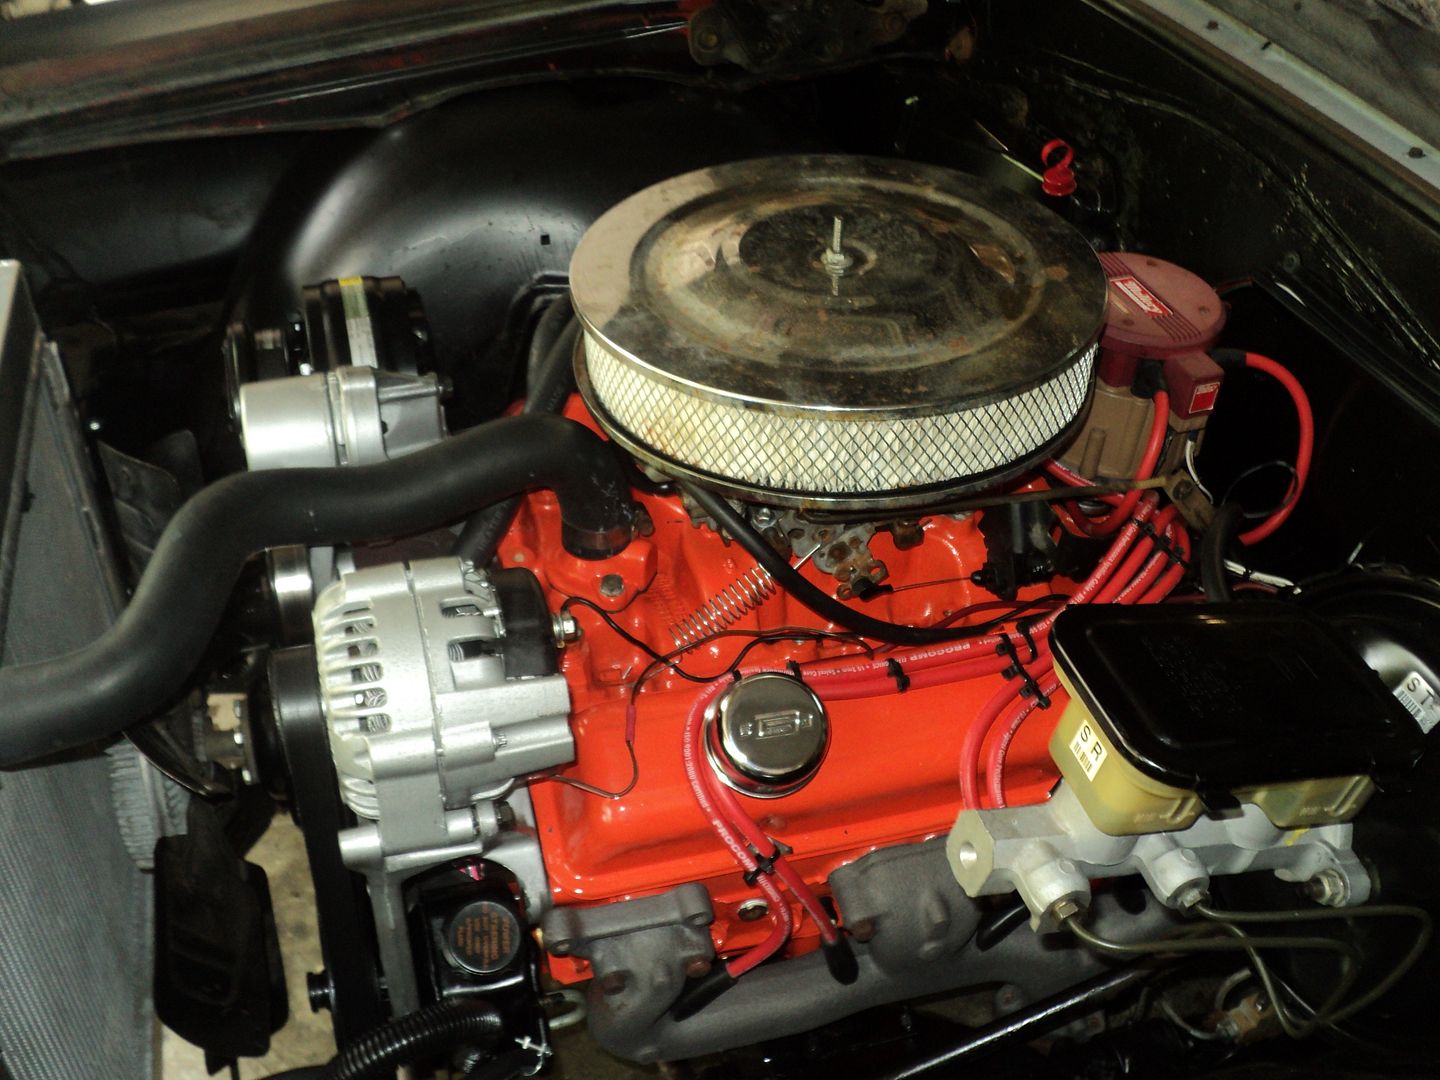
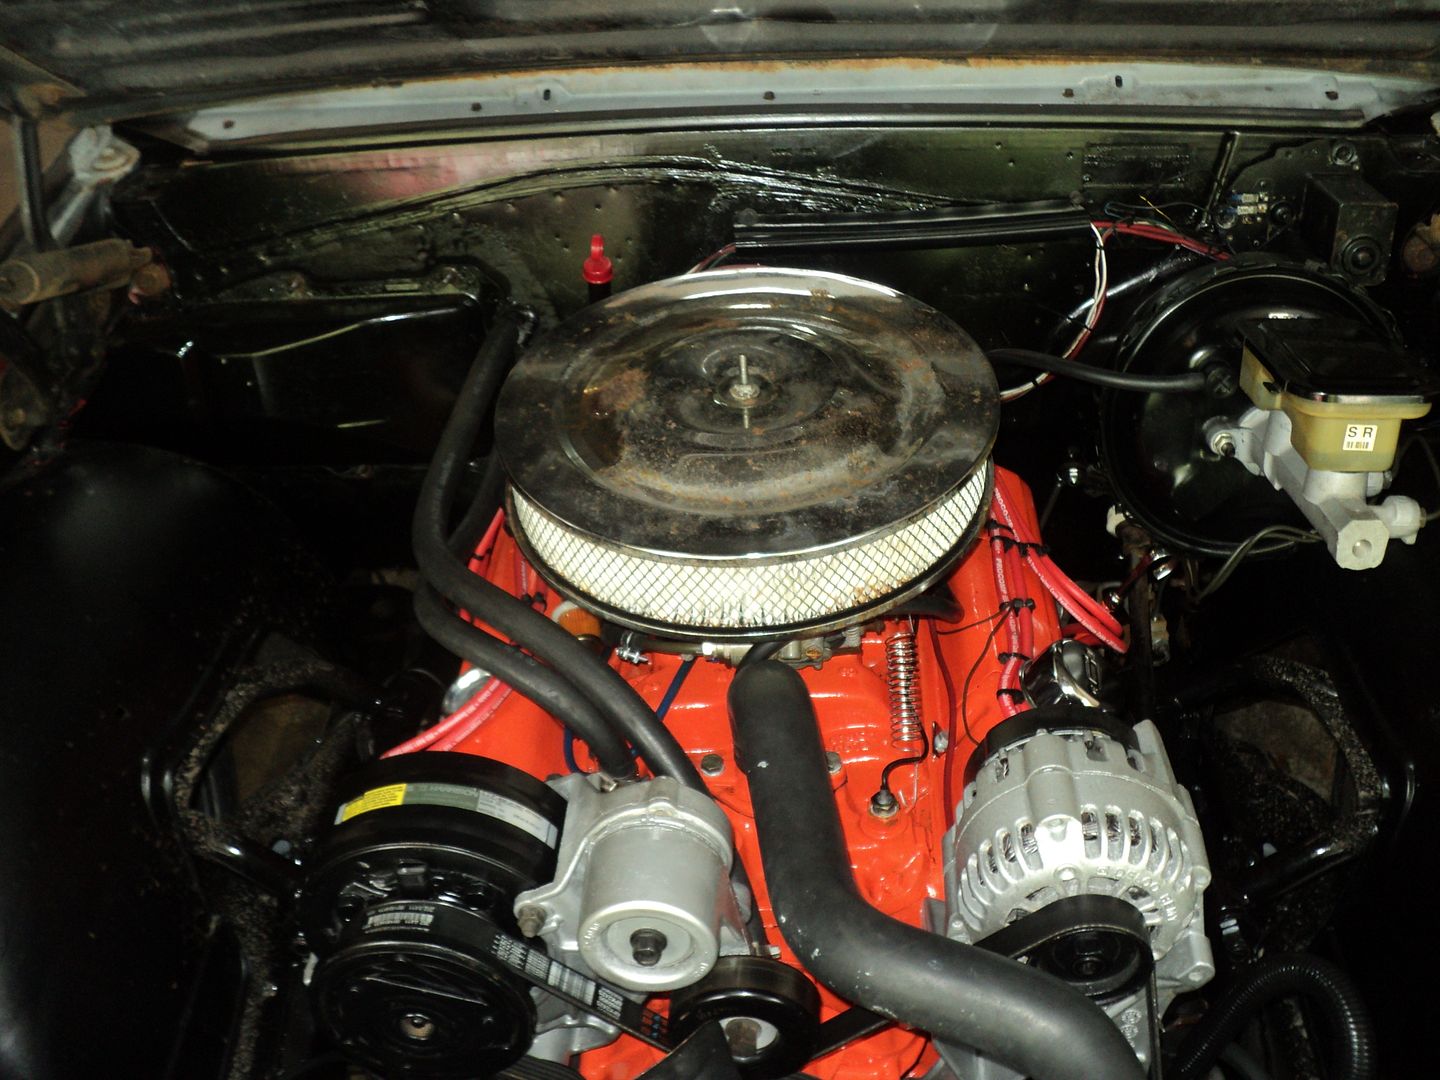
also finally found a breather filter to fit the stock valve cover hole. it’s a universal chrome mr gasket piece from oreilleys. I don’t really like it, but it does the job. I also finished tidying up wiring, plumbing, etc. came out looking nice. need to paint the air cleaner, though. I also installed the new speedo gears in the hopes that I could have an accurate speedo. bowtie and I missed the mark, as the speedo reads 70 at 60. there sending me a new driven gear to correct this.

[URL=http://s54.photobucket.com/user/dusterbd13/media/1964%20elcamino/002_zps85194d22.jpg.html][/URL]

[URL=http://s54.photobucket.com/user/dusterbd13/media/1964%20elcamino/001_zps89aaa797.jpg.html][/URL]

brought it home this past Saturday evening. drove SOOO nice down the highway. leaving a stoplight, on the other hand, was a nasty experience. the carb that was fine with a stick, under very light throttle (like just breathing on the pedal to 1/8 throttle) just breaks up. wont rev, will barely run. also, it seemed like I wasn’t getting the secondaries open. (yes, I know I didn’t change any throttle linkage and the problem should have been noticeable before, but it wasn’t to me). doing a little digging Sunday after church, I discovered that the hole the previous owner had been using on the carb linkage (which I copied when I swapped the carb) would not allow leverage to open the throttle more than 1/2 way. I decided to use the big hole in the top of the linkage. a 1/4 inch nut fits the hole pretty good, but the threaded portion is too small for the throttle linkage. drilled it out till it was a decent fit, cotter keyed it, and drove it again. still had the off idle problems, but the rest was cured. changed the accelerator pump cam timing, and it made the bog better, but still not great. I honestly think there's a vacuum leak in the primary throttle shaft.

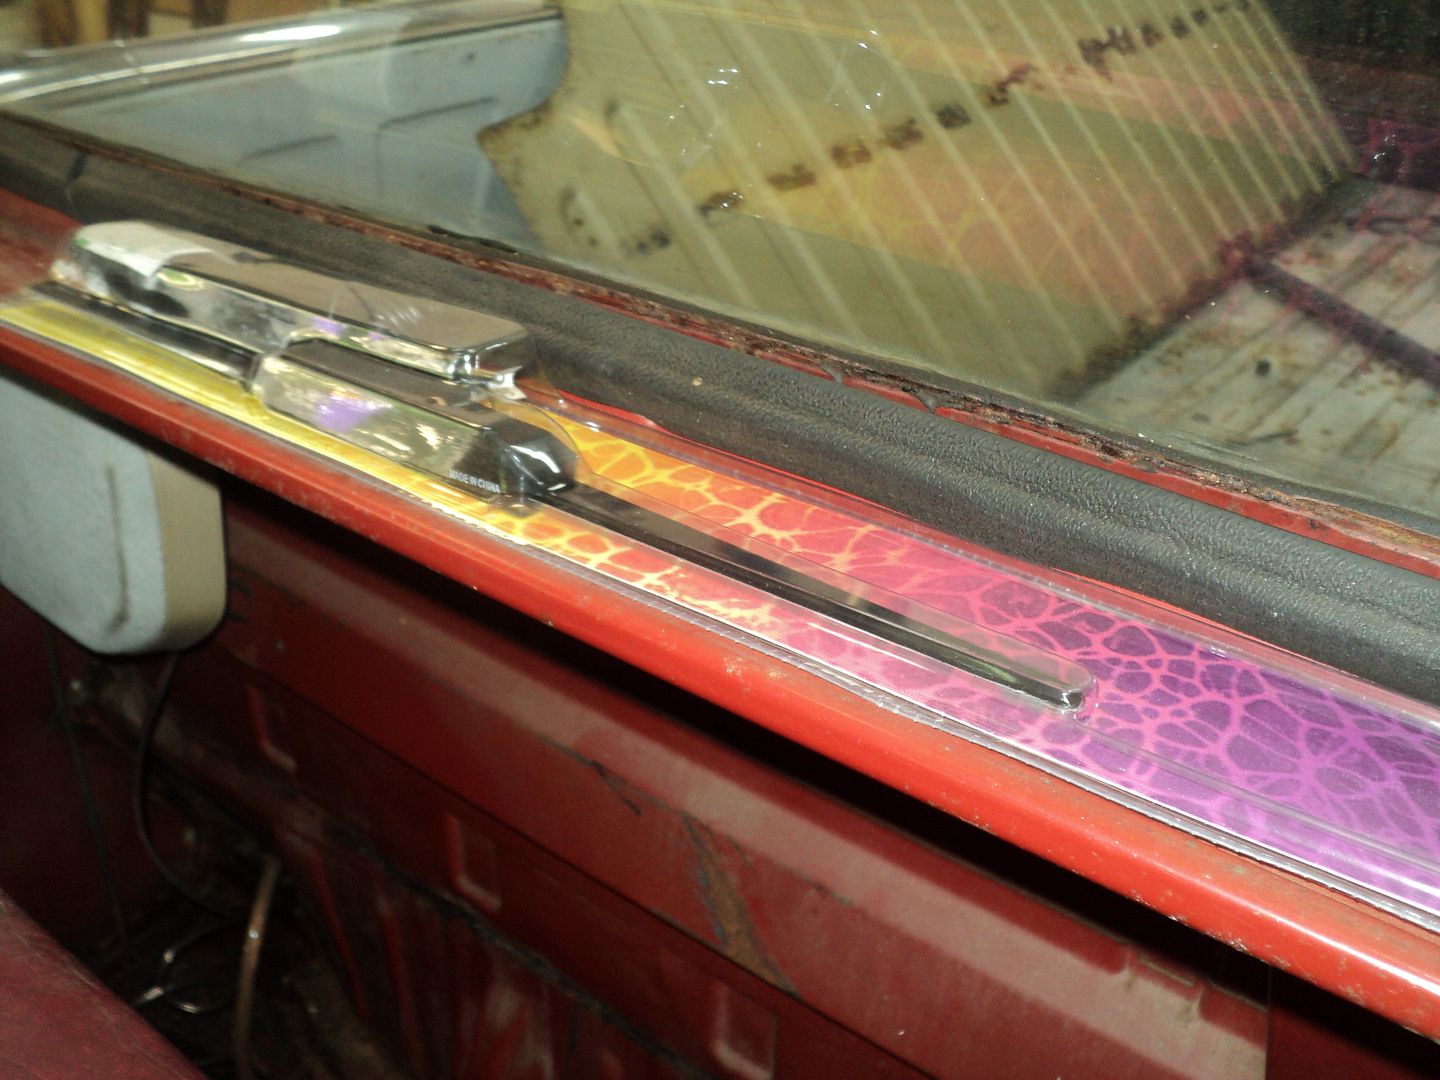
drove it to work on Monday, and then to run some errands. had to get a piano hinge for my smugglers box experiment, help my dad get his 51 ford f1 field truck onto the lift, etc. wound up driving the old girl about 200 miles on Monday, all said and done. no hiccups. until on my way home.

it was about 11:00 at night or so, and I lost my dash lights. locust is a town between midland (where I was) and Albemarle (where I live). they are notorious for nailing you for 3 mph over the speed limit.

I took my best guess at speed, and went through town. and got lit up.

for both speeding, and no taillights. at the same point, my right front headlight quit. not going well.

the officer asked for my license and registration. my wallet had slid under the seat, and the dome light didn’t work. my registration card was illegible due to the oil leak previously mentioned.

they let me go about 45 minutes later. thank god for understanding officers, who also let you borrow their flashlight in a futile attempt to get the thing fixed on the side of the road. drove it home with one headlight (wasn't that a song in the 90's?). found all the issues today. it had popped the taillight fuse due to a small chafed spot in the right rear light harness. on just the tailamp circuit. brake and turn still operable. rewired that, as well as my fuel tank sending unit and license plate lights that were not hooked up. the ribbon cable is junk, and melted through on the dome light circuit. just bypassed that one. headlight was a loose ground. the dash lights were fixed when I replaced the tailamp fuse (which they are supposed to be independent circuits, dunno why they crossed like that). so all that is fixed now.

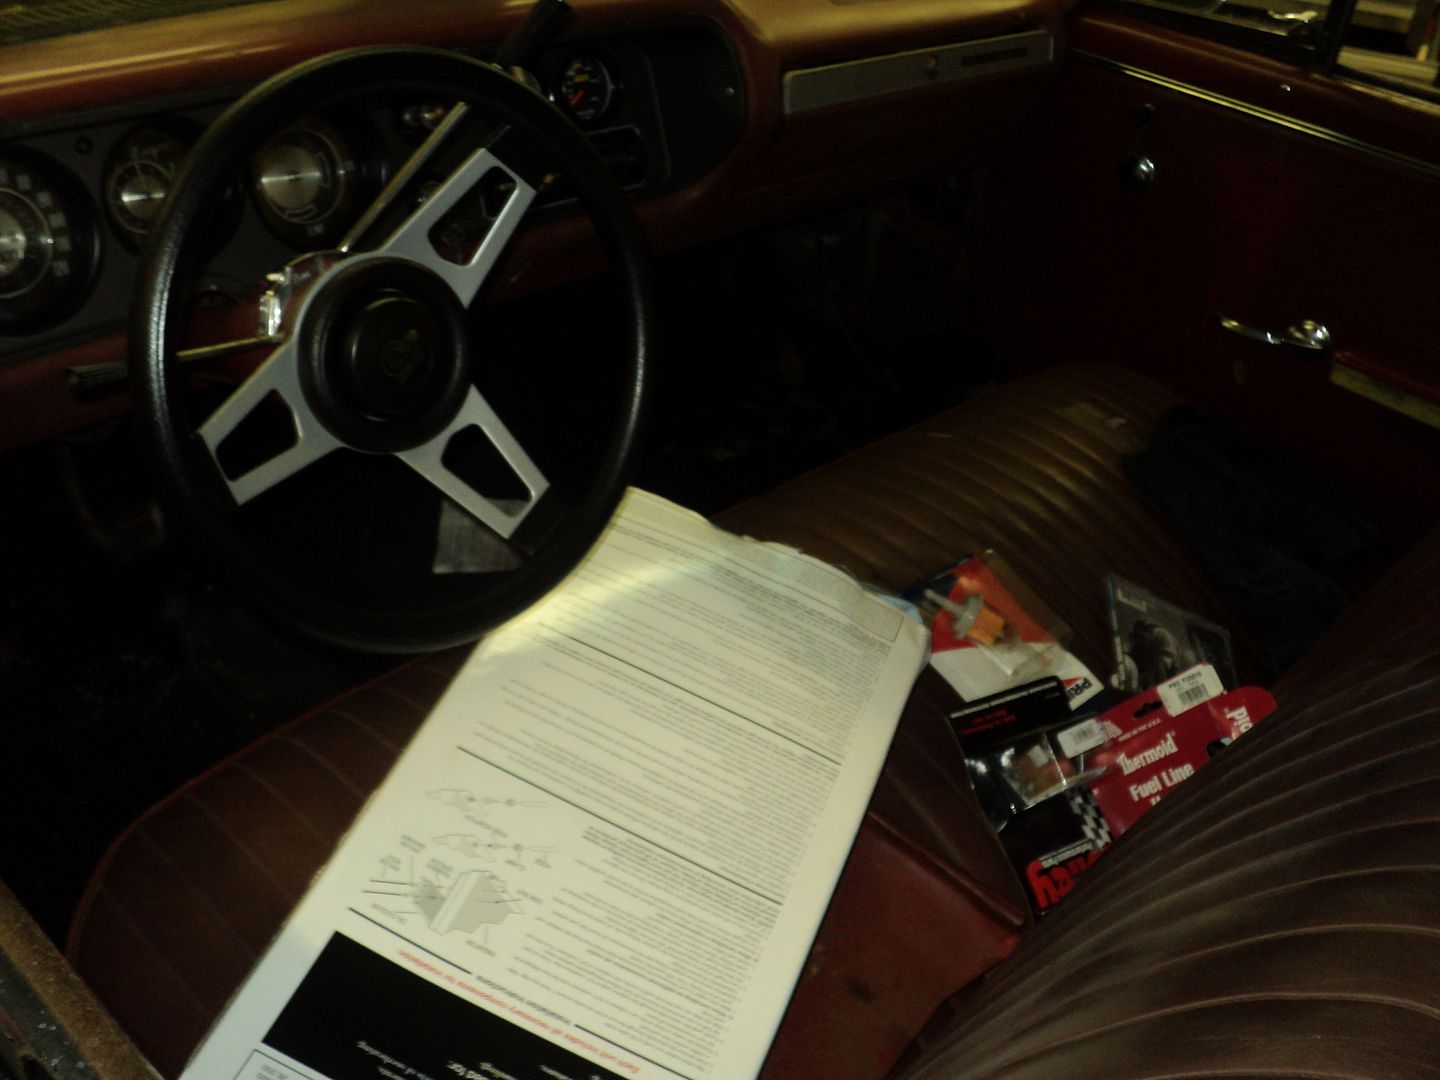
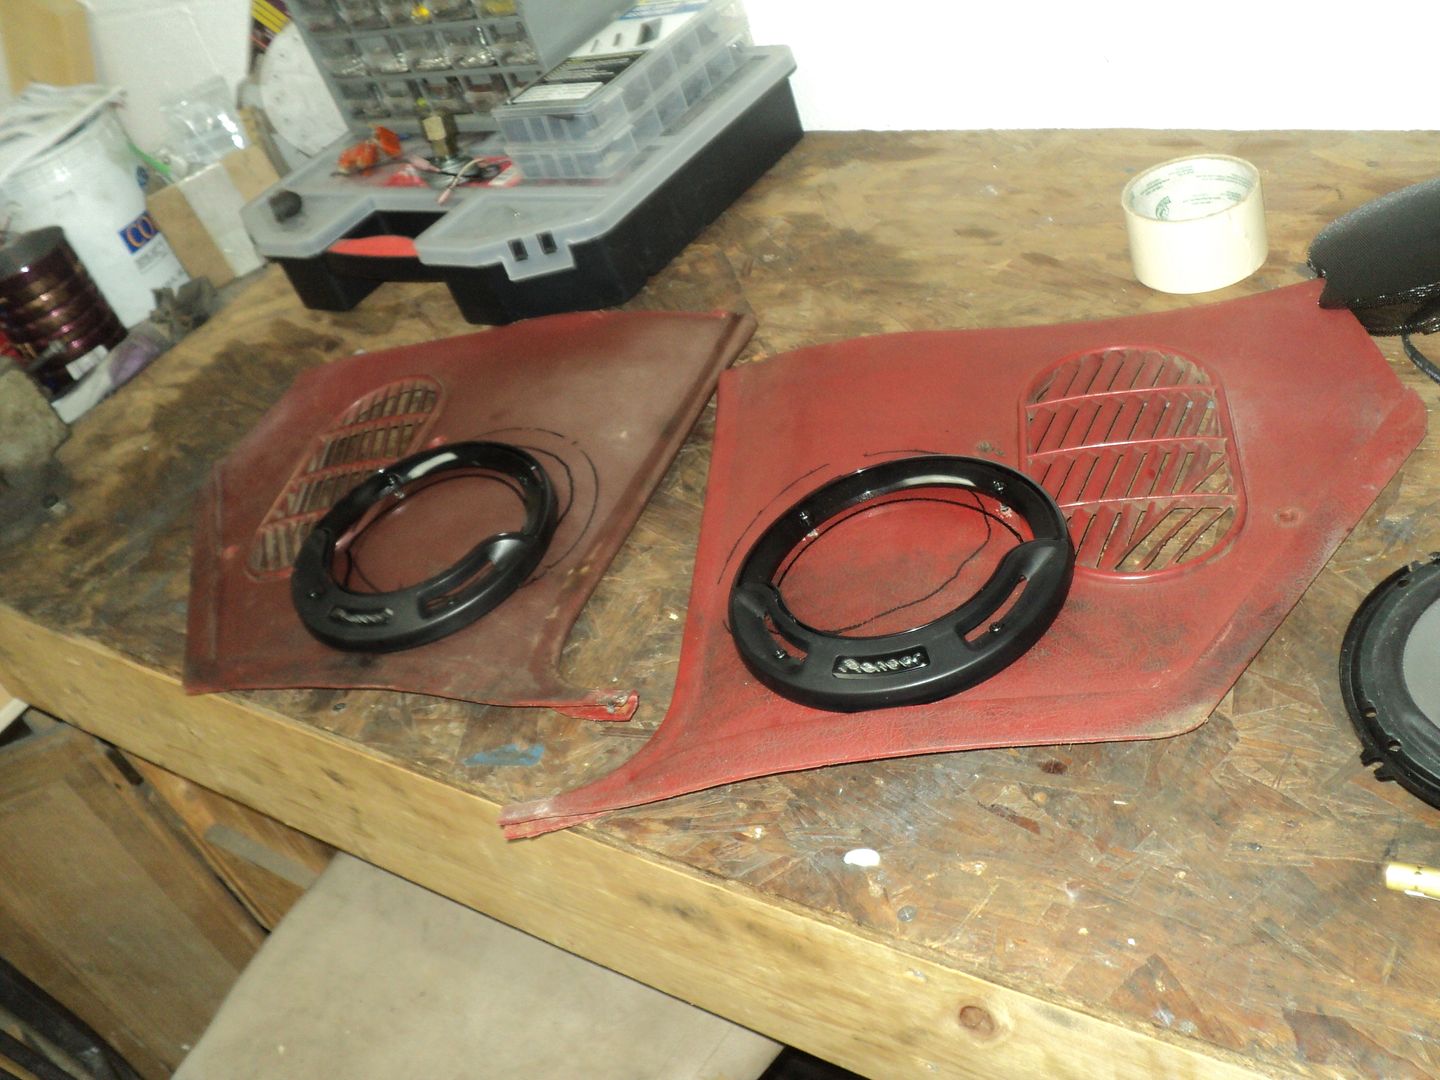
I've also started acquiring parts and supplies for my smuggler compartment to toolbox conversion, and finishing my stereo install.

[URL=http://s54.photobucket.com/user/dusterbd13/media/1964%20elcamino/009_zps5494a24b.jpg.html][/URL]

[URL=http://s54.photobucket.com/user/dusterbd13/media/1964%20elcamino/011_zps226cd9d5.jpg.html][/URL]

[URL=http://s54.photobucket.com/user/dusterbd13/media/1964%20elcamino/013_zps97454e26.jpg.html][/URL]

up next, toolbox build, stereo completion, and more driving, less wrenching.

ValuePack
ValuePack SuperDork
7/31/13 9:39 p.m.

It's fighting you, and you're winning. Good show, Duster!

tuna55
tuna55 PowerDork
7/31/13 10:04 p.m.
Dusterbd13 wrote: next day, my dad calls me to tell me that my water had broke.

Whoa whoa whoa - that's a weird sentence.

I was laughing at the cop story and sad about most everything else. At least you're winning. Keep you chin up, this girl will ride yet.

As far as the off-idle stumble, it's entirely possible that you have a accelerator pump squirter too big/too small/not working. In an auto, it's under load, at idle, so it might be more sensitive to that. Either that or your bowl level is messed up a bit.

Good luck man, we're all counting on you!!!

Dusterbd13
Dusterbd13 HalfDork
8/1/13 6:03 p.m.

ive had worse fights. ever own a vintage mopar, 54 ford, early 80's Subaru and 82 Eldorado at the same time? THAT was the challenge of job (old testament dude). this is nothing on that year of my life. heck, almost everything else I own runs consistemtly! (cept the rider....)

thamks for the encouragement, guys.

and brian, that's exactly what my father said. hes bent. such a cool father, ill be helping him on his field fresh 51 ford truck on Saturday.

1 ... 3 4 5 6 7 ... 21

You'll need to log in to post.

Our Preferred Partners
G8gqdWE2CpmLIGXOgEaqxdRNES3iERtHr3csztgA76dwSXI1Neme80f4VtVCyf4q