I'm pretty sure Job had a rougher go of it. Remember you won't get anything thrown your way you can't handle. ![]()
I'm pretty sure Job had a rougher go of it. Remember you won't get anything thrown your way you can't handle. ![]()
amen. and I completely agree that job had a rougher go.
all those problems of that year, other than the mopar, were wrecked and/or crushed. solved them all with a car payment.
gods been really good to me. have to admit, I never thought id wind up where I am in my life. especially seeing where I came from 10 years ago. I shouldn't have this good a life, or this many blessings.
I need to stop typing befopre it turns into a sermon and I become part of a patio or something.
Michael
Hey it's okay. I do the "look at Job" thing A LOT. Especially with the "FML" crowd. We don't "deserve" a life. Everything that is less miserable than hell is a blessing, we're counting upward from zero. When you start from there, everything seems to look pretty good!
Anyway, we're watching - and very glad your persevering. It's neat ol' cruck. Keep it going. Get that carb tuned right and enjoy the heck out of it.
,lgot news on the carb front. If all goes right, ill be getting a brandy new 600 holley for 23.17.
On a sidee note, 300 miles on it since the auto swap.
Dusterbd13 wrote: ,lgot news on the carb front. If all goes right, ill be getting a brandy new 600 holley for 23.17. On a sidee note, 300 miles on it since the auto swap.
Don't be discouraged if the brand new carb runs badly, too, they all need a little massaging.
ill agree with that. I truly dislike tuning carbs, but will get the 600 right iof it comes through. also, probably leave it carbd for a good long time after that, as once its right, theres no need to get to EFI at thins point. a well tuined carb will do all I need it to right now.
I also think, on another positive note, that I worked out a screaming deal on paint and body. obviously not as intensive or high quality as yours brian, but good enough for what I want.
and to think, it started as three dead riding mowers.....
so, budget first:
previous total: 6583.76
this updates expenditures:
24.50 for 3x3x3/8 angle iron from foils scrap metal
23.17 for brand new carb
25.50 for carb linkage
-70 for selling spread bore Holley
-54 for scrap metal (old brakes, radiator, springs, etc)
25 for wiper delay, pushbutton. and shipping.
readd the tv adaptor: 20
subtract the trans stud: -12
new total: 6564.93
so I've been driving this thing a lot. like insofar as its now my daily for the time being.
I love it!!!! its comfortable, the automatic overdrive has gotten fuel economy to somewhere around 20mpg, and it’s a hoot.
but I'm getting ahead of myself....
I HAD that spreadbore Holley on the thing. while googling tuning information specific to that smog era carb, I came across a thread on how Holley had a recall on some of their carbs due to them coming apart internally. the pictures in those threads looked like what I saw when I took the bowls off the 600. so I called Holley, gave them all the info. was up front and honest about not having bought the carb, and how it came with my truck. they didn’t care. the said ship it back, we will inspect, and if its what they had recalled for, id get a new carb at no cost. (other than shipping). so I put it in a box, dropped it off at the post office, and a week or so later, this arrived:
[URL=http://s54.photobucket.com/user/dusterbd13/media/1964%20elcamino/011_zps75cd153b.jpg.html]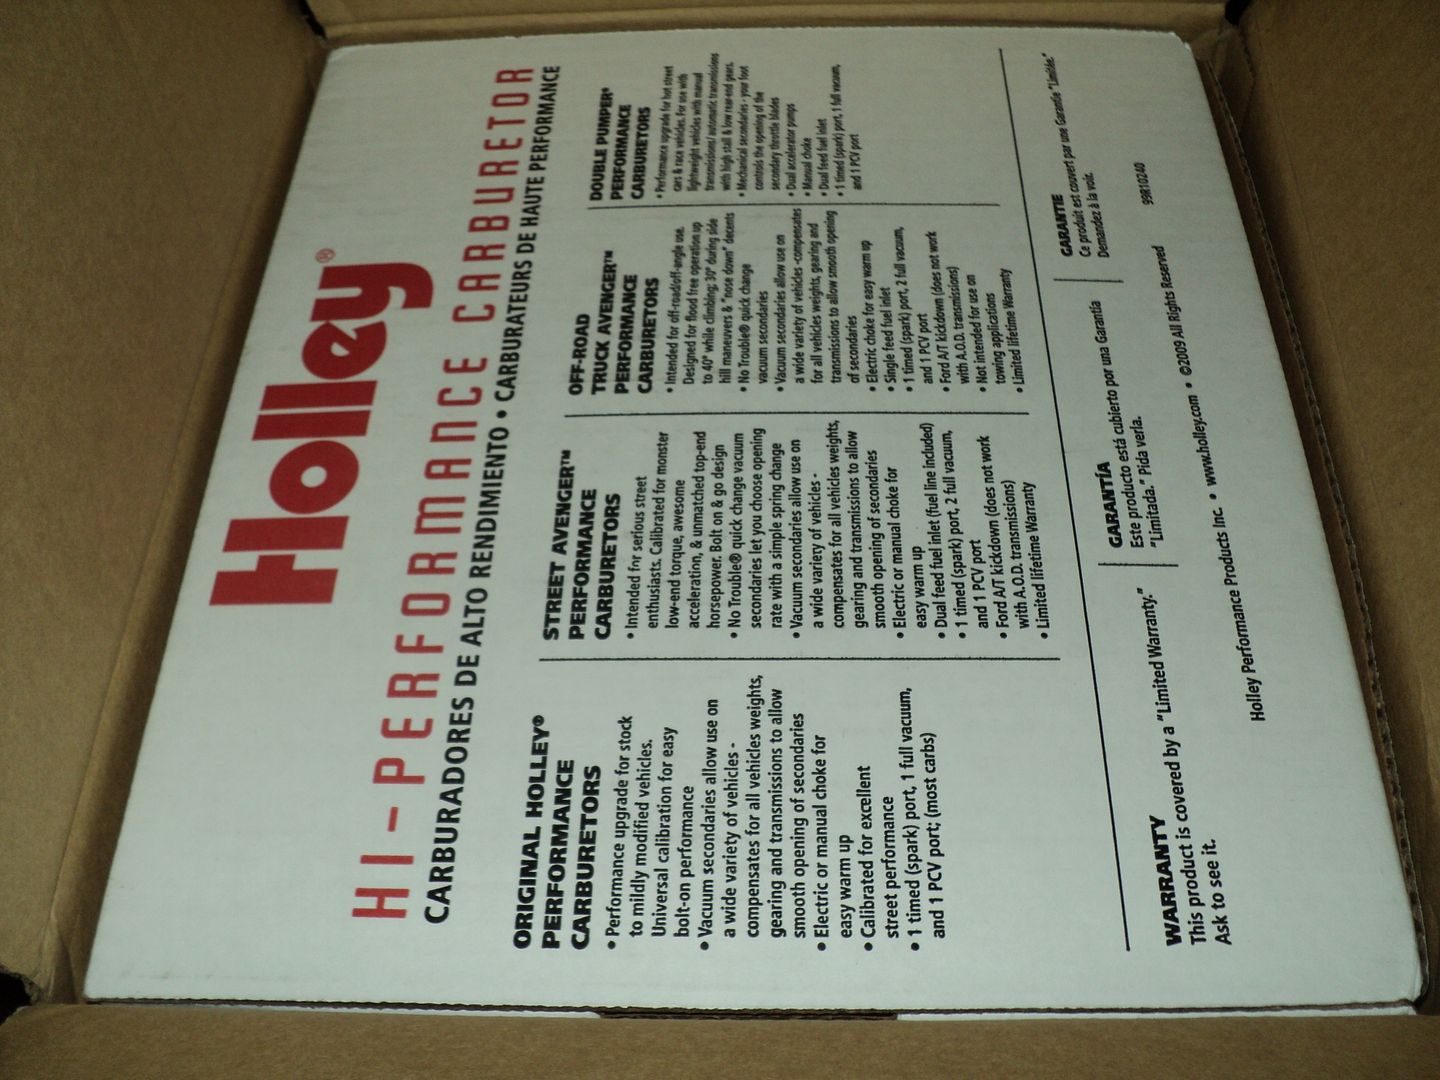 [/URL]
[URL=http://s54.photobucket.com/user/dusterbd13/media/1964%20elcamino/012_zps3feb8237.jpg.html] [/URL]
[URL=http://s54.photobucket.com/user/dusterbd13/media/1964%20elcamino/013_zpsa9312c45.jpg.html]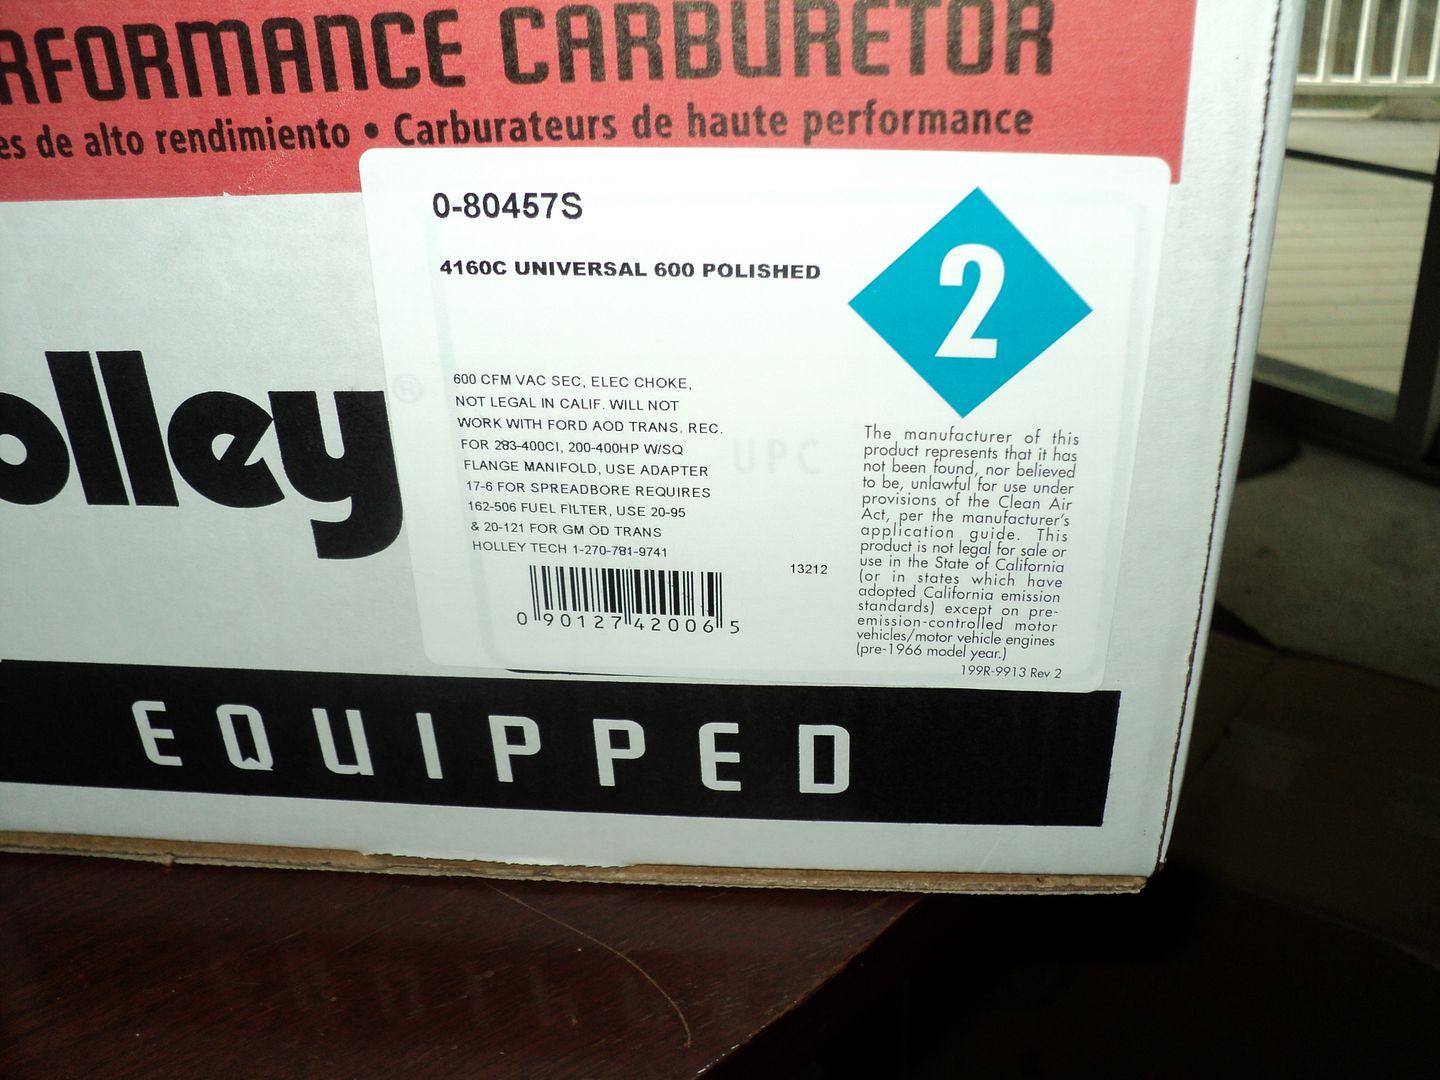 [/URL]
it only sat in the box at my house for about 2 hours till it when in. used the previously purchased tv cable adaptor, the shop made throttle linkage stuff, and put her on. did a scuff and shoot on the rusty chrome air cleaner while I was in there. just shot it semi gloss black with leftover engine enamel. looks less like crap now. when I put the carb in, I finally ran a lead for the electric choke. it’s a quick and dirty one, but ill clean it up when I clean up the hideous fuel like routing as well. when its not my daily anymore. the carb fired right up, and idled great out of the box. no lie, all I did was set the idle speed and go for a drive. it was GLORIOUS. I've never had a brand new carb before. I'm shocked. I did finally tune the idle mixture better, but will need to redo that after I finalize my timing, etc. I also think I just became a Holley guy based on the new carb and its behaviors compared to edelbrocks. also due mostly to their customer service. its incredible. and a guy from craigslist gave me 70 for the spreadbore.
when I first installed the carb, I was still using the Quadra jet bracket and the trans wouldn’t shift right. couldn’t get the tv cable adjusted properly, so I broke down and bought the Holley piece. I will say that it would not work without modification in my application. the throttle rod hit the top of the bracket.
[URL=http://s54.photobucket.com/user/dusterbd13/media/1964%20elcamino/031_zps40c7e03d.jpg.html]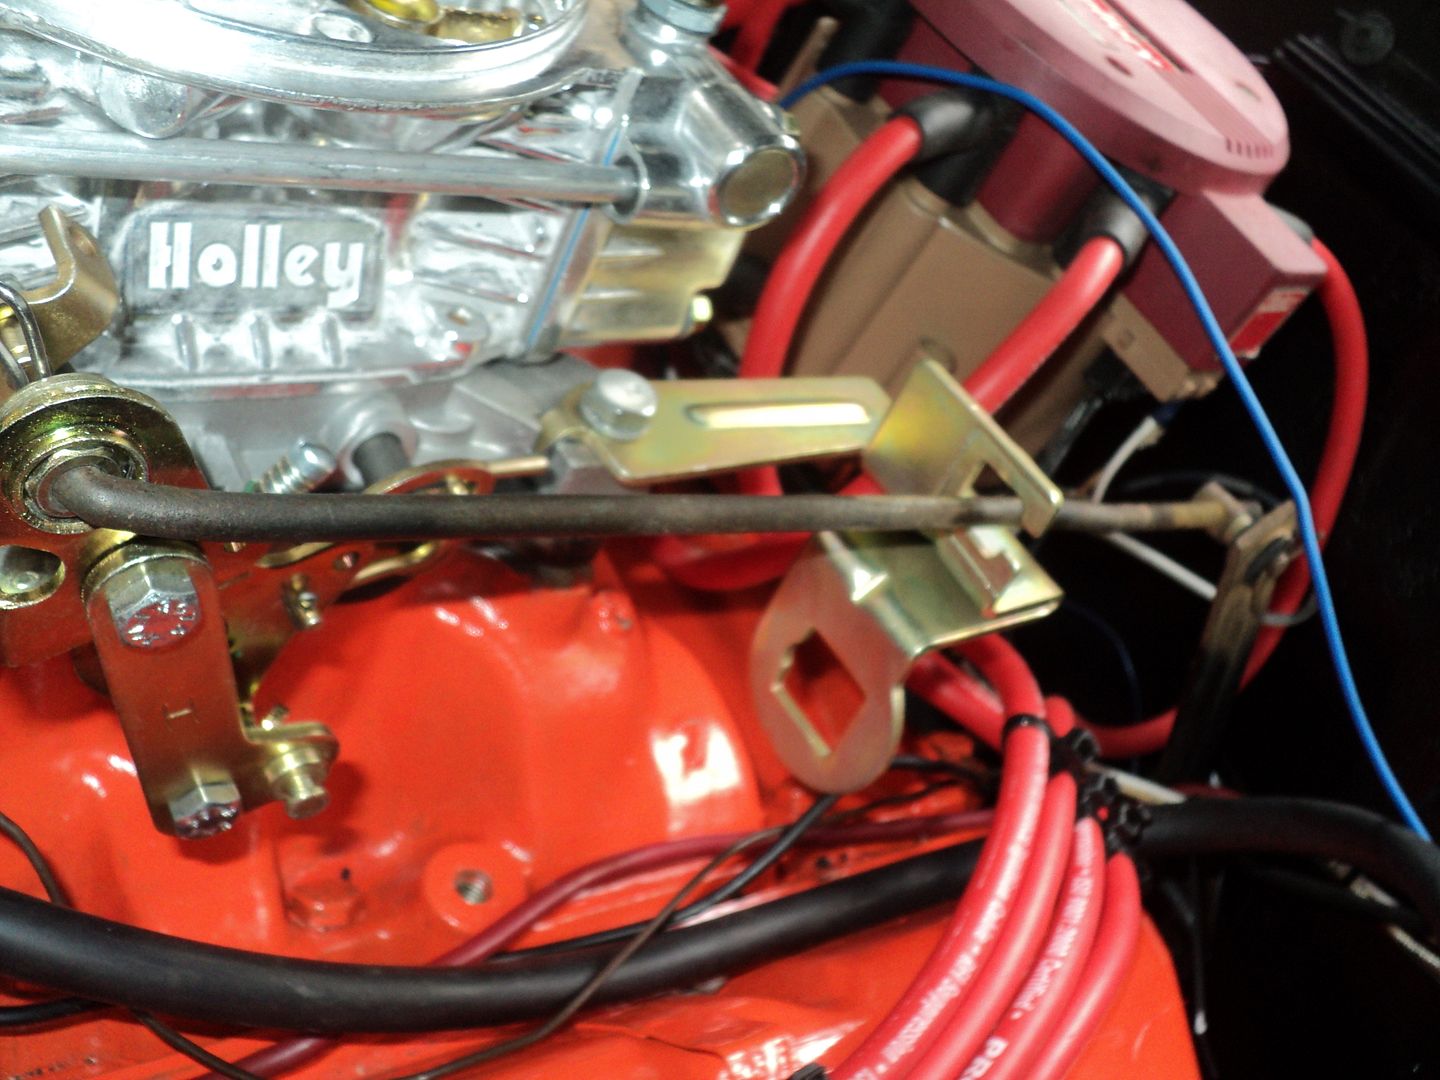 [/URL]
5 minutes with a sawzall and bench grinder, and it works just fine. I just no longer have a place for cable hook up. the finished product.
[URL=http://s54.photobucket.com/user/dusterbd13/media/1964%20elcamino/030_zpsc9769bab.jpg.html]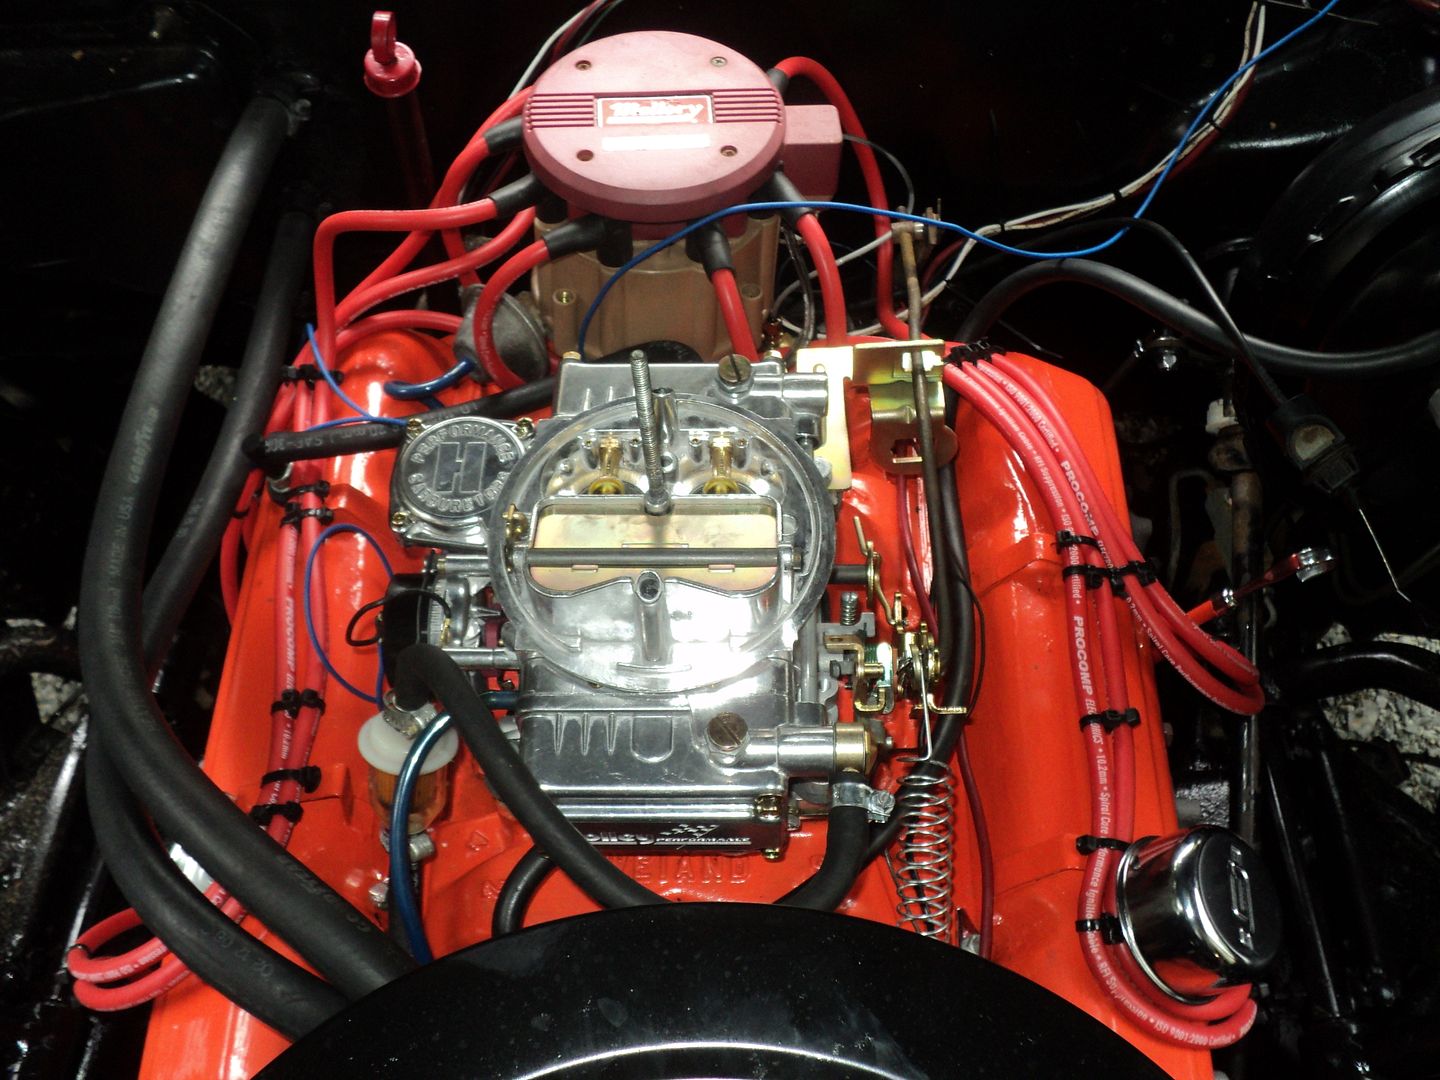 [/URL]
[URL=http://s54.photobucket.com/user/dusterbd13/media/1964%20elcamino/021_zps3c004009.jpg.html]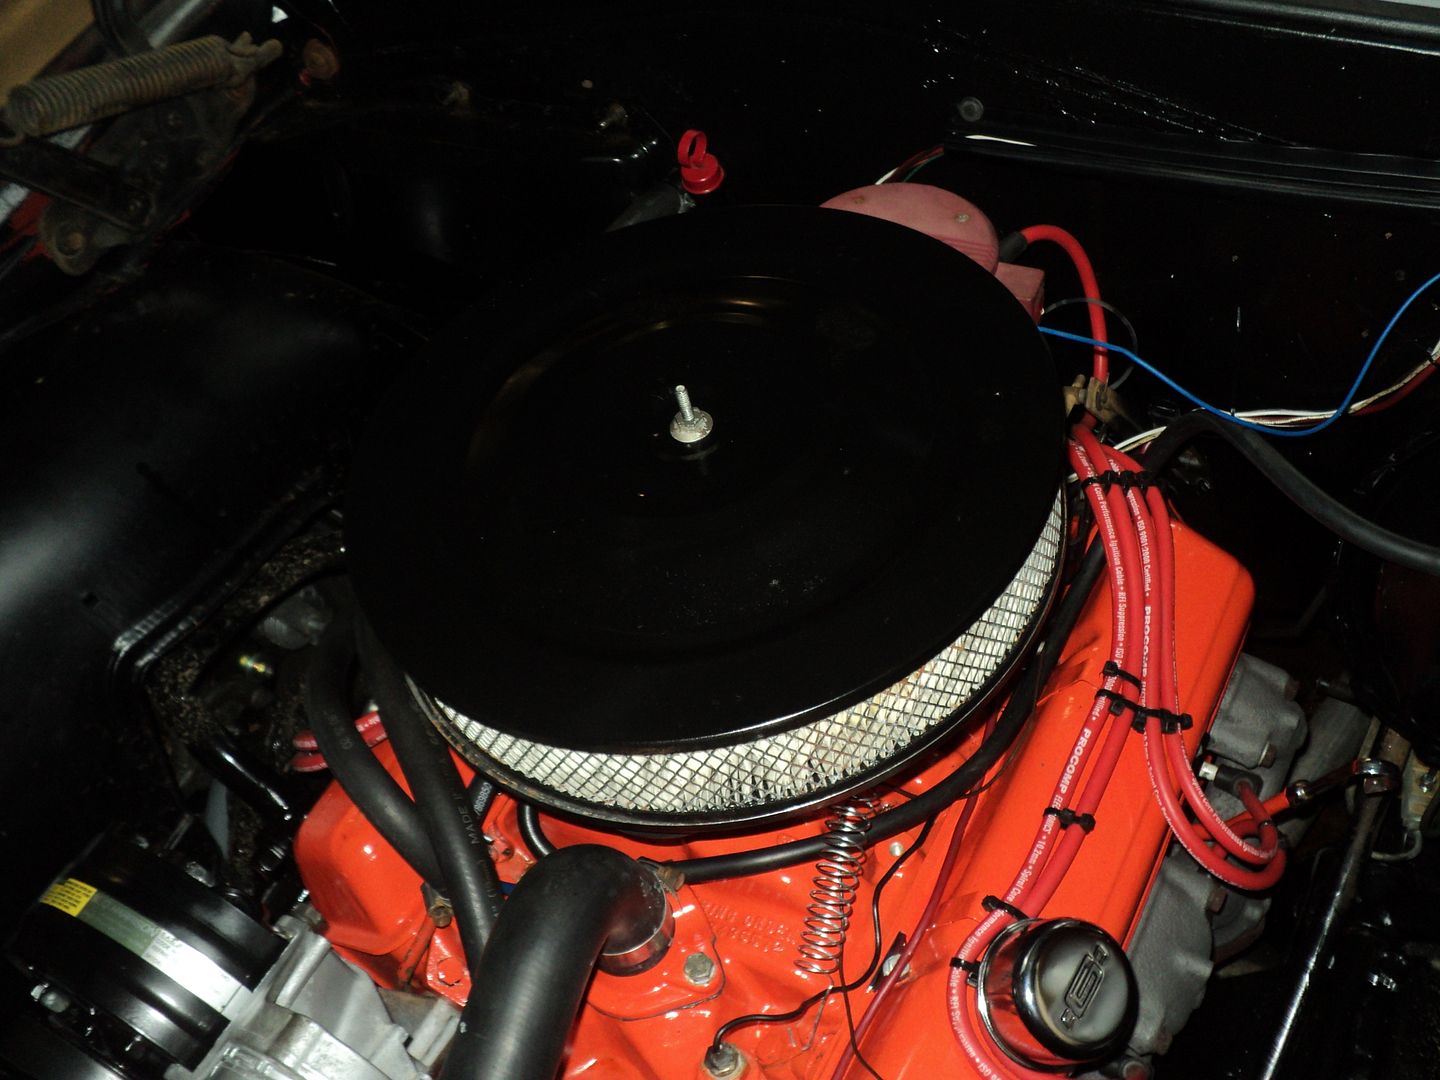 [/URL]
on the stereo front, I cut up the kick panels to see how I liked 6.5 inch speakers in the front. they sound good, don’t look too bad. had to move the park brake lever a ton, and still have to fab a front support for it. currently I cant really use it. also, this method of kick panel speakers makes it difficult to use the floor dimmer. when I get to the interior redo, ill buy a set of correctly made enclosure panels and put component speakers in them.
[URL=http://s54.photobucket.com/user/dusterbd13/media/1964%20elcamino/014_zps78e3fecb.jpg.html]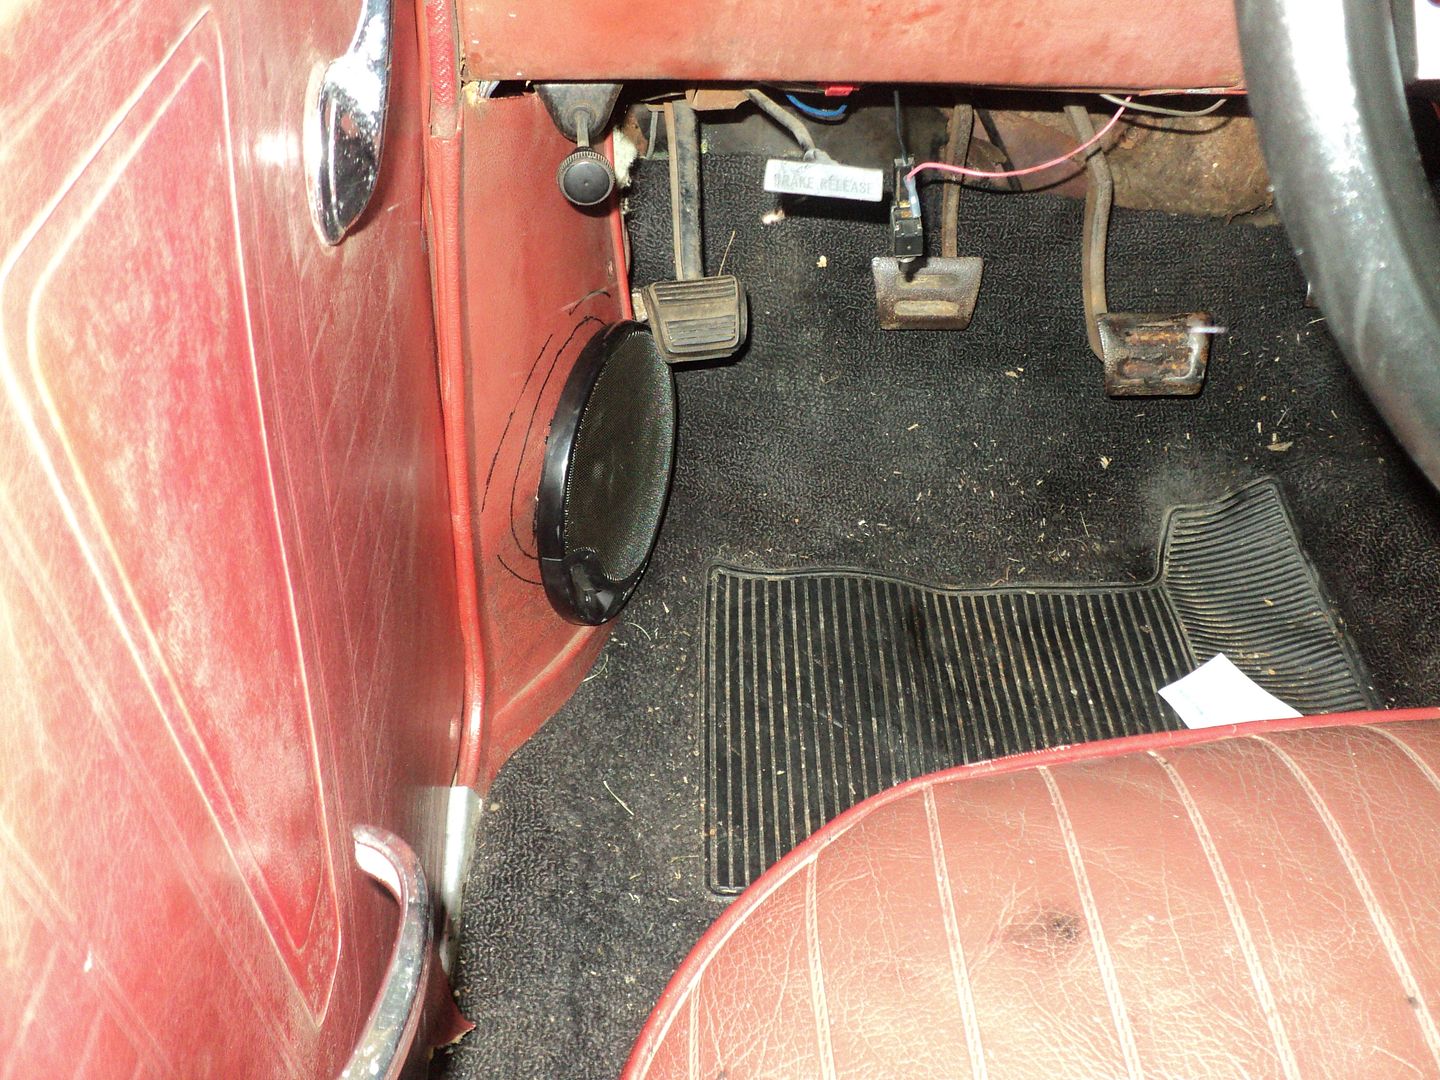 [/URL]
while were talking about the inside, I also bought a product based on a link in a GRM thread. it was 10 bucks, but you had to have a 20 dollar minimum order, plus shipping. so it would up being 25. this is the product link:
http://store.qkits.com/moreinfo.cfm/MXA041
and a picture of what was delivered:
[URL=http://s54.photobucket.com/user/dusterbd13/media/1964%20elcamino/018_zps30ab7aa1.jpg.html]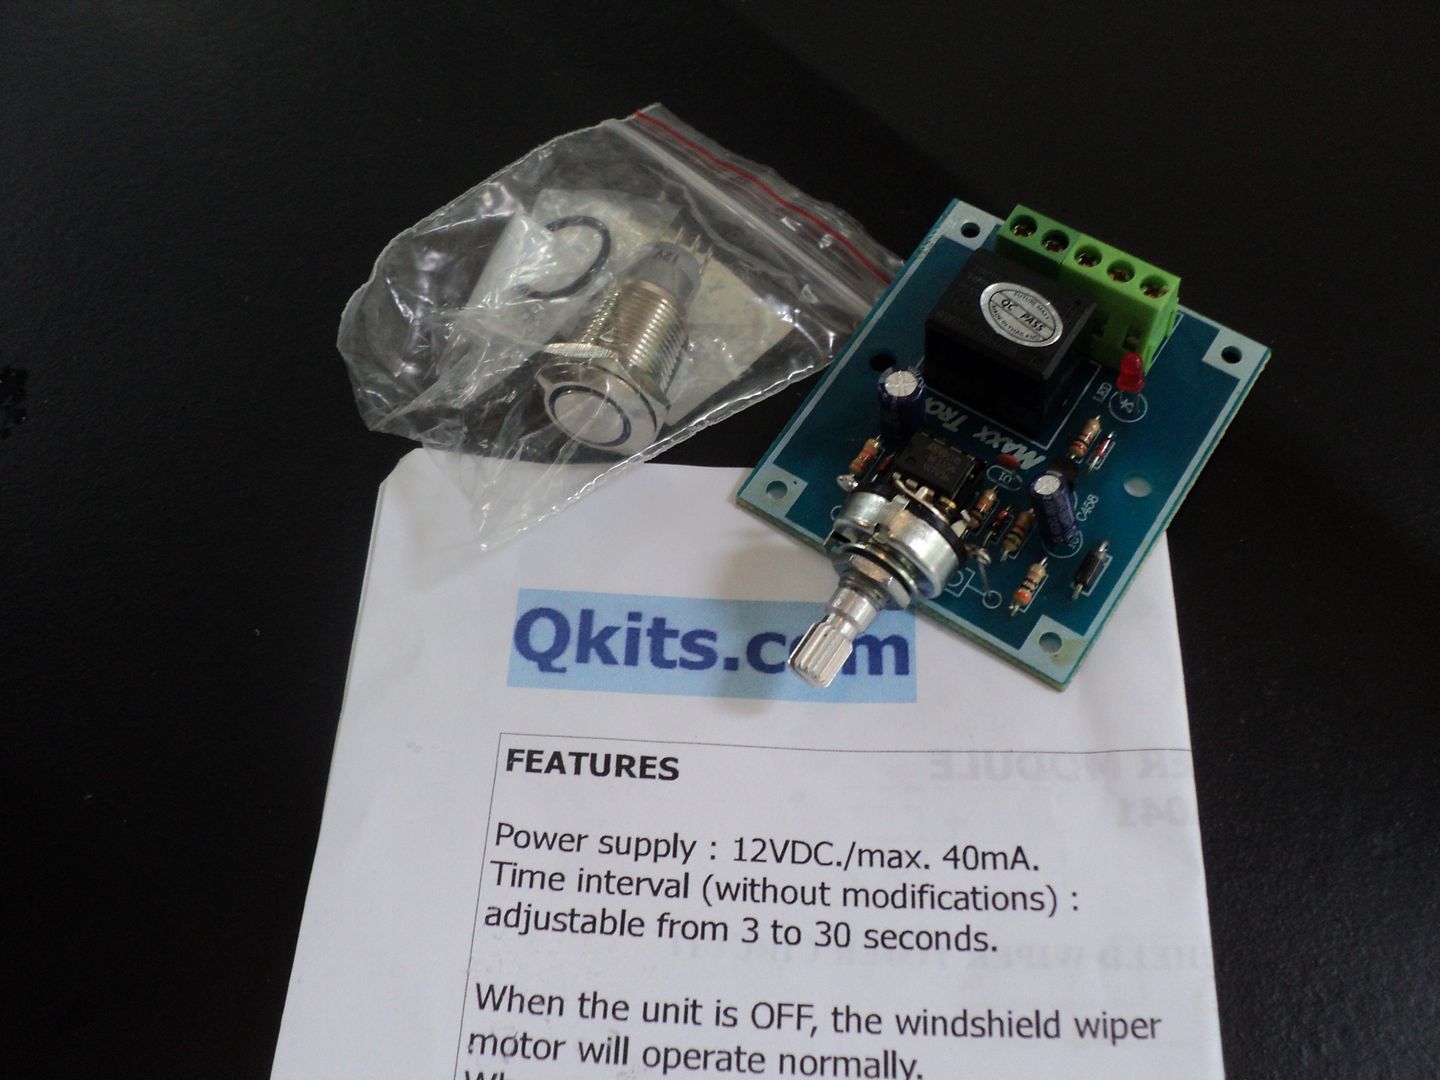 [/URL]
I tested it earlier tonight. used the wiring diagram for common negative, and the thing worked great. intermittent adjustable wipers are now mine!!!!!!
still have to figure out how to mount it, though. plan is to hollow out the dead original wiper switch, mount this to the case, run a piece of tubing from the original knob and shaft to the new knob and shaft, reinstall, and wire. should look stock, and function great. I also need to pull the wiper motor, clean all the contacts, regrease, repaint, and reinstall. also need to do the same for the wiper linkage. its pretty jerky and halting, even without the intermittent control. I don’t think its EVER been serviced.
ill cover the angle iron in a dedicated smugglers box update.
oh, and ive put about 1000 miles on since the trans swap. I love driving this thing.....
so not nice, quick update:
I set it on fire Tuesday. got it fixed last noght.
sent the clutch fan through the radiator today.
full update when im less discouraged. its gonna sit in time oput and think about what its done.
Dusterbd13 wrote: so not nice, quick update: I set it on fire Tuesday. got it fixed last noght. sent the clutch fan through the radiator today. full update when im less discouraged. its gonna sit in time oput and think about what its done.
OH crap.
Sorry.
I did the clutch fan-through-the-radiator thing once. How did you do it? I bumped the starter over to get to the bottom bolts on the water pump. How did you set it on fire?
Keep your chin up.
i actually broke all 4 bolts that held the fan on at 70mph. lost the water pump pulley, power steering lines, radiator, and drug the fan about 1/2 mile as i was coasting to a stop.
the fire came from setting float levels on the holley. had a brain fart with the sight plugs out, and raised the level instead of lowering them. gas dripped, and WOOF! instant bbq. took all the hair off my left arm and hand, as well as some minor 1st degree burns. got lucky with that one....
and new radiator should be here this week. we shall ride again in the near future.
Hey at least your failure wasn't out of blatant stupidity like mine! Sounds like you'll be OK - was the radiator relatively cheap anyway? On my truck once I had it in hand the swap took about 12 minutes including filling up the coolant.
Keep it going, it's looking better every time I check! Well, OK, not the last time, I guess. Still.
so, budget first:
previous total: 6564.93
this update I'm not adding anything. honestly, I'm replacing brand new parts that failed due to faulty hardware, so the budget stays the same in my mind. yes, I have more invested, but the way I think about the accounting is "what is actually on the car as it goes down the street?"
so the truck had been my daily. driven everywhere, through ALL kinds of inclement weather.
then it developed an off idle stumble and backfire through the carb. not cool. I honestly thought at first it as timing, so I checked that. spot on, but the advance curve only adds 9 degrees of timing mechanically. so that’s no good....
I then went to check the float level. pulled the sight plugs, fired it up, and watched the gas stream out of the bowls. they were way too high. in the process of adjusting them, I found a new tool to use:
[URL=http://s54.photobucket.com/user/dusterbd13/media/1964%20elcamino/010_zpsc9d17237.jpg.html]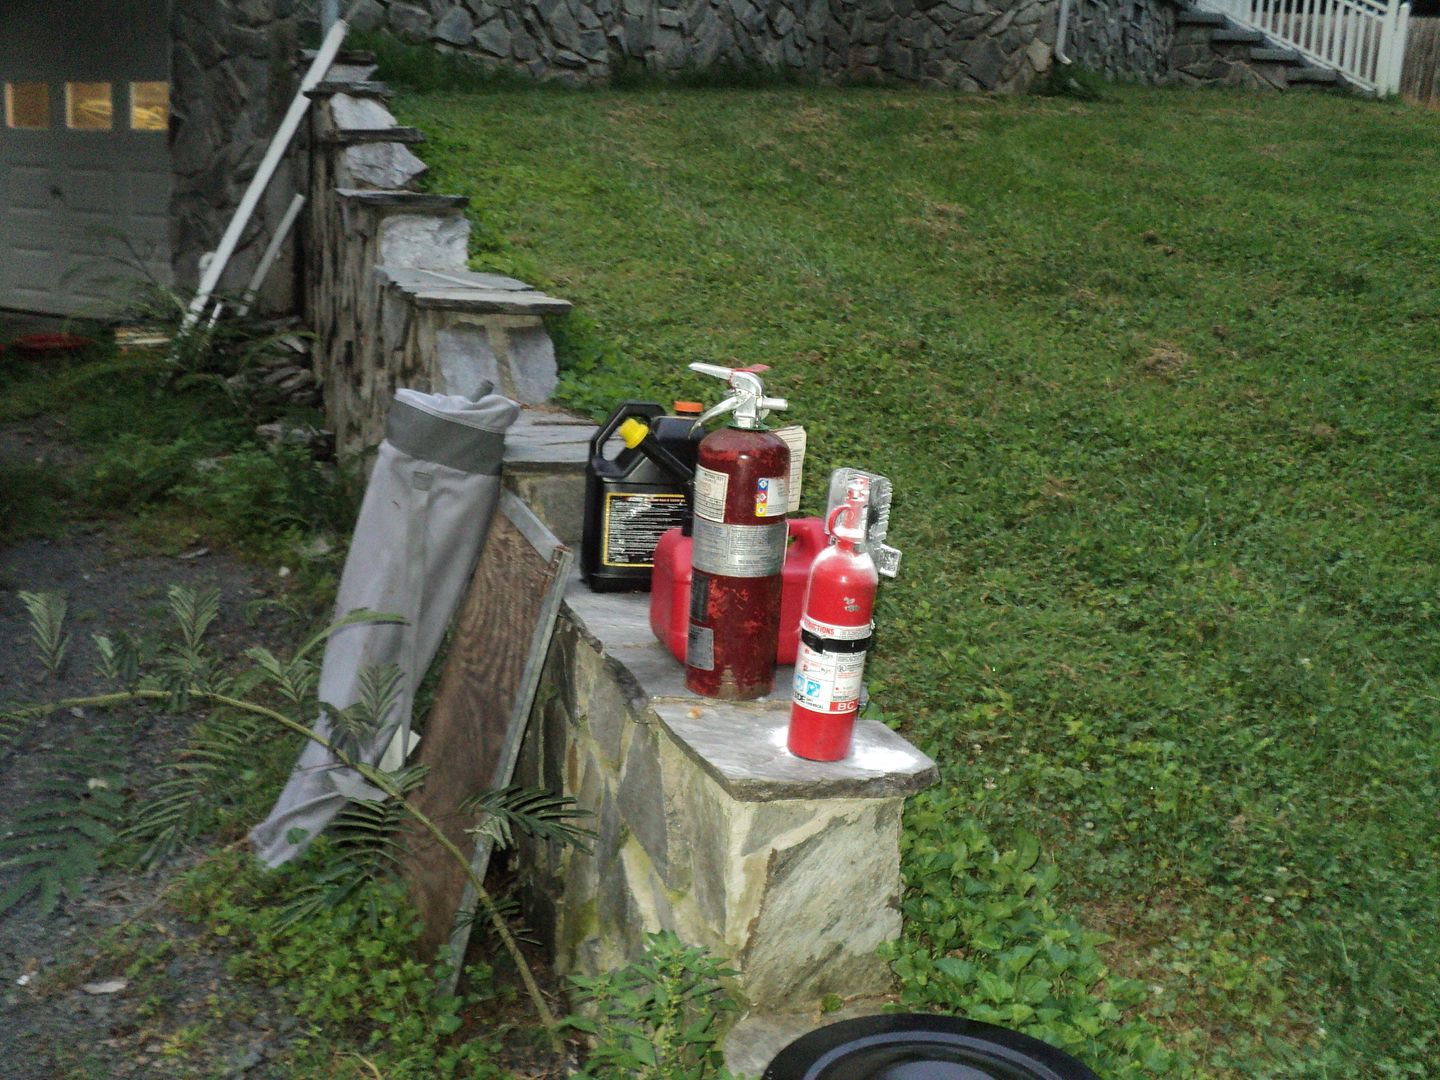 [/URL]
yes, I set the truck on fire. and my arm. it was quite scary. been a long time since I did that. fortunately, I had the extinguisher handy. wound up singing my engine and firewall paint, singing my plug wires and cap, and melting most of my engine iring harness and gauge leads.
[URL=http://s54.photobucket.com/user/dusterbd13/media/1964%20elcamino/009_zps0ebaeaaa.jpg.html]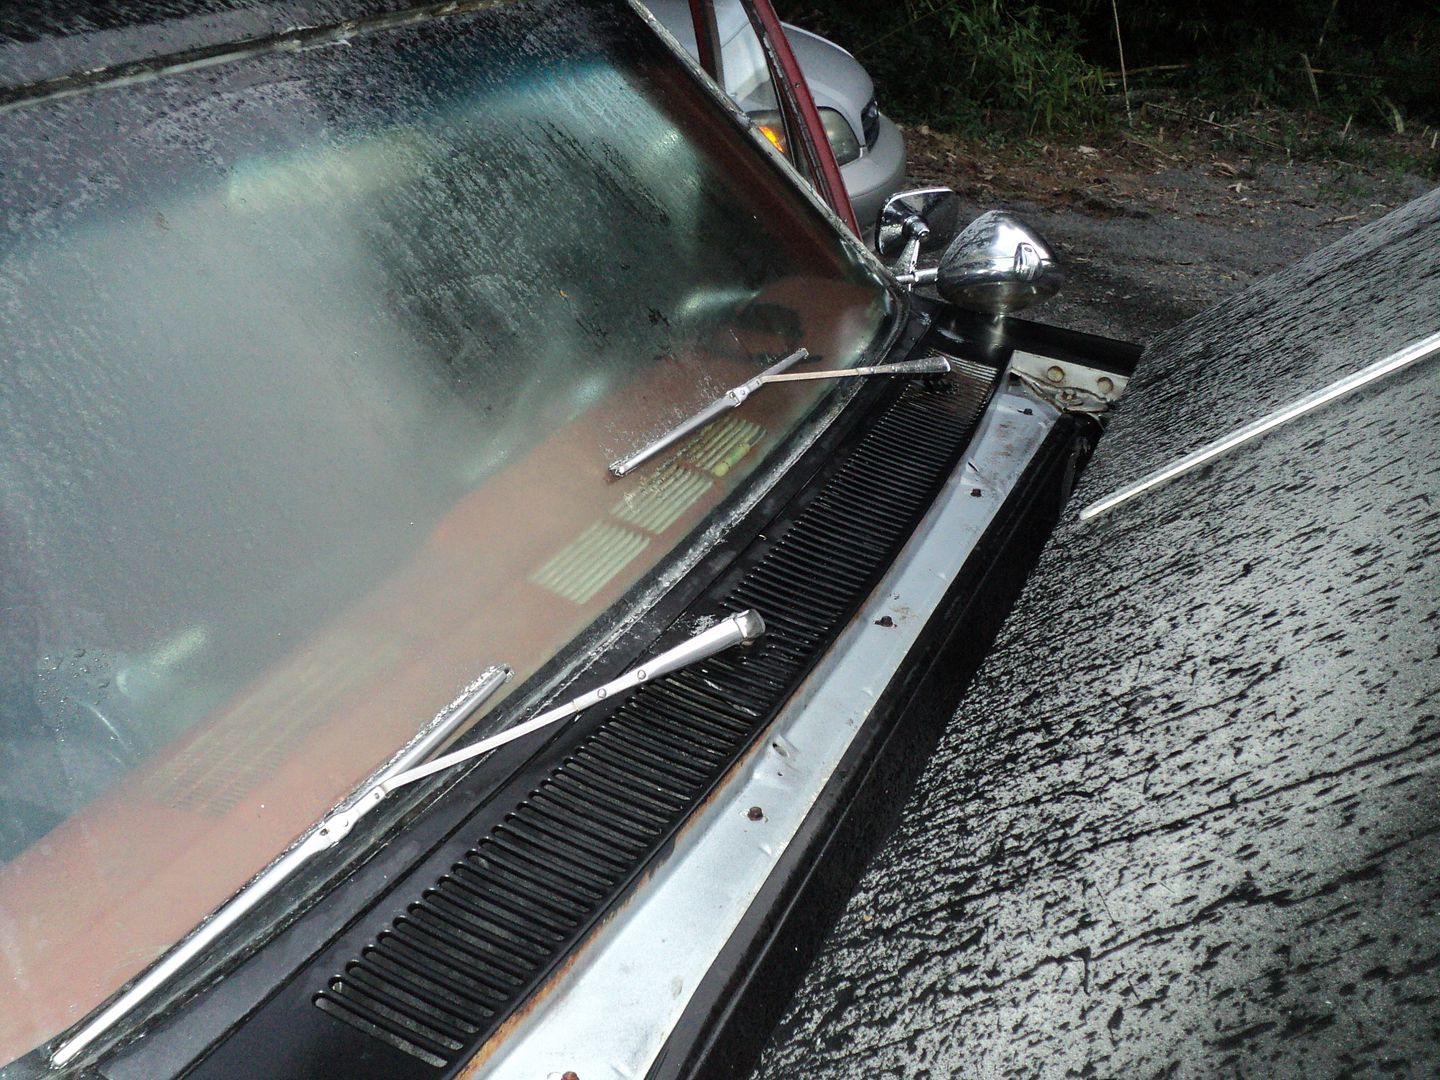 [/URL]
[URL=http://s54.photobucket.com/user/dusterbd13/media/1964%20elcamino/007_zps4b8566ba.jpg.html]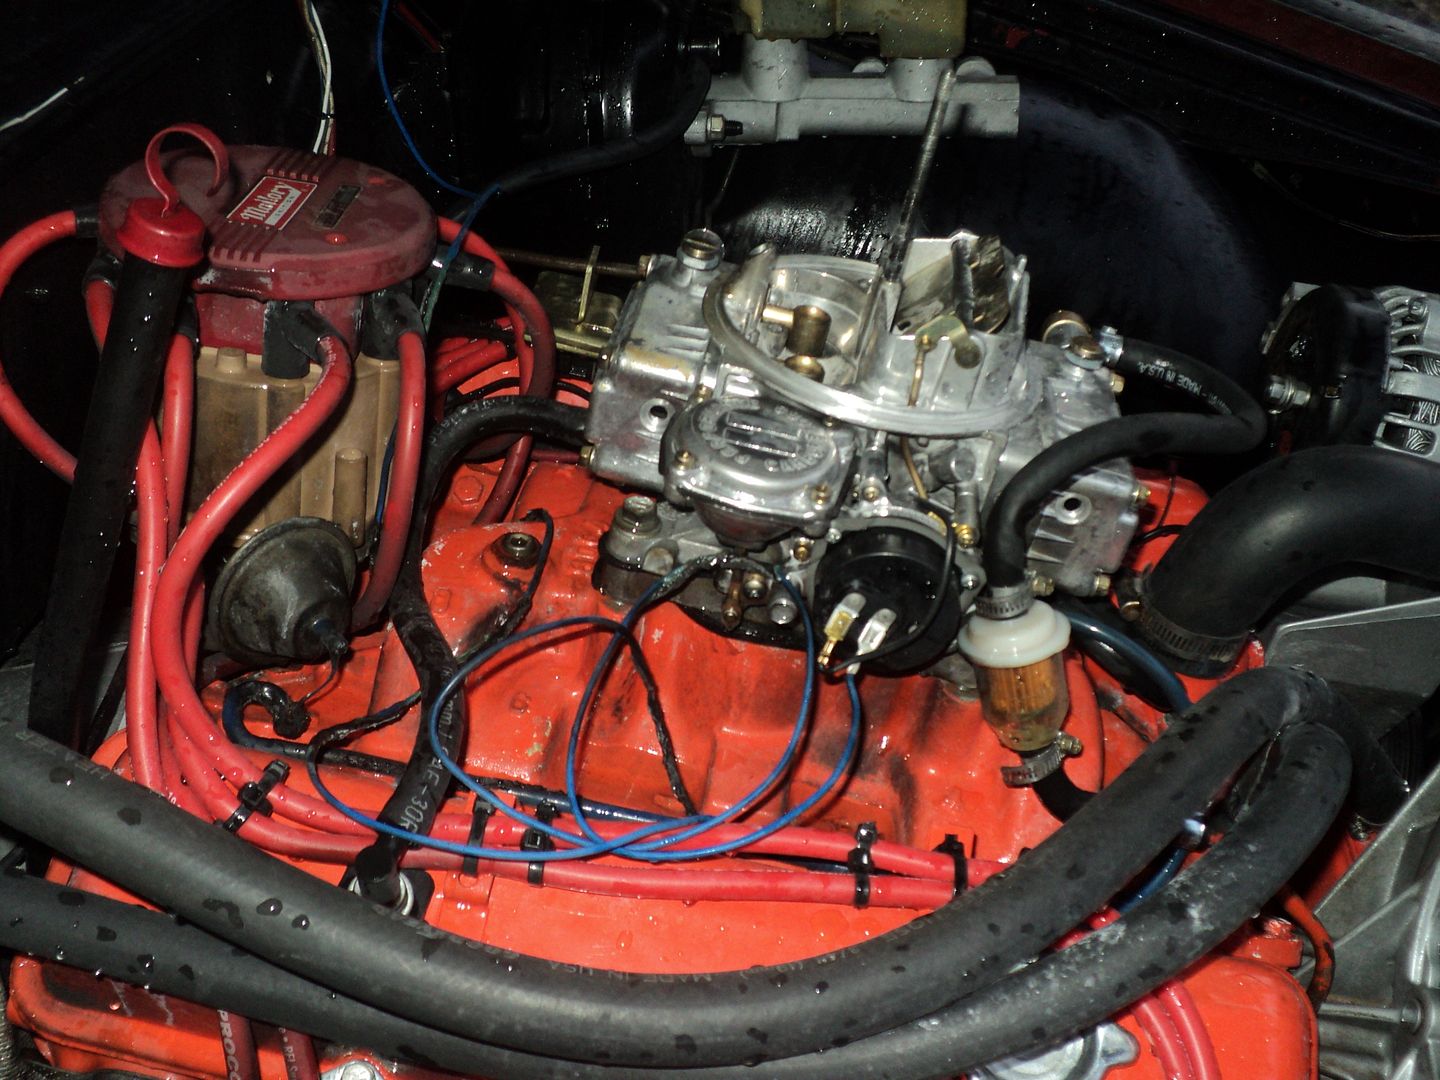 [/URL]
[URL=http://s54.photobucket.com/user/dusterbd13/media/1964%20elcamino/006_zps7c901601.jpg.html]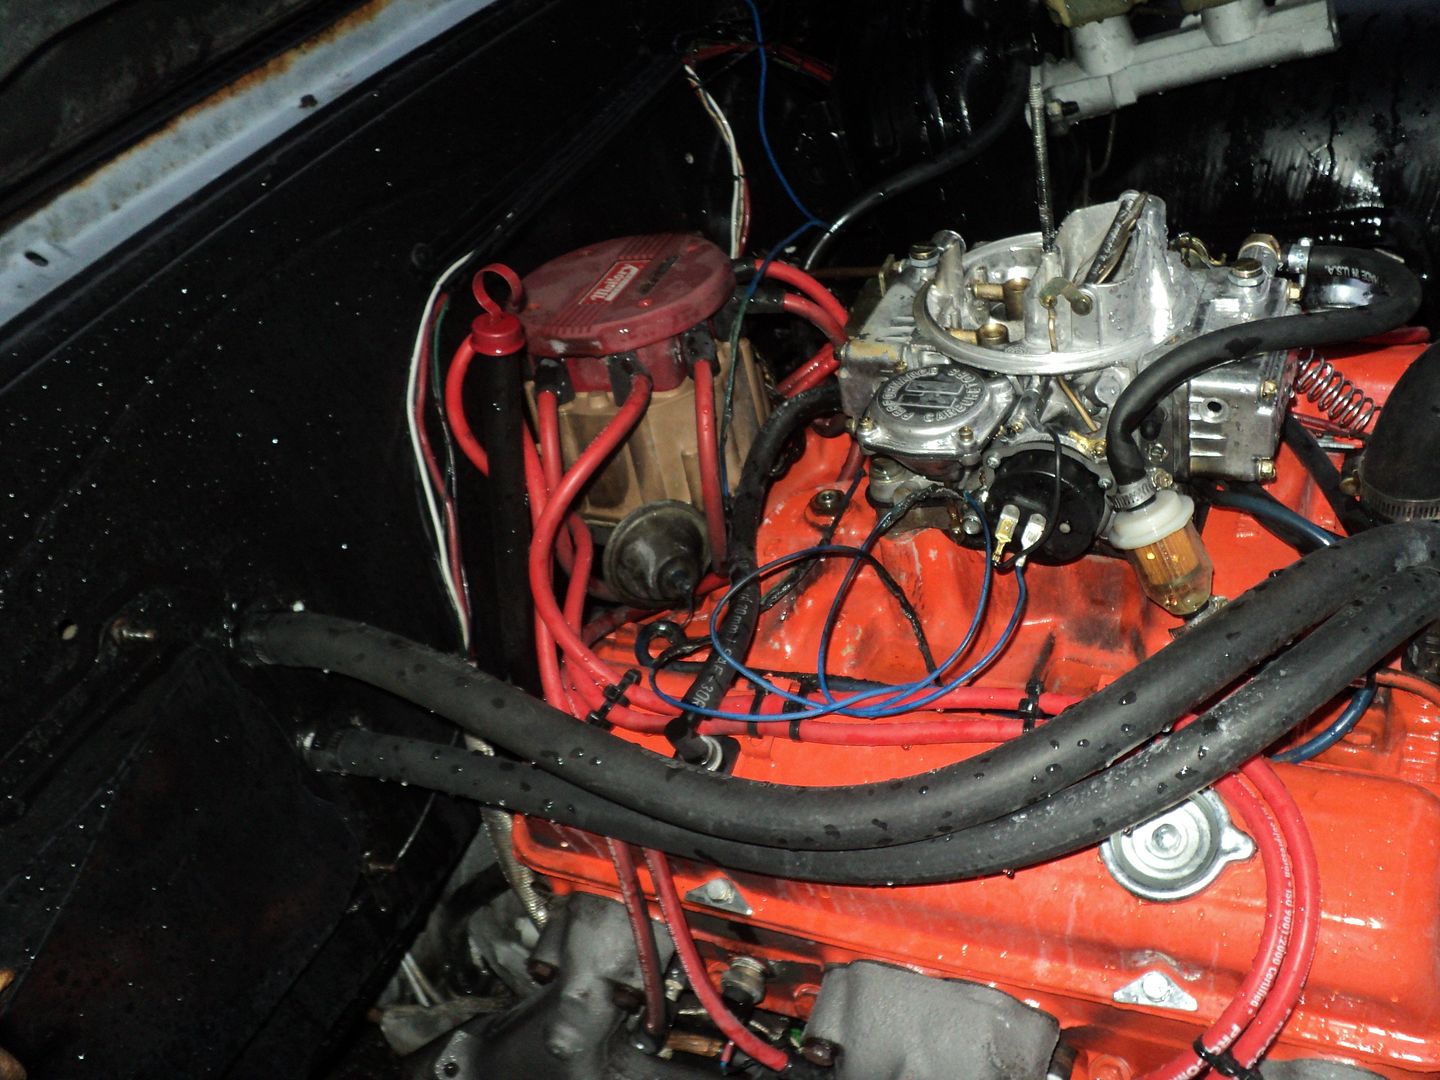 [/URL]
last Thursday I as able to finish most repairs. didn’t really cost me anything on that round. I did kill the vacuum canister on the distributor, and possibly the secondary diaphragm in the carb. still have not figured out the reason of the sudden off idle hesitation and lean backfire. was not doing that until the day I set it on fire. just happened all of a sudden.
what I was shocked about was how well the POR15 held up. please note, I gave it a quick squirt of superclean, followed by hosing followed by dish soap and a rag/water, followed by another spray. doesn’t look too bad, but not too great either.
[URL=http://s54.photobucket.com/user/dusterbd13/media/1964%20elcamino/040_zpsce78251d.jpg.html]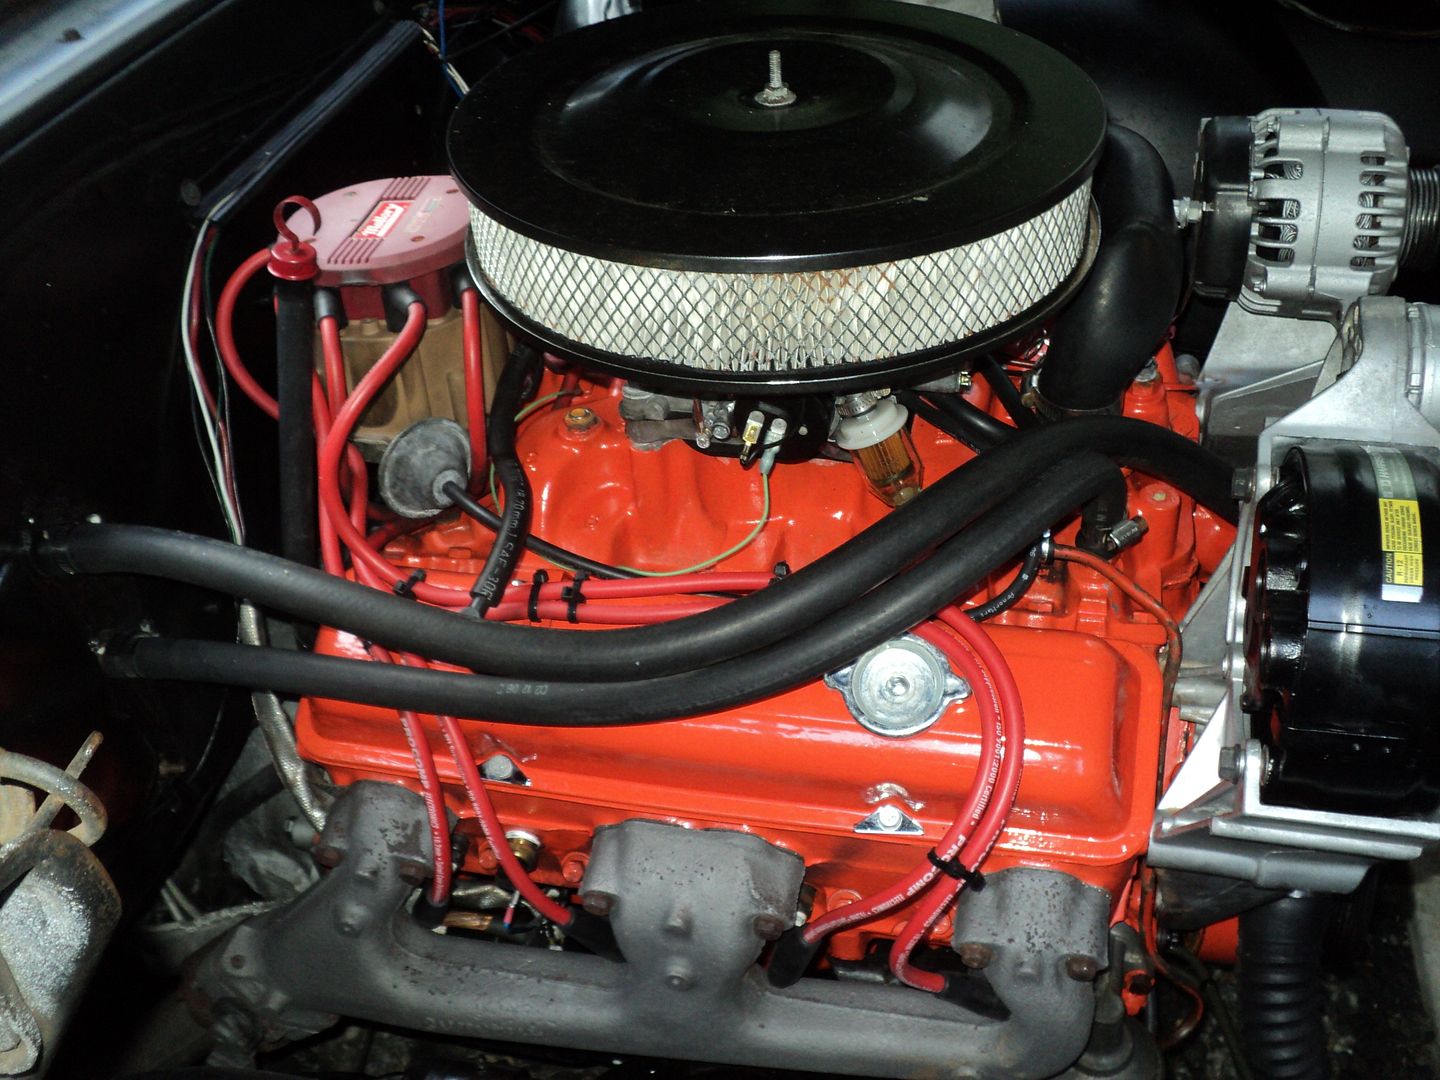 [/URL]
I had it fixed Thursday night. Friday, I had to go get the finished engine for my neon. made it about 15 miles down the road, and broke it good.
don’t know why, but I sheared all the clutch fan bolts off at about 70mph. sent the fan through the radiator and power steering lines. lost the water pump pulley as a projectile, and drug the fan for about 1/2 mile as I coasted to a safe spot. I have no idea why the bolts sheared.
[URL=http://s54.photobucket.com/user/dusterbd13/media/1964%20elcamino/015_zpsa01c611b.jpg.html]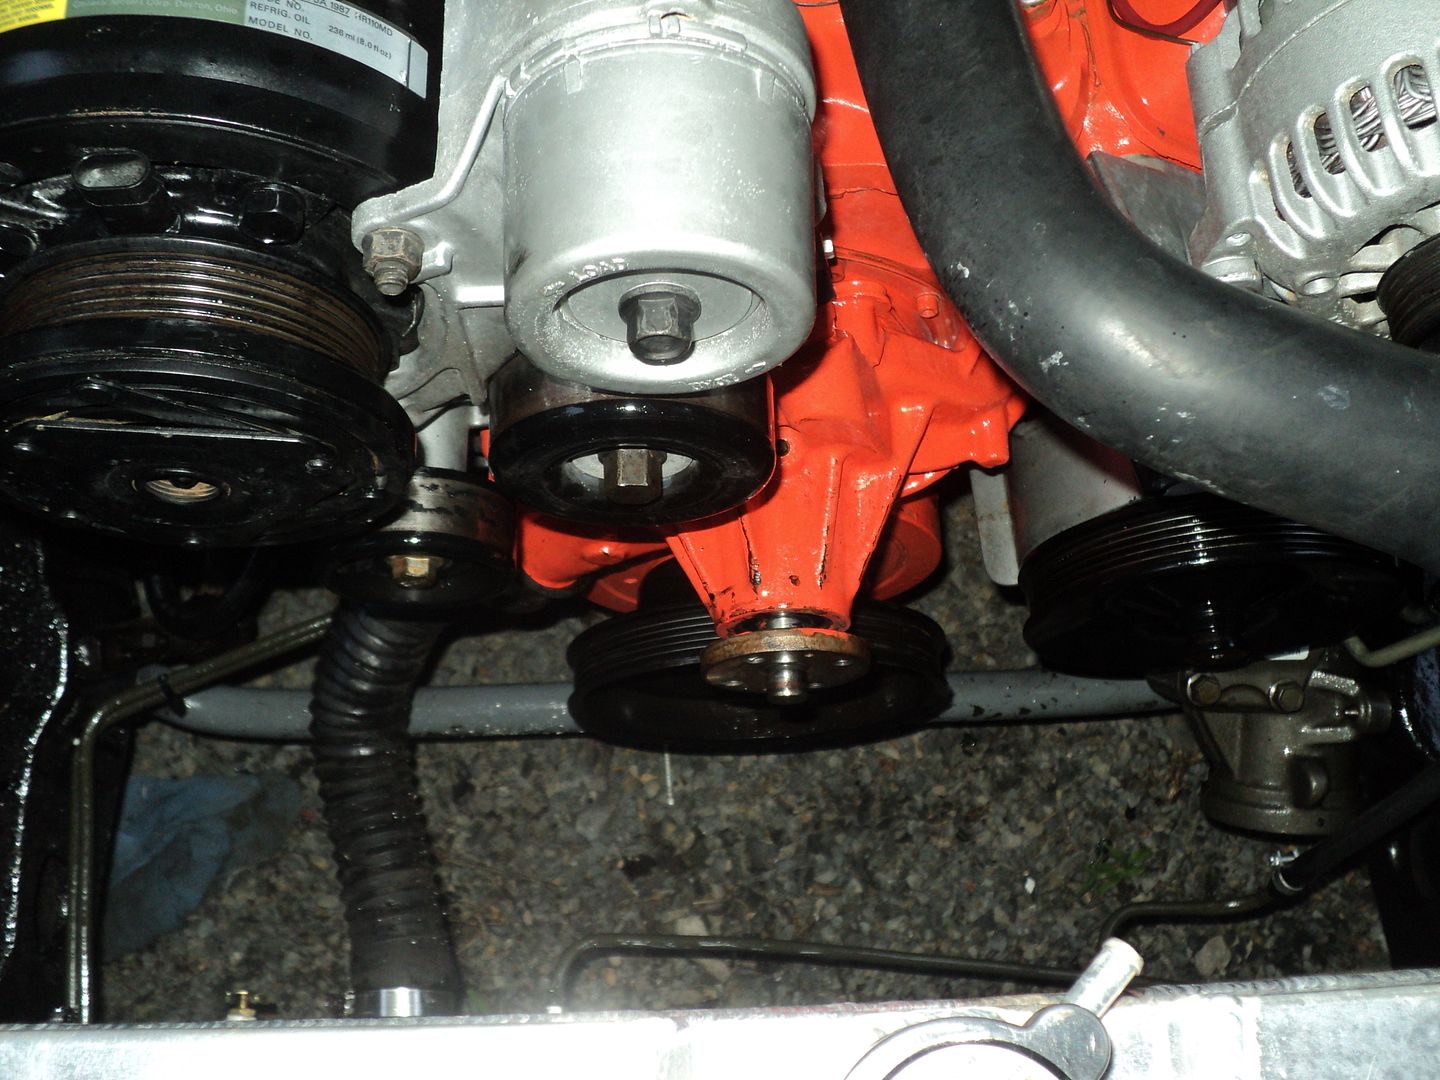 [/URL]
[URL=http://s54.photobucket.com/user/dusterbd13/media/1964%20elcamino/017_zps7bde7c0f.jpg.html]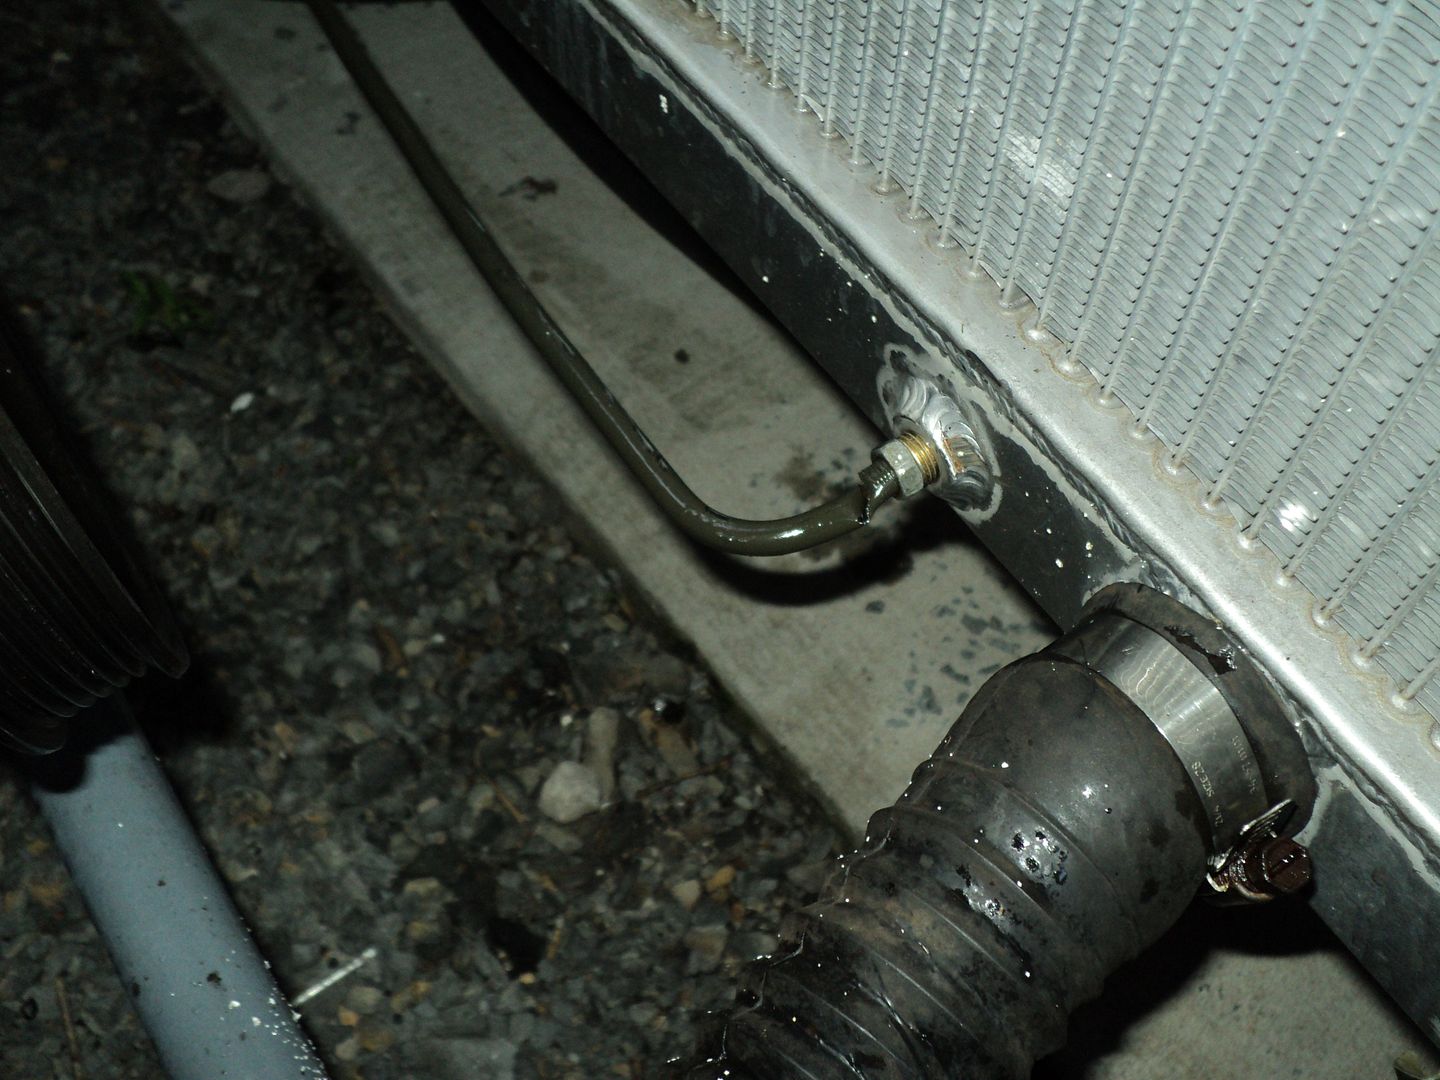 [/URL]
[URL=http://s54.photobucket.com/user/dusterbd13/media/1964%20elcamino/018_zps8f6dbffe.jpg.html]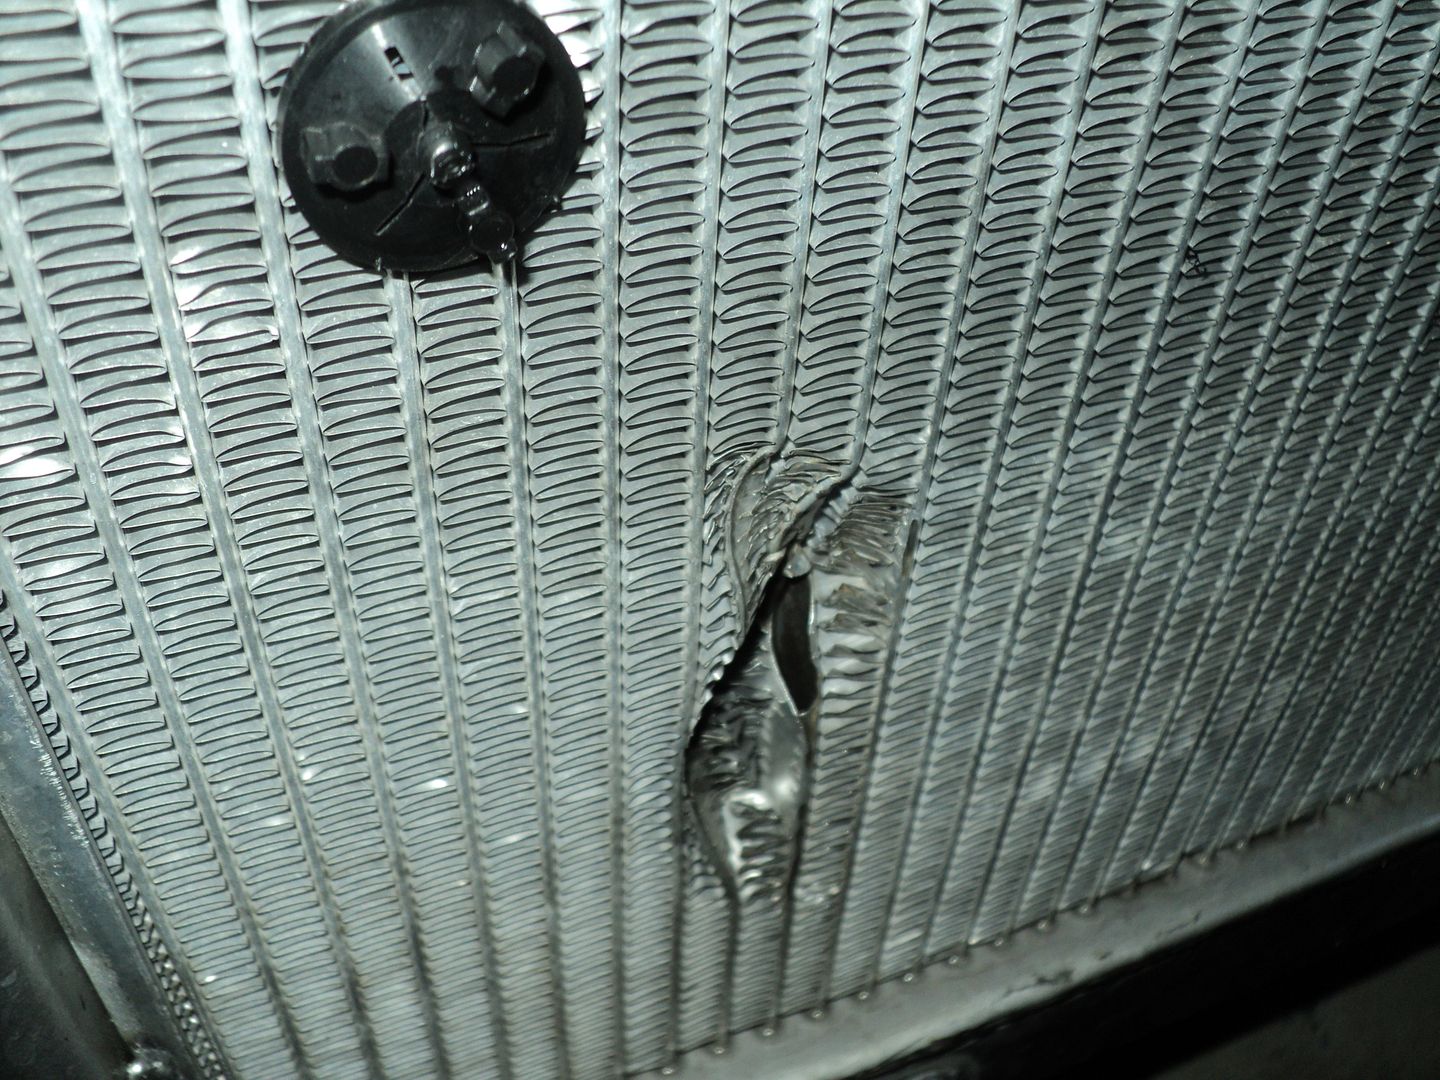 [/URL]
[URL=http://s54.photobucket.com/user/dusterbd13/media/1964%20elcamino/019_zpsd5745f51.jpg.html]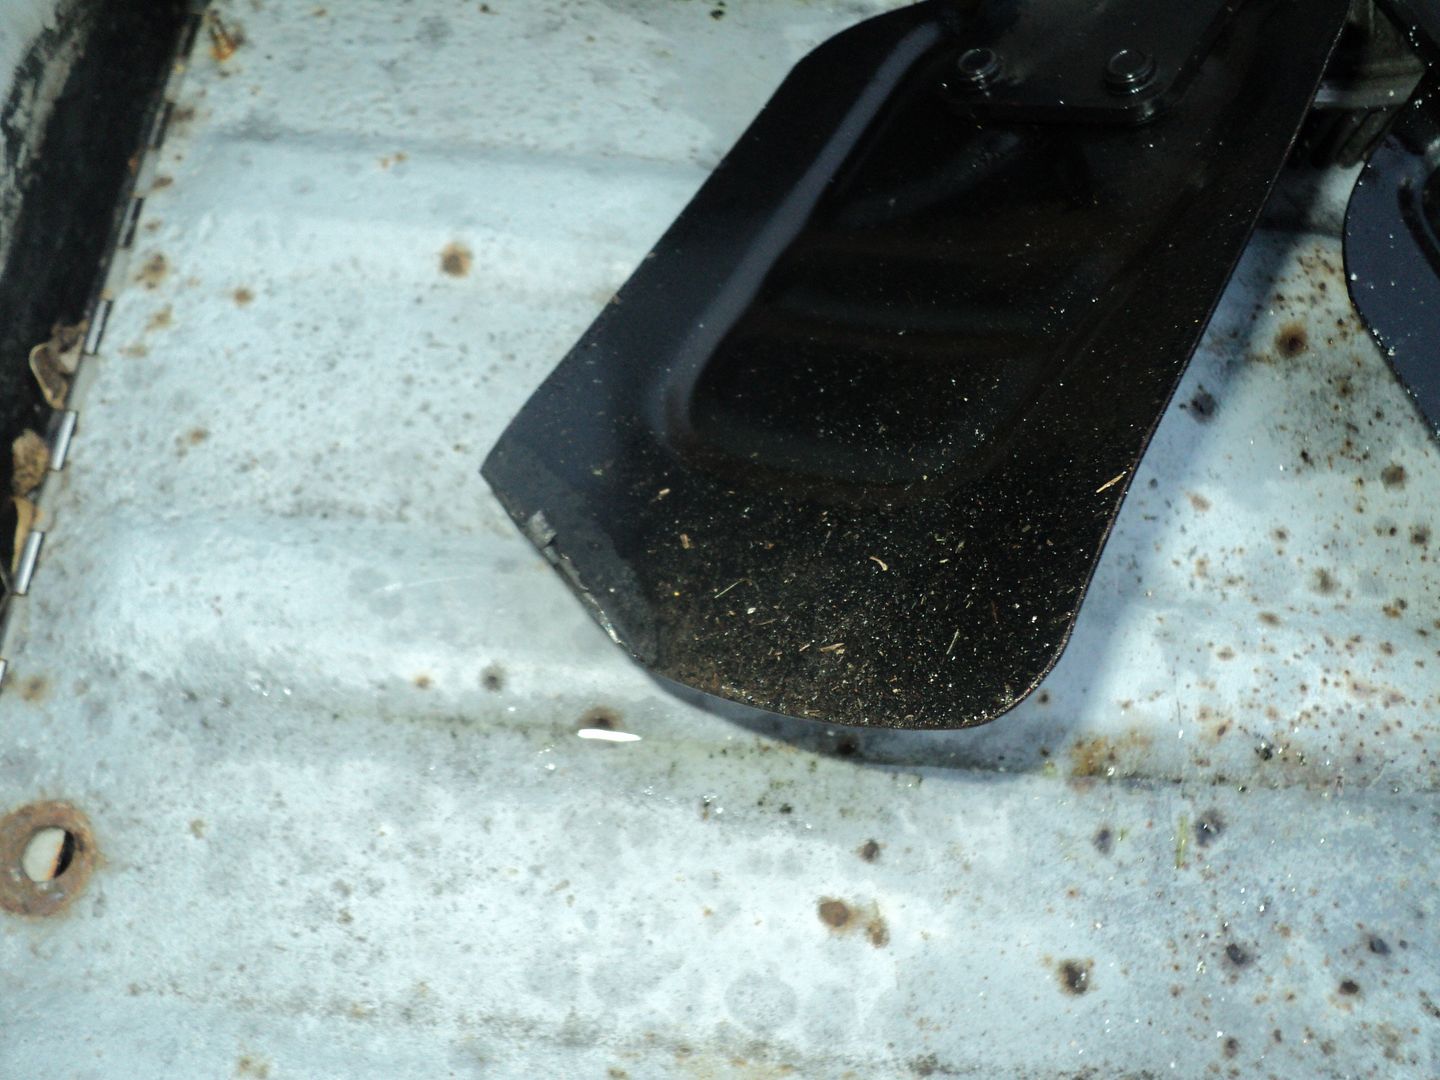 [/URL]
I already picked up a replacement fan and pulley, ordered my next new radiator as well as ordered a new advance kit and vacuum diaphragm.
so, more updates as I put it back together again.
Crap, did that slice through the transmission cooler lines as well? Is the tranny OK?
Were the water pump fasteners bolts or studs? I suppose if you overtightened them it could happen, but that's unlikely given how hard they usually are to reach. You didn't use stainless studs or anything, right?
The results of the fire don't look too bad in pics, you must have gotten to it quickly. I put one out with my shirt once, but I am betting yours was bigger. I ought to be ashamed, but, if I were forced to find an extinguisher, it would take a while.
did not appear to get the tranhs cooler lines. ni nicks or anything. did take a chunk from the lower radiator hose, which I think is what saved the trans lines. water pump fasteners were cheap parts store bolts. unsure of the grade. not stainless. I did get it quickly. I was standing right over top when it lit. sprinted into the shop to grab the extinuishers I had just found and sat next to my toolbox over the weekend. I honestly didn't even know if they worked. thank god they did. and usually, I have no clue where an extinguisher is at my place. that is a problem I need to remedy NOW.
fire engulfed entire engine bay by the time I got back. radiator to firewall.
so, budget first:
previous total: 6564.93
parts tally:
8.99 advance kit
10 carb plate
13.99 advance canister
15 air conditioning condenser
220 floor pans and throttle pedal/studs
35 for (3) amps
new total:6867.91
so when we last checked it, I had put the truck in time out to let it think about what it had done. namely caught on fire, then trashed a couple hundred bucks worth of new parts.
after getting my head cleared (and needing a truck to buy a new riding mower),l I got busy. called champion radiators to see if catastrophic fan failure was covered under their lifetime warranty. they had said no questions asked.....
no, really, I called to order a replacement. when the girl asked why, I told her hat happened and she sent me a 3 core for the same price as I had paid for the 2 core. which was a stroke of good fortune. also, I was able to cash in on the lifetime warranty on the advance auto water pump, so that was free. still had 5/16ths tubing left over, so the cooler line rebuild as free as well. had to re-buy water pump pulley, clutch fan, radiator hose, and trans cooler zip-ties as ell as the radiator.
while I was in there, I decided to take care of some linkage problems and my distributor problems at one swoop. I suspected that my spacer , which as causing me linkage problems, was also causing a vacuum leak. I KNEW the vacuum canister was leaking. I also knew there was no mechanical advance to speak of. so I ordered the cheapest stuff I could from ebay to fix these issues. putting the parts in the distributor without removing it was a PITA, mostly due to the hood being in the way. but it ran and drove better. still had the hesitation/lean backfire through the carb though.
here's what it looked like after reassembly.
[URL=http://s54.photobucket.com/user/dusterbd13/media/1964%20elcamino/007_zps1cd15e21.jpg.html]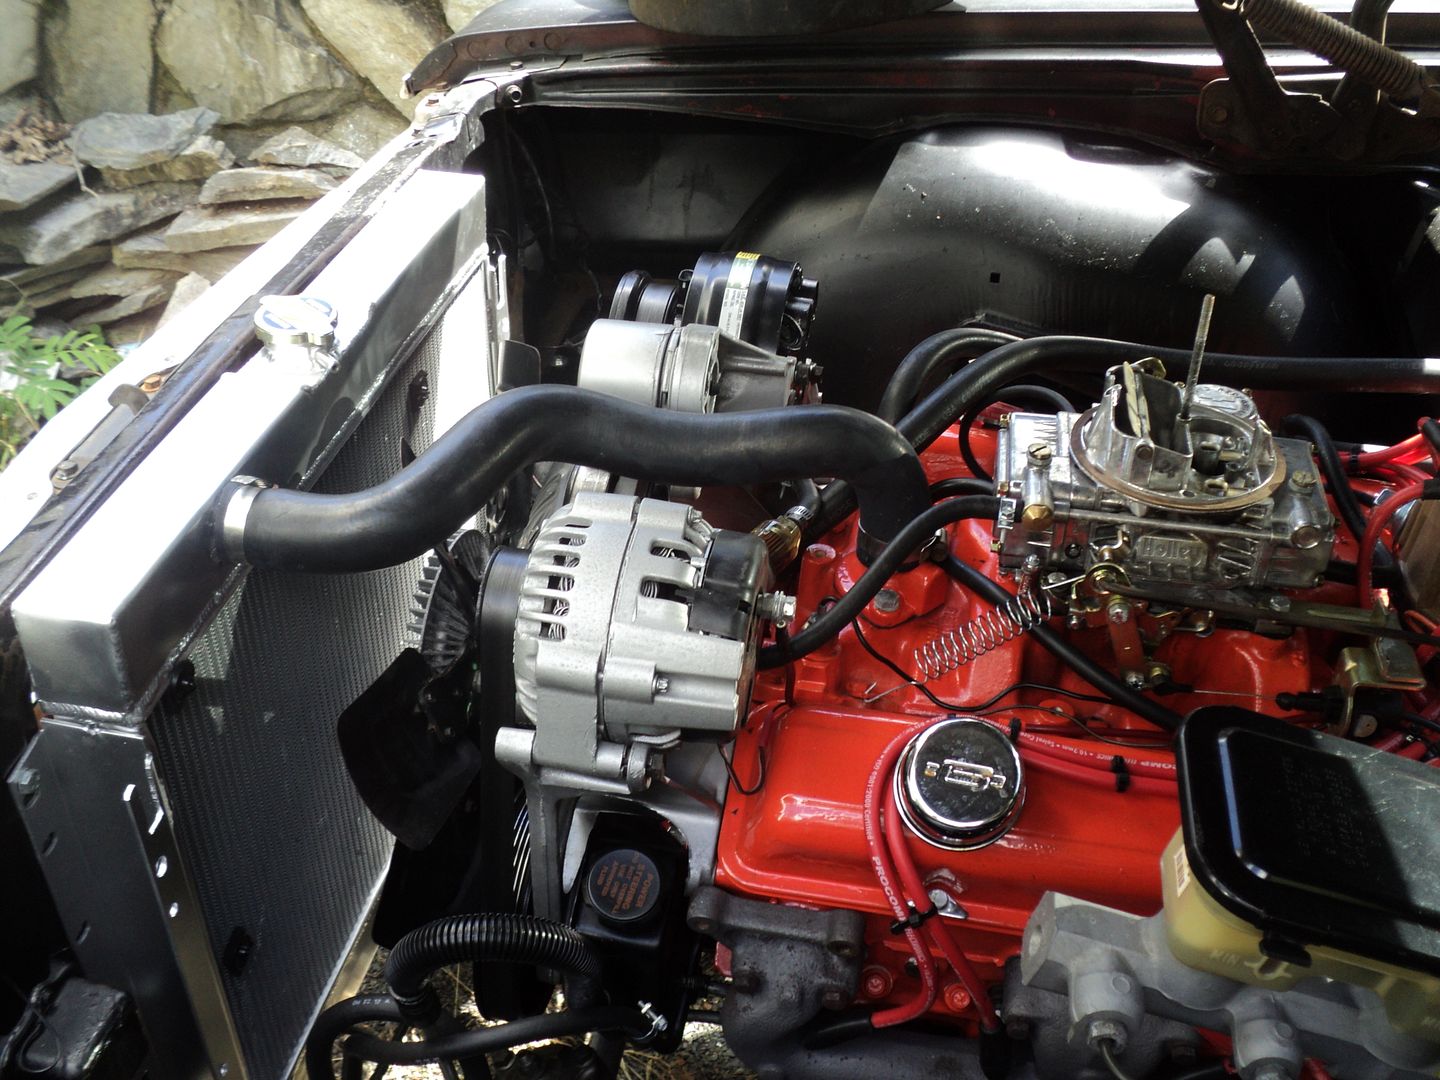 [/URL]
we then drove it for a new mower. (my daughter driving)
I called Holley tech, who informed me that the ethanol enriched gas is causing a buildup on the idle air bleeds on the primary side of these carbs. when I looked, sure enough one on each side was completely blocked. chipped it away with a dental pick, then some carb cleaner, and it drove much, much better. still has some issues though, and no secondary's/choke. ill figure that out later.
[URL=http://s54.photobucket.com/user/dusterbd13/media/1964%20elcamino/004_zps95ae050e.jpg.html]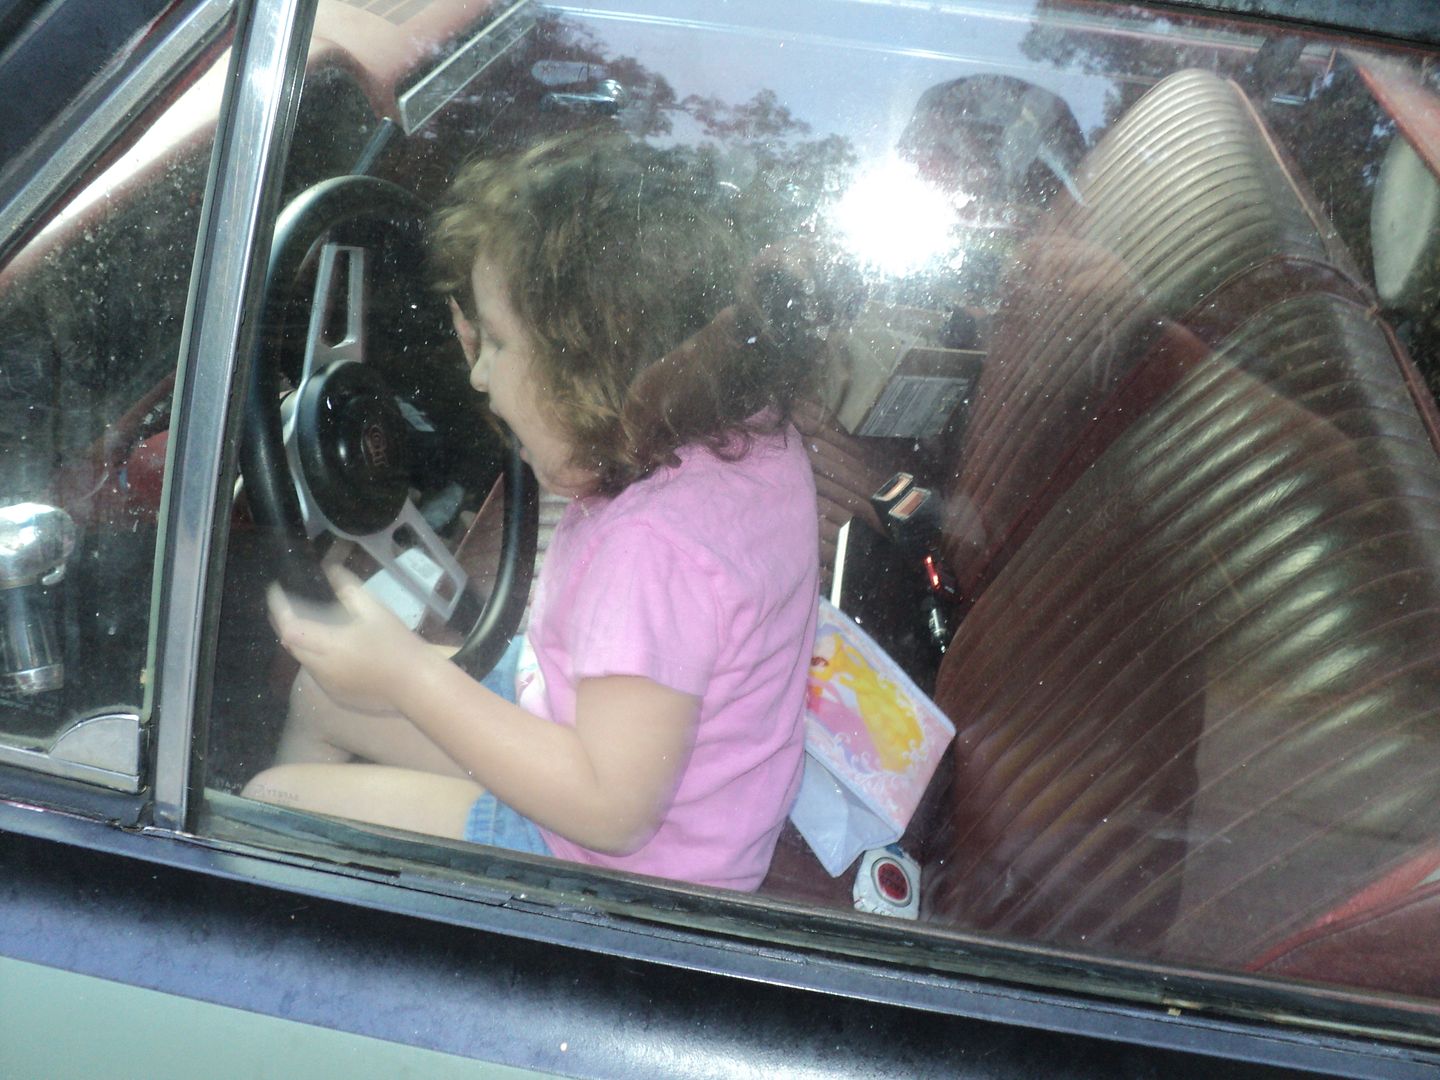 [/URL]
[URL=http://s54.photobucket.com/user/dusterbd13/media/1964%20elcamino/005_zps395a3e8a.jpg.html]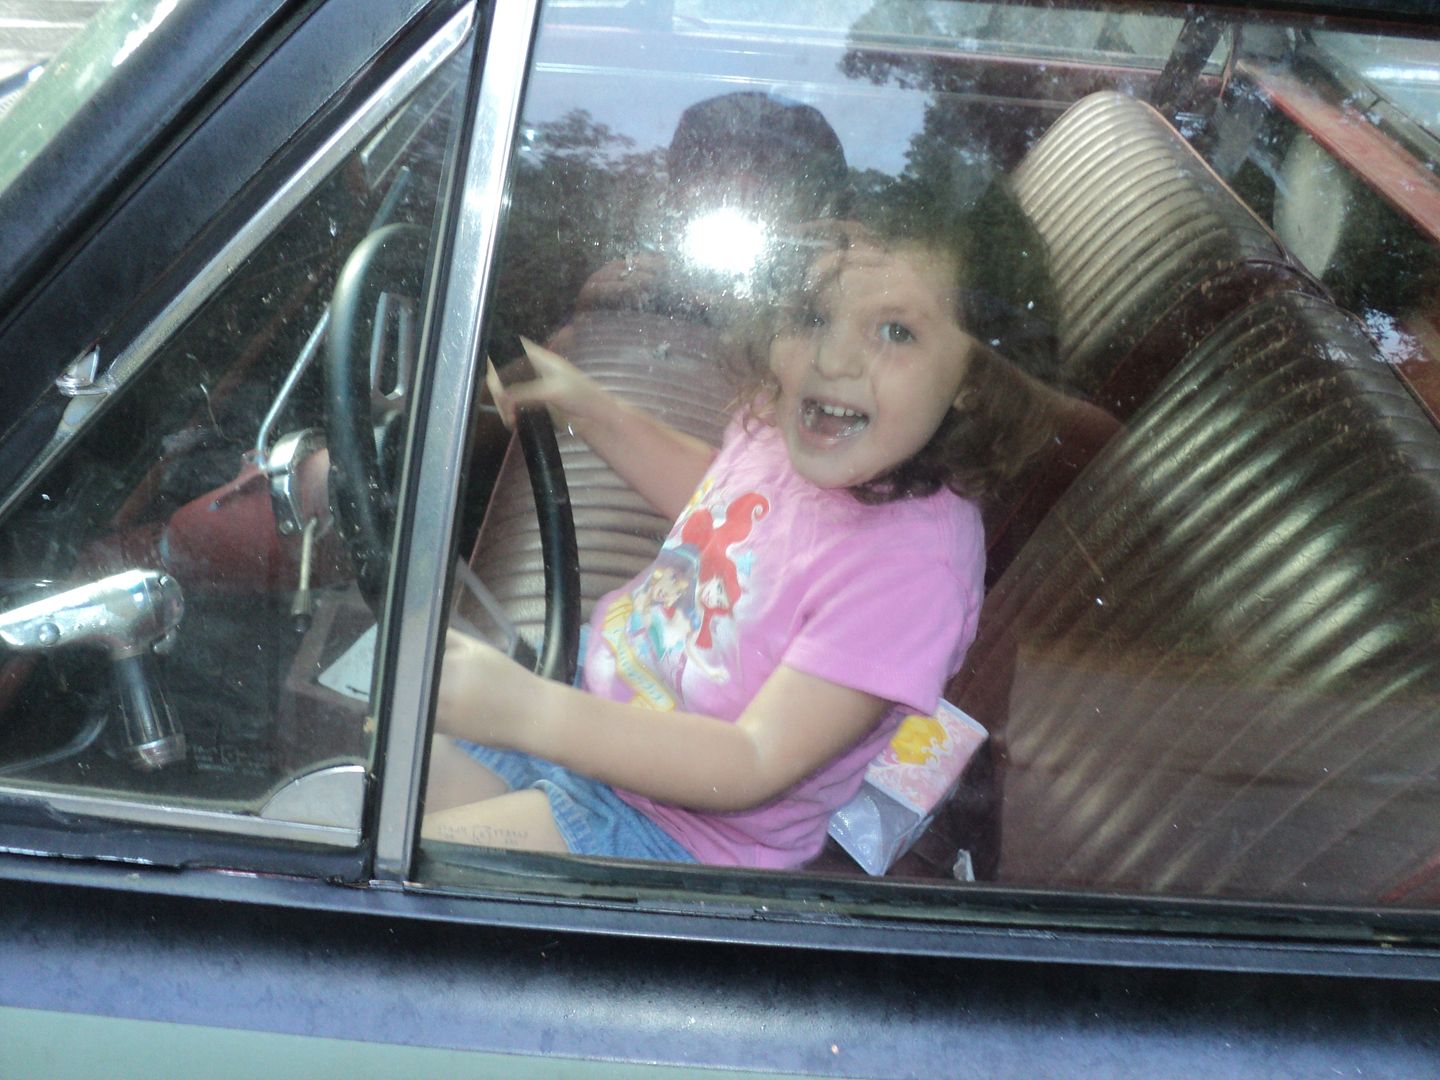 [/URL]
so this past sunday, my father and I went to the charlotte auto fair. he needed some parts for the 51 f1 he's building, and I'm always on the hunt for something. sometimes I don’t even know what that something is until I find it.
well, the first score of the day was at ausleys chevelles on the manufacturers part of the swap meet field. id been saving for floor pans, and had about 350 in my savings. figured I could pick up some pans while out there and save some shipping/hassle of npd.
well, I scored these for 220.
[URL=http://s54.photobucket.com/user/dusterbd13/media/1964%20elcamino/023_zpse3145a9d.jpg.html]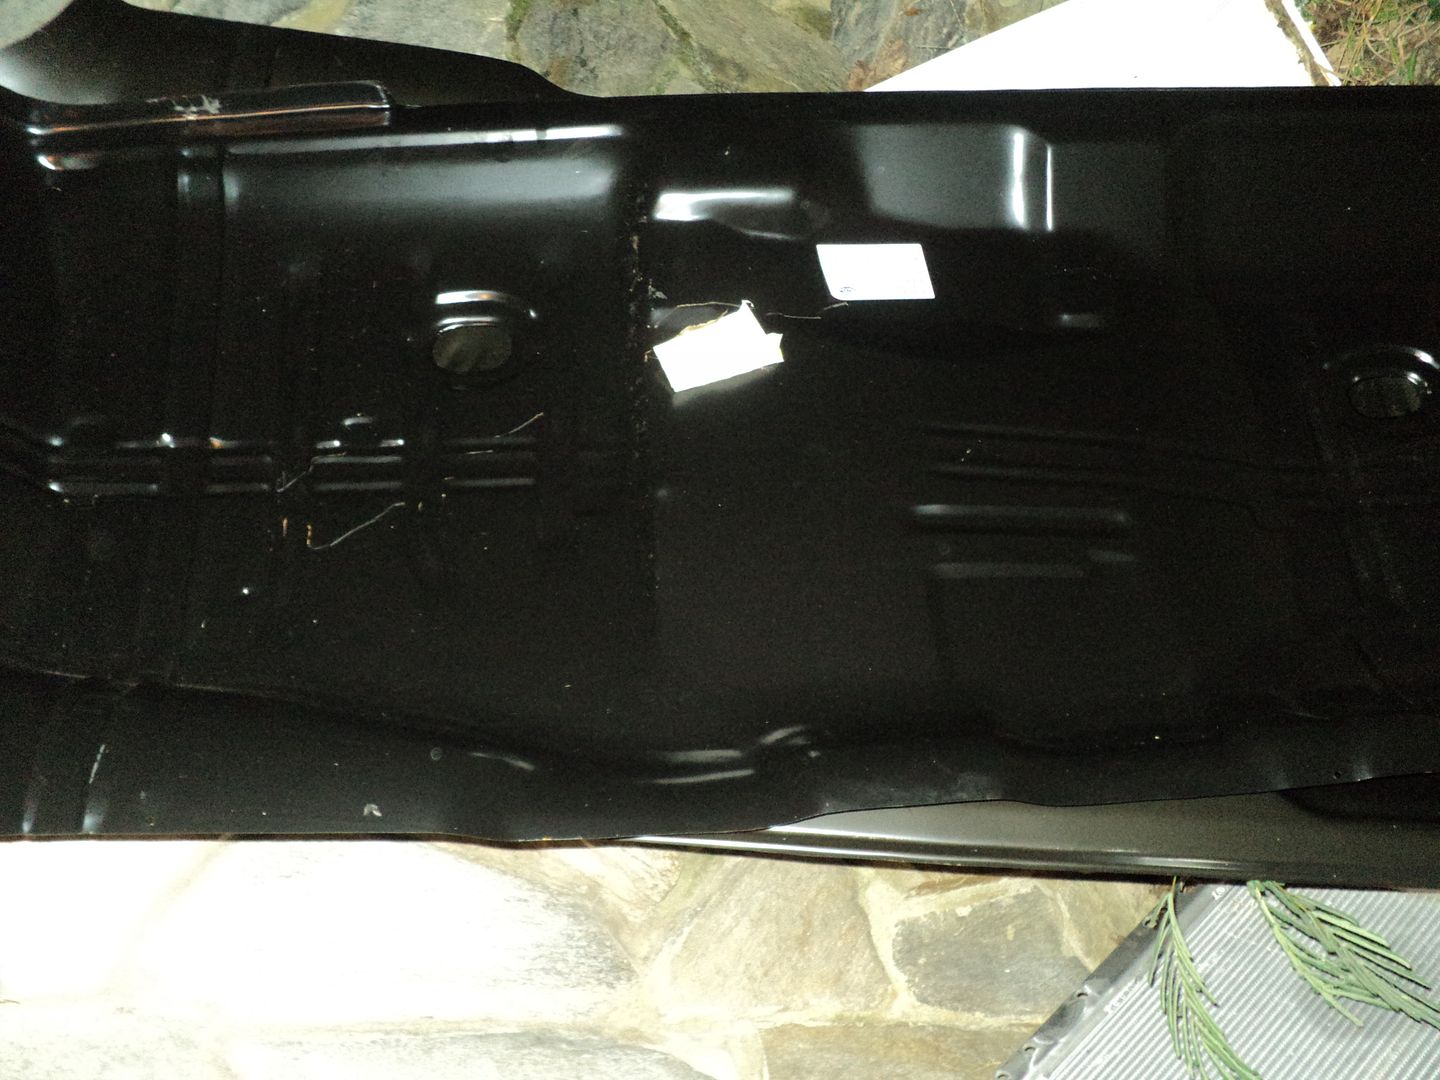 [/URL]
[URL=http://s54.photobucket.com/user/dusterbd13/media/1964%20elcamino/015_zps10947f97.jpg.html]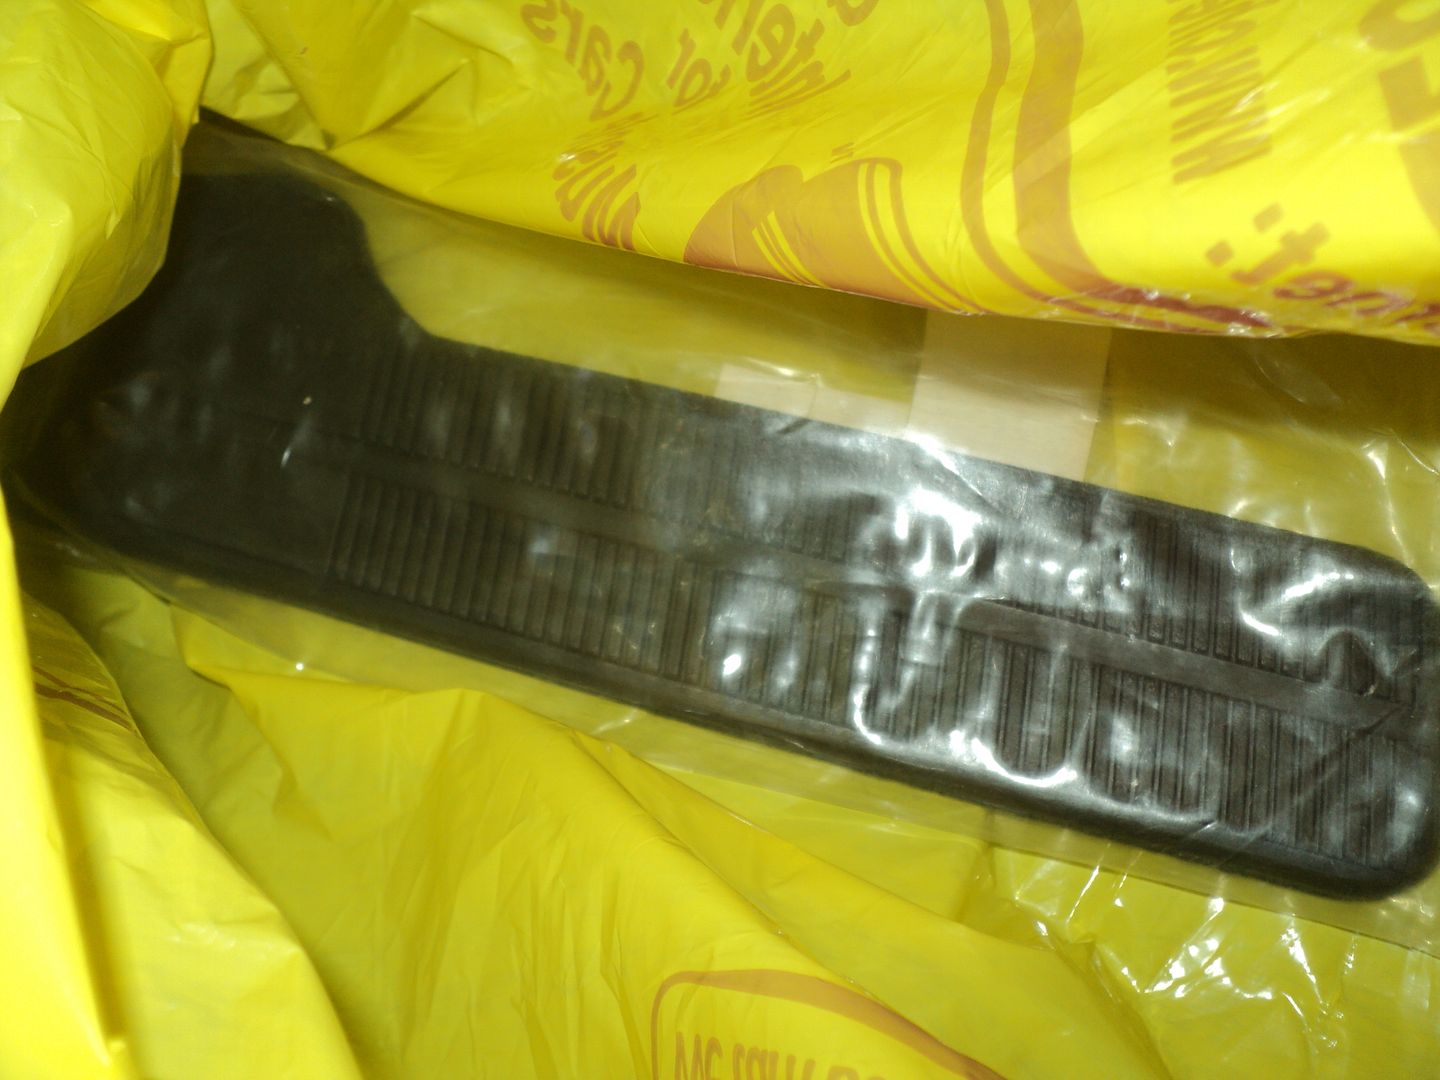 [/URL]
so cool! I saved 130 (at least!) AND got the gas pedal/studs I was missing.
continuing to trudge through vacant and vacated vendor spots, I decided this was a great time to be cheap, what with everybody starting to pack up and go home. I figure most guys will take a lot less just to not have to move it two more times.
so I scored (3) 2 channel amps for 35 bucks (only need one for the elky. need one for the daily, and I'm assuming one will be junk upon testing)
[URL=http://s54.photobucket.com/user/dusterbd13/media/1964%20elcamino/005_zpsea2ad27c.jpg.html]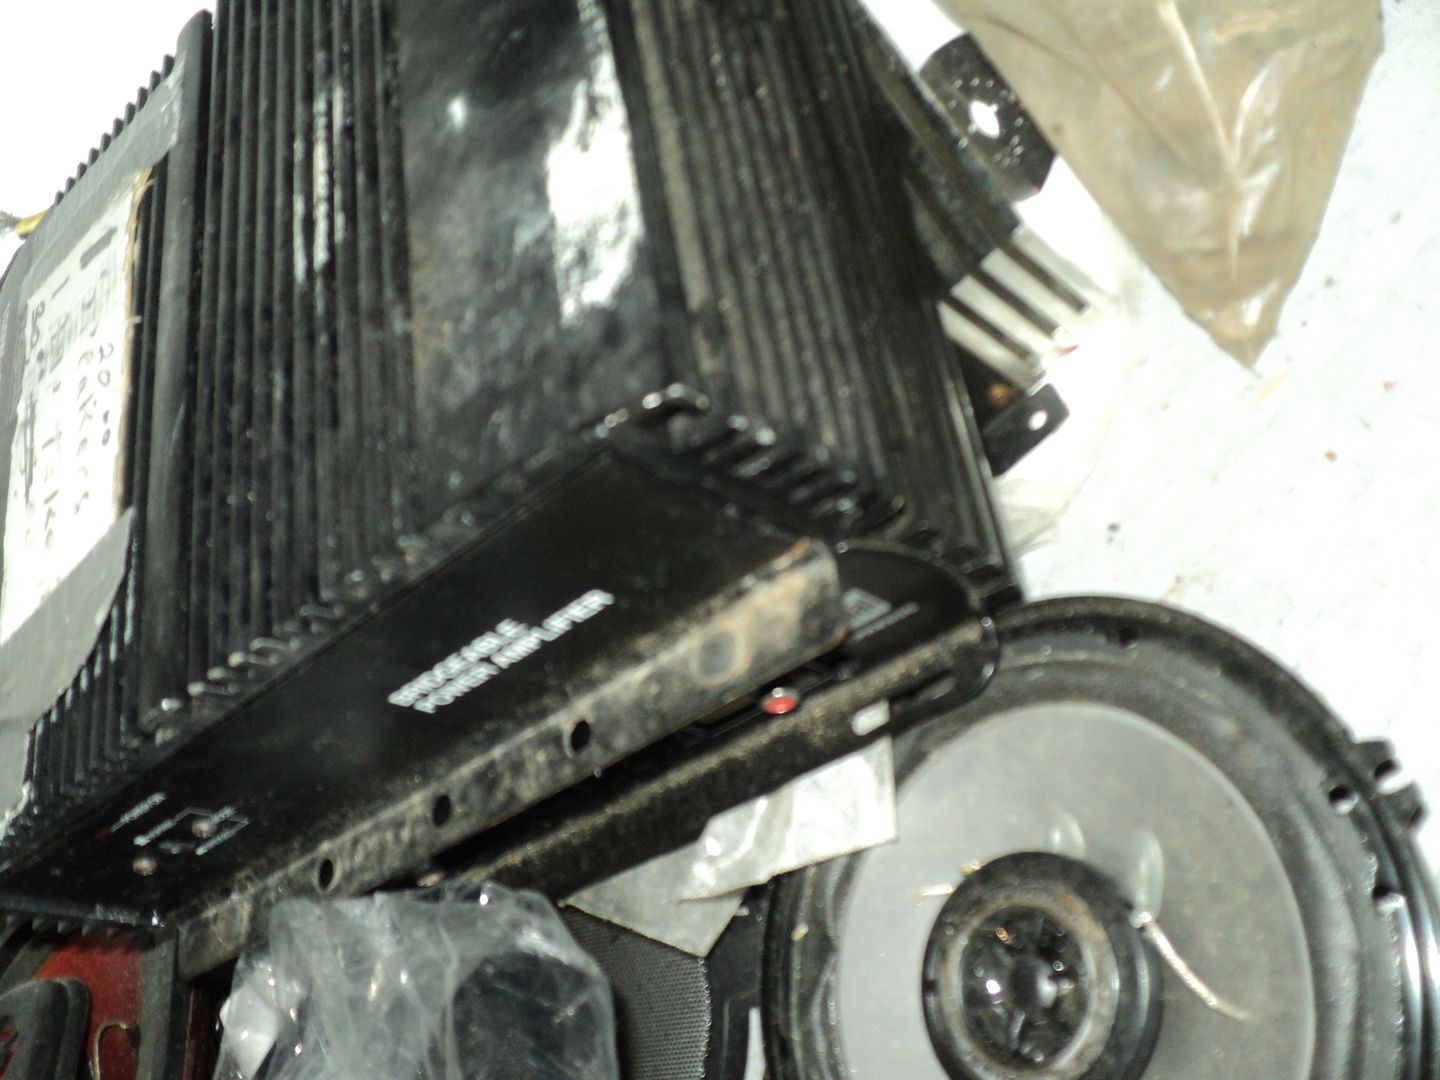 [/URL]
at the back of another booth that was being loaded up, I spotted an old under dash ac unit. asked the guy throwing crap on the trailer if it worked. he had no idea. I asked how much he wanted. he said 25. I offered 10. he took 15. I tested it when I got home, and it works, though the squirrel fans are rubbing due to a bent bracket. and its full of crap. and filthy. ill clean it up real good, rework the squirrel fans, and see if I can use it in the elky. I'm hoping I can find a way to, as then I can actually have AC in this thing.
[URL=http://s54.photobucket.com/user/dusterbd13/media/1964%20elcamino/006_zpscb7d9559.jpg.html]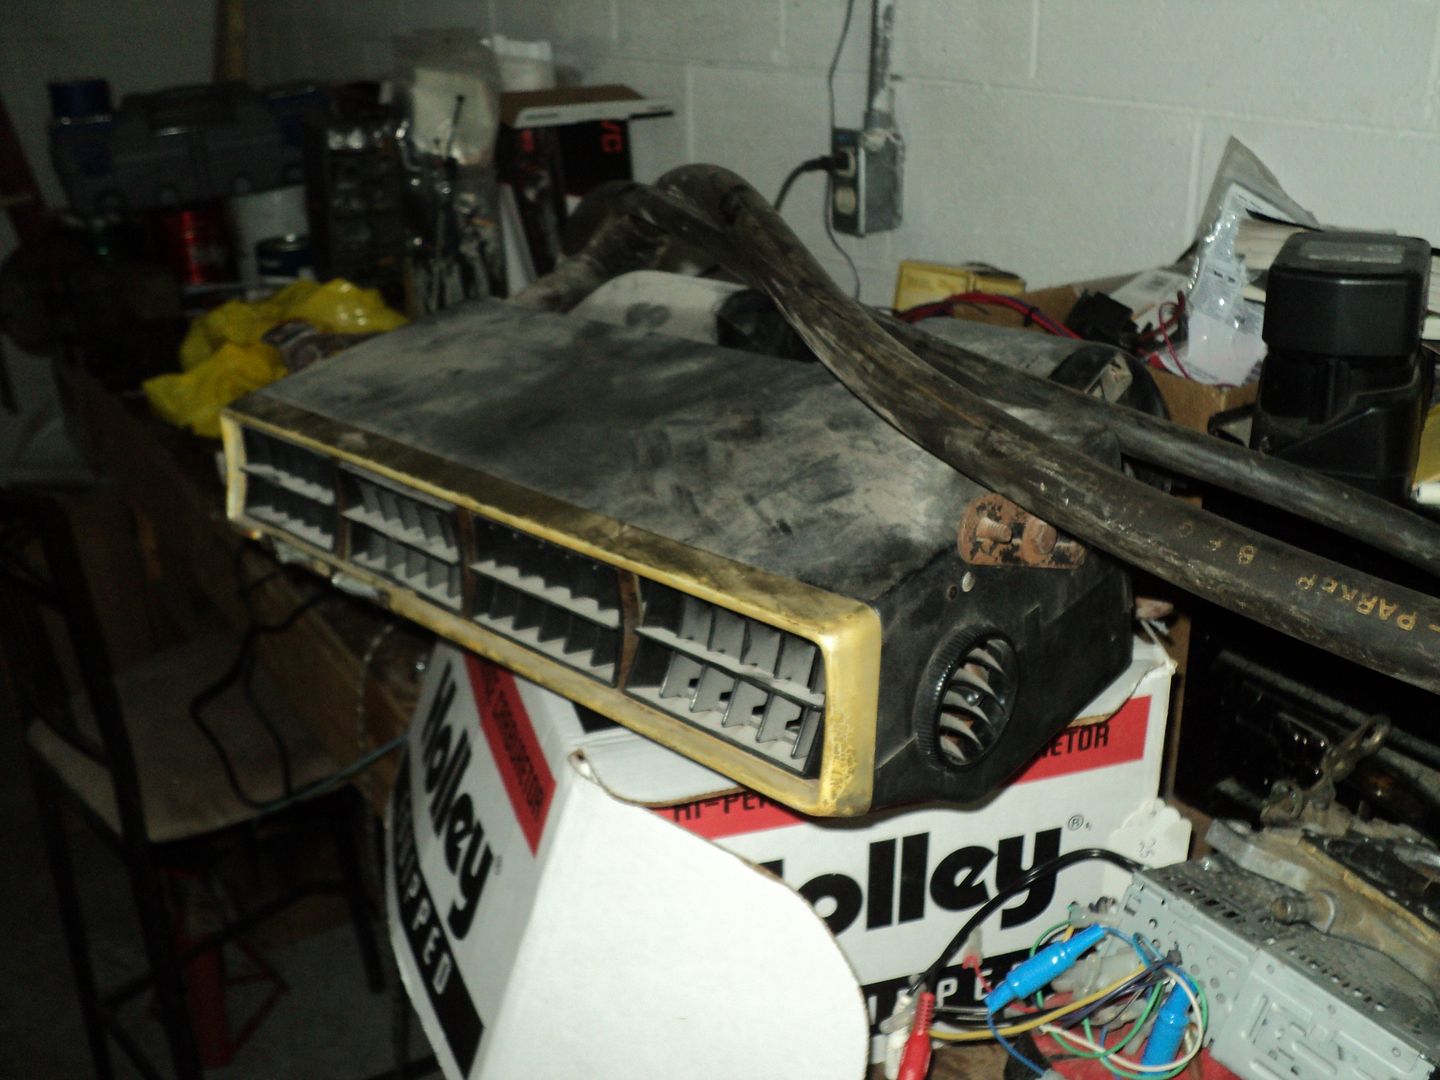 [/URL]
in between all this, I actually got my delay wiper switch built. ill do a separate post/how to, both here and in the electrical section on chevelles.com
[URL=http://s54.photobucket.com/user/dusterbd13/media/1964%20elcamino/014_zps14a174cc.jpg.html]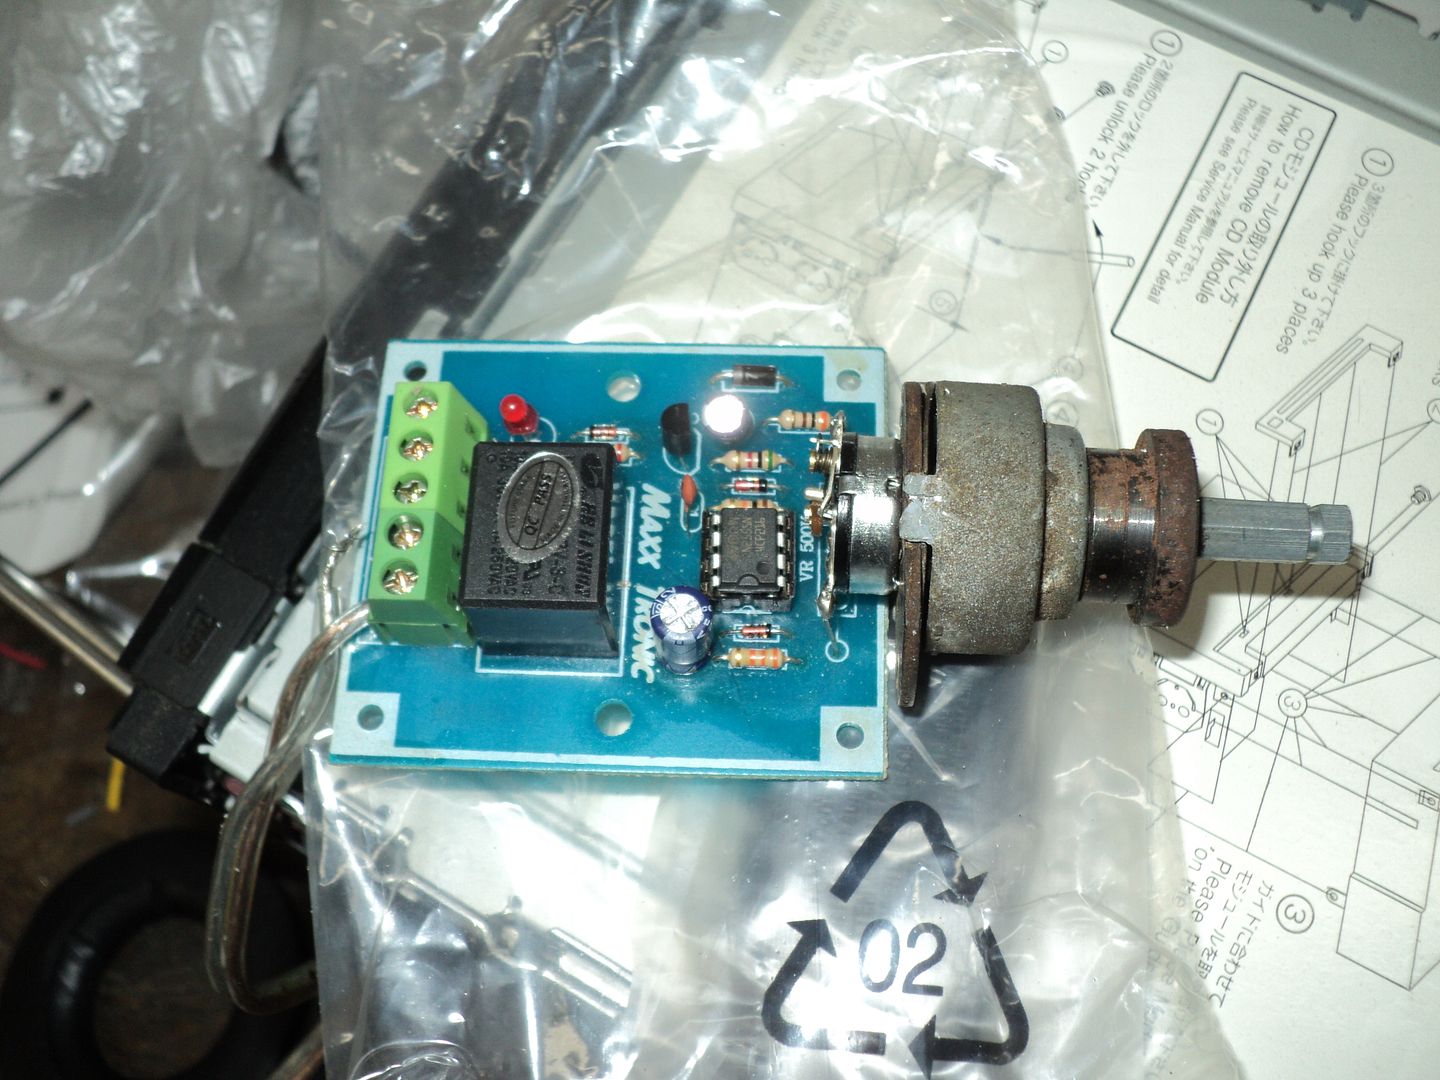 [/URL]
this brings us up to yesterday. I had driven my duster up to Winston Salem with an old friend to check out a 67 Catalina wagon that he was going to buy for his wife (he did). we were at Lexington bbq eating some skin sandwiches and jawing hen I got a call from my race car painter. the same one who I traded my 4 dead mowers to in exchange for a stripping to bare metal and epoxy priming job on the elky. he told me he had some available space/time, and asked when I could get him the elky. on a wild hair, I asked how much he'd charge me to put in the floor pans, as this is a job I was NOT looking forward to. he rattled off a price that I hope stays consistent: 250. he said for an extra 100, he'd also jamb out the truck, fix the a-pillar and rear window rust, and fix the taillight dents, fill the hood holes, fill the rocker holes, etc. pretty much everything but quarters, bedliner, and final paint. for 350. heck yeah!!!
so when I hit the house, I started stripping the truck. my wife came down to tag/bag/hand tools/hold bumpers/feed me diet mt dew. HUGE help. I'm such a lucky man for her. and she could have married a whole lot better than she did.....
this is where we were at a mere 2.5 hours after starting with a driven that morning for donuts truck:
[URL=http://s54.photobucket.com/user/dusterbd13/media/1964%20elcamino/011_zps80ef687c.jpg.html]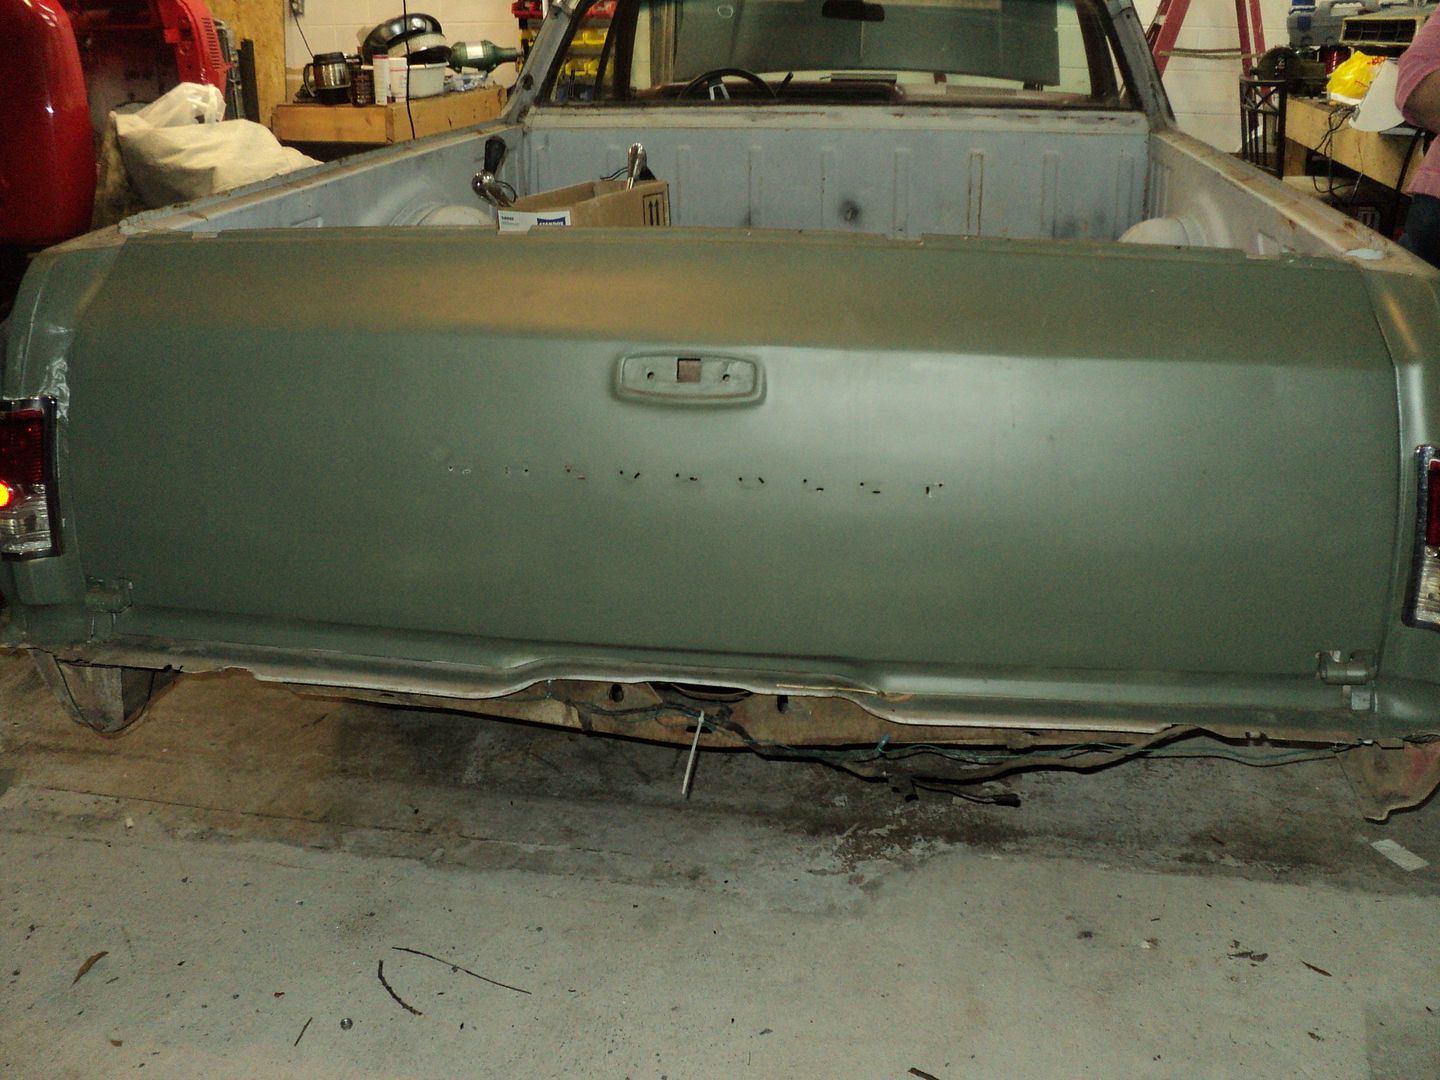 [/URL]
[URL=http://s54.photobucket.com/user/dusterbd13/media/1964%20elcamino/012_zps1c16109f.jpg.html]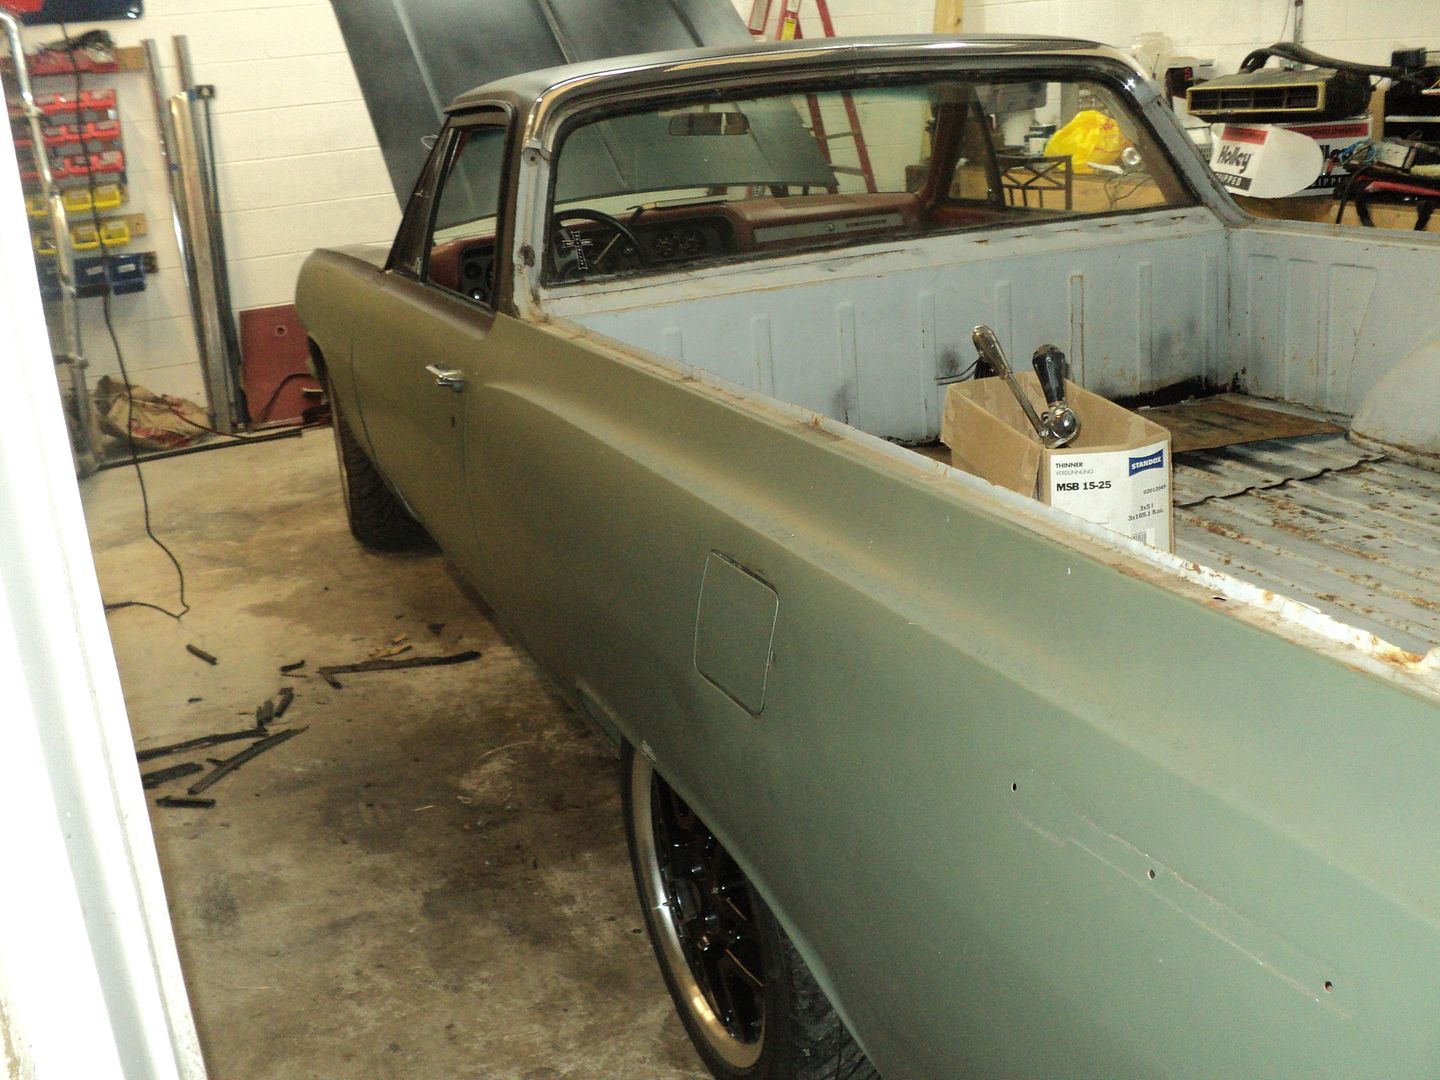 [/URL]
[URL=http://s54.photobucket.com/user/dusterbd13/media/1964%20elcamino/013_zps516dbaee.jpg.html]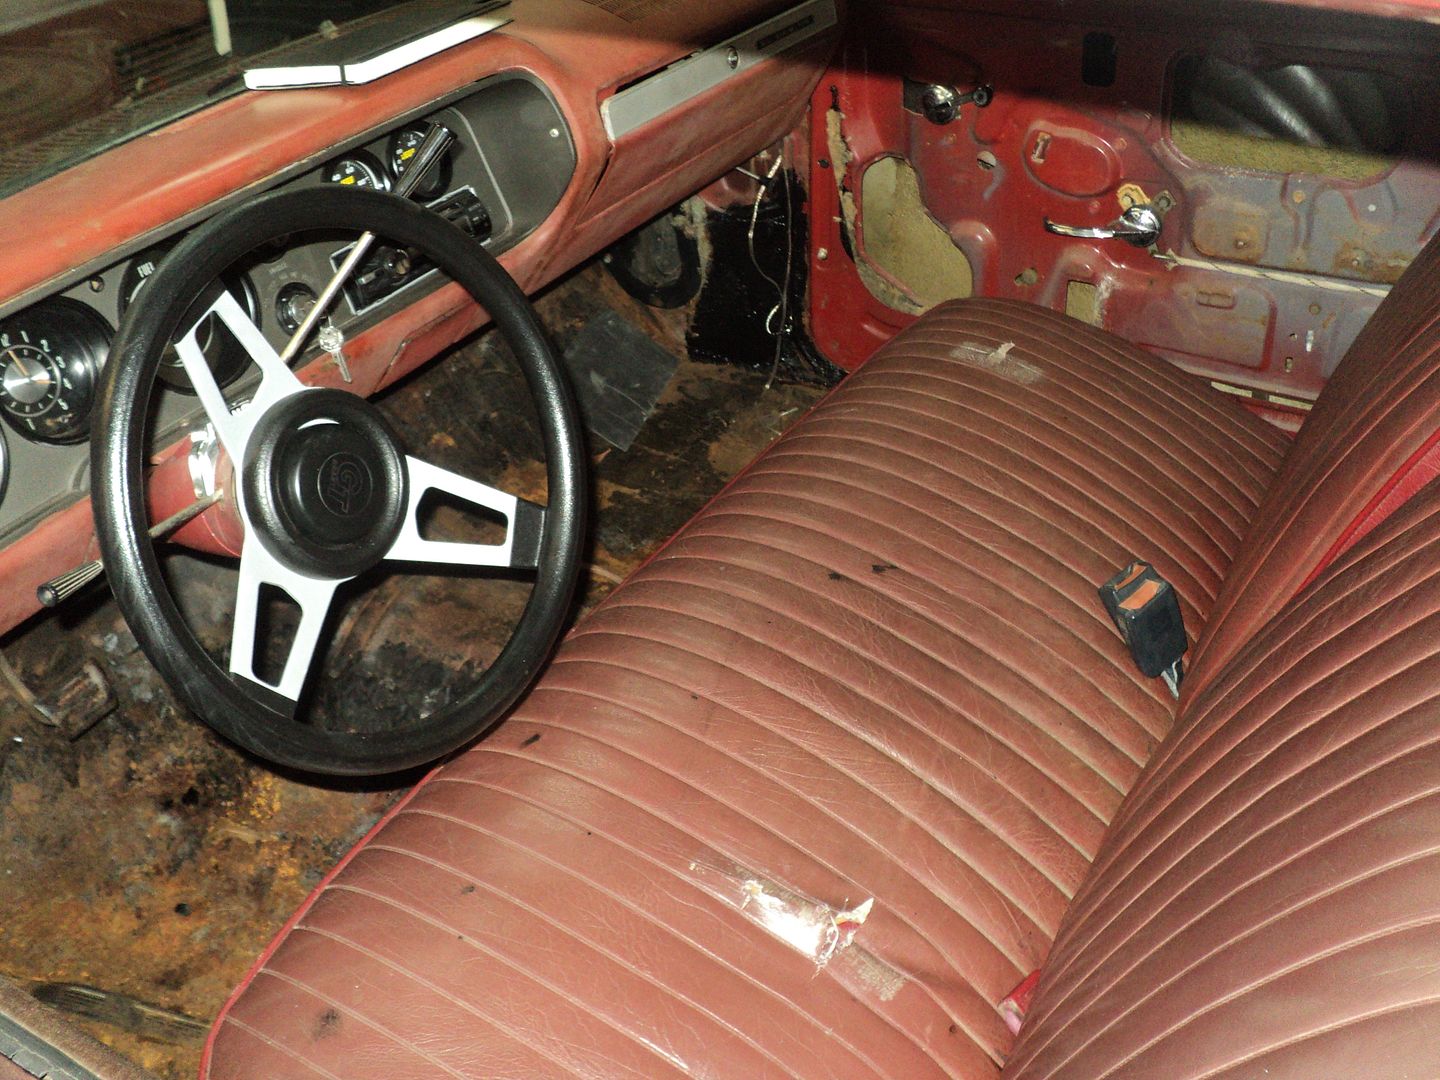 [/URL]
[URL=http://s54.photobucket.com/user/dusterbd13/media/1964%20elcamino/014_zpsfdad108c.jpg.html]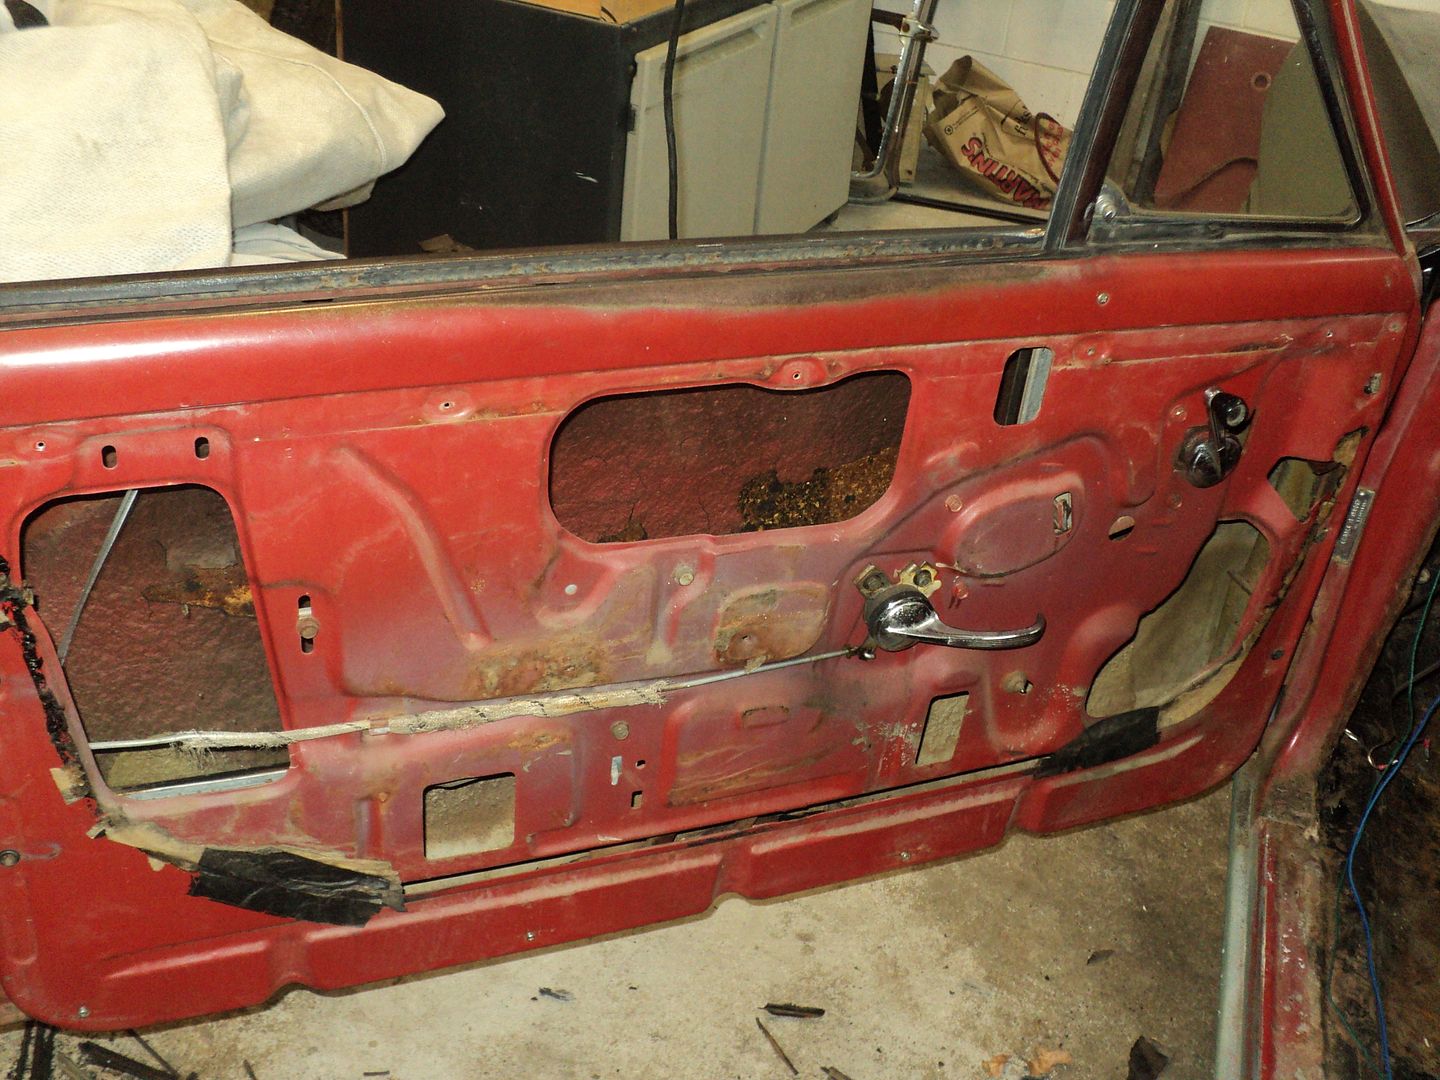 [/URL]
[URL=http://s54.photobucket.com/user/dusterbd13/media/1964%20elcamino/015_zps3c08e766.jpg.html]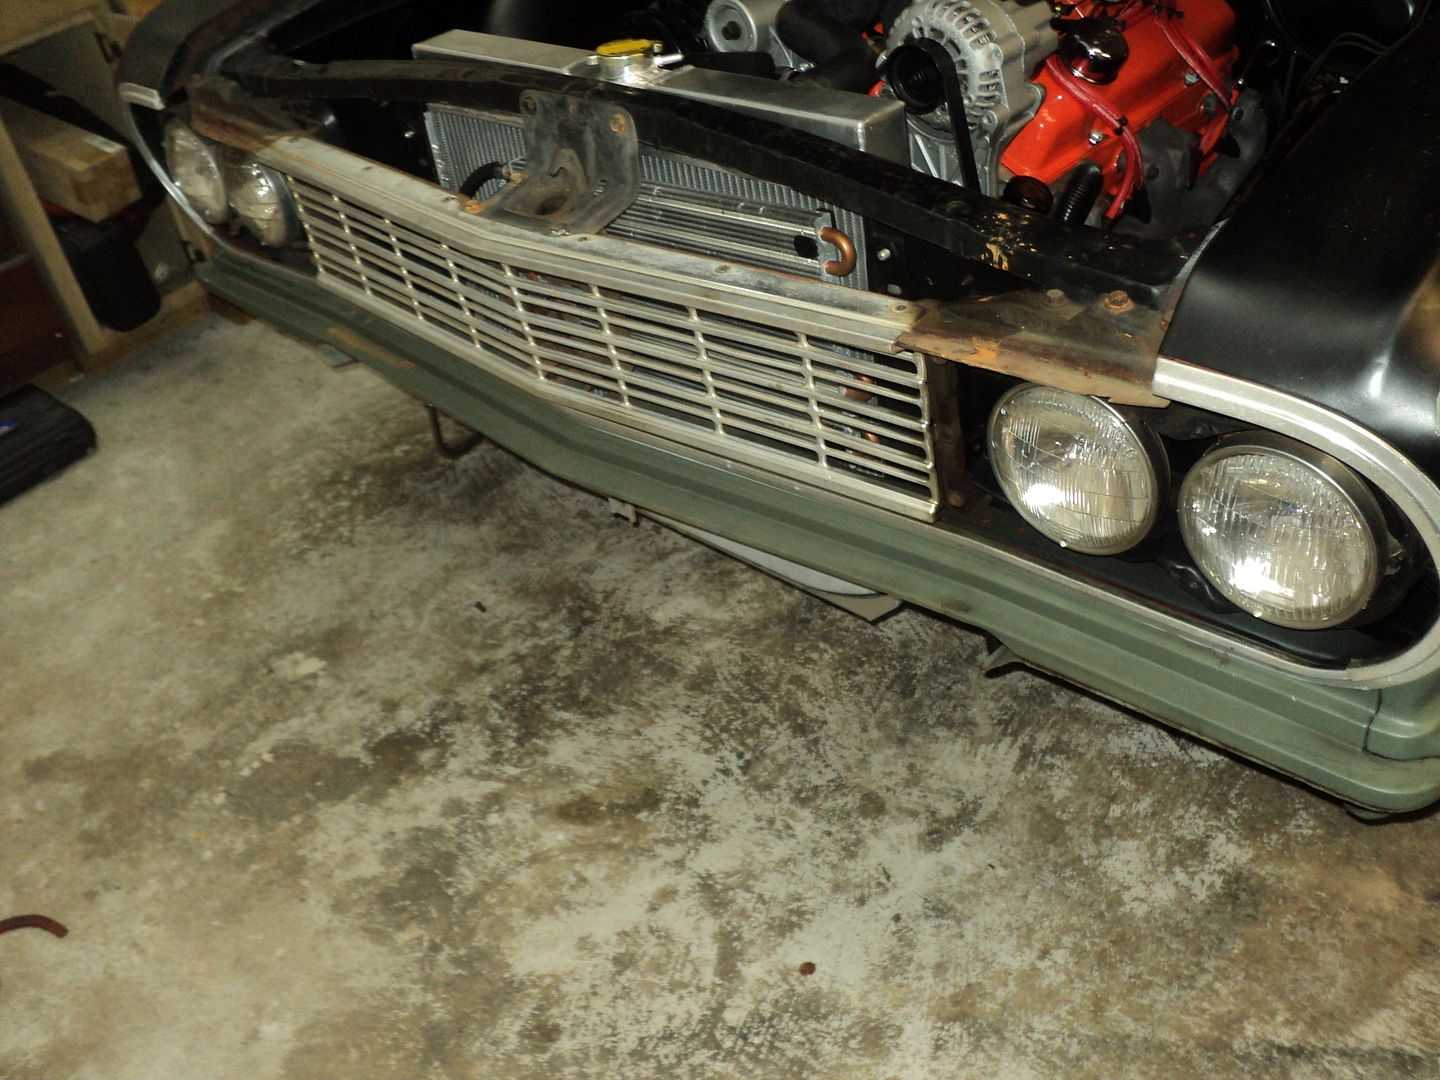 [/URL]
[URL=http://s54.photobucket.com/user/dusterbd13/media/1964%20elcamino/016_zps438f3843.jpg.html]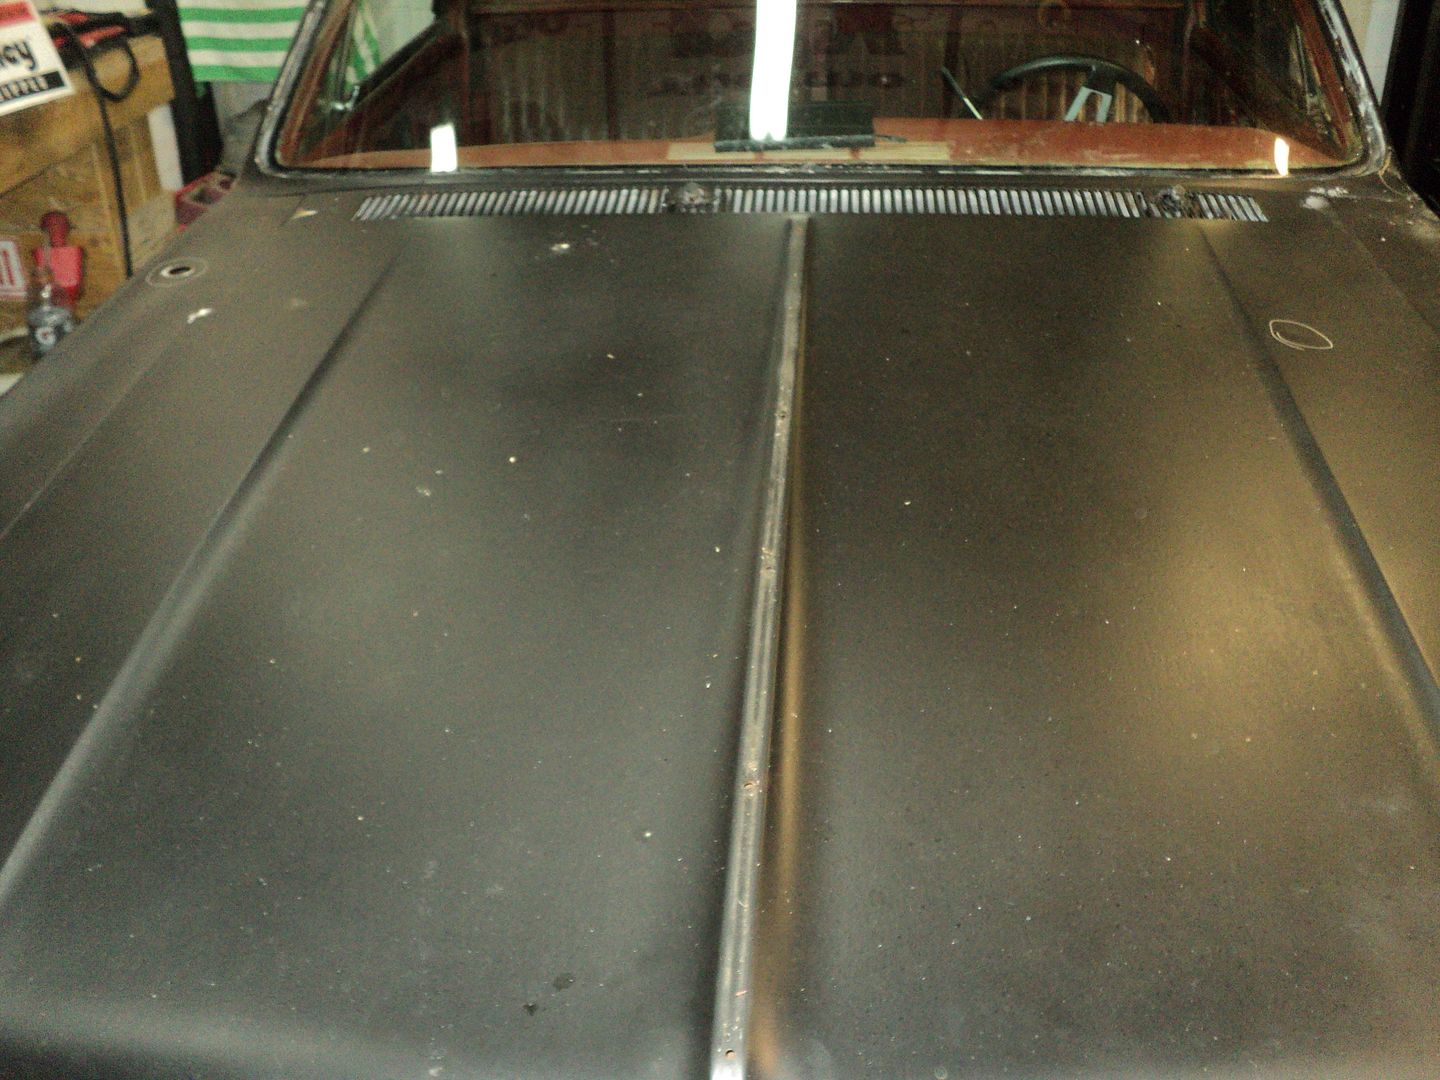 [/URL]
[URL=http://s54.photobucket.com/user/dusterbd13/media/1964%20elcamino/018_zpsd11d9ac8.jpg.html]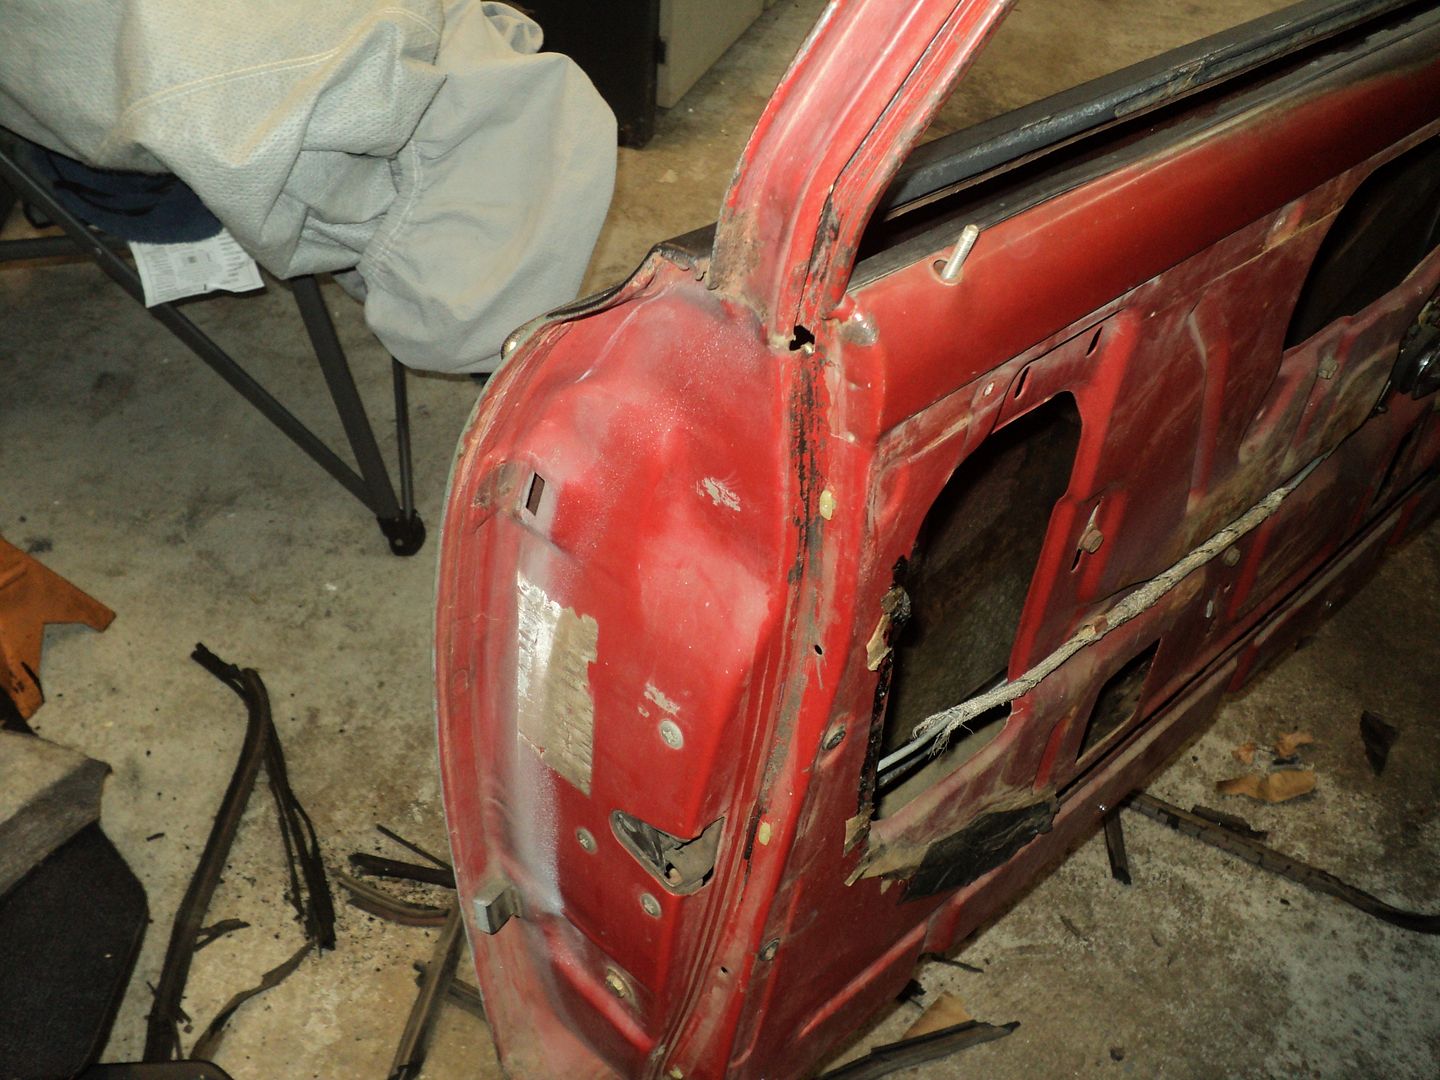 [/URL]
[URL=http://s54.photobucket.com/user/dusterbd13/media/1964%20elcamino/020_zpsf950074c.jpg.html]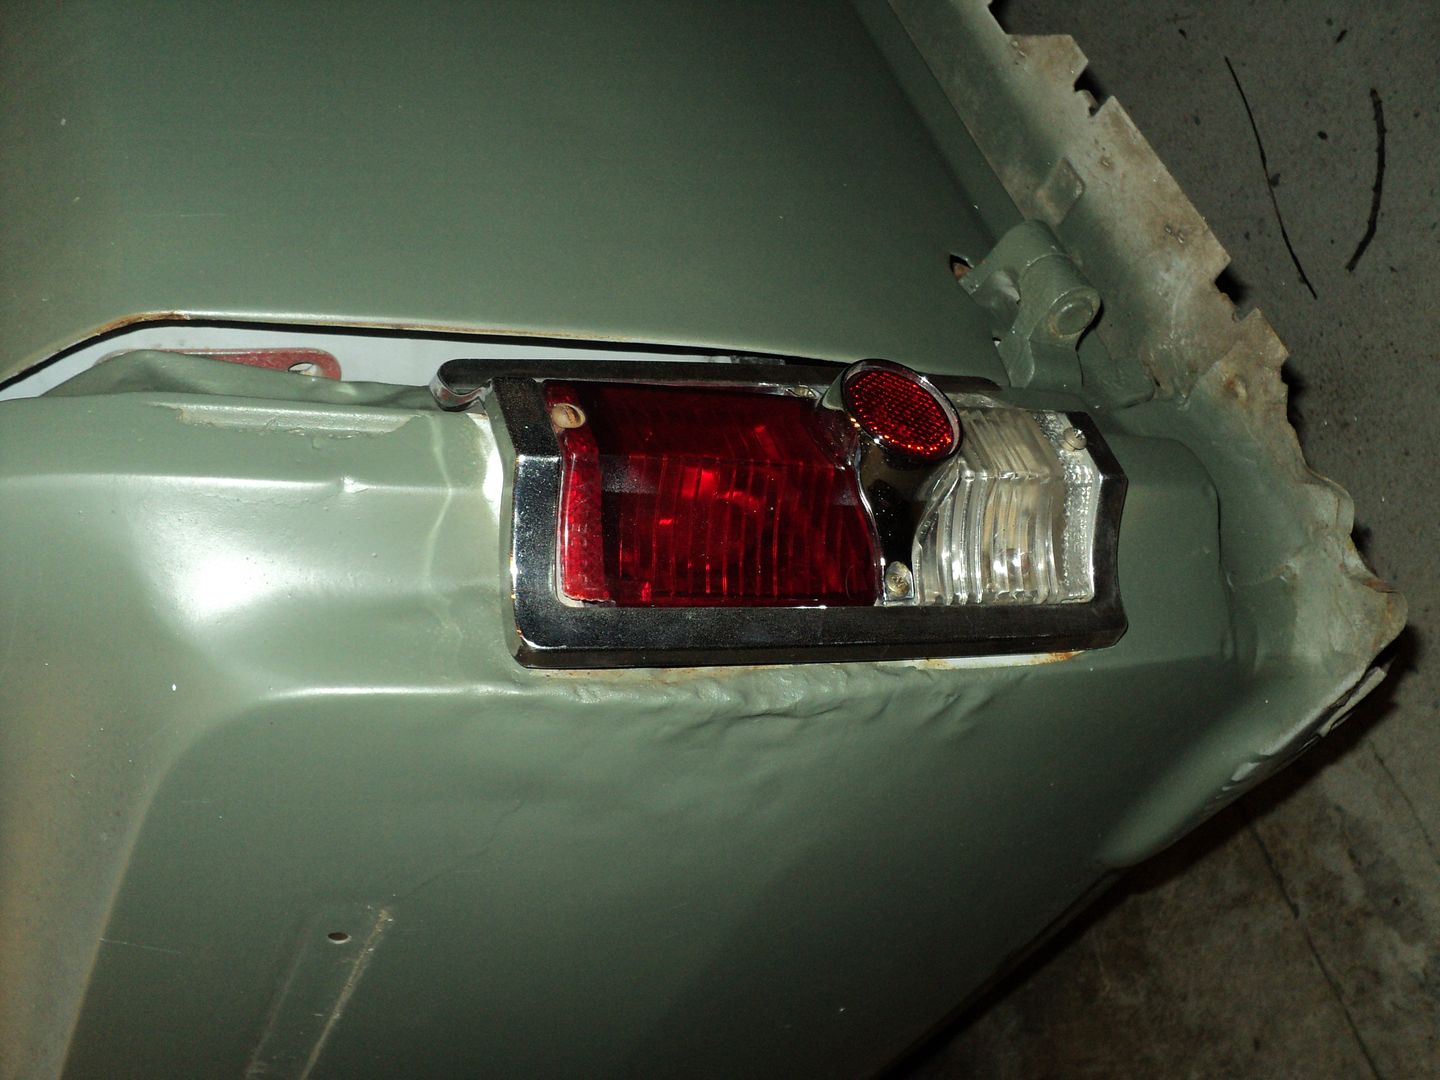 [/URL]
[URL=http://s54.photobucket.com/user/dusterbd13/media/1964%20elcamino/021_zps99bf19c9.jpg.html]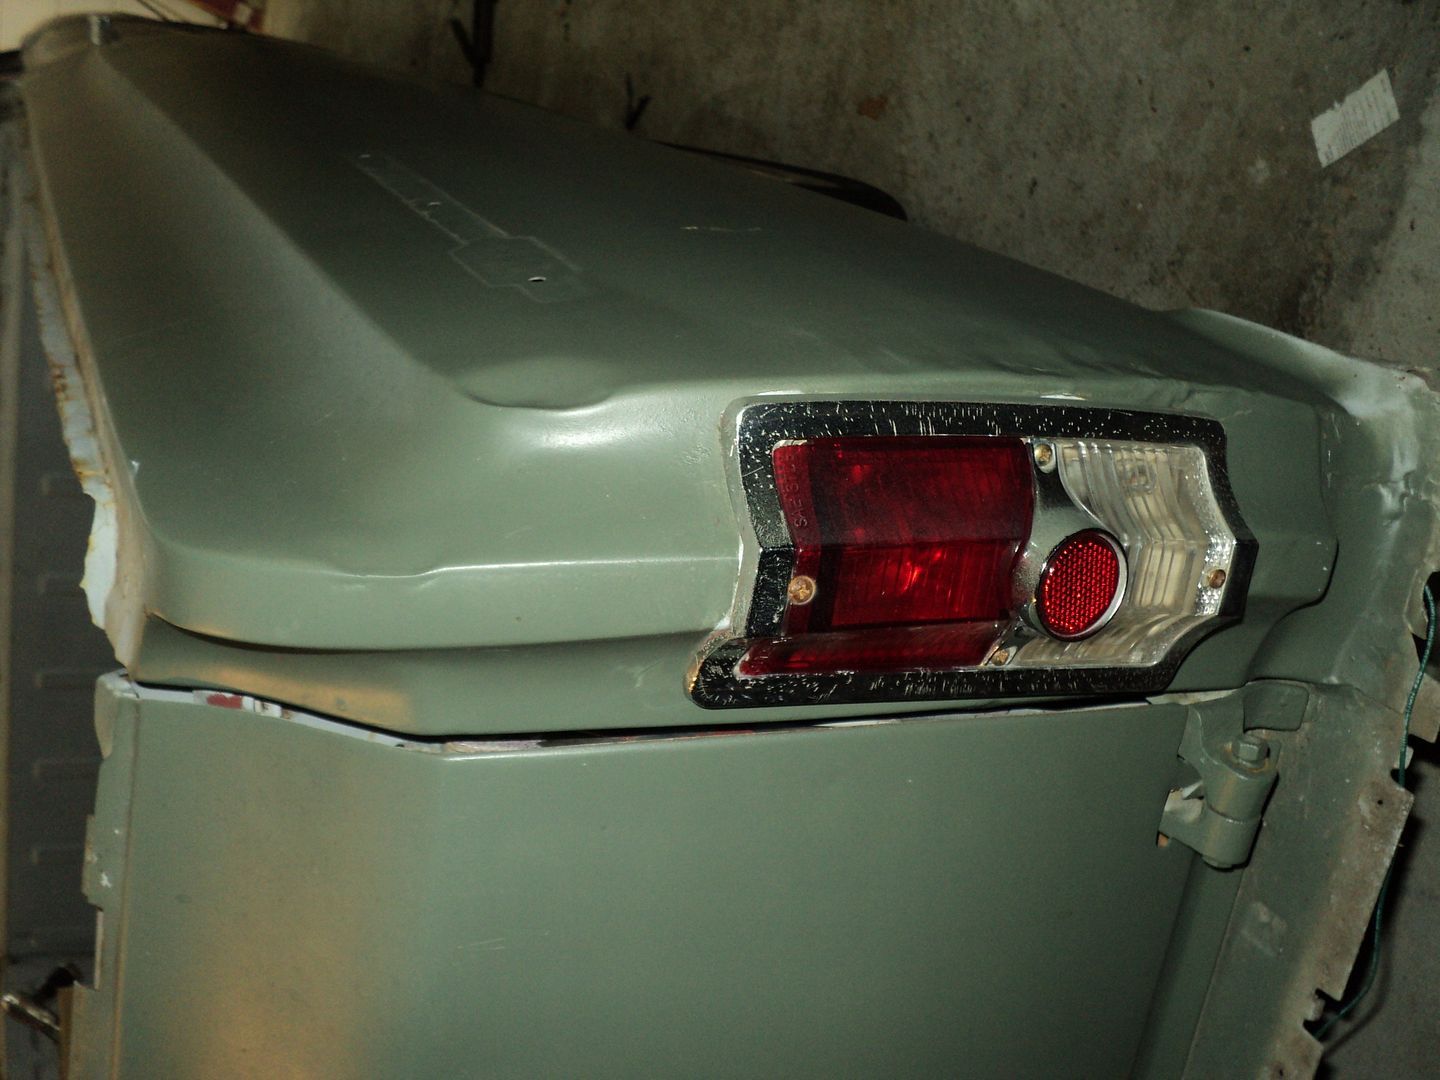 [/URL]
[URL=http://s54.photobucket.com/user/dusterbd13/media/1964%20elcamino/022_zps7155efdd.jpg.html]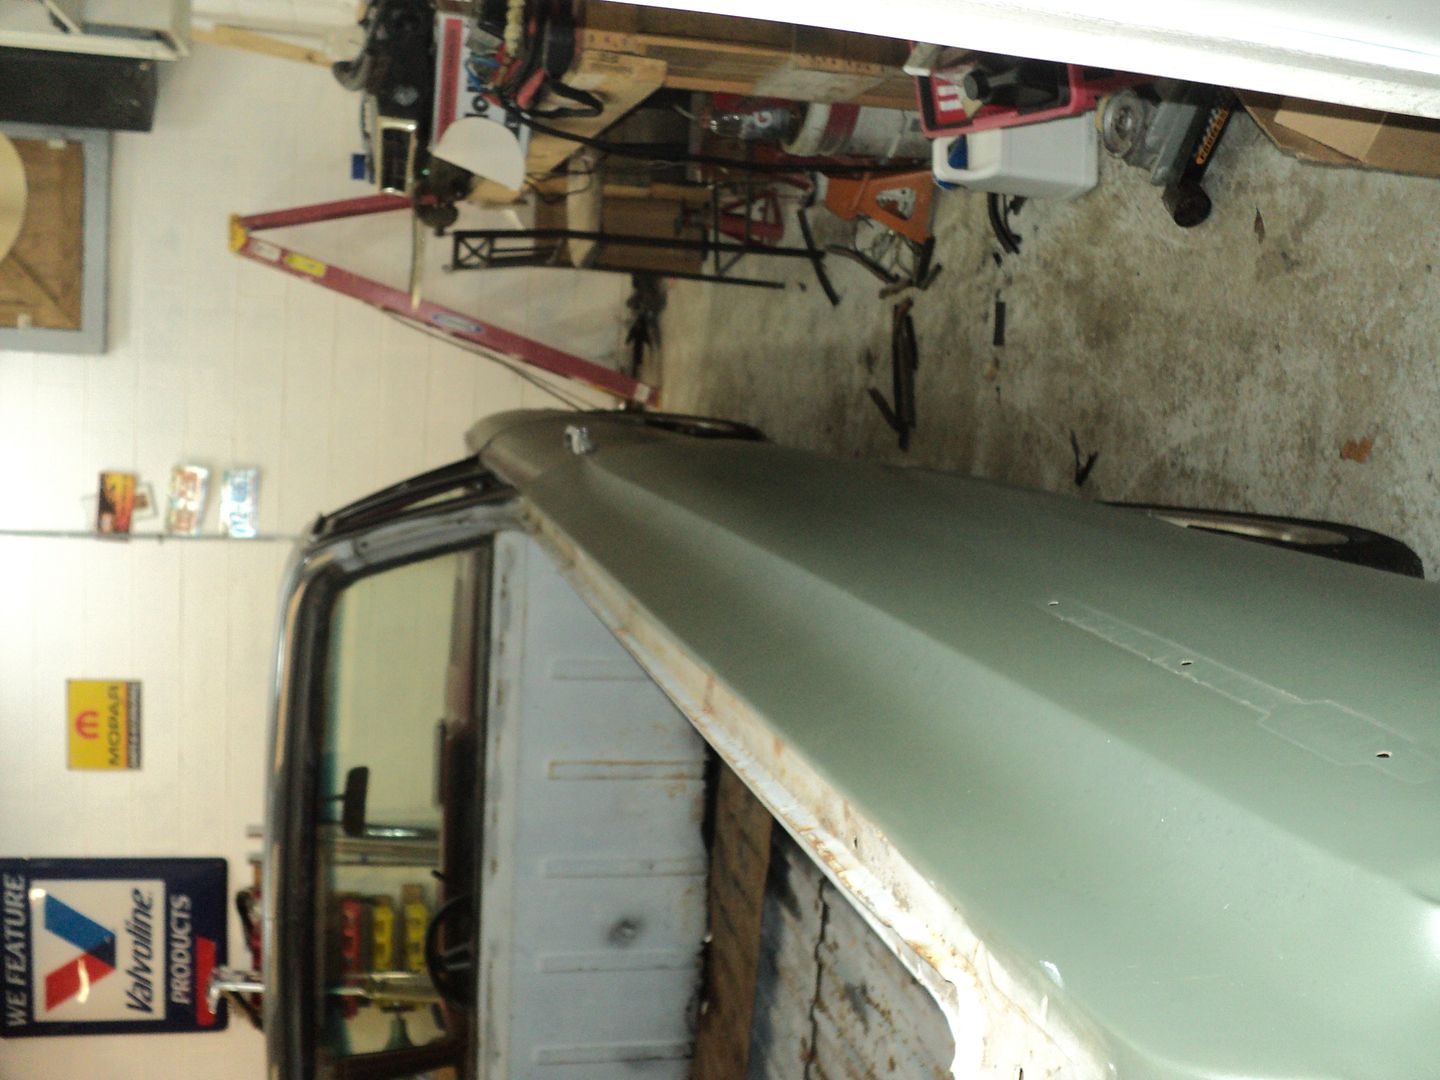 [/URL]
[URL=http://s54.photobucket.com/user/dusterbd13/media/1964%20elcamino/016_zps49779b52.jpg.html]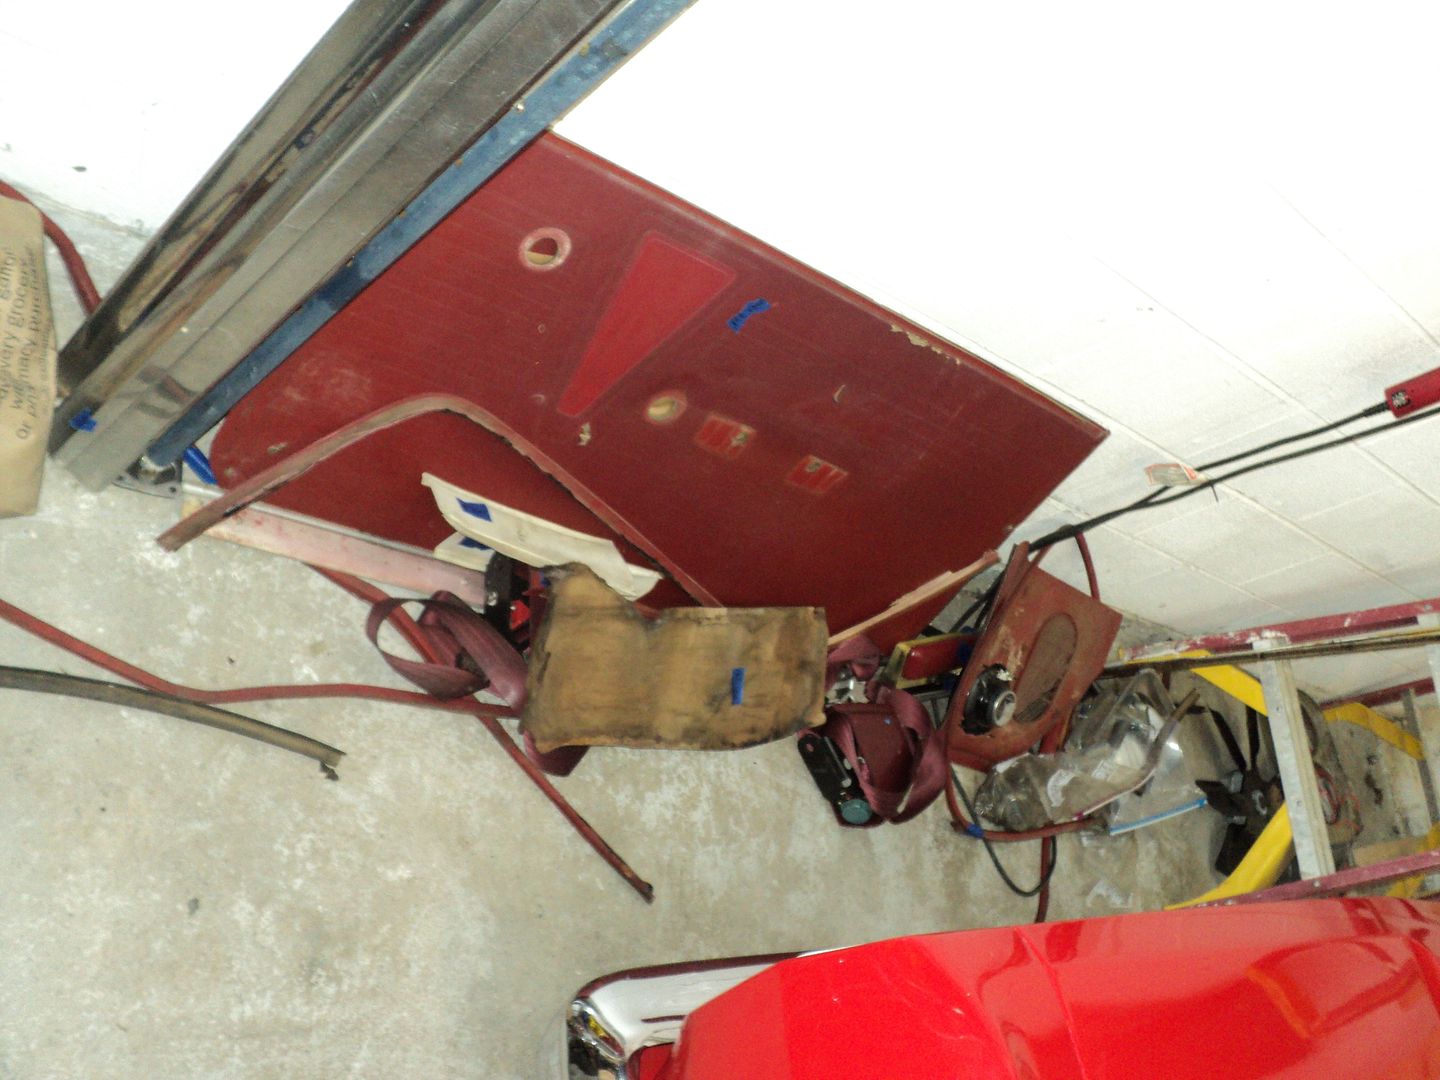 [/URL]
now don’t get me wrong. I ain't going all Hollywood here and making this thing super nice like the duster. it is the drivabeater, after all. what were shooting for here is a rust free, nice quality, daily. probably look good from 10 foot, and 10mph. art is, after all, my race car painter/flipper car body man. if I wanted a show car, id take it to bill and pay 6k and pick it up perfect. but that just ain't gonna happen. id feel bad tossing cinderblock into a 6k paint and body truck, or scratching it with autocross cones. with a sub 1k paint and body truck, I don’t have to care all that much.
Michael
4 riding mowers, a little friend-helping-friend over the years, and 350. heres to hoping. usually art is pretty close on his prices. usually.
hope thiongs are going well, your way, brian.
i dunno, really. havent had time to get over there. last time i was there, he hadnt really touched it yet.
which is about normal for him.
he toild me it would be done by christmas. he just didnt say what year....
i WILL, however, update this thread later with a camaro i just did a full wiring harness on if it will make you guys feel better.
so, budget first:
previous total: 6867.91
spent 40 new airtex EFI fuel pump
145 to the body guy
new total: 7052.91
the truck is really at a standstill as far as paint and body goes.
well, kinda. I changed direction on the bodyman, which with this one, is never a good idea.
we worked out a trade for the remainder of the work, as well as paint and body finishing. so the whole truck will be done when it comes back. still waiting to hear if he's actually going to take it off the frame or not. I hope he does.
but this all came at a price: I had given him 145 for supplies/floorpan work already, and then worked out a trade with him for the rest. his boss/landlord had this 67 Camaro that he had had built. stout 396/4sp car, 4.11 gears. art did the paint and body. unfortunately, the guy who reassembled the car screwed up more than he fixed. turned the rest of the car into a flaming hackjob. just some really scary stuff (front seat with one bolt into the floor, 3 drywall screws into the carpet. dead shorts in wiring harness. gauges didn’t work. lights didn’t work. 3 sets of carpet. door panels drywall screwed to the car. you get the idea). so in exchange for me installing a wiring harness and gauges, Art is doing my whole truck.
now, you’ve read enough to know that I tend to do things properly, even when I am not getting paid to. there's just some things I WILL NOT let leave my shop. like the seats. I had to take them out to do wiring, so I repaired all that hacking when I reinstalled. the steering column was only held on with one nut. now it has 3, and proper washers. the door panels were repaired and installed correctly when I put the door speakers in. etc.
the owner also bought omega kustoms gauges. these are by far, the WORST gauges I've ever worked with. they're inaccurate. their directions are useless. the speedo reads with the tach signal interference. the sending units they include are way bigger than the need to be, and the electronic speedo didn’t even HAVE a sending unit. stay away from them.
anyway, here's the before pictures:
[URL=http://s54.photobucket.com/user/dusterbd13/media/customer%20cars/002_zps52396c8c.jpg.html]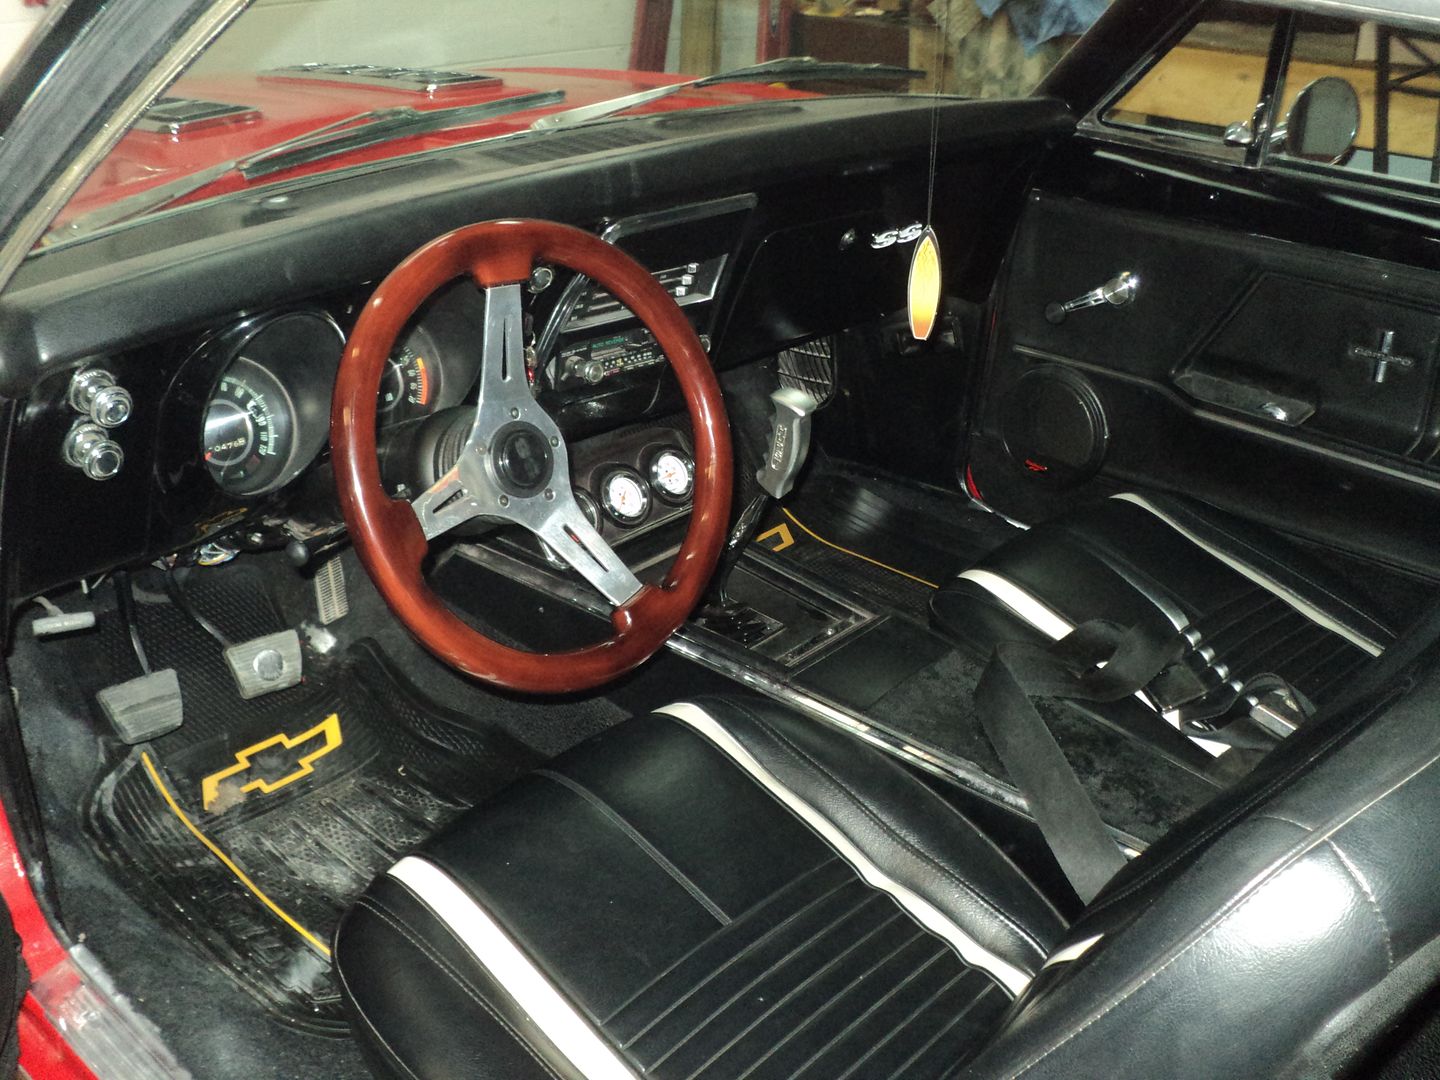 [/URL]
[URL=http://s54.photobucket.com/user/dusterbd13/media/customer%20cars/004_zps2fc1a580.jpg.html]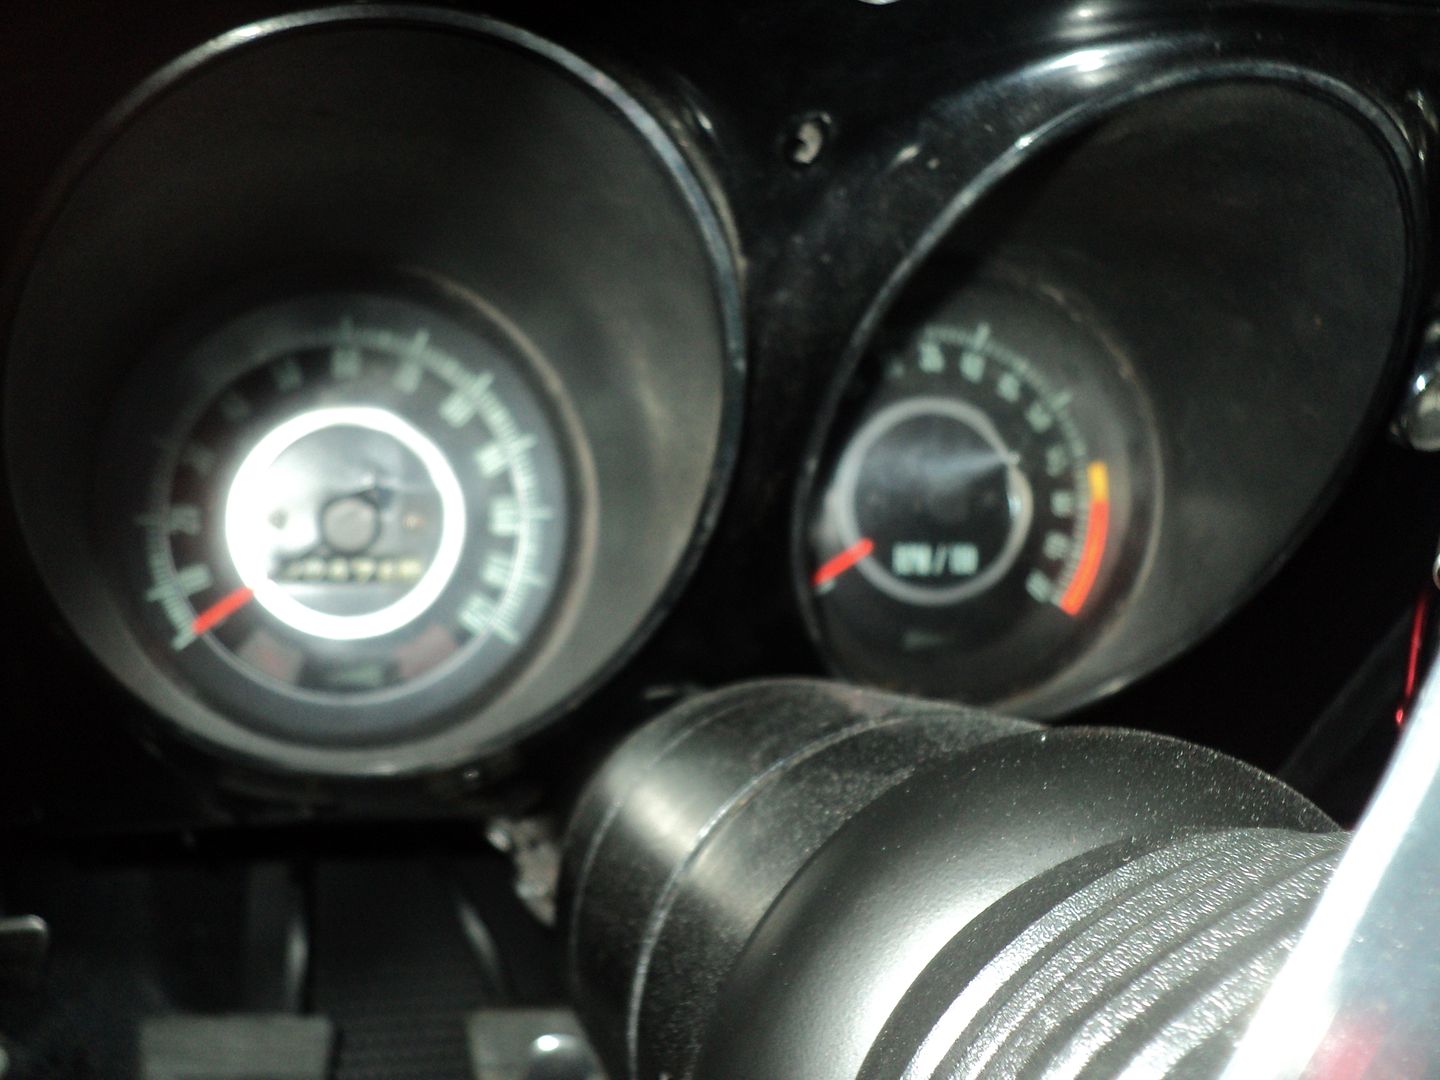 [/URL]
[URL=http://s54.photobucket.com/user/dusterbd13/media/customer%20cars/005_zps2ab9ea29.jpg.html]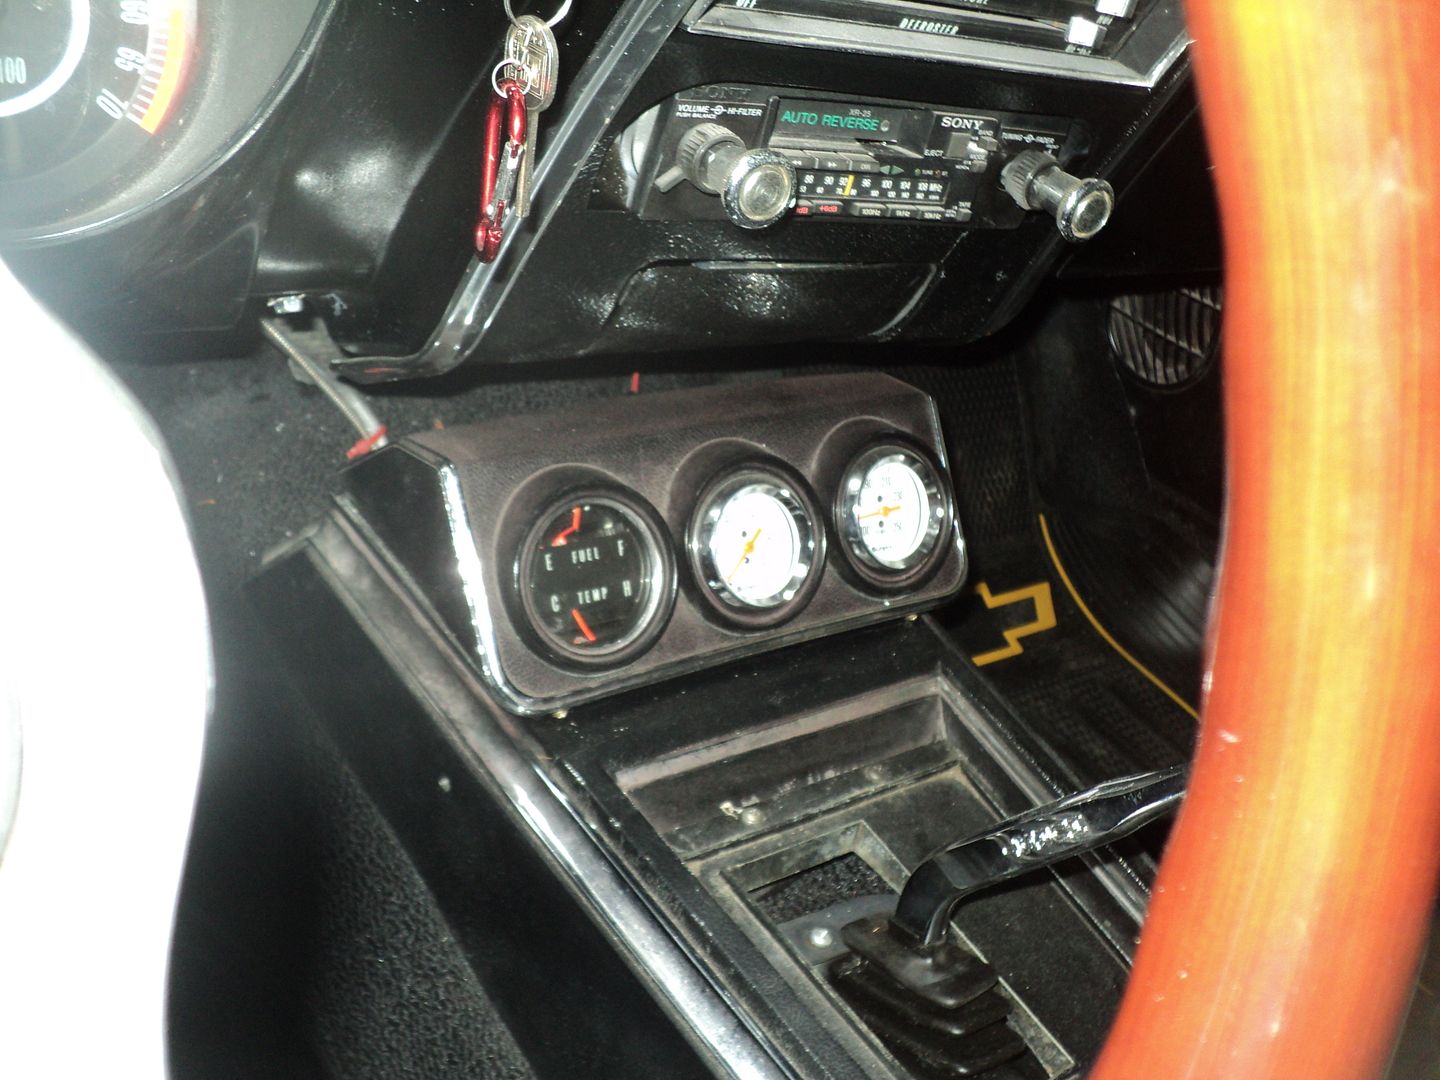 [/URL]
[URL=http://s54.photobucket.com/user/dusterbd13/media/customer%20cars/006_zpsbdf5464c.jpg.html]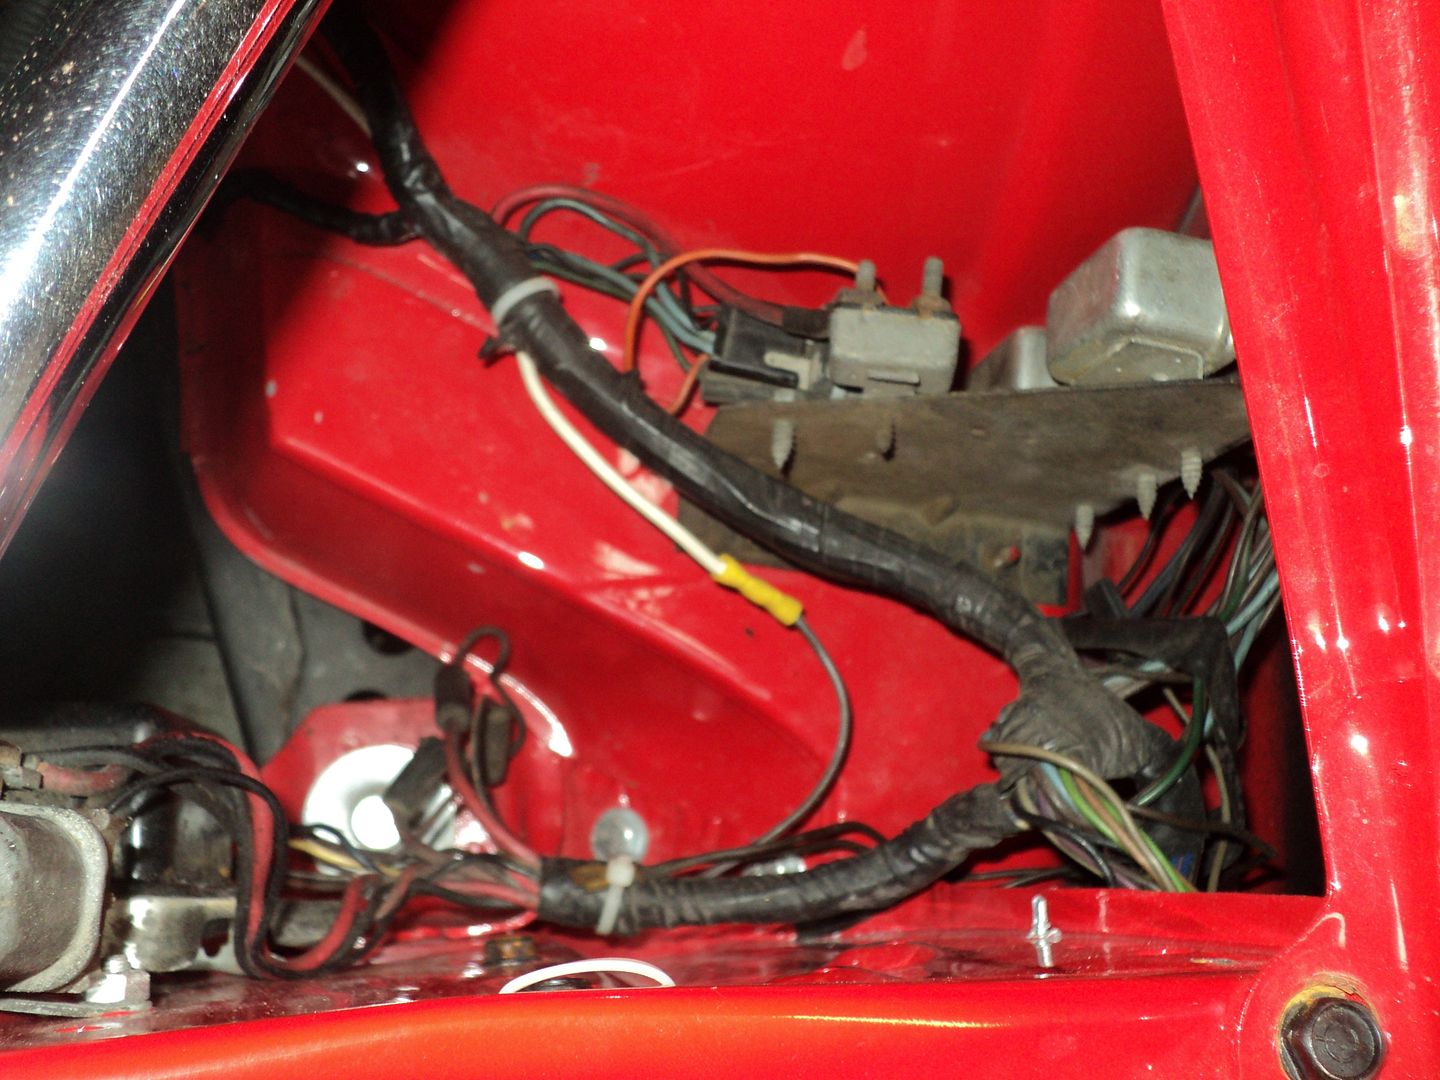 [/URL]
[URL=http://s54.photobucket.com/user/dusterbd13/media/customer%20cars/007_zps1588e621.jpg.html]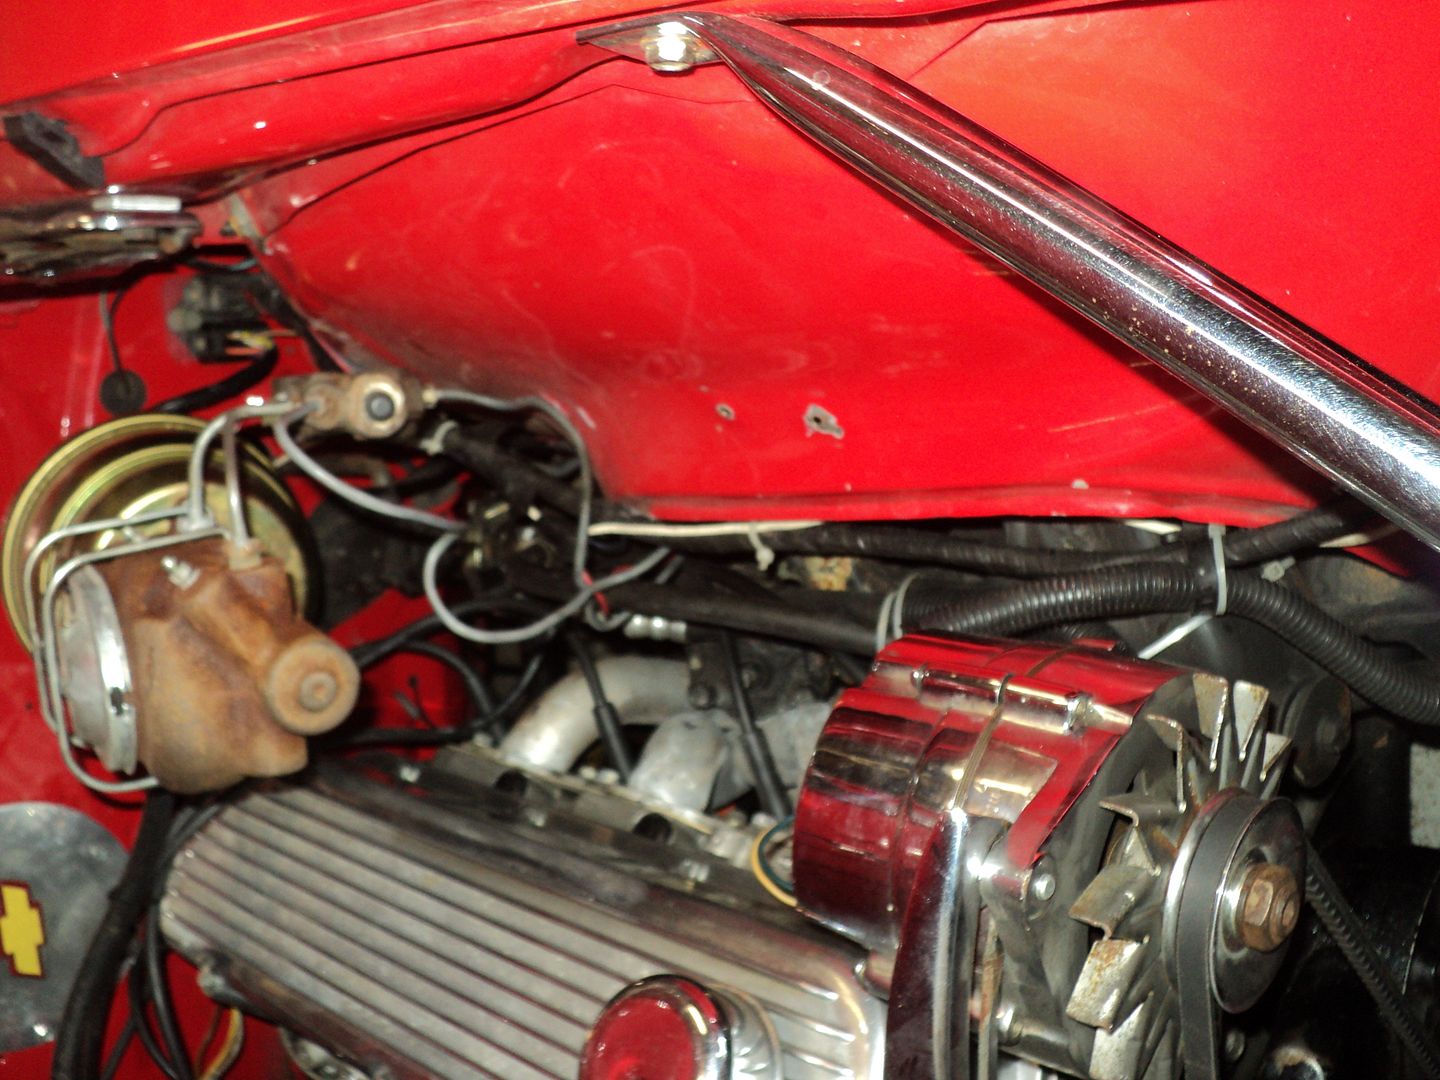 [/URL]
[URL=http://s54.photobucket.com/user/dusterbd13/media/customer%20cars/014_zps7364f27e.jpg.html]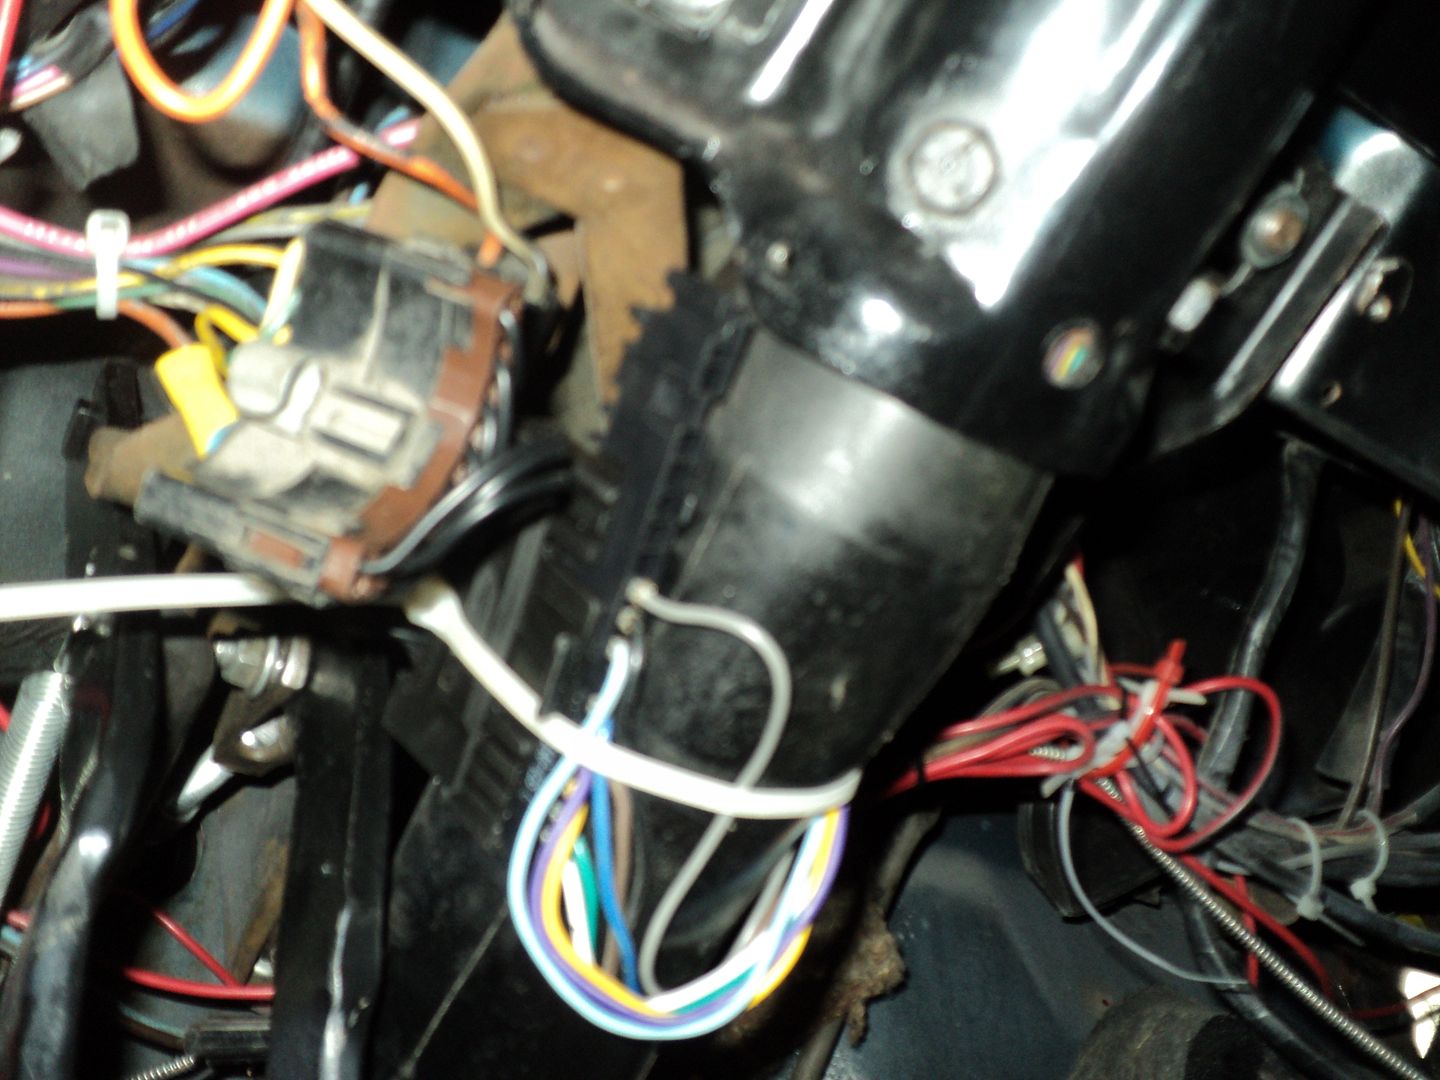 [/URL]
during: parts first, then the custom block off plates he wanted made. he wanted the console gauges deleted, and the heater controls. I used a Nissan mudflap as it was the right texture of ABS plastic to make these out of.
[URL=http://s54.photobucket.com/user/dusterbd13/media/customer%20cars/010_zps3bc12924.jpg.html] [/URL]
[URL=http://s54.photobucket.com/user/dusterbd13/media/customer%20cars/012_zps965af934.jpg.html]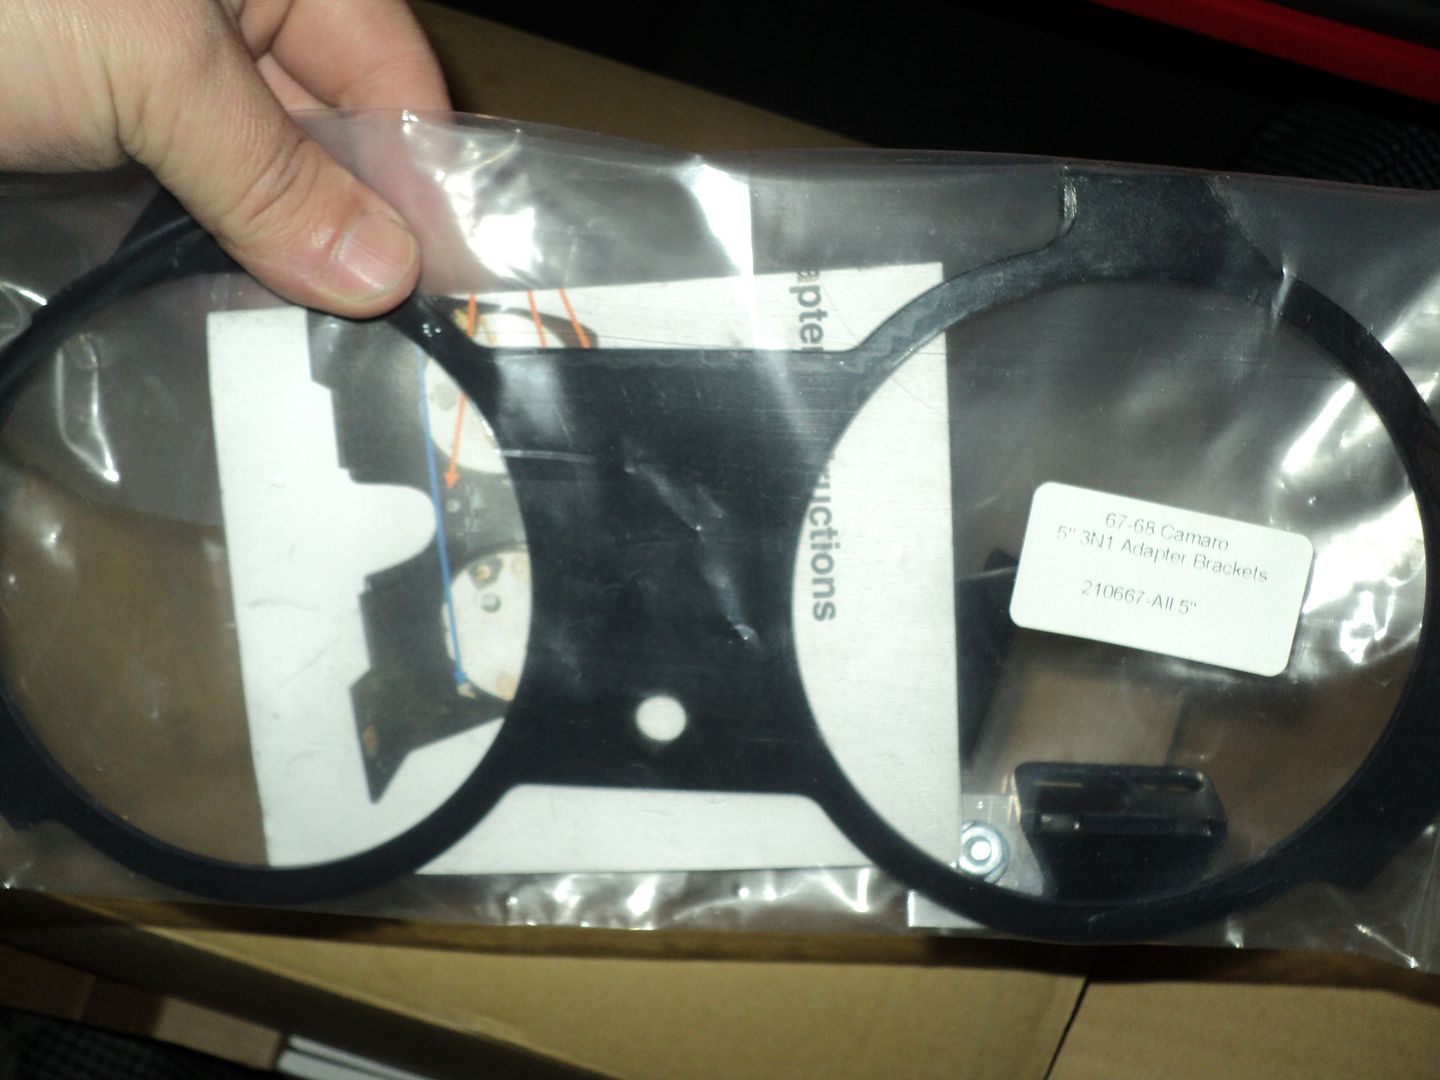 [/URL]
[URL=http://s54.photobucket.com/user/dusterbd13/media/customer%20cars/013_zpsa51b34f8.jpg.html]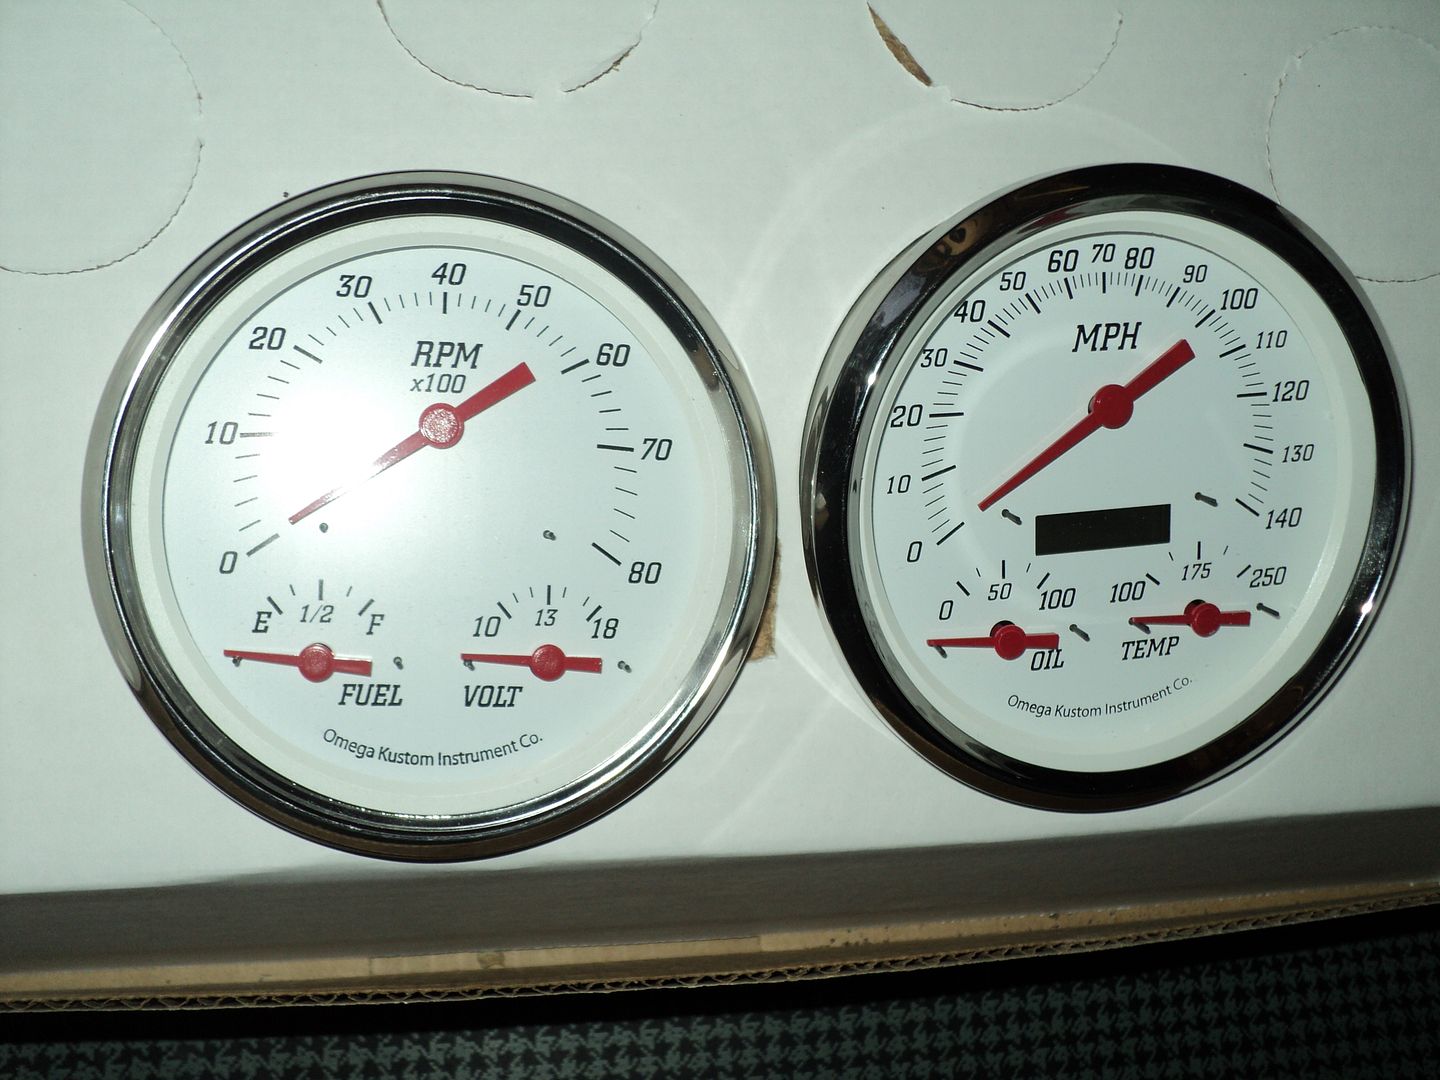 [/URL]
[URL=http://s54.photobucket.com/user/dusterbd13/media/customer%20cars/018_zps136c096d.jpg.html]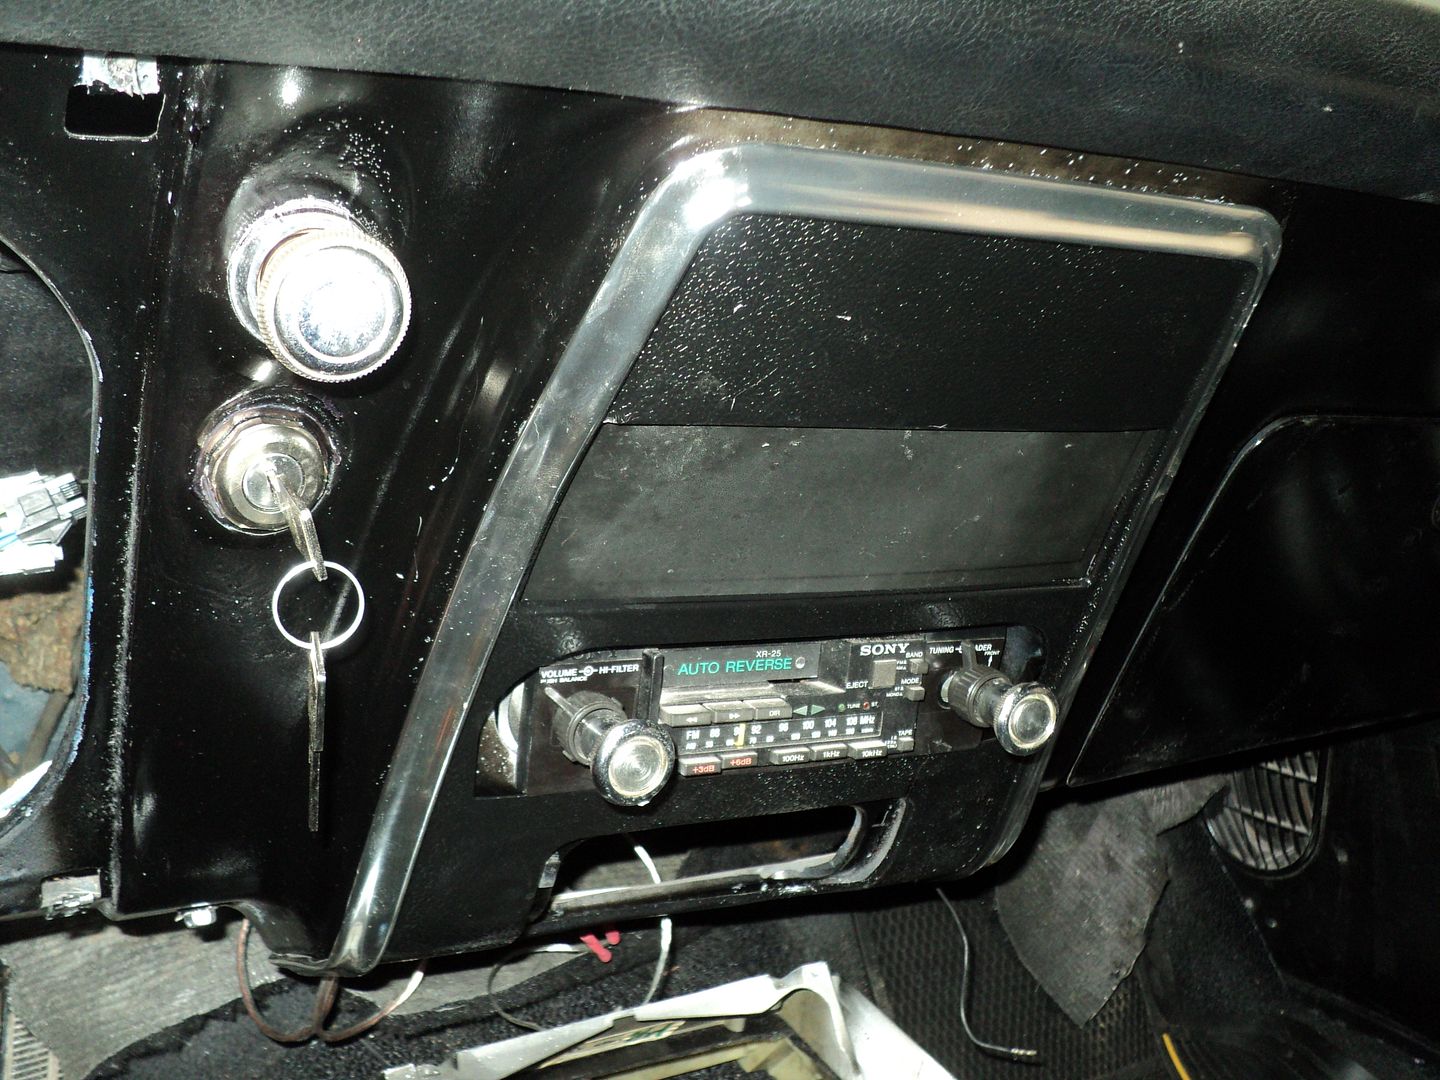 [/URL]
[URL=http://s54.photobucket.com/user/dusterbd13/media/customer%20cars/023_zpsb38fe506.jpg.html]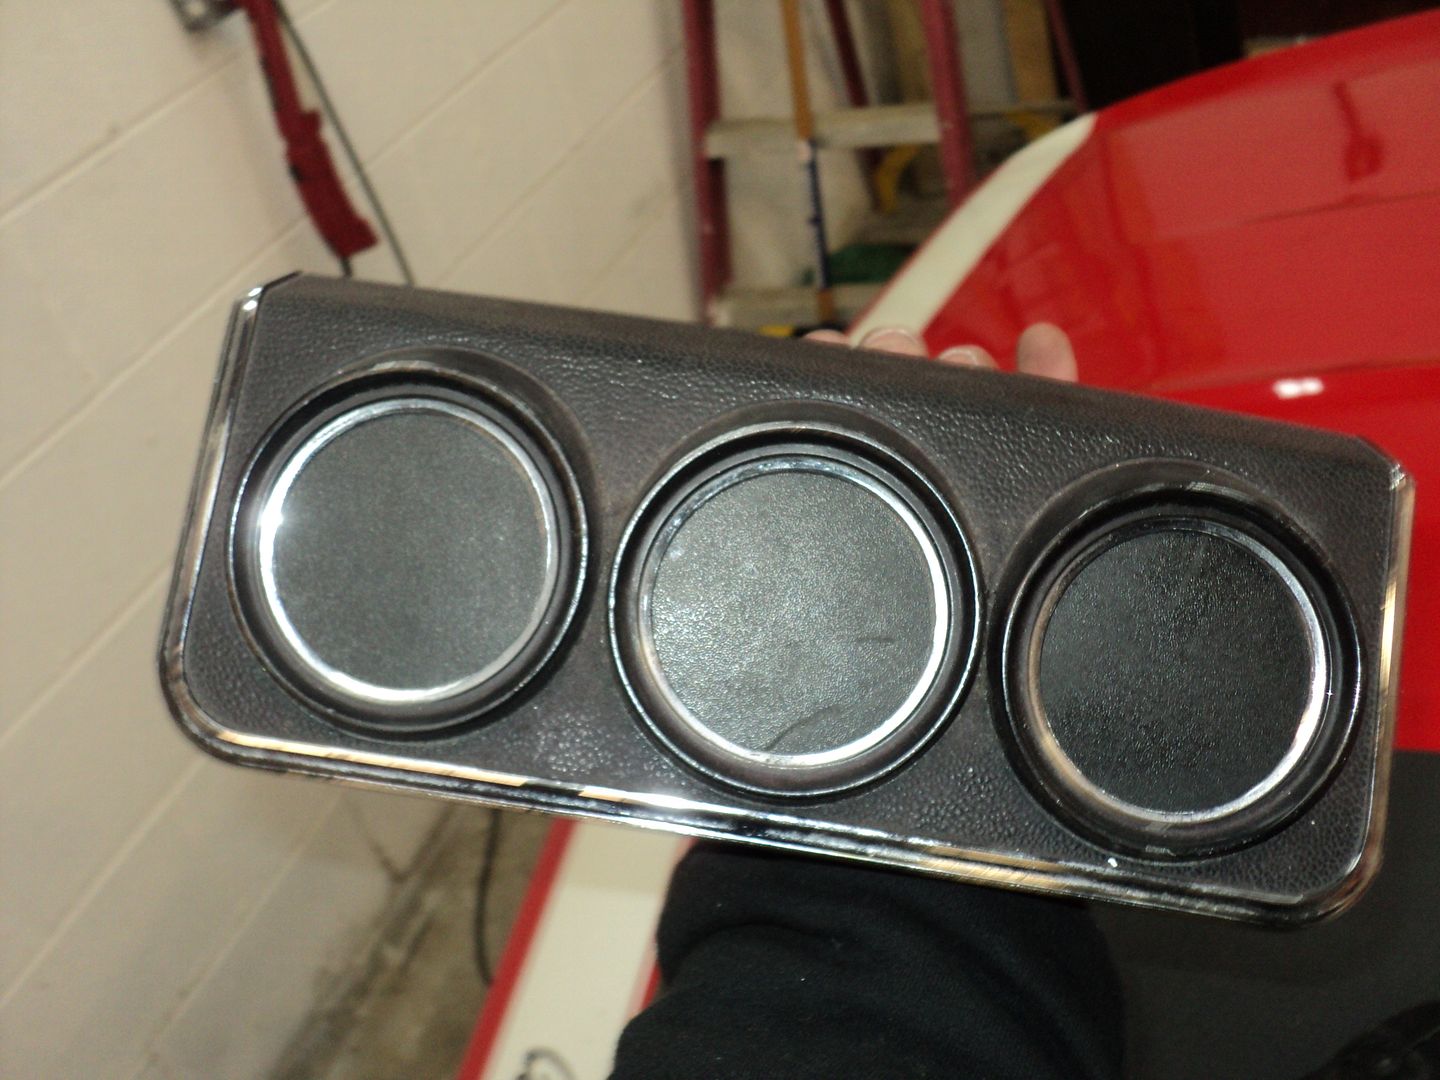 [/URL]
[URL=http://s54.photobucket.com/user/dusterbd13/media/customer%20cars/019_zps2f6afe1c.jpg.html]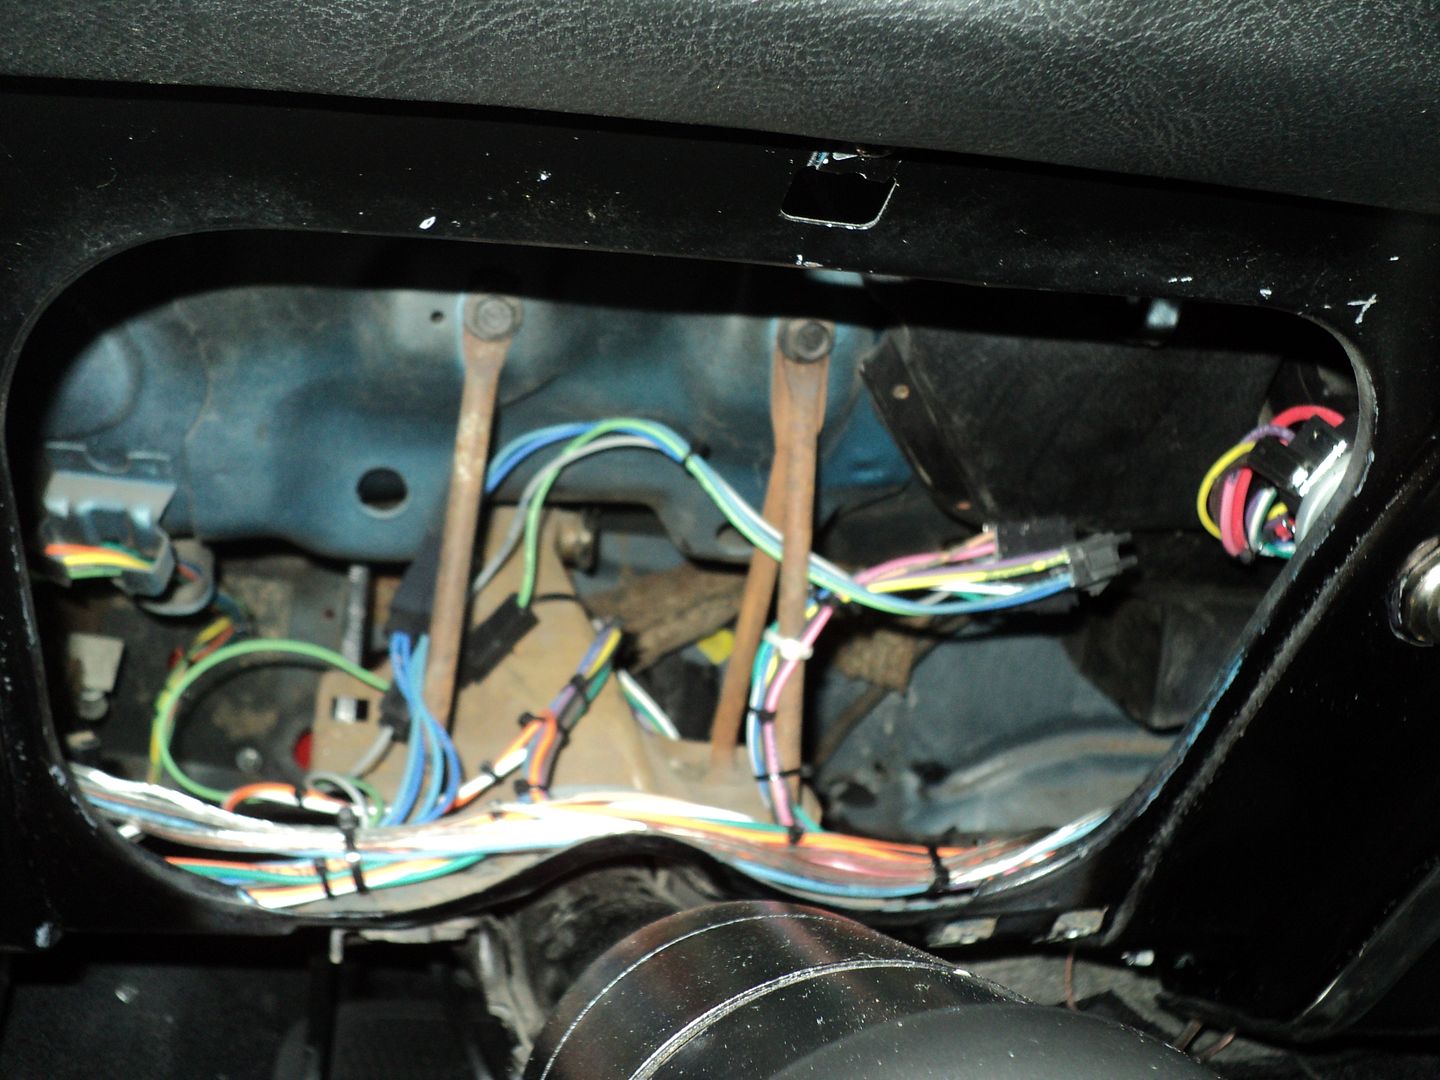 [/URL]
after
[URL=http://s54.photobucket.com/user/dusterbd13/media/customer%20cars/024_zps7acb09b7.jpg.html]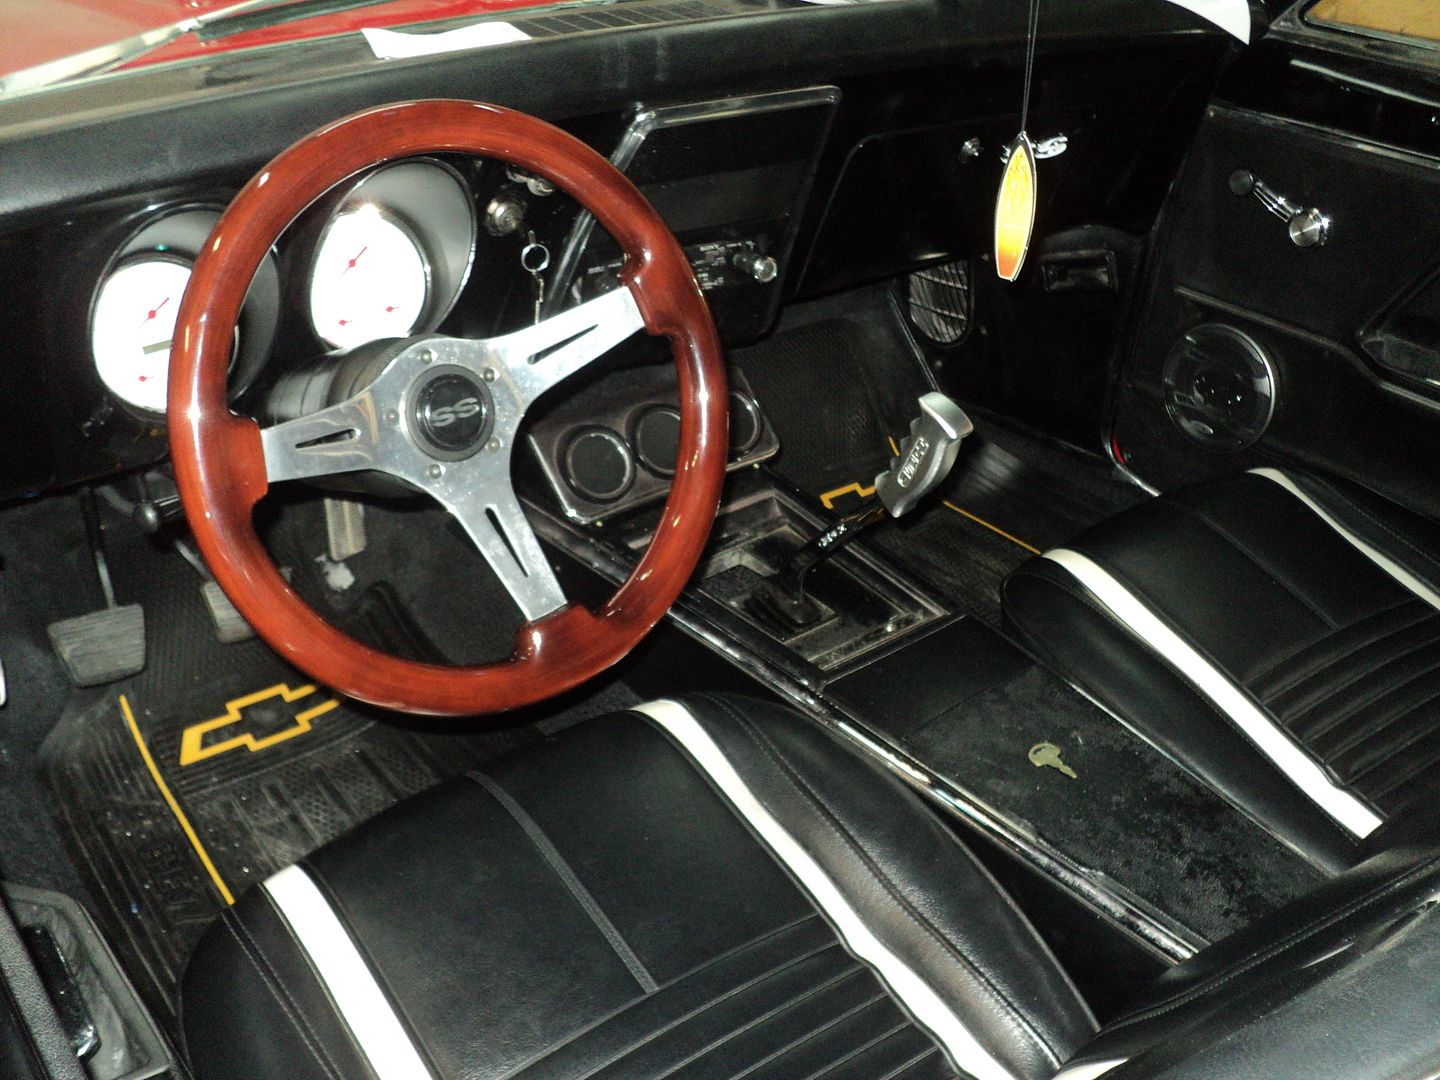 [/URL]
[URL=http://s54.photobucket.com/user/dusterbd13/media/customer%20cars/029_zpscfa530ee.jpg.html]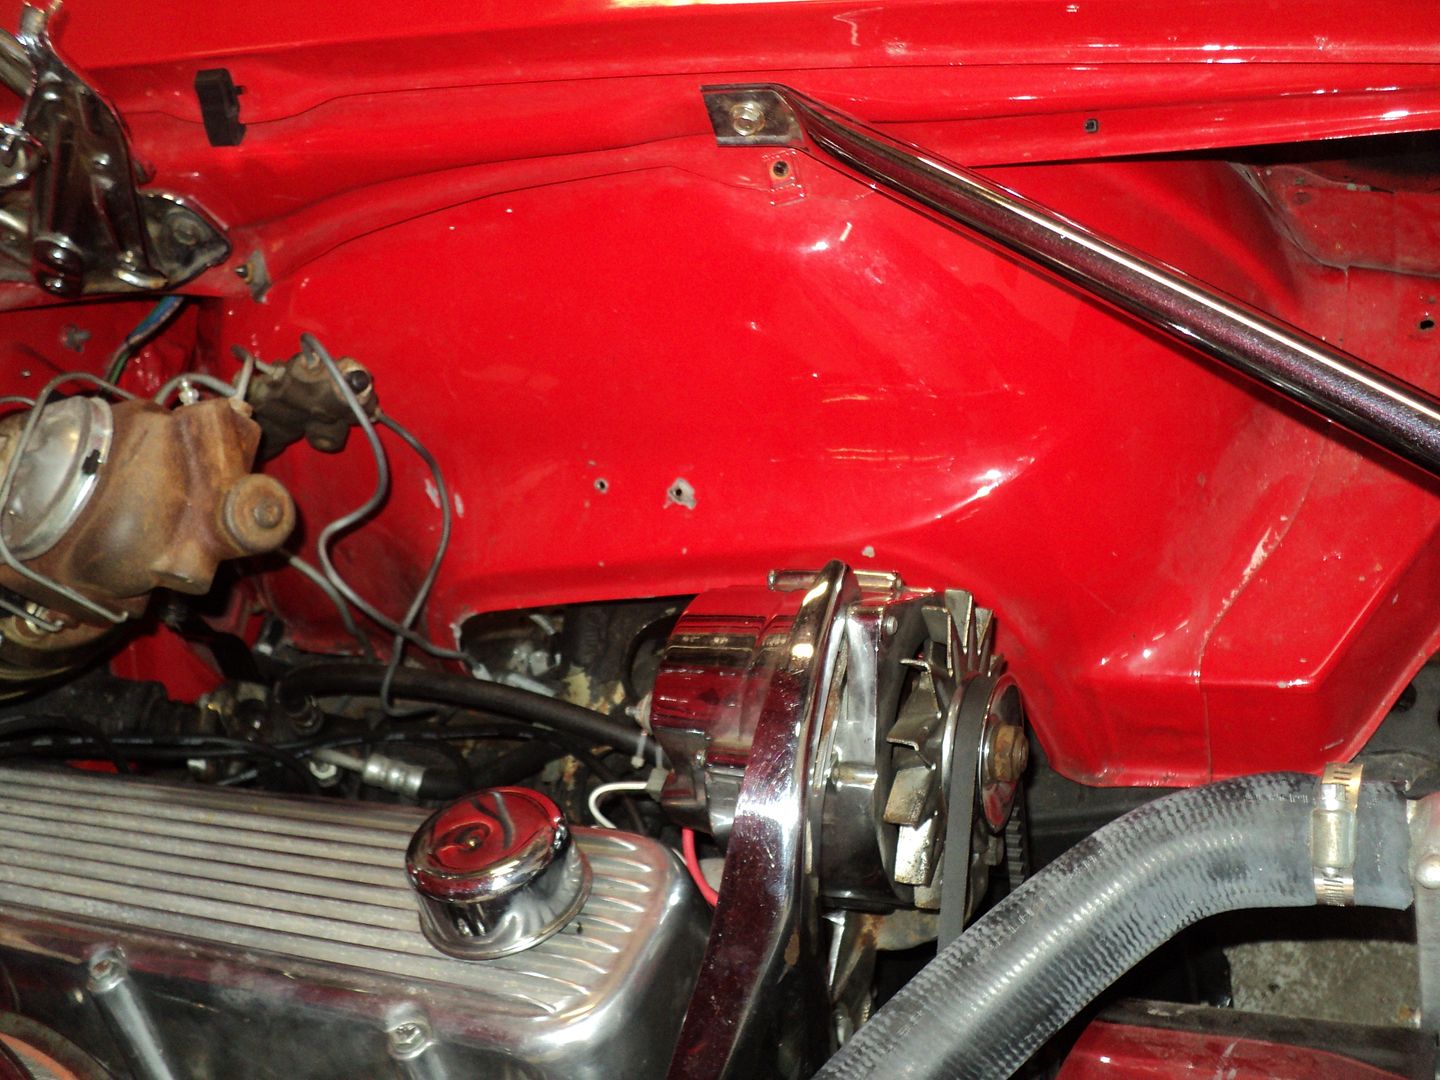 [/URL]
[URL=http://s54.photobucket.com/user/dusterbd13/media/customer%20cars/031_zps7737331b.jpg.html]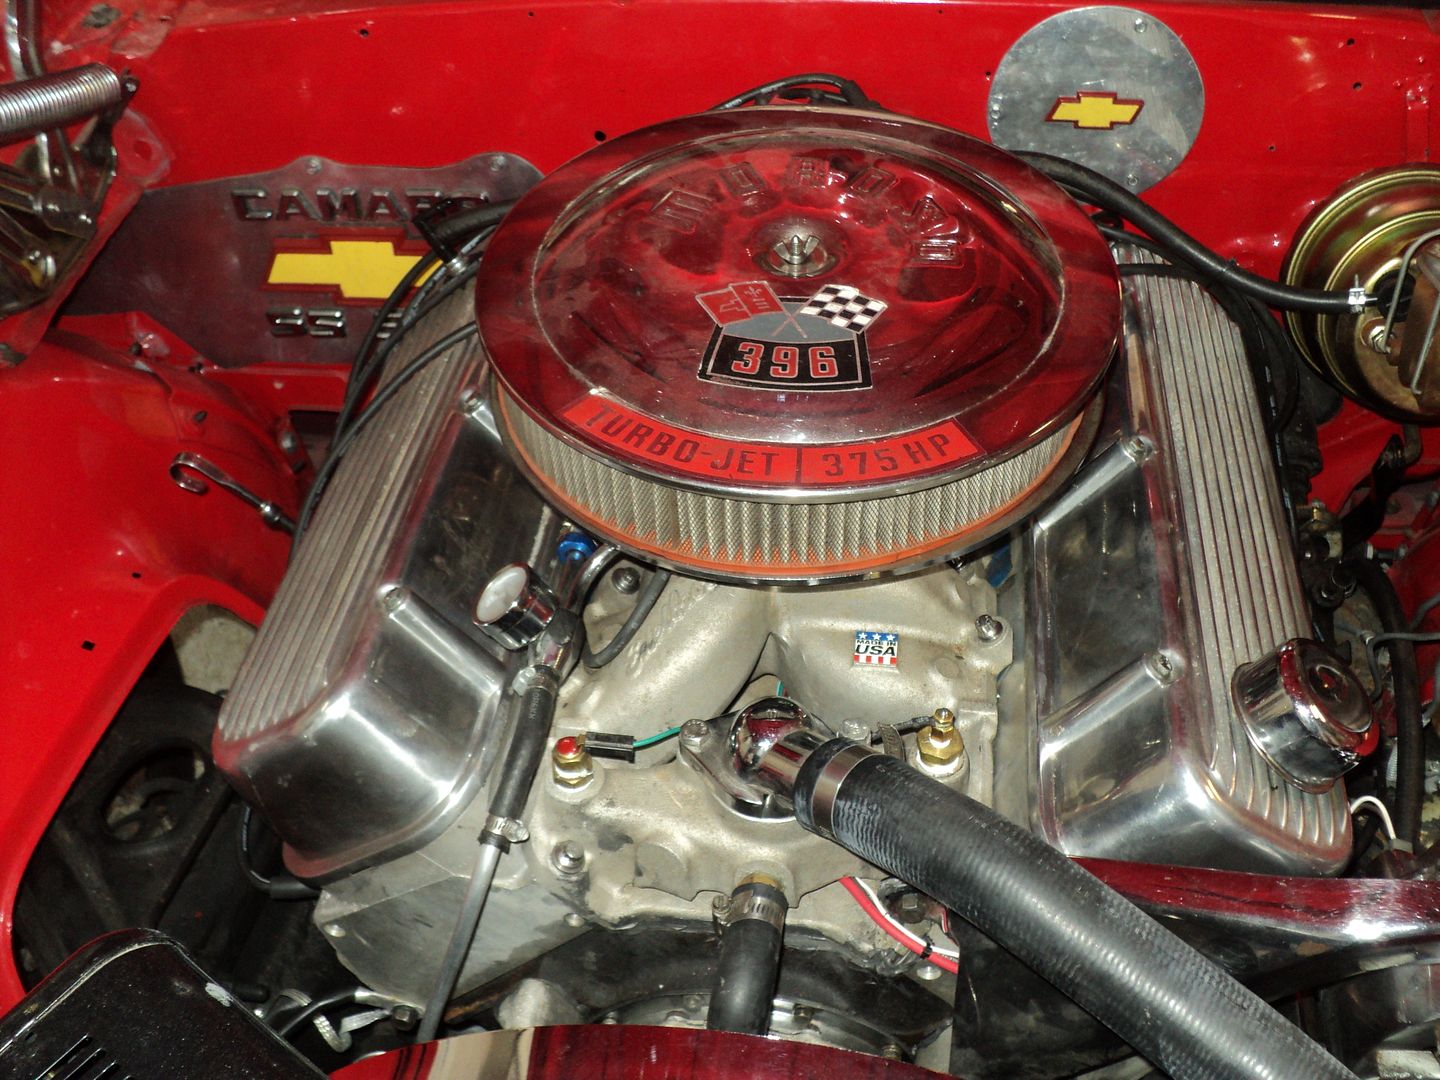 [/URL]
[URL=http://s54.photobucket.com/user/dusterbd13/media/customer%20cars/028_zps0bf2b588.jpg.html]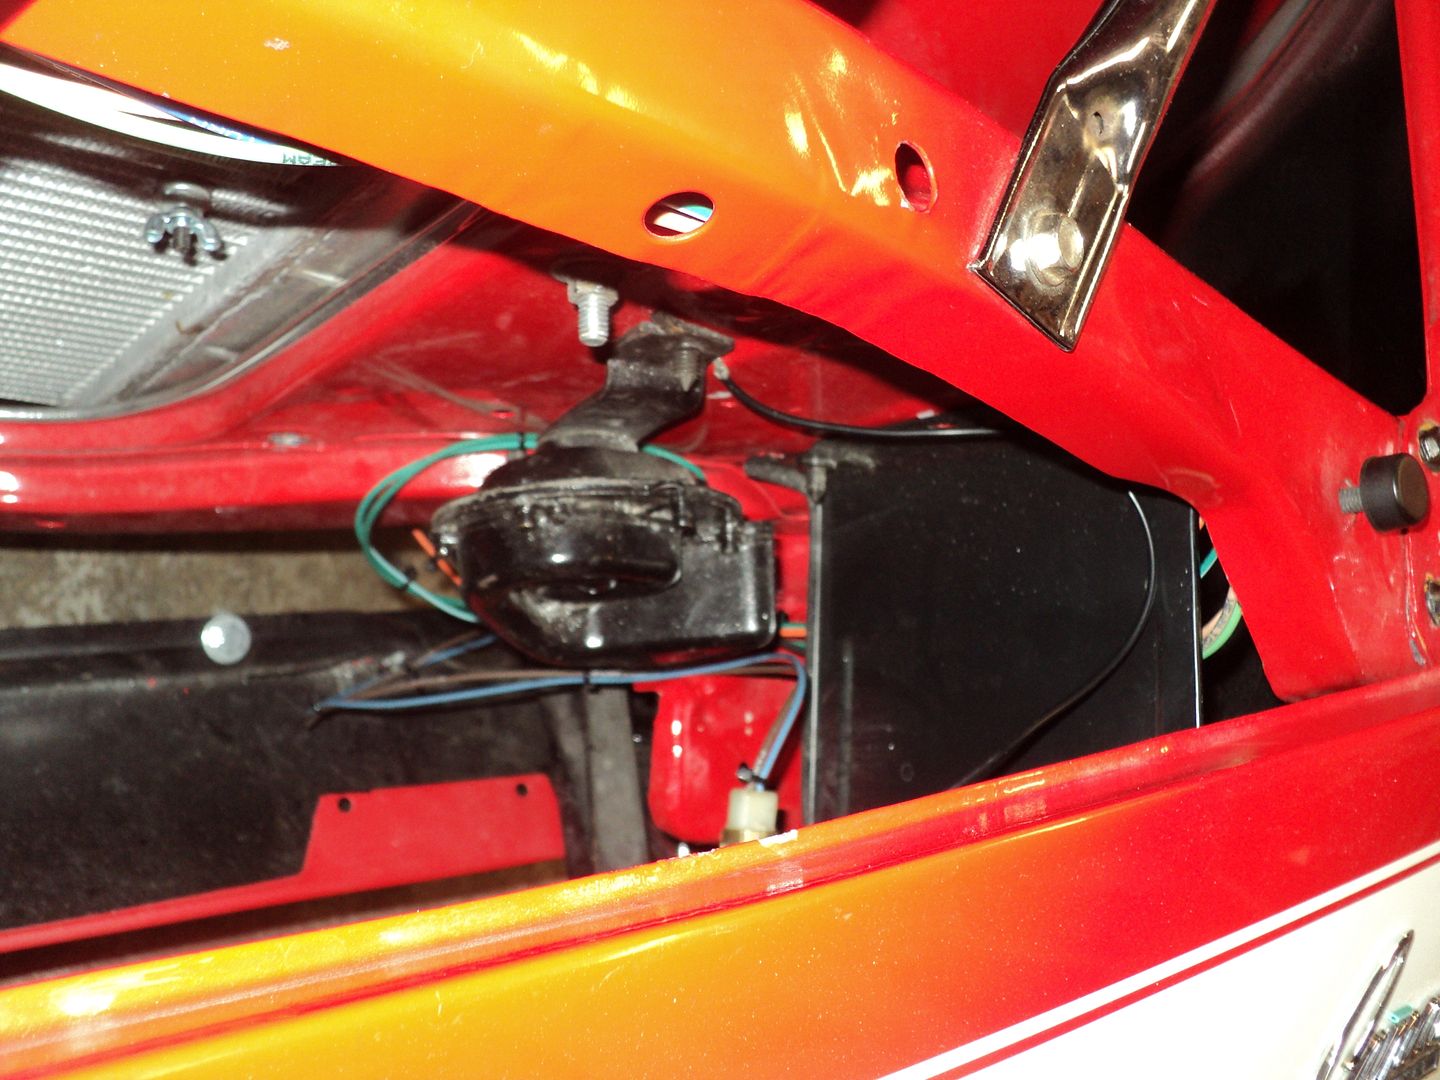 [/URL]
[URL=http://s54.photobucket.com/user/dusterbd13/media/customer%20cars/030_zps013c5662.jpg.html]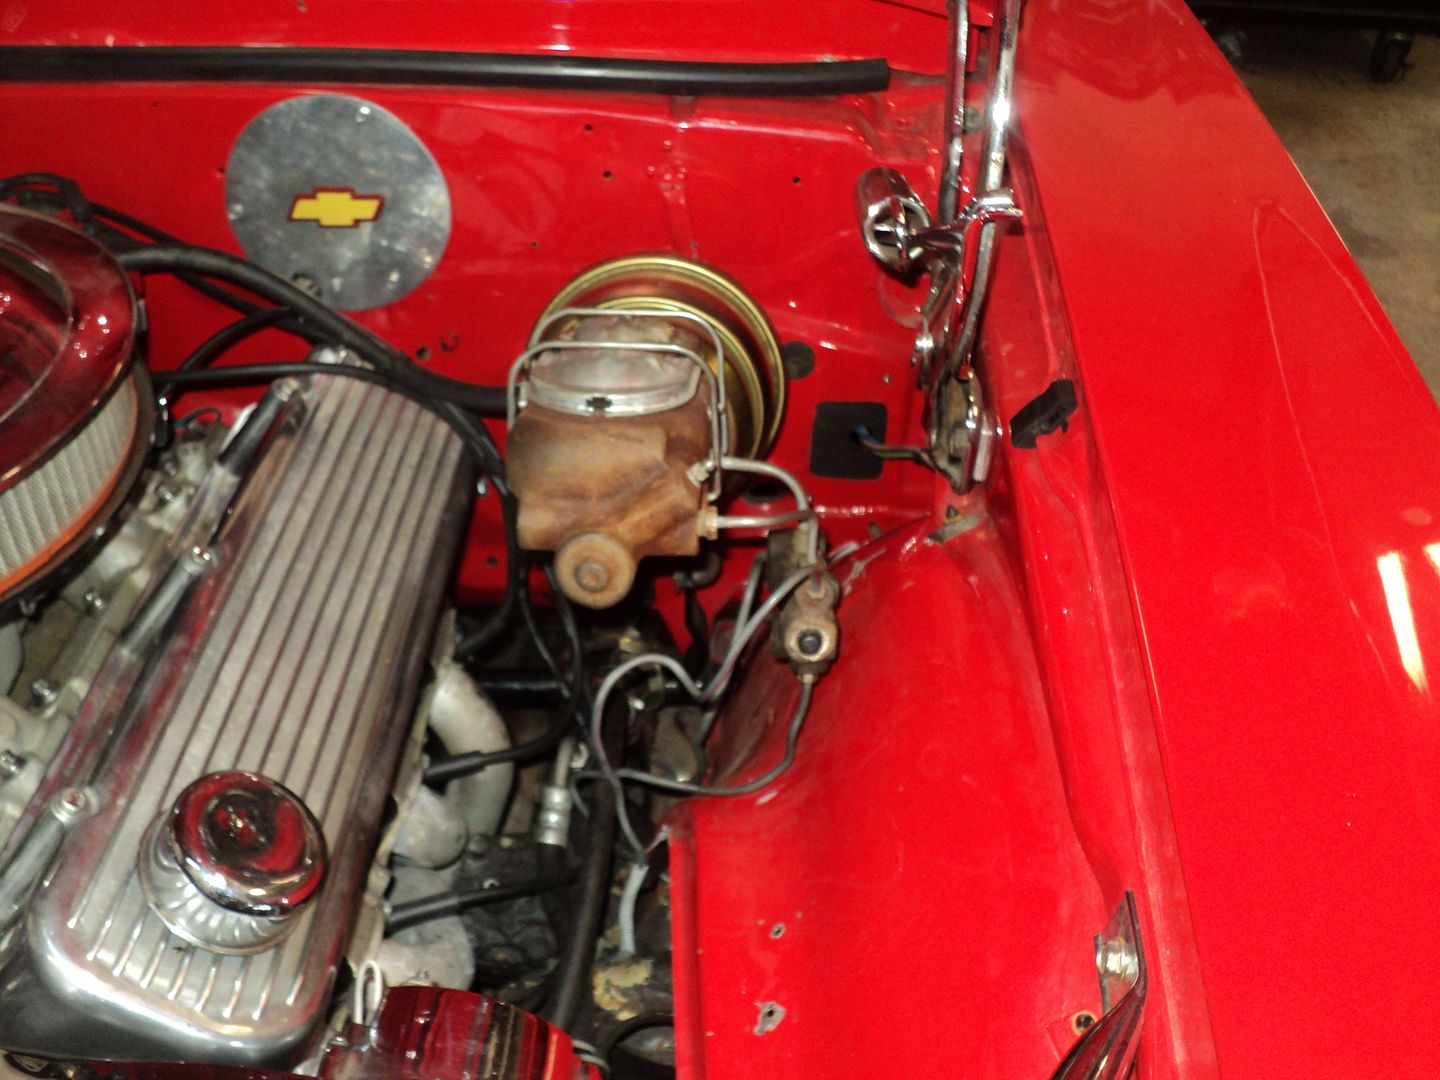 [/URL]
the owner was so impressed with my work and ethics that he dropped off another one of his cars for me to do: his high school 55 Chevy. 283 powerpack, 4 speed, 4.56 gears. getting full dakota digital dash, american autowire harness, and a good bit of looking over.
[URL=http://s54.photobucket.com/user/dusterbd13/media/customer%20cars/037_zpsa215b37d.jpg.html]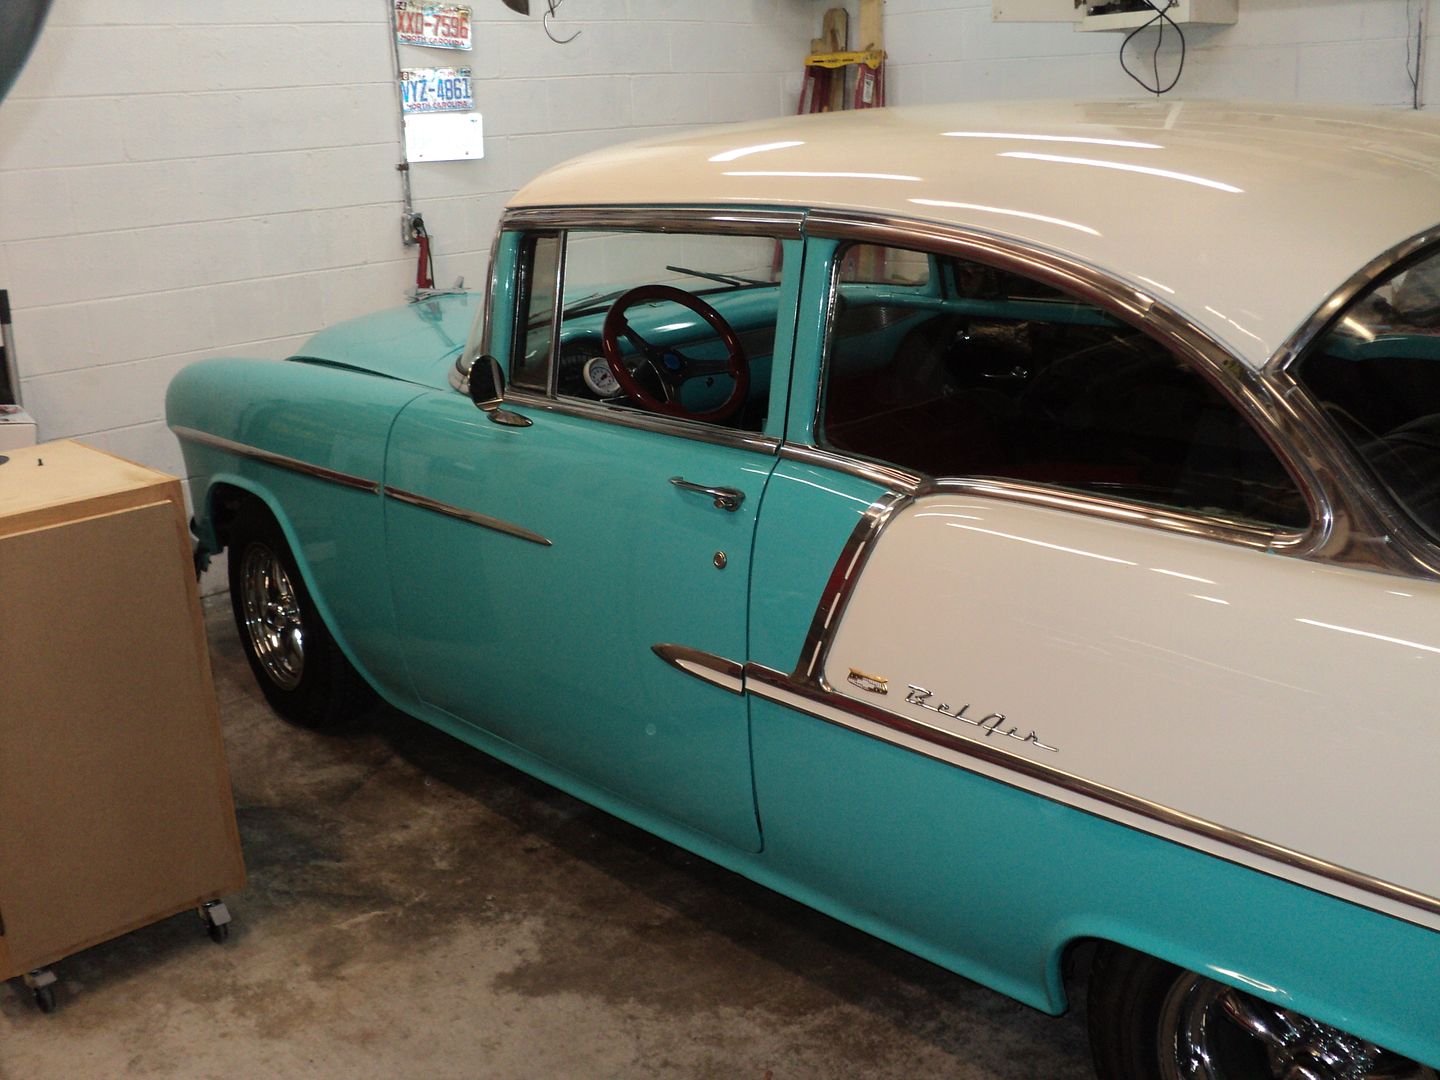 [/URL]
if you're still reading, ill update you on the elky, too. these cars are paying for the elky, so the ARE relevant....
I've got all the trim off the car, and its in pretty sorry shape. I dropped the window moldings and bed moldings off with my powdercoater to be done in gloss black. the grille, fender moldings, hood spar, emblems, bumpers, and taillights all are scruffy, but straight. so I'm going to polish them. the grille is constructed out of aluminum, and anodized. to polish, you first need to strip the anodization off. what I found to work is a three step process: oven cleaner(with lye) sprayed on heavy, and let soak for 30 minutes. then, after rinsing the oven cleaner off, use purple power and an sos pad to scrub vigorously. rinse. reapply the oven cleaner. soak for 45.
the GOOD parts of the front anodized trim:
[URL=http://s54.photobucket.com/user/dusterbd13/media/1964%20elcamino/099_zps247179bd.jpg.html]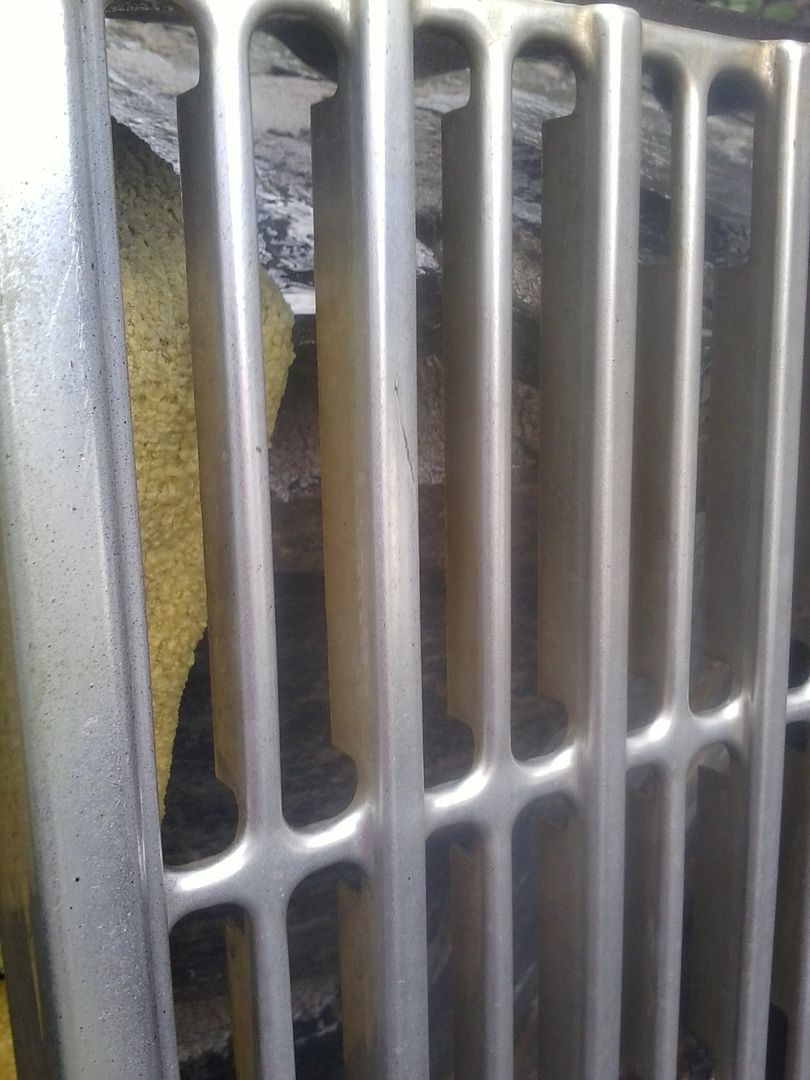 [/URL]
anodizing removal:
[URL=http://s54.photobucket.com/user/dusterbd13/media/1964%20elcamino/101_zps56ecd980.jpg.html]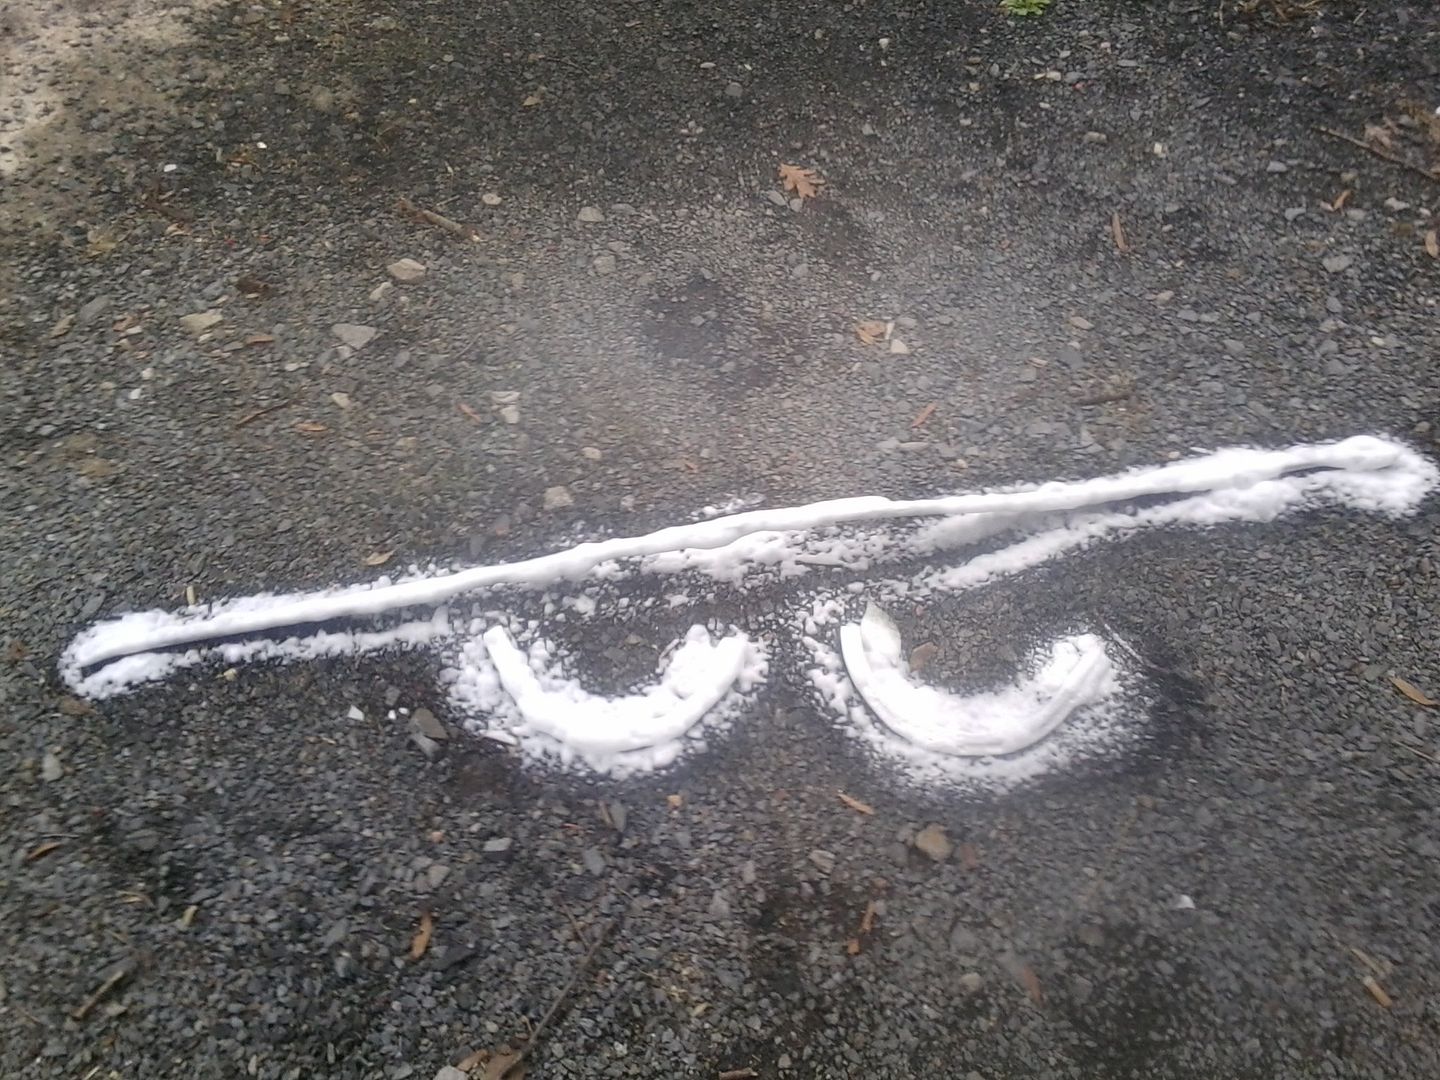 [/URL]
after the three step process:
[URL=http://s54.photobucket.com/user/dusterbd13/media/1964%20elcamino/105_zpsd4e1e550.jpg.html]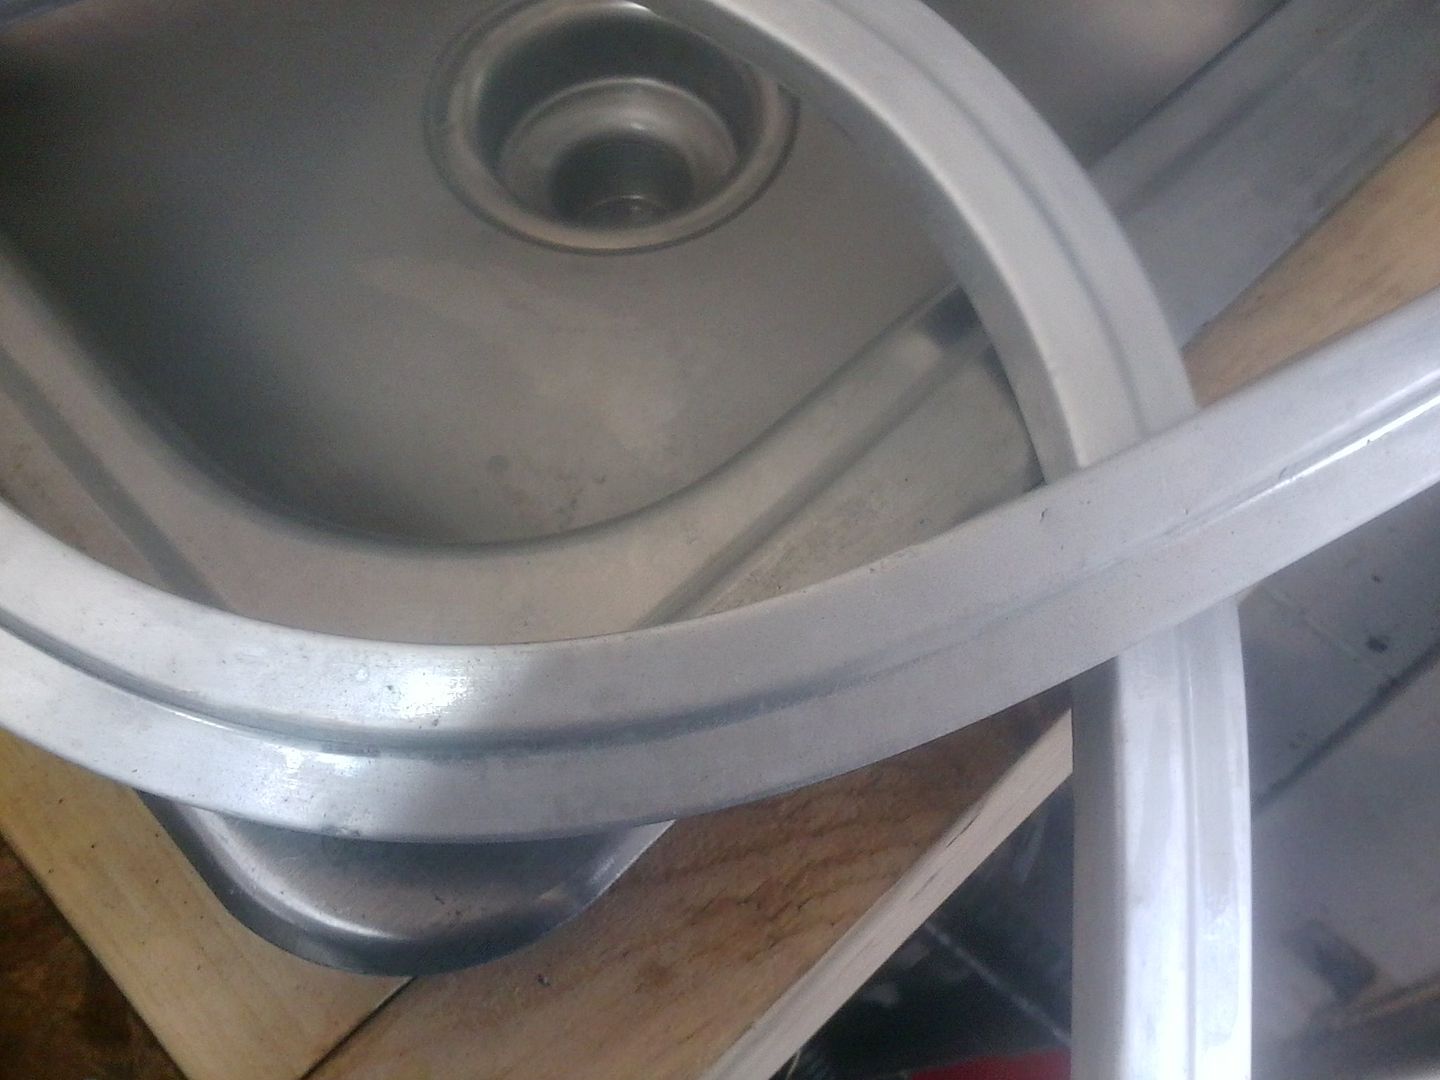 [/URL]
I then take the stripped trim over to my harbor freight buffer. I'm using porter cable 6 inch medium/grey rouge and porter cable 6 inch firm/white rouge wheels for this project.
here's a comparison pic: grey rouge done on left, not touched on right:
[URL=http://s54.photobucket.com/user/dusterbd13/media/1964%20elcamino/107_zps4026f7c0.jpg.html]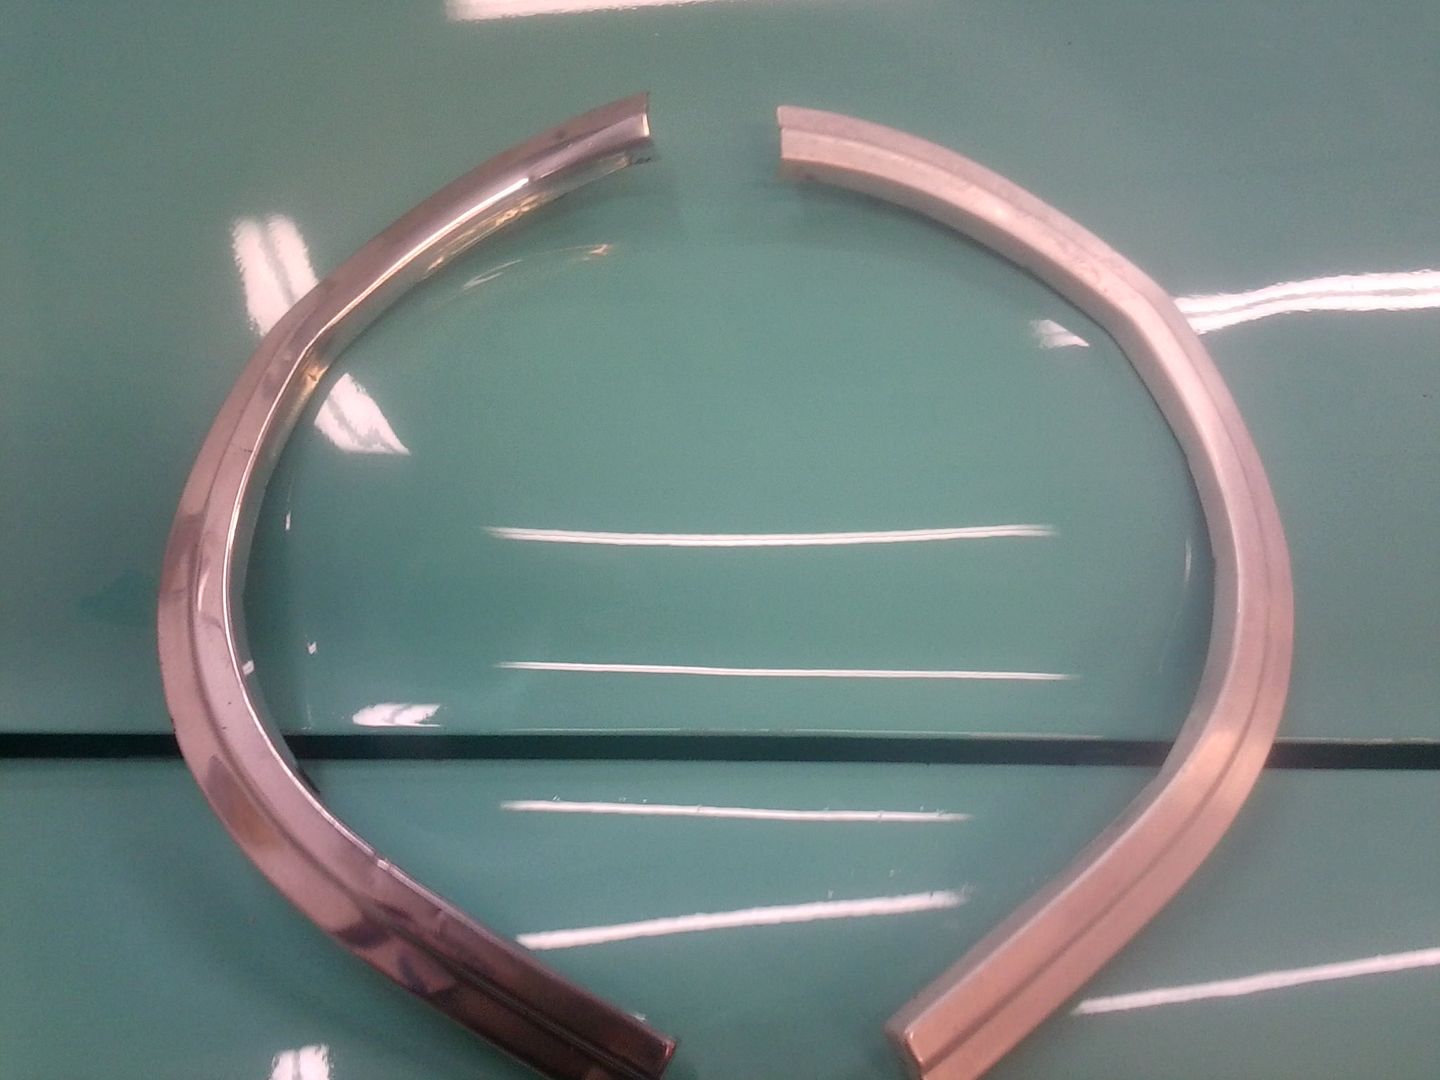 [/URL]
the surface quality isn't great yet, but it will really come into its own after the white rouge, and a final of mothers mag and aluminum polish hand rubbed. ill top it with mothers California gold paste wax.
[URL=http://s54.photobucket.com/user/dusterbd13/media/1964%20elcamino/109_zps1e570ab5.jpg.html]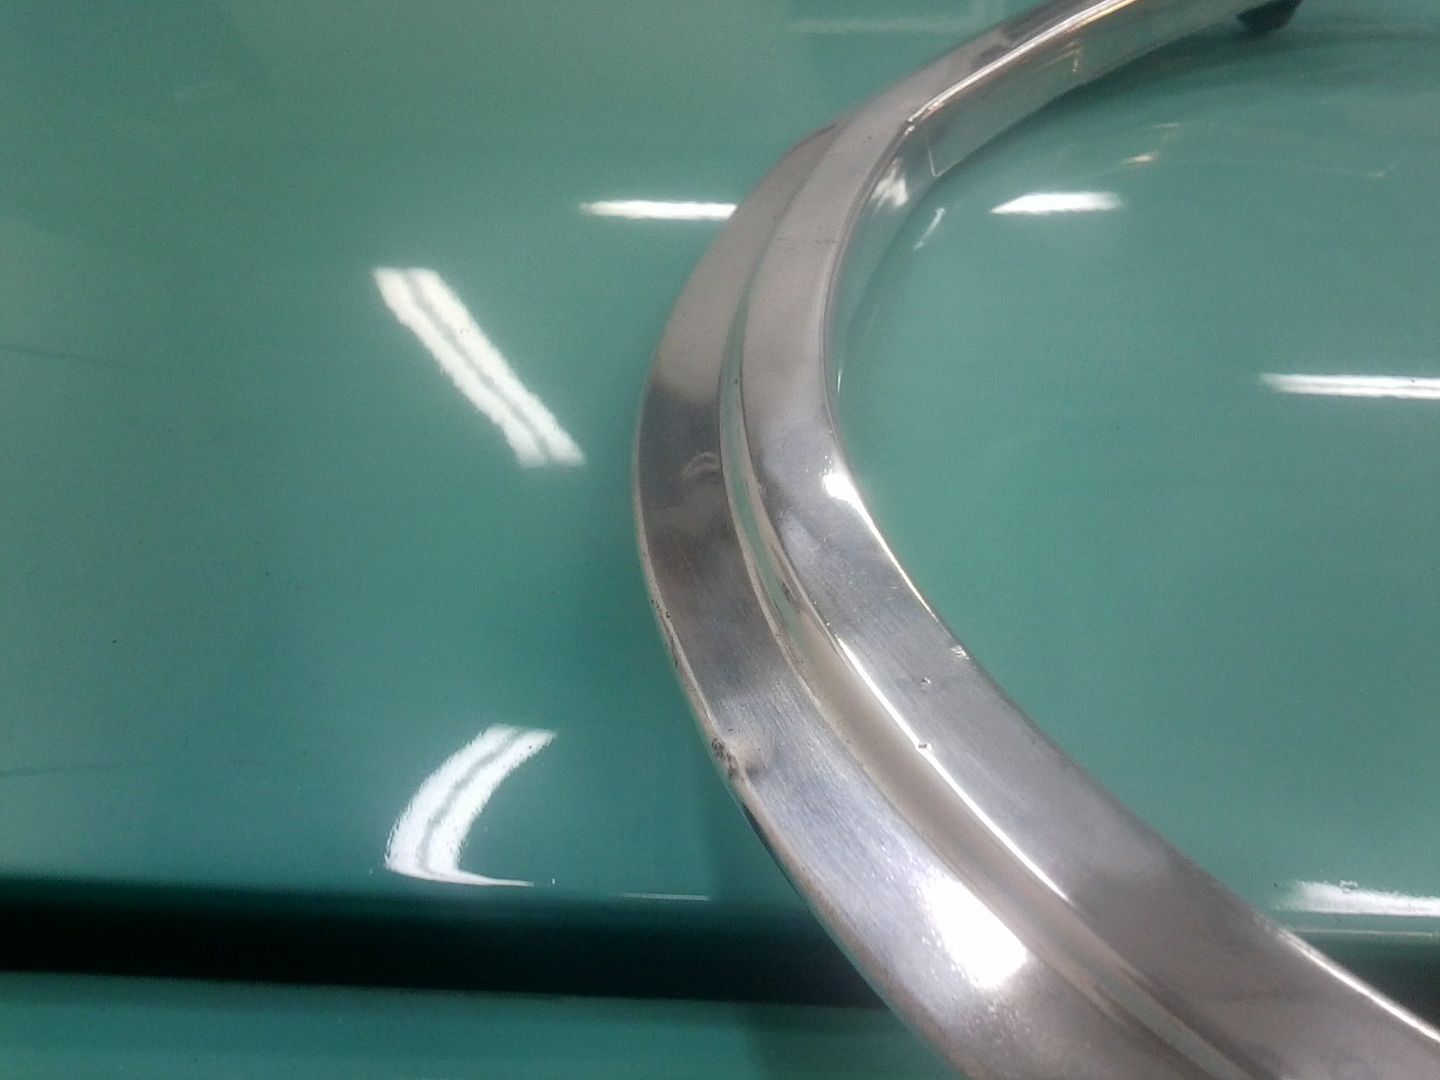 [/URL]
that’s all for tonight.
You'll need to log in to post.