Awesome documentation of a great project. When you tire of this beater, there will be a long line of interest.
Awesome documentation of a great project. When you tire of this beater, there will be a long line of interest.
Hopefully that day will be long off. But everything is for sale. ..
Thank you guys for the encouragemwnt. This is the only forum that me or this project are on that does that. Free rides for all encouragement providers when its done. Hell, free co-drives at the autocross.
I may take you up on that!
Seriously, I saw a cousin of your car driving down the road and it just looked amazing. This one was that pale yellow that I love. Seeing one driving about reminded me about just how perfect the proportions are. What a nice looking car. I am glad you're breathing life into this one again. It's a long road, but it will be worth it.
Of course, someday I want to wash my project, and I am sure you're in the same boat. Keep it up, you're making excellent progress.
I think one of the best things about this thread is how the costs are well contained but the upgrades are still worthwhile, pricing is being shared, and it gives me ideas for something I hope to start working on soon.
i try to please, guys.
and major reason I keep a budget is just to show what the true cost of doing stuff like this is. and to know what I have in it, so when someone wants to buy it out of the blue, I can give them the honest price. or so I know what break even is on the project should the worst happen.
and brian, I don't even like washing cars. im still looking forward to washing this one though. after the first wash, autobell.
Michael
We have made more progress in the last two weeks than the bodyman made in the last two months. Ill have a big and picture heavy update soon, with some budgeting stuff, but the short version is that thanks to Bryan teaching me that it is possible to weld air (tuna55) and not be afraid to fail at bodywork, as well as my patience wearing thin, the rust repair is all but done. Little more welding to do on the quarters, and we're up to bondo and hammer/dolly work. Coming down the home stretch.
Dusterbd13 wrote: We have made more progress in the last two weeks than the bodyman made in the last two months. Ill have a big and picture heavy update soon, with some budgeting stuff, but the short version is that thanks to Bryan teaching me that it is possible to weld air (tuna55) and not be afraid to fail at bodywork, as well as my patience wearing thin, the rust repair is all but done. Little more welding to do on the quarters, and we're up to bondo and hammer/dolly work. Coming down the home stretch.
I am glad to be anywhere in the "positive" column. You're doing great, and I can't wait to see the results.
so, budget first:
previous total: 8094.37
led strip and tweeters from amazon: 20.33
02 sensor, fuel lines, fuel sending unit from rockauto: 73.75
gallon body filler: 23.92
5 yards 1/8 closed cell foam and 1qt adhesive from lowders upholstery: 50.00
electric self closing trunk lock from 97 deville pull-a-part: 22.13
4x8 sheet of hardboard, lowes: 9.54
current total: 8293.74
so, first off what I bought and why:
the sending unit, sensor, and lines are for my TBI conversion. I had to order some parts for the wife's Subaru, so I ordered these as well and split the shipping costs. the denso o2 sensors have proved themselves to me time and time again with their quality and longevity. the sending unit is the stock ohm range to replace my dead one. the tweeters are to bring up the front soundstage when I put the radio back in. still haven't decided on the rest of the front soundstage though. going to have to experiment when the time comes to see what I like. the strips of LED's are to put under the door, near the weatherstrip and wire to only be on when the door is open. I really like the lights like that on the late model luxury cars, and they're very useful for the areas I live and travel. especially since I do a ton of night driving out in the middle of nowhere to places I've never been before for work. so this is an experiment to see if I can do it. worst case, it was a waste of seven bucks.
[URL=http://s54.photobucket.com/user/dusterbd13/media/1964%20elcamino/009_zps4bee18b9.jpg.html]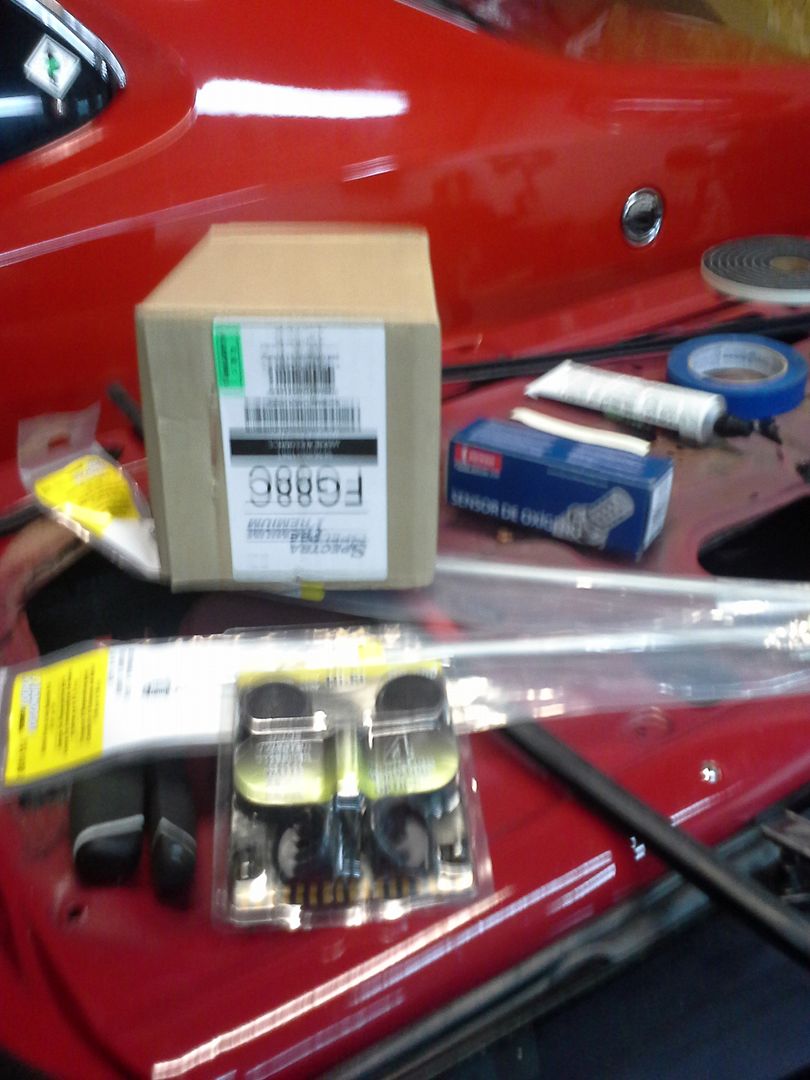 [/URL]
[URL=http://s54.photobucket.com/user/dusterbd13/media/1964%20elcamino/003_zpsfd2cb830.jpg.html]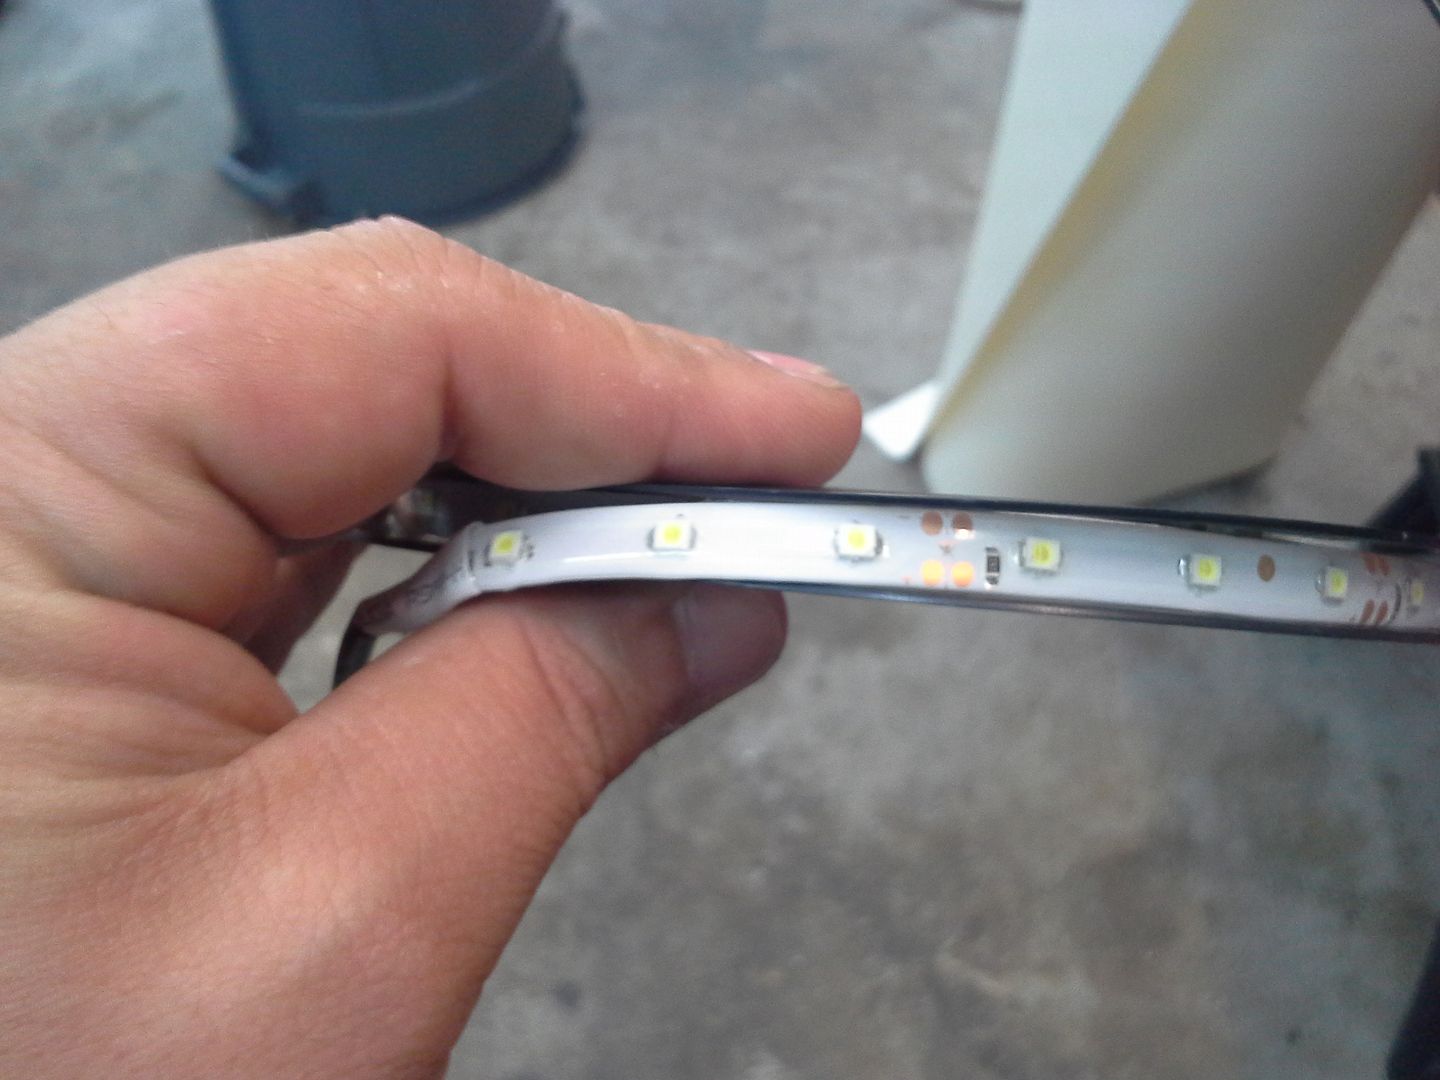 [/URL]
[URL=http://s54.photobucket.com/user/dusterbd13/media/1964%20elcamino/005_zps35ae5aef.jpg.html]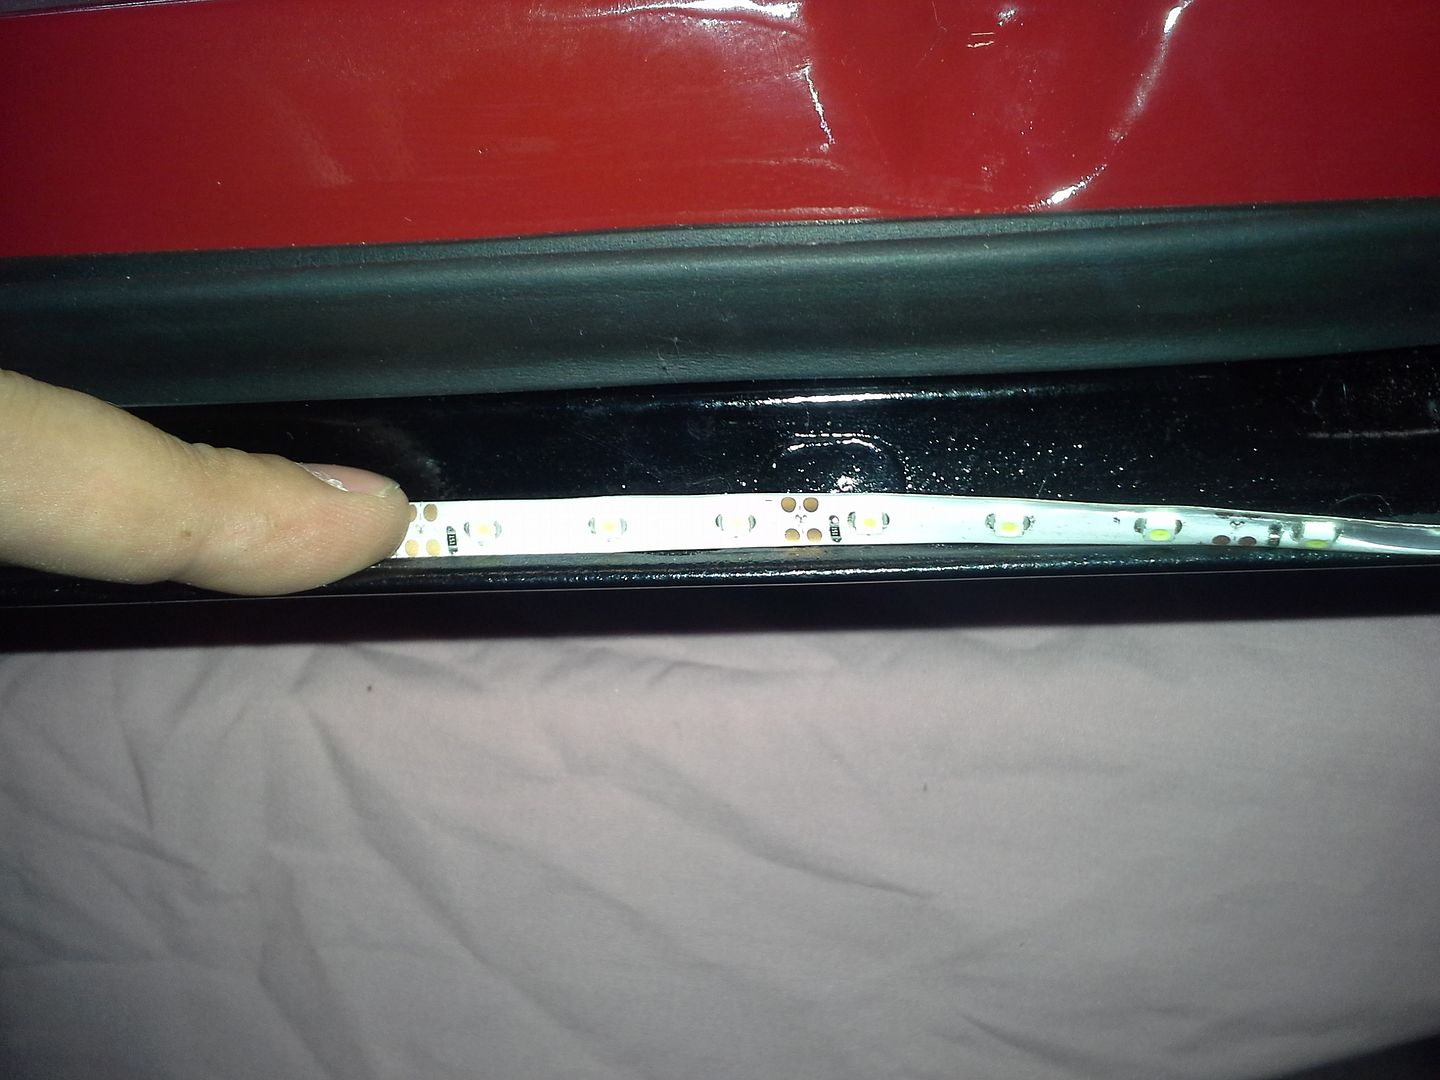 [/URL]
I also bought a sheet of 1/8 hardboard, 6 yards of 1/8 closed cell firm density foam, and quart of vinyl top adhesive from the local upholstery shop. Mr. lowder is a really nice guy, and does some incredibly work. I'm using stuff from him, so mine should be just as good, right? (yes, I'm joking)
[URL=http://s54.photobucket.com/user/dusterbd13/media/1964%20elcamino/001_zpsf40753db.jpg.html]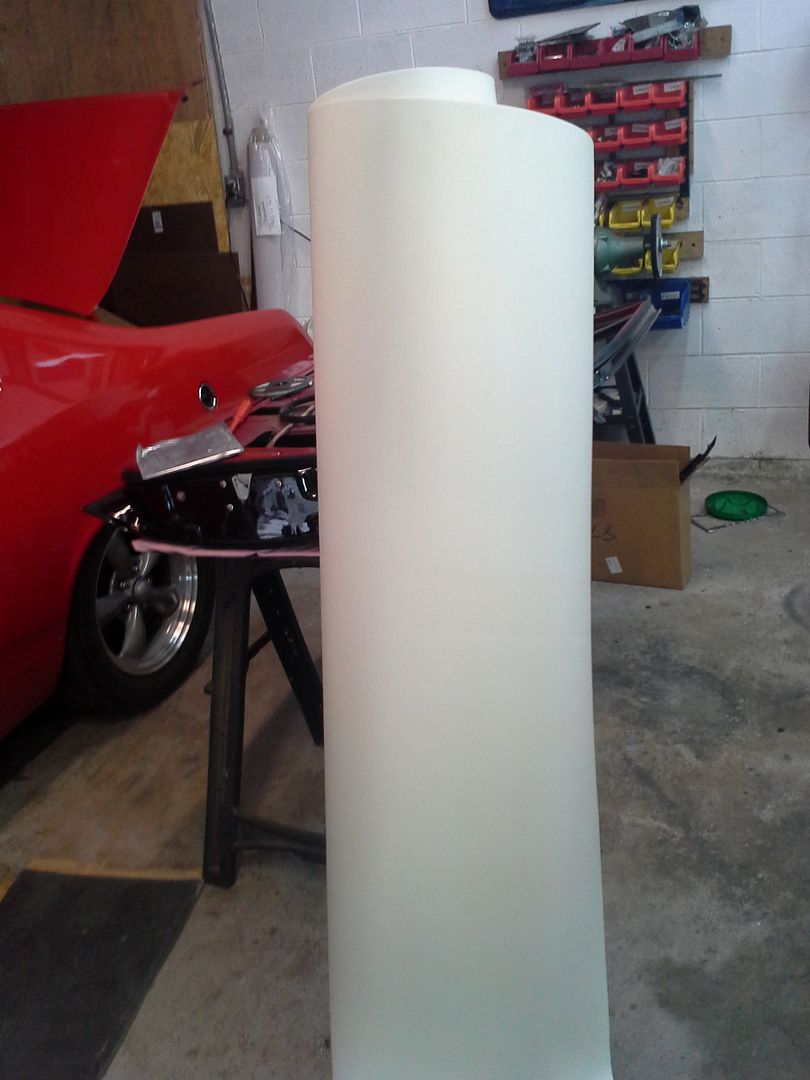 [/URL]
[URL=http://s54.photobucket.com/user/dusterbd13/media/1964%20elcamino/006_zpsdcb58f24.jpg.html]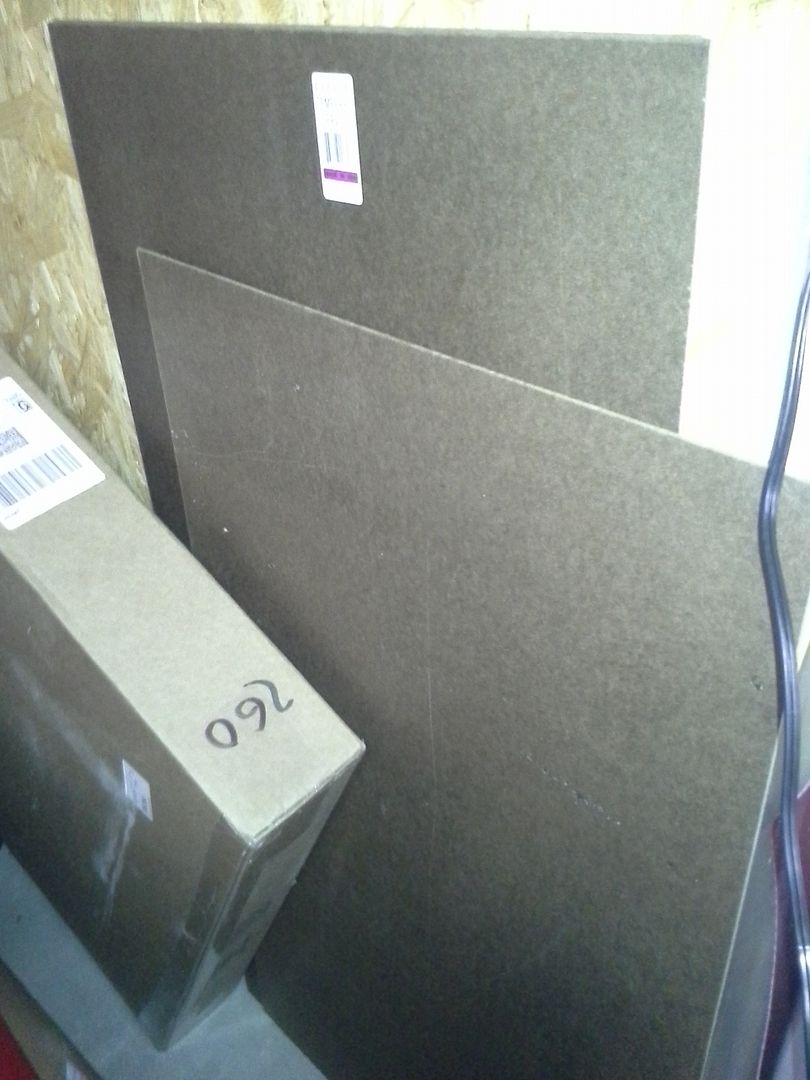 [/URL]
also, for my upcoming smugglers box rebuild, I got one of the electric, pull-itself-down trunk locks from a 1997 Deville at pull-a-part. should work nicely, but the thing is HUGE. on the other hand, its strong enough that it should compress weatherstripping enough to make the compartment water tight.
[URL=http://s54.photobucket.com/user/dusterbd13/media/1964%20elcamino/002_zps29d2d23c.jpg.html]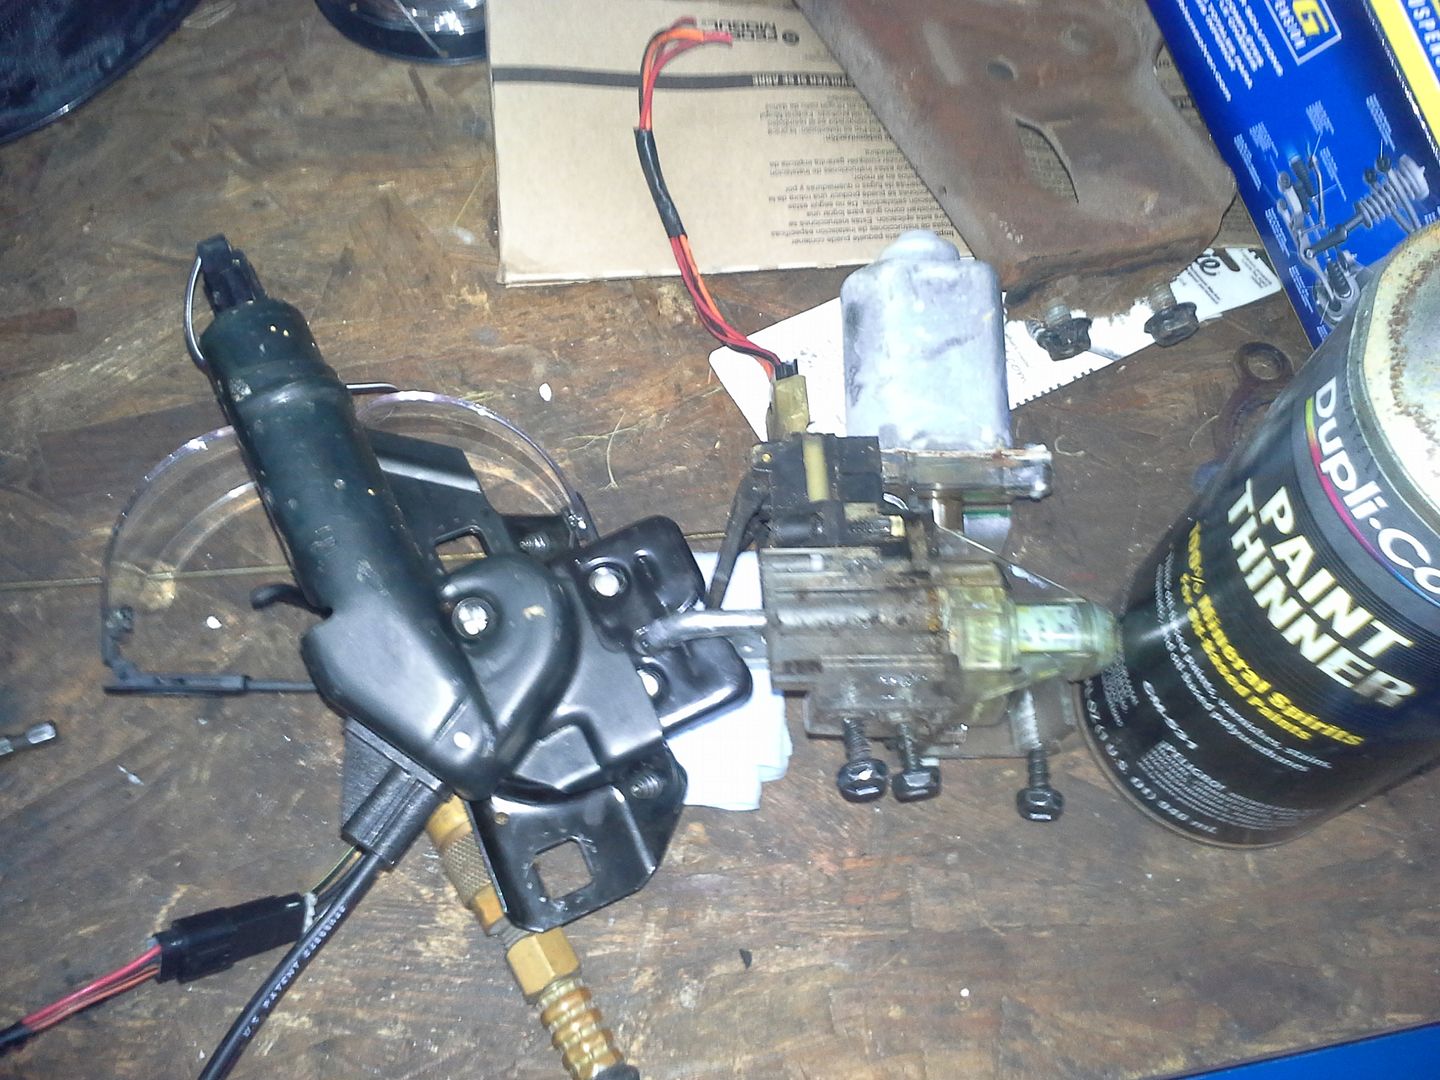 [/URL]
lastly, I want to give some credit to another forum member, tuna55 from the grassrootsmotorsport forum. he is rebuilding a 72 chevy truck in a 2 car garage, doing all the body work himself. he is an inspiration to me. http://grassrootsmotorsports.com/forum/build-projects-and-project-cars/build-thread-for-the-72-gmc-finally-thanks-john/59103/page1/ in his thread, he showed how to make parts from scrap metal, not fear failure, and weld air.
since my body man is busy not doing a whole hell of a lot when I'm not there, I have been going up to his shop most nights after work, Saturday afternoons, and my occasional day off. over the past month, we have made more progress that he has made in the past year. I'm finally fed up, and just want this horrible experience over with. I hate bodywork. I truly hate it.
but apparently, I'm getting pretty good at it. necessity is a mother.
anyway, I'm going to try to do some chronological, in progress pictures of various parts that I've been working on.
first is the floor. we had cut out all the old rot, patches, and "metal", and he had started fitting the new stuff. kind of. so we scheduled a time, and I went to town. figured it couldn’t be that hard. I even took all my own tools so we would have to sets and make quicker progress. almost the entire floor pan was done with my cheap, bottom of the barrel, harbor freight flux core welder. this thing does surprisingly well, after you throw the wire that it comes with down in the woods. use good wire. or any wire that isn't the factory equipped crap. the floors are essentially done after I had to cut them apart, reshape them, weld, beat, grind, repeat. when I was happy with the topside, I covered all the seams with POR15. when I get the truck back in my possession, the body will come off the frame, ill touch up some stuff on the underside, por15 THAT, and seam seal all of it. joy.
[URL=http://s54.photobucket.com/user/dusterbd13/media/1964%20elcamino/040_zps627a8fbd.jpg.html]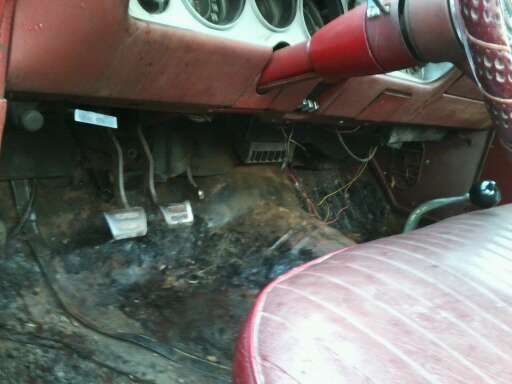 [/URL]
[URL=http://s54.photobucket.com/user/dusterbd13/media/1964%20elcamino/030_zpsee546220.jpg.html]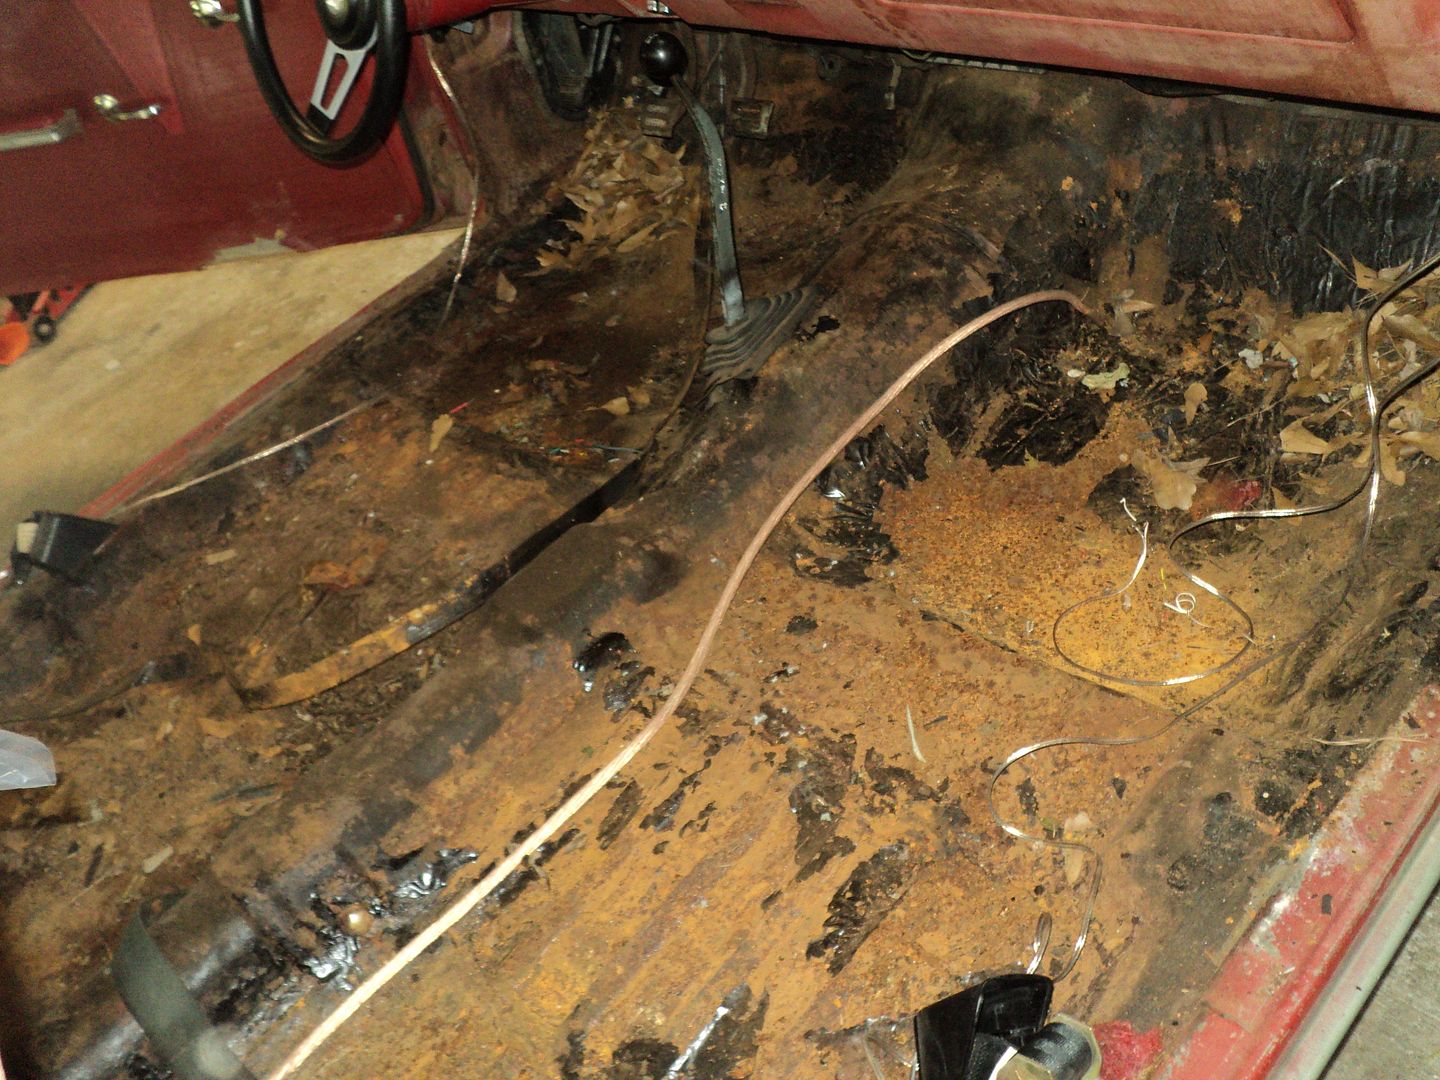 [/URL]
[URL=http://s54.photobucket.com/user/dusterbd13/media/1964%20elcamino/008_zps9a5fc459.jpg.html]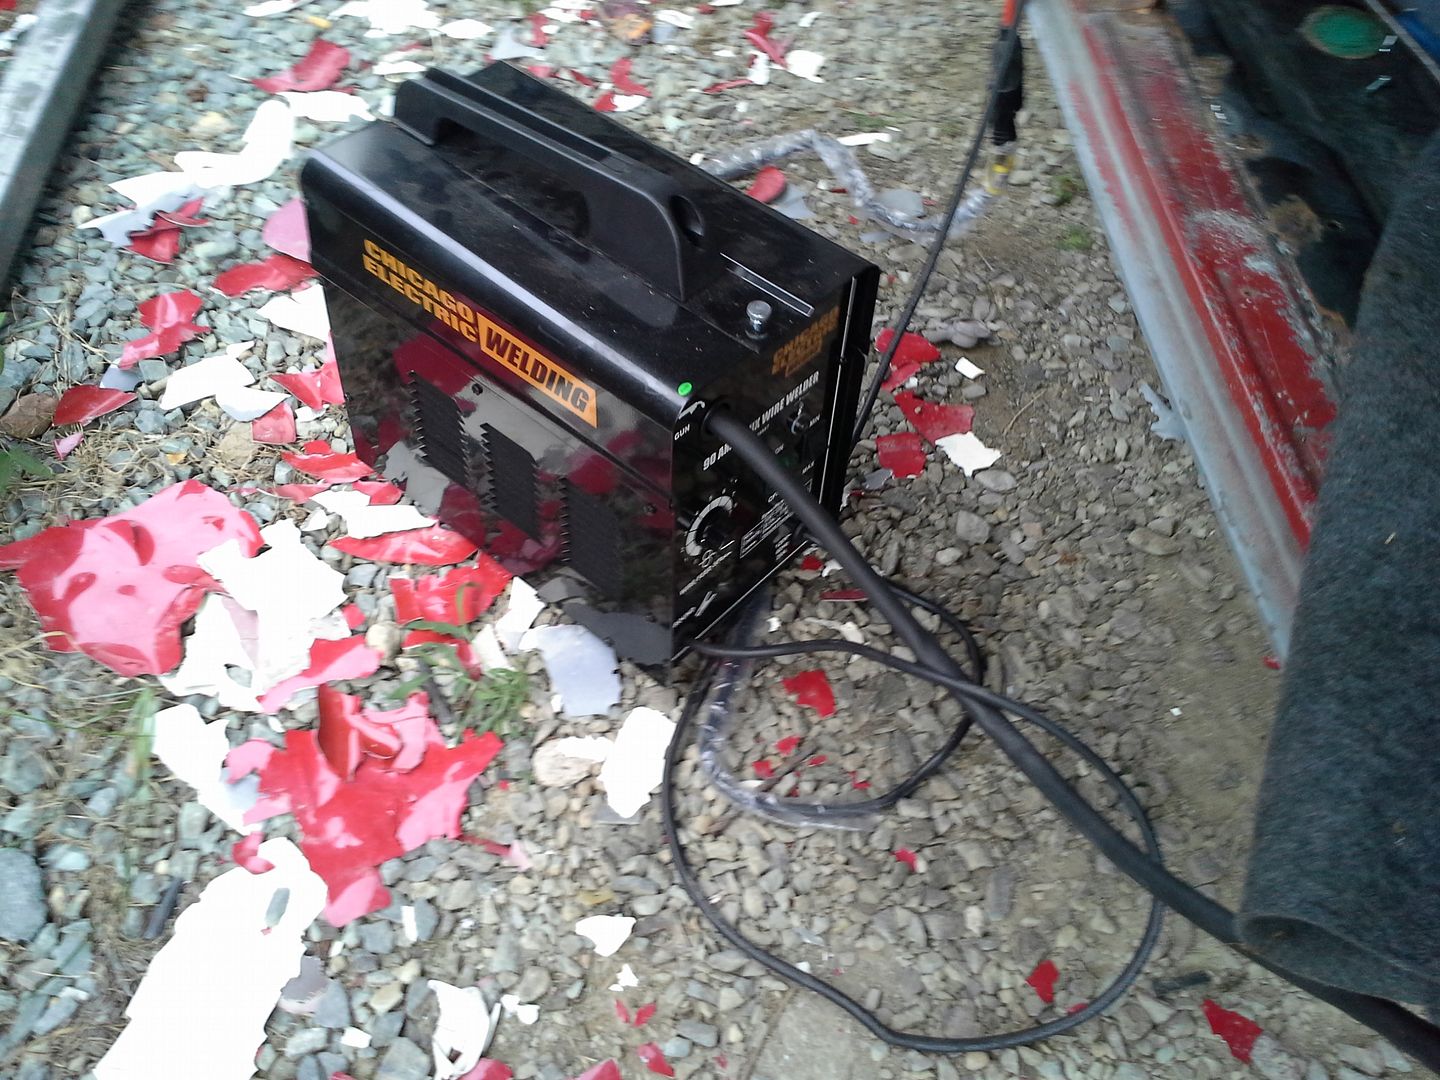 [/URL]
[URL=http://s54.photobucket.com/user/dusterbd13/media/1964%20elcamino/003_zpsf6655f16.jpg.html]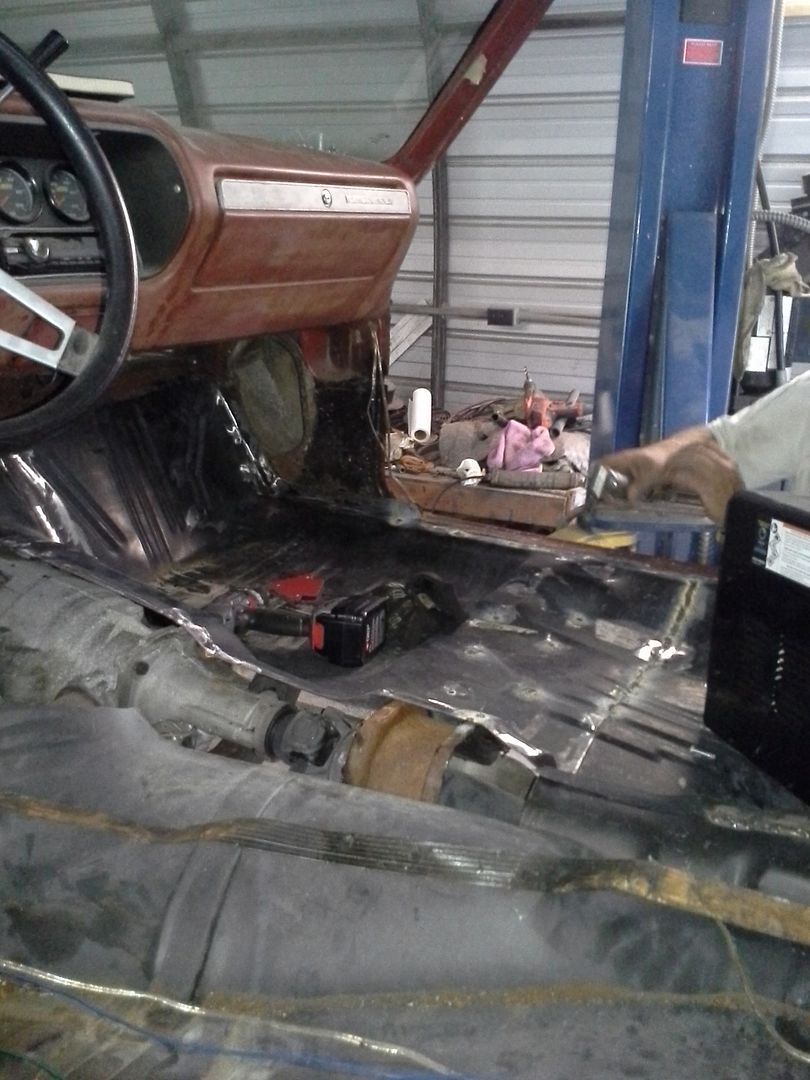 [/URL]
[URL=http://s54.photobucket.com/user/dusterbd13/media/1964%20elcamino/006_zps956e28b9.jpg.html]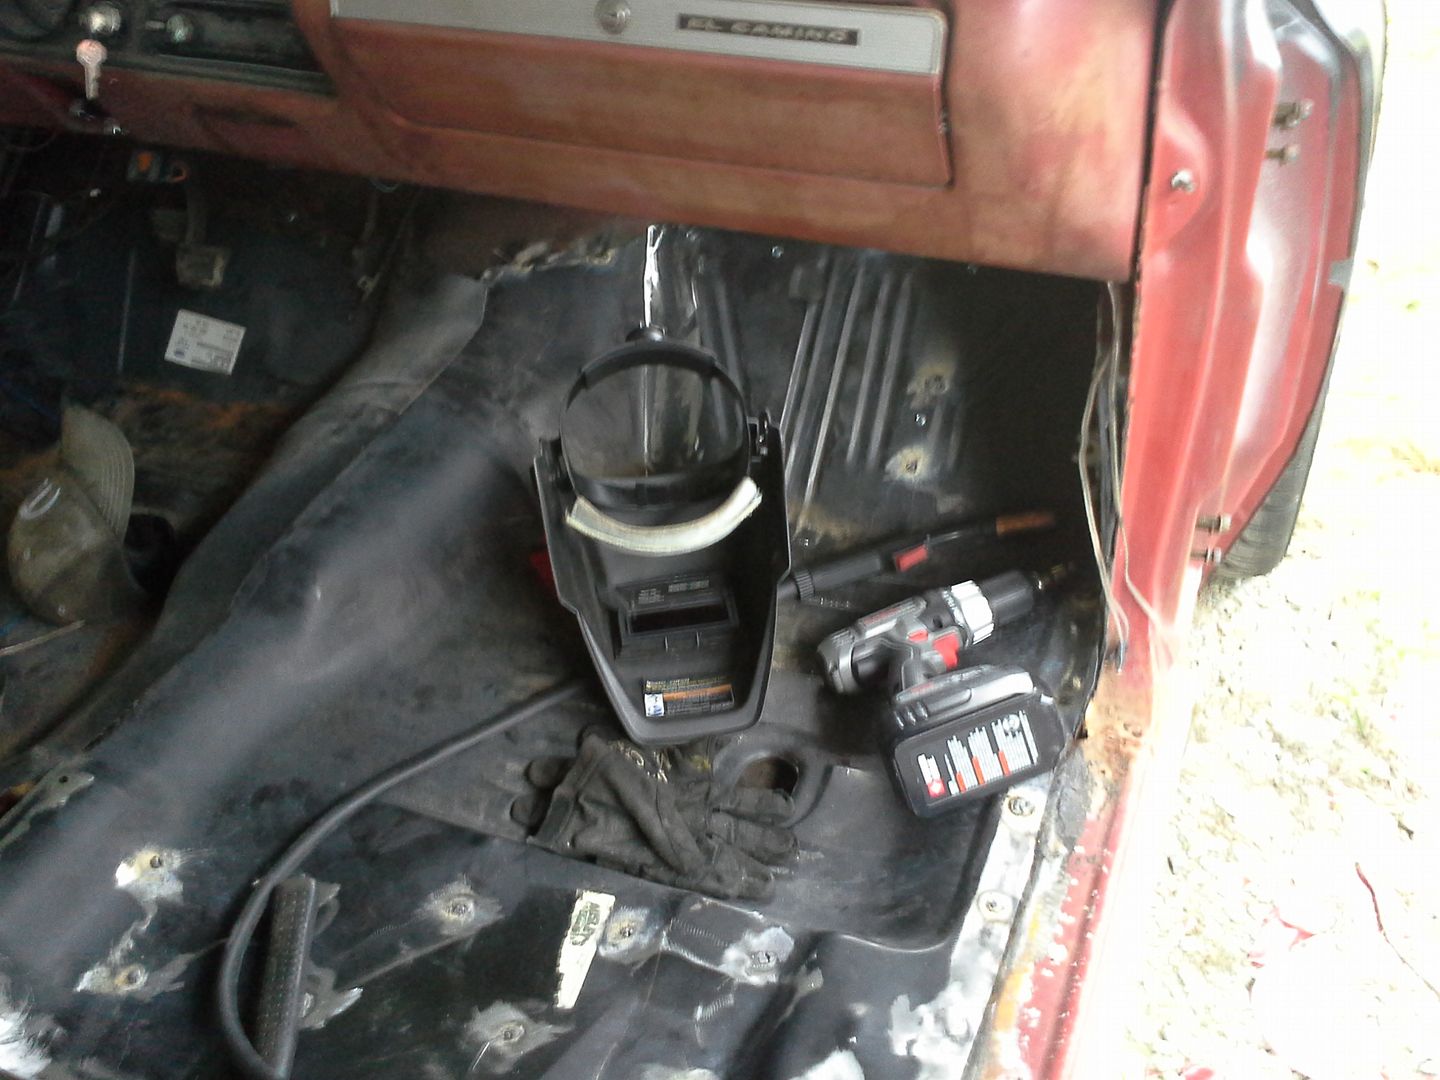 [/URL]
[URL=http://s54.photobucket.com/user/dusterbd13/media/1964%20elcamino/015_zps7a99563a.jpg.html]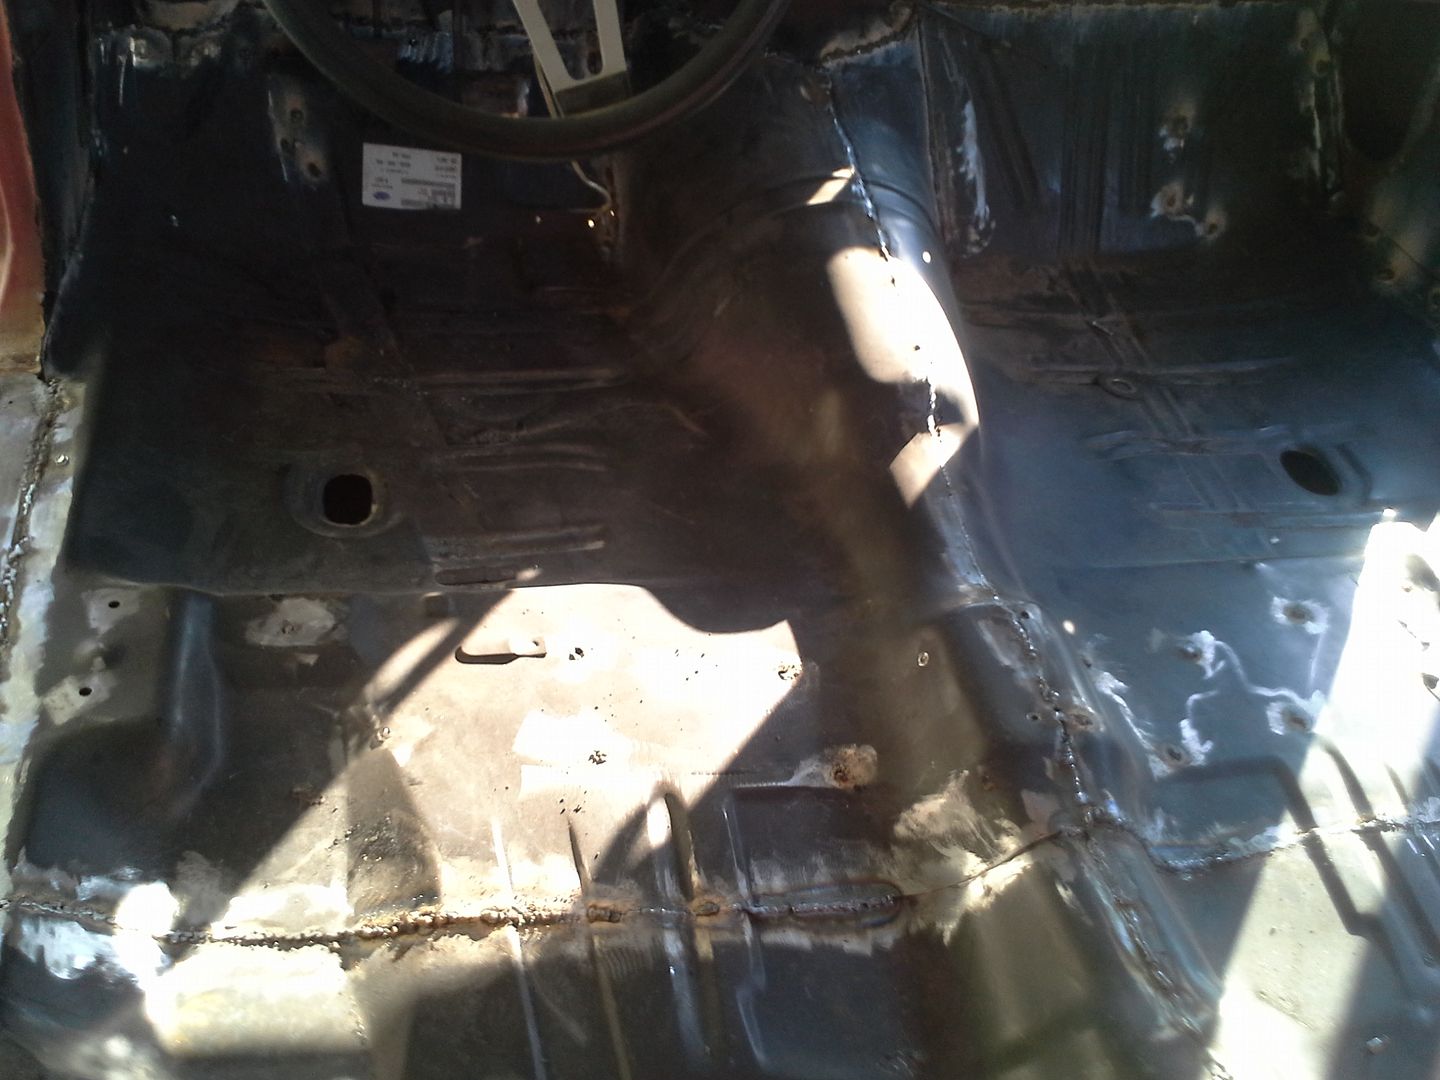 [/URL]
[URL=http://s54.photobucket.com/user/dusterbd13/media/1964%20elcamino/016_zps4a313565.jpg.html]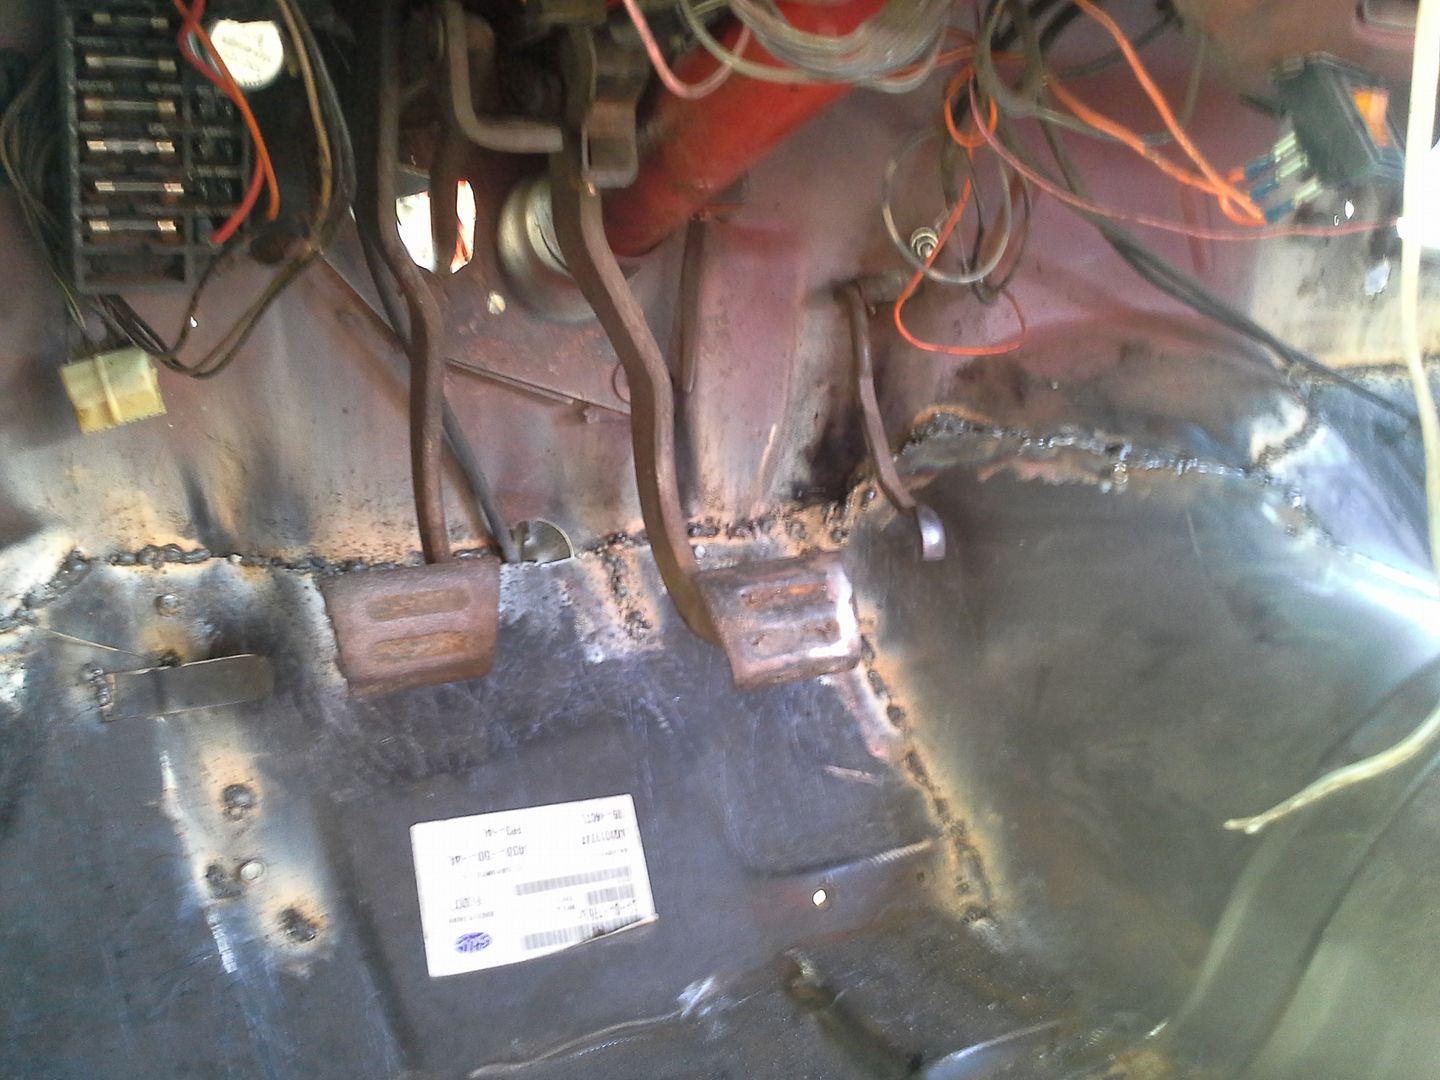 [/URL]
[URL=http://s54.photobucket.com/user/dusterbd13/media/1964%20elcamino/017_zpse570043d.jpg.html]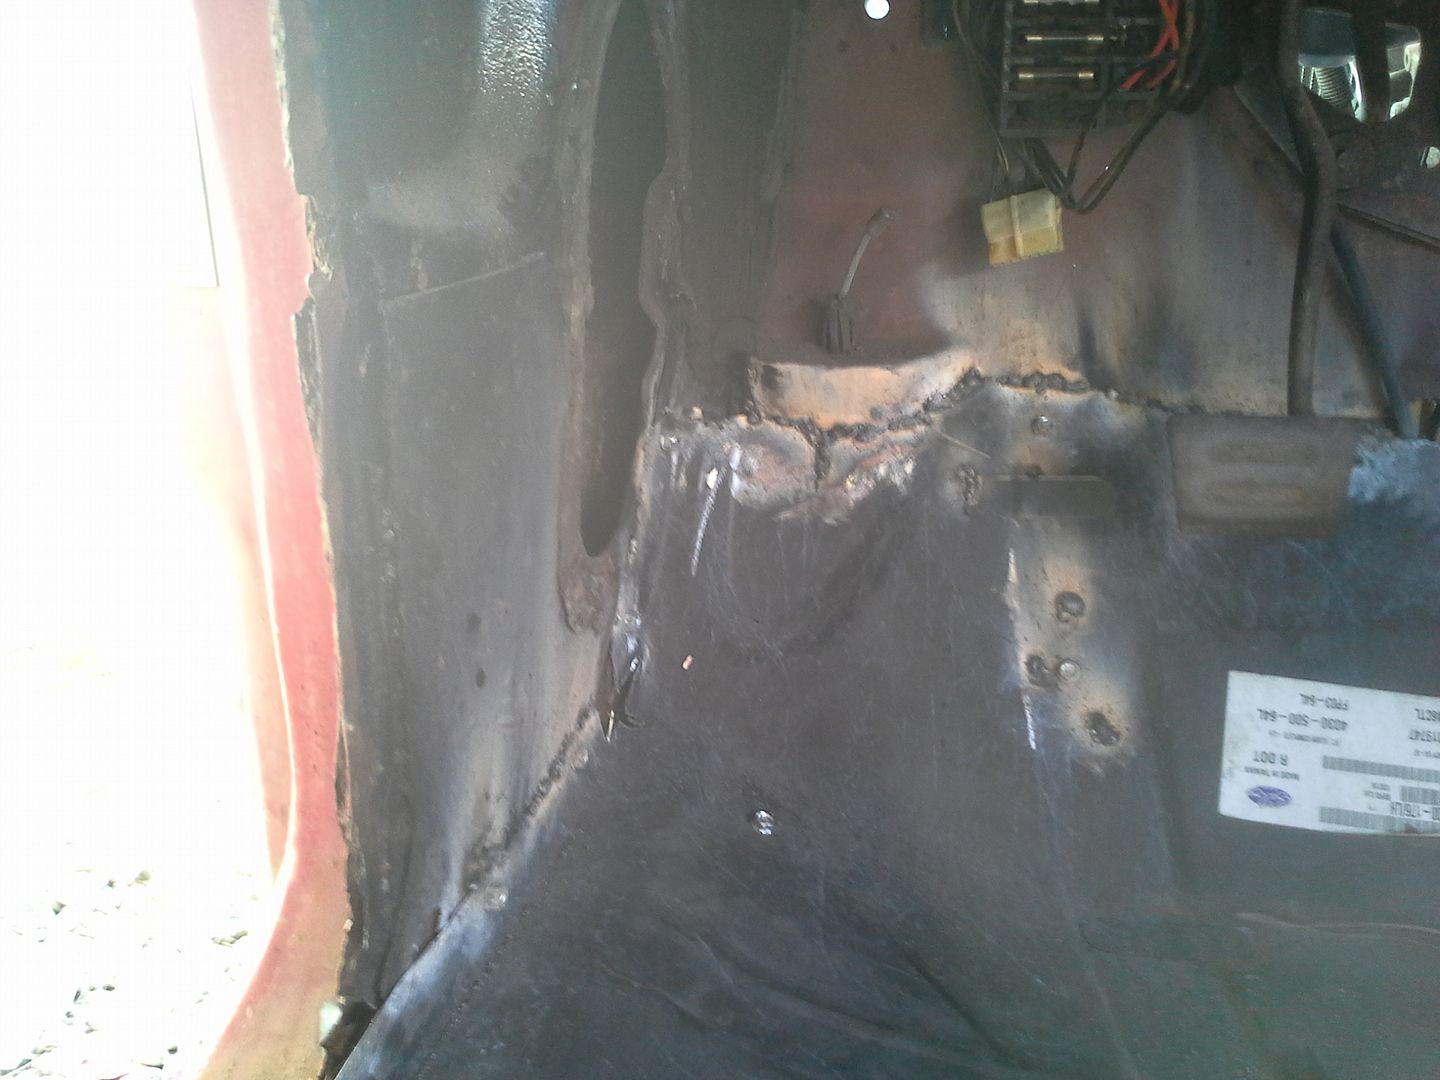 [/URL]
[URL=http://s54.photobucket.com/user/dusterbd13/media/1964%20elcamino/018_zps44a79214.jpg.html]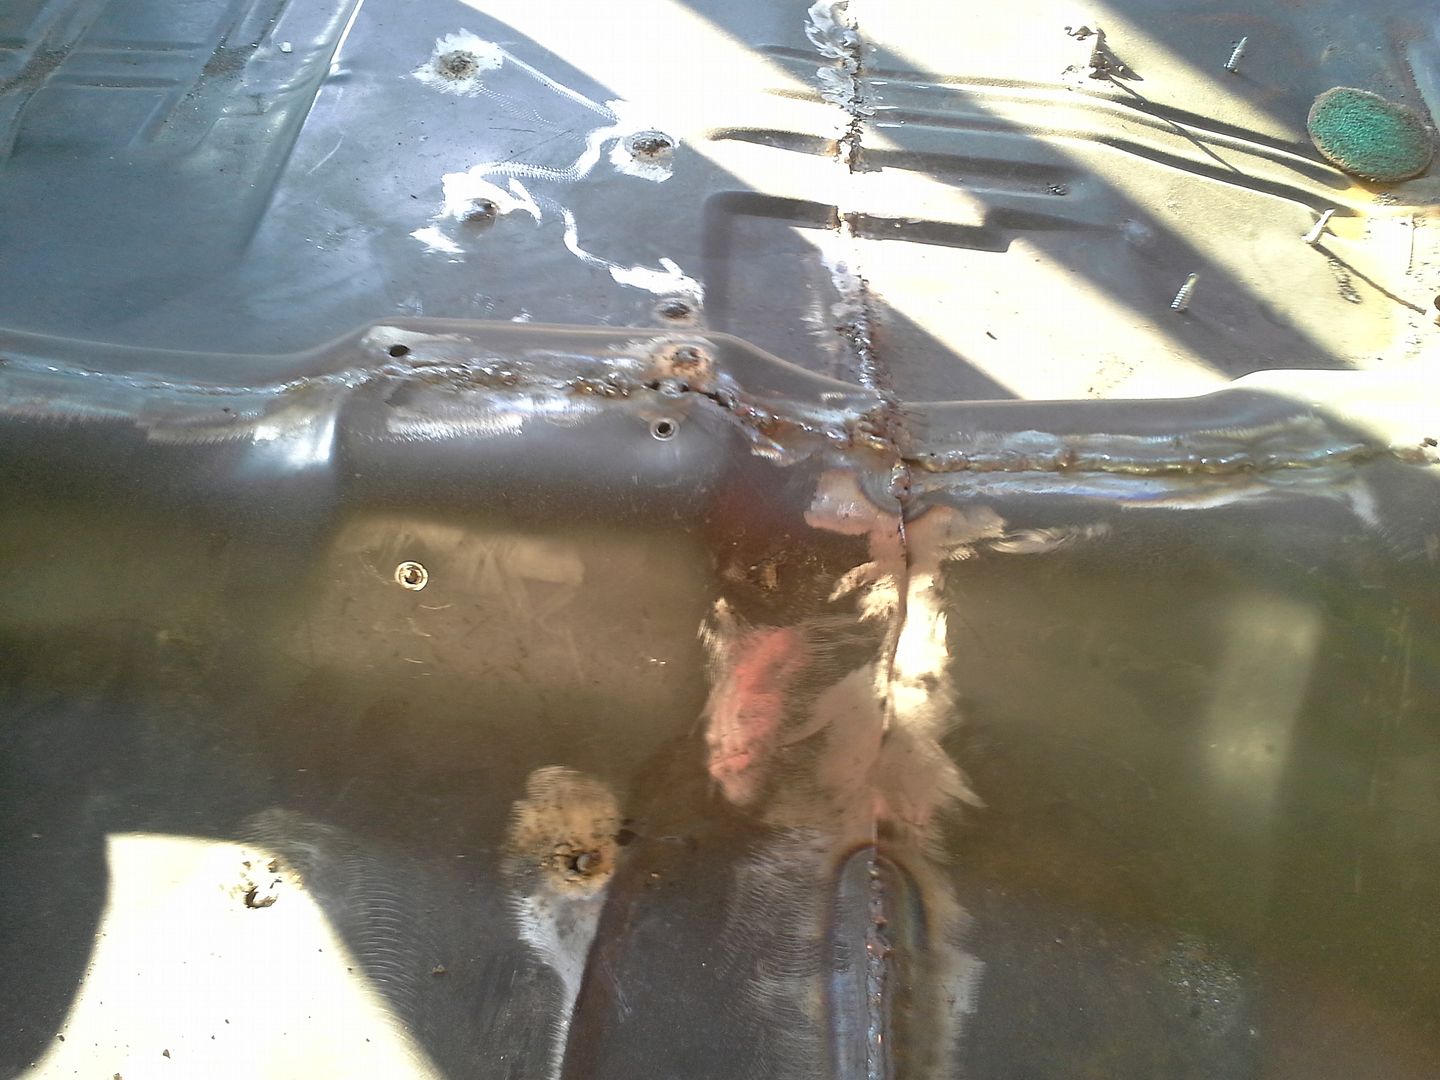 [/URL]
[URL=http://s54.photobucket.com/user/dusterbd13/media/1964%20elcamino/025_zpsa0983a3e.jpg.html]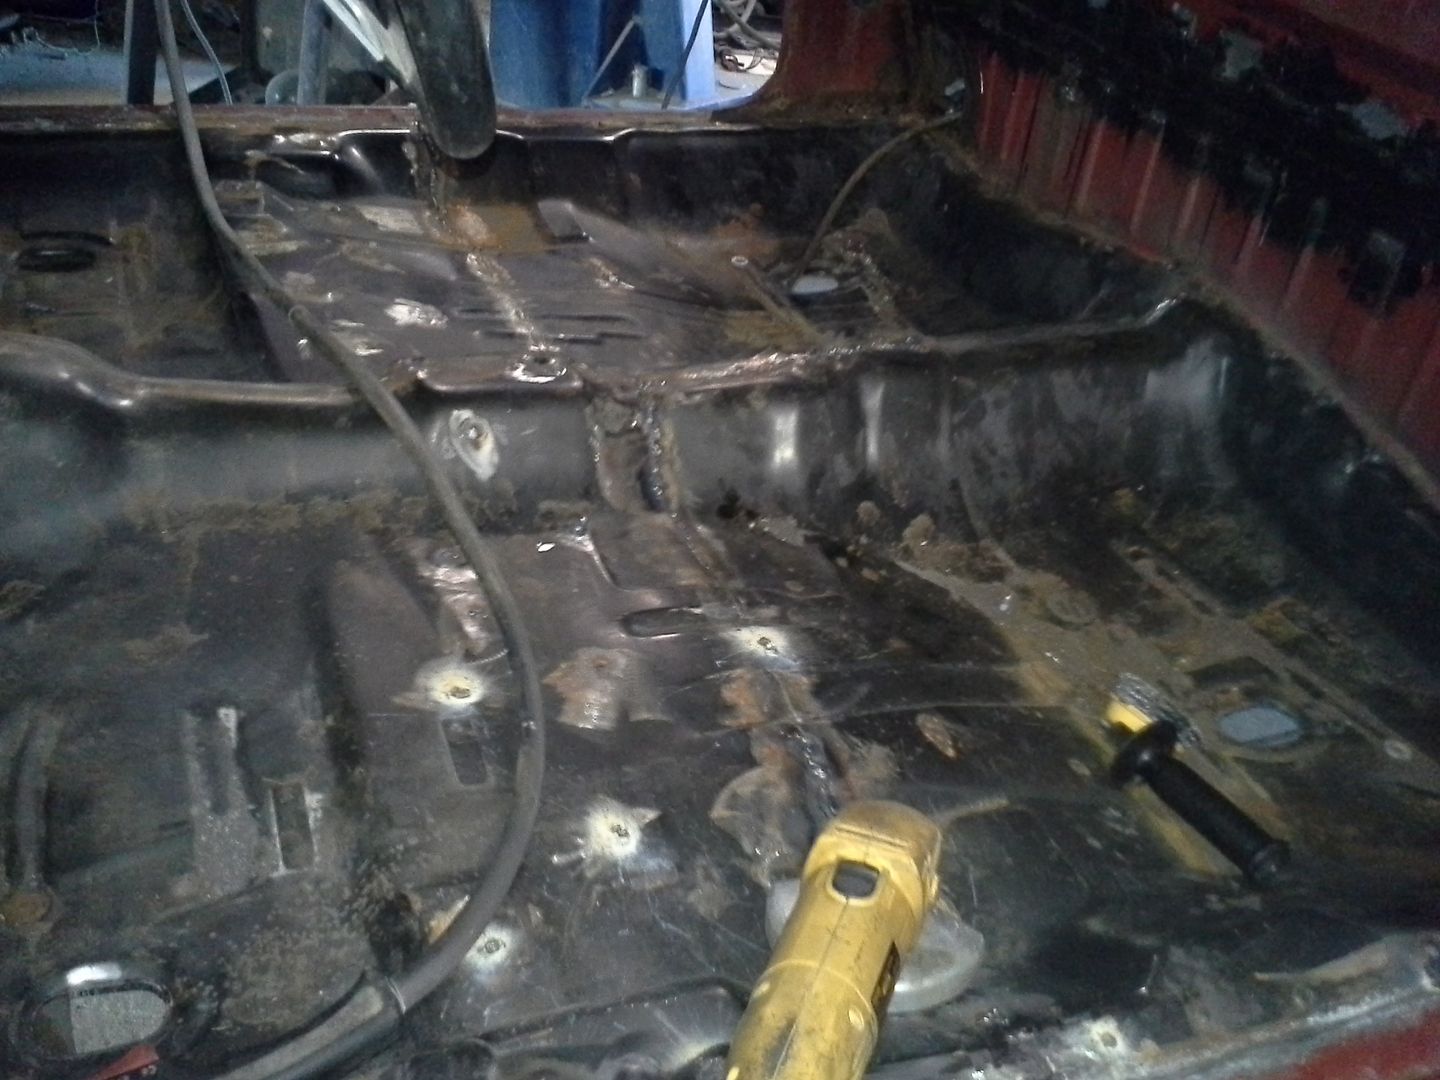 [/URL]
[URL=http://s54.photobucket.com/user/dusterbd13/media/1964%20elcamino/032_zps0410448f.jpg.html]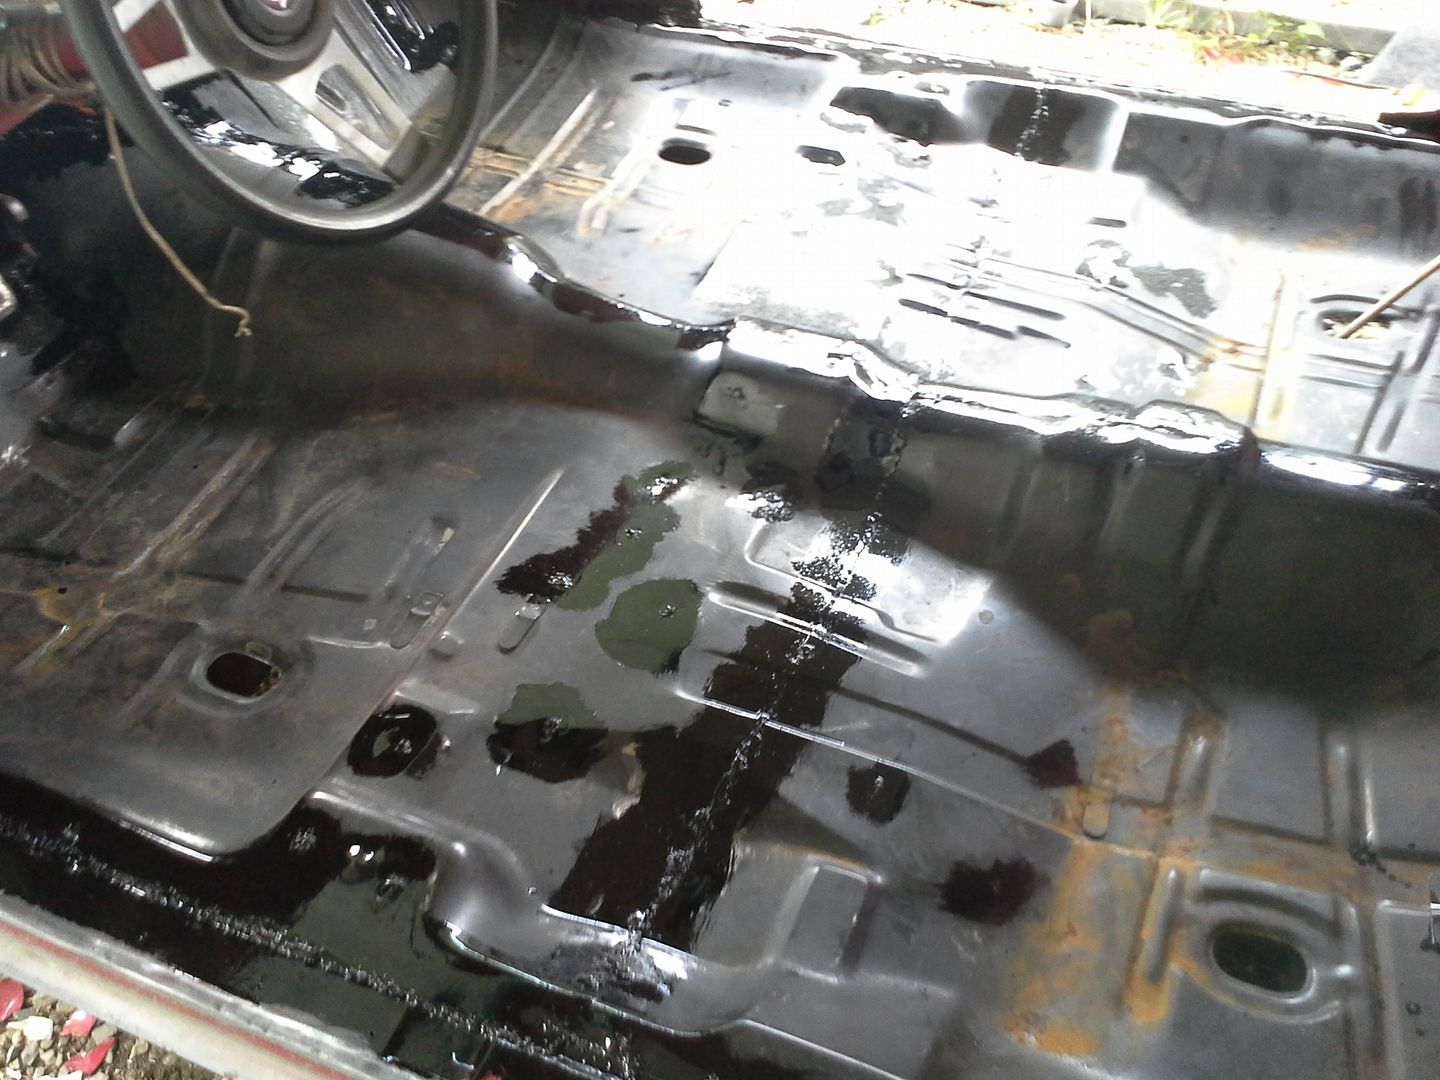 [/URL]
[URL=http://s54.photobucket.com/user/dusterbd13/media/1964%20elcamino/033_zps06db9923.jpg.html]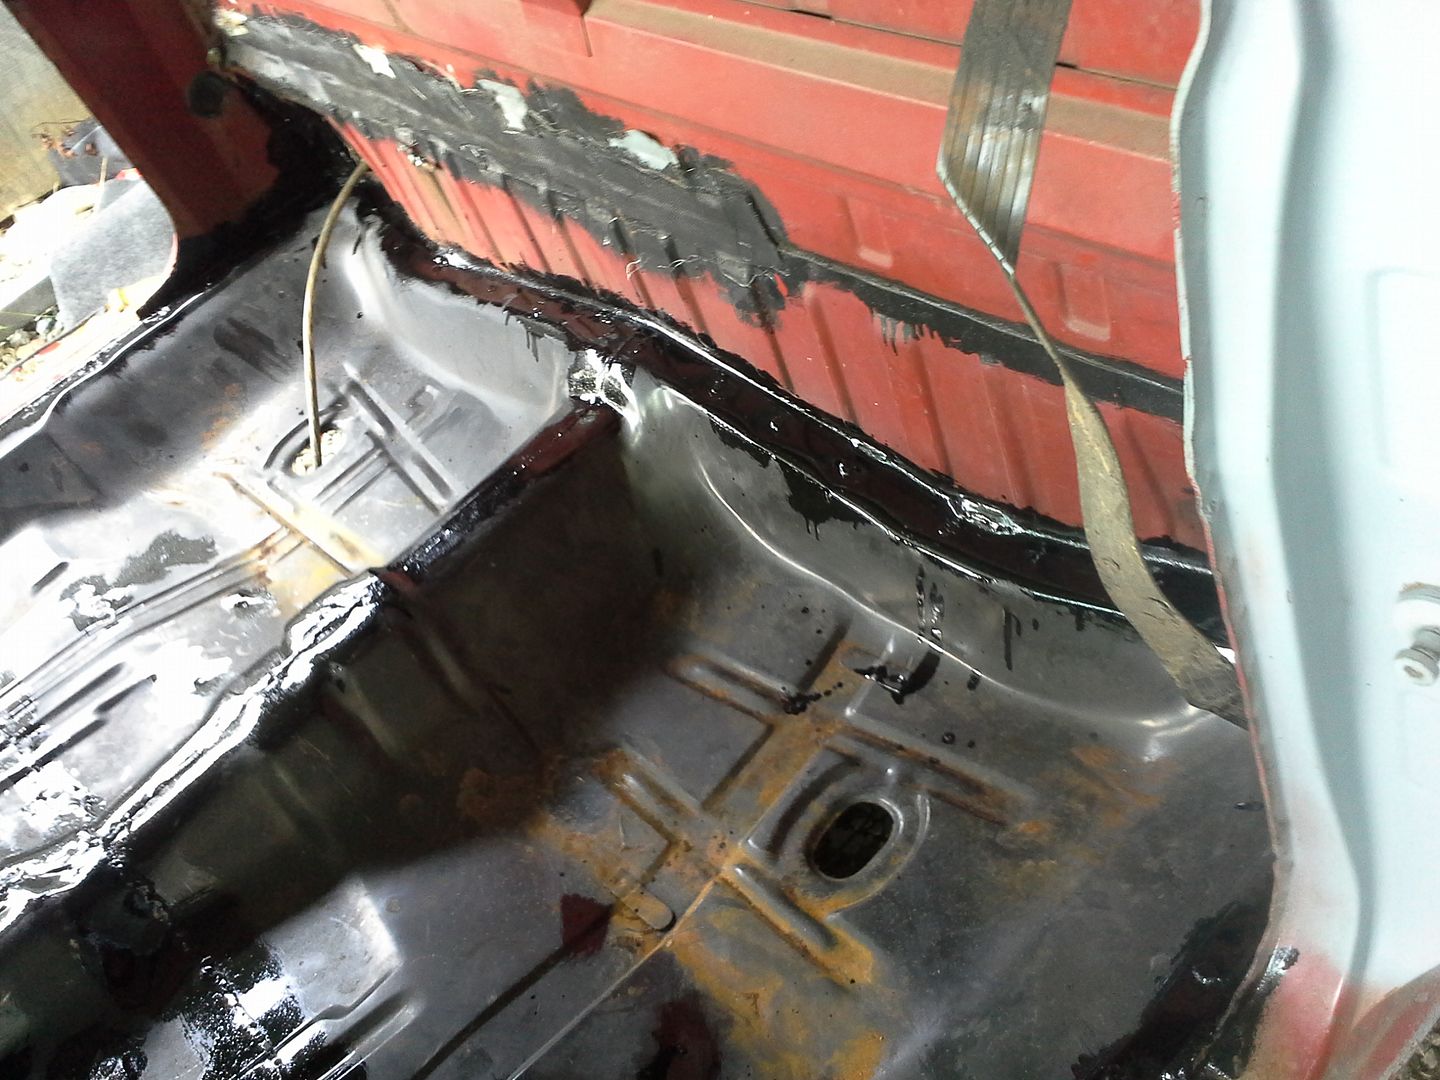 [/URL]
[URL=http://s54.photobucket.com/user/dusterbd13/media/1964%20elcamino/034_zps74b7c720.jpg.html]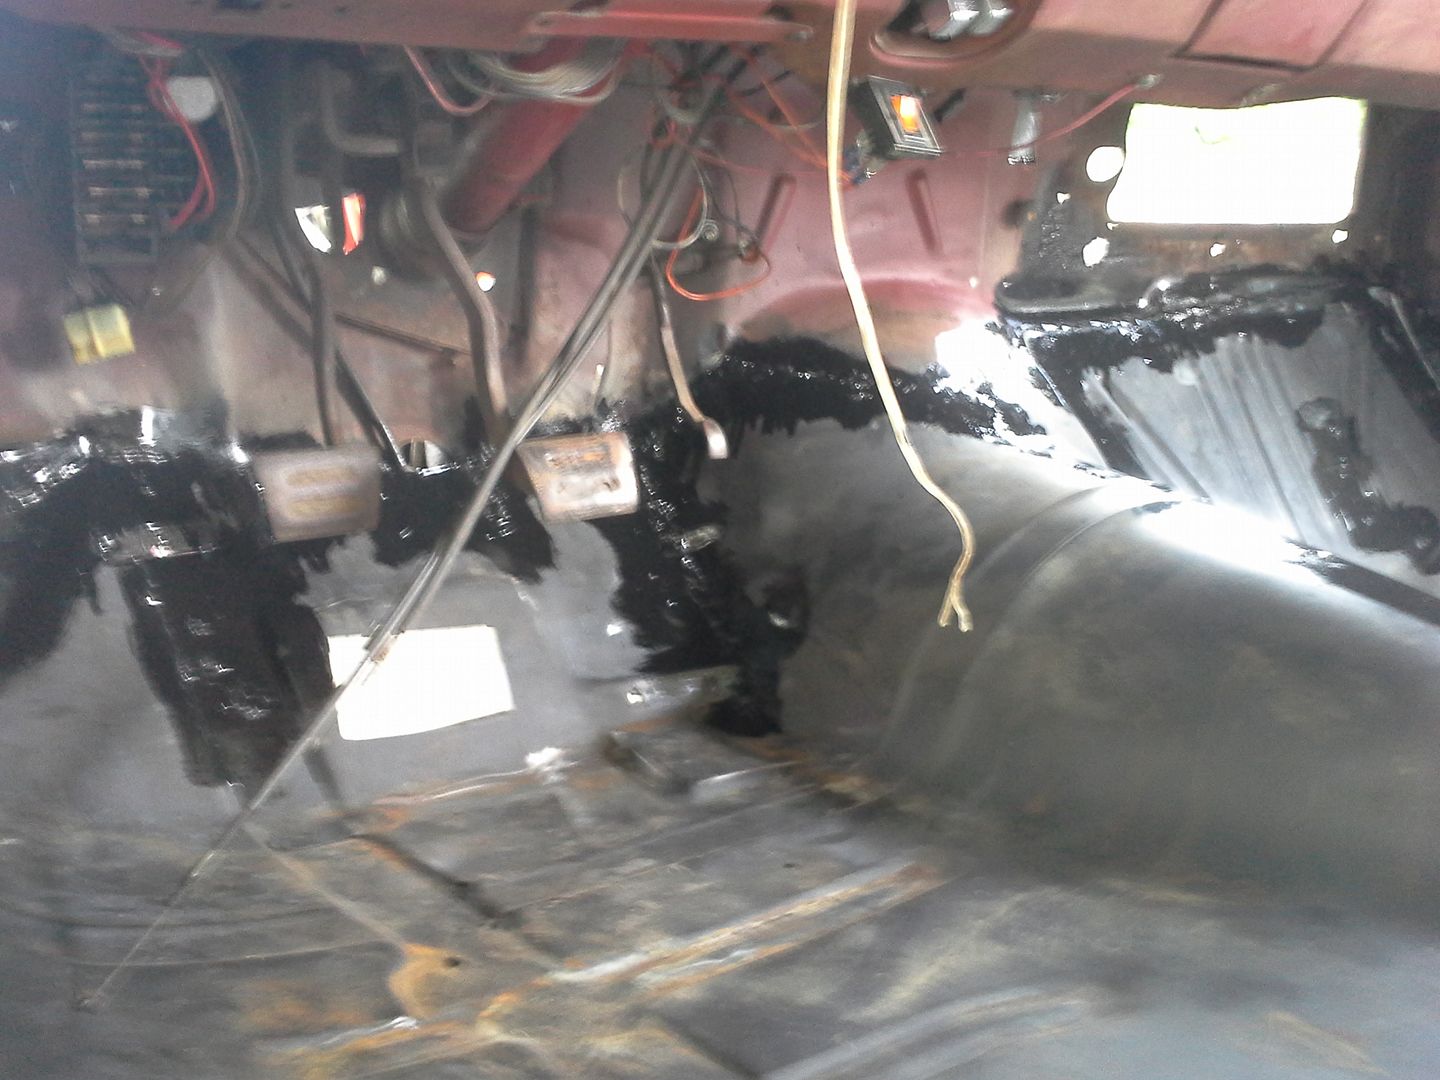 [/URL]
with the floors in it to the point that the truck was structurally sound again, and that part as complete as can be for the present point in time, we moved onto the quarters. now, for those of you playing the at home version of our game show, you know that you cant get 64-65 el camino quarters. or patches. or....
anyway, we had to get creative. for the passengers side, the wheel lip had a small section in the top pf the arch, and behind the tire at the lower quarter was completely gone. on the drivers side, the whole upper lip was gone. so instead of chicken wire, newspaper, and bondo, I got creative. we made the wheel lips from the hood of a mid 90's Honda accord. the curvature for the character line is just about perfect for the elky wheel lip, and the price was right: scrap metal pile. the lower passengers we made from a chunk of 80's caprice fender for the same price, from the same pile. I also took the opportunity to roll the inner wheel lips flat for tire clearance while doing this., as well as hammer the inner wheel wells out to straight again. looks better in the bed by far, and gained me about 3/4 inch tire clearance.
[URL=http://s54.photobucket.com/user/dusterbd13/media/1964%20elcamino/026_zps69452c04.jpg.html]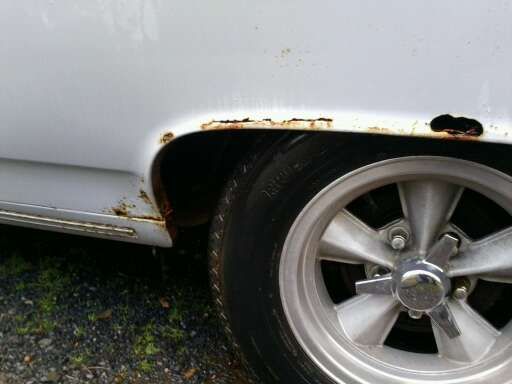 [/URL]
[URL=http://s54.photobucket.com/user/dusterbd13/media/1964%20elcamino/012_zps4fe136f6.jpg.html]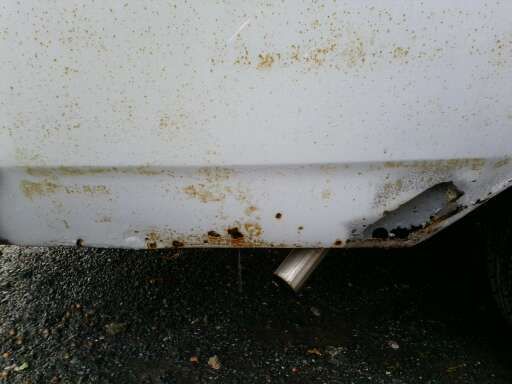 [/URL]
[URL=http://s54.photobucket.com/user/dusterbd13/media/1964%20elcamino/014_zpsc1a4ede3.jpg.html]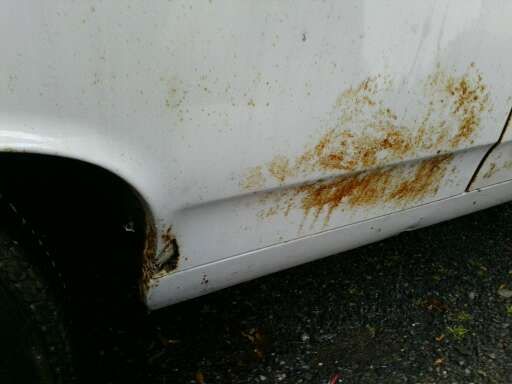 [/URL]
[URL=http://s54.photobucket.com/user/dusterbd13/media/1964%20elcamino/024_zps1dbf512c.jpg.html]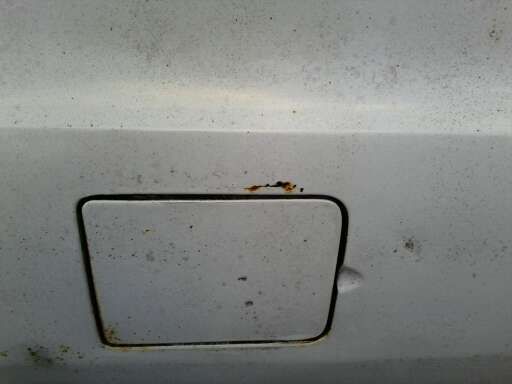 [/URL]
[URL=http://s54.photobucket.com/user/dusterbd13/media/1964%20elcamino/020_zps8f017e0e.jpg.html]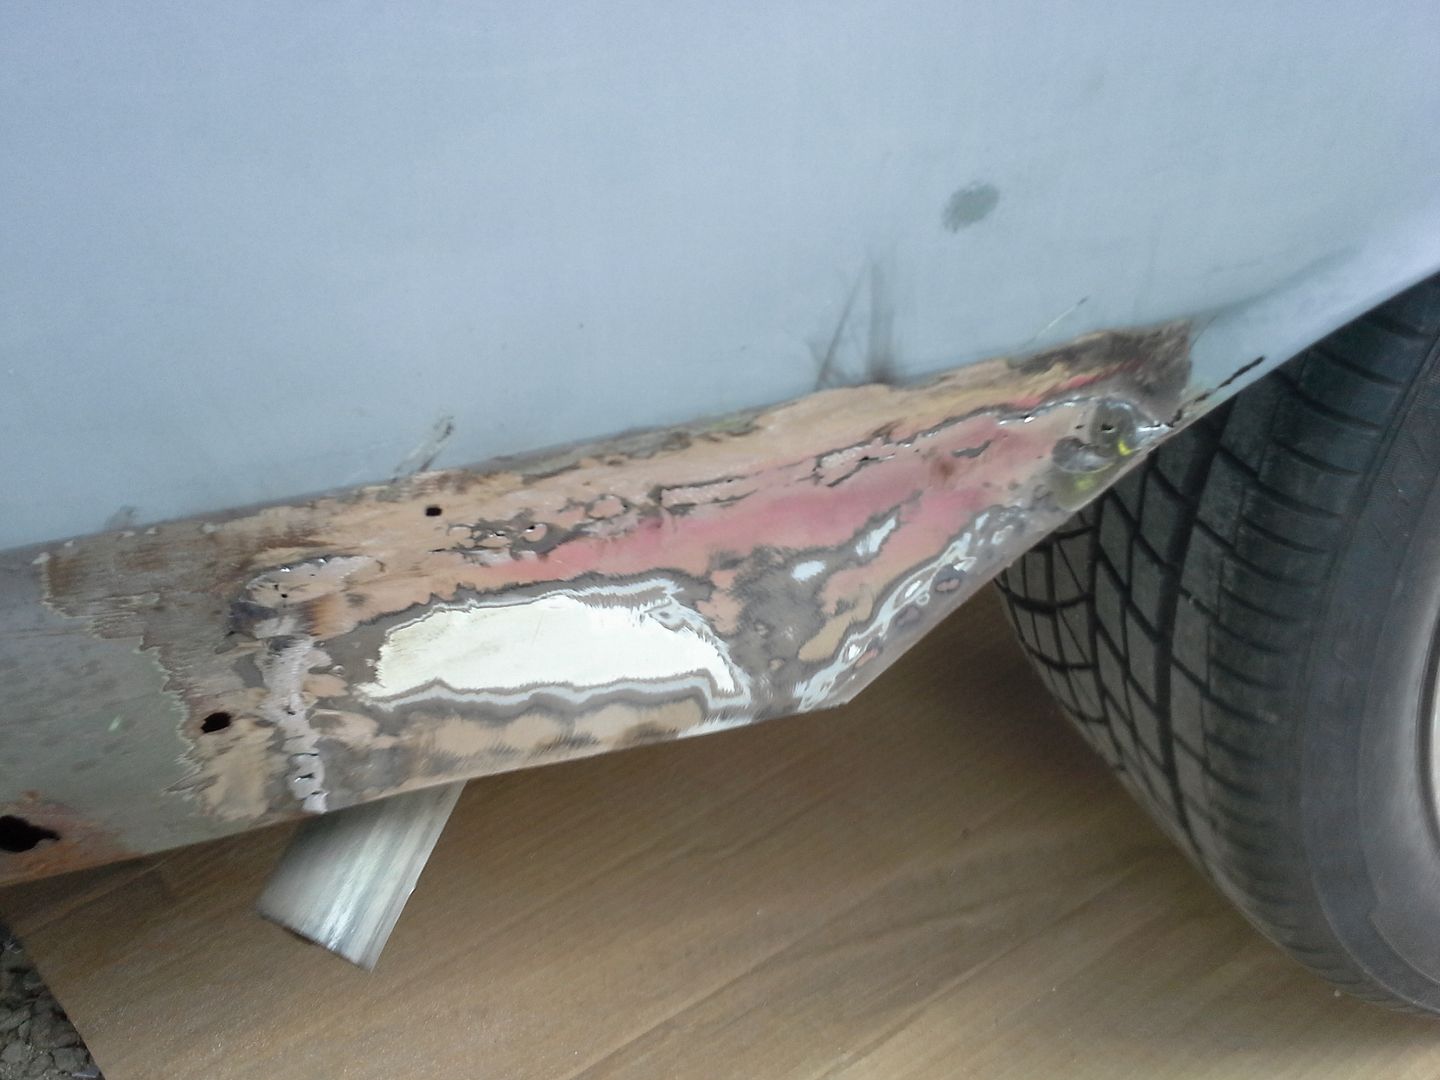 [/URL]
[URL=http://s54.photobucket.com/user/dusterbd13/media/1964%20elcamino/035_zpsf1c7c27d.jpg.html]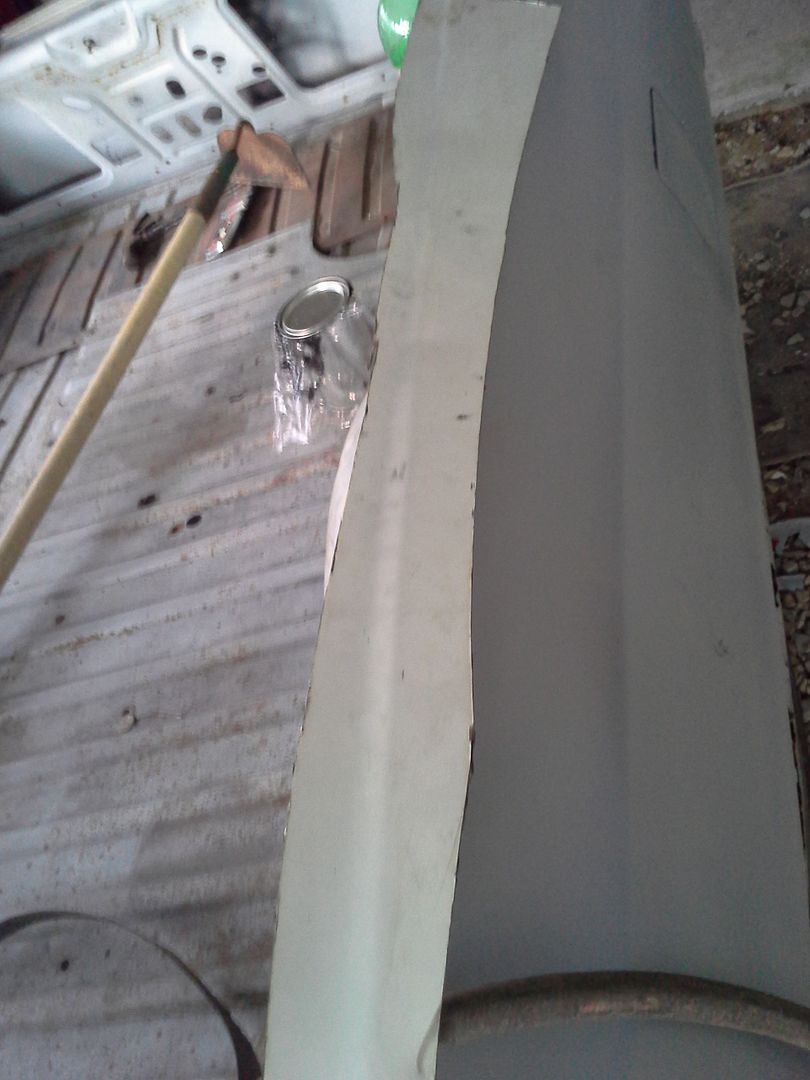 [/URL]
[URL=http://s54.photobucket.com/user/dusterbd13/media/1964%20elcamino/036_zpsff743f2c.jpg.html]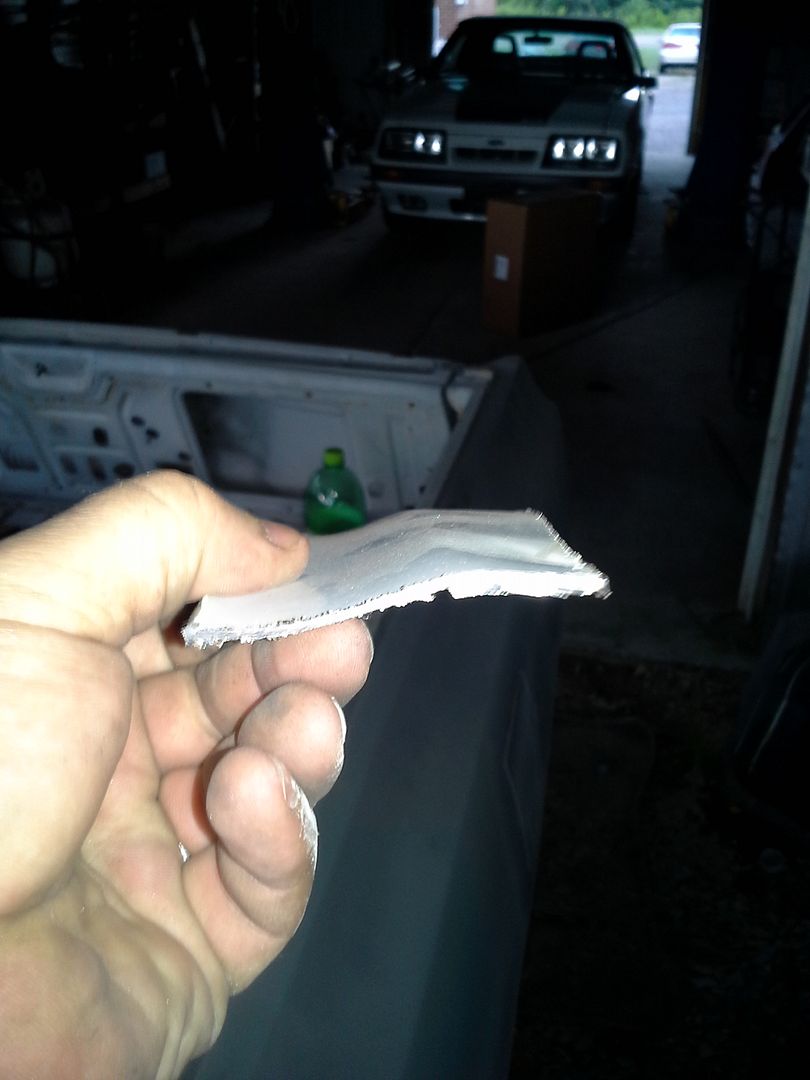 [/URL]
[URL=http://s54.photobucket.com/user/dusterbd13/media/1964%20elcamino/038_zpsa75b273c.jpg.html]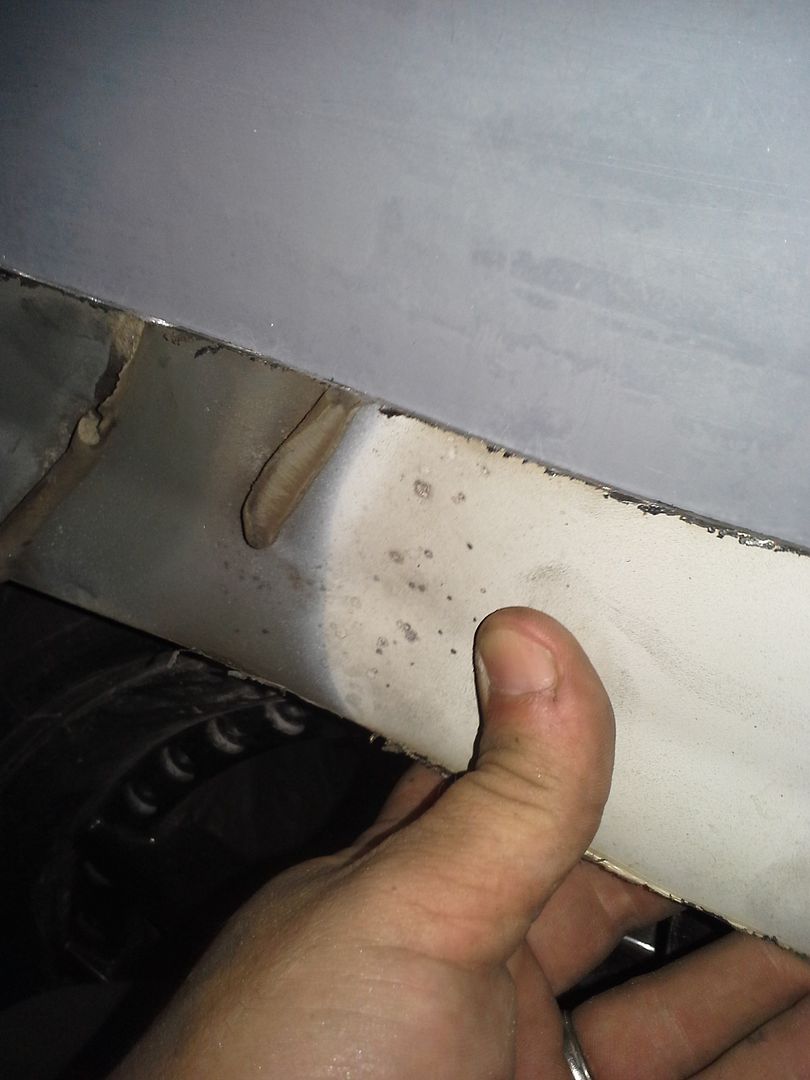 [/URL]
[URL=http://s54.photobucket.com/user/dusterbd13/media/1964%20elcamino/039_zps543a5f6b.jpg.html]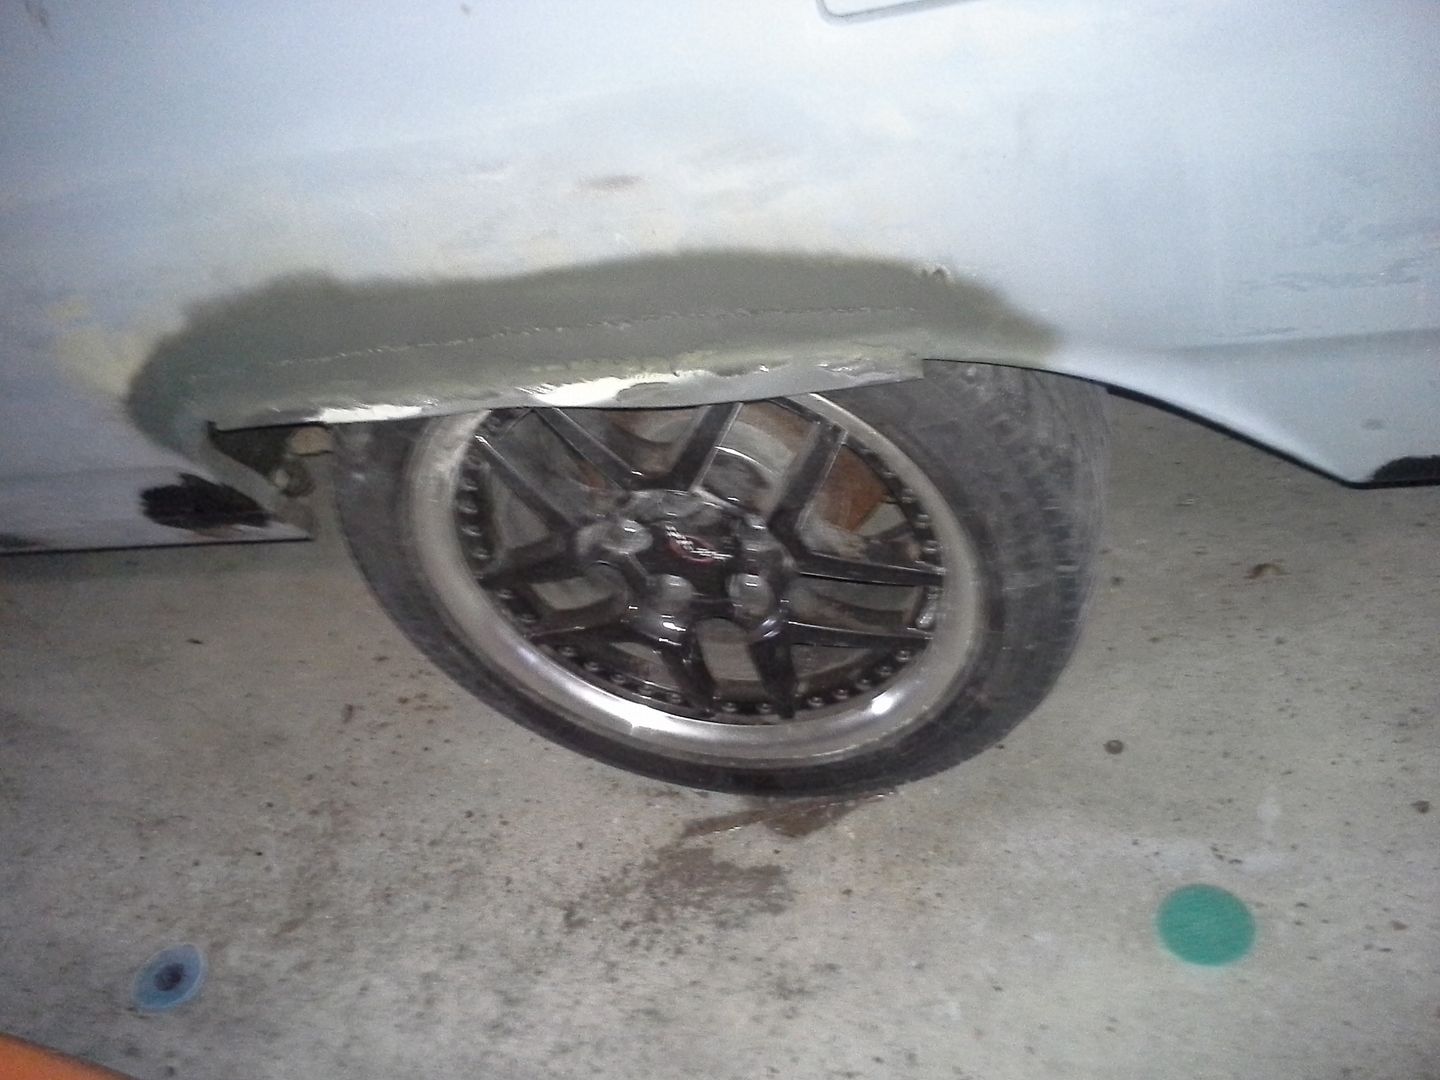 [/URL]
[URL=http://s54.photobucket.com/user/dusterbd13/media/1964%20elcamino/001_zpsb12f0d8c.jpg.html] [/URL]
next up was the a-pillar. it had holes from the spotlight, tons of rot from the spotlight holes, and no available reproduction metal. this is where I was truly inspired by Brian (tuna55) and began to weld air. and grind. and weld. and grind. and....
finished with some fiberglass and filler. once I'm done, should never be able to tell. absolute PITA to weld air into complex shapes. unfortunately I have no pictures of the before of the jamb area, so please, use your imagination.
[URL=http://s54.photobucket.com/user/dusterbd13/media/1964%20elcamino/022_zps6ec8d982.jpg.html]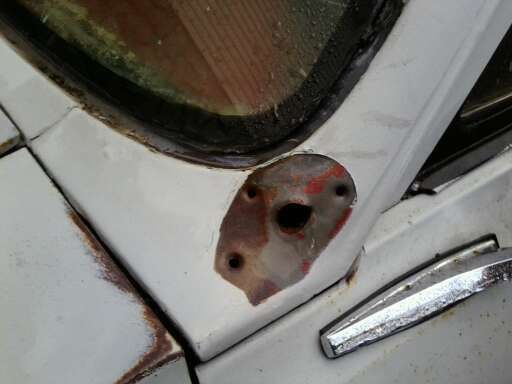 [/URL]
[URL=http://s54.photobucket.com/user/dusterbd13/media/1964%20elcamino/024_zpse5a99ab1.jpg.html]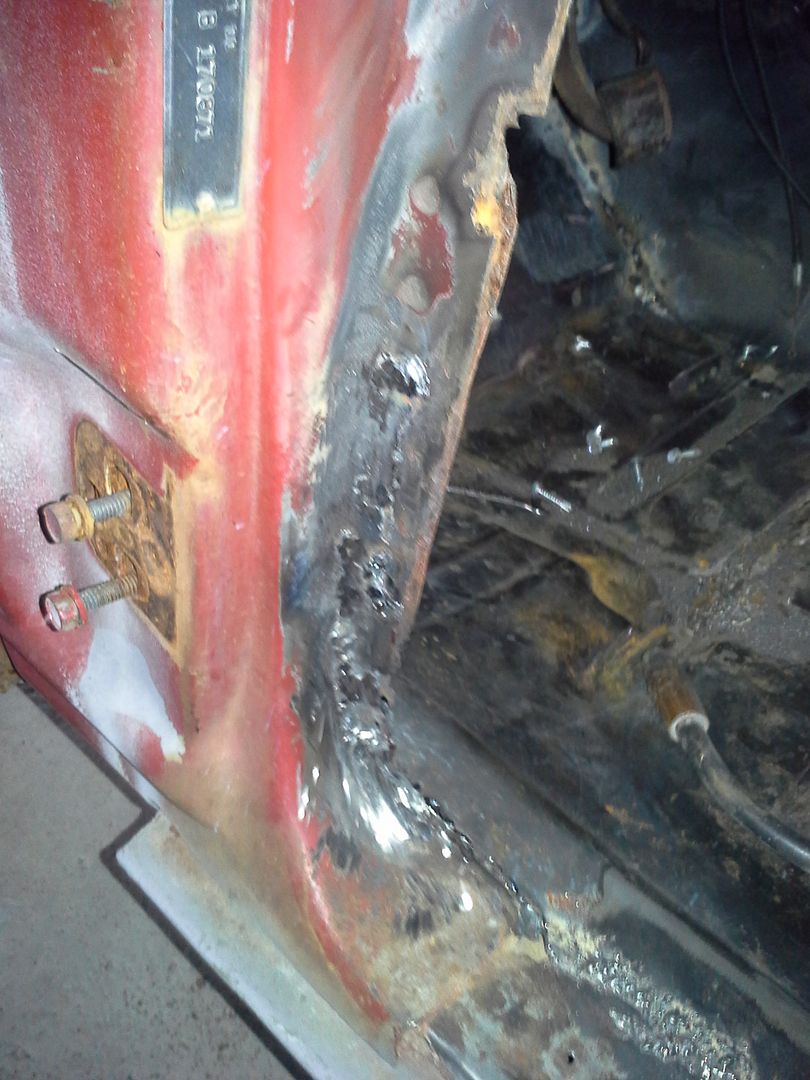 [/URL]
[URL=http://s54.photobucket.com/user/dusterbd13/media/1964%20elcamino/017_zpse15b3f06.jpg.html]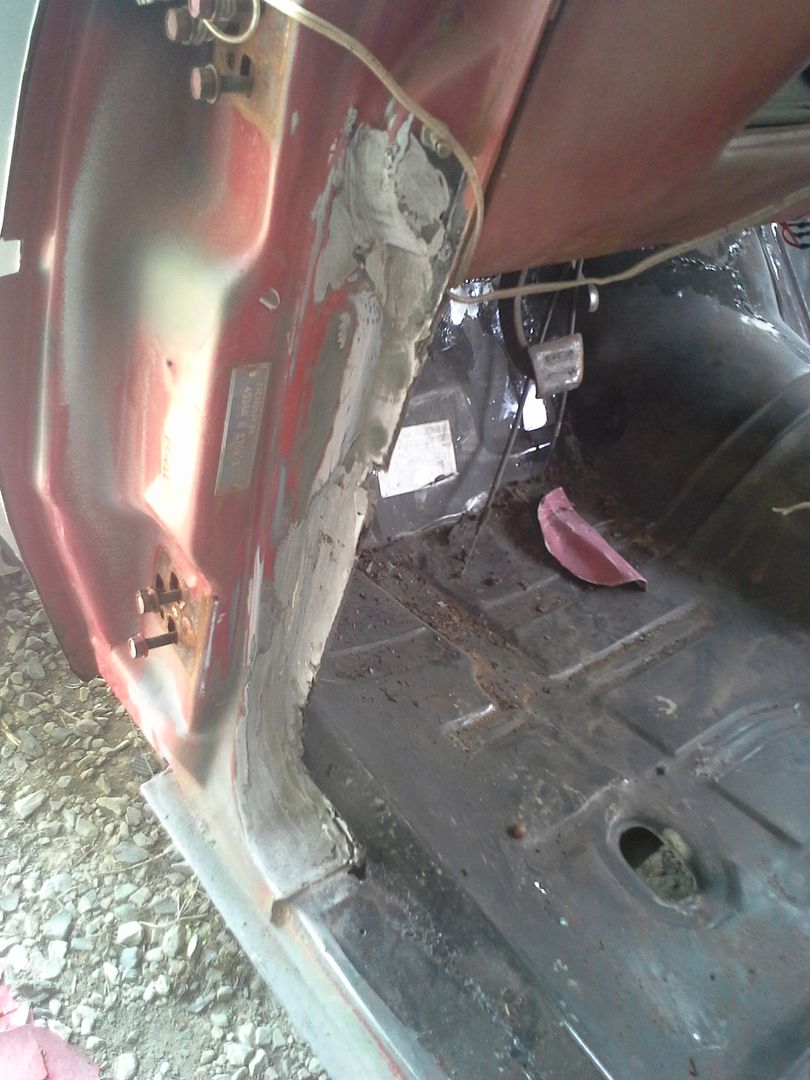 [/URL]
[URL=http://s54.photobucket.com/user/dusterbd13/media/1964%20elcamino/031_zpsfaeb0c2f.jpg.html]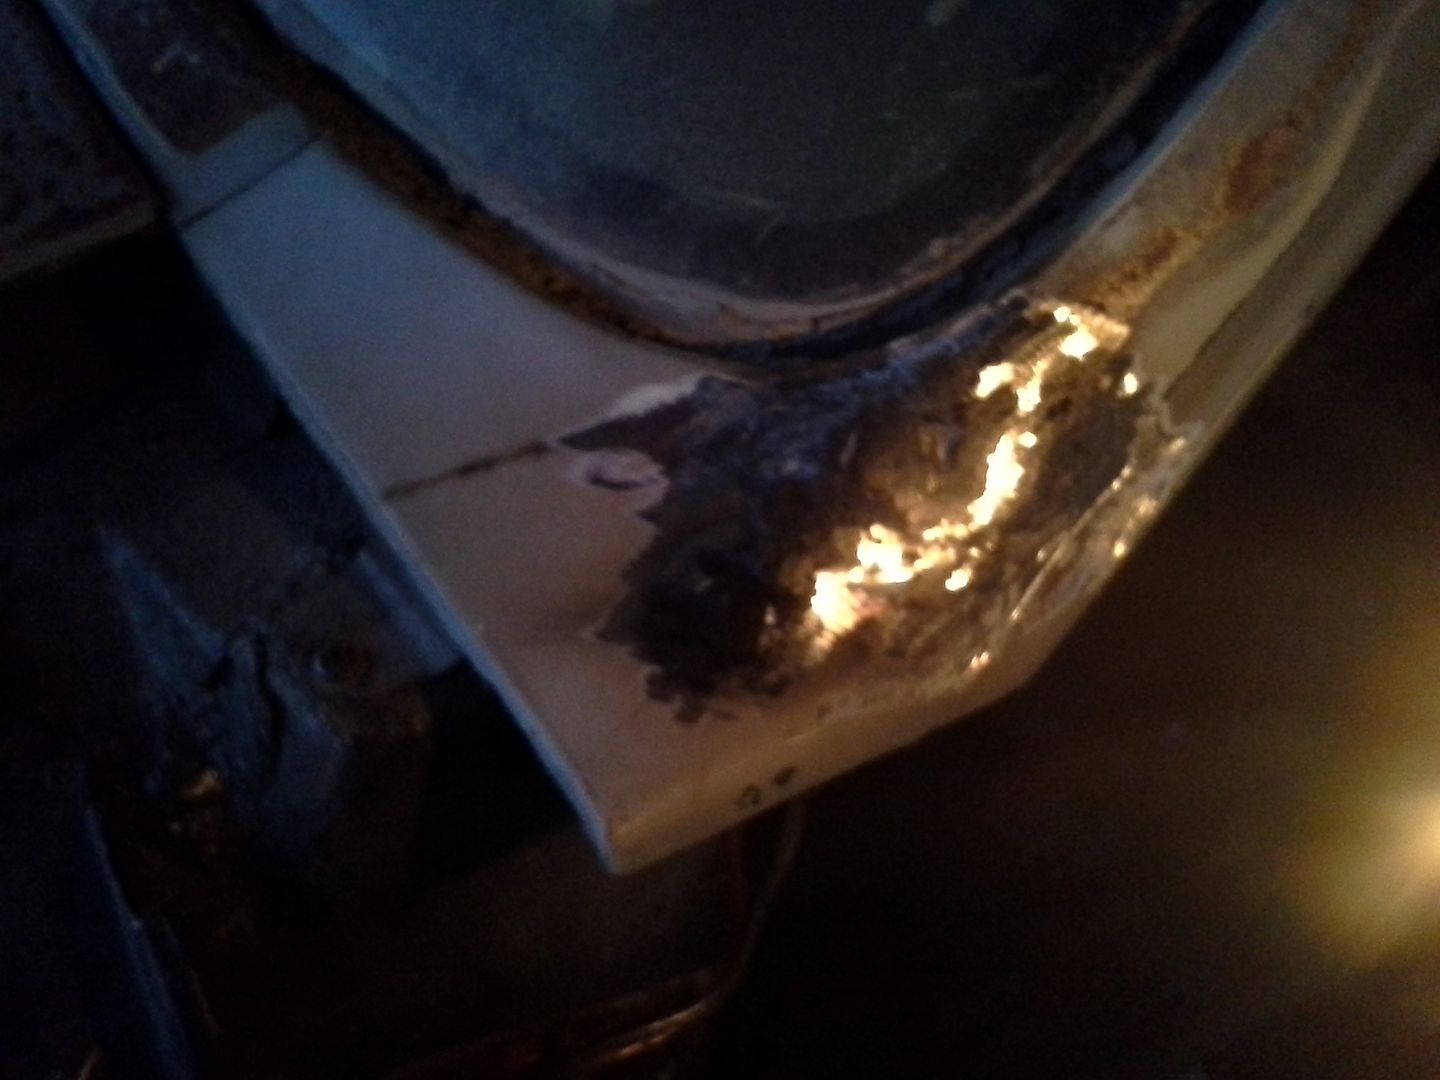 [/URL]
[URL=http://s54.photobucket.com/user/dusterbd13/media/1964%20elcamino/015_zpscb485367.jpg.html]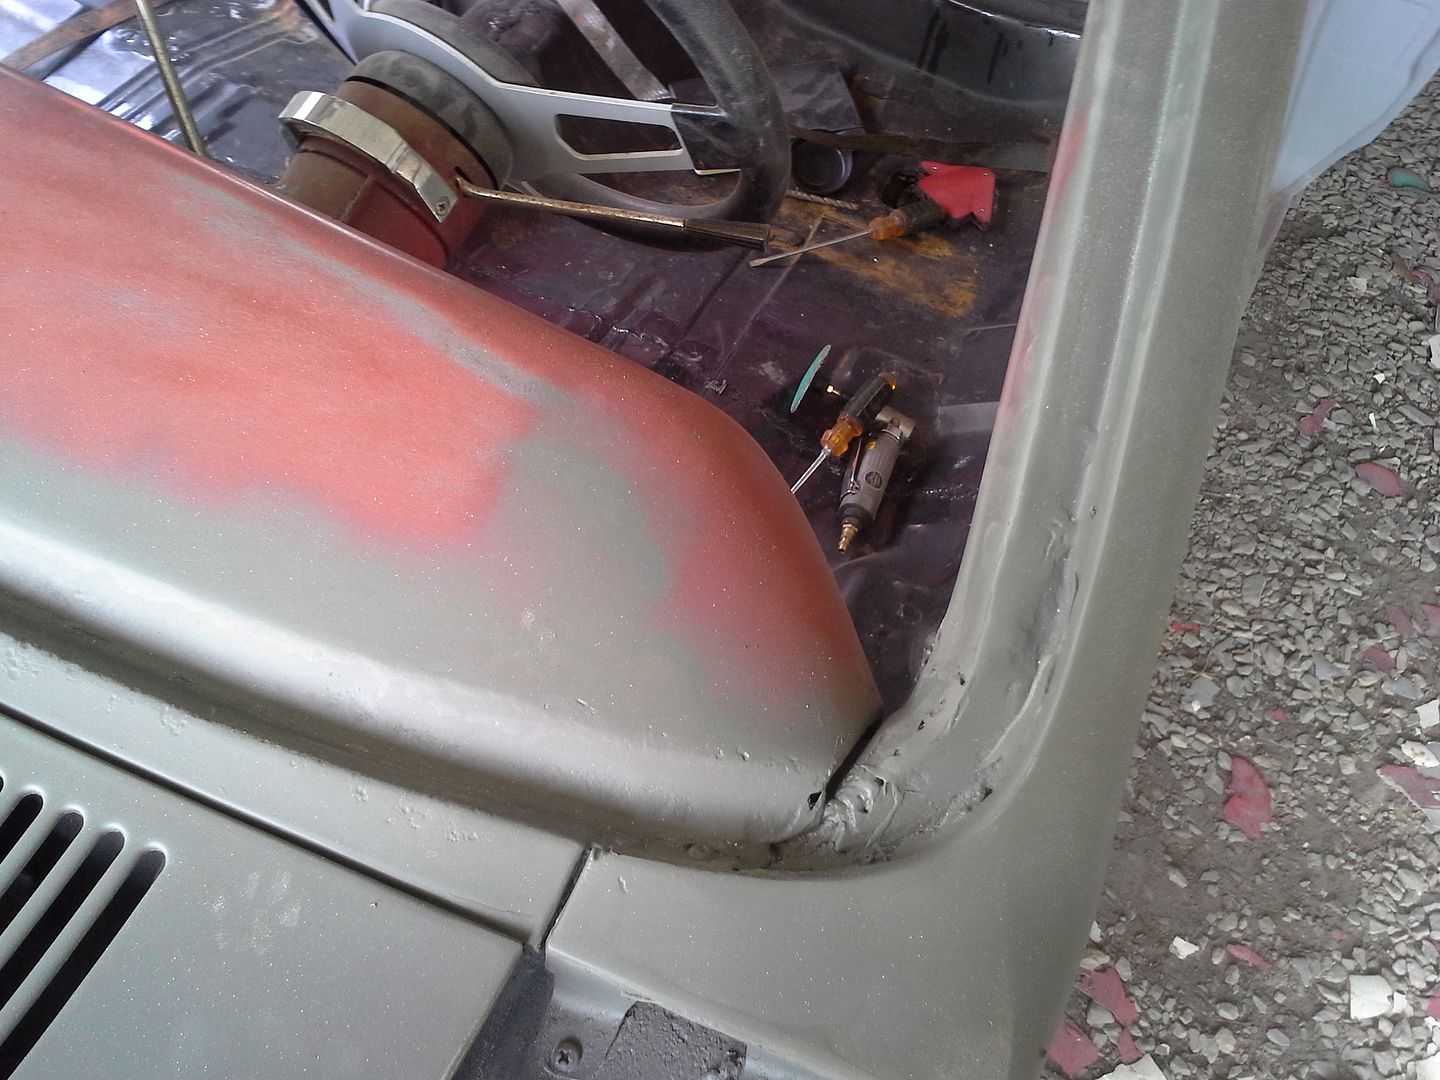 [/URL]
but wait!! there's more!!
not to be easily distracted by a bodyman that isn't even really working on the truck when I'm there, I decided to see what we could do. I got him to come over the elky with a port-a-power and slide hammer, and started roughing in the taillights. these were squished pretty hard at some point in the past. we had to pull the drivers side out about three inches to regain shape and tailgate fitment. then, a little welding from the torn metal. then straighten what I could. then started the filler. the drivers side is now 80% or better, passengers 50% or better. but the taillight housings fit perfect for the first time since I've owned it. it was interesting looking at what I had, picturing in my head how it should be, and making it up as I went along.
[URL=http://s54.photobucket.com/user/dusterbd13/media/1964%20elcamino/020_zpsf950074c.jpg.html]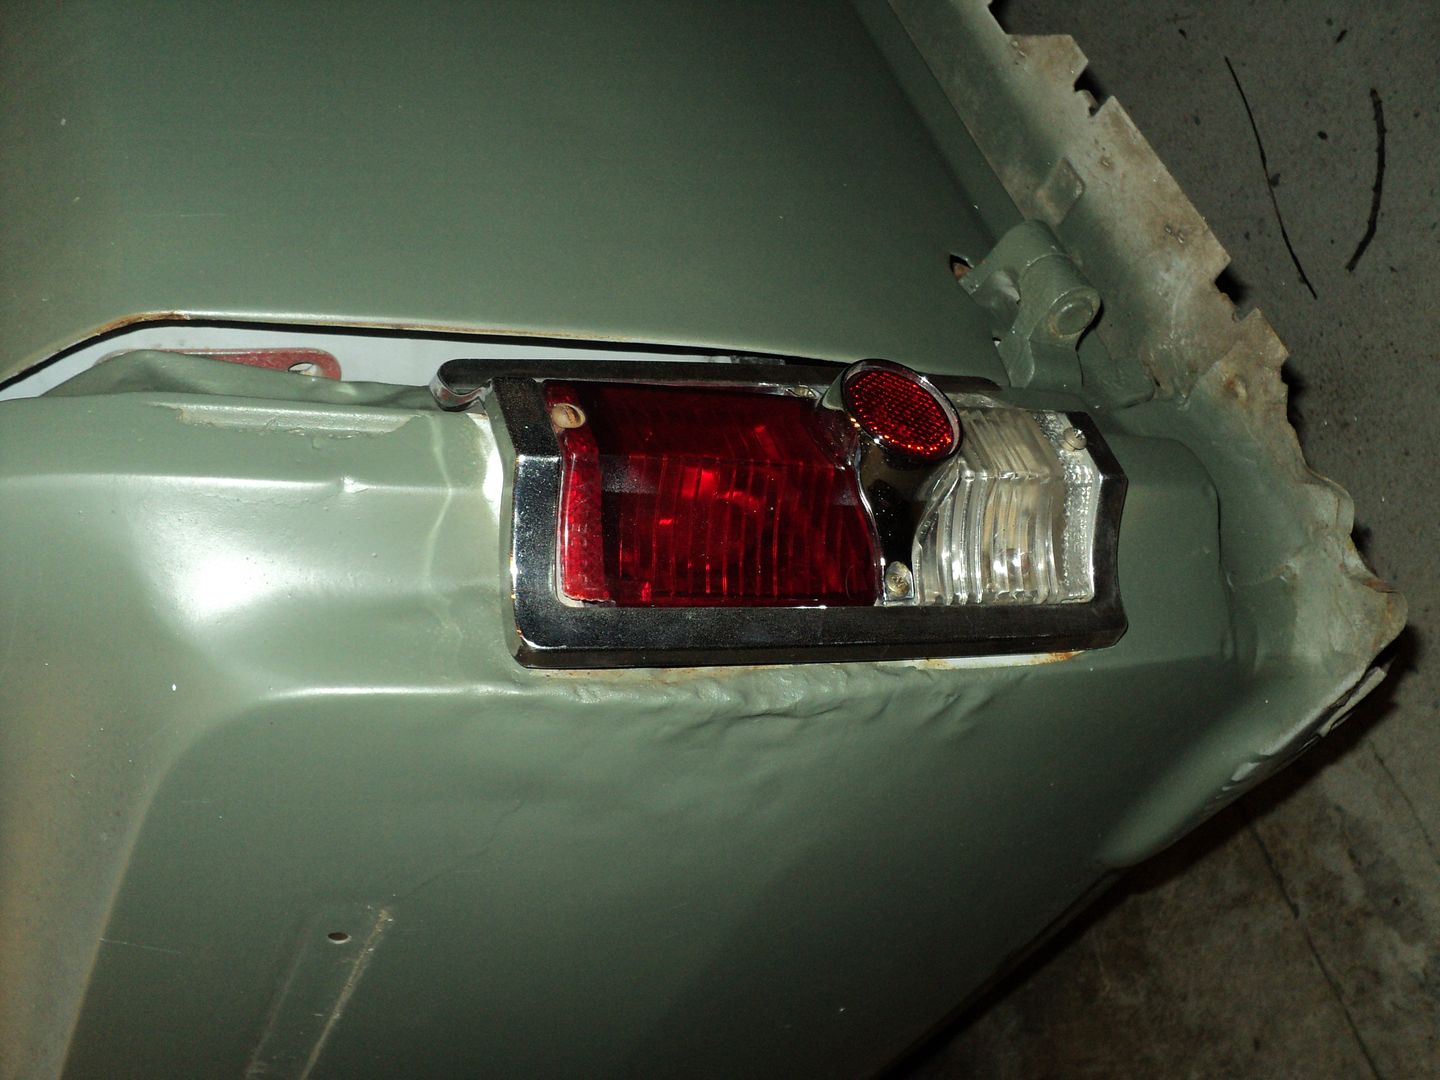 [/URL]
[URL=http://s54.photobucket.com/user/dusterbd13/media/1964%20elcamino/021_zps99bf19c9.jpg.html]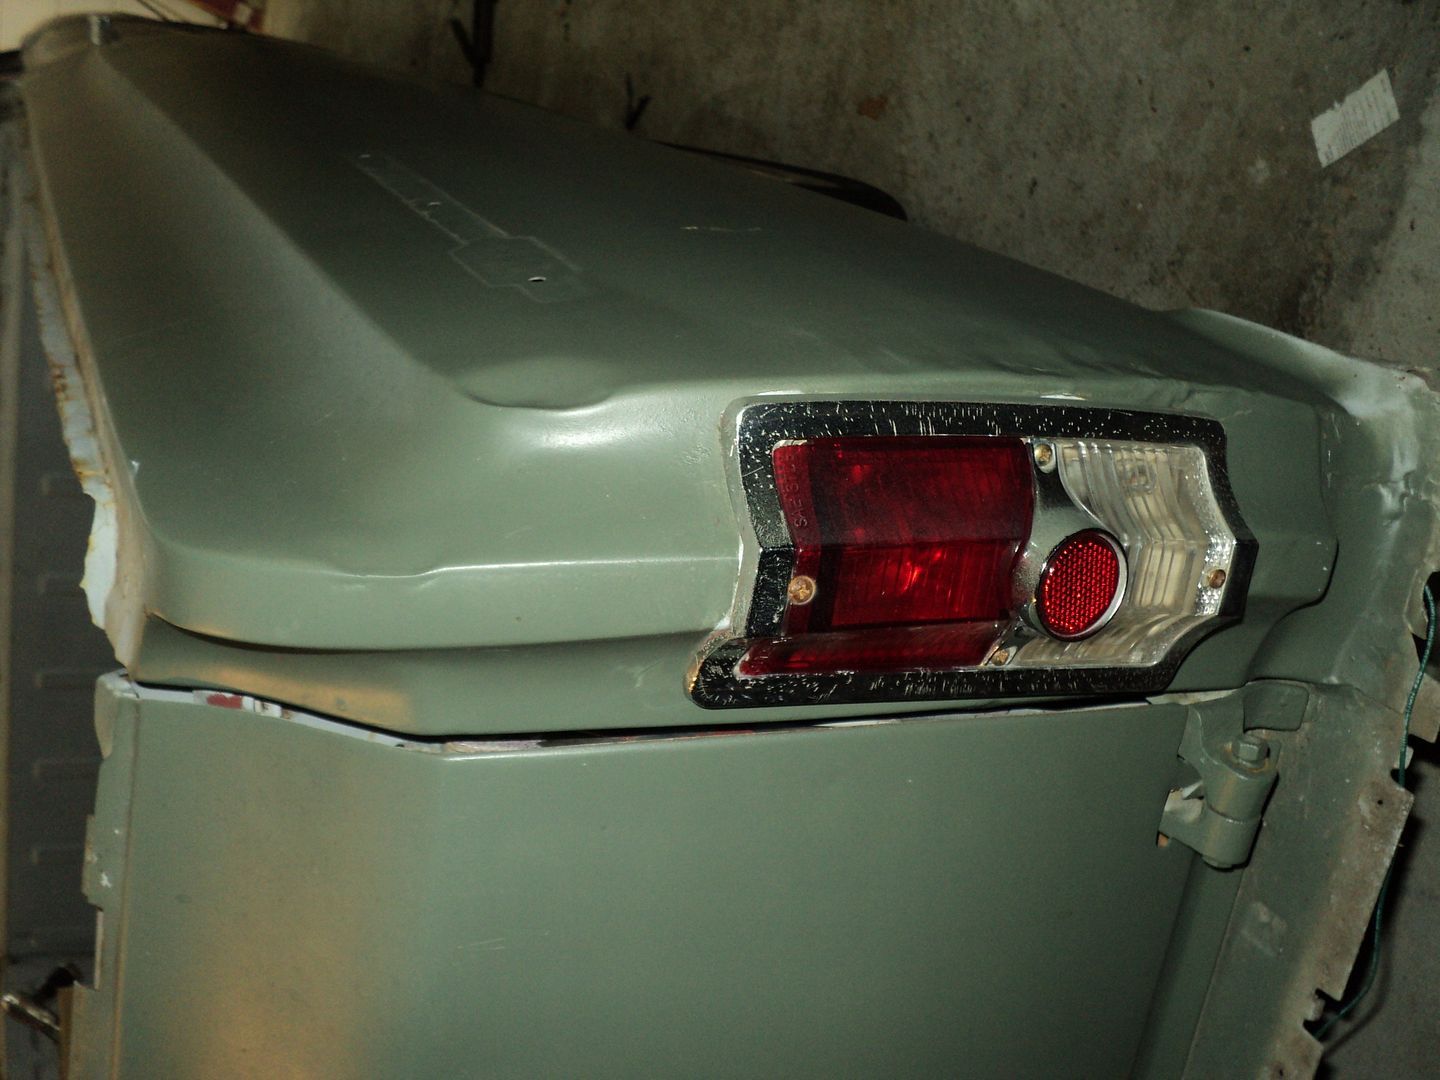 [/URL]
[URL=http://s54.photobucket.com/user/dusterbd13/media/1964%20elcamino/019_zps68834e9c.jpg.html]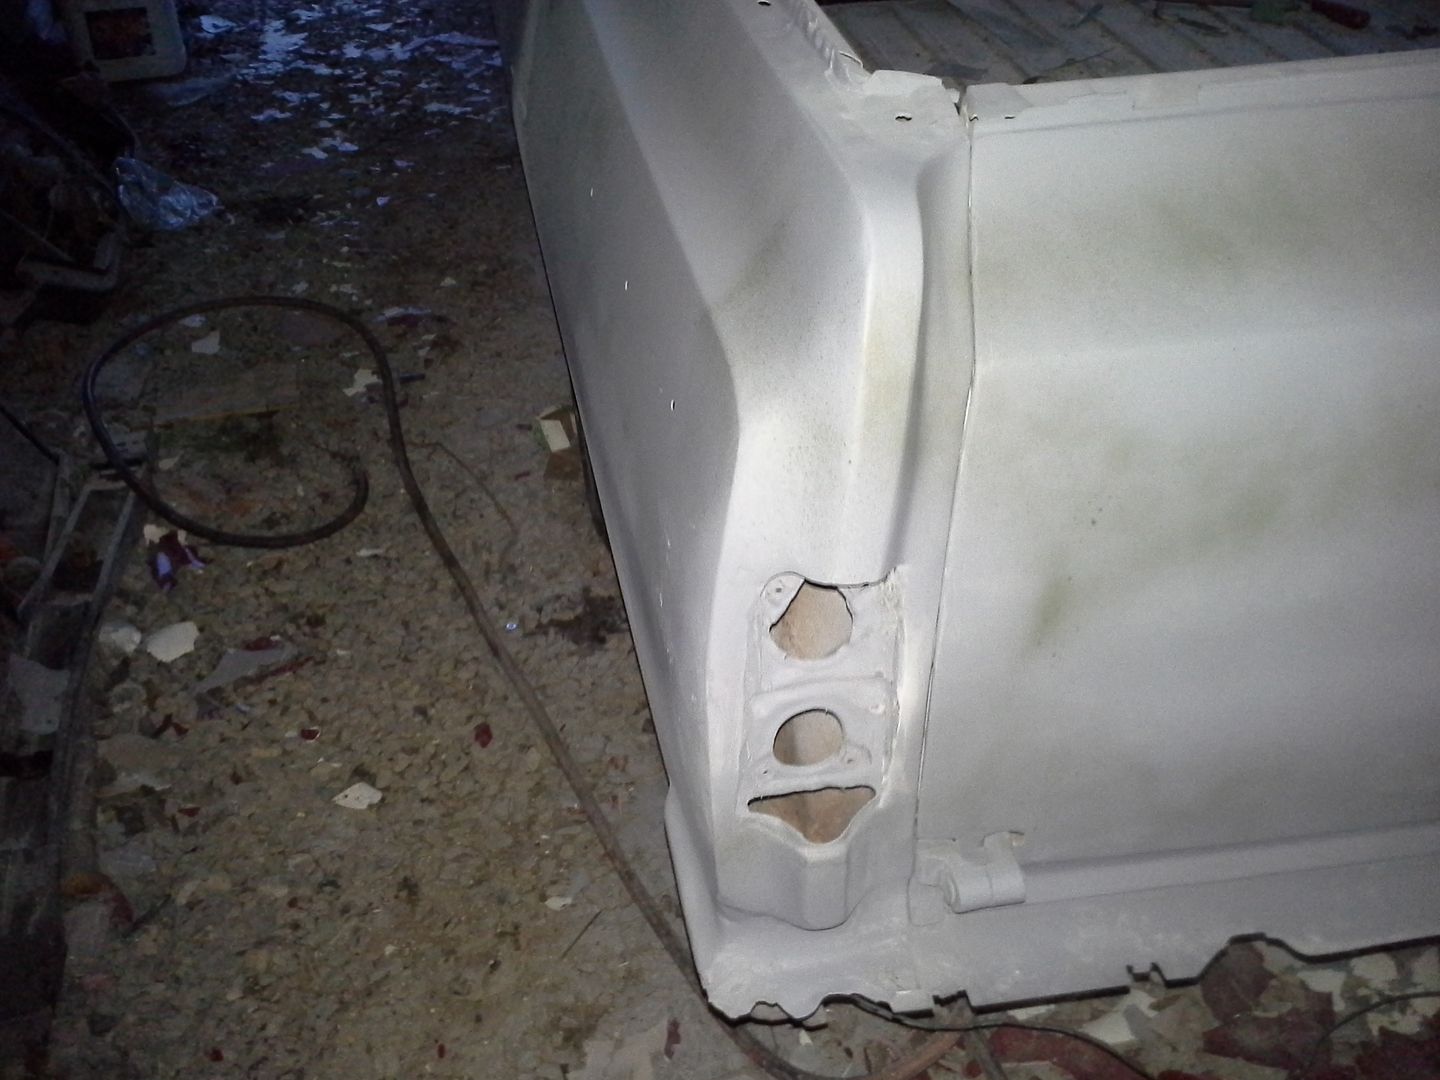 [/URL]
next, I learned about the beauty that is a long file sander and 36 grit paper. I also learned to apply a lot more filler than you think you need, for farther than you think you should. it just gets sanded off in the long run, but is easier adding more at the beginning than having to apply it 8 or nine times. like I did at first. also, its very easy to add too much hardener and have the big glop of it on your mixing board harden up on you while you're still applying the first little bit. did that more than once so far...
anyway, after hours and hours with the long file, I had this: (passengers side shown, imagine same kinda look for other three sides.)
[URL=http://s54.photobucket.com/user/dusterbd13/media/1964%20elcamino/010_zps68871df3.jpg.html]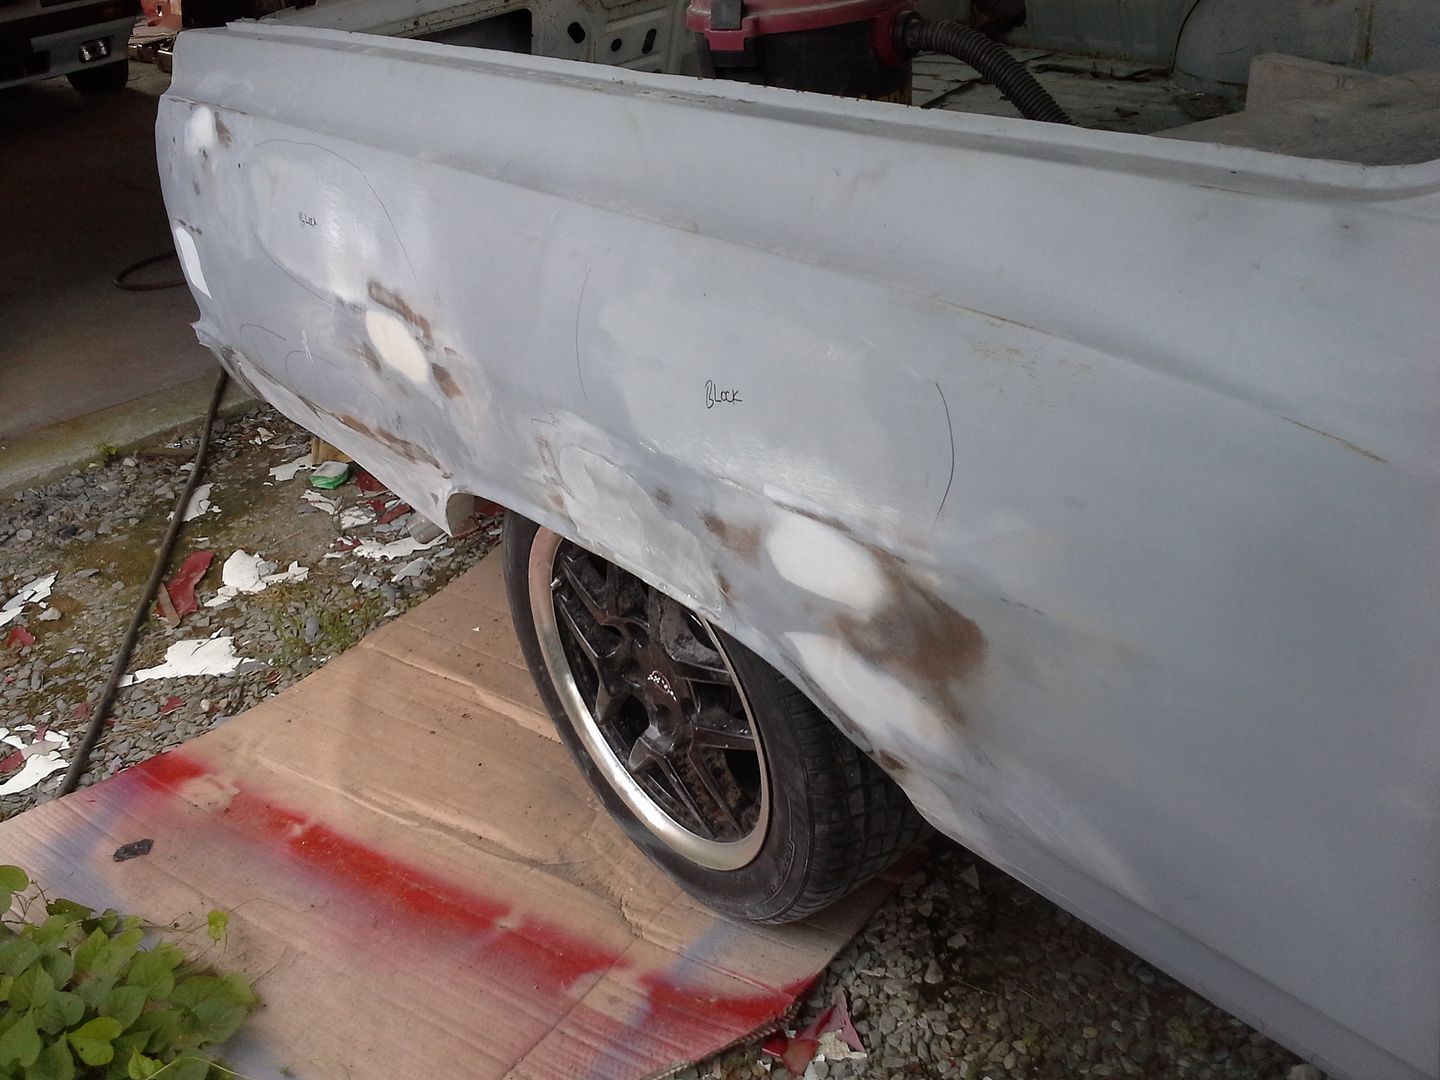 [/URL]
then, since I was waiting for him to spray me some high build primer, I decided to work the area under the rear window. someone before me had patched it, primed it, and left a nasty little ledge. I also stripped the window channel to bare metal all the way around, and found no rust through. some heavy pitting, but that’s it. so yay! I ground down the lip to where it wasn’t such a ledge, and then applied filler.
[URL=http://s54.photobucket.com/user/dusterbd13/media/1964%20elcamino/004_zps2c50f721.jpg.html]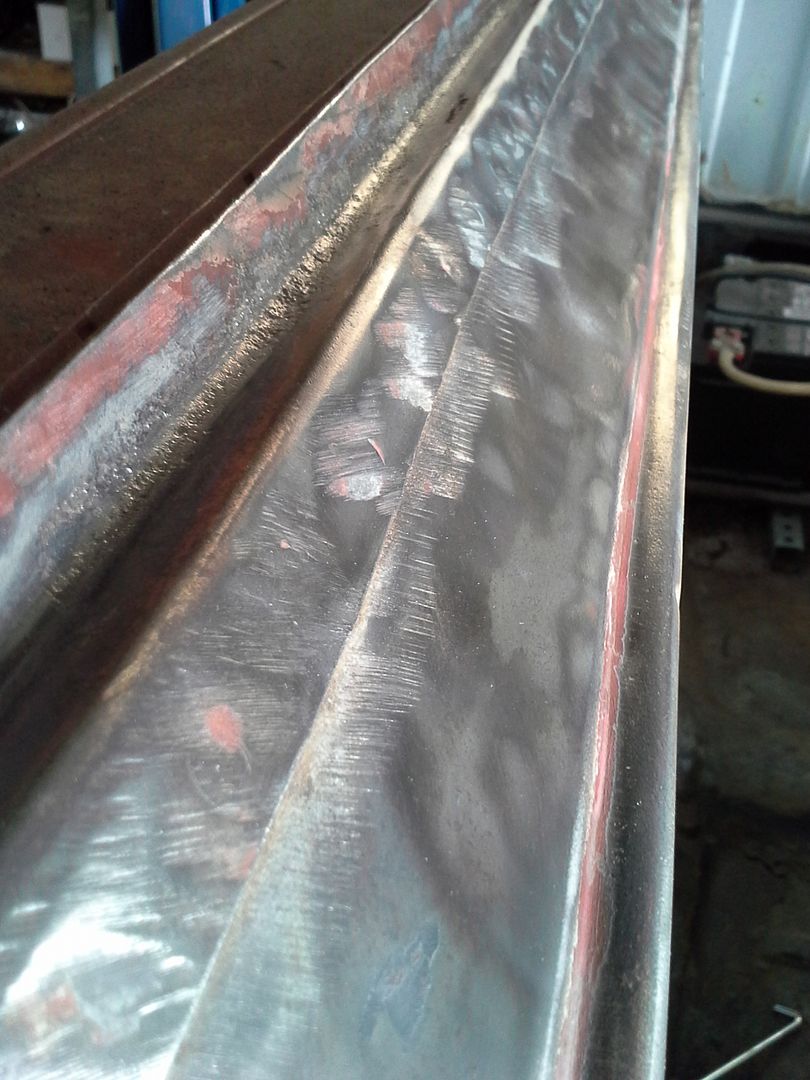 [/URL]
[URL=http://s54.photobucket.com/user/dusterbd13/media/1964%20elcamino/005_zps9cbe0466.jpg.html]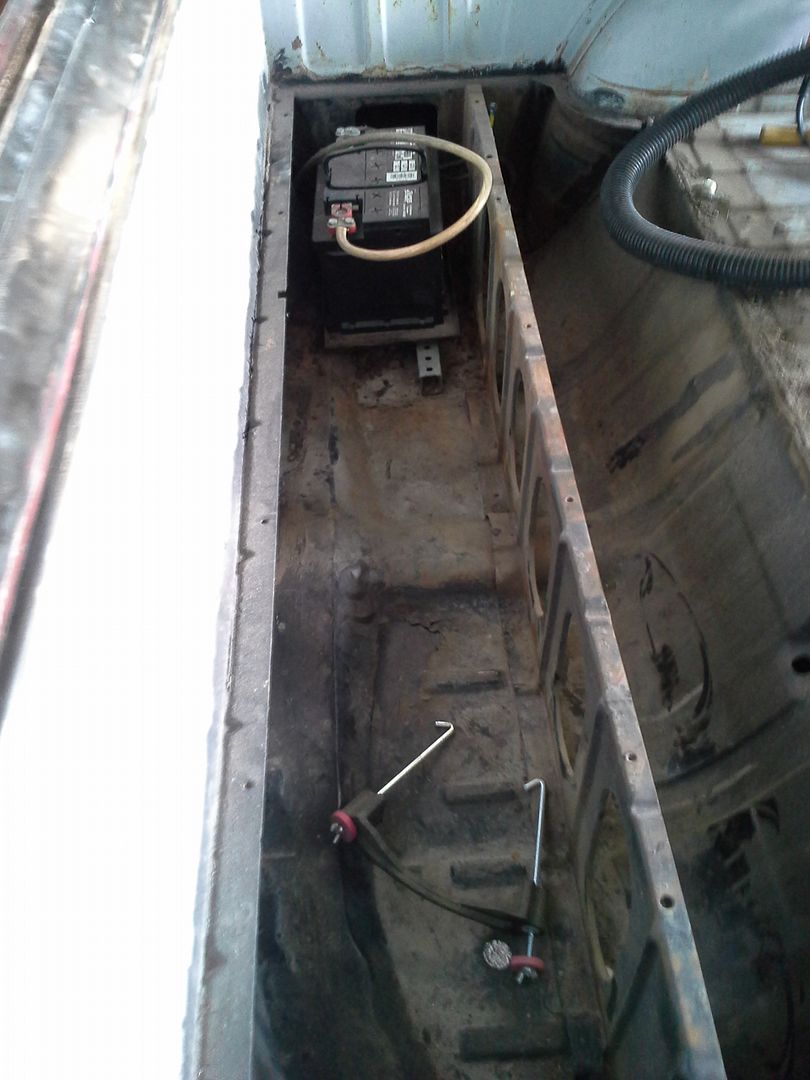 [/URL]
[URL=http://s54.photobucket.com/user/dusterbd13/media/1964%20elcamino/012_zps776f52c0.jpg.html]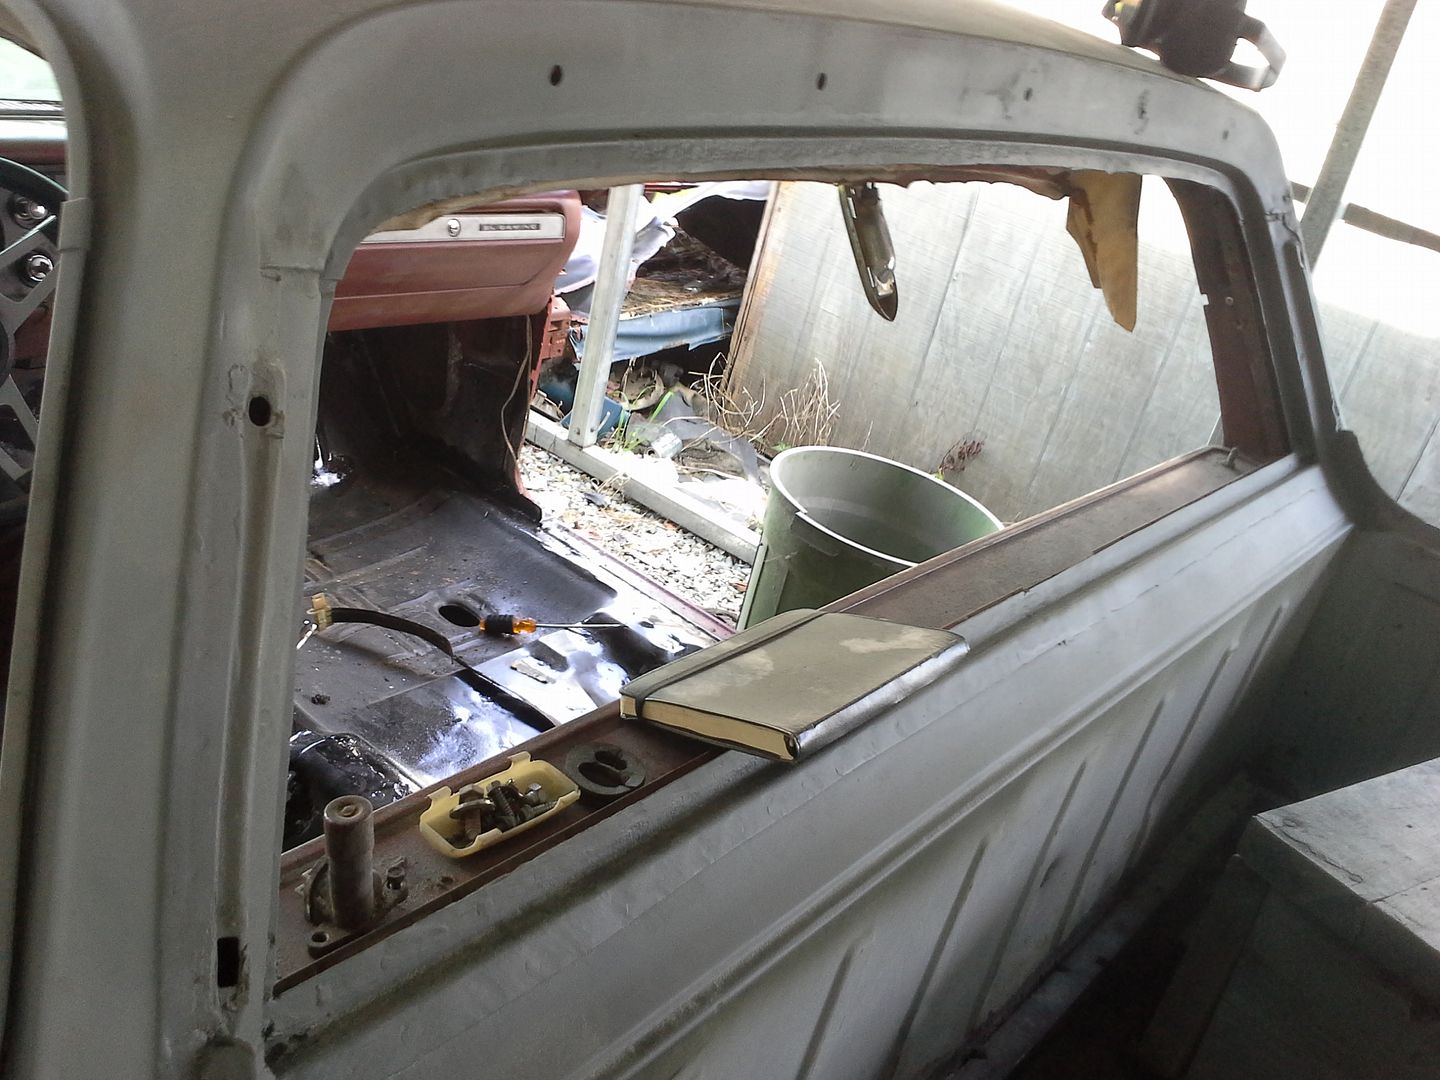 [/URL]
feeling froggy, I decided to pull the front window and check for rust. I'm glad I did. found some nice holes that they had filled with windshield adhesive, NO surviving trim clips, etc. oh, and I shattered the windshield in the process. E36 M3. well, nothing I could do about that, so I fixed the rust, ground everything down to bare metal, and etch primed it before high build.
[URL=http://s54.photobucket.com/user/dusterbd13/media/1964%20elcamino/008_zps0b7e856c.jpg.html]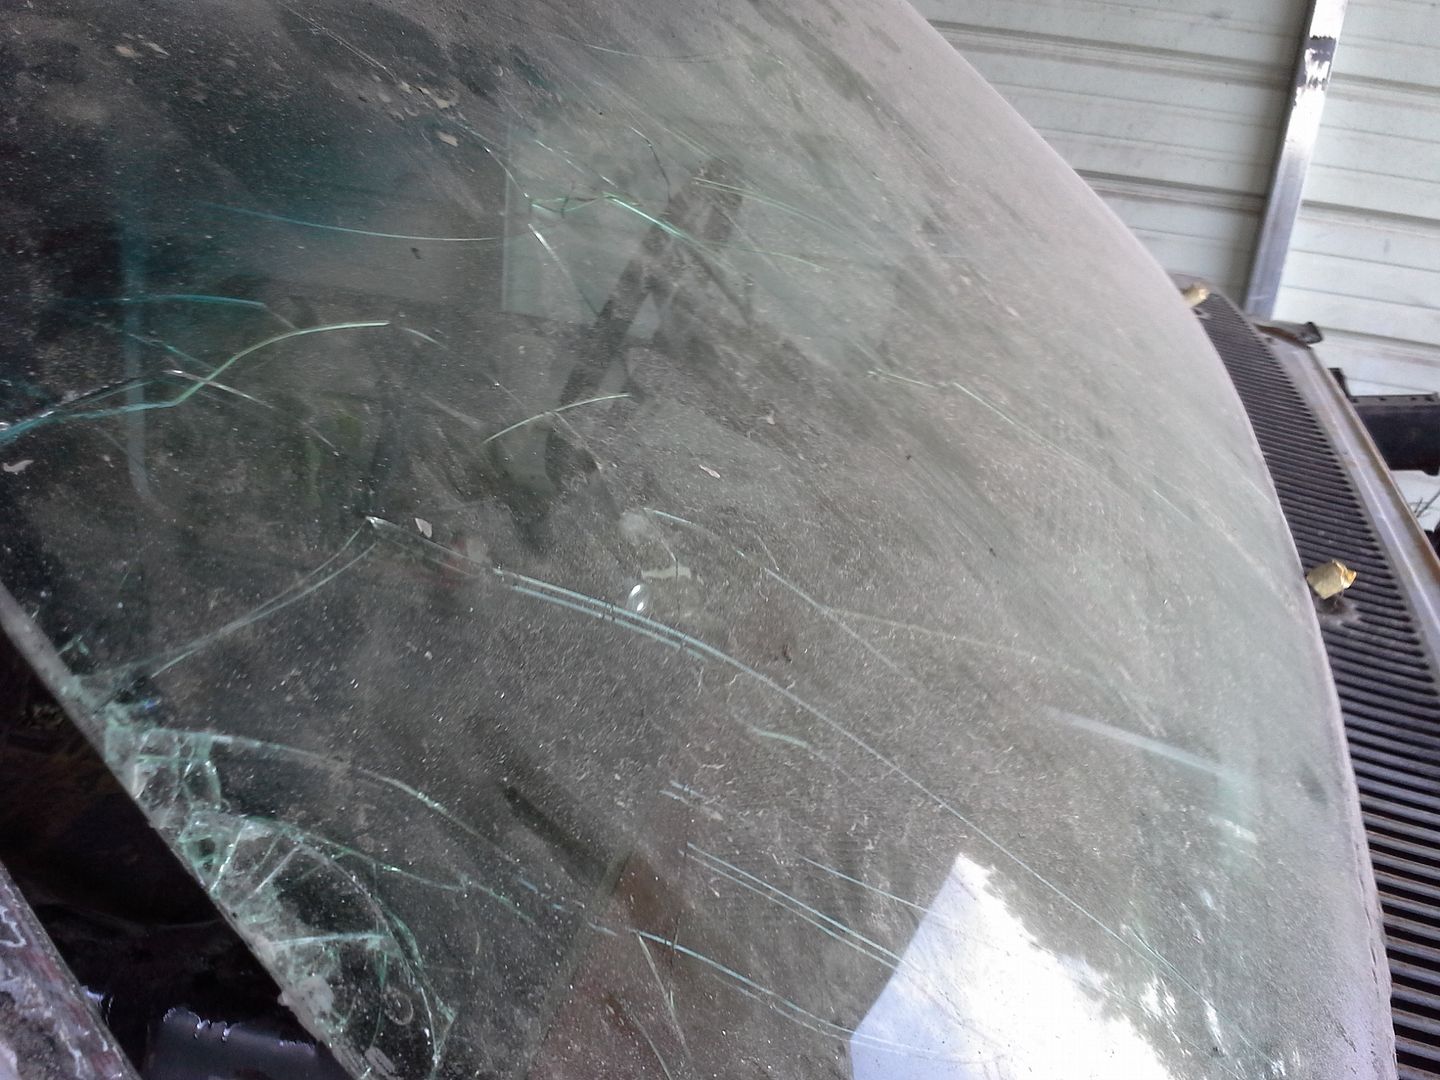 [/URL]
[URL=http://s54.photobucket.com/user/dusterbd13/media/1964%20elcamino/016_zps1d42f923.jpg.html]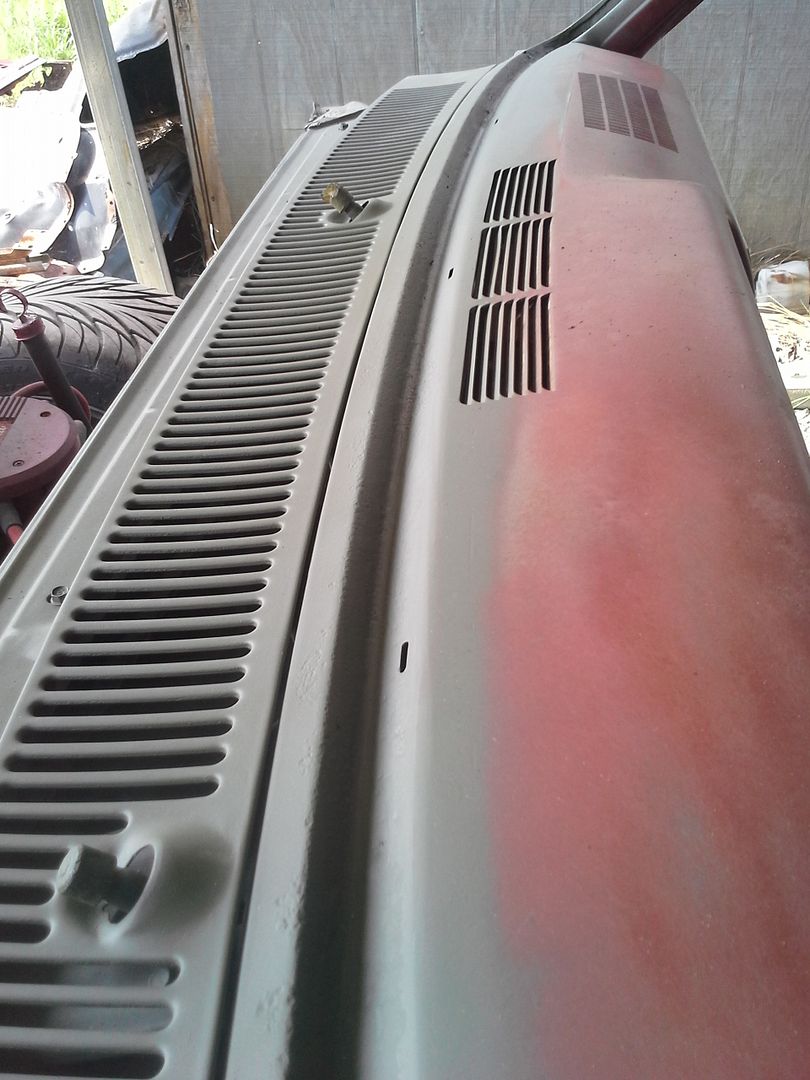 [/URL]
[URL=http://s54.photobucket.com/user/dusterbd13/media/1964%20elcamino/014_zps11707236.jpg.html]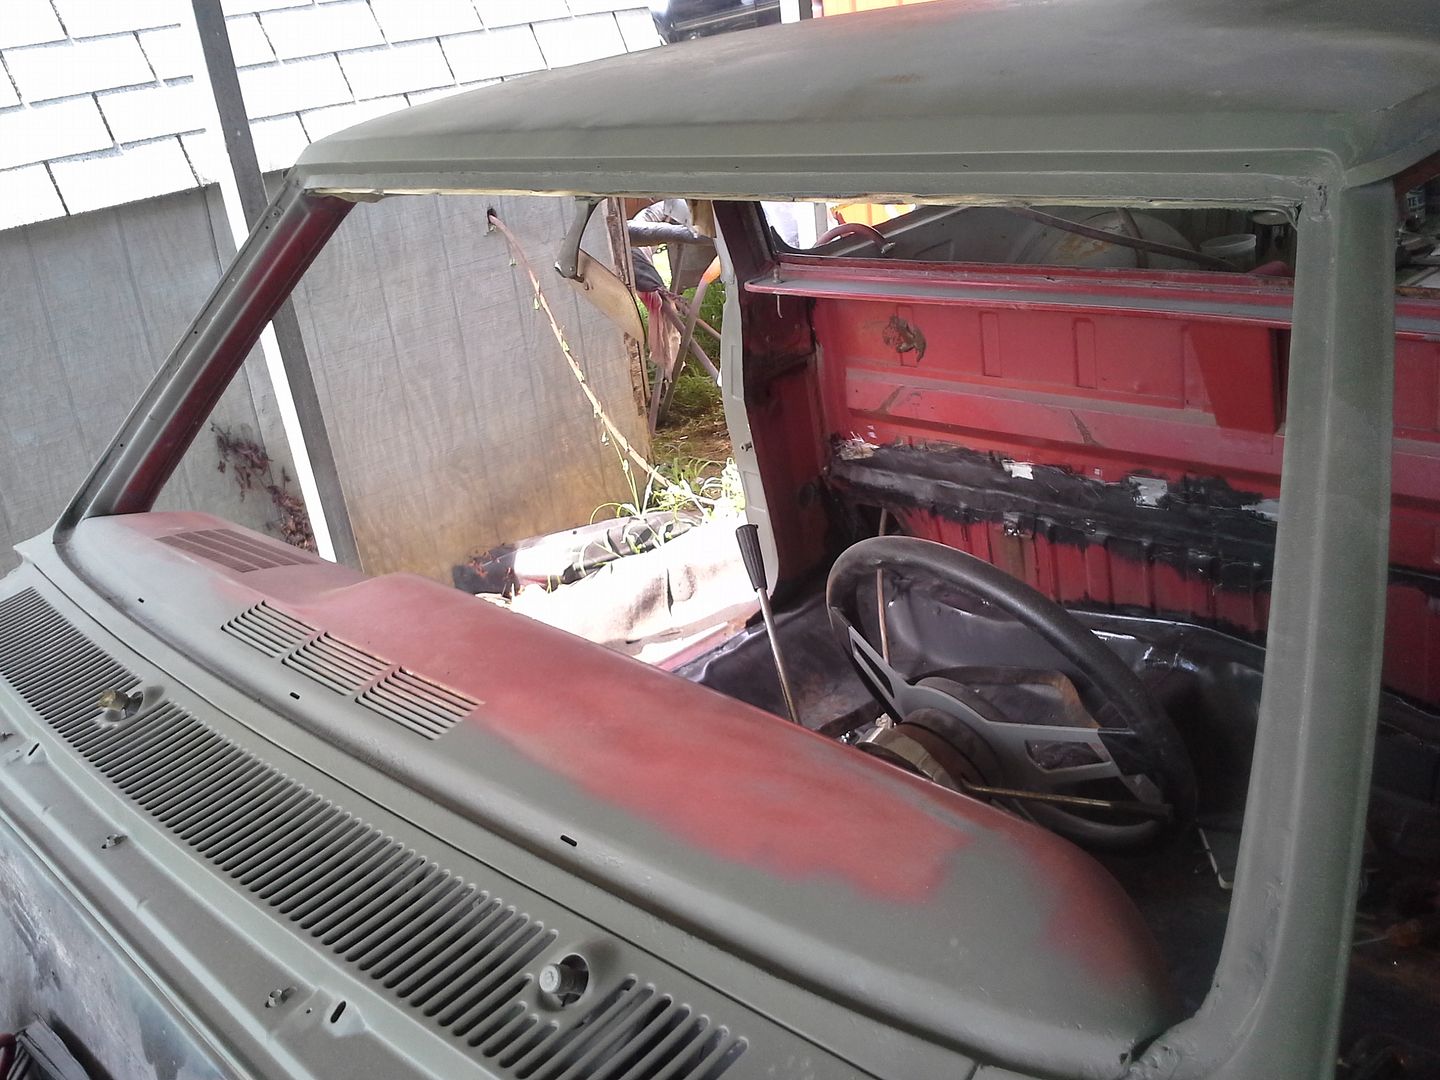 [/URL]
then, we shot a heavy, heavy, heavy coat of high build primer over the whole thing, followed with a guide coat. I've now spent 8 hours blocking the tailgate, drivers side quarter, and roof. haven't even started the passengers side yet, but its ready for the first round of blocking.
[URL=http://s54.photobucket.com/user/dusterbd13/media/1964%20elcamino/011_zps1706cf8a.jpg.html]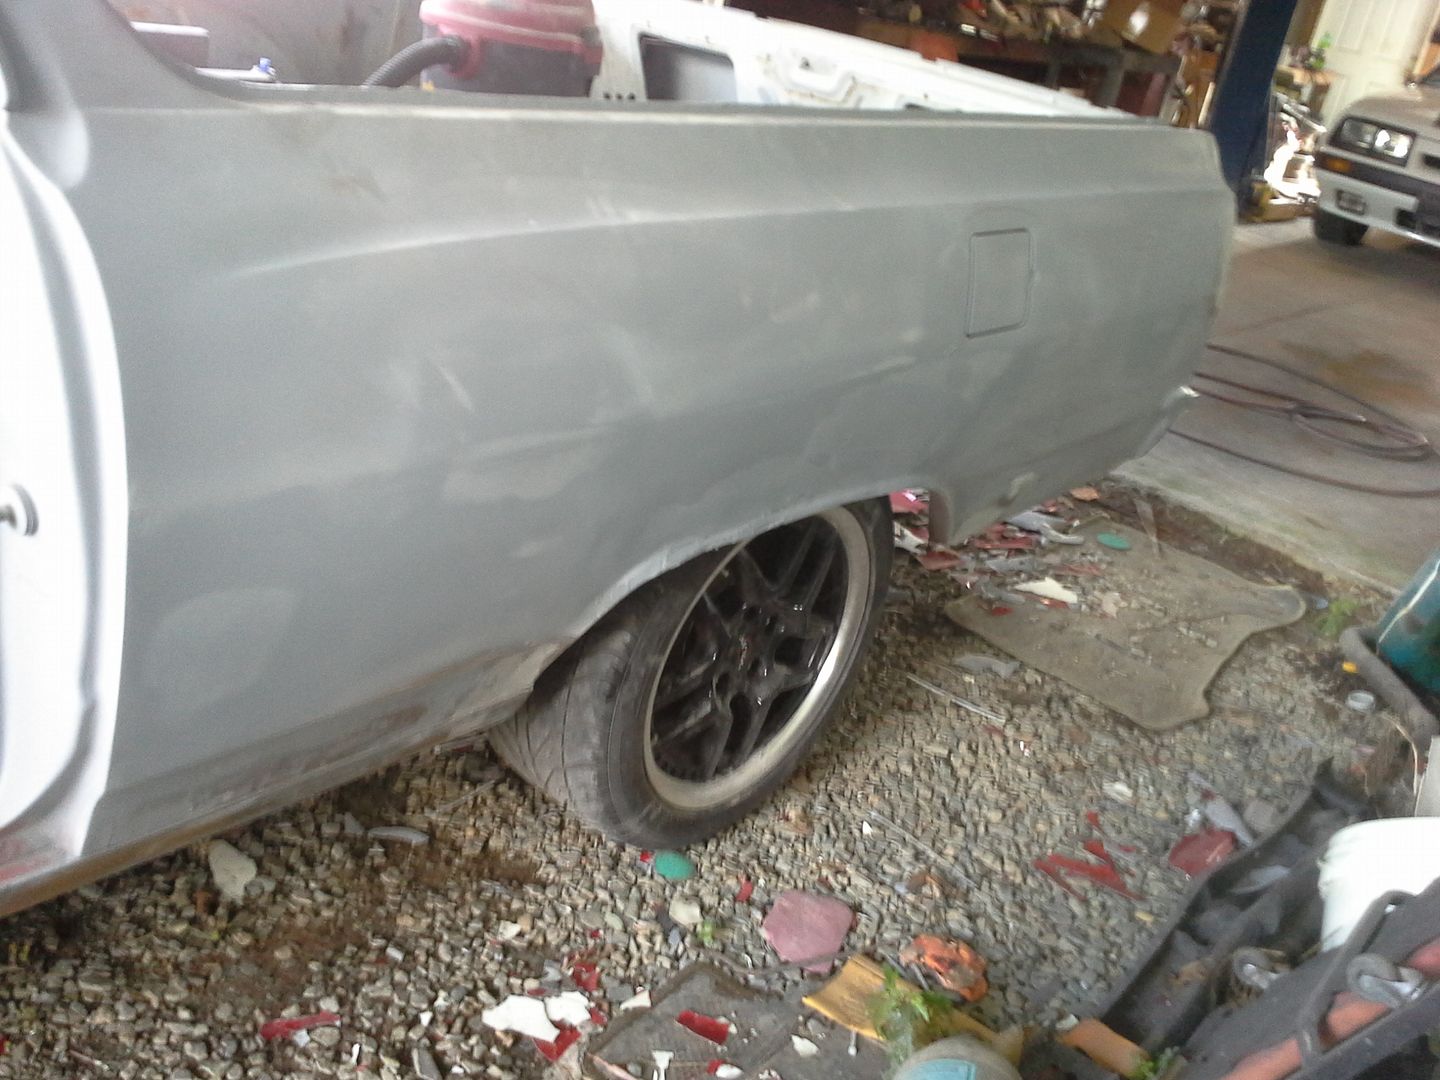 [/URL]
[URL=http://s54.photobucket.com/user/dusterbd13/media/1964%20elcamino/013_zps1c0e22af.jpg.html]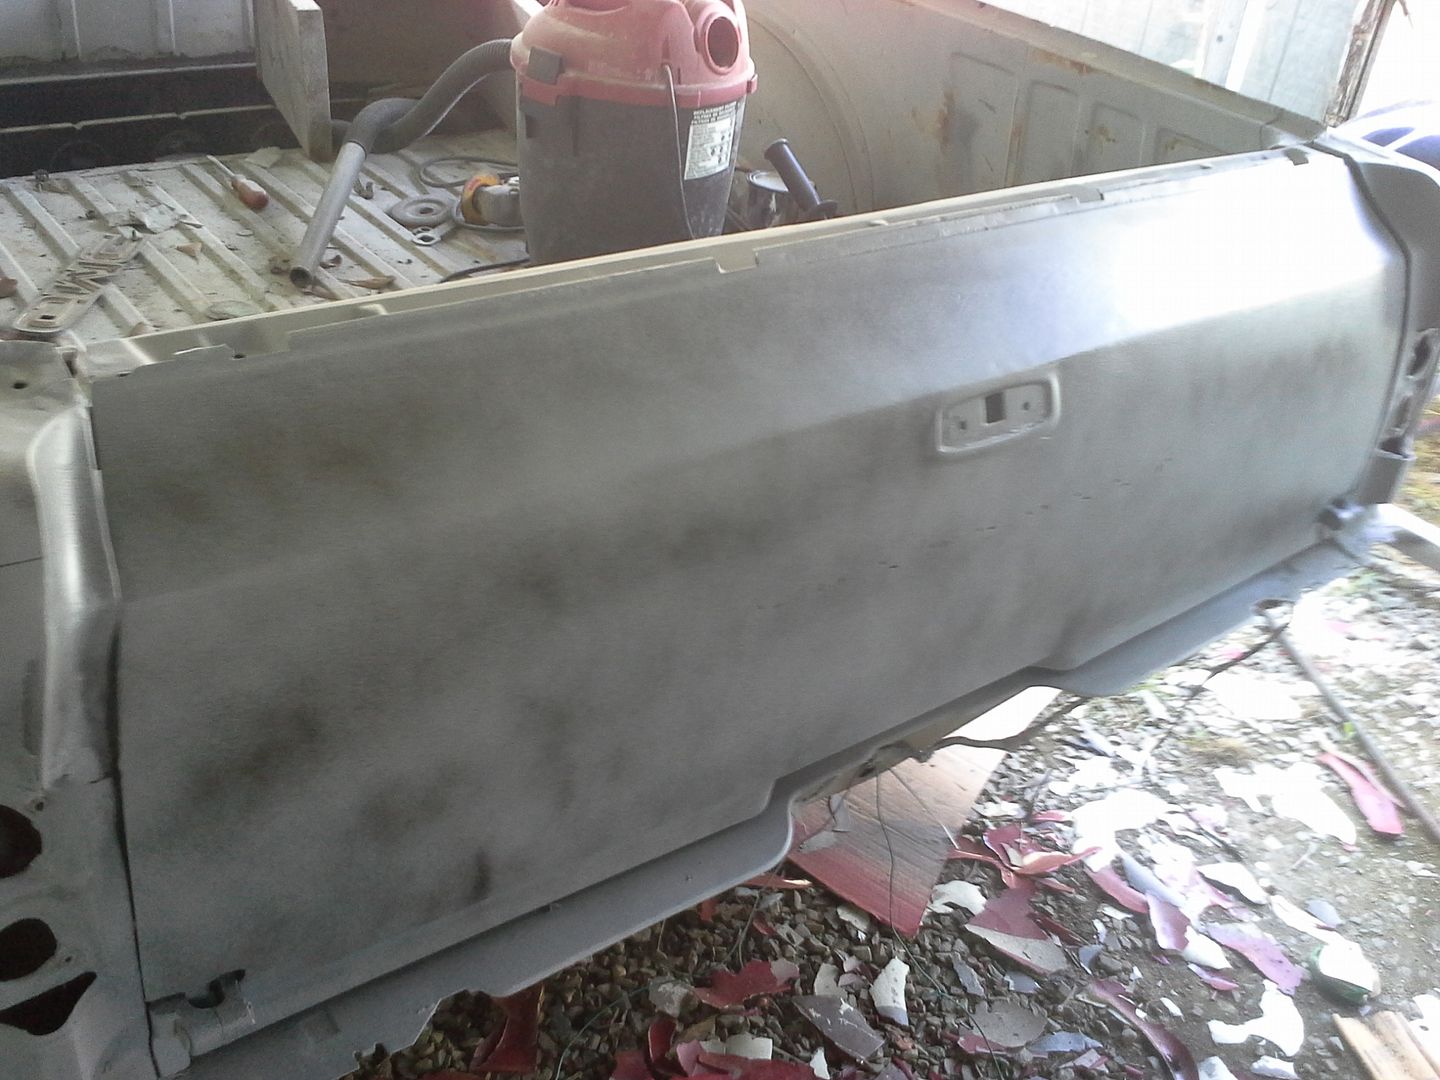 [/URL]
[URL=http://s54.photobucket.com/user/dusterbd13/media/1964%20elcamino/008_zps56378c34.jpg.html]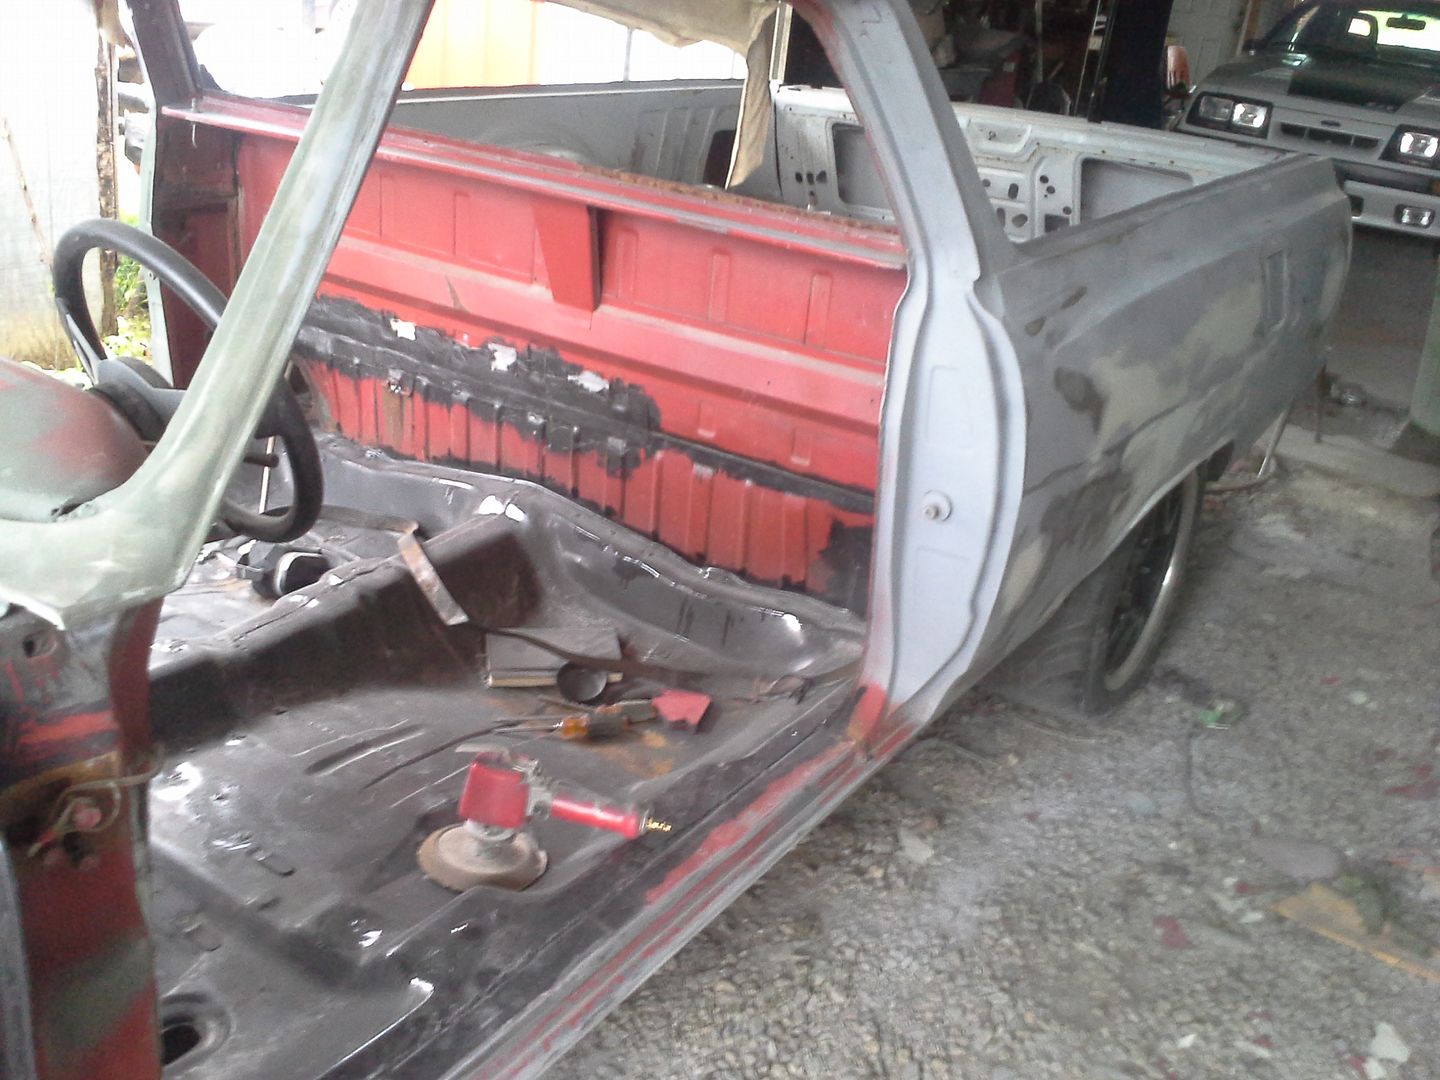 [/URL]
[URL=http://s54.photobucket.com/user/dusterbd13/media/1964%20elcamino/009_zps6e30c848.jpg.html]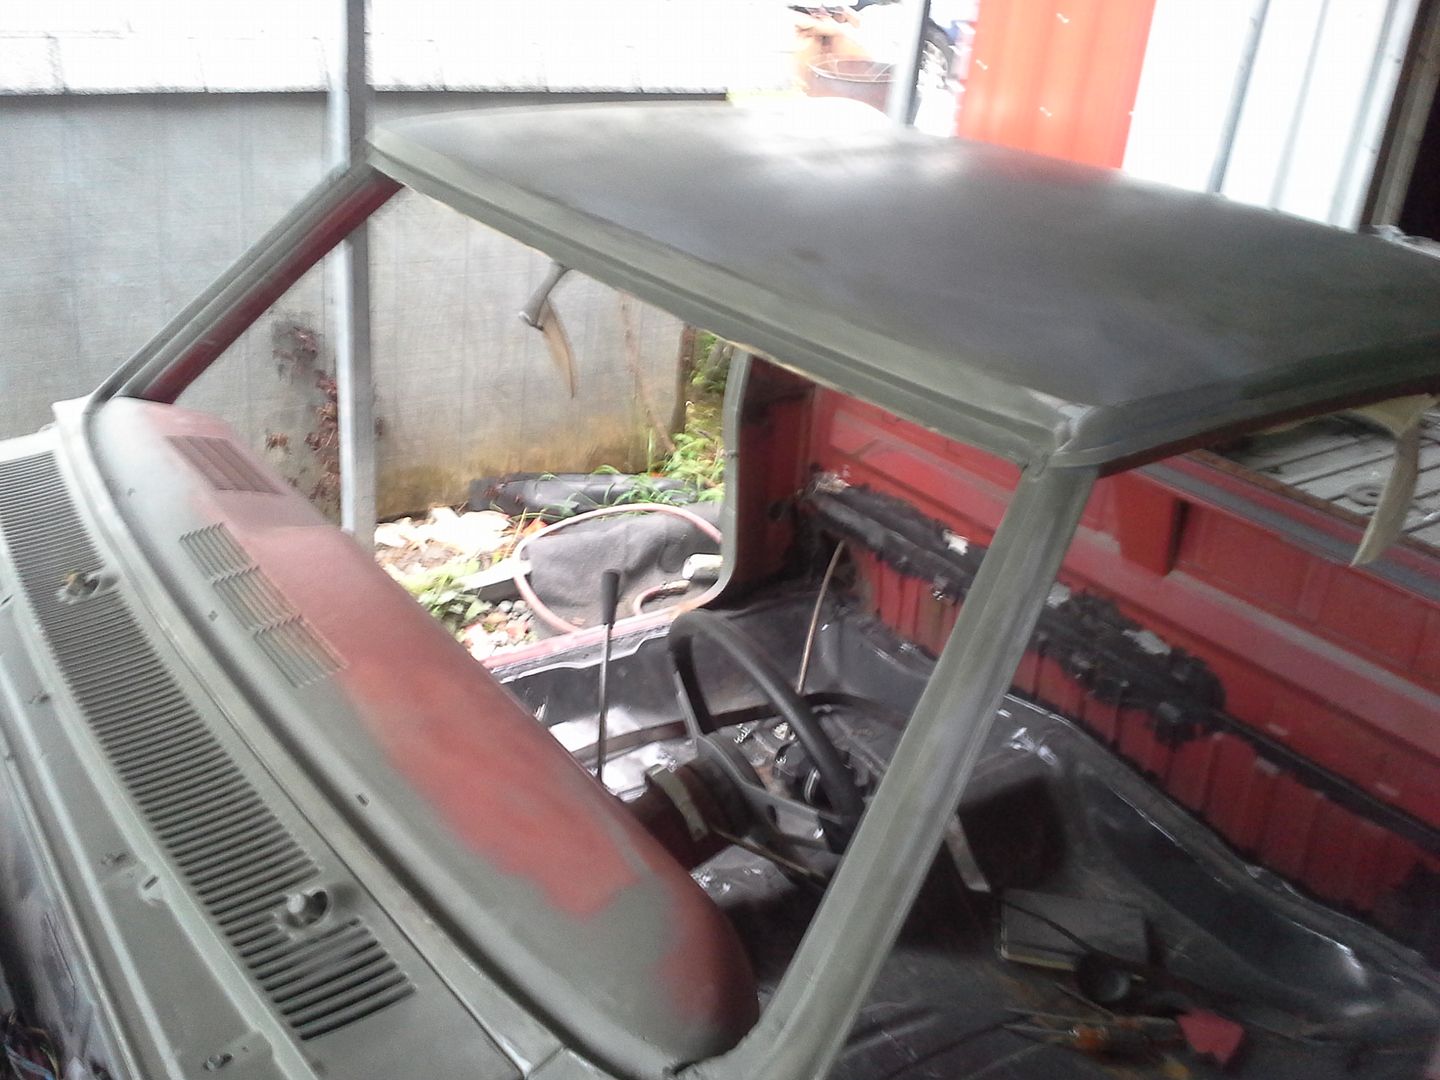 [/URL]
[URL=http://s54.photobucket.com/user/dusterbd13/media/1964%20elcamino/010_zpsa11689d2.jpg.html]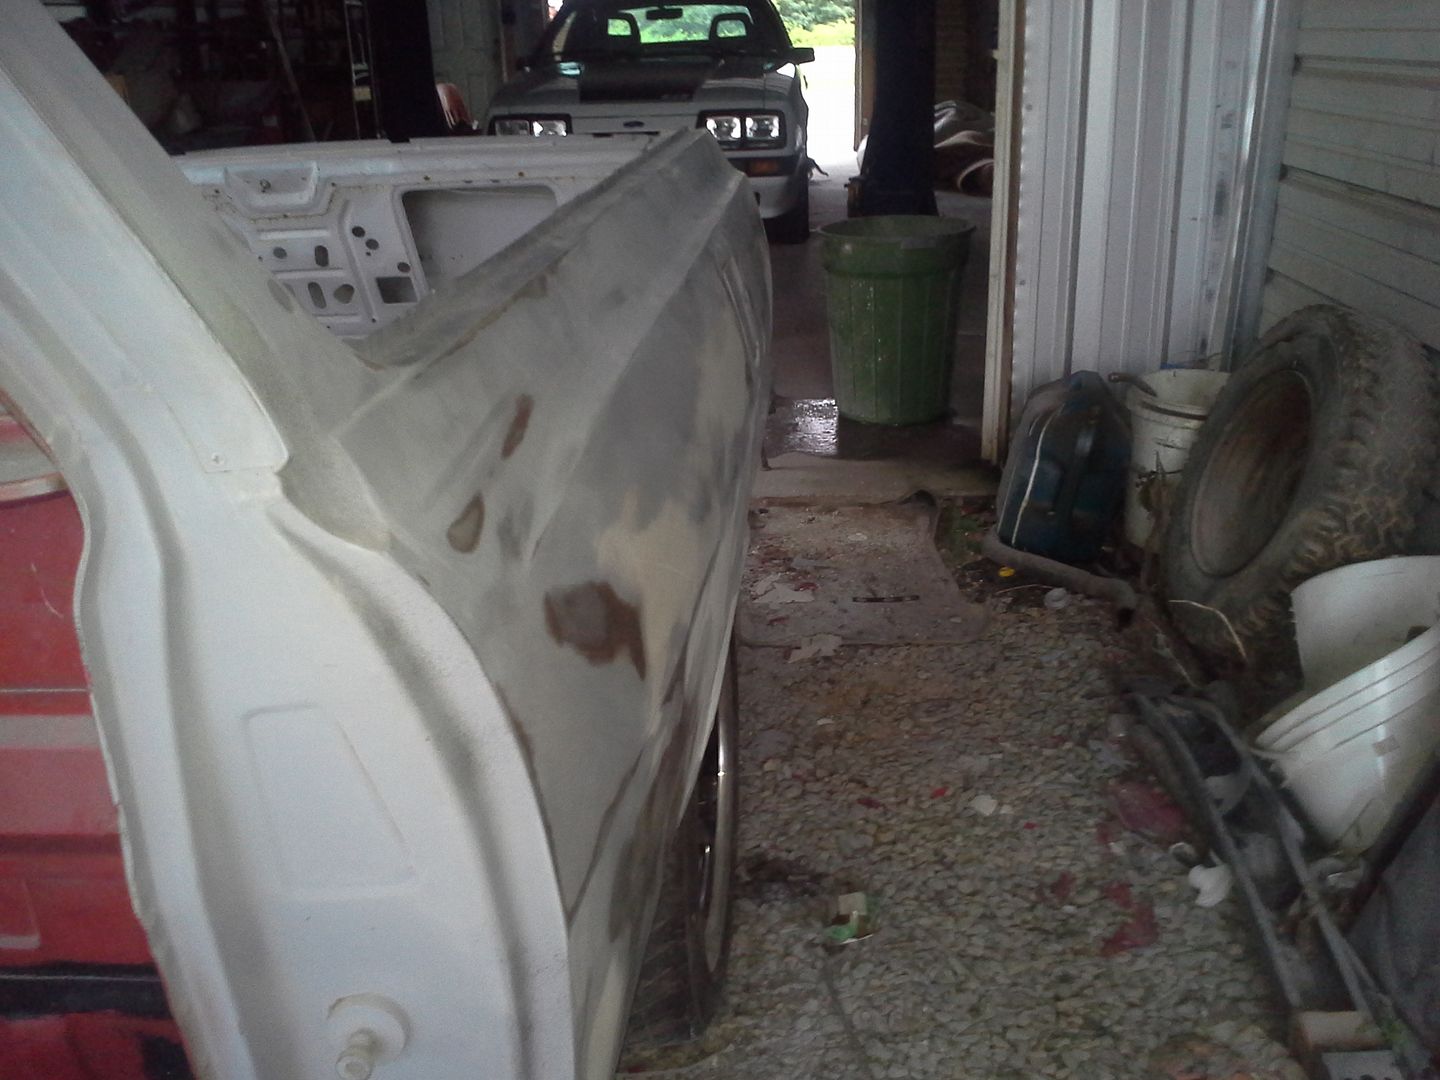 [/URL]
[URL=http://s54.photobucket.com/user/dusterbd13/media/1964%20elcamino/013_zps5f7568f1.jpg.html]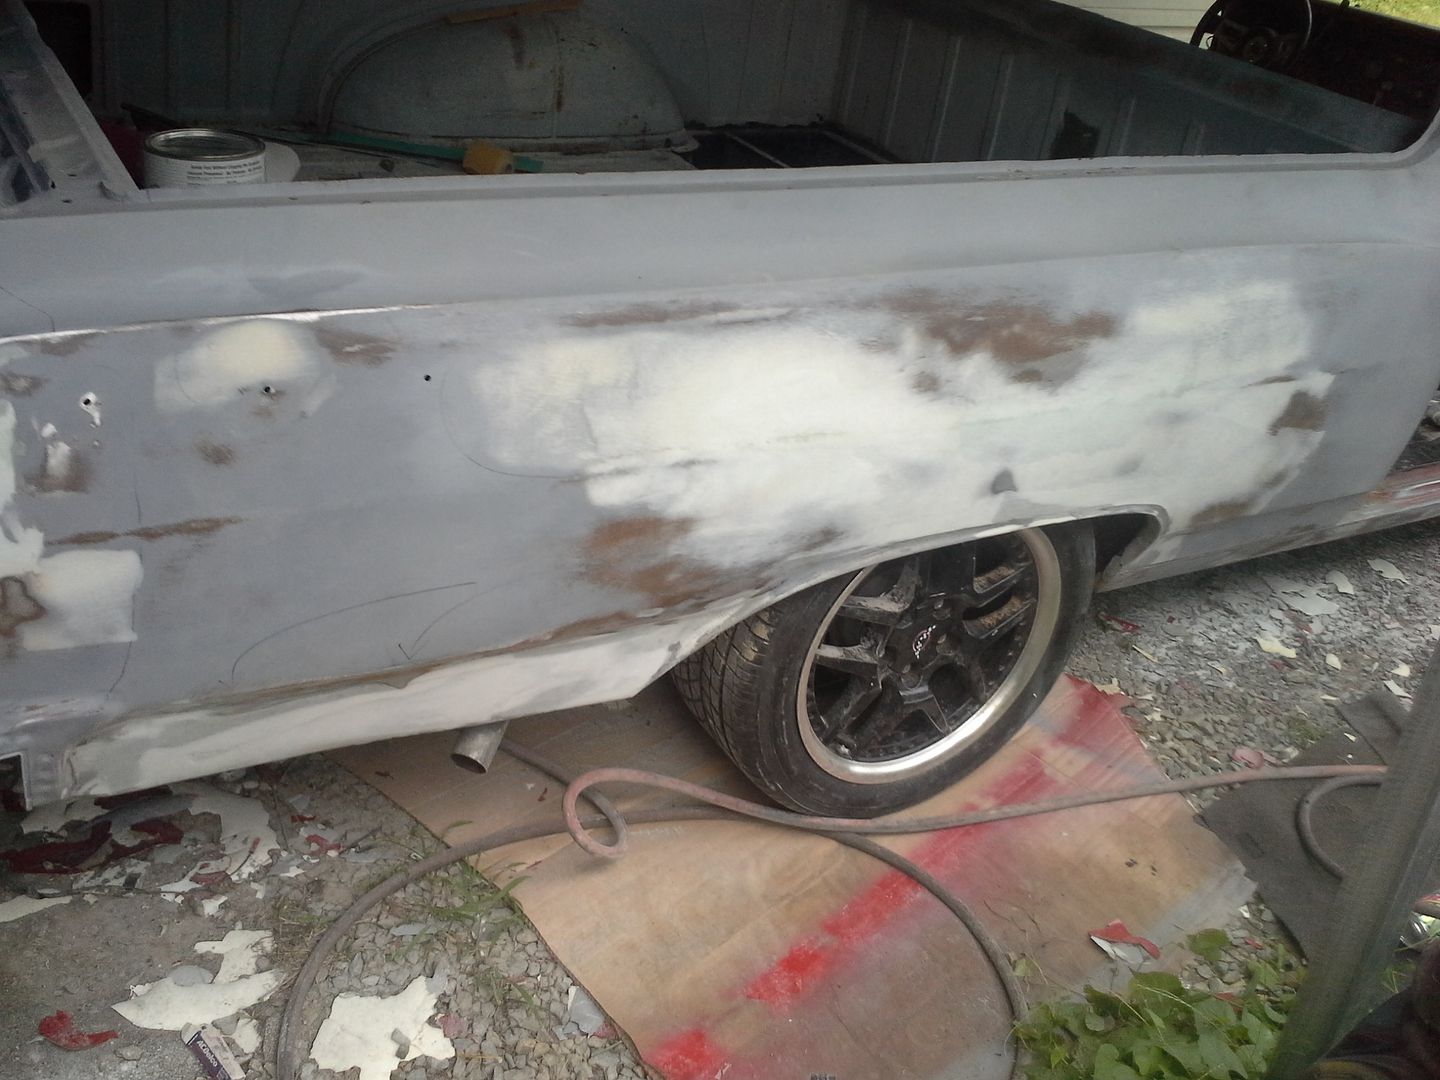 [/URL]
after all that, we shot another coat of high build last night. I found some spots on the rockers that needed work, need some more work on the passengers taillight, and the fender lips need some more work. but we had to get more primer on it to keep the work I've already done good. so this is where we quit last night. Saturday is another day. and more bodywork. I hate bodywork. I should probably pay someone to do it....
[URL=http://s54.photobucket.com/user/dusterbd13/media/1964%20elcamino/015_zps7860f8a5.jpg.html]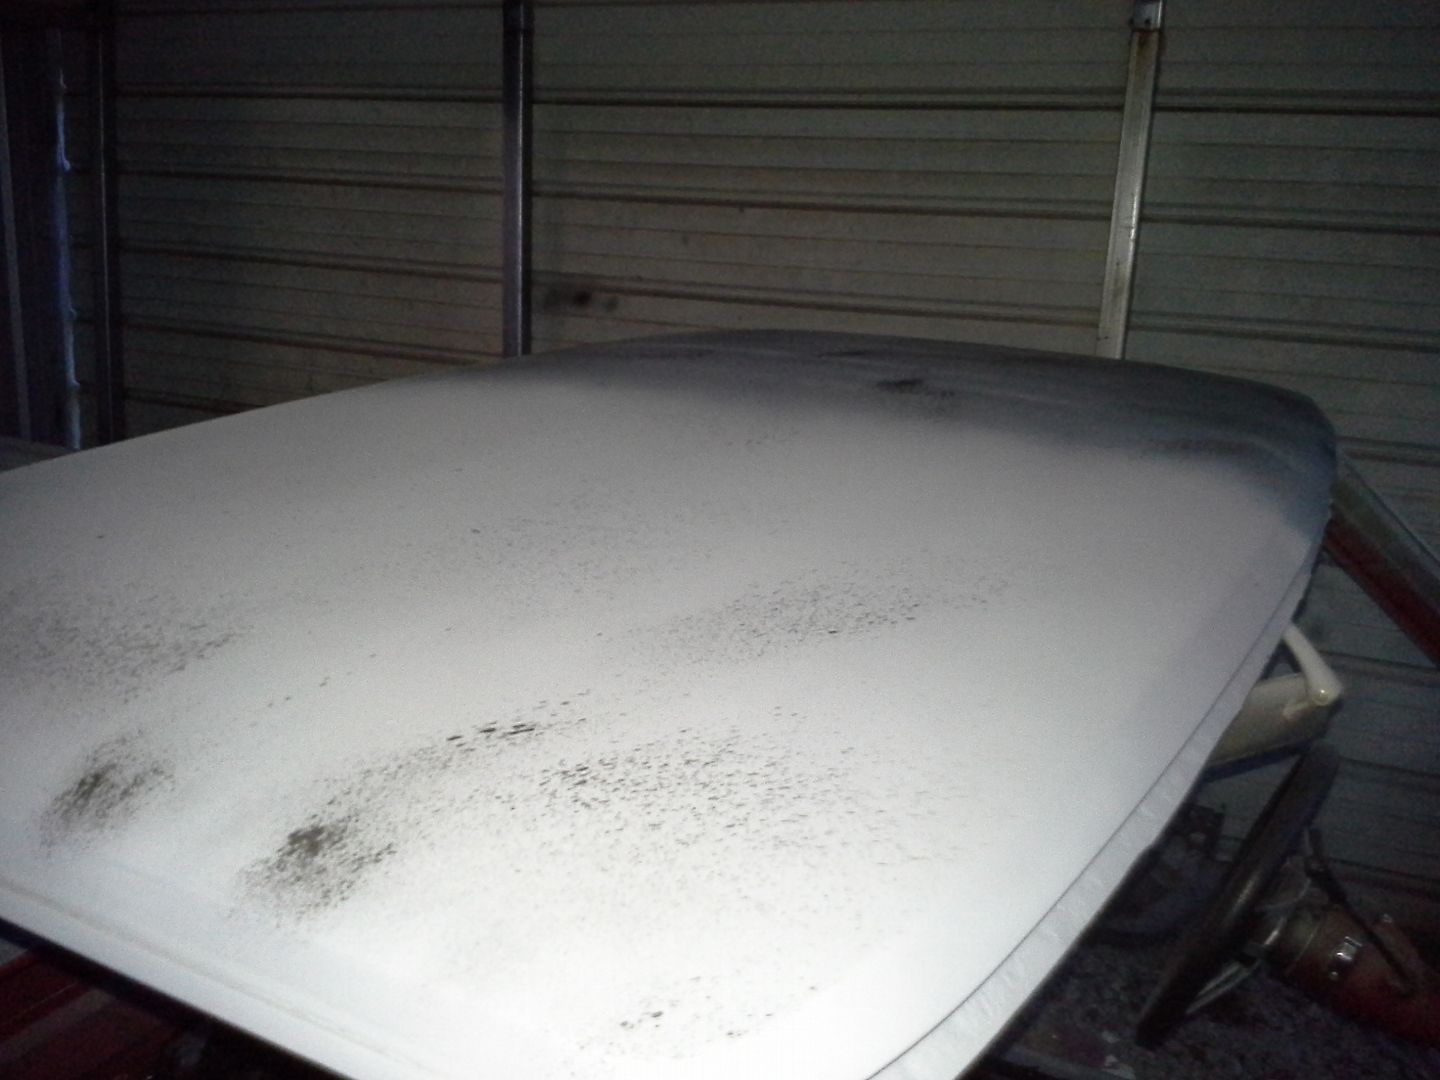 [/URL]
[URL=http://s54.photobucket.com/user/dusterbd13/media/1964%20elcamino/016_zps19fe24ca.jpg.html]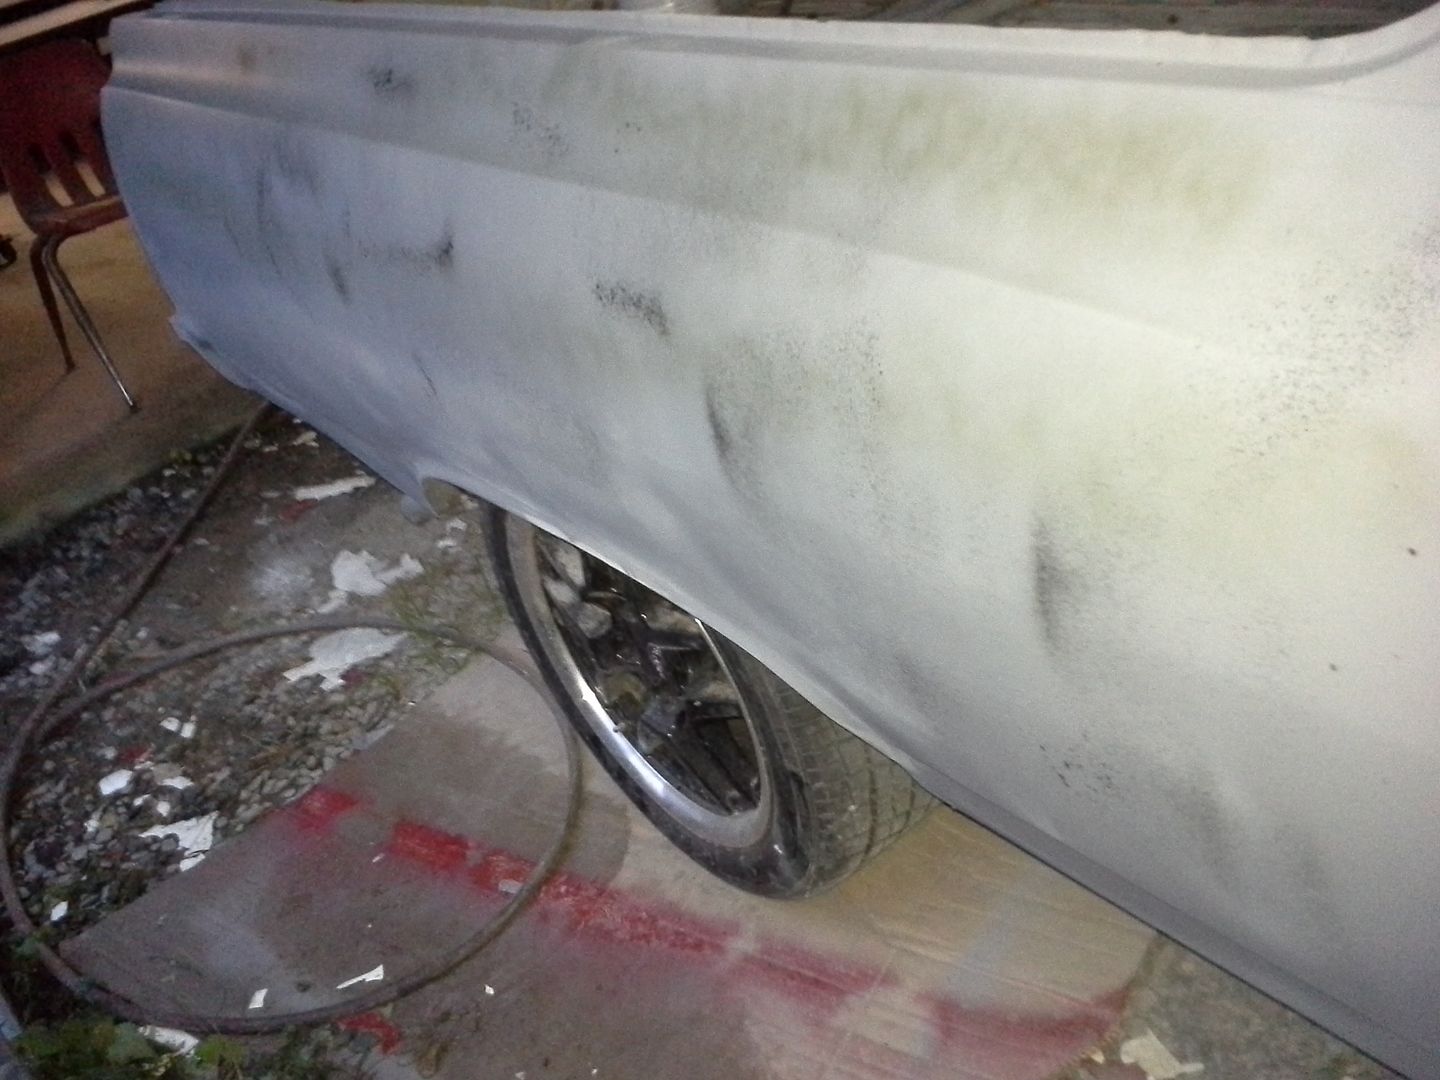 [/URL]
[URL=http://s54.photobucket.com/user/dusterbd13/media/1964%20elcamino/017_zpse734a60d.jpg.html]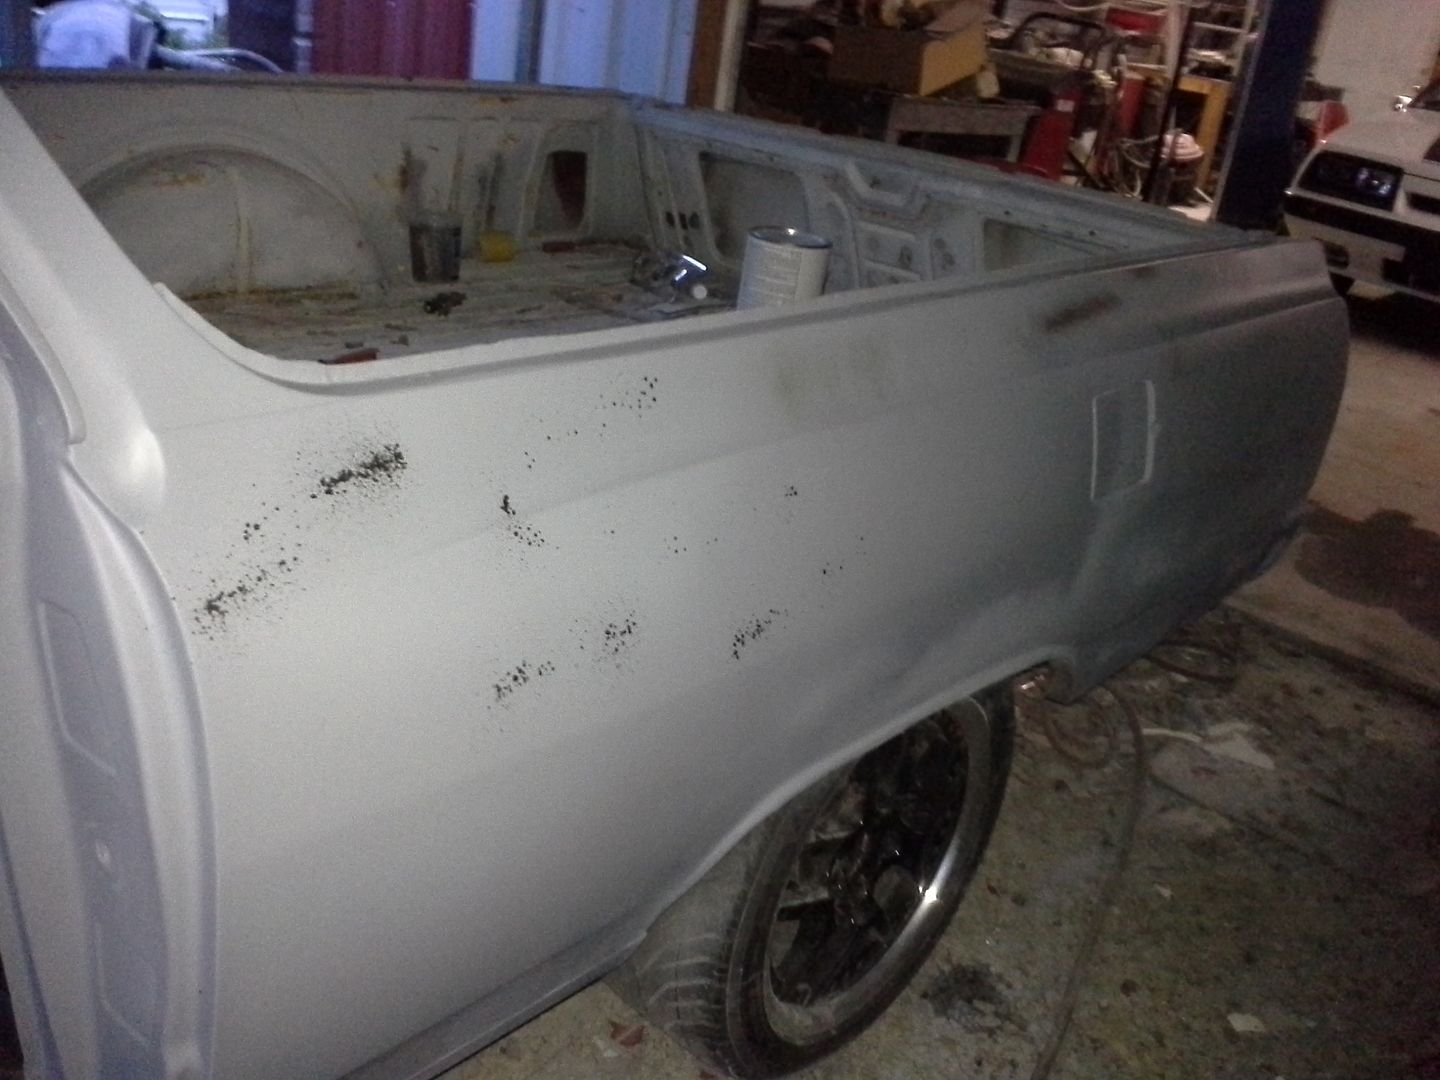 [/URL]
[URL=http://s54.photobucket.com/user/dusterbd13/media/1964%20elcamino/018_zps1734b374.jpg.html] [/URL]
[URL=http://s54.photobucket.com/user/dusterbd13/media/1964%20elcamino/019_zps68834e9c.jpg.html] [/URL]
I was able to sight down the reflection in the wet primer and see just how straight its getting. I was impressed with myself.
I'm actually getting excited about this truck again instead of just trudging forward.
I did a bunch more blocking yesterday. Still looks the same. Art swears its ready to final block and paint this week. He also swears that it will happen without any intervention on my behalf.
I don't believe him.
Keep up the great work! I have always been fond of the early Els... very happy to see the effort you're putting into bringing this one back to life. Been following this for a while, thanks for taking one for the team on the bodywork :)
Thank tuna. He is the reason I waswwilling to even try after the miserable failure of my lats foray into bodywork.
Looking back through the thread, you could almost play wheres waldo with diet mt dew in almost every update.
You're kicking butt. Nice work, seriously. I'm inspired.
As I sit in the garage watching red-cote dry.
Unfortunately it will be sitting when it comes back. Im going for ankle surgery on the 25. Will be off my feet for 4-6 weeks minimum. Also have the last customer car to do.
Unless I can find progress to make while sitting down, not much will happen.
Dusterbd13 wrote: Unfortunately it will be sitting when it comes back. Im going for ankle surgery on the 25. Will be off my feet for 4-6 weeks minimum. Also have the last customer car to do. Unless I can find progress to make while sitting down, not much will happen.
Yuck! I hope whatever is wrong gets righted.
Got some cysts, bone chips, and damage to the cartilage. Ive been hobbling for close to a year. Can't really drive stick anymore because it's my left ankle. Can't play with my daughter. Time to get it fixed.
You'll need to log in to post.