What tool are you using to flare lines? The cabover is going to need all new lines so I'm about to admit that it's proper tool time.

What tool are you using to flare lines? The cabover is going to need all new lines so I'm about to admit that it's proper tool time.

SkinnyG is THE MAN!!!
Somehow I never read this thread before, so I just finished cover to cover. Outstanding!

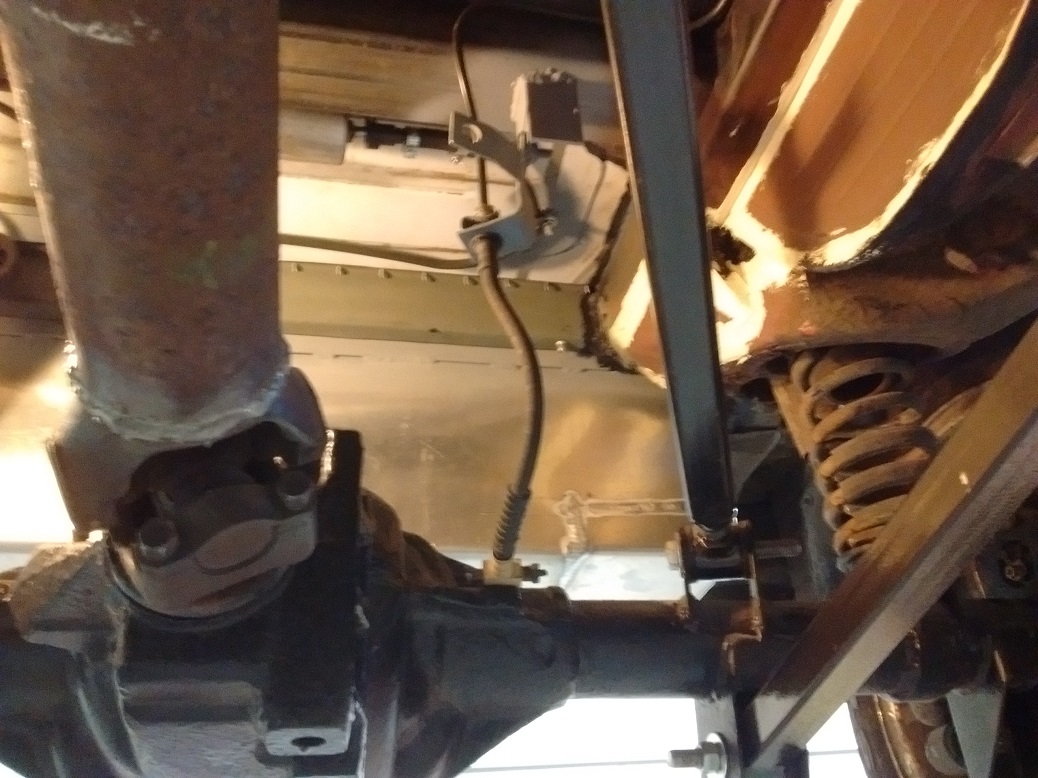
I used the original flex line bracket because I had it. I just had to space it down 2.5" from the crossmember above.
When I built The Lethal Locost, I had bought a KD Tools SAE Flare Kit which works adequately. Some of the flares are a bit gimpy, but it might be an operator error. For the Firebird donor on this one, I needed ISO Flares. For the cost of paying someone to make the ends, you can buy a decent kit. My ISO Flare kit is by OTC, and it's ~really~ nice. I don't recall it being very expensive - maybe $45CDN?

I love my matercool flaring tool. Some of the best (and most) tool money I've ever spent.
I just looked one of those up. I like the universal kit, but that's $500! Will I do enough flares to justify it? I dunno. I ~want~ one.
My birthday is coming up, though. Just saying.
I had a hard time justifying it. Until the first time i used it. Amazon had the best price.
I now have brakes.
No cool pictures, because the before and after would pretty much look the same. Unless I was driving, in which case there now would no longer be the bent-over yield sign, and police standing around.
Will they even stop the car? Oh dear God I hope so.


Mullet T that ain't right ....BWaHahahahaaa
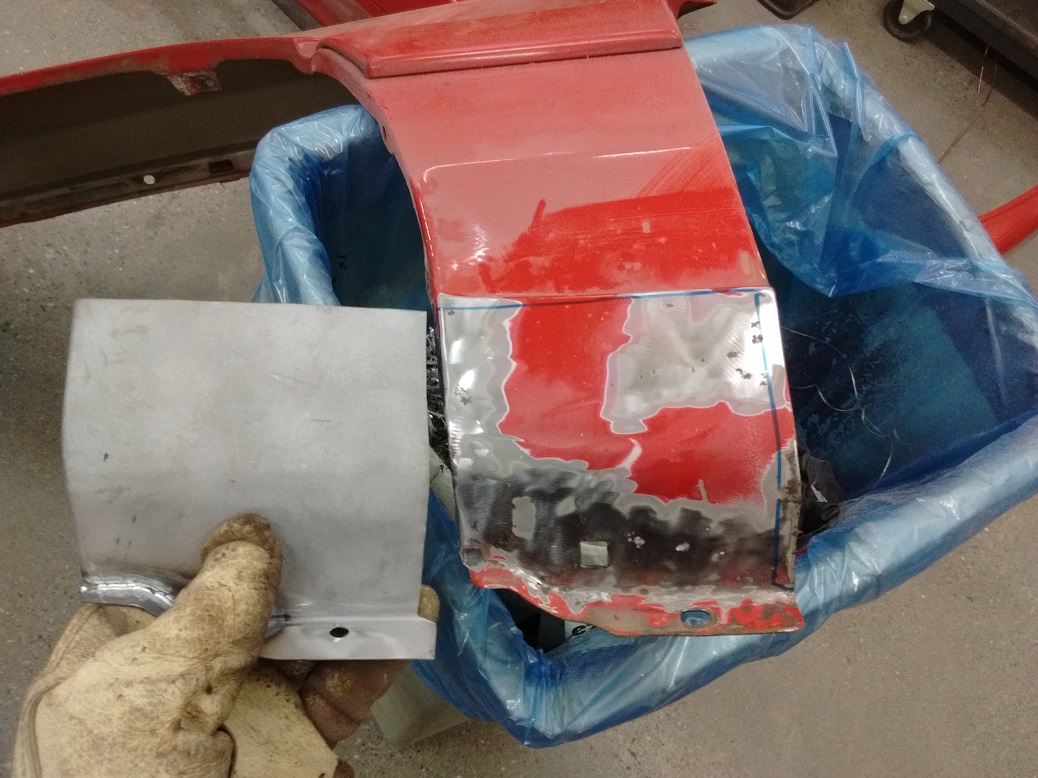
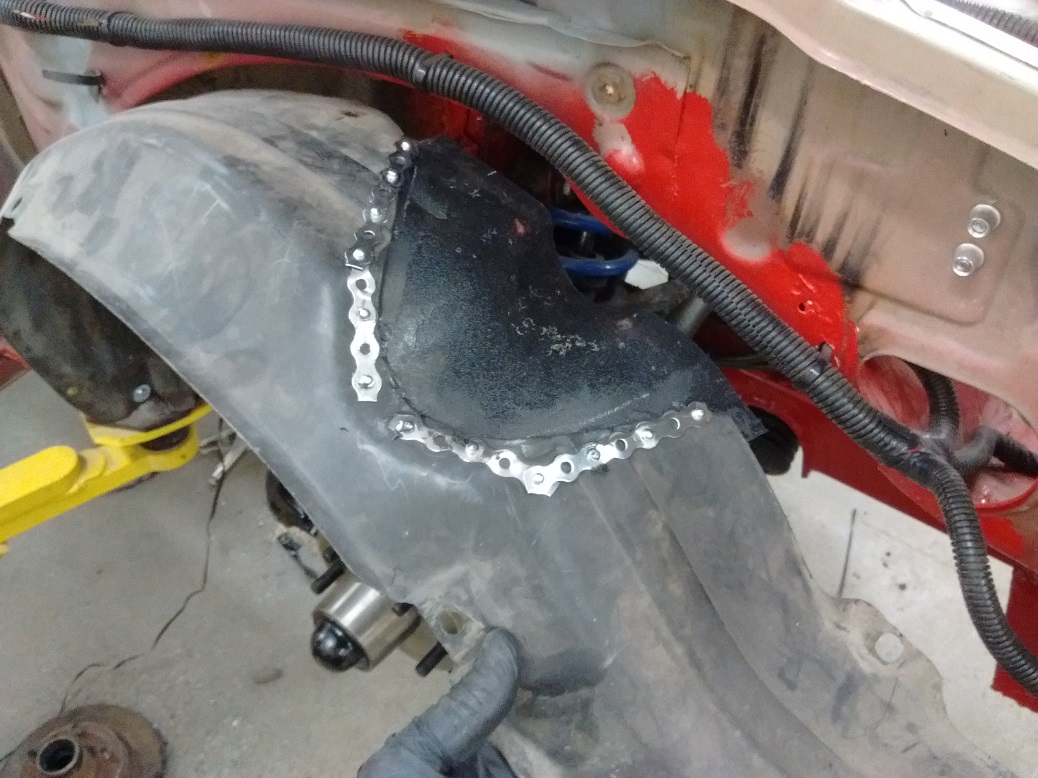
Still researching and figuring out the battery disconnect switch. When I first started the car, the battery disconnect switch did not kill the engine. I had bought a 4-post switch, since I had read that two terminals break the power to everything, and the other two terminals break the alternator field wire. This is what I wired, and despite the wiring being e-x-a-c-t-l-y that, it did not die. But, it seems the four-post is not actually needed. It would have been perfectly find to use a two-post switch and merely keep the alternator connected to the battery. Flicking the switch will kill everything to the car, and any voltage spikes from the alternator are still absorbed by the battery. (A thread I started regarding this) So, I bought some 4ga wire to connect the alternator to the battery. Also fixed the bottoms of the front fenders. Made a patch out of some freezer/fridge/drier sheet metal, using cardboard to make a pattern. This side isn't as bad as the other one, but there were a lot of pinholes from rust:
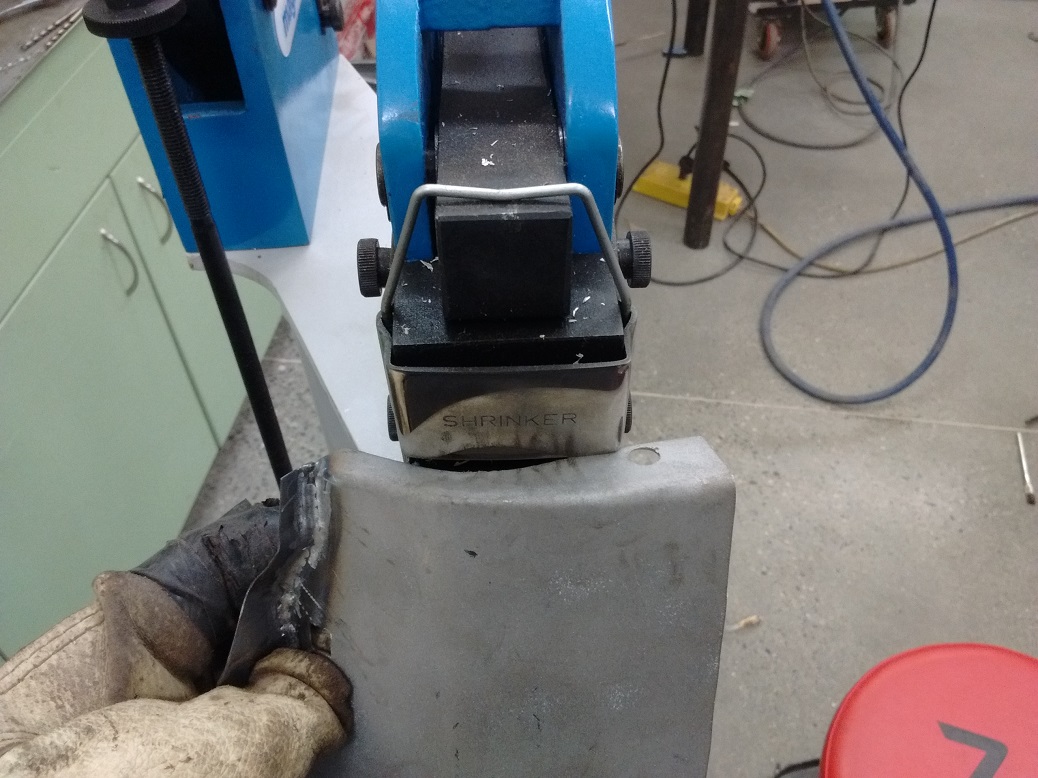
The shrinker makes short work of corners like this:
Patch tacked in (yeah, this is the other fender):
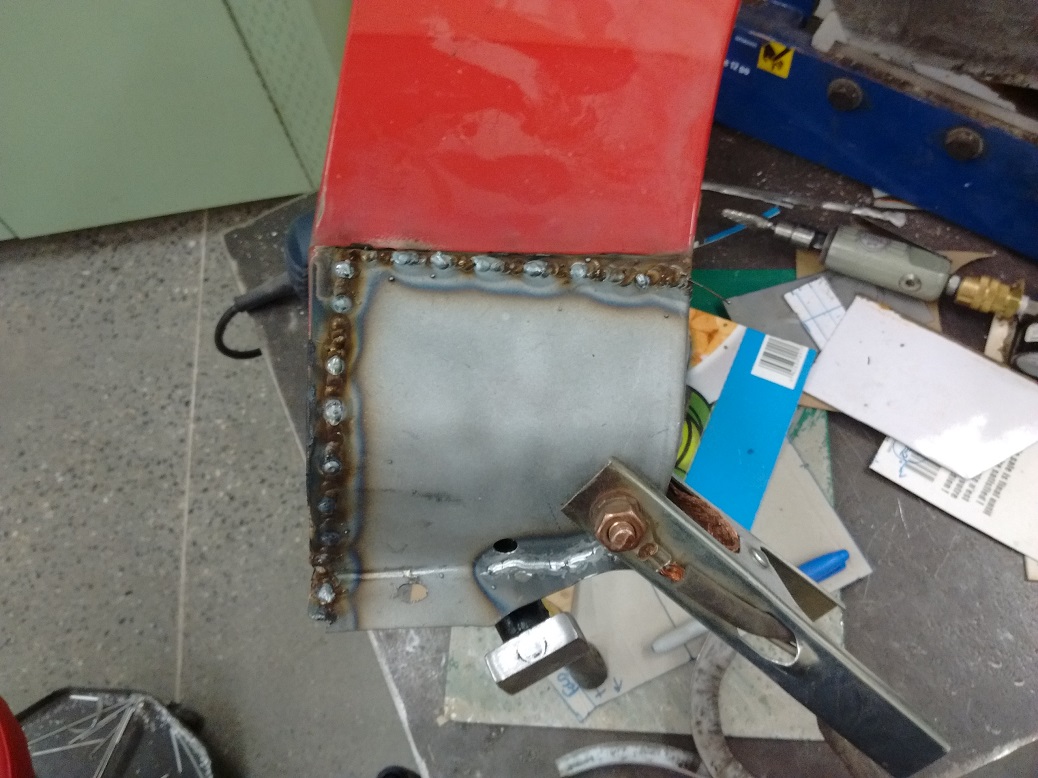
Smoothed out:
And since ALL of this is hidden behind the plastic skirting, a big ugly slather of rust paint will hide this dandy.
And it looks like I'm down to Tylenol twice a day now. That's good.
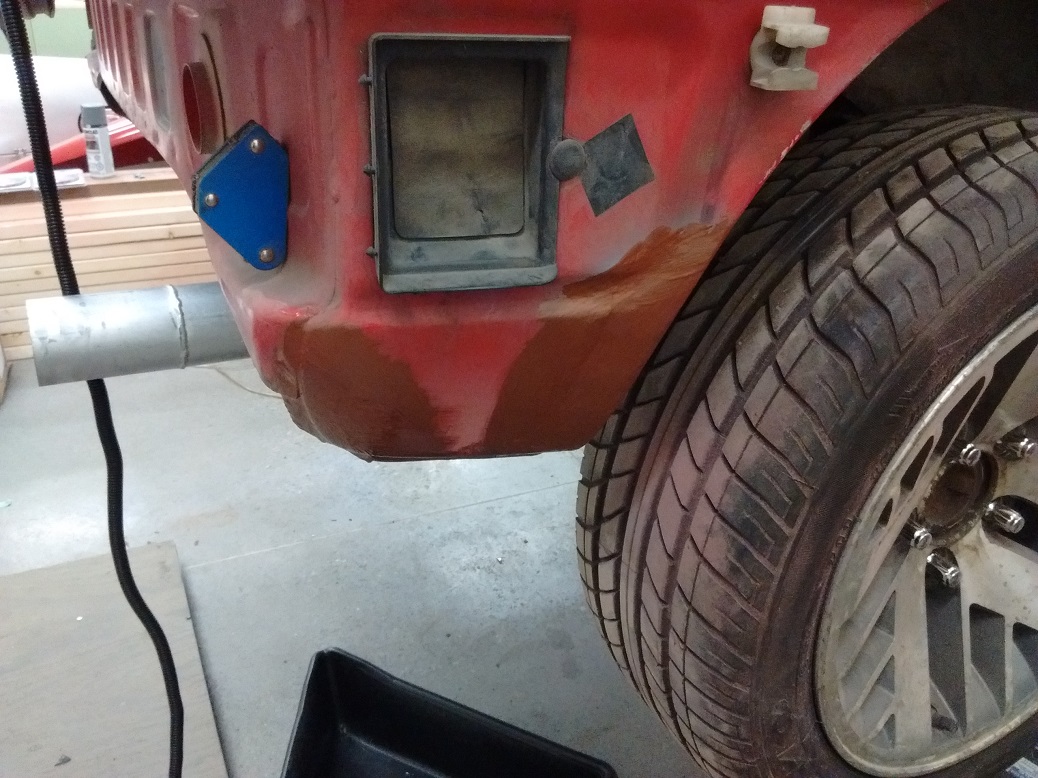
Patched another rusty spot behind the rear tire. All this is hidden behind the bumper, so it's not going to be pretty.
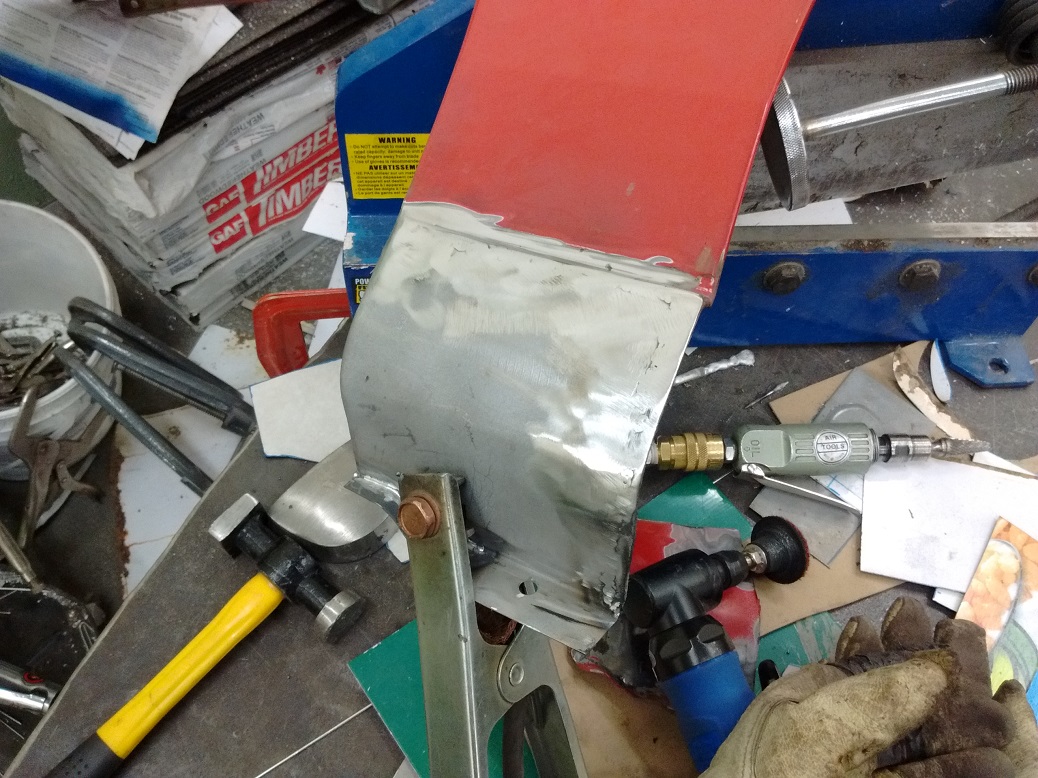
Also repaired a melted section of the right front fender shield. This got torched way back when I was cutting the car up. Thing is, these bodies are pretty scarce now, and I haven't found one. So - silicone, 3/16" rivets, scrap ABS, and some pipe hangar strapping. It'll do.
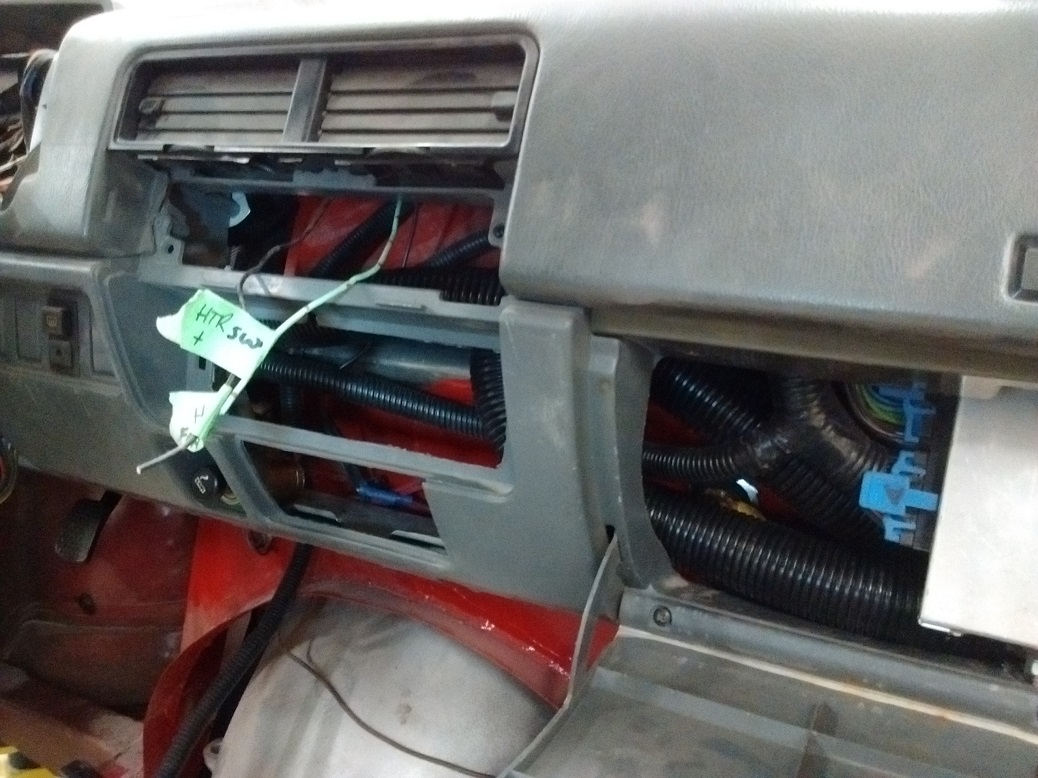
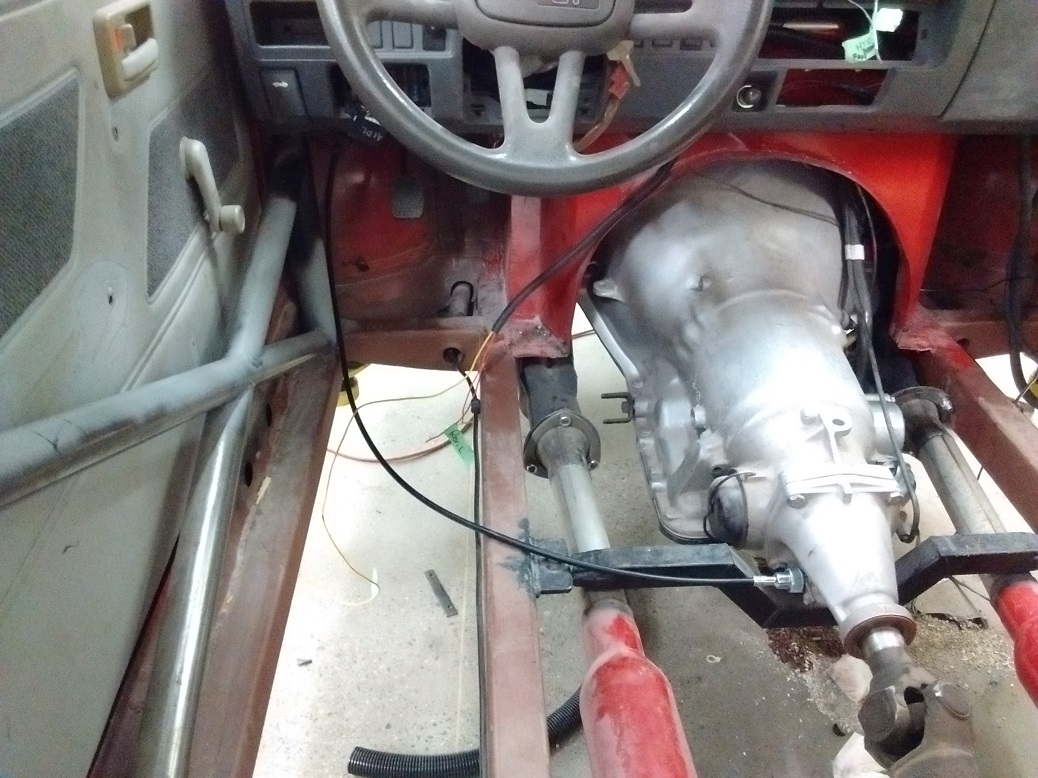
Finished re-wiring the battery disconnect, and returning the alternator field wire to normal. Final installation of dashboard - and even found the screws that held it! Installed the glove box door, which opens to reveal only the ECU. Gauge cluster will go back in once I have defrost hoses hooked up. Oh, and I need to source a speedo cable. Also dug through the bin of parts and found various dashboard parts. I will need to decide how I'm going to deal with erroneous heater controls and stereo (there is no space behind them, I'm leaning towards "fake" controls).
Got the defrost ducts in. Yup. Even less room in there now.
Rewiring the battery disconnect switch with the alternator output skipping the switch and going right to the battery works dandy! Flipping the switch kills it right away, and I like the idea that the alternator still "sees" the battery. Disconnected the ESC connector and set base timing. ECU set trouble code 42, which means (among other things) "the ESC connector is disconnected."
Engine wasn't as smooth idling as I remembered the Firebird being 8 years ago. Also, there was a frequent LOUD backfire out the exhaust at idle.
Checked spark plug wires, and I had #6 and #8 reversed. Firing order is: 1 8 4 3 6 5 7 2 This had #8 firing when it was actually on the compression stroke (rough idle) and #6 firing when it was actually on the exhaust stroke (igniting the unburned fuel now in the exhaust pipes). That was an easy fix.
Last fall I had bought a replacement half of a speedometer cable for The Crusty Chevy, but it turned out I got the wrong one. However, it turns out that it will work really well in the Firefly! The speedometer end of the cable is threads, but the speedometer in the Firefly is not. It ~is~ however, plastic. So.... I threaded it. BAM! I have a speedometer cable - how cool is that!
You can see the Battery Idiot Light re-wiring here. (EDIT 17-10-09: this modification was completely unnecessary)
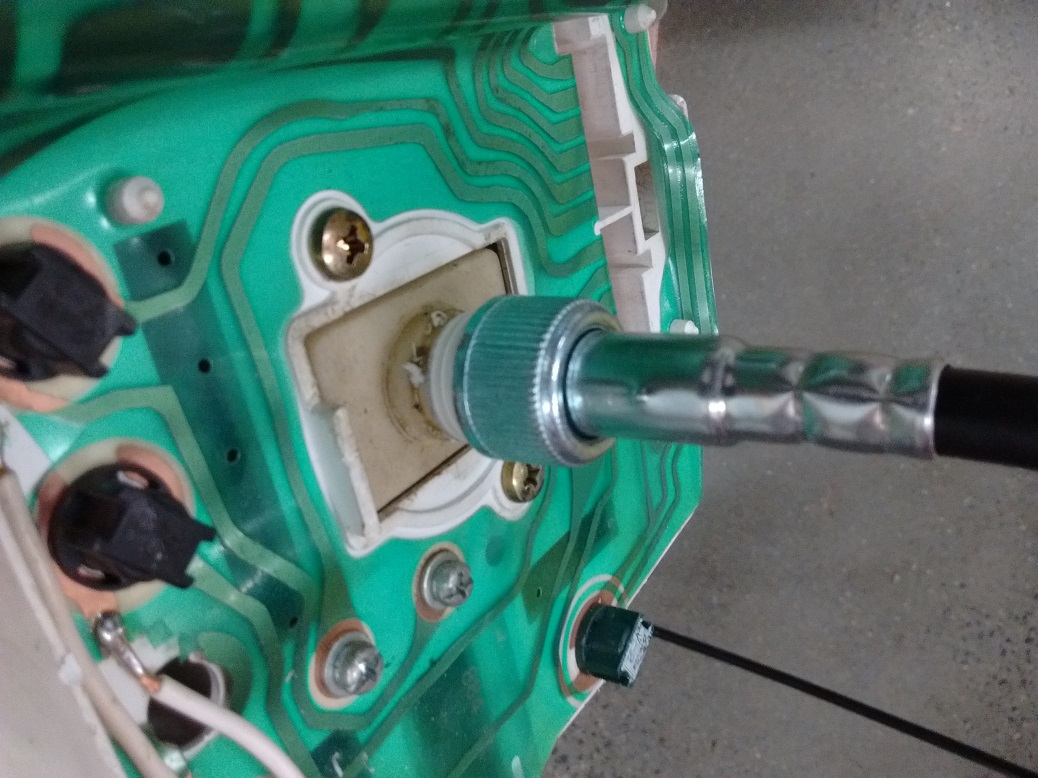
The speedo cable will likely pop through the floor and run under the seat, in the interest of packaging and simplicity.
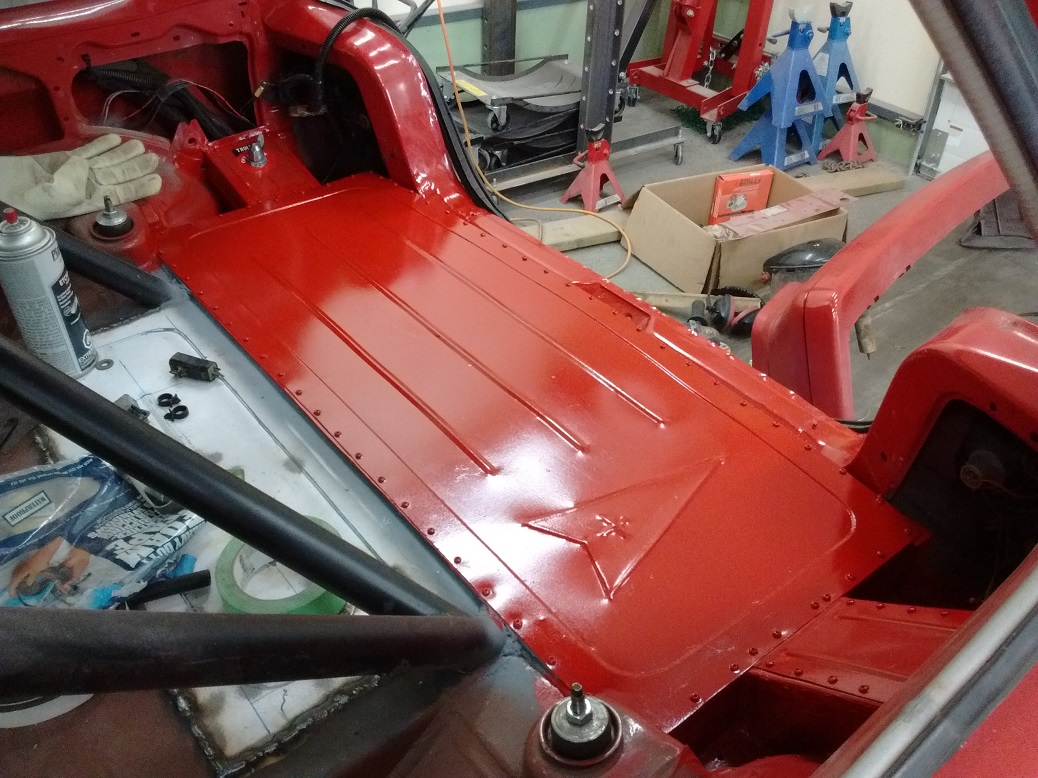
I used a few drops of fiberglass resin liquid hardener in my Tremclad Red to make it harden. Dang does it work well! Painted the patches on the bottoms of the fenders, as well as the fuel tank cover.
And the front clip went on for hopefully the last time.
Just argued the back bumper on, and left a GOOD chunk of skin behind. Let's just say it's good that the car is red.
Kids are off camping for a couple of days, so I should be able to get the floors done.
Budget is currently $1825 USD, but I'm sure I'm missing some things.
Honestly, I'd have to take a $200 hit, because I recouped $400 for the drivetrain and I only bought the car for $200, and that would put me over. Although if I had not have broken the dipstick tube trying to shape it, I would not have had to buy a pan gasket, timing cover gasket, and front seal set (and though I probably didn't have to buy the really good one-piece Felpro jobbie, at $180 CDN).
So, while I won't be bringing it to the Challenge (for this and other reasons), it has still been fun to try and stay under $2017 all told. And it's entertained me for eight years.
Oh. And I technically don't have a battery yet - I'm borrowing one.

It's funny how much the headlights seem to shrink now that the grill is back in.
You've gotten a ton of work done lately.

I've been meaning to ask, was this going to be a drag car/ street car.....? I don't know if you are building it just to be a blast on the street or if you were going to make it a dedicated track car?
Dig the bead rolled poncho symbol in the fuel cell panel, very well done!
I brought the seats up from the basement to see how they might fit. I finished attaching the front fender skirts. I beat the inner fenders to death with a mallet to try and gain 3/4" of tire clearance. Looks like more cutting is in order to reach full lock. I finished attaching the back bumper. I needed the large rubber washers that cushion the nut and flat washer on the chassis side, but I can't find the rubber washers. So I made my own.
But the telescoping thingies of the back bumper are damaged somehow - looks like the bumper got pushed in at some point, and I can't seem to pull it back out. I'll have to remove the bumper and have a look see. Bumper is about an inch too far in, and the mud flaps are rubbing the tires. First and foremost it's a street car. But I would like to do local hill climb, drag race, and autocross with it. But #1 it's a street car.
I have scales.
How much do you think it's going to weigh?
2470 lbs wet, no driver.

2450# no driver.
2375# no driver
You'll need to log in to post.