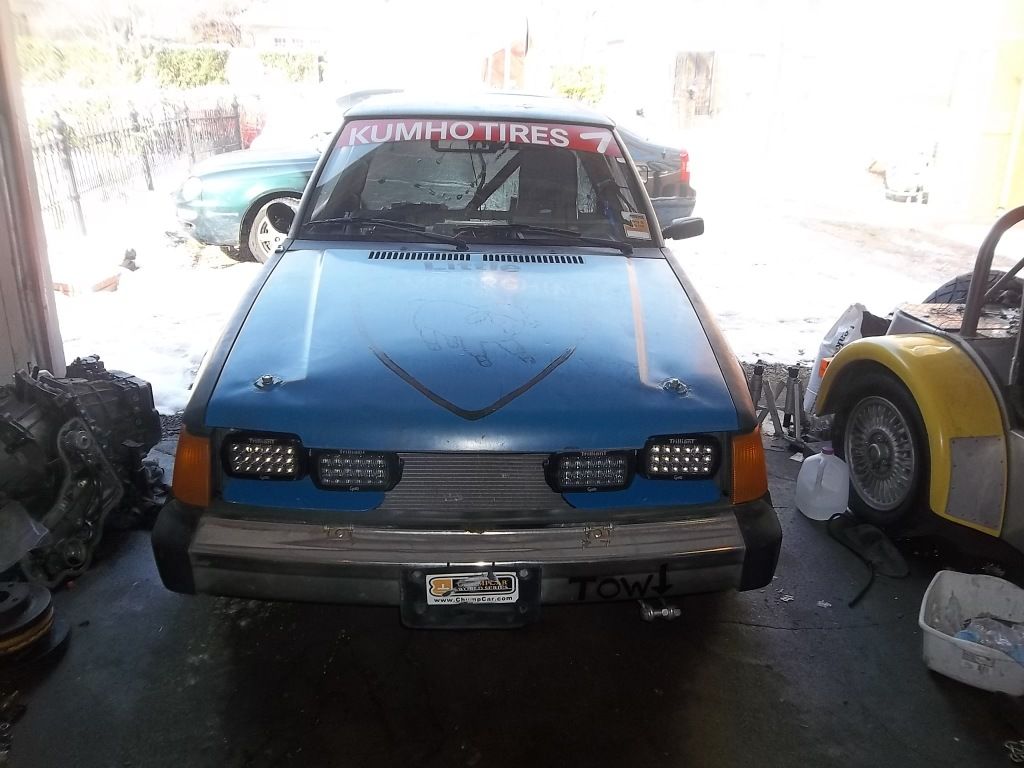
From my wife's blog: http://carriecandidly.blogspot.com
The other day Chris said, "You're so talented, do you think you could do a little project for me?" So I asked him what exactly he had in mind. (He was definitely trying to butter me up for some reason.)
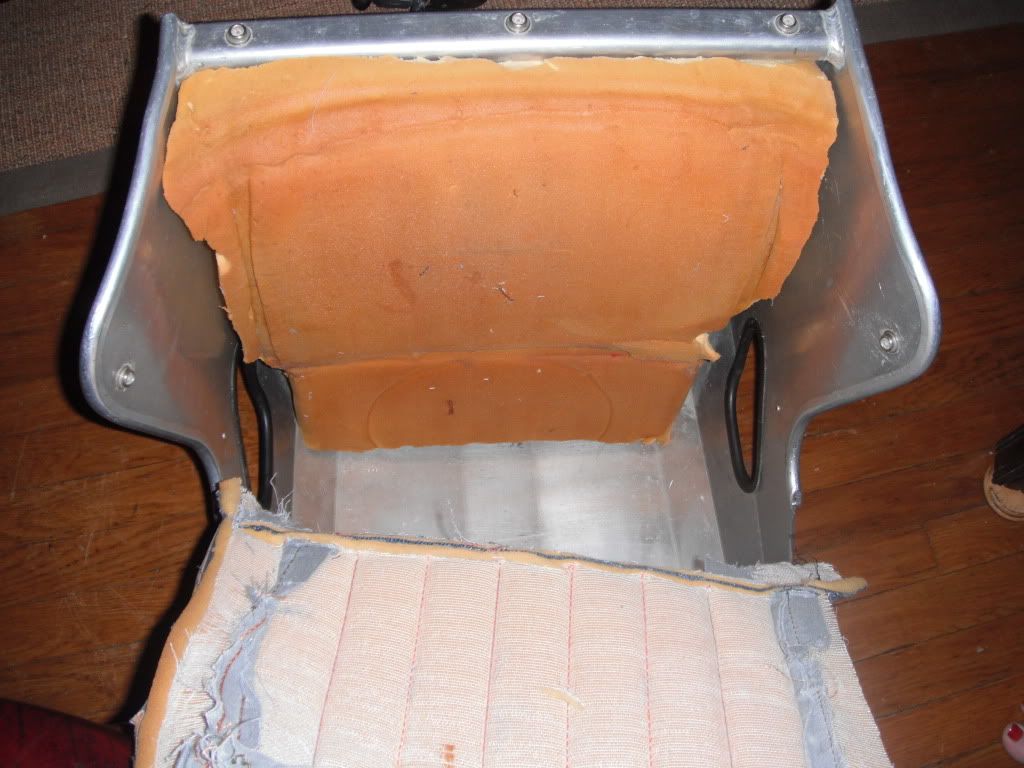
His idea was to convert this...
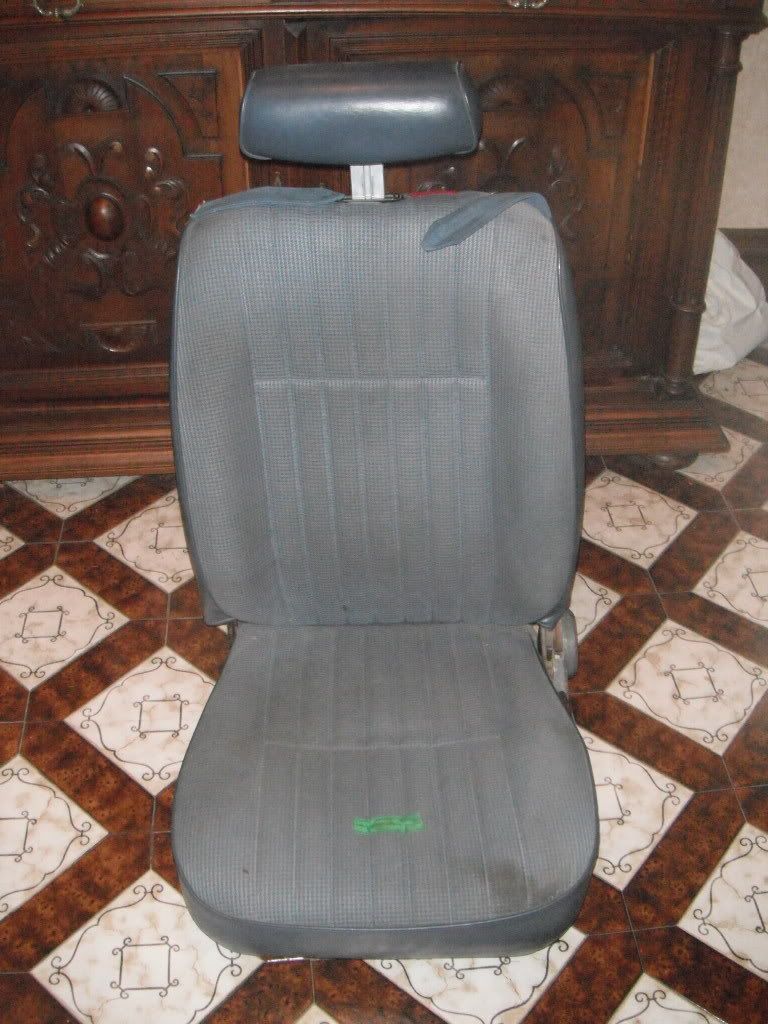
The stock seat from a '86 Ford Escort into a racing seat cover. He has to keep his GRM Challenge Budget under $2012 (see www.littlelamborghini.com to see the full plan.)
So I did.
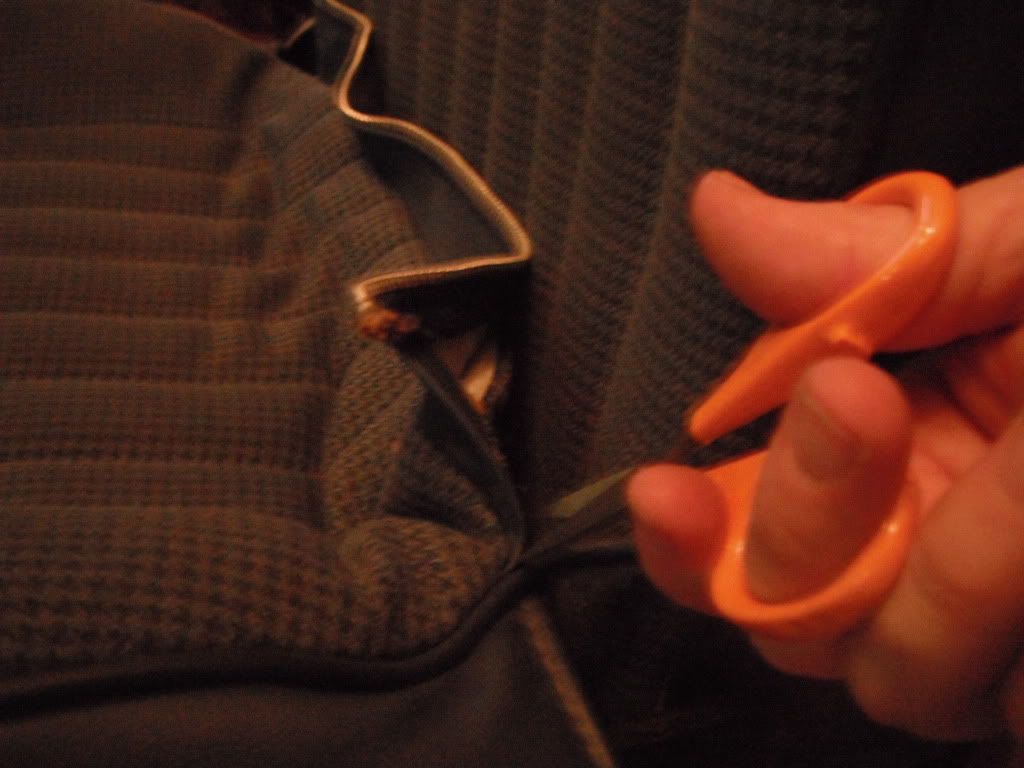
Step 1. Use small snips to take off the fabric and vinyl pieces right along the seams to allow the largest pieces possible to work with. I would have used my seam ripper, but I couldn't locate it.
Step 2. Clean the materials. I sent the fabric though a gentle cycle in my washer and wiped the vinyl down with cleaner. This is what I had to work with.
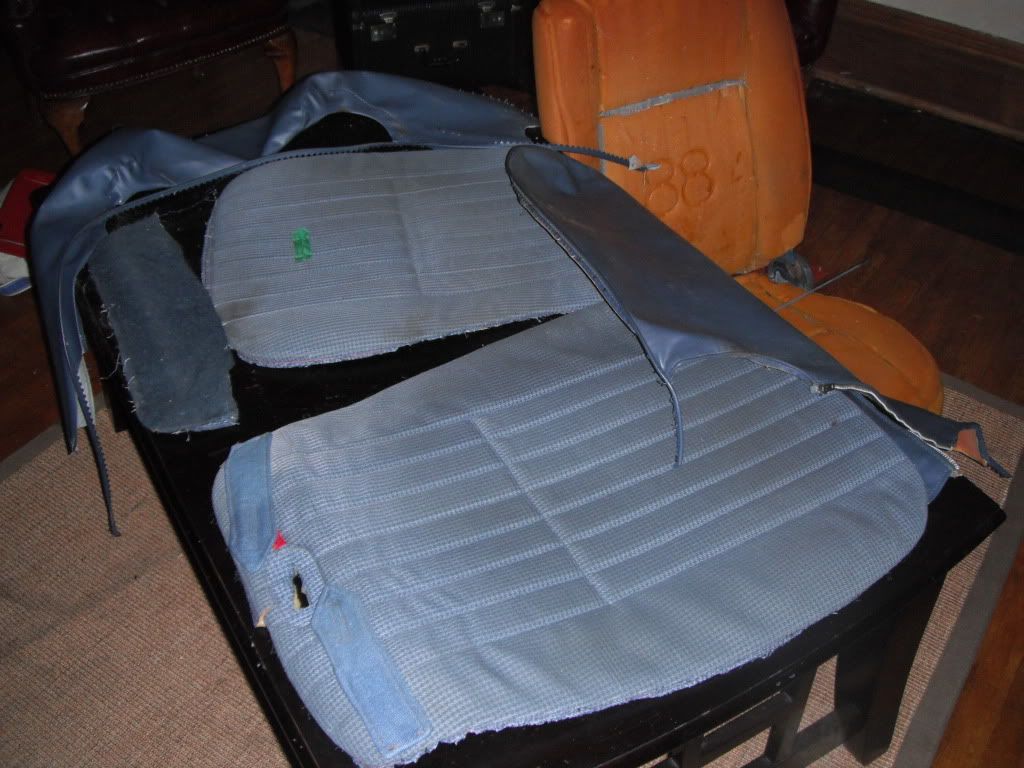
Step 3. Decide how to best use the material to fit the seat and cut the pieces to the right shape.
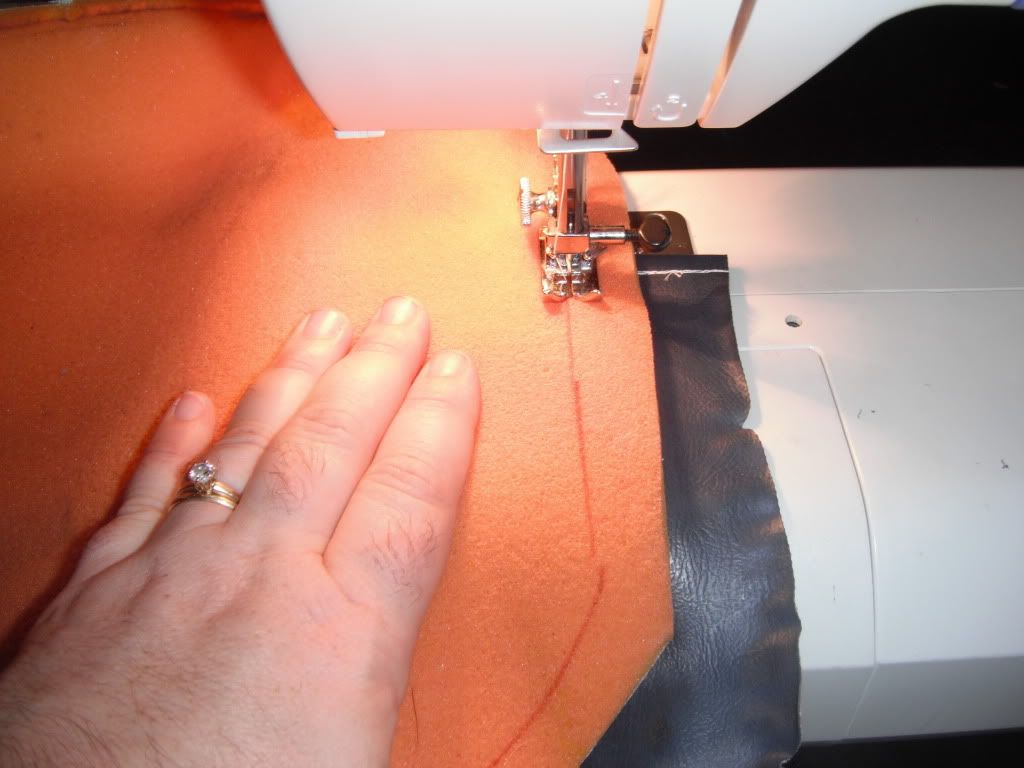
 Step 4. Sew the pieces together. Some of the pieces I left big and then trimmed them down after I sewed them.
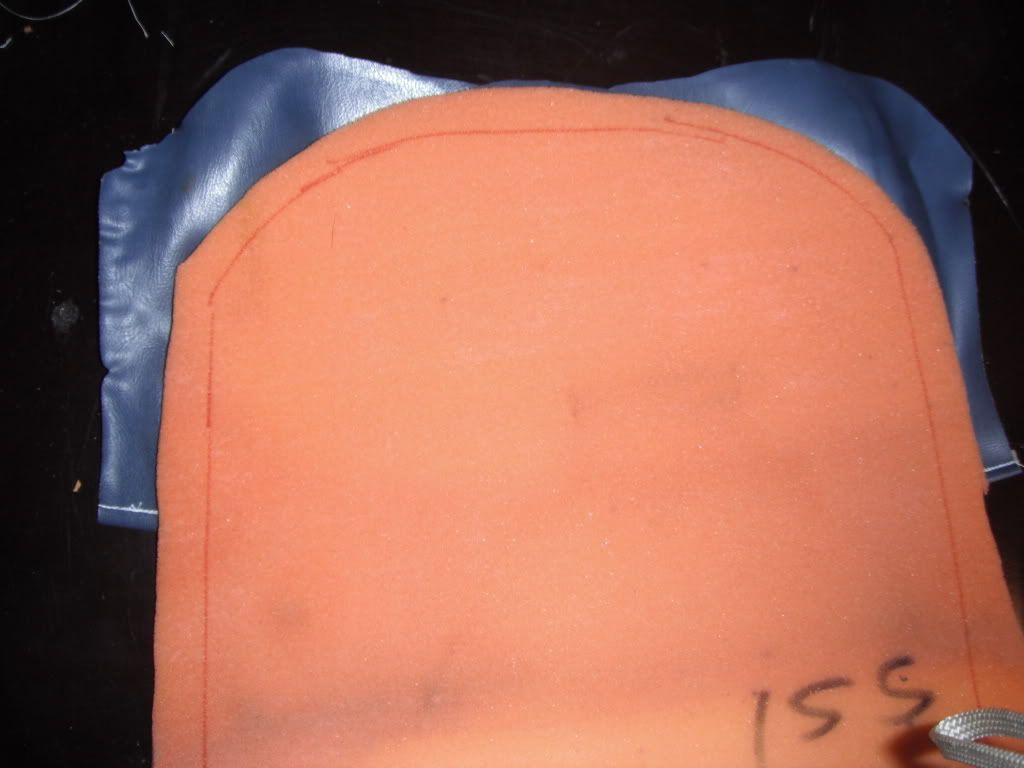
Step 5. Cut the foam to fit the race car seat. The size was measured and then an OLD kitchen knife was used to cut the foam to fit.
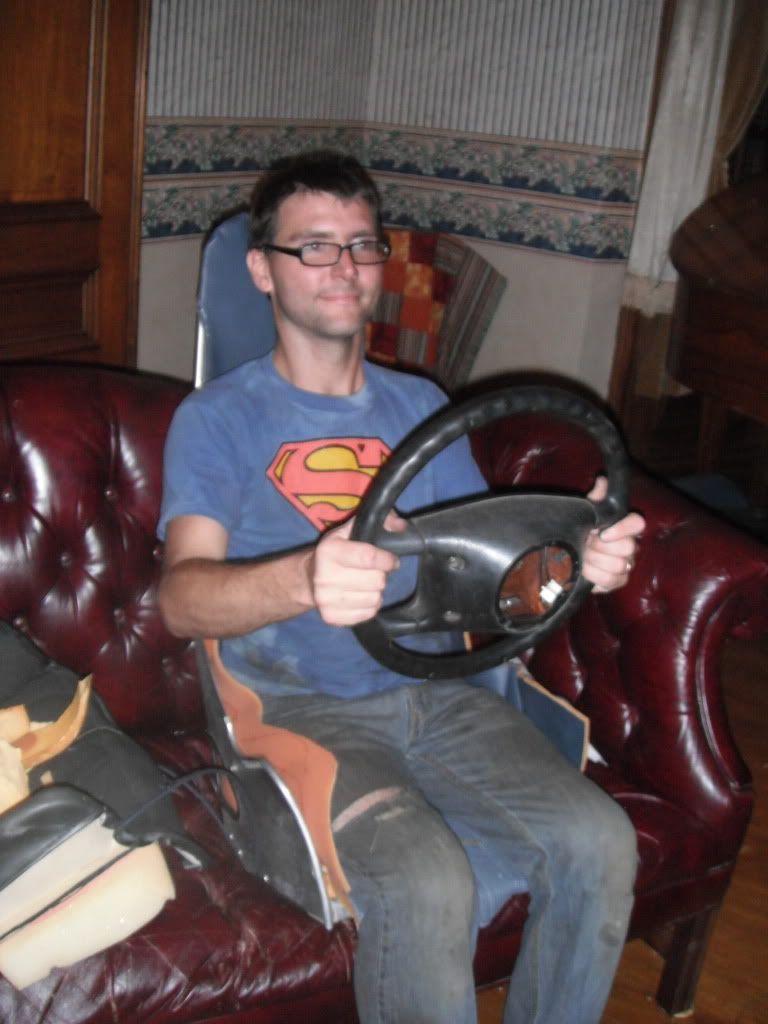
Step 6. Dry Fit the driver- I had Chris sit in the seat from time to time to make sure the fit was good.
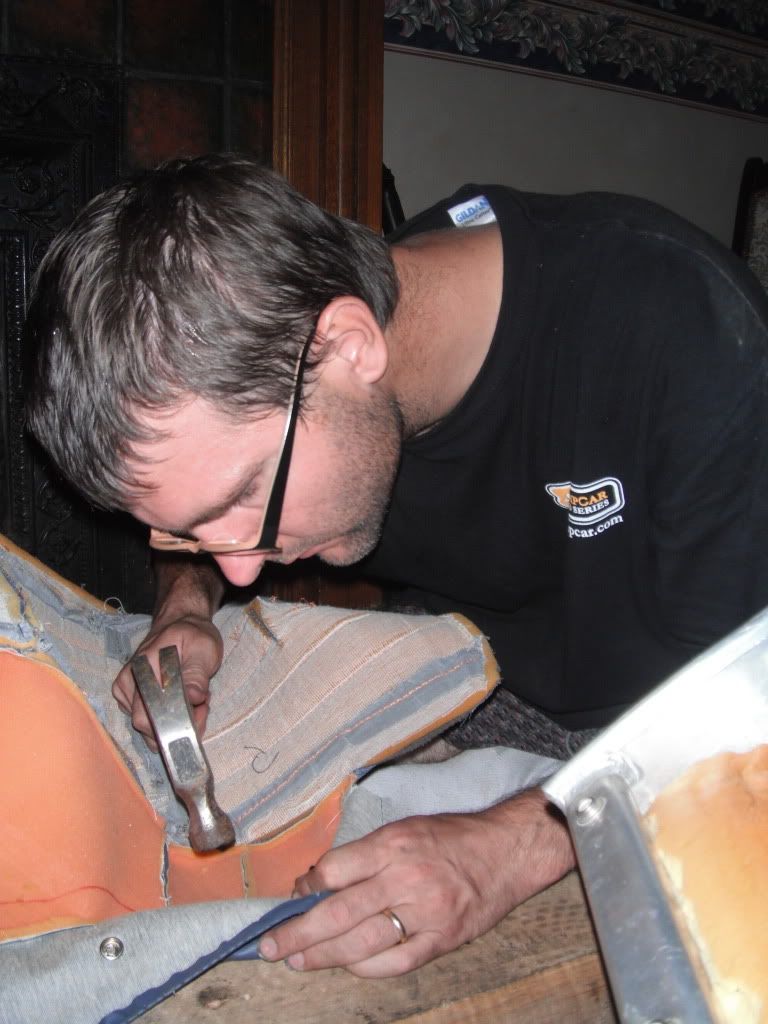
 Step 7. Add the snaps- The snaps that are on a standard racing seat are riveted on. They are a standard size that can be gotten from craft stores (I has some of these left over from footy PJ's I made Chris for Christmas.) We put the seat on, marked where the snaps lined up. Used a small drill bit (with our hand) to make a round hole, and then followed the manufactures directions. (I got Chris involved on this step, so that he could smash his fingers.)
Step 8. Add the holes for the belts. To do this I put the cover back on the seat, traced where the holes needed to be, cut triangles from the center of the hole, pulled them back as I sewed, and then trimmed off the points.
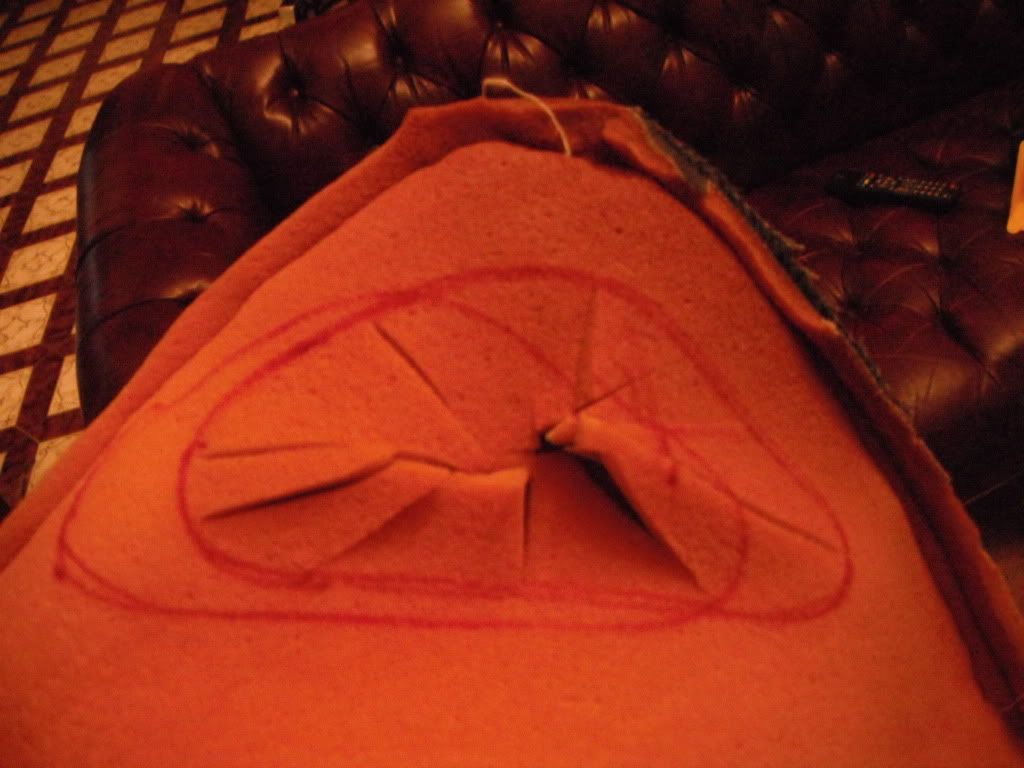
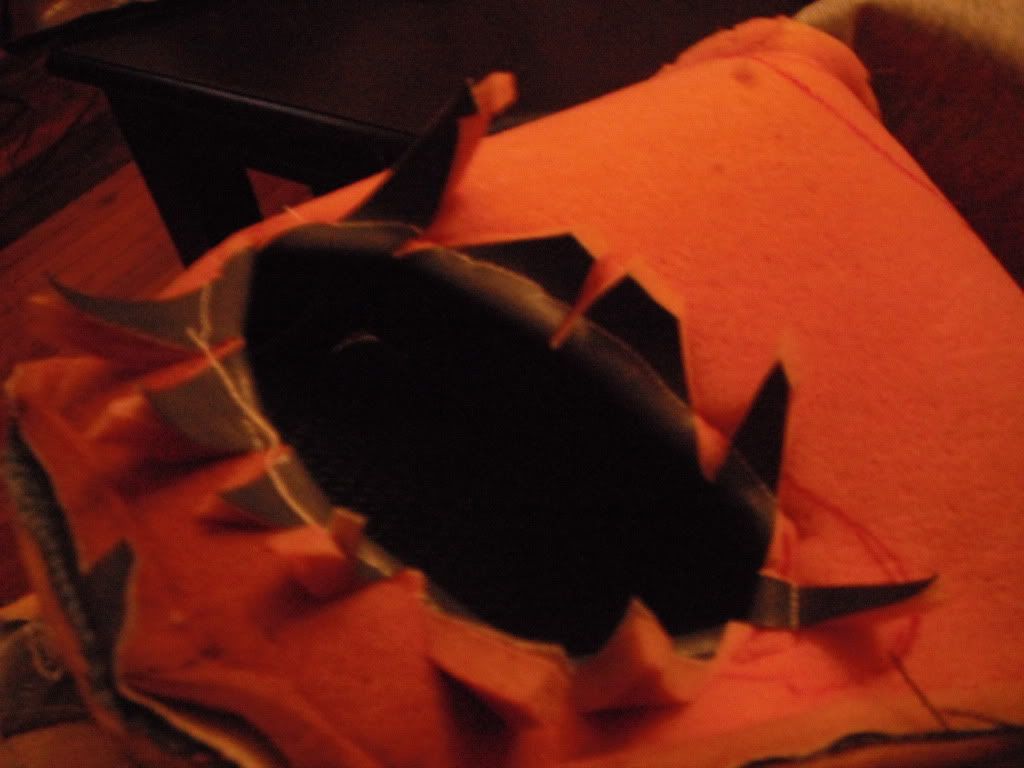
The hole at the top of the seat doesn't want to lay flat, so I'm going to try to pull the edge back with duct tape on the back of the seat. Well see how that goes.
For all intents and purposes the seat is ready to go back in the Little Lamborghini. Here's to making it up as I go!!!
Total money added to the GRM budget = $0 = Success!!
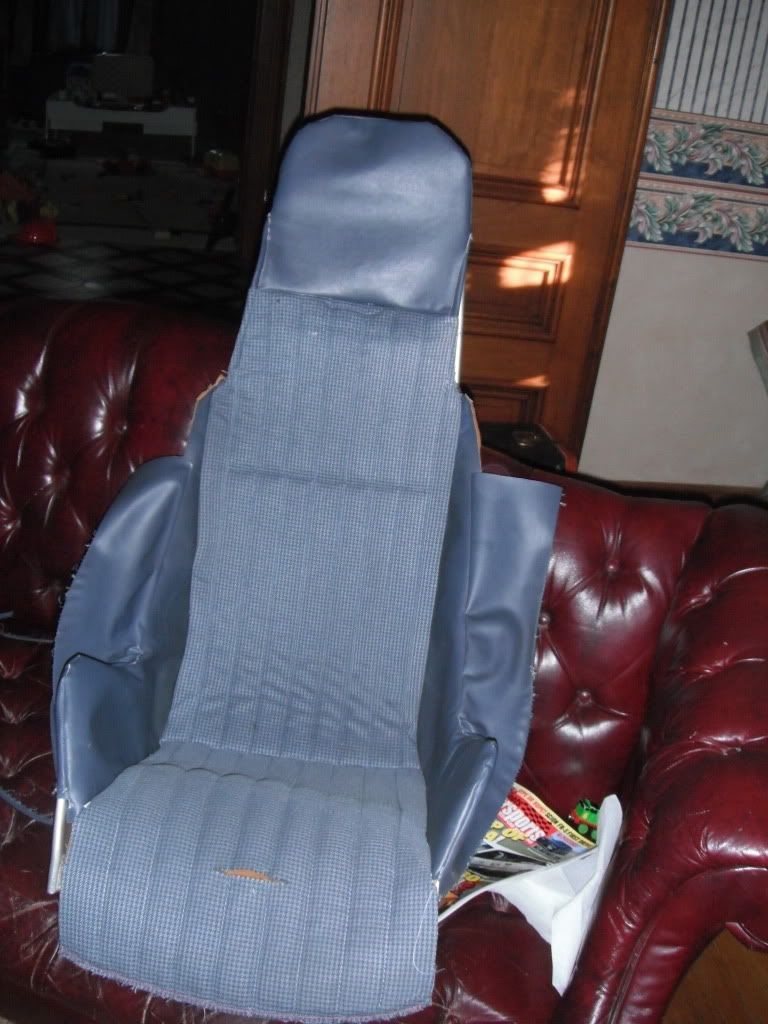
(Oh and I hand sewed the hole shut that was put in the seat for the BABE Rally. )
P.S. We are doing this whole adventure to bring awareness to Little Lambs of Evansville and help them raise money. So please think about making a contribution to Little Lambs which helps support local families in receiving services and goods needed in the first years of life. Give on the Little Lambs of Evansville site.


 Step 4. Sew the pieces together. Some of the pieces I left big and then trimmed them down after I sewed them.

 Step 7. Add the snaps- The snaps that are on a standard racing seat are riveted on. They are a standard size that can be gotten from craft stores (I has some of these left over from footy PJ's I made Chris for Christmas.) We put the seat on, marked where the snaps lined up. Used a small drill bit (with our hand) to make a round hole, and then followed the manufactures directions. (I got Chris involved on this step, so that he could smash his fingers.)


