I've done that on shocks, never thought about it for ball joints.
Taiden wrote: http://www.northerntool.com/shop/tools/product_34573_34573 COOL! Must have tool? I wonder who makes a nicer one...
they are a must have tool. I may need to get some different sizes
mad_machine wrote:Taiden wrote: http://www.northerntool.com/shop/tools/product_34573_34573 COOL! Must have tool? I wonder who makes a nicer one...they are a must have tool. I may need to get some different sizes
I've had one in my toolbox for about 10 years due to one particular beotch of a ball joint where all the other methods noted here failed. Only had to use it the one time, but like many tools when you need it you need it.
Giant Purple Snorklewacker wrote: In reply to irish44j: Take the arm off with the balljoints in it. Note the position of the installation and mark it. (remove rubber and note the slot). They are directional - they are designed to articulate in only one direction. Place balljoint over vise, stem up, spanning the jaws. Take 5 pound hammer and drive the stem out the bottom. It will push right thru the softer material with a few stout hits. Take a hacksaw and run the blade thru the hole. Slice thru the soft ball socket all the way to the arm. Push it out with your thumb. Go to Autozone and get the balljoint installation kit. The one for Mustangs works. It is a free rental with deposit. It is a huge C clamp and some cups. Press in the new joint. Be careful - recall they are directional and will snap off if you put them in rotated 90 deg. To get the nut off (your current problem) put the jack under the joint and push it back into the taper using the weight of the car to keep the nut from spinning. Remove nut.
erg......well after pounding on both balljoints for like 5 minutes with my BFH, nothing. I must be wimpy. They're not moving one bit.
The moog balljoints did come in though, so if I can get these out I'm in good shape....
btw, by orientation do you mean the two notches cut in the sides of the balljoint casing (both on the OEM ones and the Moogs?
I don't really want to take the boots off the Moogs to look at the inside orientation!
got one out. It wuldn't hammer through, so I weakend the bottom with Mr. Dremel. Now it's all out :)
irish44j wrote: btw, by orientation do you mean the two notches cut in the sides of the balljoint casing (both on the OEM ones and the Moogs? I don't really want to take the boots off the Moogs to look at the inside orientation!
The ball joint is slotted so it will move thru a greater arc in one direction, when rotated 90 the stem will hit the case. So, whichever direction the new ones move furthest without stopping, that is the one you want aligned with the articulation of the suspension. If you have an old one still mounted, rip off the boot and note the orientation and mark it on the control arms with a paint pen. Then align the Moogs so the largest sweep points at the markings.
Giant Purple Snorklewacker wrote:irish44j wrote: btw, by orientation do you mean the two notches cut in the sides of the balljoint casing (both on the OEM ones and the Moogs? I don't really want to take the boots off the Moogs to look at the inside orientation!The ball joint is slotted so it will move thru a greater arc in one direction, when rotated 90 the stem will hit the case. So, whichever direction the new ones move furthest without stopping, that is the one you want aligned with the articulation of the suspension. If you have an old one still mounted, rip off the boot and note the orientation and mark it on the control arms with a paint pen. Then align the Moogs so the largest sweep points at the markings.
right....i figured the notches in the "baseplate" (one on each side) are meant for lining it up that way, since the OEM ones also have them. Will confirm though.
irish44j wrote: looks like the link above answered my question
My Lemforder brand replacements did not have any notches (or if they did, I wasn't paying attention) so I had to use the above method.
irish44j wrote: got one out. It wuldn't hammer through, so I weakend the bottom with Mr. Dremel. Now it's all out :)
I used a 5lb sledgehammer but Mr angle grinder is probably a faster, less dramatic solution now that I think about it.
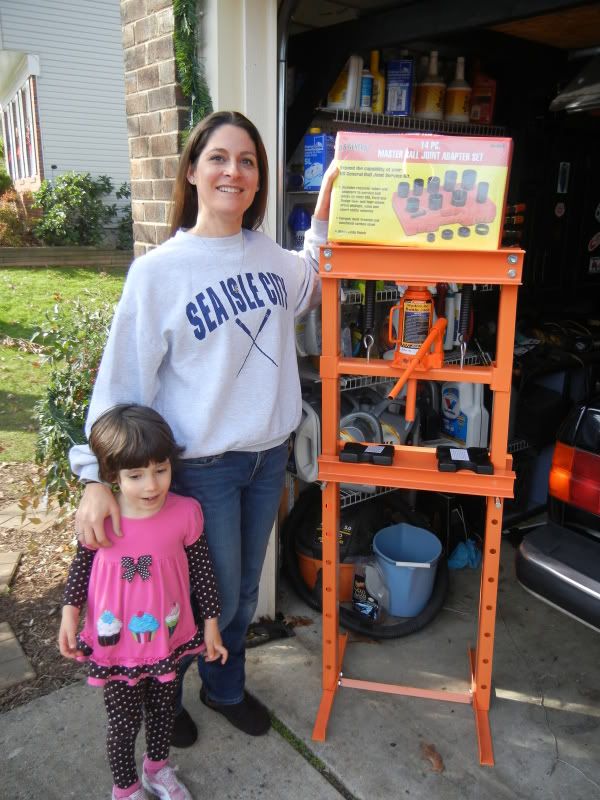
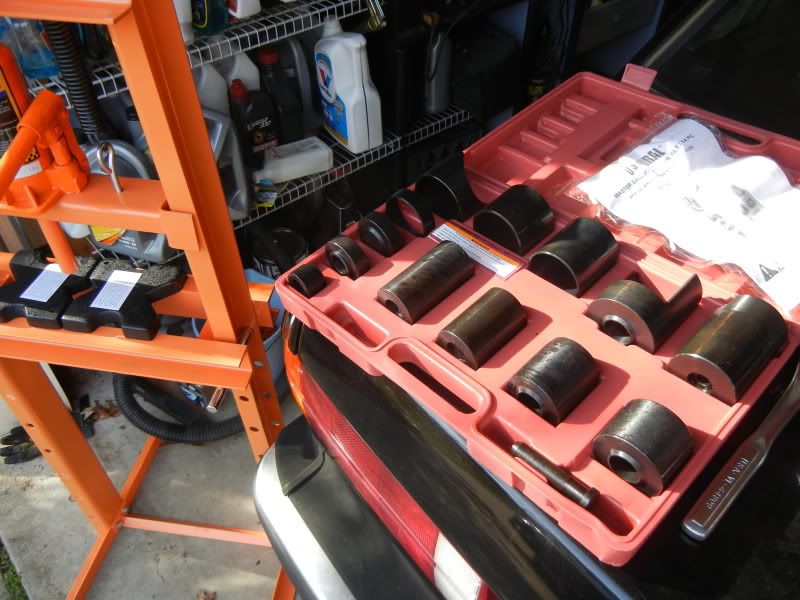
thanks to the helpful hints posted here (for getting them out), and an early Christmas present from the wife (who handed me her credit card, a 20% off Harbor Freight coupon, and said "go get it, and stop talking about it)....
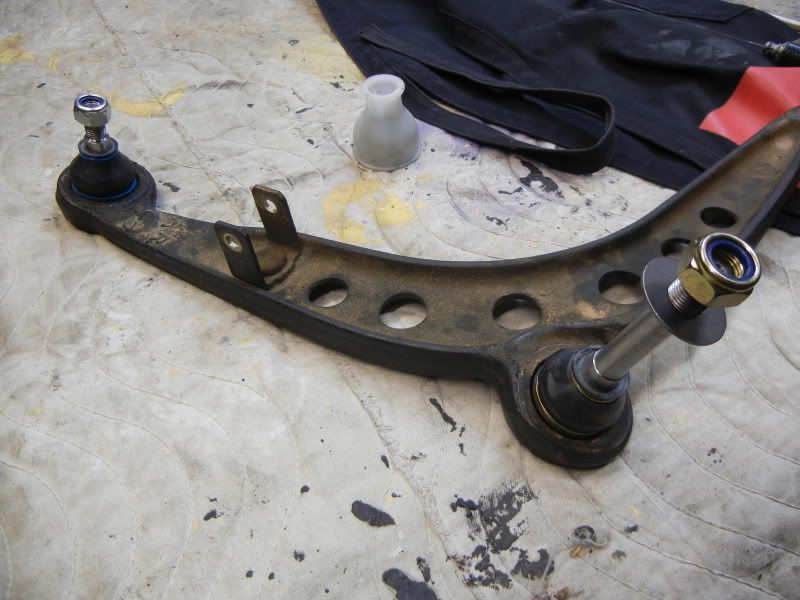
we now have new Moog balljoints in the LCAs!


Weird and a little off topic, but I had a doubletake from your pic - my youngest daughter has that exact same "cupcake" outfit. Funny/embarrassing story - I ran an errand with my daughter (then barely 2) in the backseat of my wife's car (an E36 M3/4/5). In one wide open area with terrific visibility and zero traffic around, I gunned it to get it up to cruising speed. When we got home, my daughter goes straight up to my wife and says "Mommy car fast!". Busted. BTW, if it's anything like her E36M3, fresh hardware in the front suspension is like a night and day difference.
You'll need to log in to post.