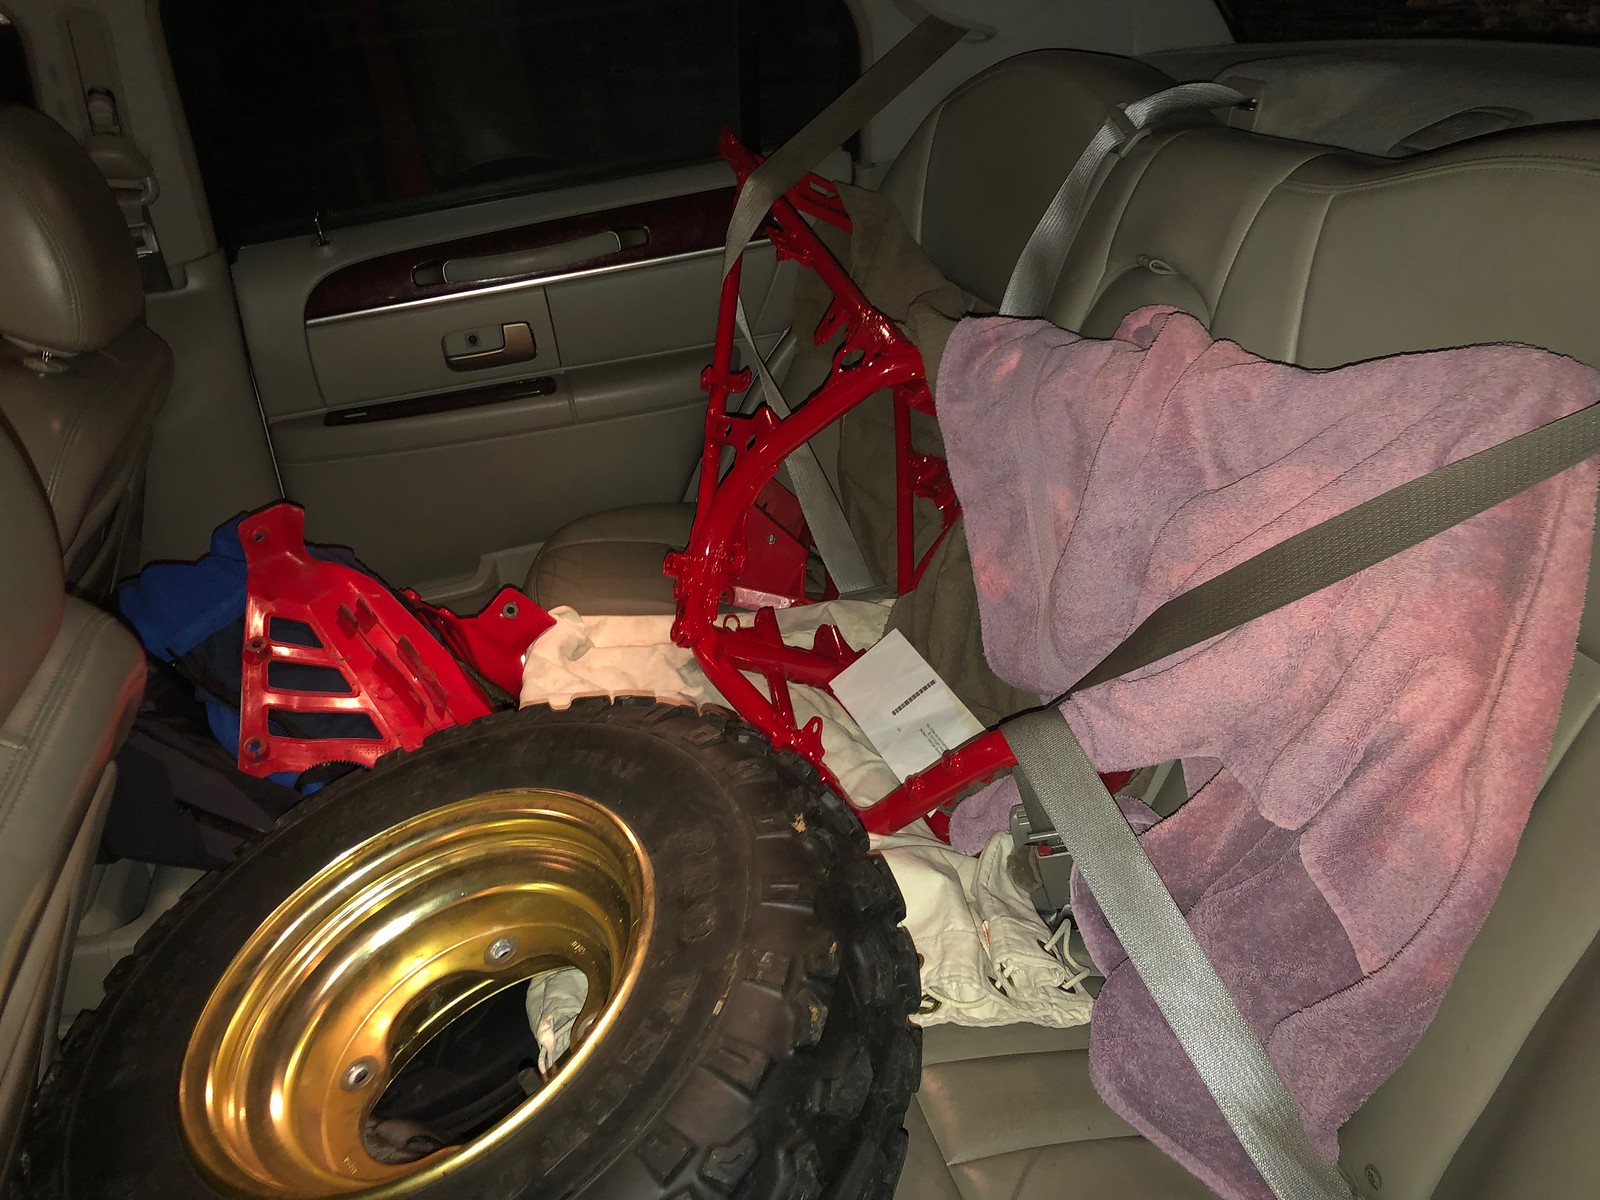
Trailer stuff:
The hitch was super easy to bolt up like every other Curt hitch I've installed. The frame metal drilled surprisingly fast and I don't have high quality drill bits. It came with some extra washers as shims, but I think it fit tight to my frame without any shims so I didn't use them. I didn't want any extra leverage on those bolts.
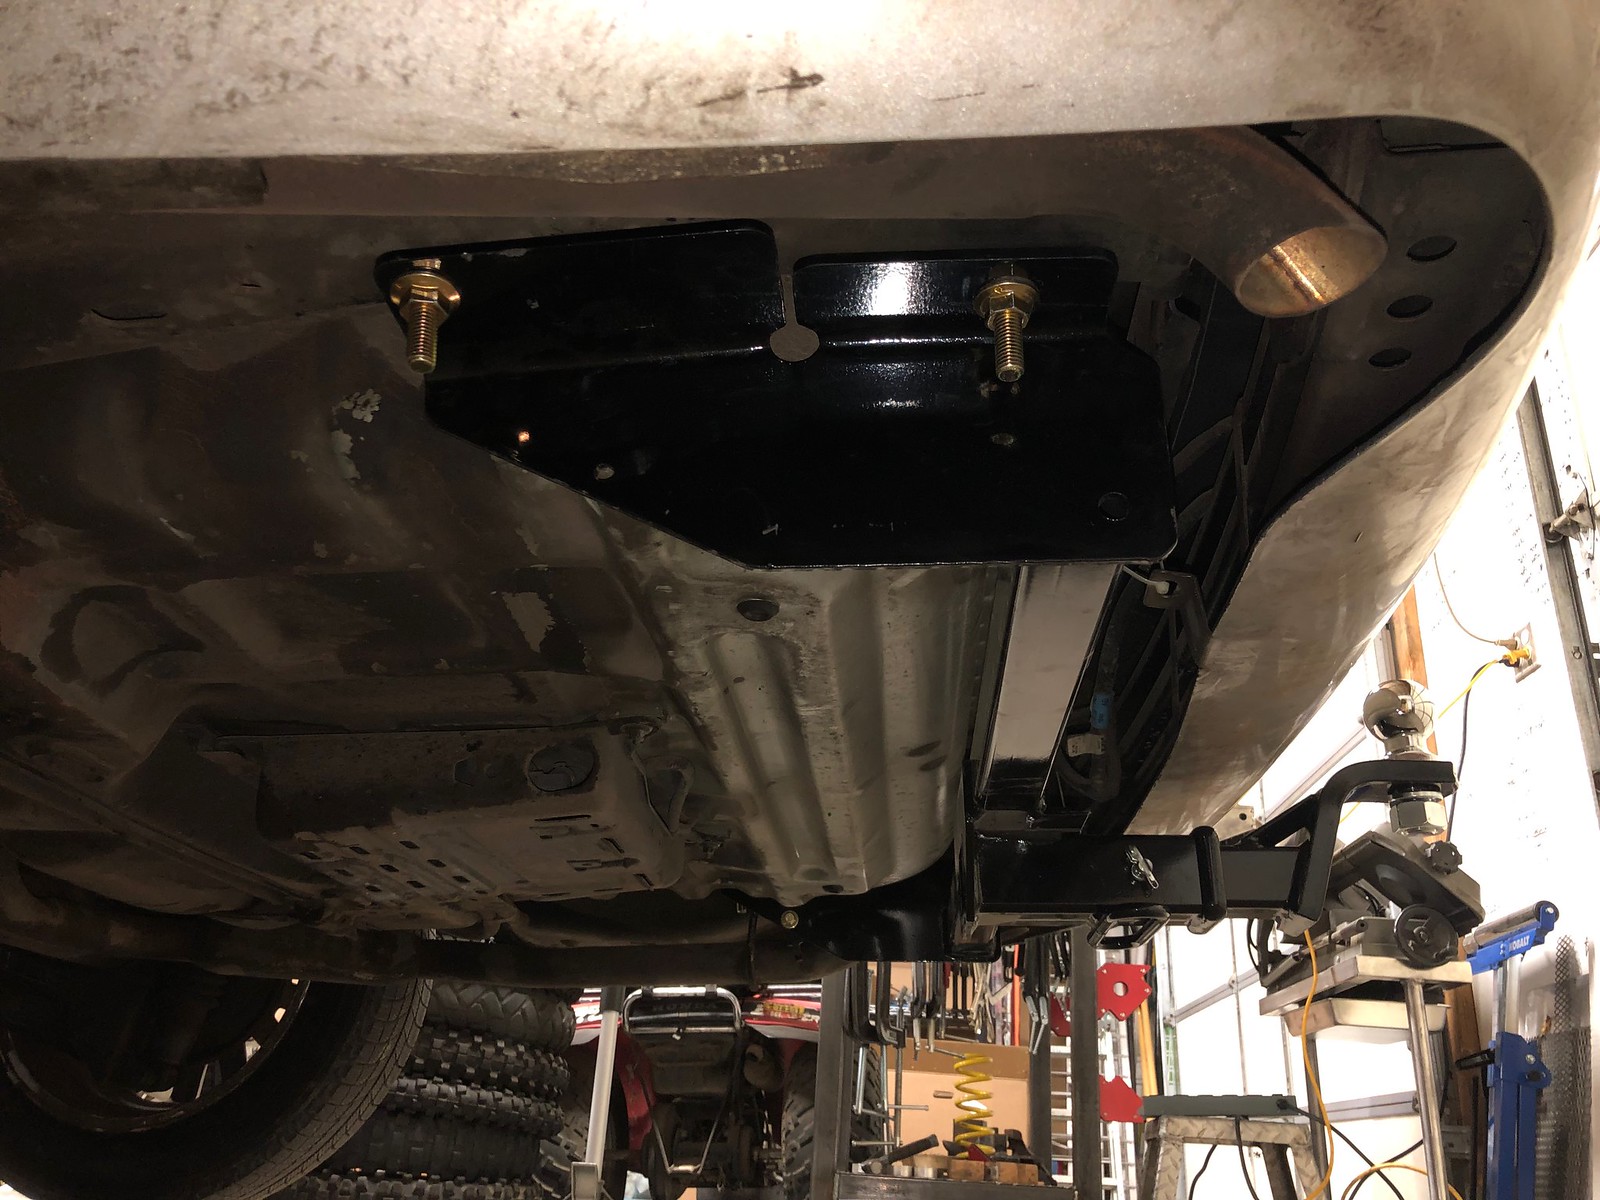 Untitled by Petrolburner, on Flickr
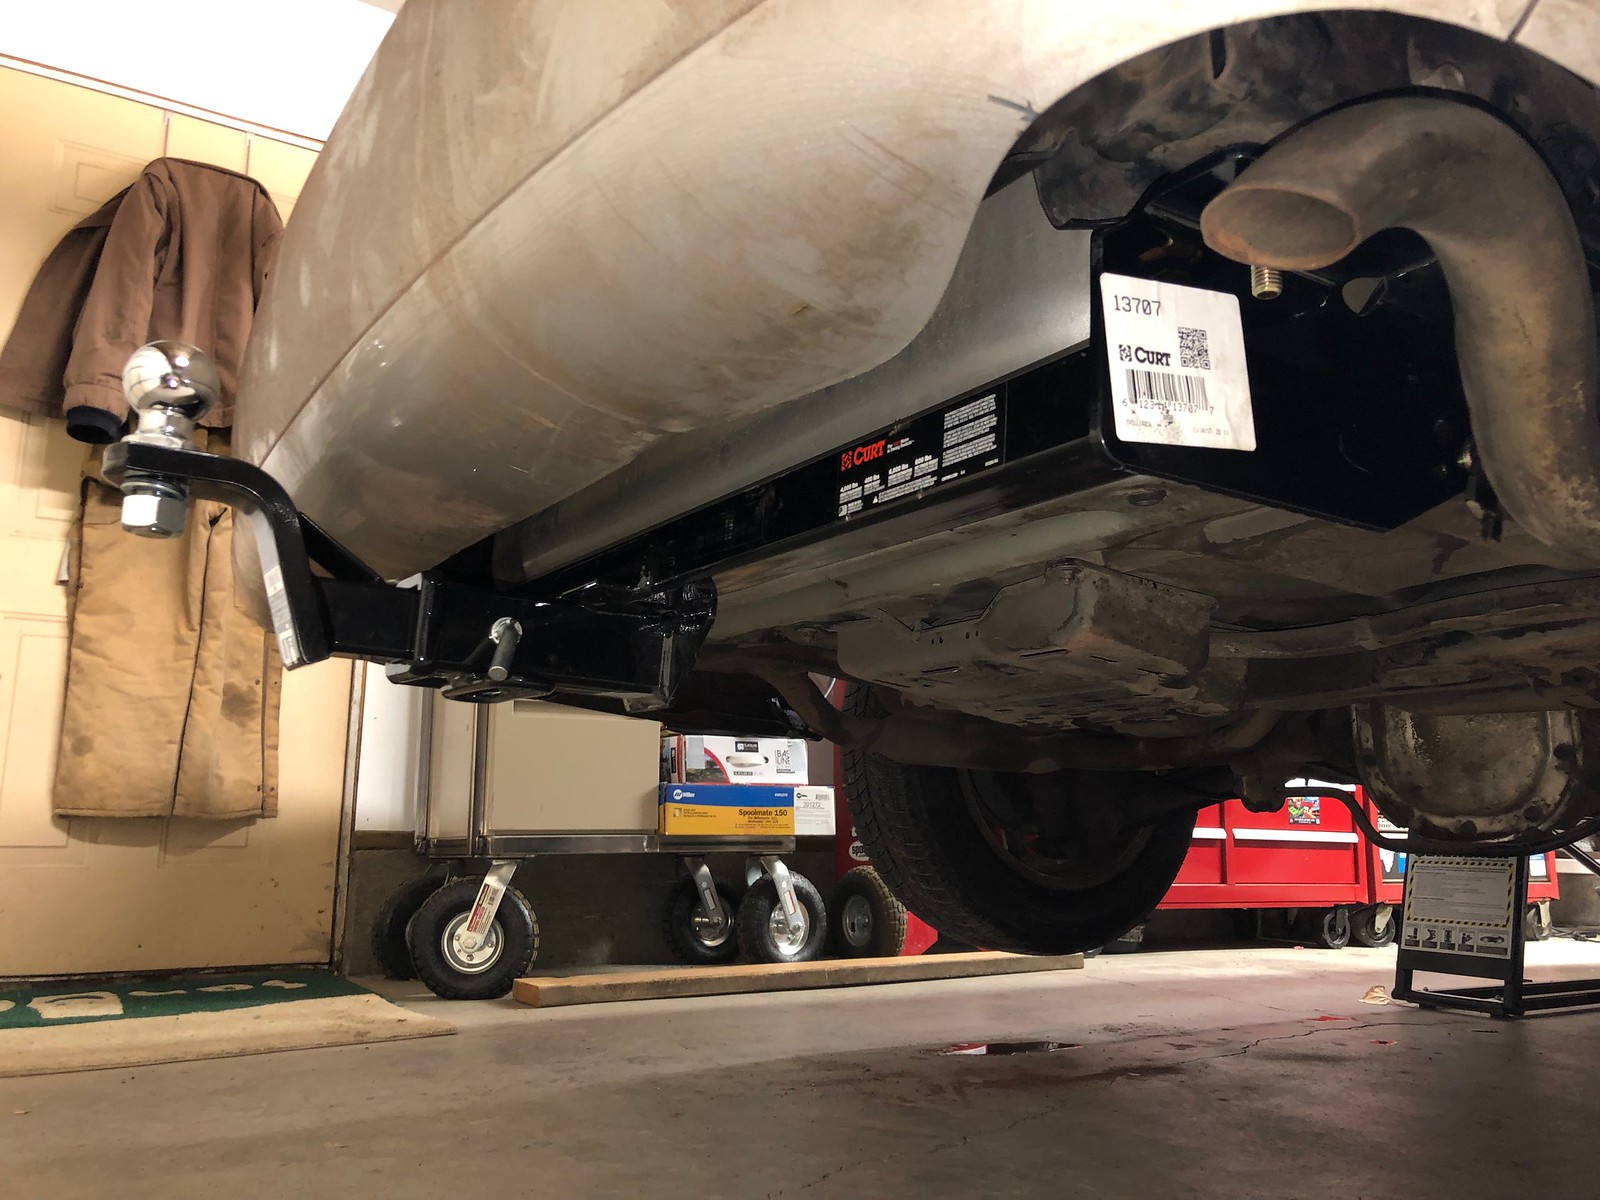 Untitled by Petrolburner, on Flickr
Trailer brake video that I can't figure out how to embed.
https://youtu.be/yFTHOz3aqOE
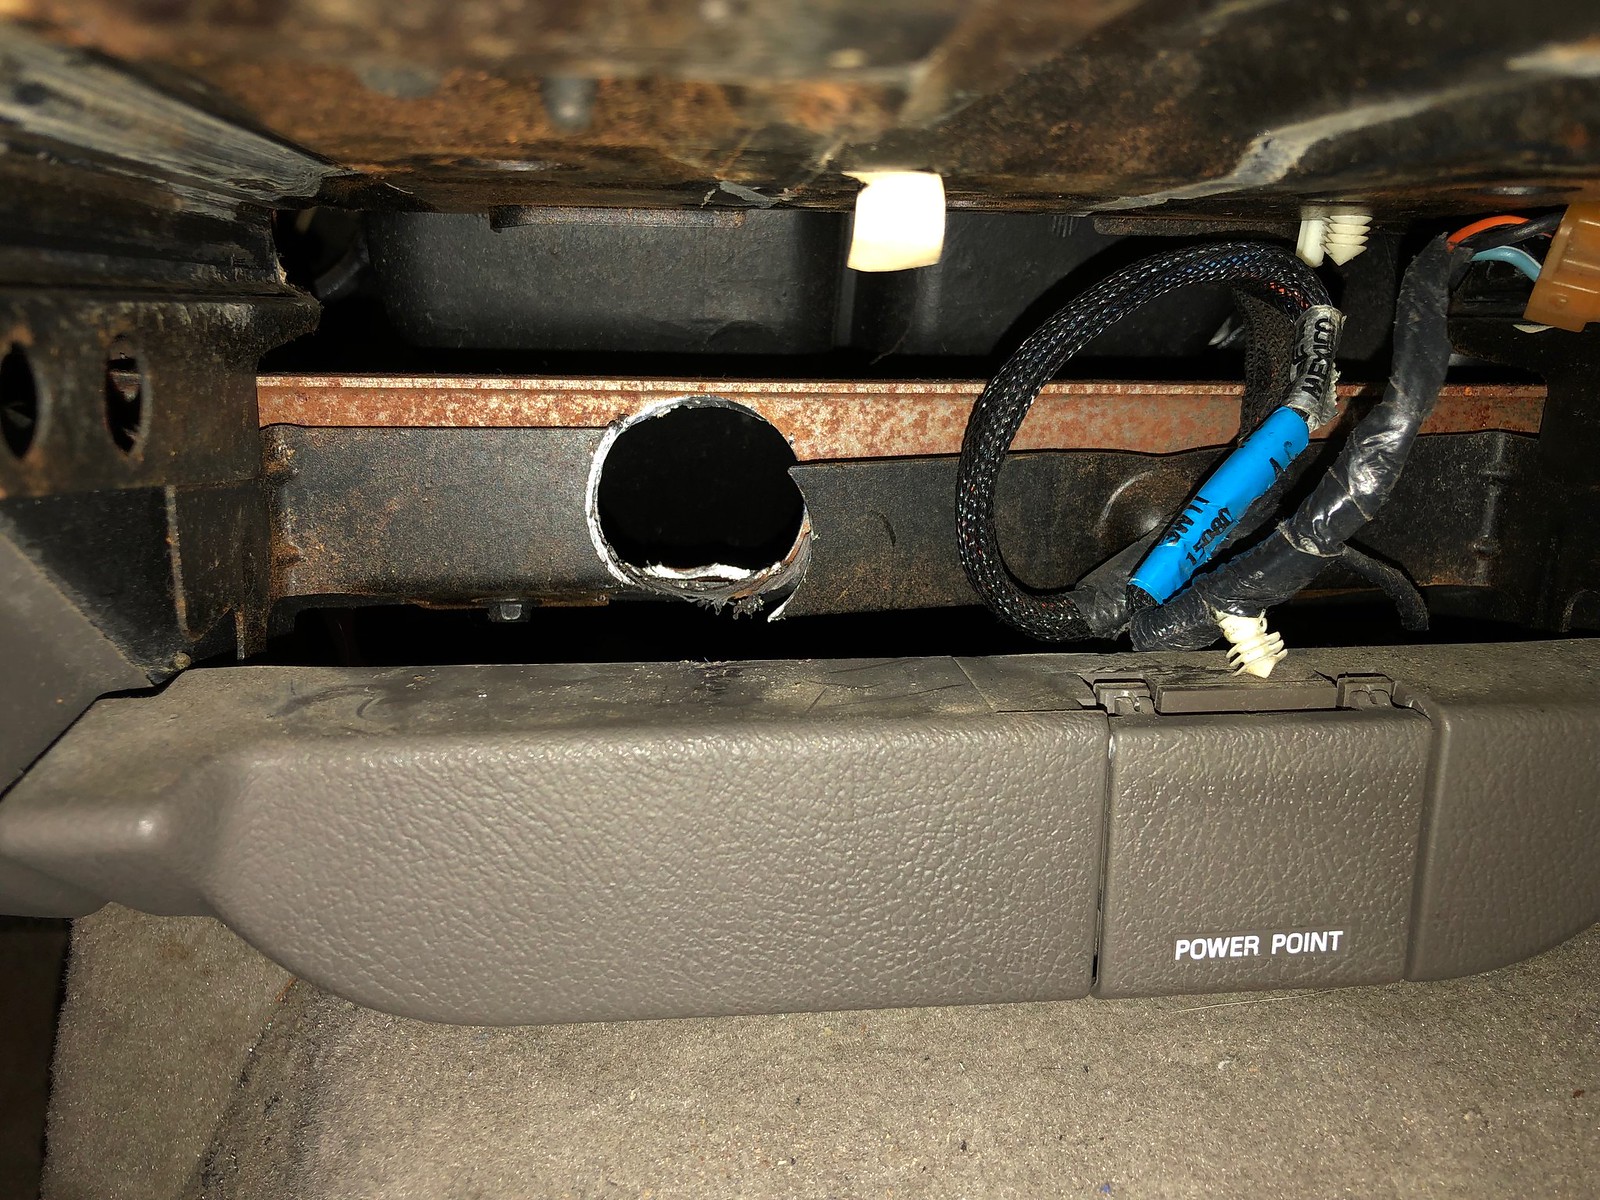
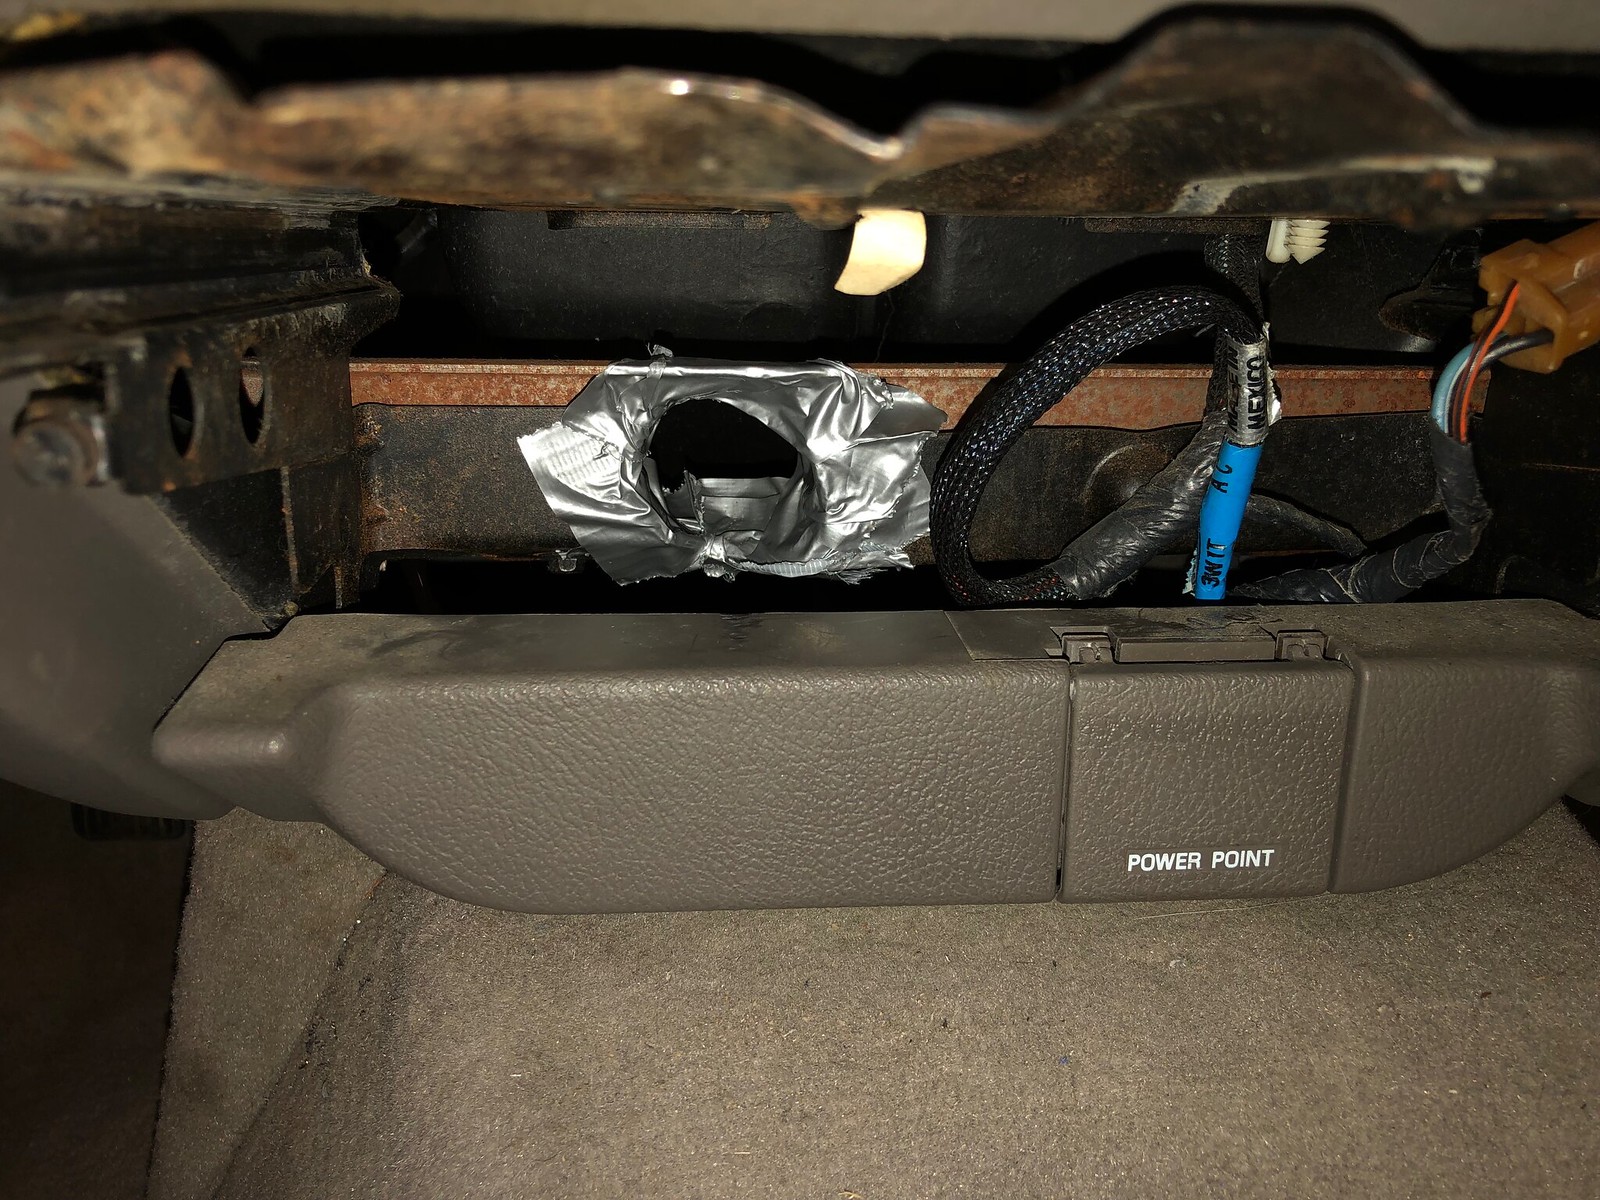
The brake controller mount was a beast. I wanted a nice clean appearance so I chose the ash tray. I didn't want to cut any more than necessary so it was hours of trial and error. I could never survive as a professional mechanic, I'd end up working for $5 an hour because I'm so slow.
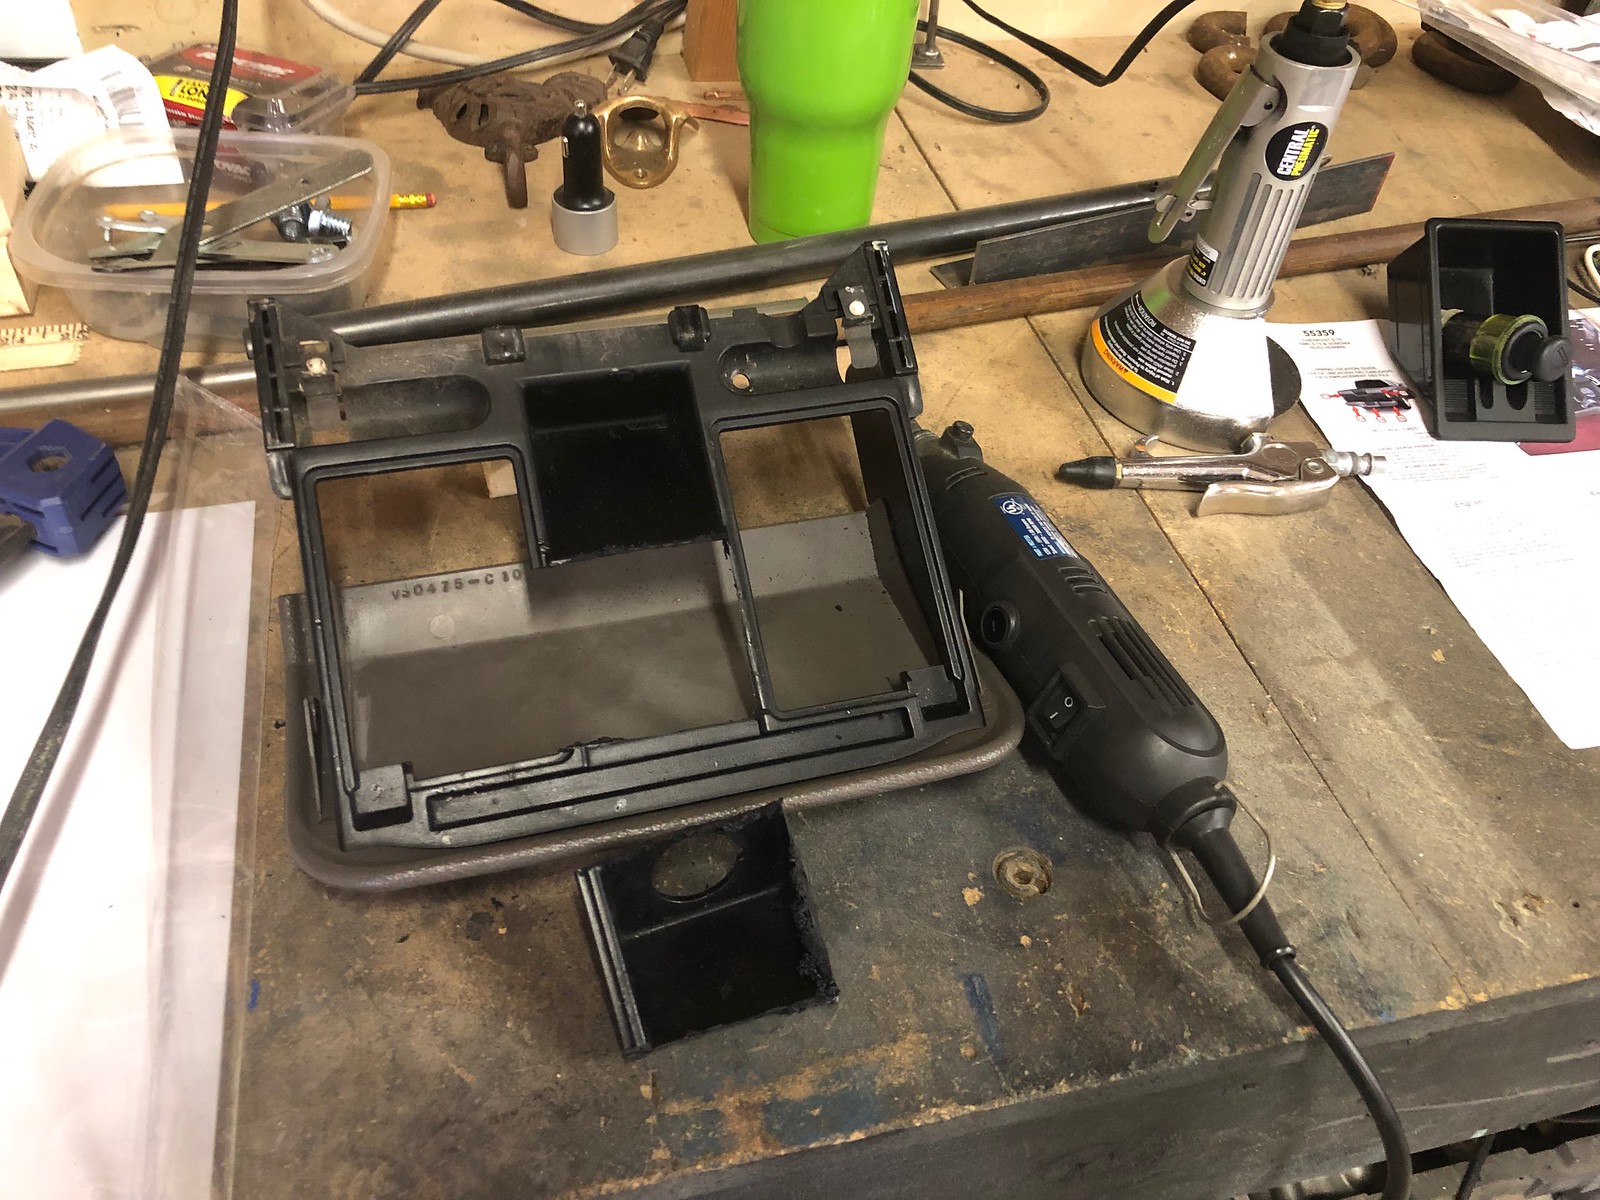 Untitled by Petrolburner, on Flickr
Making room for the wire harness out of the back of the Prodigy controller
 Untitled by Petrolburner, on Flickr
 Untitled by Petrolburner, on Flickr
 Untitled by Petrolburner, on Flickr
Ok so now the controller is mounted and the ash tray pushes all the way back to its closed and detented position. Sweet. This has another benefit of hiding the bright LED lights from my eyes at night.
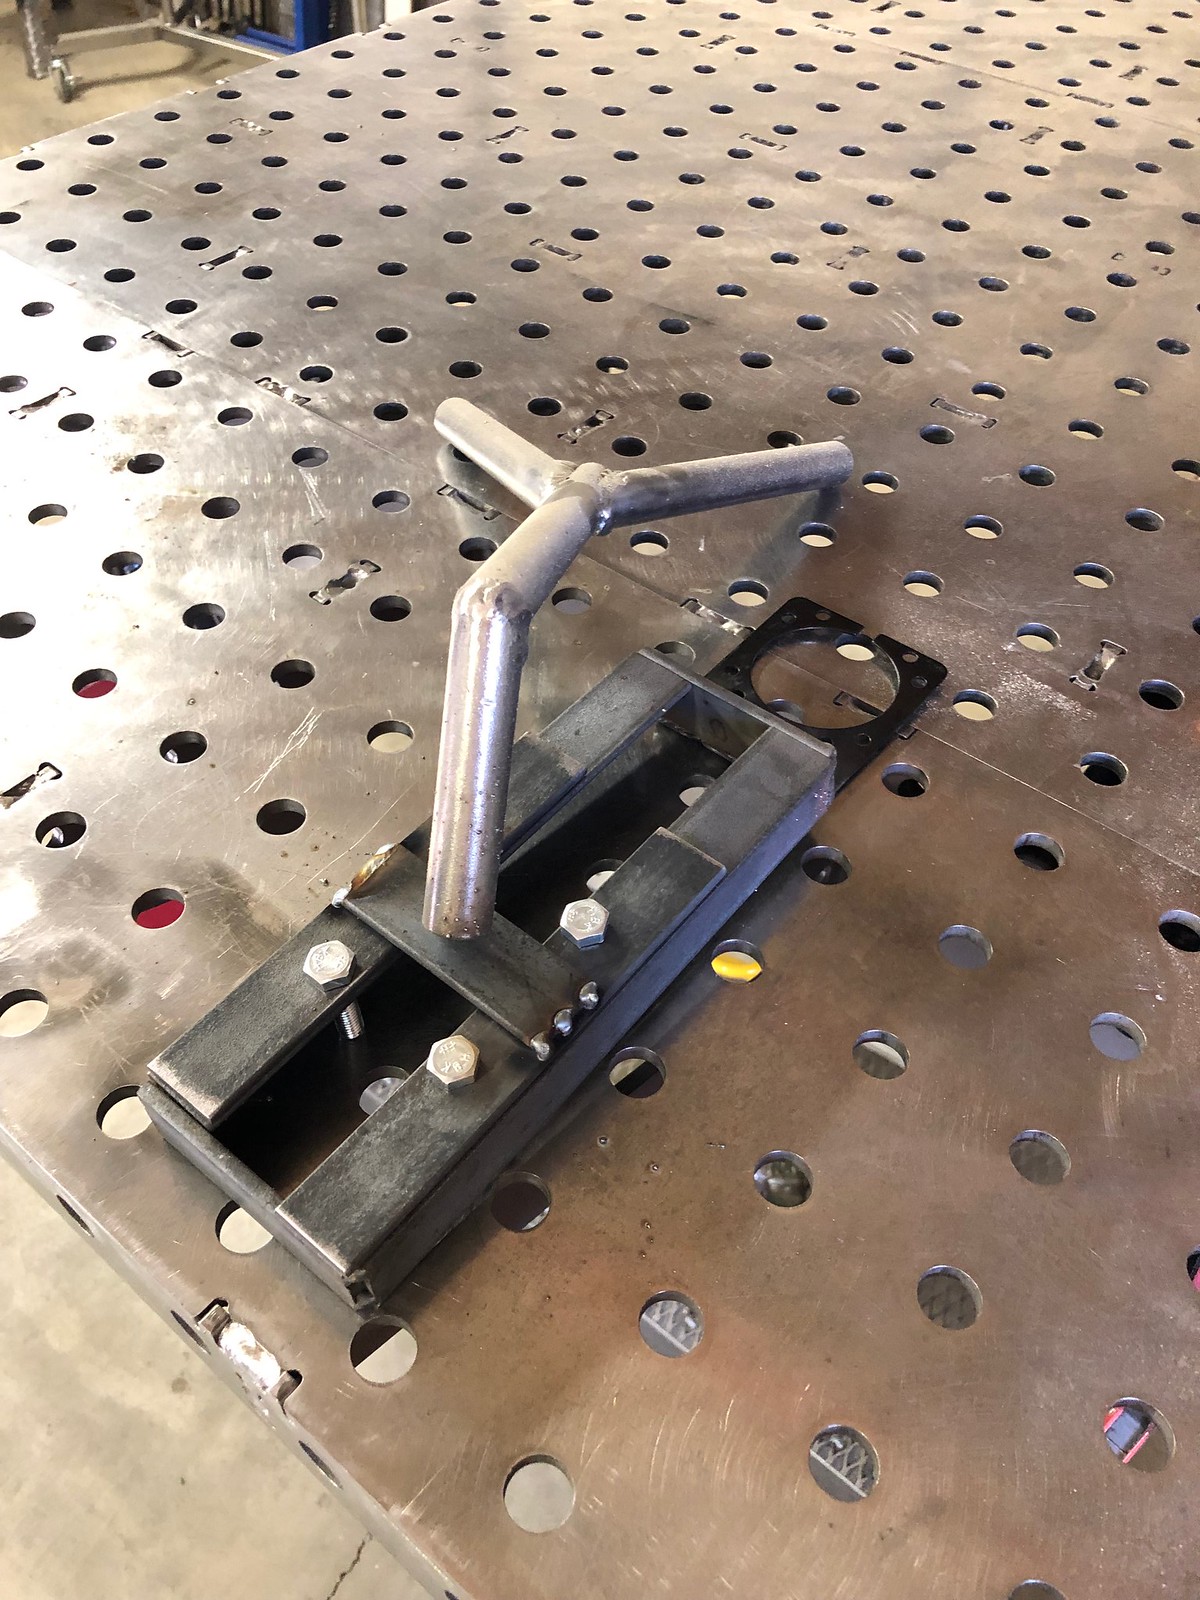
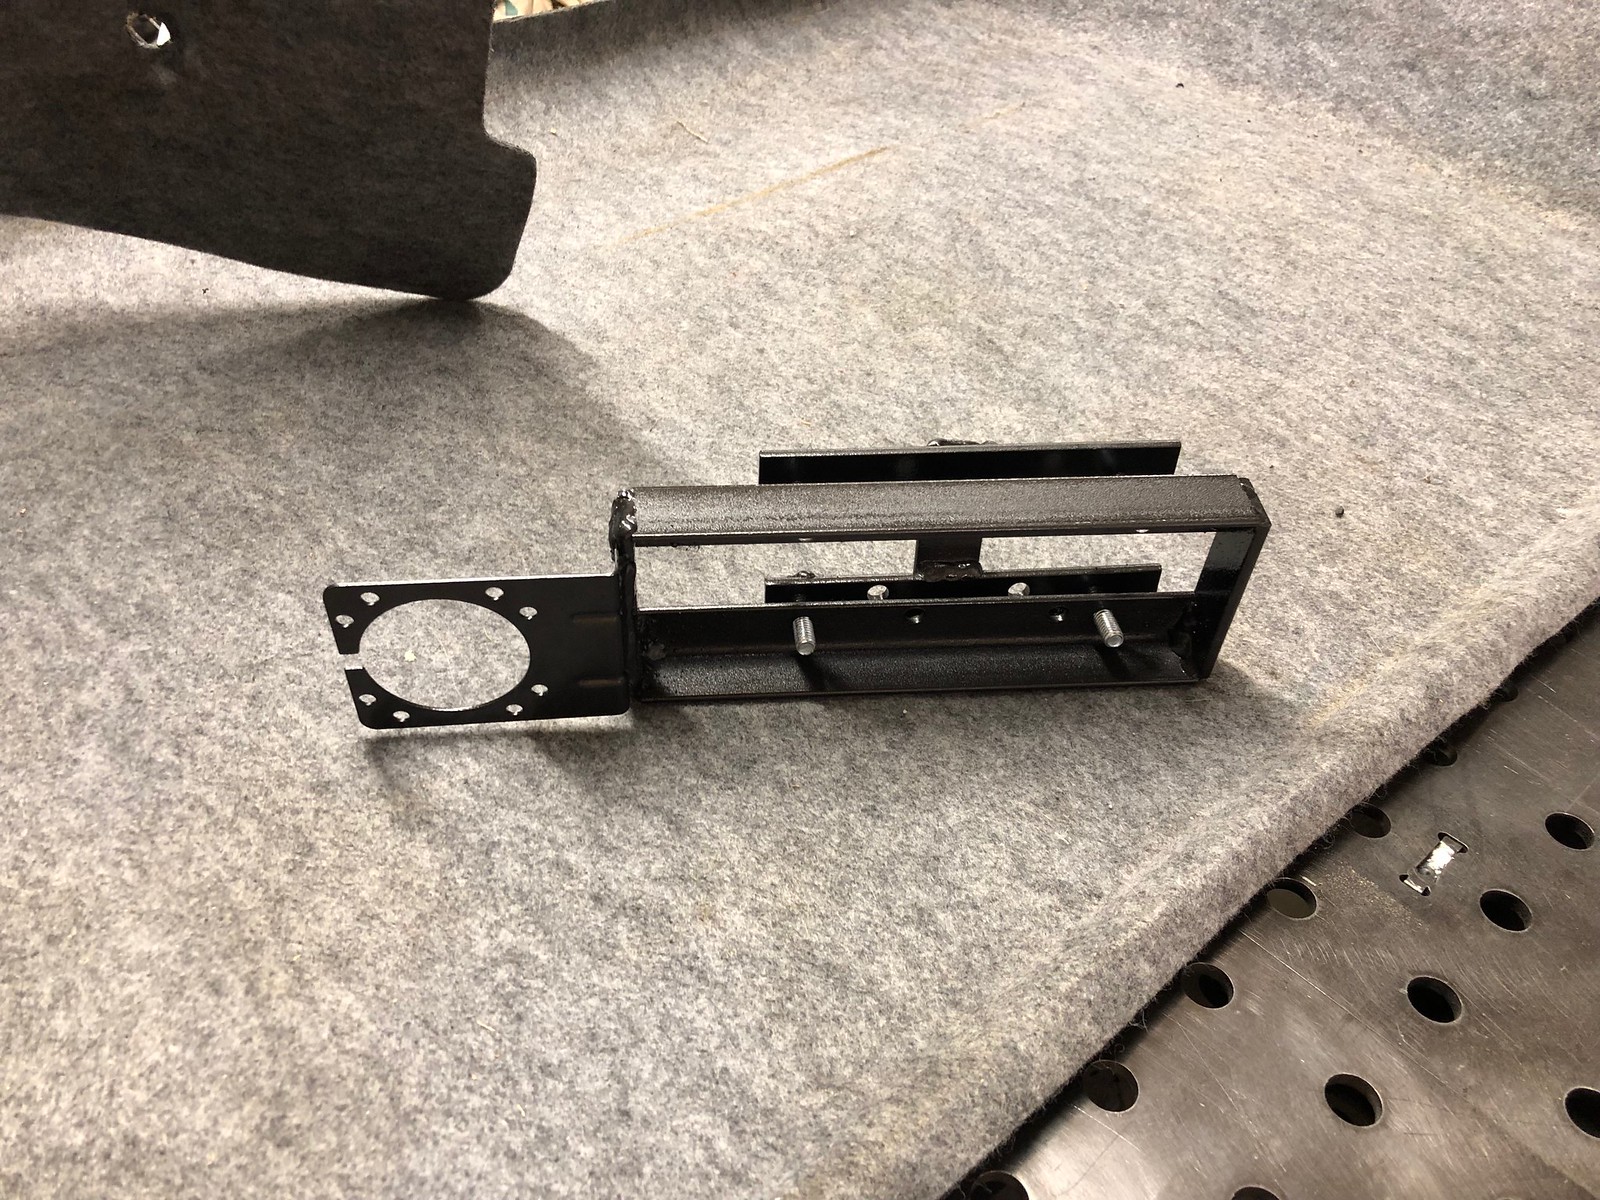
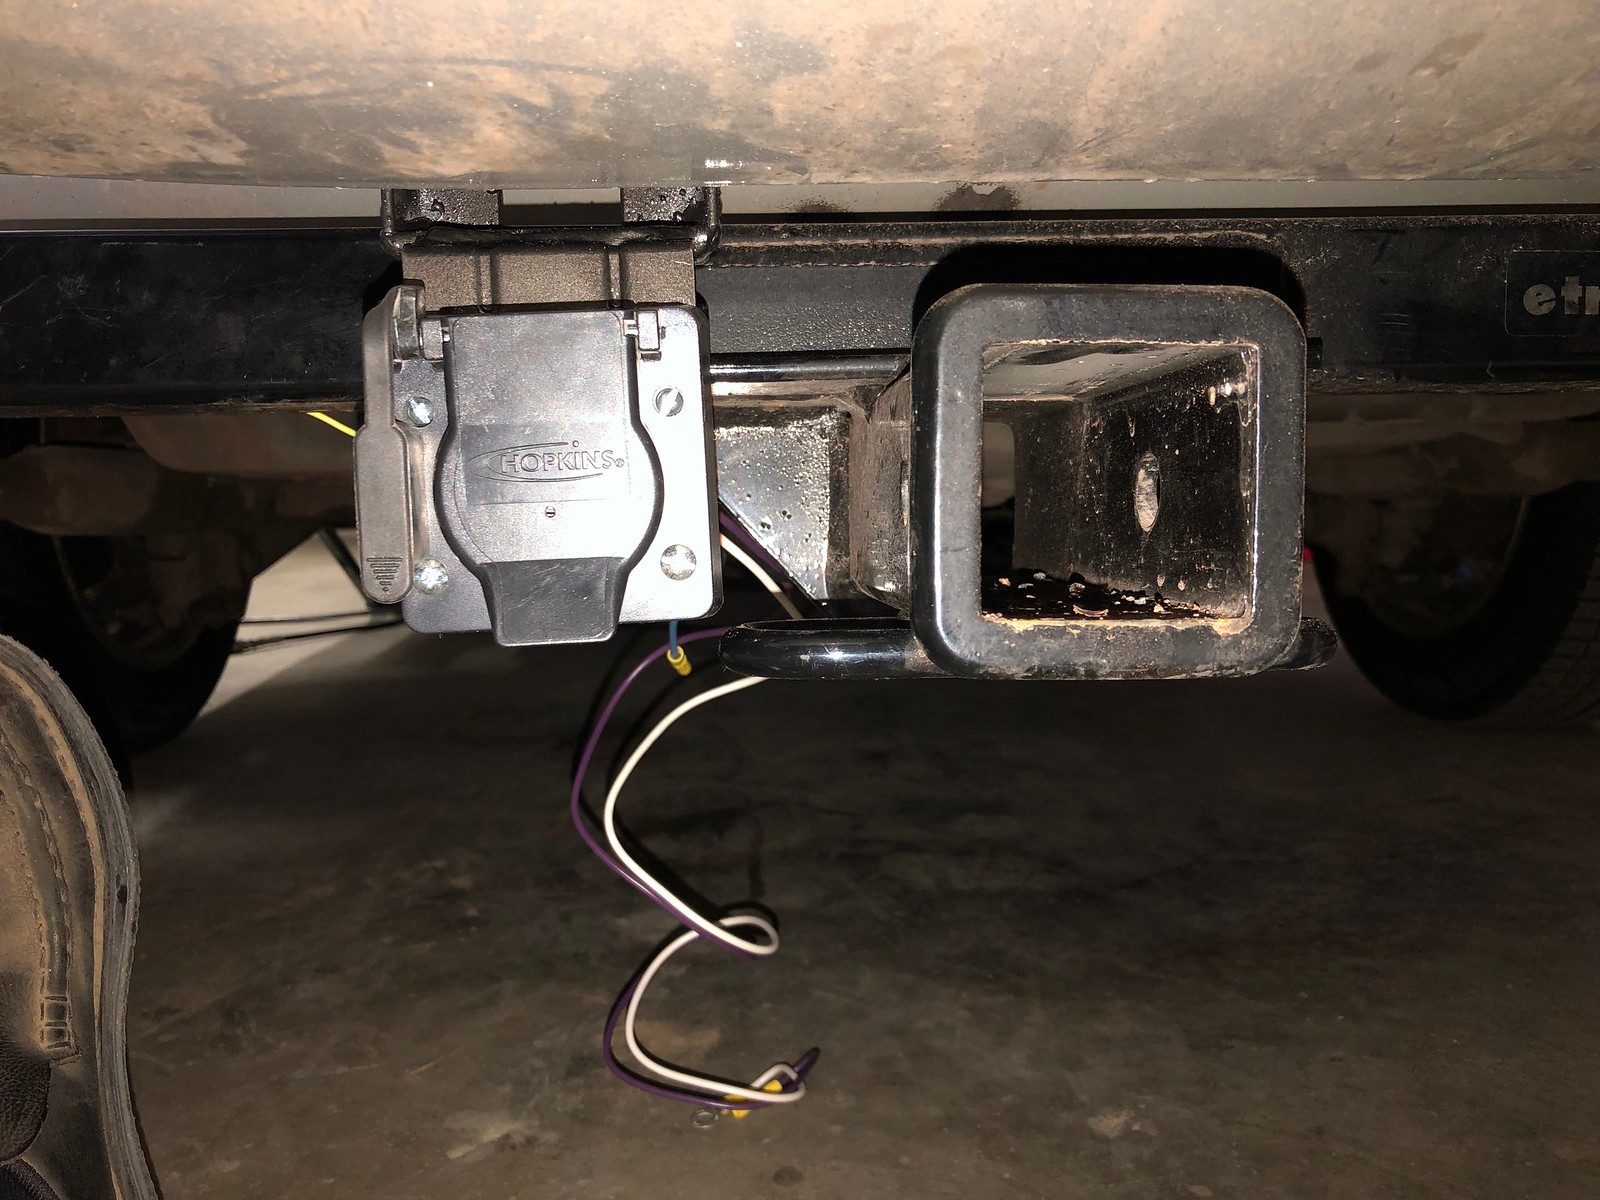
Now, on to the trailer light plug. I didn't want to chop a hole in the bumper, and I didn't want the plug to hang any lower than necessary. There is a thin metal cross member just sort of floating underneath the bumper cover. I welded up a mount that can clamp to that.
 Untitled by Petrolburner, on Flickr
 Untitled by Petrolburner, on Flickr
 Untitled by Petrolburner, on Flickr
 Untitled by Petrolburner, on Flickr
 Untitled by Petrolburner, on Flickr
I don't think it's actually crooked like this photo makes it look. If it is, it's so hidden you couldn't tell anyway. I think I straightened it out after the photo though.
 Untitled by Petrolburner, on Flickr
This is a great outlet that has 7 pin and 4 pin plugs since I have both kinds of trailers.


