Sorry I can't answer your post for some reason.
But do not attempt to replace the brakes without pulling the rear end.
Madness lives that way. That and bloody hands.
It will take you less than an hour to pull it. And even shorter to put it back in.
Once out the brakes are easy. Let me know if you need parts. You can have anything. The alternative is trashing them. 
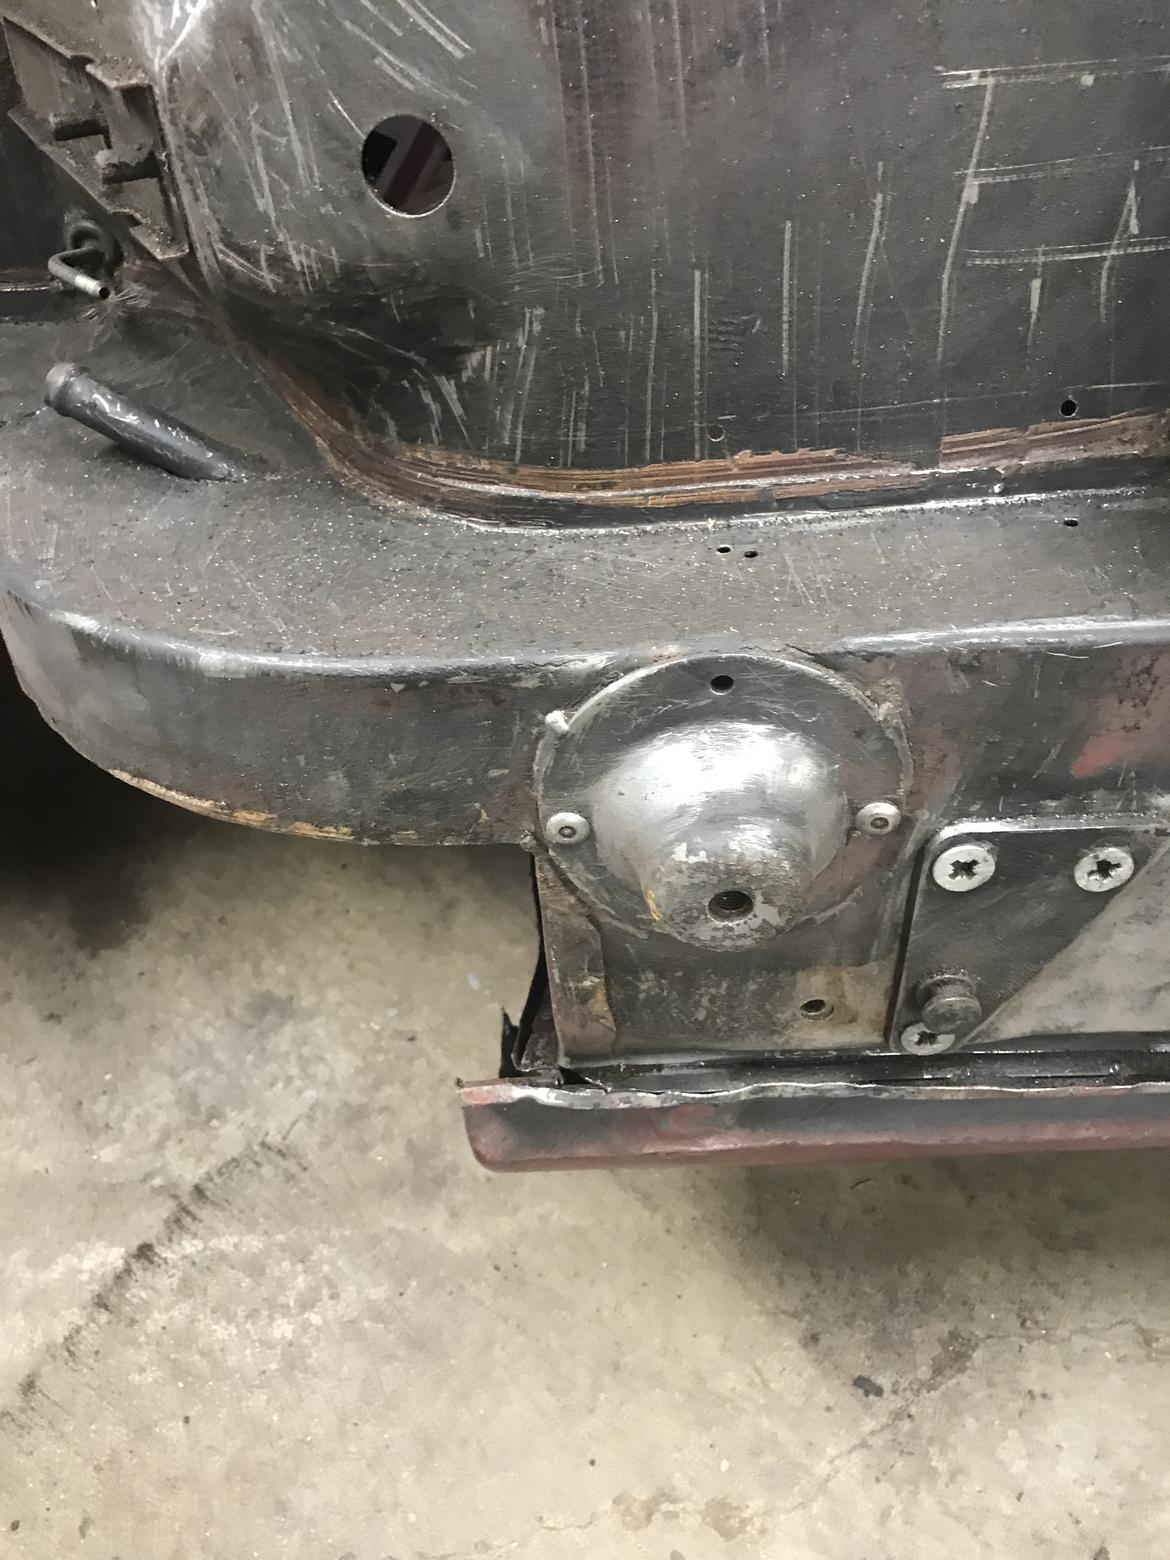
Those rubber mounts need to be removed. The bolts going sideways. 
Yes, it may be easier, however, working as flat rate mechanics we did it without removing the IRS. I have dropped and disassembled the IRS for other repairs.

wspohn
SuperDork
8/16/22 11:24 a.m.
Having watched my friends go through this ordeal on E types, I have always wondered if it was possible for the factory to have installed a removable panel for access from above?
Frankly, I expect that the lower unsprung weight from having brakes there instead of out at the hubs would be more than offset by the heating and servicing issues the factory location caused.
Pads are one thing. Disks are a totally different level of work.
When serviced regularly they're no big deal to change, on my E-Type it was easier to simply drop the whole assembly out, but be aware it's fairly heavy, it helps to have an extra set of hands to guide it as you lower it.

wspohn said:
Having watched my friends go through this ordeal on E types, I have always wondered if it was possible for the factory to have installed a removable panel for access from above?
Frankly, I expect that the lower unsprung weight from having brakes there instead of out at the hubs would be more than offset by the heating and servicing issues the factory location caused.
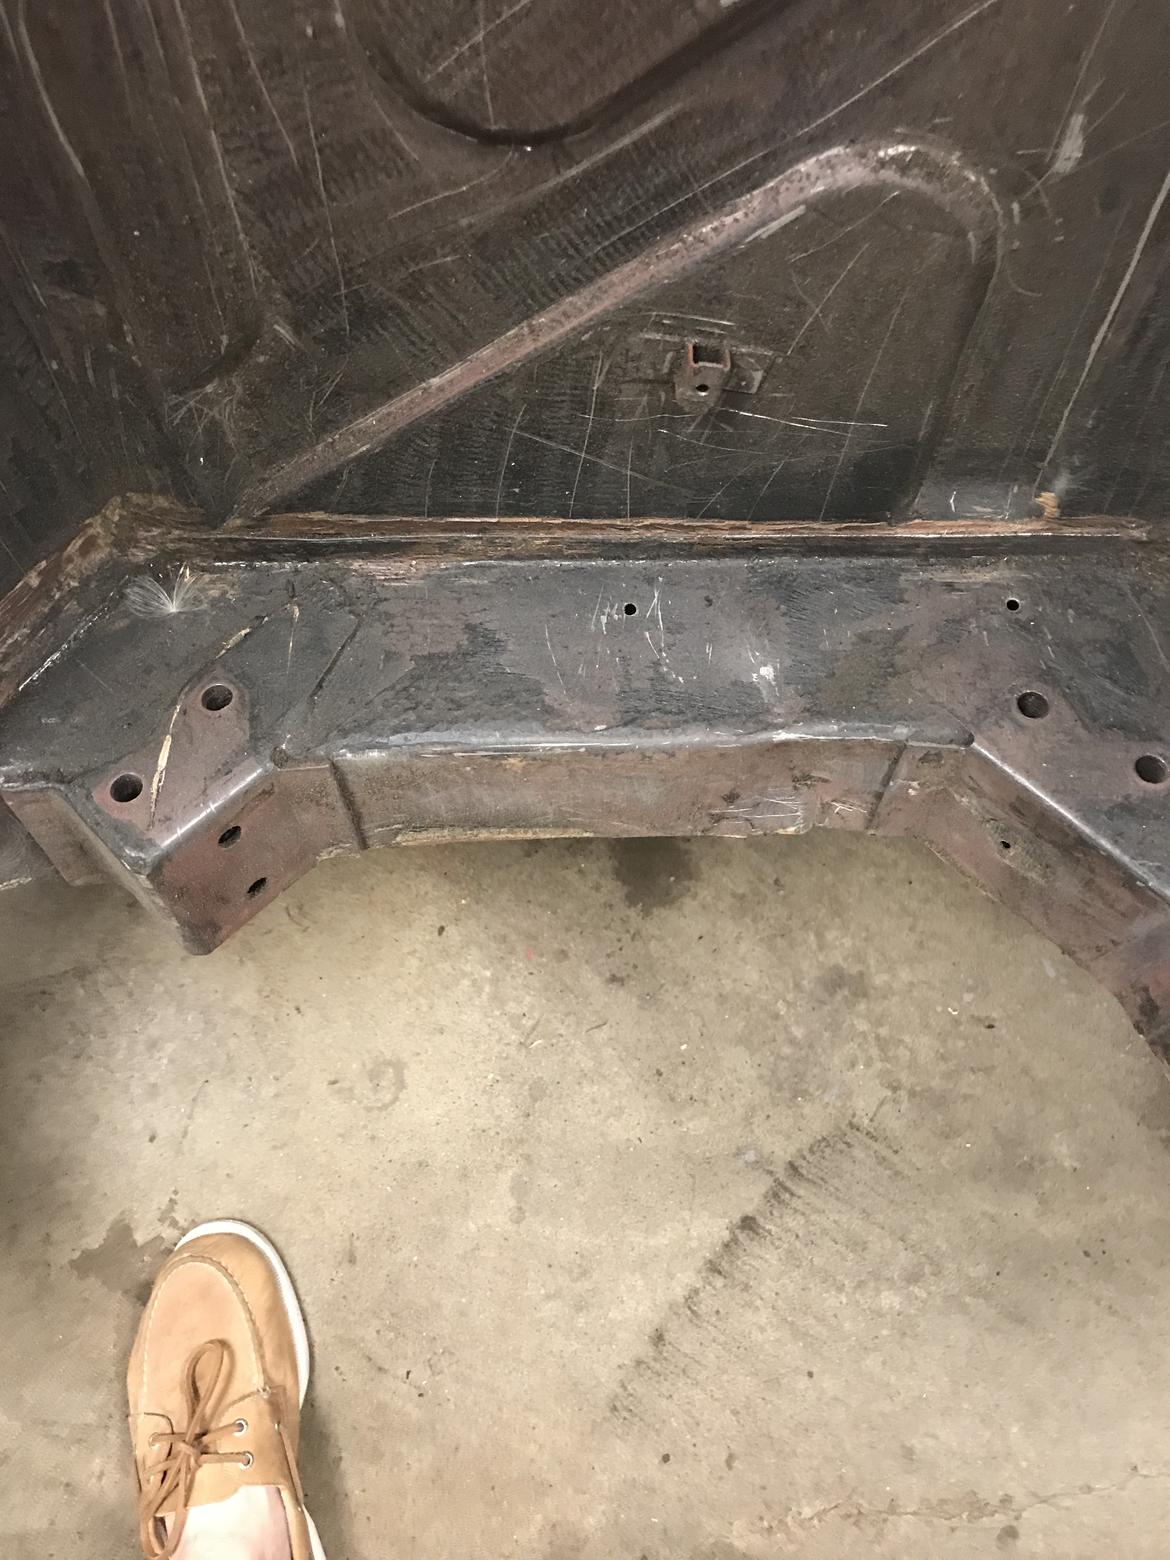
Access from above would not help. The differential is top mounted. While there are access holes at the rotors and in theory you could work there, reality is you'd need eyeballs on your fingertips to do so.
Jaguar had optional ducting to the inner brakes available for the XKE Since the sedans (XJ12 & XJS ) weren't expected to be raced it wasn't available but both Group 44 & TWR ( and myself) put vented 12 inch rotors on the inner brake disks.
It was relatively easy to duct air into and out of the brakes to keep them cool even under racing conditions.
If you're will to give up the wire wheels you can parts swap the later (93-97) outer brakes into cars with inner brakes. ( 61-92)
There are racing advantages to using the inner brakes. And ways to deal with the heat issues.

NOHOME
MegaDork
8/17/22 12:16 a.m.
The only thing that keeps me sane when working on any Brit car is the knowledge that there are French cars out there and I will never have to work on one.
NOHOME said:
The only thing that keeps me sane when working on any Brit car is the knowledge that there are French cars out there and I will never have to work on one.
One of the things I love about working on British cars is in all that I've worked over about 60 years I've never had a bolt break off. Even extremely rusted ones ( I live in rust belt central, Minnesota)

wspohn
SuperDork
8/17/22 11:17 a.m.
frenchyd said:
There are racing advantages to using the inner brakes. And ways to deal with the heat issues.
A friend that vintage races an XKE. He ran in a group up from me in my MG and TVR and he ran against Bernard Juchli, who is a very good driver and a superb mechanic. Bernard somehow managed to get decent rear brake performance and my friend followed his lead with huge ducts sucking air from outside and running it over the brakes.
I wonder if an XKE with outboard brakes would really be slower (although moving them to the outside would probably be a large mechanical redesign problem).
In reply to wspohn :
It's not that hard. Use the later 93-97 outboard brake hubs on the earlier 61-92
Yes there will be some fabrication involved. But nothing that complex.
As for speed difference? Most tracks are reasonably smooth so the slightly harder springs to handle the unsprung weight gain would be hard to notice.
I made my own remote bleeders and ran them into the wheel wells. Elkhart Lake is so hard on brakes you have to bleed after every session.

NOHOME
MegaDork
8/17/22 11:43 a.m.
In reply to frenchyd :
Not been my experience going on almost 50 years of wrenching on British cars. What they have taught me is a portfolio of ways to use patience, heat and prayer to get the corroded tidbits apart. The "captive" nuts in a tin cage being some of the worst offenders. And lets not get started on suspension bushings with the bolt corroded to the inner sleeve.
In reply to NOHOME :
Oh, with regard suspension bushings. since I'm a racer I just hammer those out, grab a piece of bar steel and some brass and make my own. All those needle bearings bushings and seals? Toss em. I can make parts faster than I can assemble the lousy factory stuff.
If I'm doing it for a restoration project and the parts are nasty. I'll buy new parts from Bill Terry or Moss motors.
Rusty Captive nuts in a cage? A big vise grip solves that problem. Don't let them start to turn.
you could always swap to the later x300 parts with the outboard brakes....
Looks like the late XJ40 rear uprights work and that giive you the option of the bigger X300 brakes too. I think Retropower are doing this on their jags

How to polish chrome wire wheels.
It's mindless drudgery so use that to multitask.
I watch a movie while I'm doing it.
One at a time. I started out putting a piece of cardboard on the floor and carried one wheel in at a time. I improved the set up every time I did it. It's a great winter project when it's too cold to work in the garage. Or early spring project when it's just miserably wet.
You will need some 0000 steel wool, a can of WD 40., several rags ( old wash cloths torn into 1 " strips 8-12 inches Work best), heavy round tooth picks, Q tips, and chrome polish. If the spokes have built up crud on them, pressure wash it off before you bring it inside.
There are 72 spokes so get comfortable. Do one spoke at a time. The area just above the nipple will be the hardest. Rust in that area will call for steel wool sprayed with WD40. Pull out a 1/4" diameter about 4-6 inches long. Work from the inside of the wheel first then spin it over and do it from outside. Once the rust is gone don't use the steel wool anymore. Use the WD40 into the area where the spoke goes into the nipple.
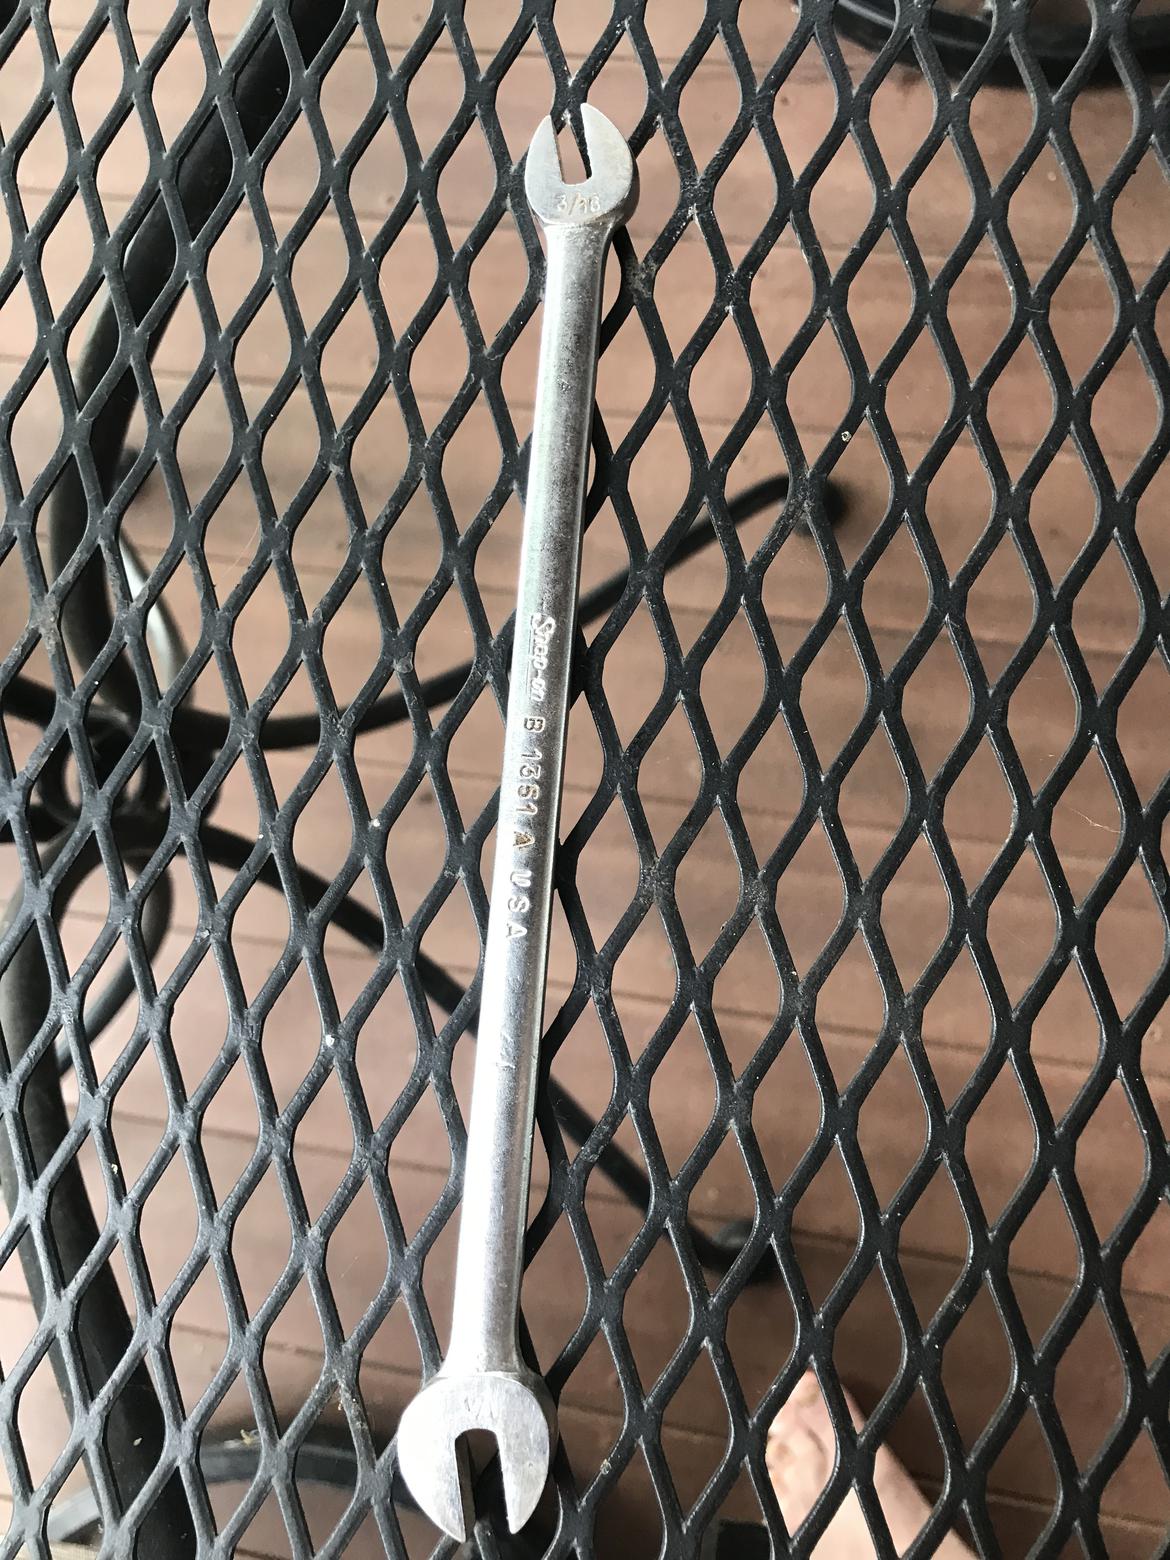
When the whole wheel is polished check spike tension. Tap it with your spoke wrench. Here is one area not to cheapen out. Buy the Snap on B1351 A it's a 1/4 &3/16 about a foot long. I ruined a lot of spokes trying to get by with cheaper ones You need the length to try to break the nipple free of the rust and you need the Snap On accuracy not to round off the nipples
Back to tuning . You will hear a tink when you hit it on the middle of each spoke. As long as all the spokes give the same tink you are good you'll hear a flat one that spoke is loose. For street driving it's ok not to have them all perfect
If you intend to slide into a tight corner at 150 + mph they all need to be good. The Black Jack is sitting in the museum with the original wire wheels. 
It takes about an hour once you are just polishing them so double that if it's the first time. Let your wife select the movie/ show so you aren't too engrossed and can focus on doing the best job possible. The area just above the nipple will take forever.
It pretty much works out to be a movie a wheel.
Chrome wire wheels freshly polished sparkling in the sunshine, or at night under the street lights are absolute magic.
Enjoy them. The next time will be much easier


