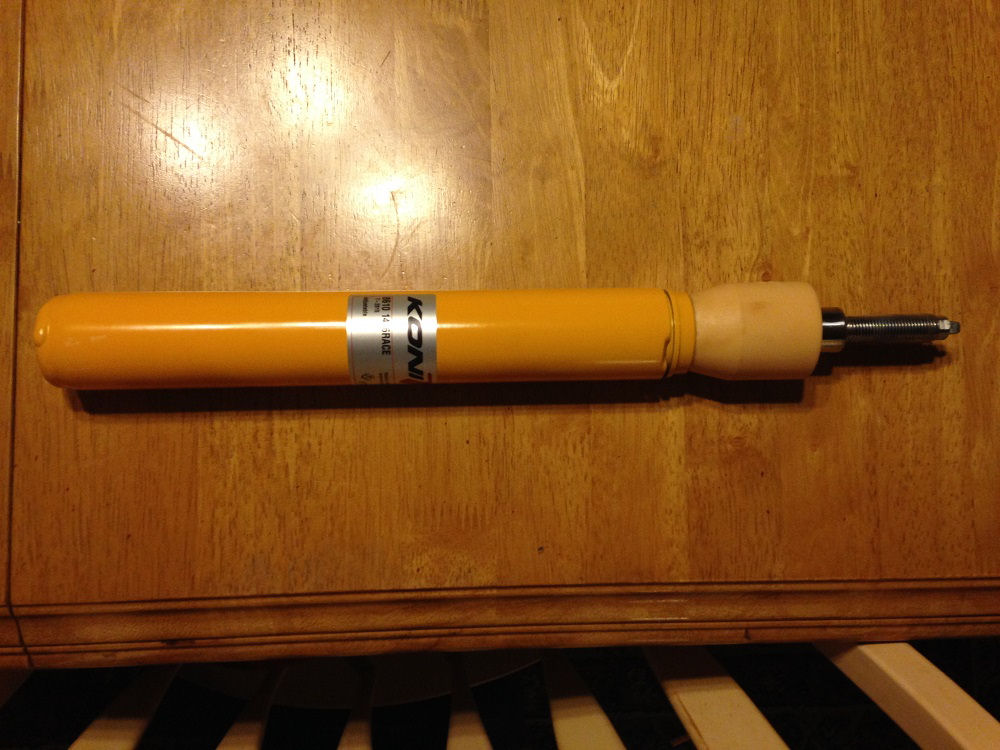
The are zero adjustable suspension options for a 1988 Isuzu. So, I thought I'd make my own. The Koni Race 8611 seemed like a perfect fit. It is a little shorter than my original for lowering, single adjustable, and beefy. A few internet clicks and a credit card later I had my own bit of yellow awesome.
I went with a thick walled steel tube with a large enough OD that the standard coilover height adjustment nuts would work once I cut the threads. (We'll just not mention to my wife how much I spent on a tap to cut the threads for the Koni gland nut on top.) I was having no luck taping the tube. Every time the tap would start to "bite" the tube would slip. I didn't want to crush it.
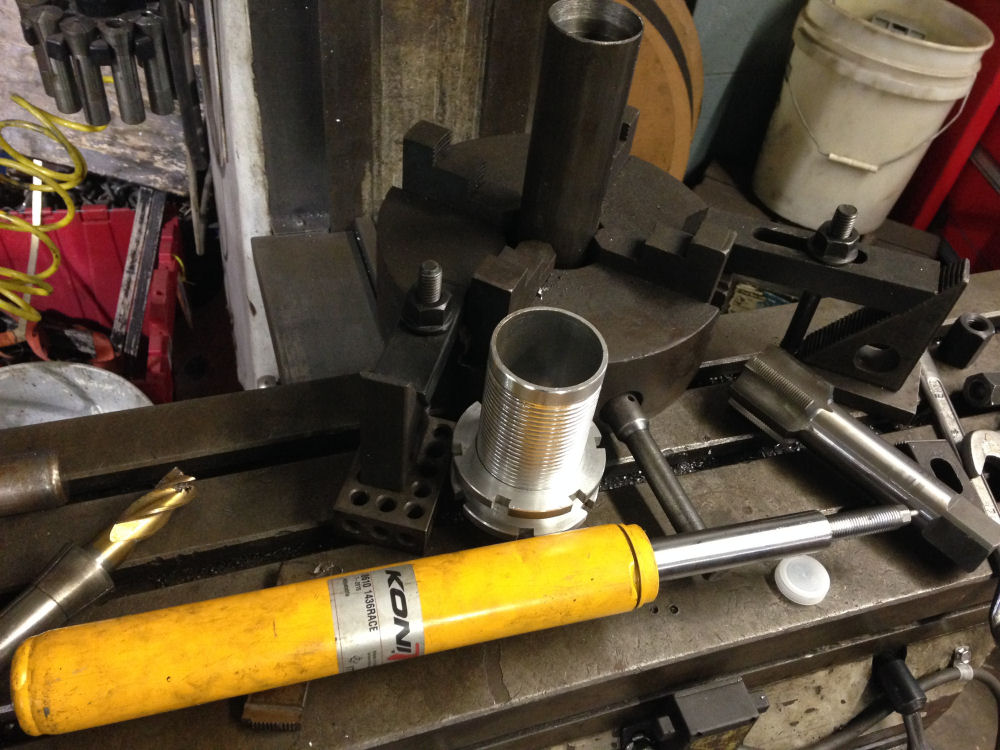
This frustrated the heck out of me. I didn't want to make the tube too thin, but it just wasn't working. I was considering scraping the whole thing and see if I could find strut to fit another car and just cut the ears off/ weld mine on. That's when it came to me to use aluminum. I was scared that it would be too weak, but after doing some reading I learned that aluminum was more than double the strength at double the thickness. You can see from the original strut that there really isn't much steel there.
So... thick is what I ordered.
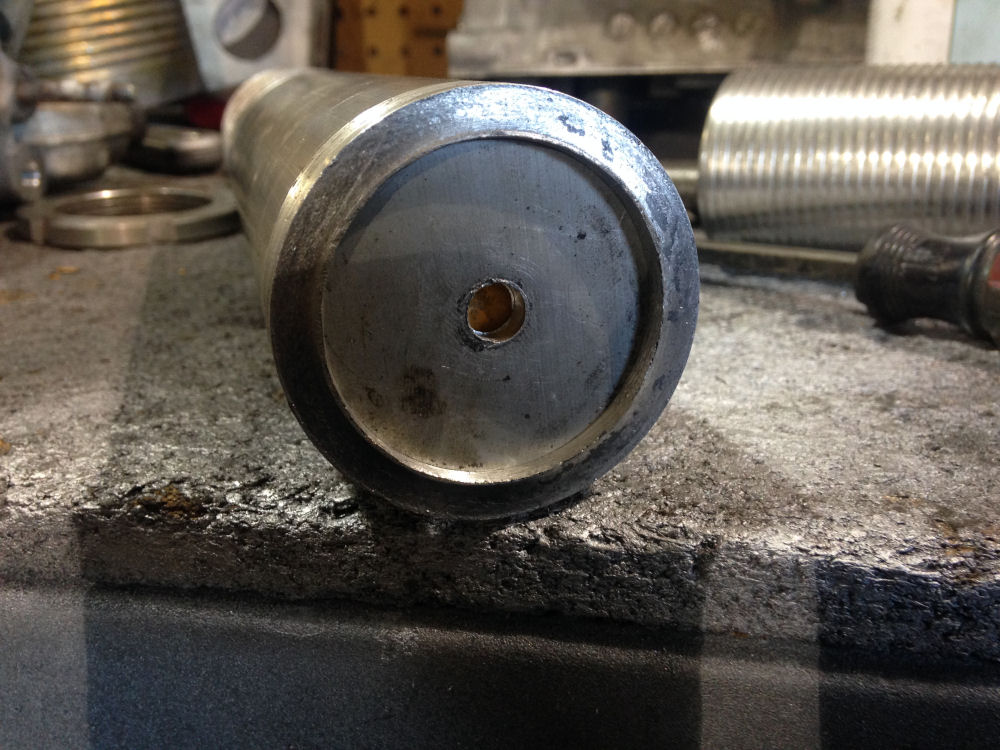
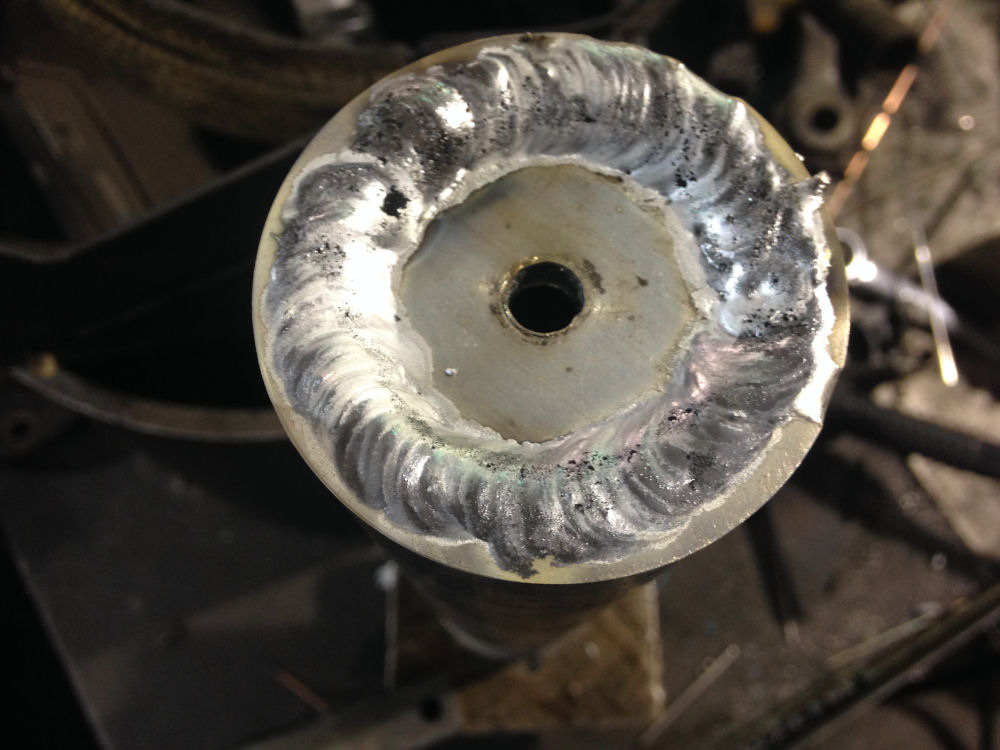
After cutting to length I turned down some plugs for the bottom and tig welded them in place.
I cut a bit of a concave into the plug on the inside so it would be self centering and distribute the load to the outside edges of the strut rather than to the pointy middle.
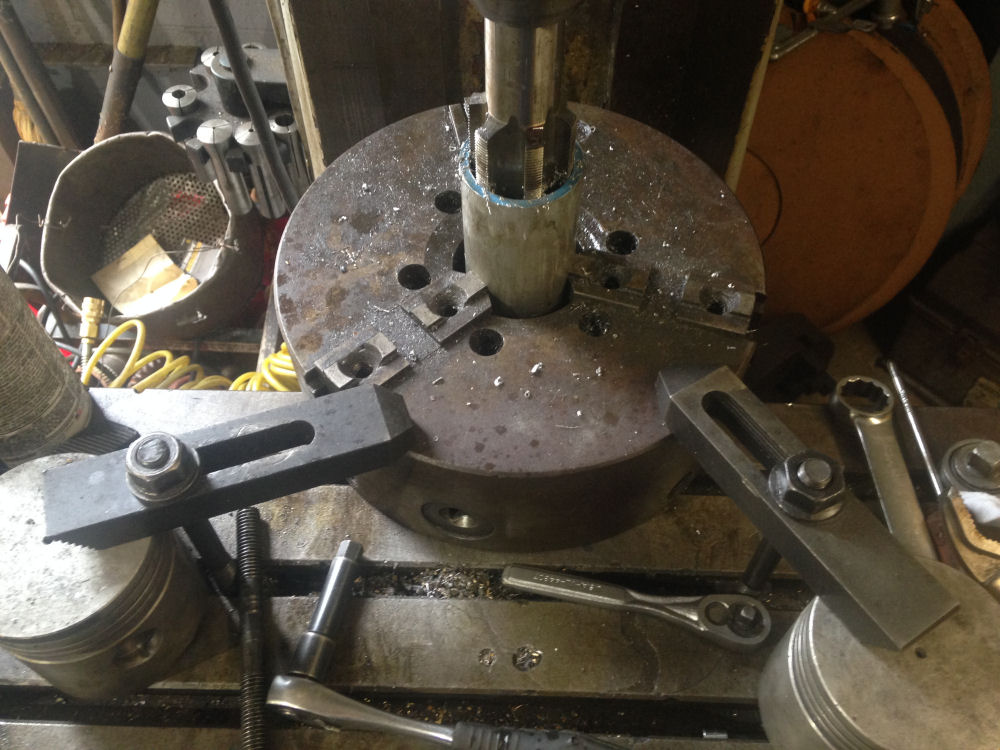
Next up was the giant tap. I had to bore it out a bit to receive it.
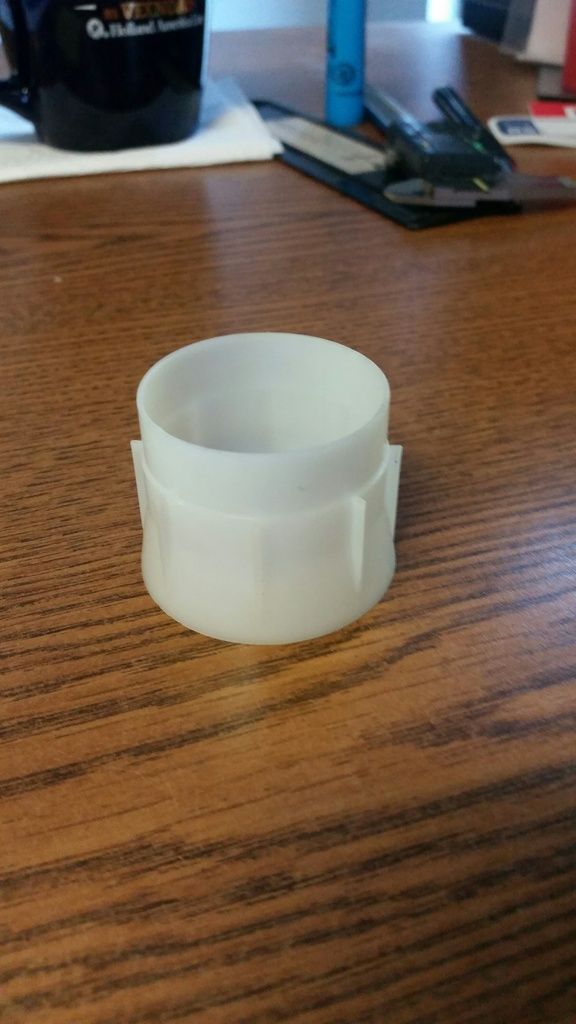
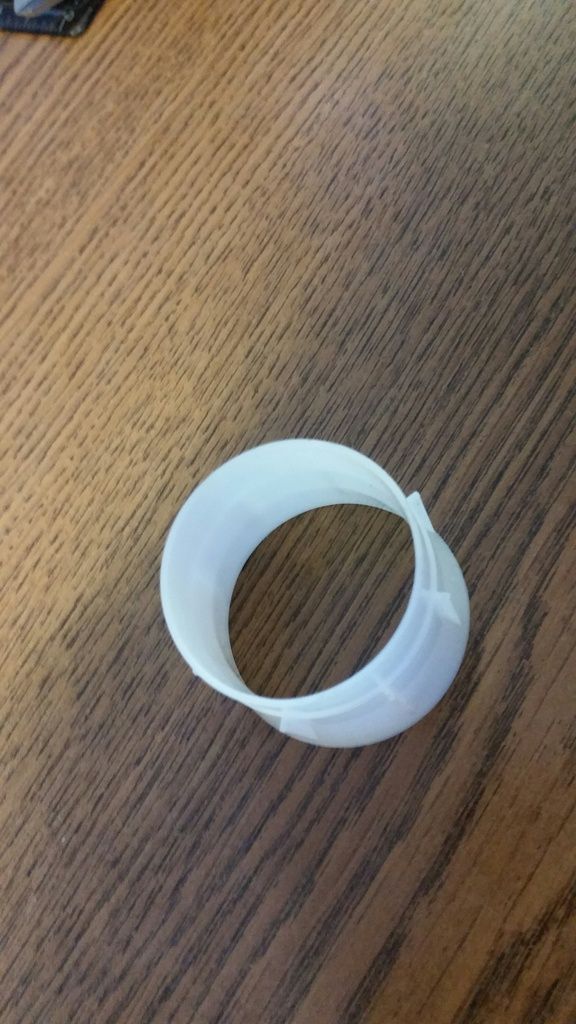
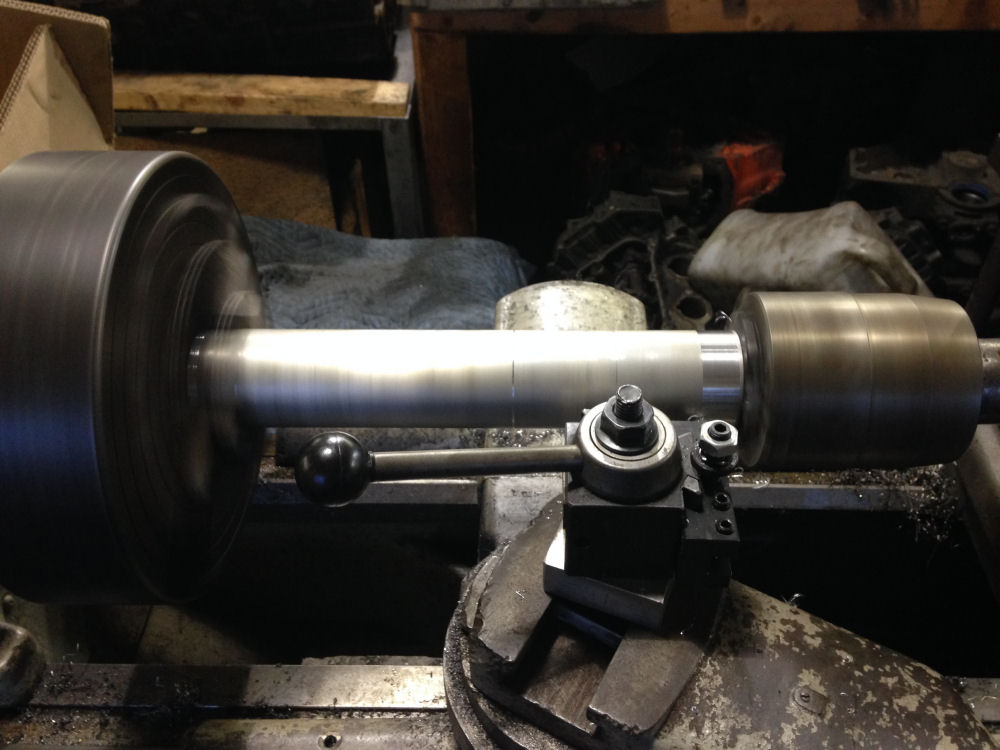
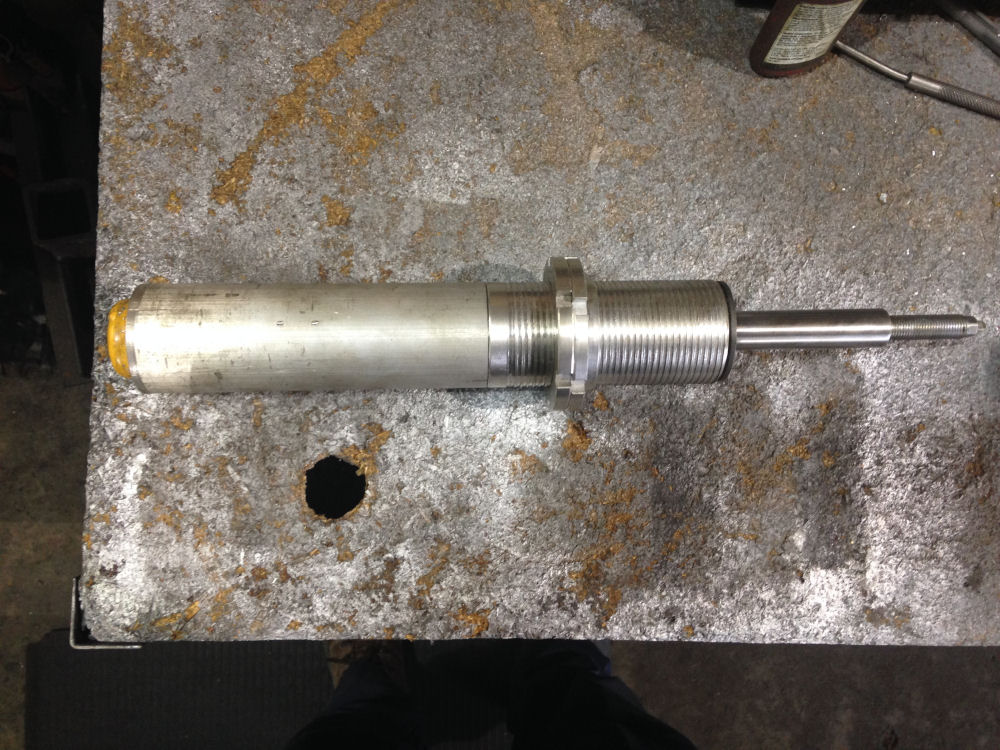
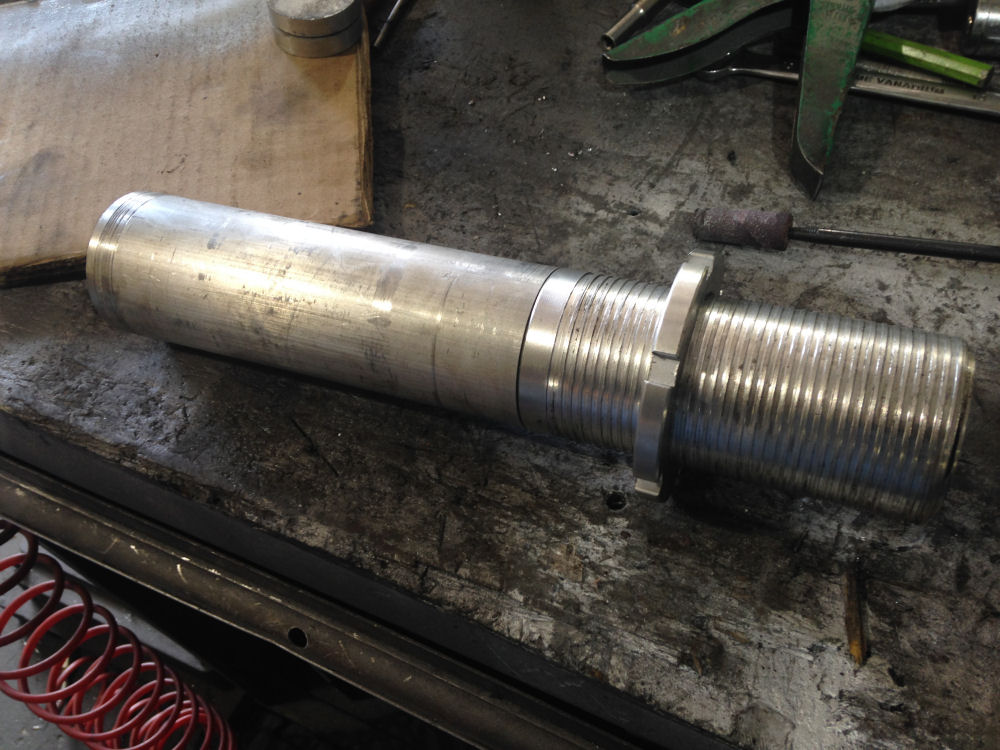
I hoped to experiment with acme threads for the first time and turn threads on the outside for the height adjuster nut. But, the tube I ordered was just a hair too thin. Instead I turned down the outside to receive a coil over sleeve and pressed it on. It was TIGHT I had to break out the torch half way down to keep from splitting it.
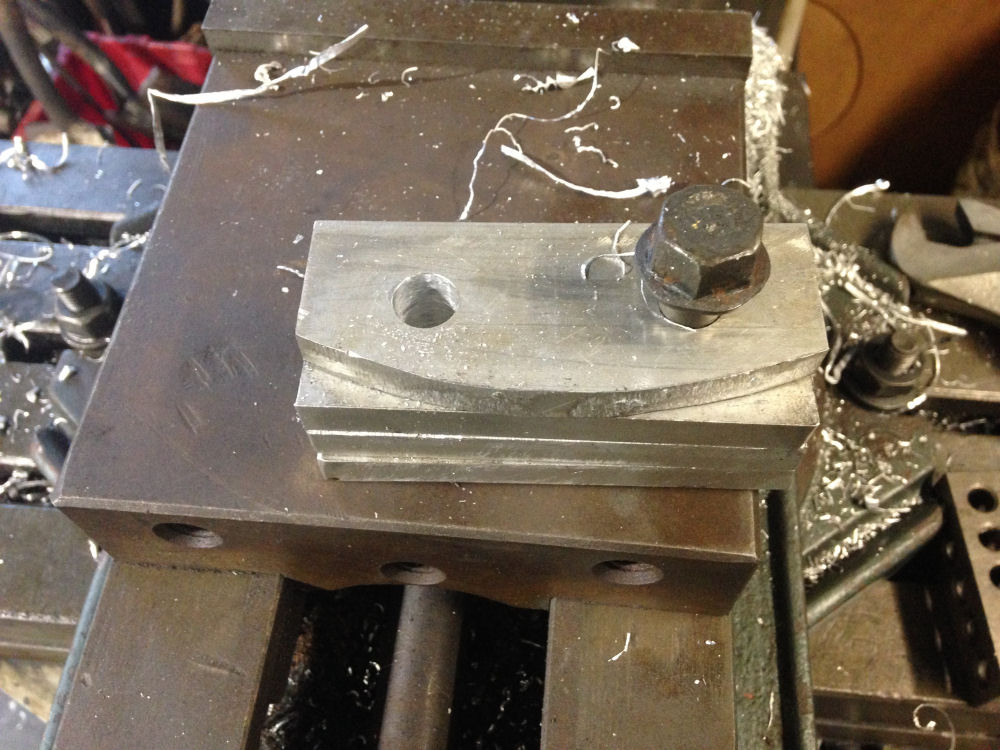
Next, I cut my ears to size from some scrap I had.
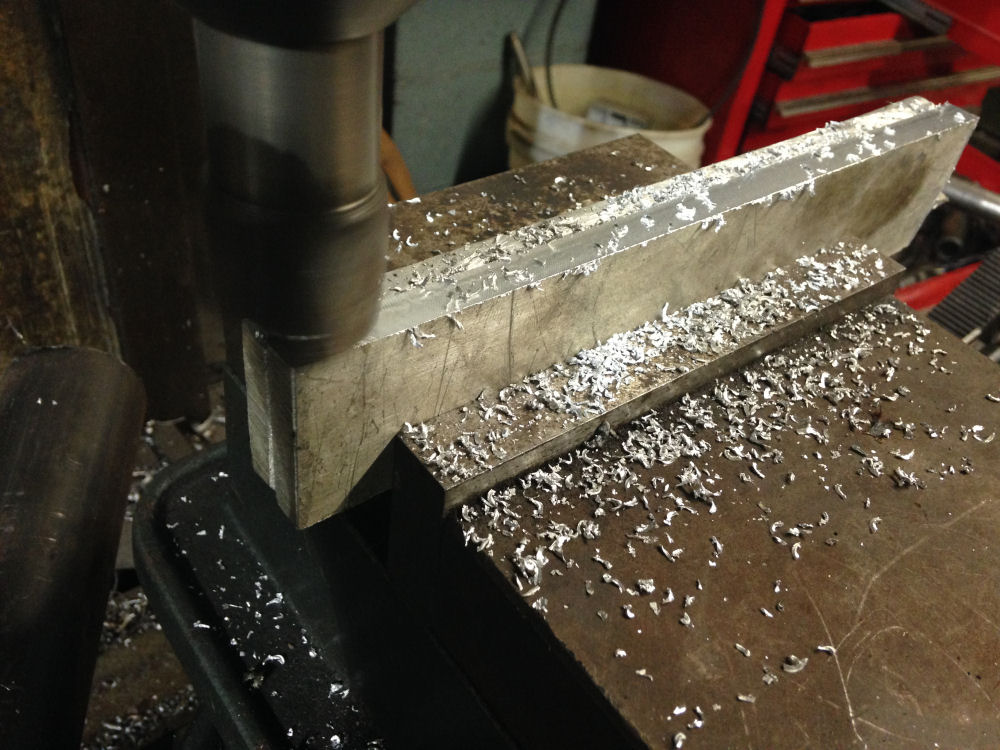
My knuckle had a radius in it from when it was machined, and I wanted to follow that contour to give it every bit of additional strength. Cutting a radius.
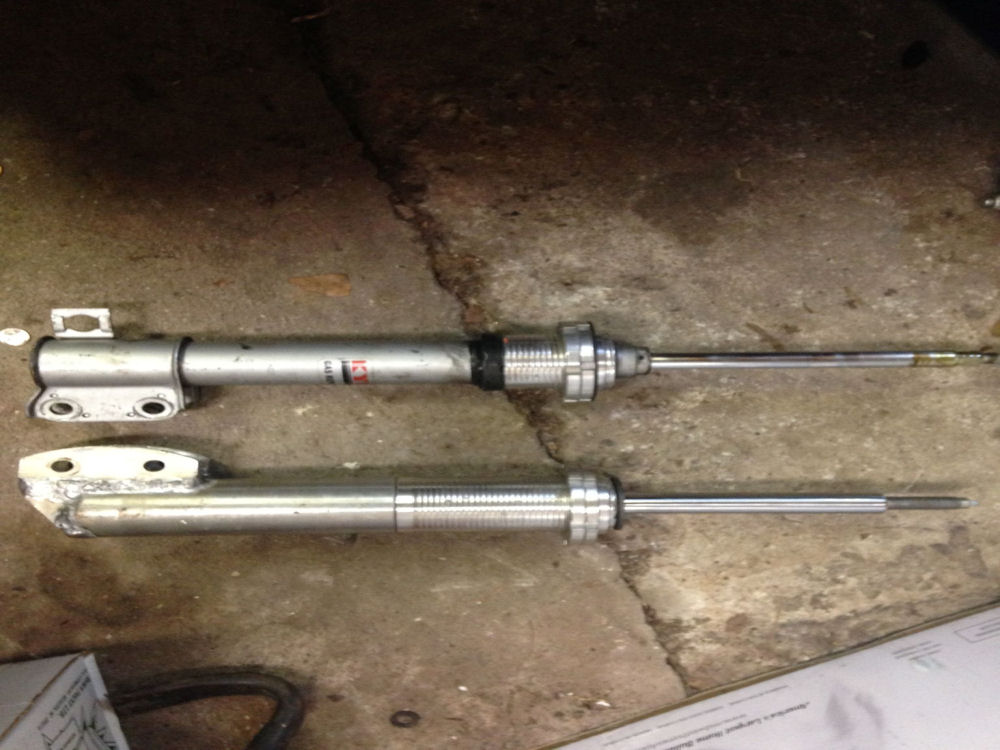
Problem. I never actually compared the old and the new side by side. I went off the dimensions from the Monroe Shock site. It was surprising to find that my new strut was much much shorter than the original. Where I wanted to lower it an inch or more this was several. I decided to use a "drop ear". where the ears would hang down below the tube to achieve the desired height. Mocking it up here:
 Not shown.. I also milled some notches straight up and down on the strut to receive the ear and keep them aligned...
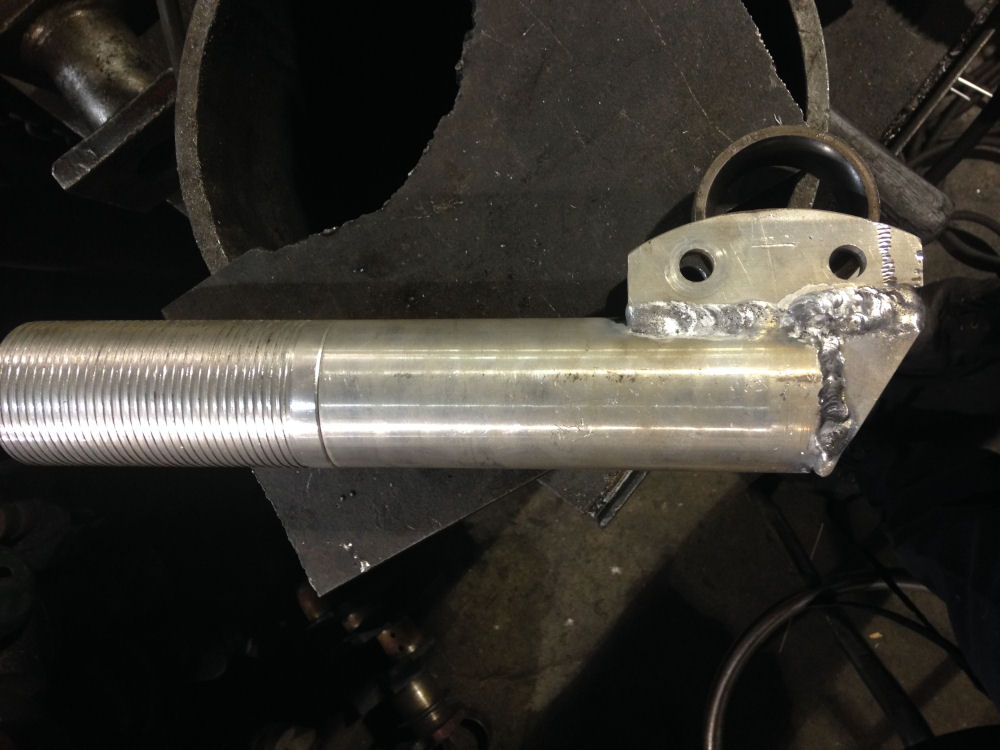
I was not at all satisfied with the new arrangement. The dropped ear was clearly not structurally sound. My solution was to fab up a brace. Had I done a better job of planning I would have milled these from one piece. Fortunately this mistake drastically improved my design. Now, instead of the support "hanging" off the side, the ears actually hook underneath to capture the load.
Side by side comparison:
These things are heavy. (But still lighter than the steel I originally bought)
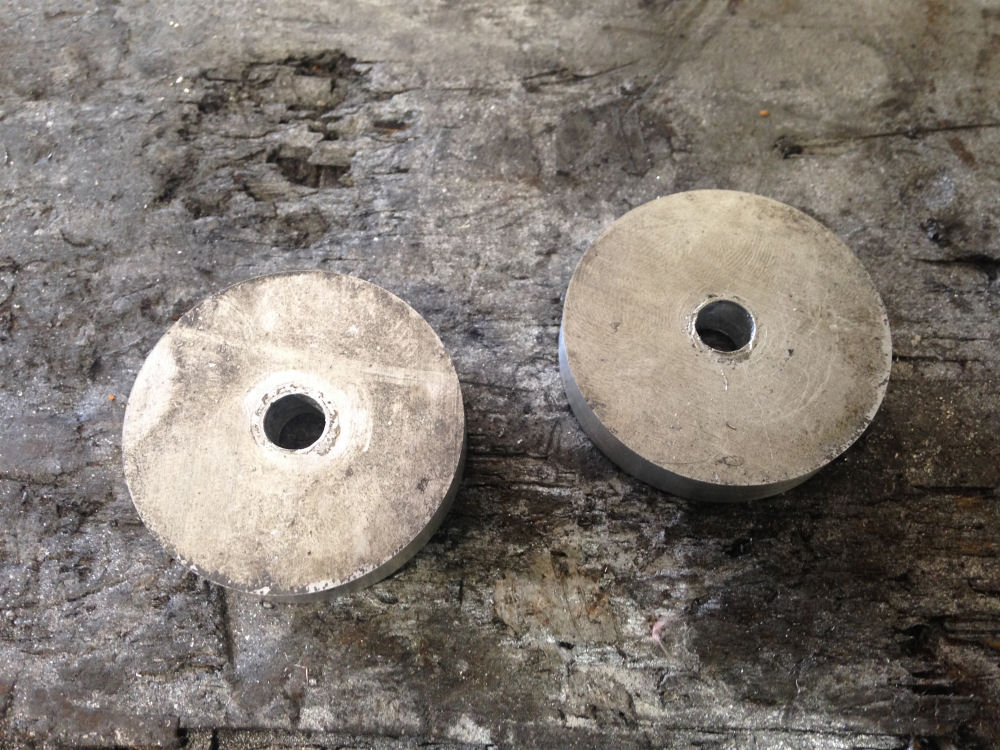
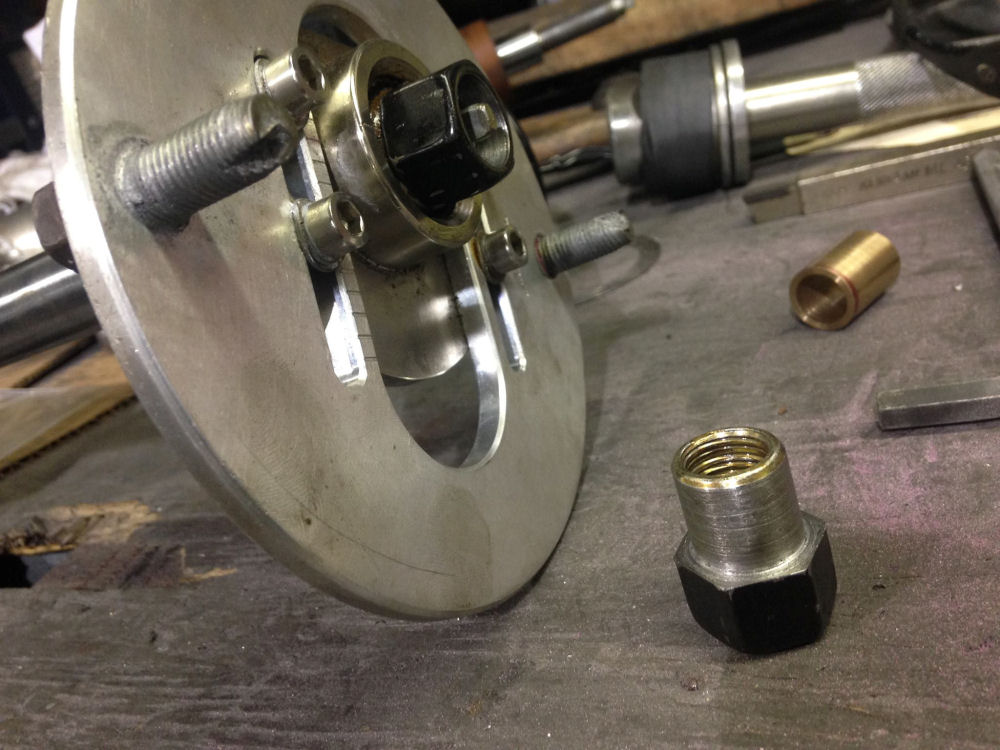
Unfortunately the camber plates I had were a different size so I had to turn down a sleeve to take up the slack.
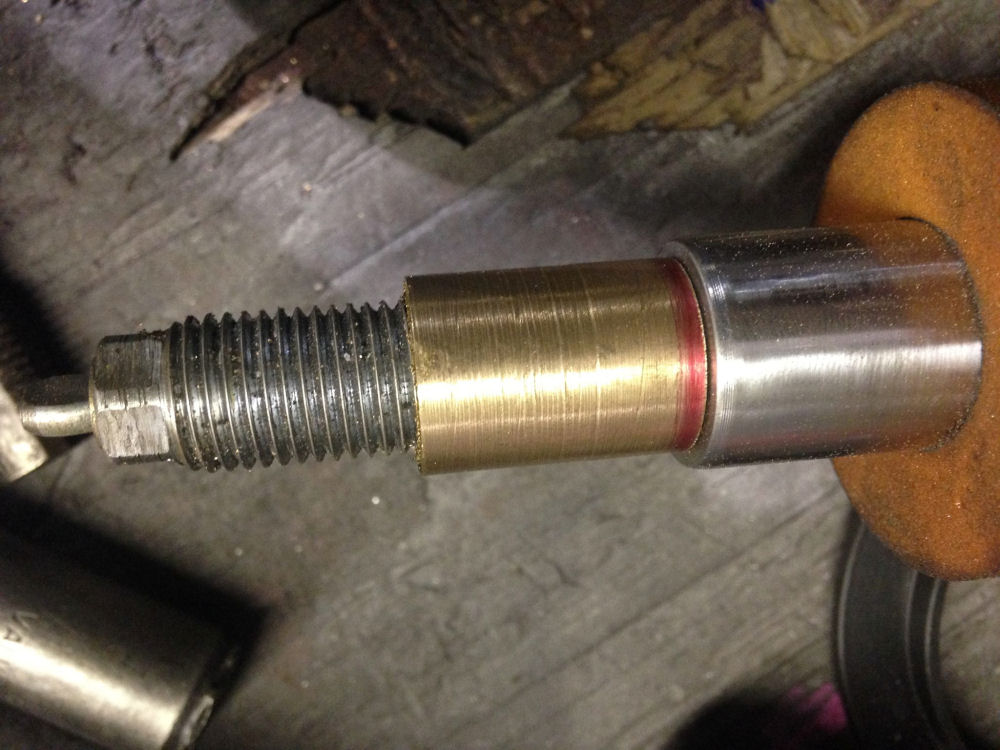
My stack height was still too tall. I had to trim some off the top hat, and then turn down a nut to act as both a sleeve and the retaining nut. A lug nut was the perfect size
This:
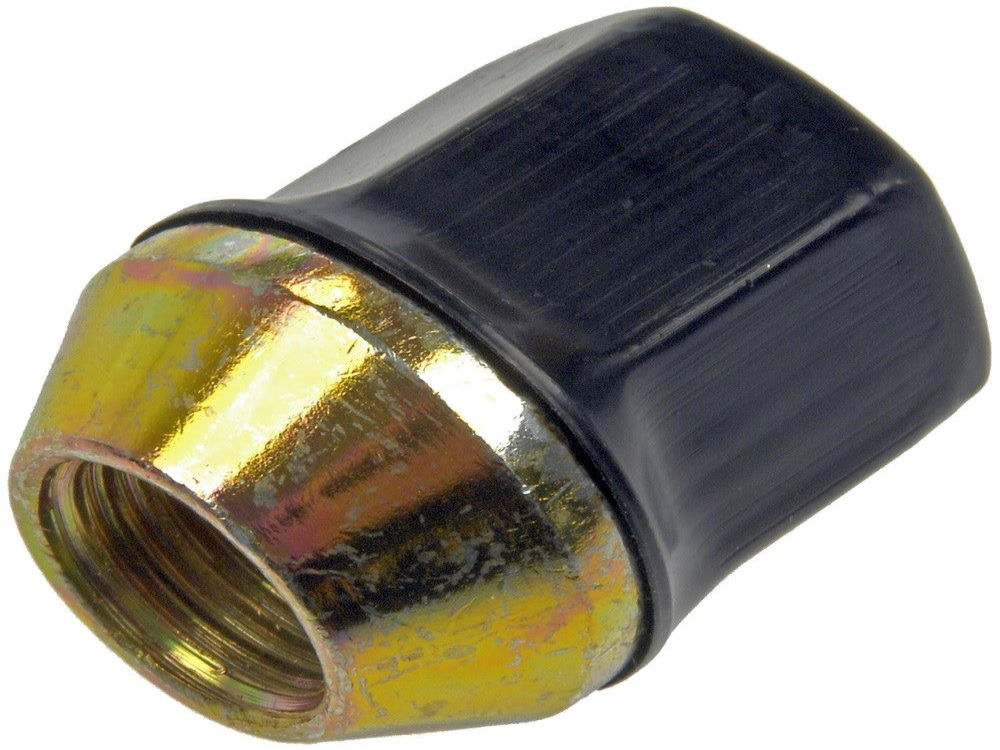
became this:
The only thing left was to assemble and bolt it up.
Complete:
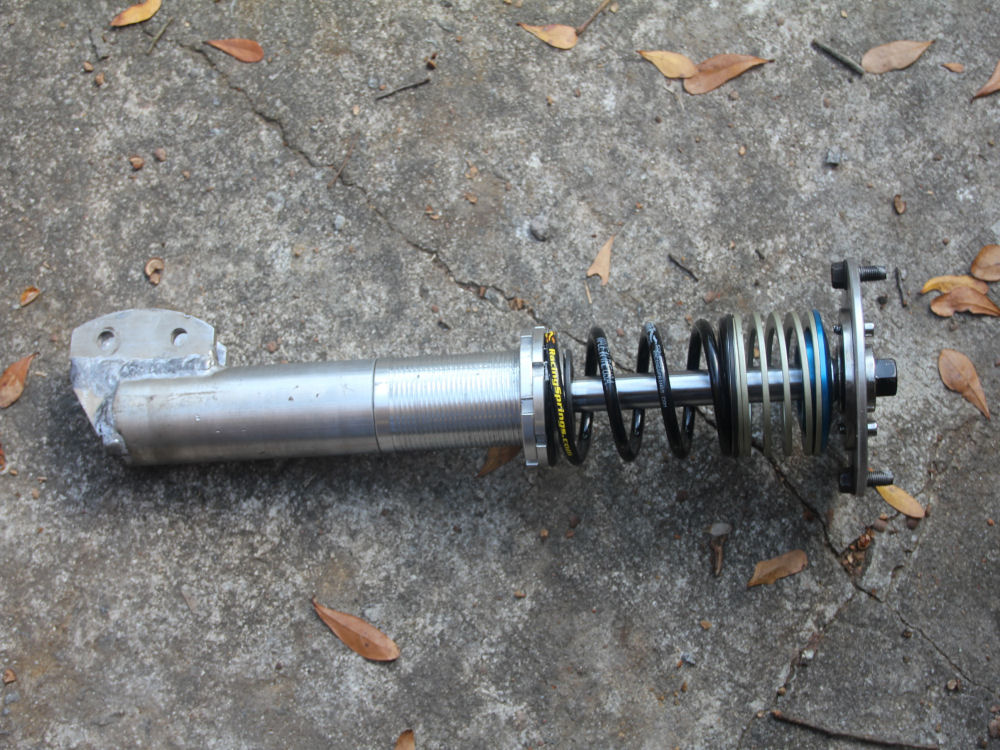
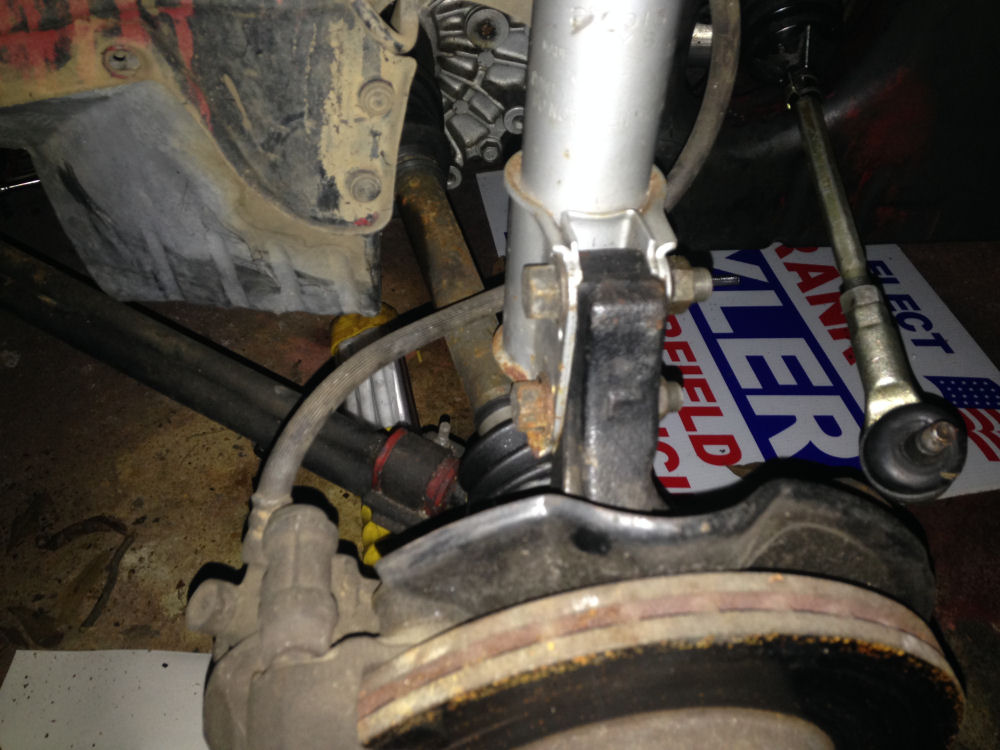
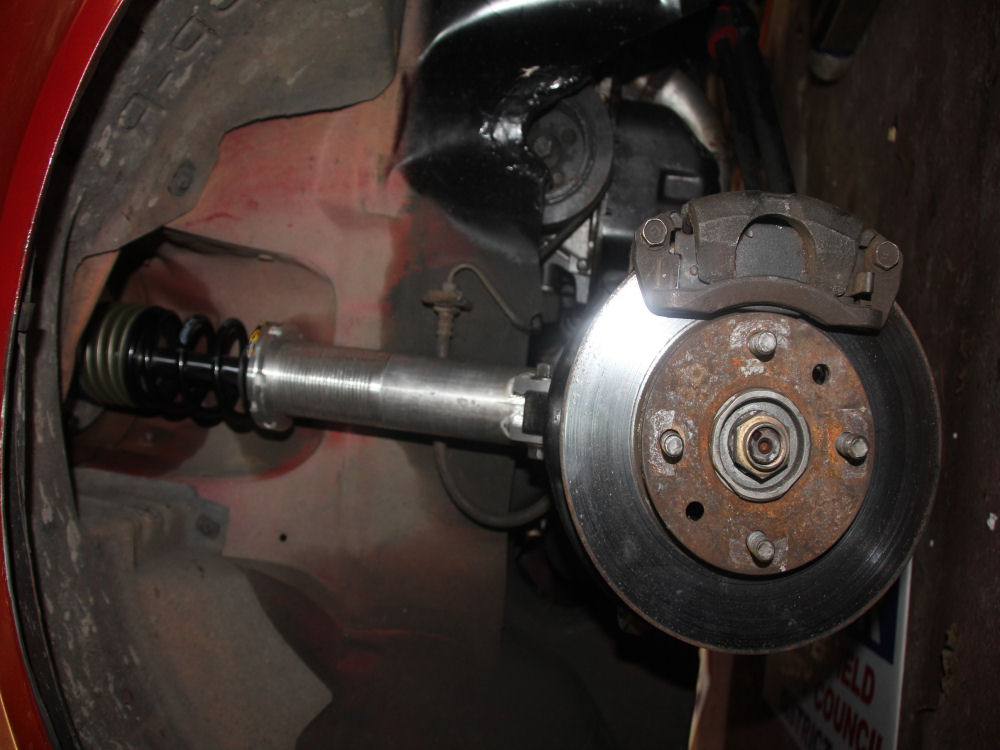
Installed:
In the future I'll need a bit longer spring, but I thought I'd wait until I've driven it some to see if I needed to make changes to the spring rate.
Still haven't driven it yet, I have rust in my gas tank again.