1 2 3 4 5 6 ... 47
Gimp
Gimp GRM+ Memberand SuperDork
11/17/13 12:53 p.m.

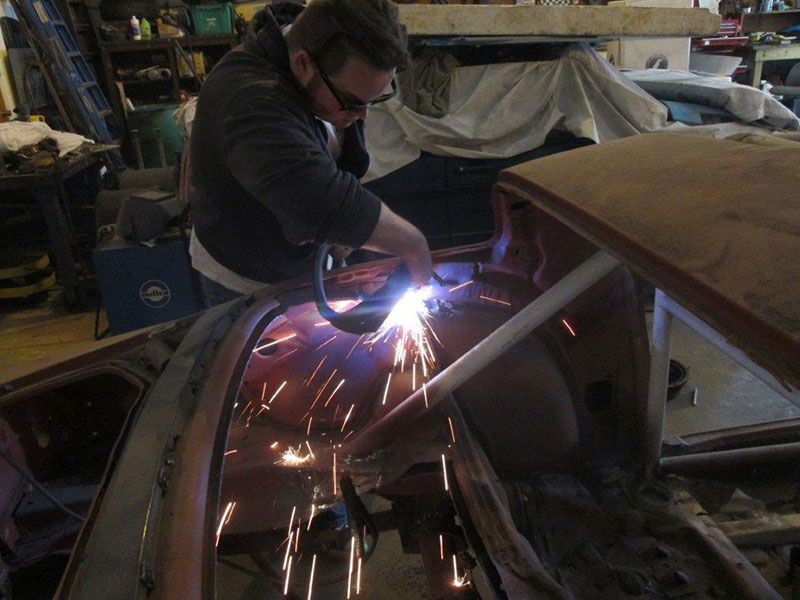
Made a trip up yesterday to get a little work done. The main goal was to get the tubs cut out and the wheels mounted up. Some other work got done too, but I'll get to that.

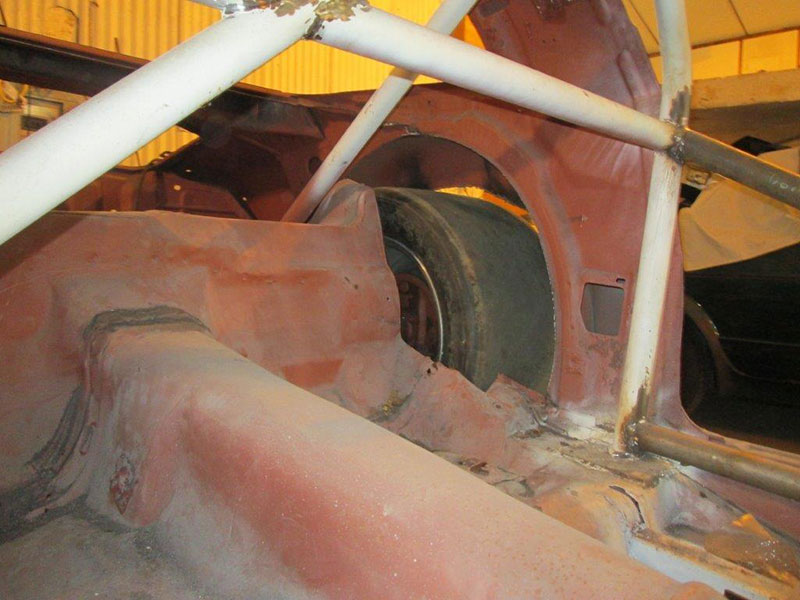
One of the biggest challenges in building one of these cars to the rules is that you can't touch the frame rail for tire clearance, so I was careful to only remove the metal that needed to go, and I stayed as far away from the rail as possible.

Before:

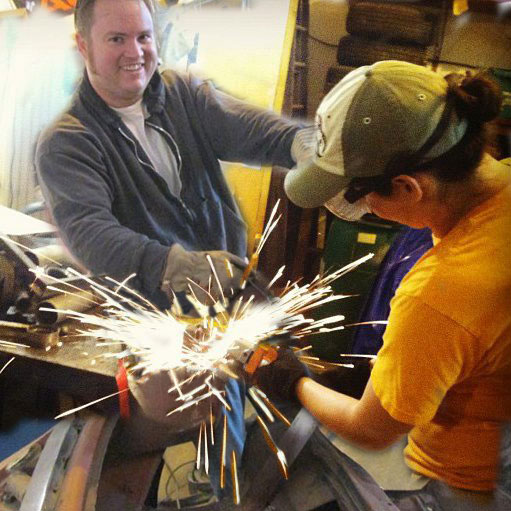
Fire, fire!
And that crazy face one gets after cutting up a car:
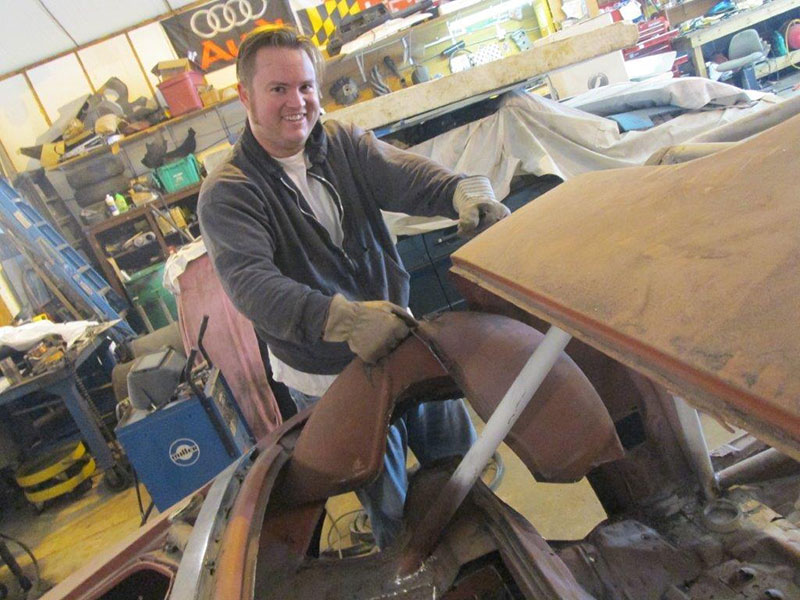
A little more room:
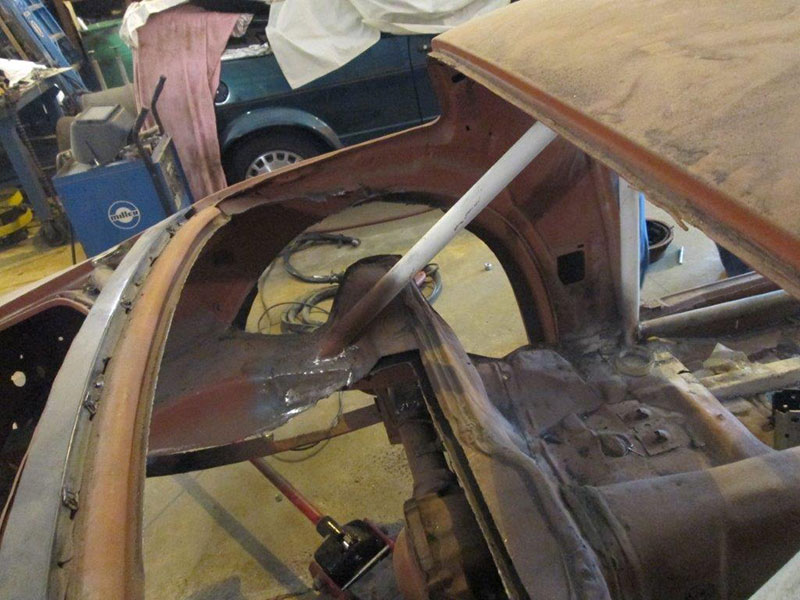
With the tubs cut out on both sides, I was able to finally get the wheels on:

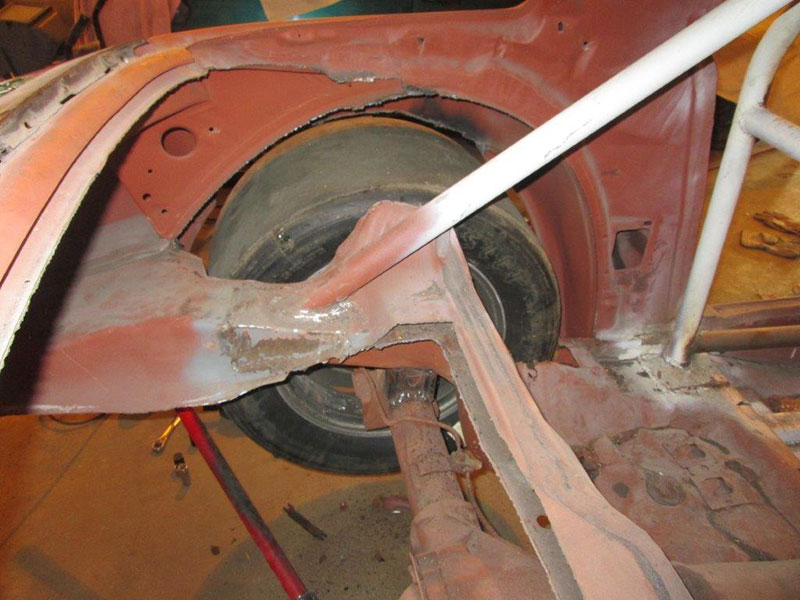
I need to do some more measuring, but last time I was up there I welded the stock axle solidly to the frame (you can see it in the photos above). When I mounted up the wheels, I had great inside clearance on the driver's side, but no clearance on the passenger side. Either my stock axle is offset (likely), or there is a difference in the shape of the rear frame rails. It doesn't matter much, as the wheelbase is correct, the axle is square to the chassis, and I just need to get a total width to order the proper axle. It will be easy enough to fix when the real one goes in.
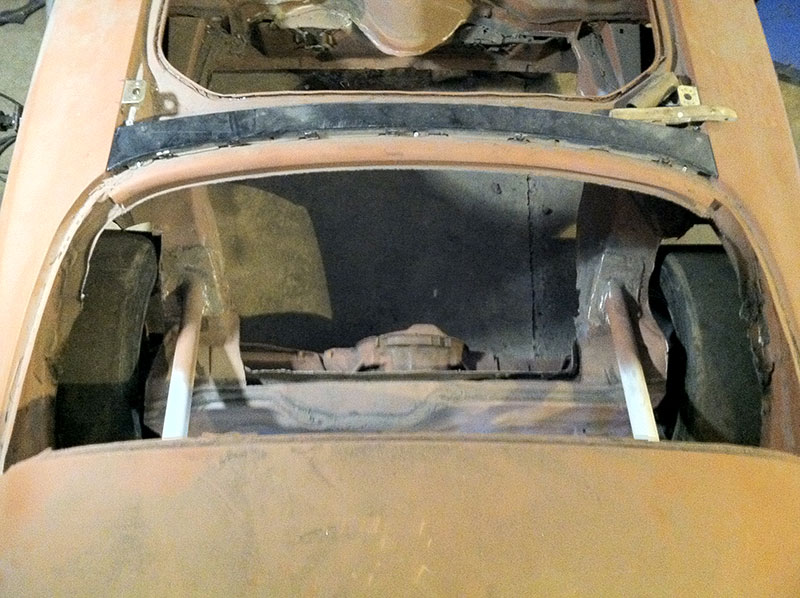
And on the ground:

So, in addition to the tub work, I got to learn a lesson I already knew.

I did not like the rear cage down bars. They weren't in the right location, so they had to come out. Once I cut them out, I noticed that the cage diagonal was partly mounted to the drivers down bar, so the cage diagonal and the harness crossbar had to come out.

Lesson: Never, EVER, weld things all the way in until you know they are in the right place.
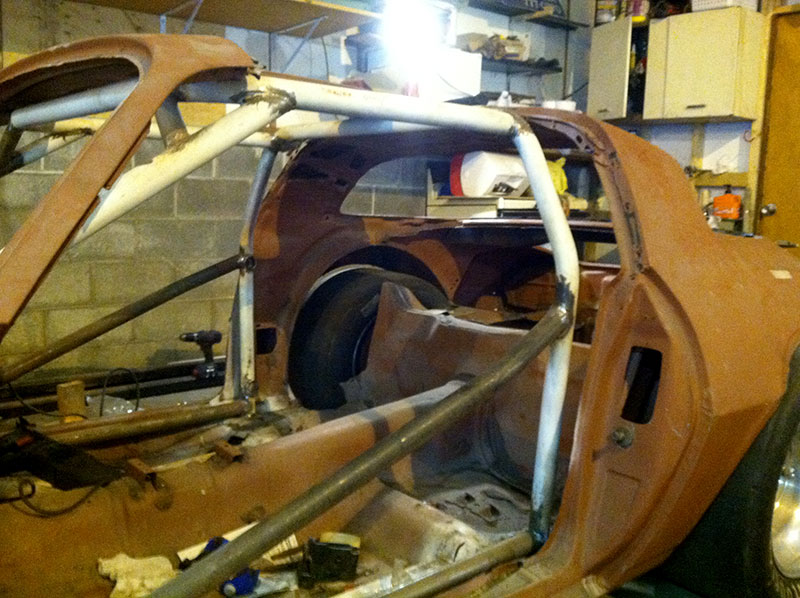
At least I'll have some more room to work when building the 3-link.

patgizz
patgizz GRM+ Memberand UberDork
11/17/13 2:18 p.m.
Gimp wrote: And that crazy face one gets after cutting up a car:

not sure which pic i like better. that one with your crazy face or the one of kate wielding a grinder.

Gimp
Gimp GRM+ Memberand SuperDork
11/17/13 3:14 p.m.
patgizz wrote:
Gimp wrote: And that crazy face one gets after cutting up a car:
not sure which pic i like better. that one with your crazy face or the one of kate wielding a grinder.

Better?

SnowMongoose
SnowMongoose HalfDork
11/17/13 3:17 p.m.

Aaaaaand I'm sitting here drinking and watching football.
Very cool work, superbly documented!

Gimp
Gimp GRM+ Memberand SuperDork
11/17/13 8:43 p.m.
SnowMongoose wrote: Aaaaaand I'm sitting here drinking and watching football. Very cool work, superbly documented!

Thanks! Time wise, this is taking longer than the Game of Thrones novels to complete, but I'm hopeful to hear it run next year.

patgizz
patgizz GRM+ Memberand UberDork
11/17/13 9:21 p.m.

oh yeah. speedway discontinued that already machined block we were looking at. good news is summit now stocks them for a tad less $. and i can just go pick one up

81cpcamaro
81cpcamaro HalfDork
11/18/13 7:25 a.m.

Looking good, not much longer and it will be going. One thing on the rear tires, (as I found out) they move side to side quite a bit more than you would think. So I would make sure to have as much room as you can. Luckily I only had a few marks on the inside of the tire, no tire damage.

Gimp
Gimp GRM+ Memberand SuperDork
11/18/13 8:07 a.m.
patgizz wrote: oh yeah. speedway discontinued that already machined block we were looking at. good news is summit now stocks them for a tad less $. and i can just go pick one up

Noted. We'll go over details later.

81cpcamaro wrote: Looking good, not much longer and it will be going. One thing on the rear tires, (as I found out) they move side to side quite a bit more than you would think. So I would make sure to have as much room as you can. Luckily I only had a few marks on the inside of the tire, no tire damage.

About how much room do you have to the frame rails? I'm shooting for about 3/4"-1", which seems like a bit much, but maybe not.

81cpcamaro
81cpcamaro HalfDork
11/18/13 11:10 a.m.

I will have to check once I get it out of the trailer, but I would try for at least 1". Those big ole tires like to move around a bit. At least make sure the edges the tire could contact are blunt or rounded, that way if they do contact it shouldn't harm the tire.

81cpcamaro
81cpcamaro HalfDork
11/18/13 1:17 p.m.

A bit more info, the most problems I had was where the frame rails angle outwards as they go to the rear, that is where I have had tire contact. It also appears my tires sit out a bit more than yours as well. Mine are 77" outside to outside for comparison.

Gimp
Gimp GRM+ Memberand SuperDork
11/18/13 1:24 p.m.

Randy, I sent you a PM over on the second gen board. No rush on my request.

Gimp
Gimp GRM+ Memberand SuperDork
11/18/13 1:25 p.m.
81cpcamaro wrote: Mine are 77" outside to outside for comparison.

Mine are "very" tucked right now. I figured I'd be adding at least an inch, maybe more to my axle width when it comes time to order it. You don't happen to know what your hub-face to hub-face axle width is, do you?

81cpcamaro
81cpcamaro HalfDork
11/18/13 1:32 p.m.

It is what a stock second gen 10-bolt axle is, I think it is 62.5" axle flange to axle flange. I have wide 5 adapters which space the wheels out 1.5" and the wheels have 7" of backspace. So that should be equivalent to a 5.5" backspace wheel, accounting for the adapters.

Gimp
Gimp GRM+ Memberand SuperDork
11/18/13 1:51 p.m.

Awesome, thank you!

Mr_Clutch42
Mr_Clutch42 New Reader
1/4/14 12:24 p.m.

Any new updates?

Gimp
Gimp GRM+ Memberand SuperDork
1/6/14 8:54 a.m.

Not too much at the moment. Got a ton of parts for Christmas, so there should be an big update in the next coming month.

Gimp
Gimp GRM+ Memberand SuperDork
1/27/14 9:15 p.m.

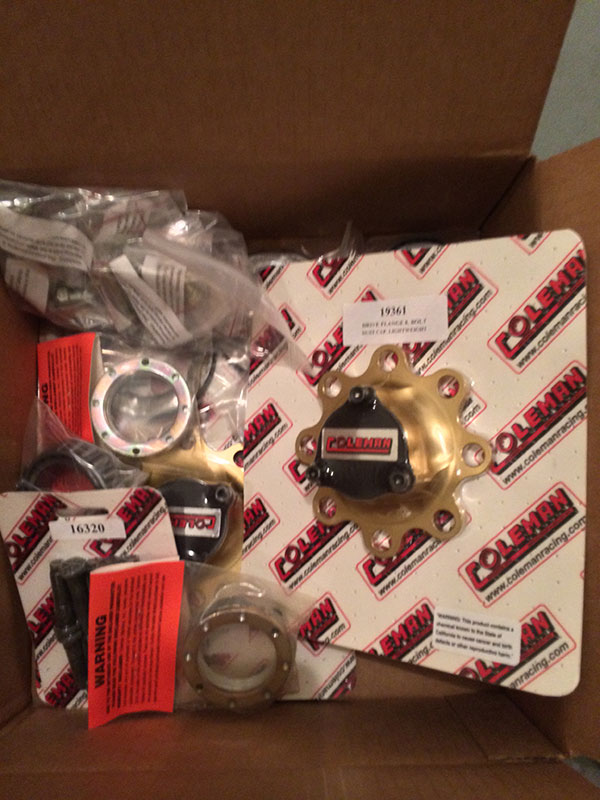
My Christmas gift finally arrived.

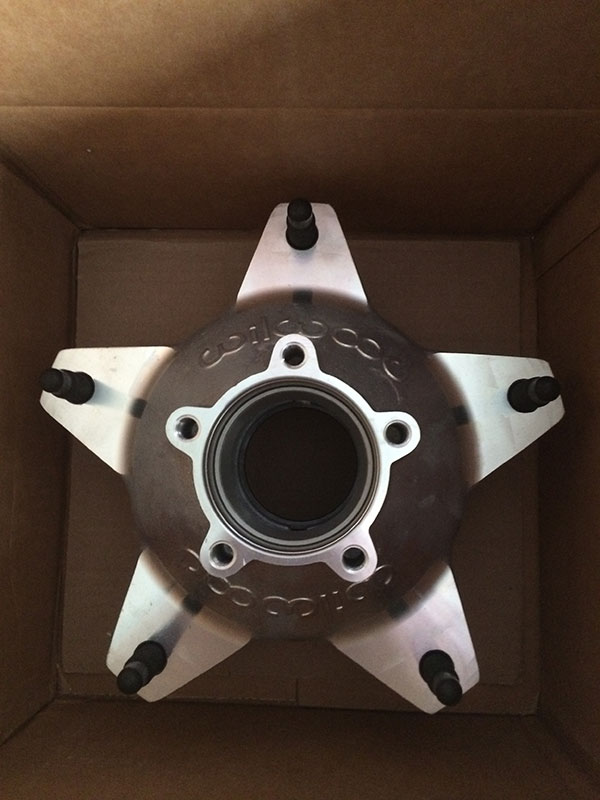
Coleman Racing 9" Wide-5 Floater Kit with 31 spline axles. 64" wide from wheel face to wheel face.

Each kit includes: 1-housing, 2-hubs, 2-drive flanges, 2-innter bearings, 2-outer bearings, 2-hub seals, 2-axle nuts and washers, and 2- axles
81cpcamaro
81cpcamaro HalfDork
1/28/14 7:30 a.m.

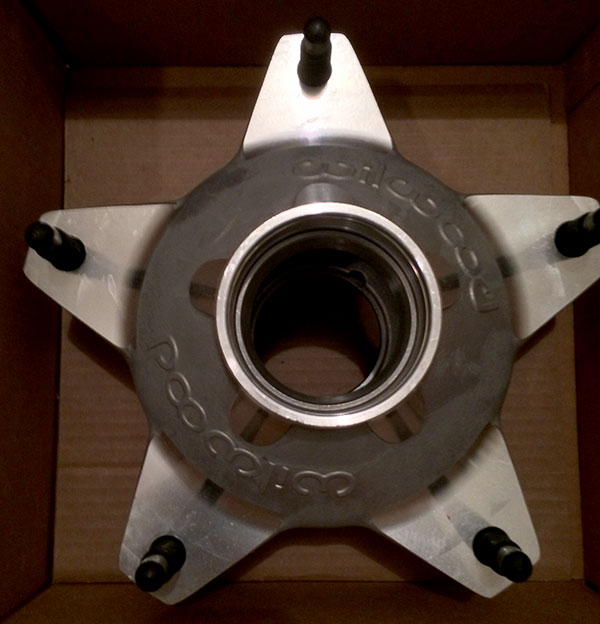
Hey, Paul, isn't the hub supposed to have the bolt holes for the axle drive flange? Those hubs look like Starlite 55 fronts. Unless you already had the rear hubs, then nevermind. Otherwise it looks like lots of fun. Someday I will eventually get a full-floater rear for my car and get rid of the 10-bolt.

Gimp
Gimp GRM+ Memberand SuperDork
1/28/14 8:46 a.m.
81cpcamaro wrote: Hey, Paul, isn't the hub supposed to have the bolt holes for the axle drive flange? Those hubs look like Starlite 55 fronts. Unless you already had the rear hubs, then nevermind. Otherwise it looks like lots of fun. Someday I will eventually get a full-floater rear for my car and get rid of the 10-bolt.

Great catch! You are totally right. I'll email them now. I was blinded by all the shiny new parts.

81cpcamaro
81cpcamaro HalfDork
1/28/14 9:12 a.m.

Good to know I wasn't seeing things. It looks like the drive flanges they sent are for the older Starlite hubs (like mine) with the 8-bolt flange. Starlite 55 hubs are 5-bolt if I remember right. Just something to check to make sure you get the right stuff the second time.

Gimp
Gimp GRM+ Memberand SuperDork
1/28/14 10:29 a.m.
Paul, Wilwood had made a change on their hubs, going to 2 part #s, 1 rear & 1 front hub part #. They sent us all fronts. We ordered rear hubs today & I will get a pair to you when we receive & send a call tag to pick up the wrong hubs. I will contact you when we receive correct hubs.

Great customer service so far. I also asked about the 8-bolt flanges, so we shall see.

Gimp
Gimp GRM+ Memberand SuperDork
2/10/14 3:36 p.m.

The correct rear hubs arrived today, but guess what...

5 bolt... the 8 bolt flanges go back tonight. Coleman has been great, but I just want my parts!!

Gimp
Gimp GRM+ Memberand SuperDork
2/18/14 6:55 p.m.

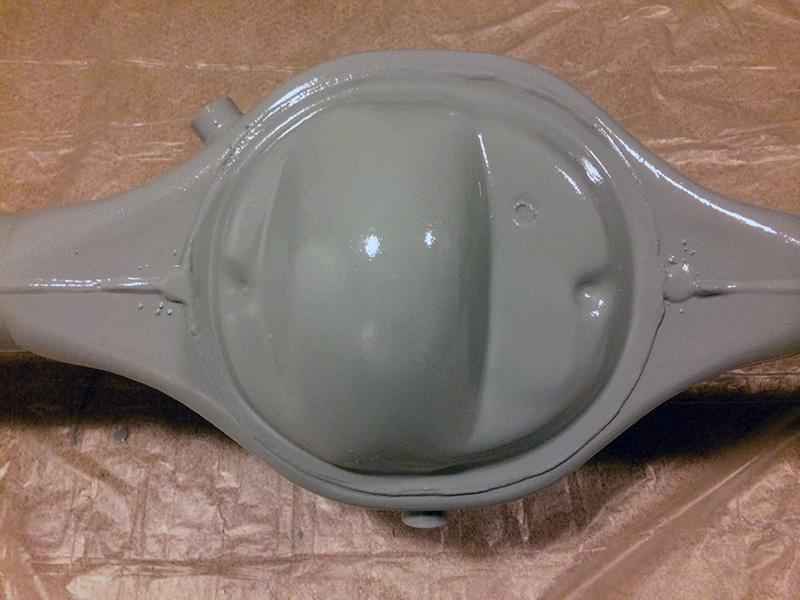
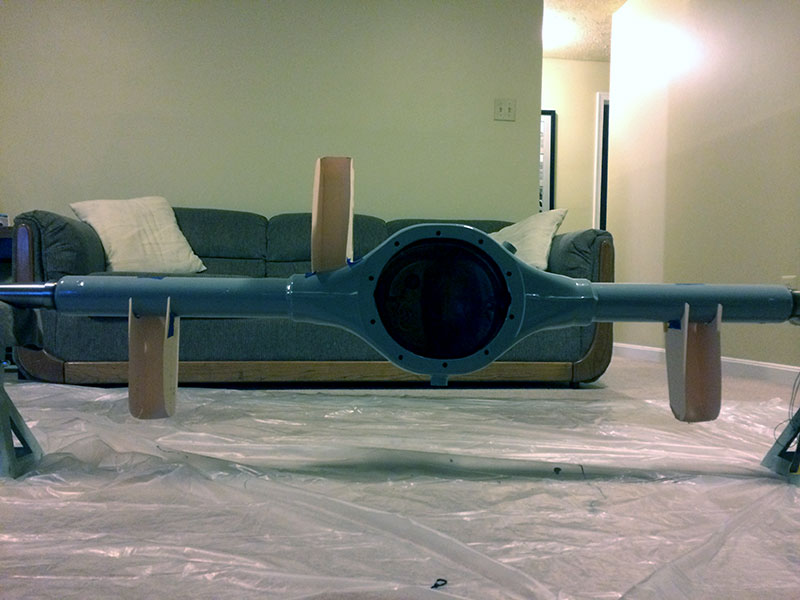
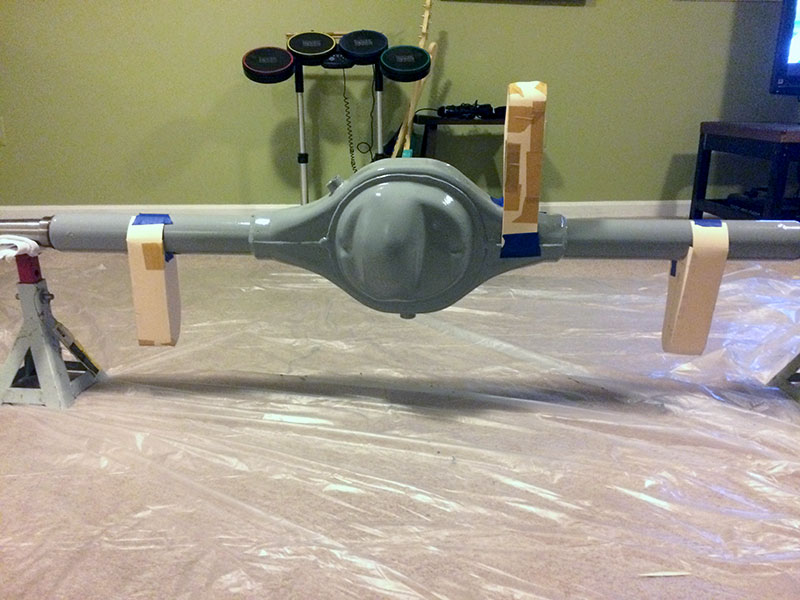
So the correct rear hubs (and flanges) arrived. In the meantime, I threw some paint on the rear. Some of it will be ground back off when it comes time to add brackets, but I didn't want the whole thing to flash over on me. Now I can WD-40 the insides and bag it up until it goes in for real. I'll be at Pat's (patgizz) house Friday, and we'll press in the bearings to the new hubs then.

The paint for on the rear is a quart of Rustoleum High Performance Oil Based Enamel "Smoke Gray" with a half-pint of "Gloss White" mixed in (after dumping out a half-pint of the gray), painted with a brush. Eventually the entire chassis will get painted with the same stuff.

Gimp
Gimp GRM+ Memberand SuperDork
2/19/14 9:59 p.m.

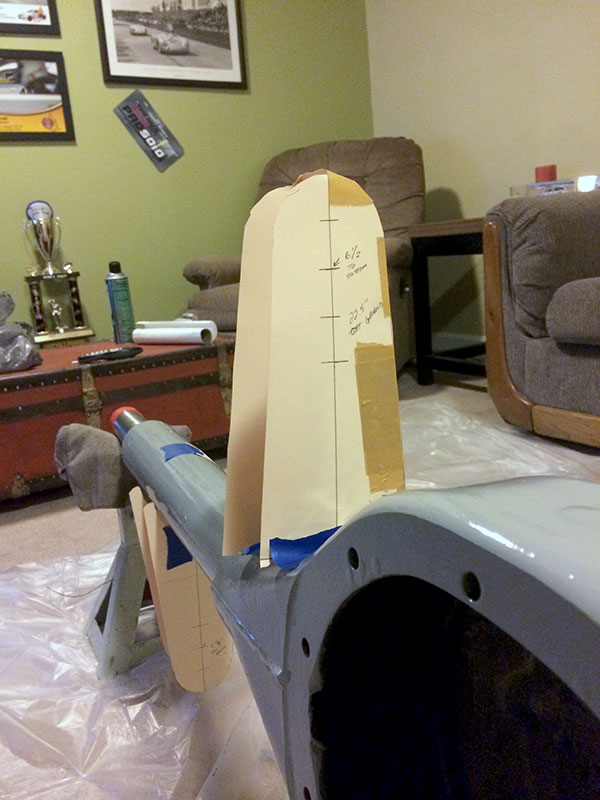
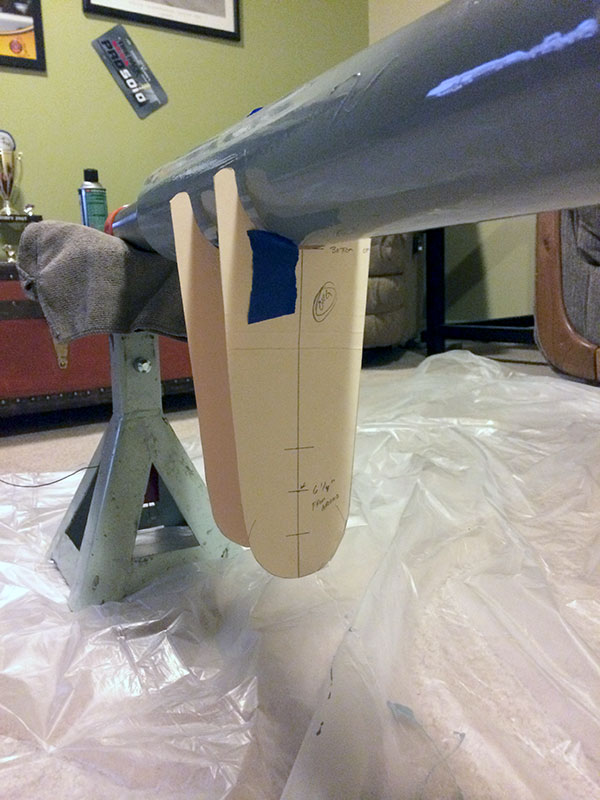
I took a little time tonight and fabbed up my lower link and upper link brackets. I'm not sure the material will be strong enough, but I'll remake in some steel plate if the need arises. ;)

The brackets are based on measurements from a guy who knows a thing or two about making these cars fast. Taking his measurements, I elongated them to make sure that the numbers given were in the middle of the adjustment range. I'm not going to publish the numbers publicly in the event the originator didn't want to share. If you are really, really curious, you can always PM me (or squint).

Dusterbd13
Dusterbd13 Dork
2/20/14 7:39 a.m.

white glue may be a little more structurally sound than blue tape.

good job on weight saving!! every ounce counts....

1 2 3 4 5 6 ... 47

You'll need to log in to post.

Our Preferred Partners
TMLSmx96cgu4A53AsO4UtzHOpEAreroXfiwuVr2GsUw1IlxOCJLU0sk3wrgmW33i