Dude. Teach me the ways. I want to learn ![]()
Its been something like 14 years but here is what I can remember. The DS is collapsible to a certian extent, I think the bolt is close to the middle guibo, so shorten it as much as possible. I think I then unbolted or loosened the mounts for the transaxle, you want to be able to tip the front of the trans down. If I remember correctly that is all I did. It took a lot of cussing bet I was able to get it out and back in that way.
The front guibo broke when I was driving the car to get it looked at, scared the crap out of me. I picked that car up on a Wednesday, I had National Guard that weekend and of course I wanted to drive my "cool" car to show my friends. I had the front and rear doughnuts overnighted and started working on replacing them after I got home from work, around 5 I think. I finally finished around 3am, went to bed and got up at 6. Oh to be young again.
Hey, good news! after big-dealing the rusted captive nuts, things actually turned out to be pretty easy (read: I had professional help).
It all began when the Hungarling's daycare decided to host a picinic for dads on fathers day (Doughnuts and beef jerkey). Even though the picinic fell outside of my normal work hours, these days I'll use any excuse to take the day off work (so I did ![]() ). and the Fun Friday begins.
). and the Fun Friday begins.
Not too far from my house lives a guru of all things metallic (Mezzanine to you and I). Hearing of my pending plight, and having the ability to creatively flex his work hours and location, he rushed to the my Alfa's rescue (no really, I was already planning repairs that involved angle grinders and welders...)
Here goes (don't worry, its a short story from here on)
See that hole there in the trapezoidal bracket thingy?
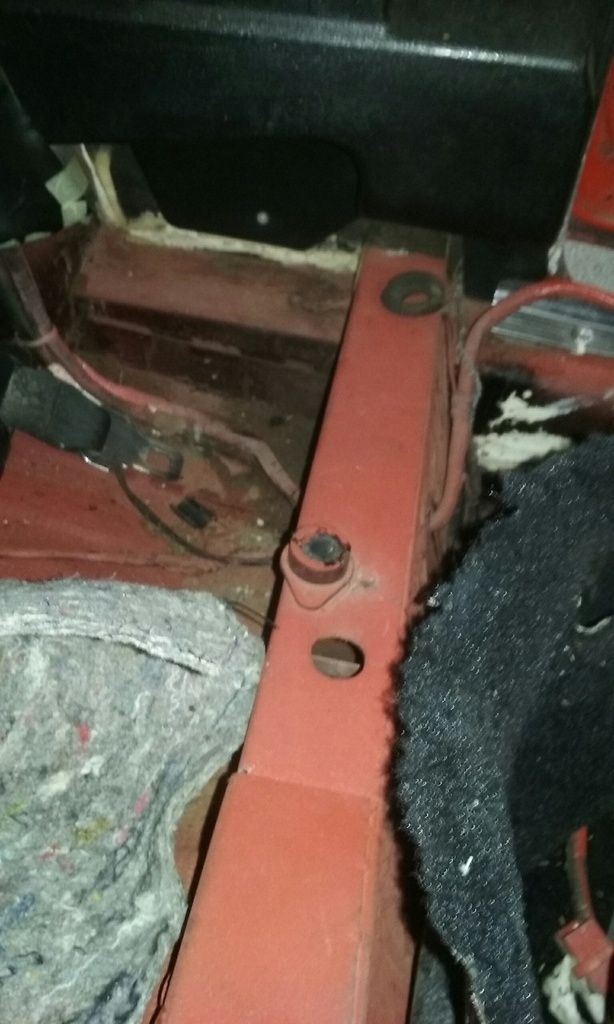
Underneath that rests the anchor nuts in question. Turns out all we had to do is get a thin piece of metal to move the nuts into place and then apply pressure to the nuts while threading in the screws from underneath the car

Bam and motherstinking bam! The underside is back together ![]()
![]()
![]()
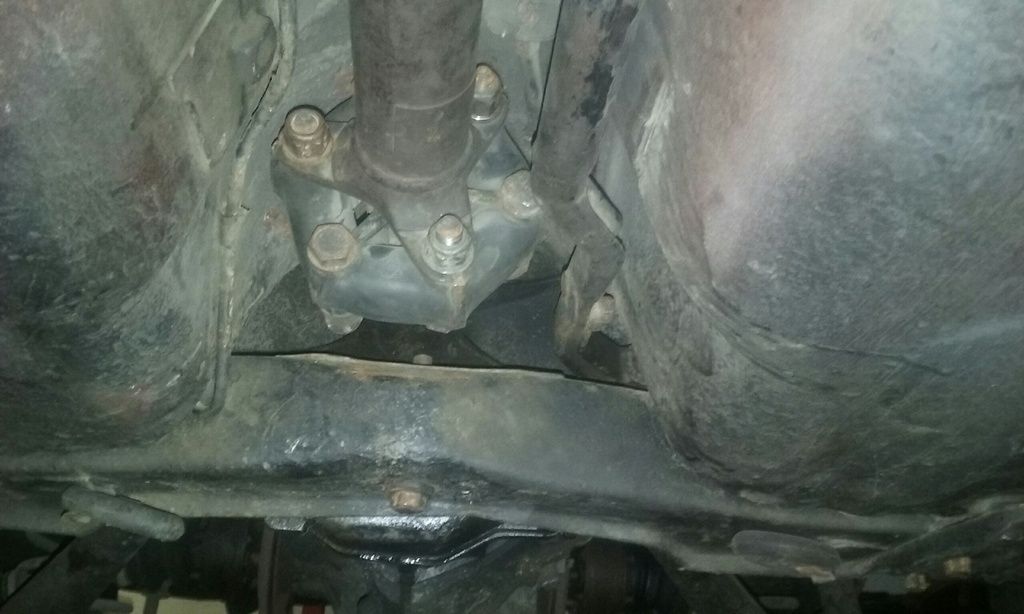
You know, that's the first time I've gotten help on a project and man am I stoked. Even typing this three days later, I still get the giggles! My car can roll again!!!!!!
Unfortunately in my excitement I didn't get an action shot of Mezzanine or the youngest Hungarling (9-months old) who was also out in the garage lending a hand.
Good good good times
Still stoked on Saturday morning, I was up at 4am and back at it. I put the wheels back on and set her on rollers. i plan to move her to the middle of the garage (diagonally) to maximize space on all sides for the body work:
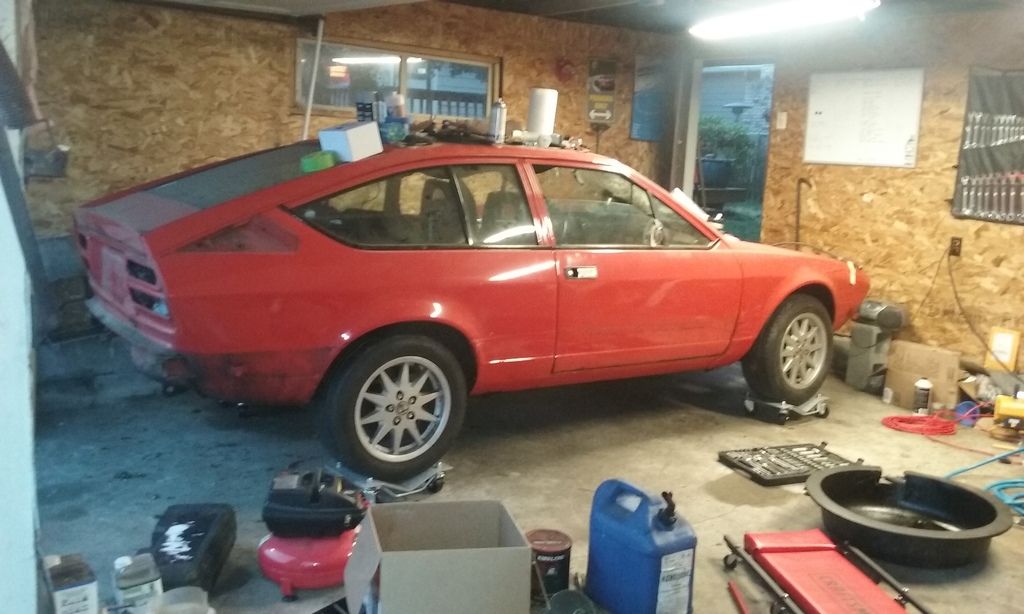
First though, I have to clean all the crap that's cluttering up my extra bay

of course, the Hungarling's "dad radar" went off, and he woke up too.
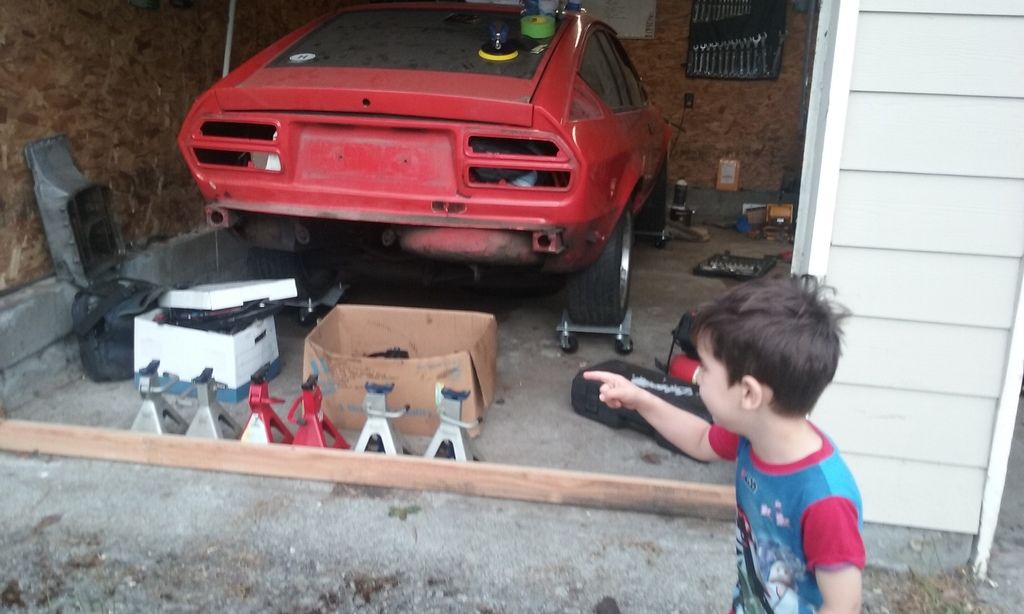
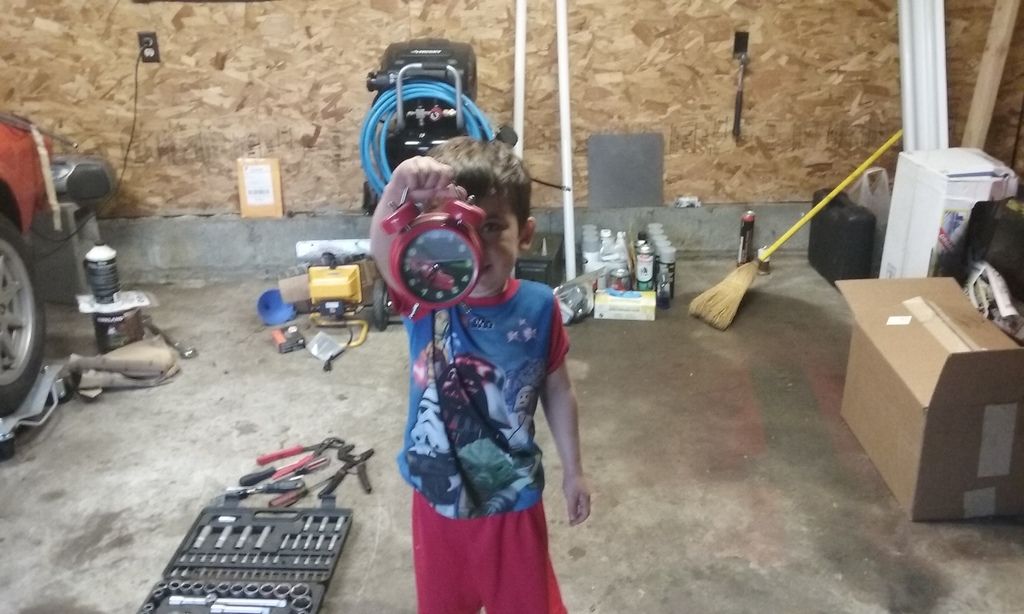
Normally I wouldn't mind, but this time he stole my garage clock (look in the above picture on the wall near the paper towels)
Then a couple oldtimers drove by
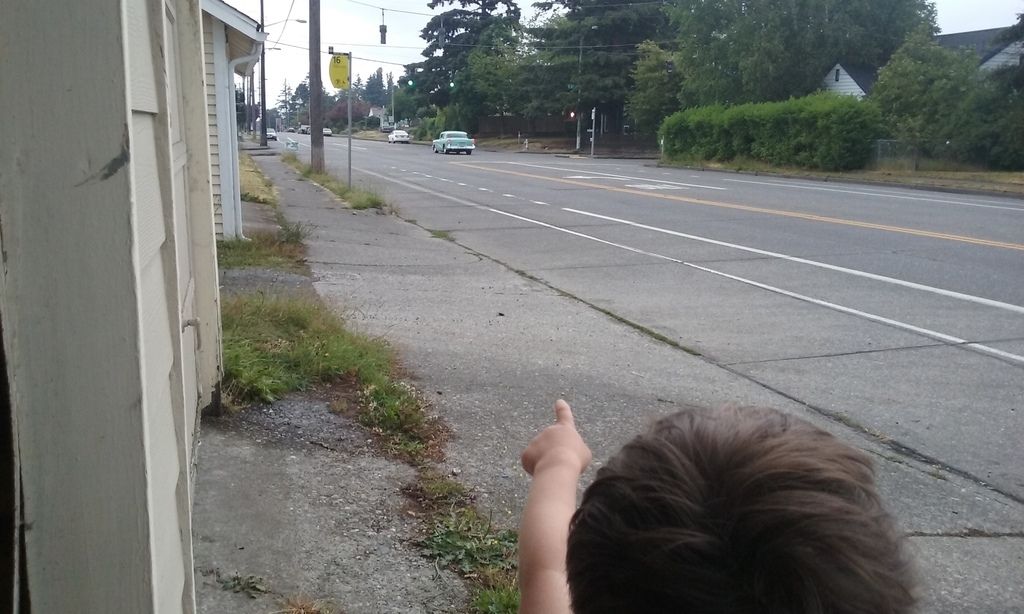
So we decided to do some "car watchin" with a PB and J for breakfast ![]()
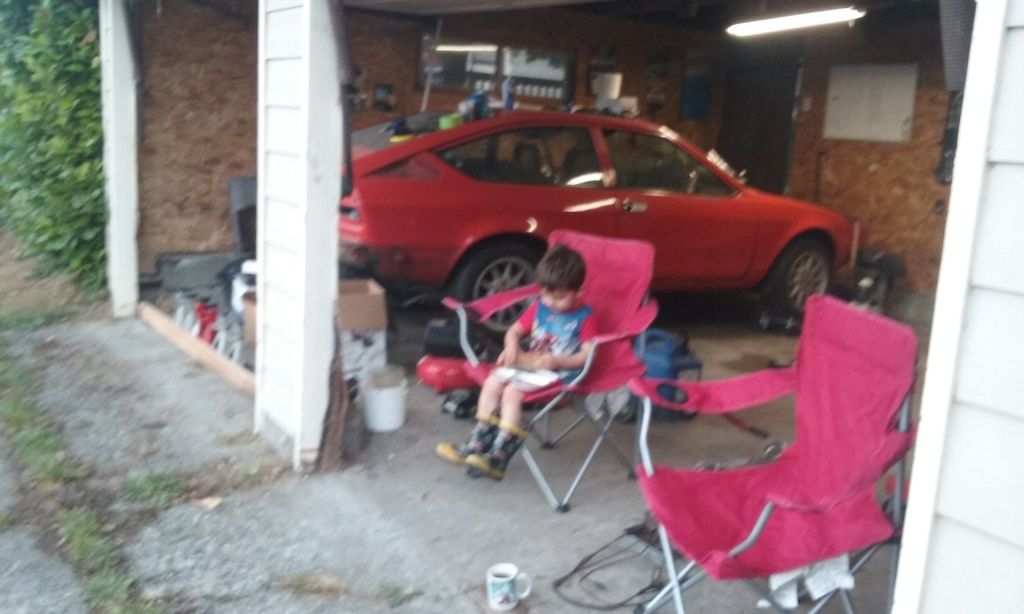
All in all, not a bad way to spend a Saturday morning ![]()
Good times
I almost forgot~!
With everything hooked up, i may or may not have spent the better part of an hour listening to "Dude it's the 80's weekend" on 99.9 KISW making "Vroom Vroom" noises in the driver's seat. (and it may or may not have started with Skid Row...). There's no brake or clutch pedal pressure, and the shifter lives up to its "spoon in pudding" reputation, but man did I give the neighbors a show ![]()
One of my favorite Tool-man scenes

Sorry for the delay, I've been busy with another distraction/project
https://grassrootsmotorsports.com/forum/build-projects-and-project-cars/the-hungary-family-4-runner-circa-1984/119317/page1/
But here's where we left off:
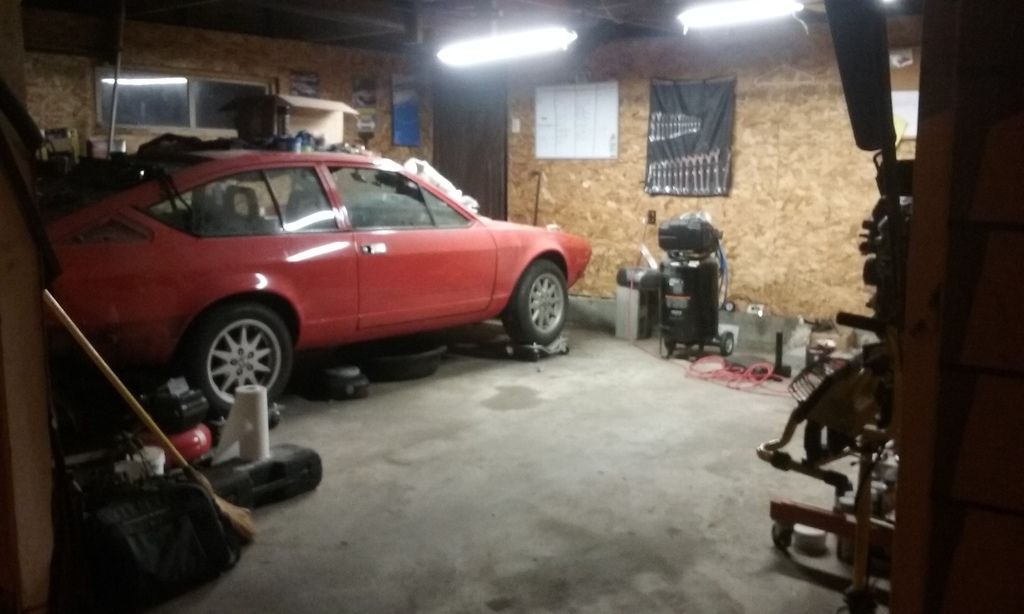
I'm still in the process of cleaning up the place, but I did get the car moved
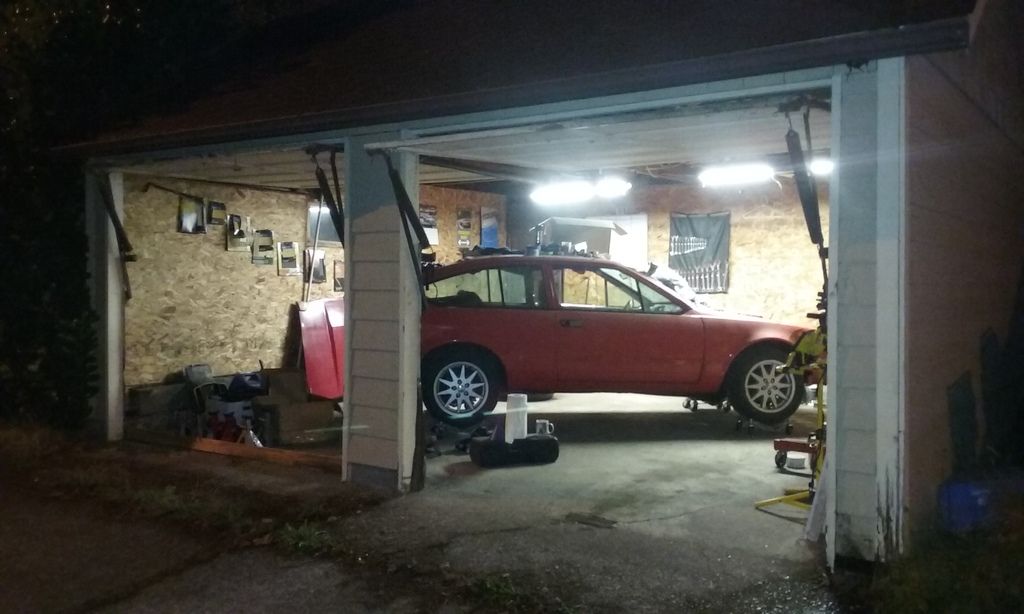
and man does it feel good having some "walk around space" ![]()
Plus it gives me a good view of the seldom seen driver's side! (hard to get a look at it when it's pushed against the wall)
After the 4-Runner I was feeling pretty confident in my ability to tackle the Alfa's much needed body work, but then I looked around the car a bit again. This is what I saw:

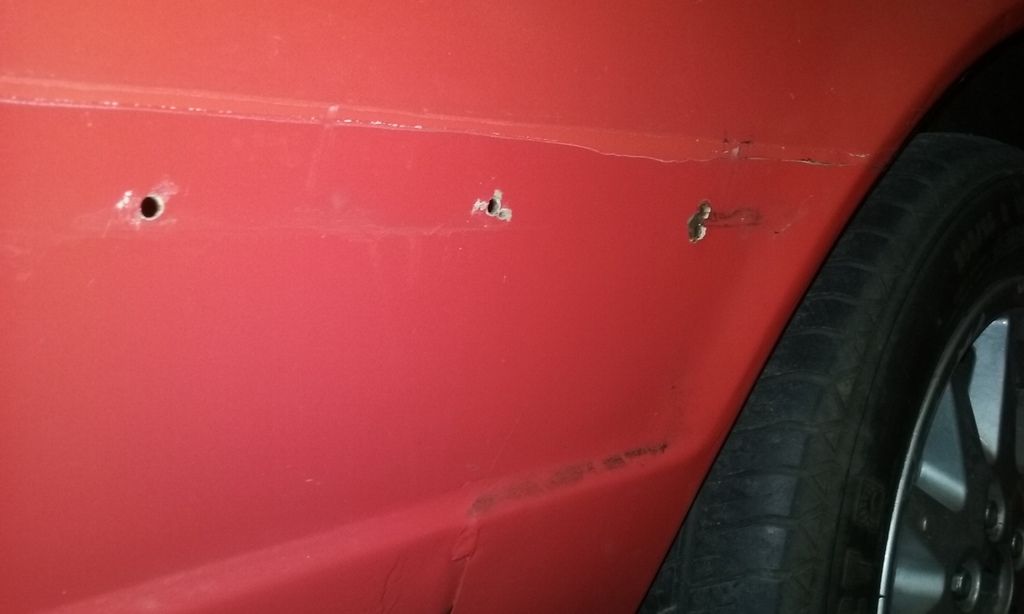

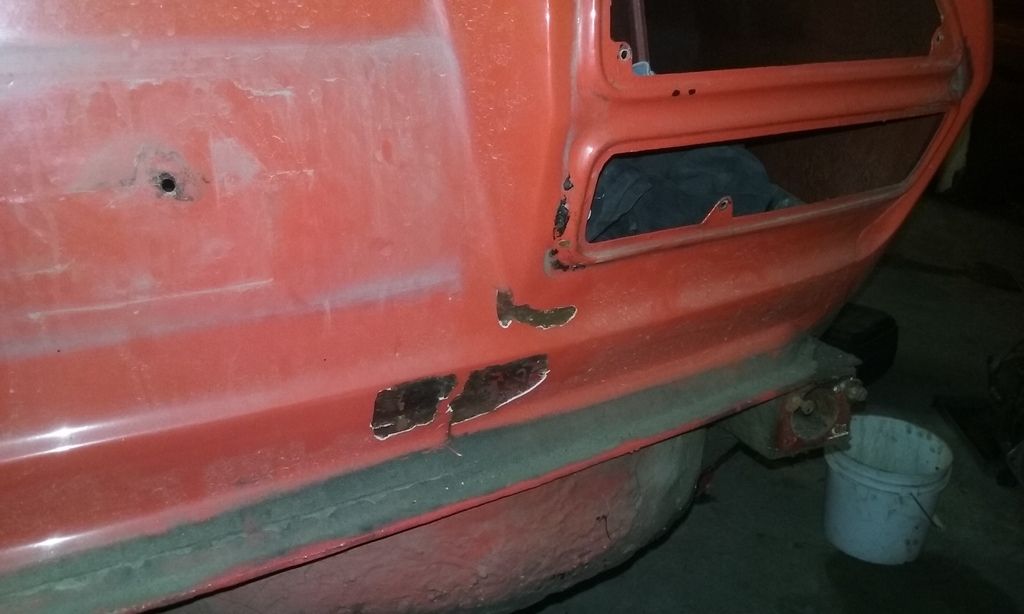
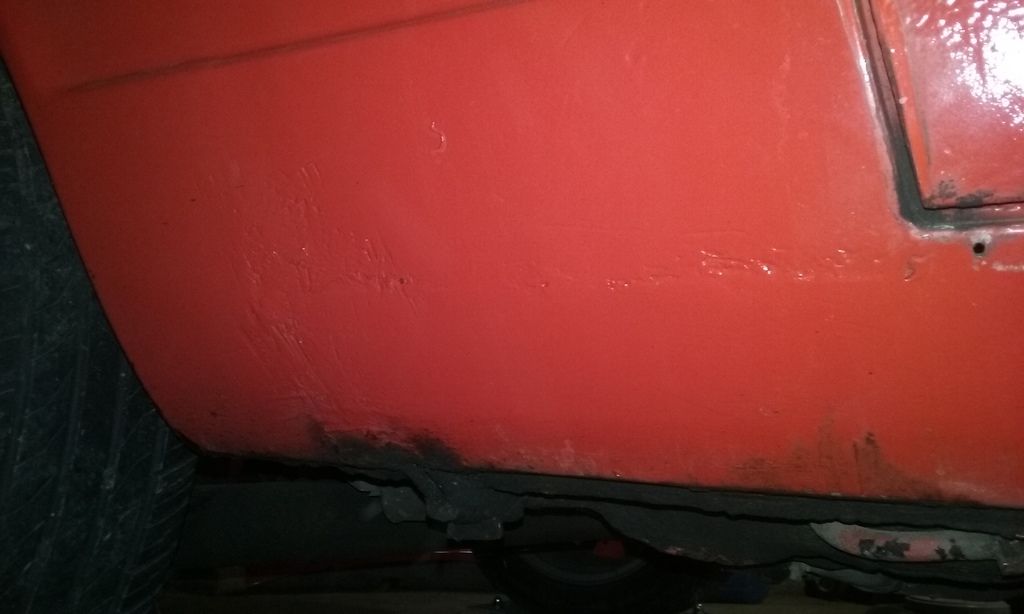

Here goes nothin ![]()
Hey, if you cut out the rusty spots and poorly weld in patches... It counts, right? ![]()
Note to self: "Body kits can hide some serious E36 M3"
So I'm still just getting ready for the big game. I wanted a water separator for the air compressor, so I got one of those...
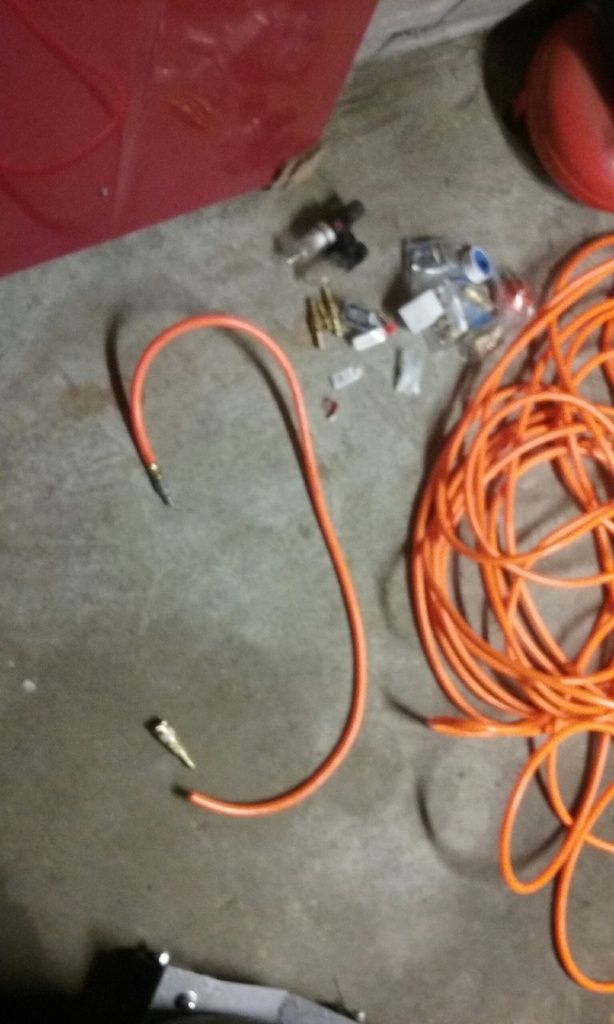
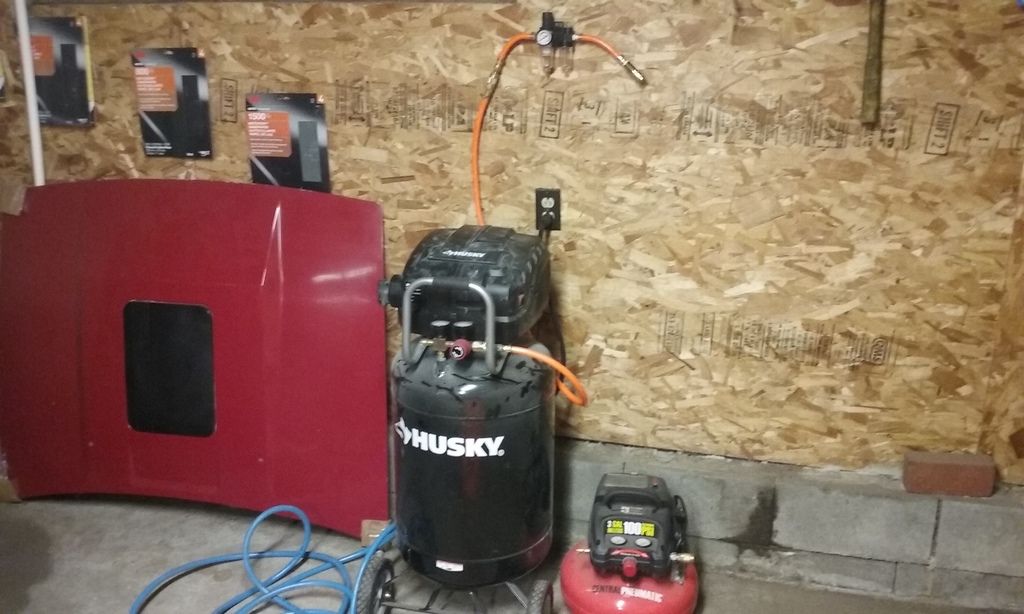
I also have a T-fitting I'll plumb in later. While sanding the 4-runner the compressor was having a bit of trouble keeping up. I'm thinking of using the T-fitting and maybe borrowing a compressor from someone (or just a tank really) from someone to "up the ooph" a bit. I'm just a bit nervous that come "spray time" I'll lose precious pressure and goof the paint job (more than I already will).
I also knew from the 4-Runner that I wanted some lighting on the street side of the car (no garage lights on that side) but the cord on one of my lights was a little short. So I took care of that:
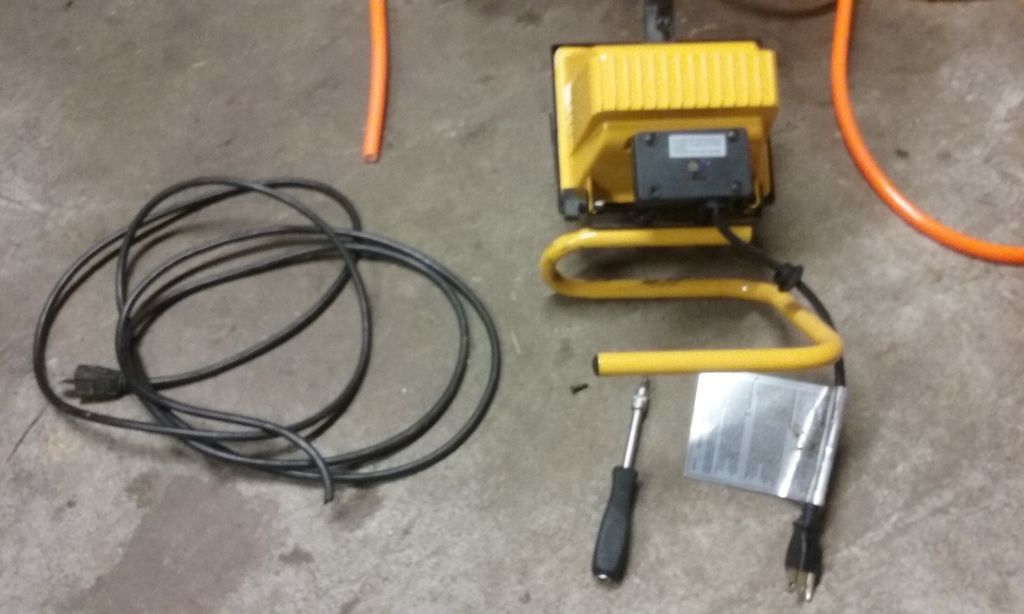

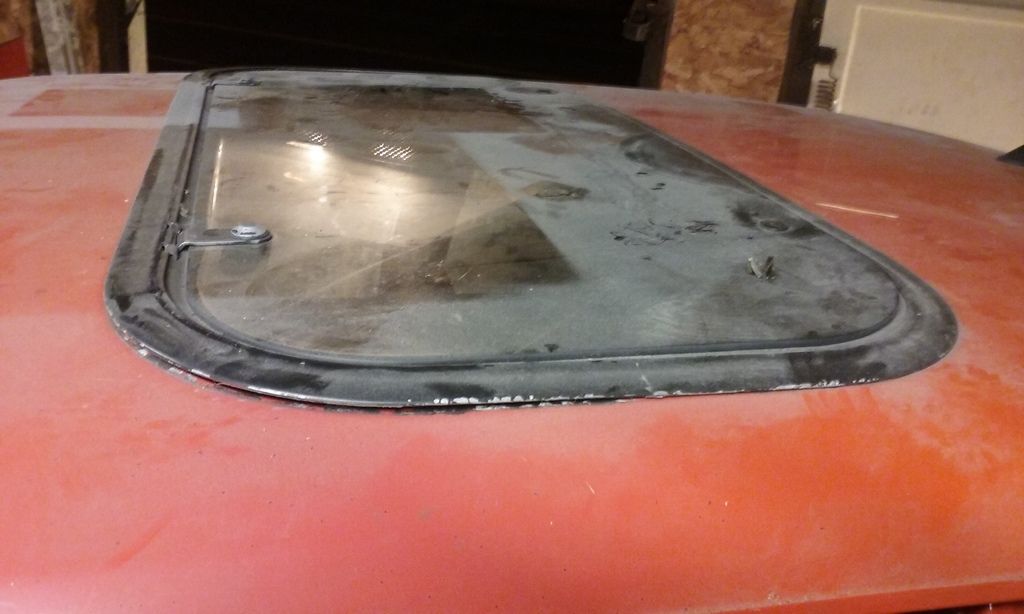
And then I decided I should probably go ahead and get started. So I took the sunroof off. I'm not entirely sure if this is a stock item, or if it's more of a "Bubba had a sawzall" type of things (well, the Hungarian version of Bubba at least...). I'll see what the guys on AlfaBB think. Either way, I'm lovin the bathtub caulk as a sealing agent ![]()
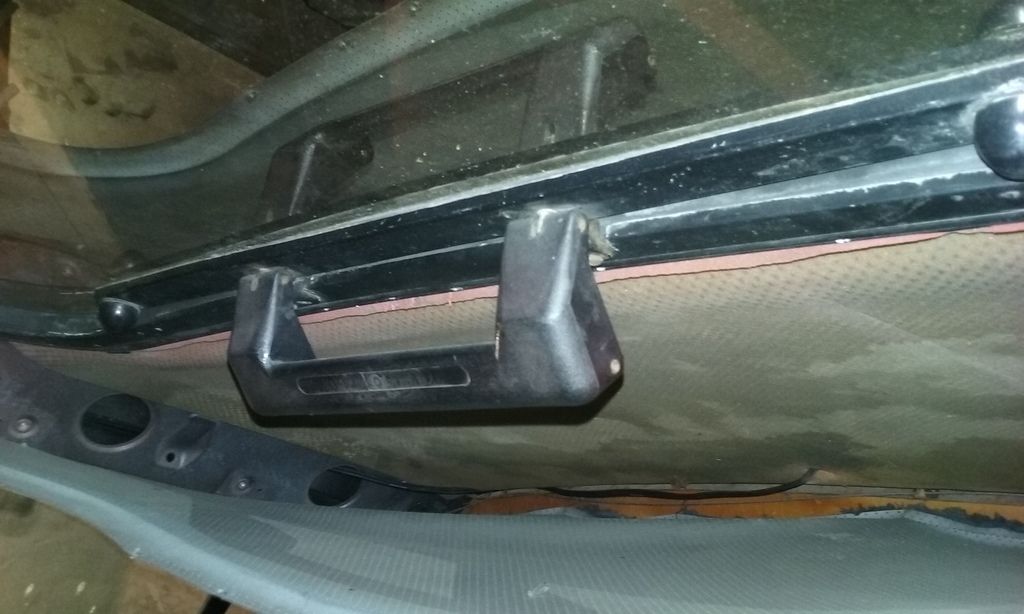
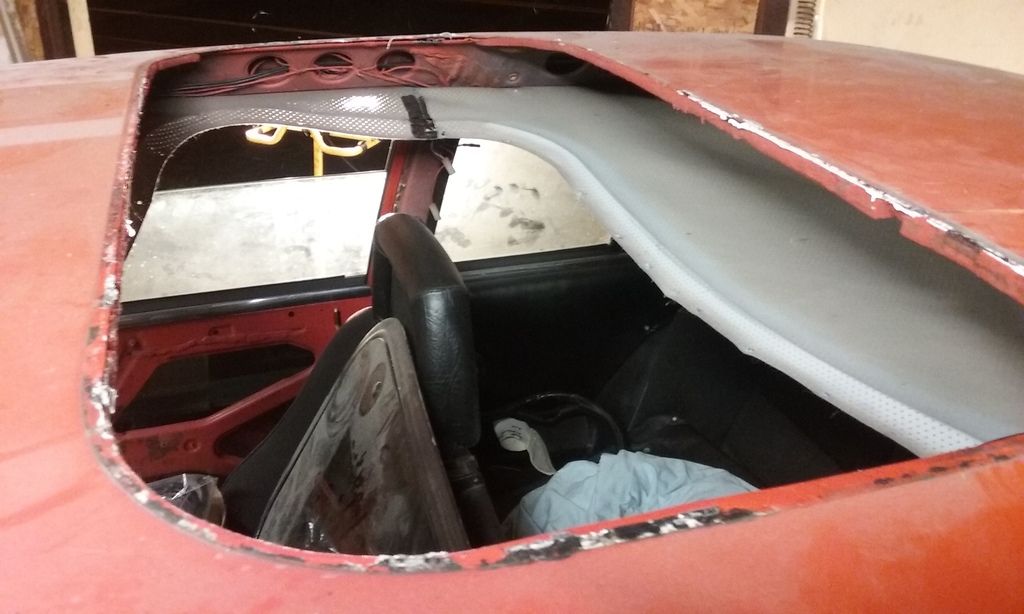
And then there's the remnants of the Zender spoiler that was on the back. Too bad they didn't affix that with the same bathtub sealer they used on the sunroof. This stuff looks serious.

Good times.
Oh, and the eldest has been bugging me all week to come out and help with the Alfa. I told him he could come out when he woke up on Saturday. I'm thinking we can probably do something about that passenger window that's stuck halfway up or maybe take some window trim pieces off... We'll see. Either way, it should be fun ![]()

Not sure what I'm going to do about that... Peter Morris in Vermont says he has a roof he wouldn't mind chopping up and I'm feelin a bit froggy today.
Why does it look like the opening in the roof panel is flanged? Is the sheet metal bent down at the opening?
I think it's just thick paint and a bit of body filler that you're seeing. It's just cut :(
Java: yeah, I think the moonroof is going to stay. It sounds like way too much work to add to a project that's already been a lot of work ![]()
So I was up early again over the weekend and did a soap/water/scotchbrite wash (a wax/grease remover and another soap/water wash followed monday morning).
I started with the roof and worked my way down. It turned out to be way dirtier than my 4-Runner was...
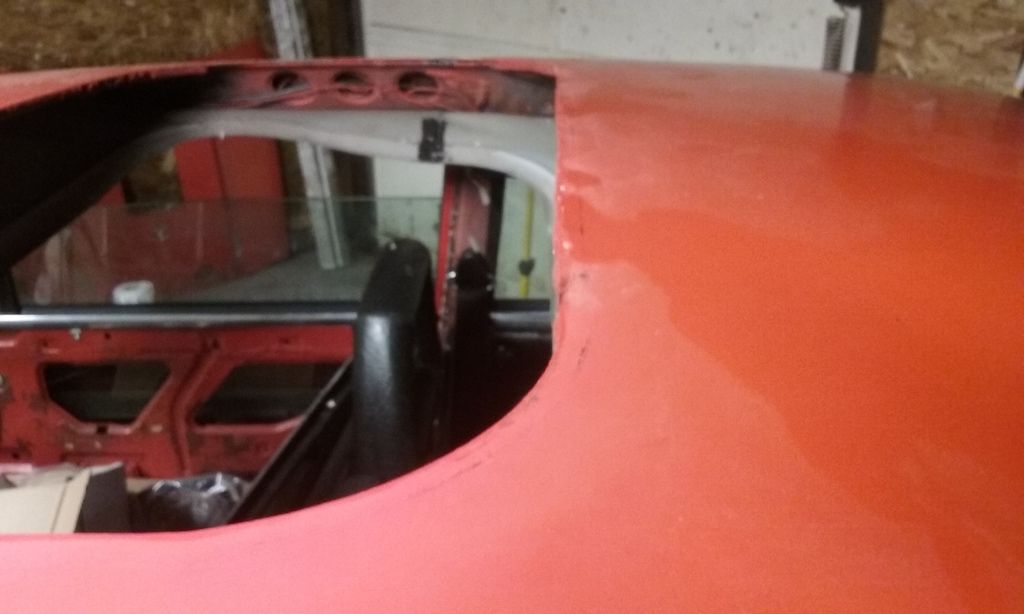
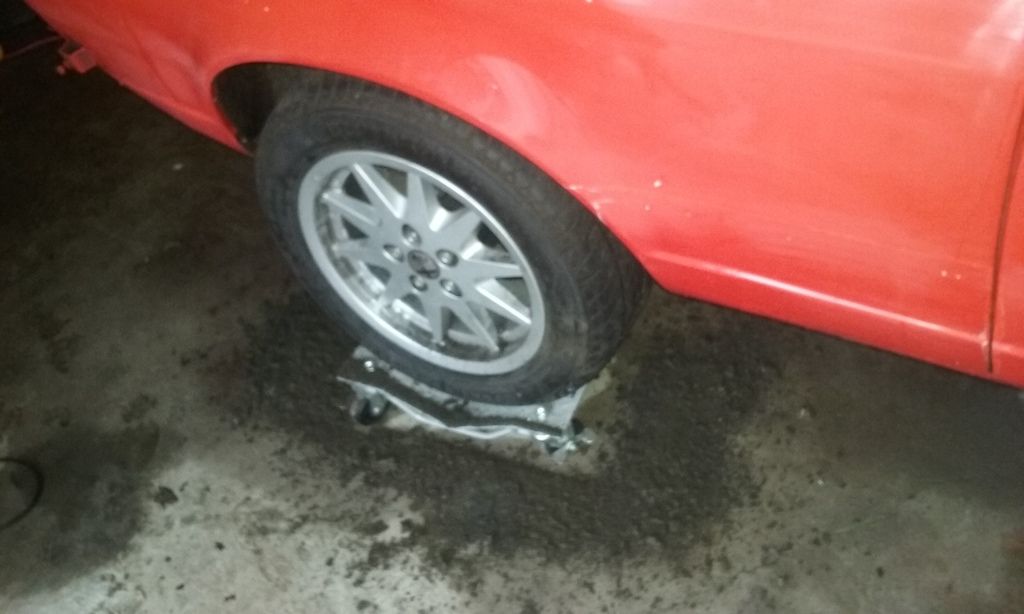
I could have continued scraping dirt all weekend... Instead I decided to go back to the roof and just go panel by panel. I'll get back to the dirty/oily bits when I can
the roof has some cracking in the paint, kind of like a dry lake bed. Hard to get on camera but I tried:
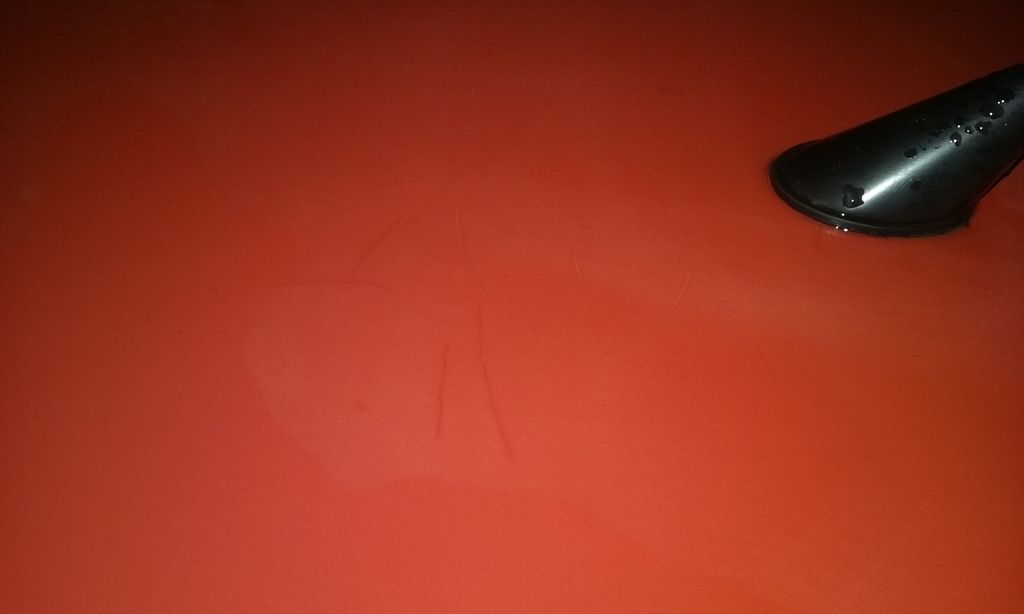
I figure it's probably from roof flex because of the moon roof. That back side is a little flimsy and I imagine automotive paint is only so flexible ![]()
As promised, the eldest came out for his "Alfa time" on Saturday morning. I had a stash of easy to install parts ready, so we had a bit of fun turning screws and playing Jedi with my socket extensions and deep-set sockets.
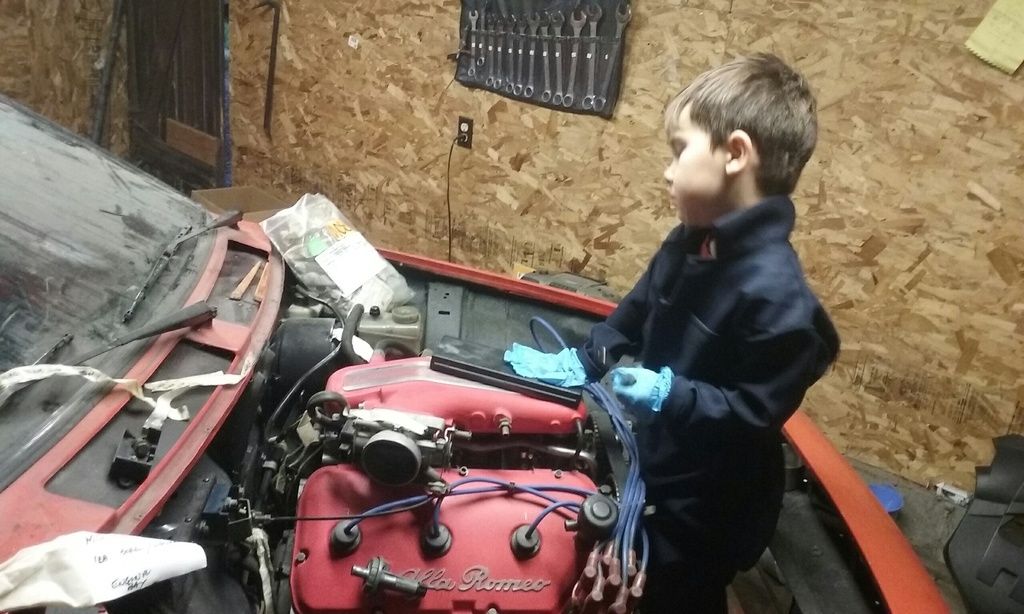
Under that hand on the plenum are my calipers. We made those into a blaster and fought storm troopers for a bit before we decided it was "too cold" and went inside. ![]()
Back on task: One of the things I had a hard time with on the 4-Runner was remembering where body damage was once I started sanding. It made for a lot of re-work as I thought I was done but had to go back over stuff to catch things I missed the first three times.
I'm hoping to fix that by keeping a list handy:
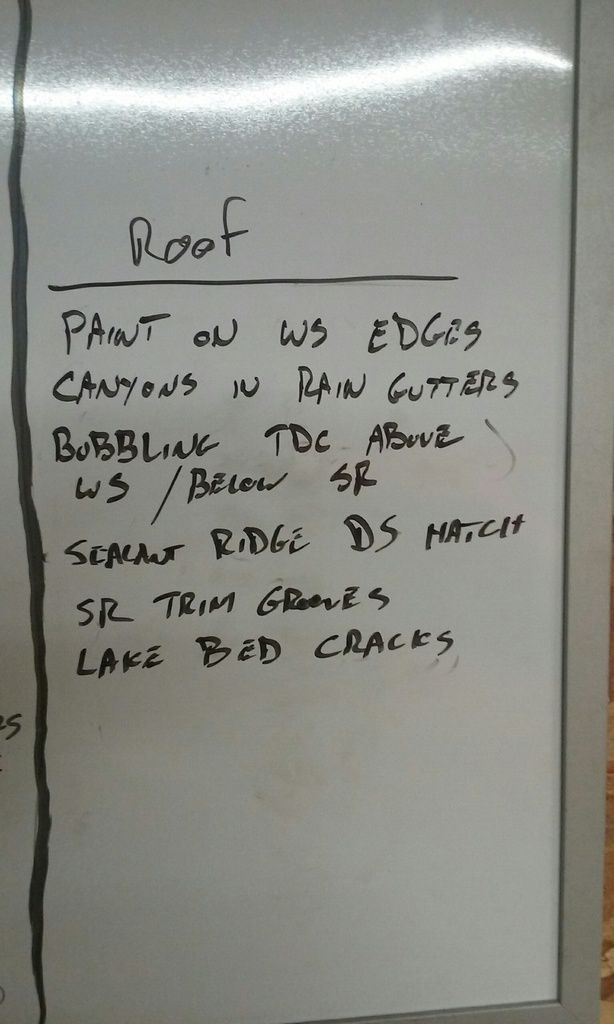
Good times ![]()
Keeping with the "install small things for the kid" I had the alternator tested and installed:
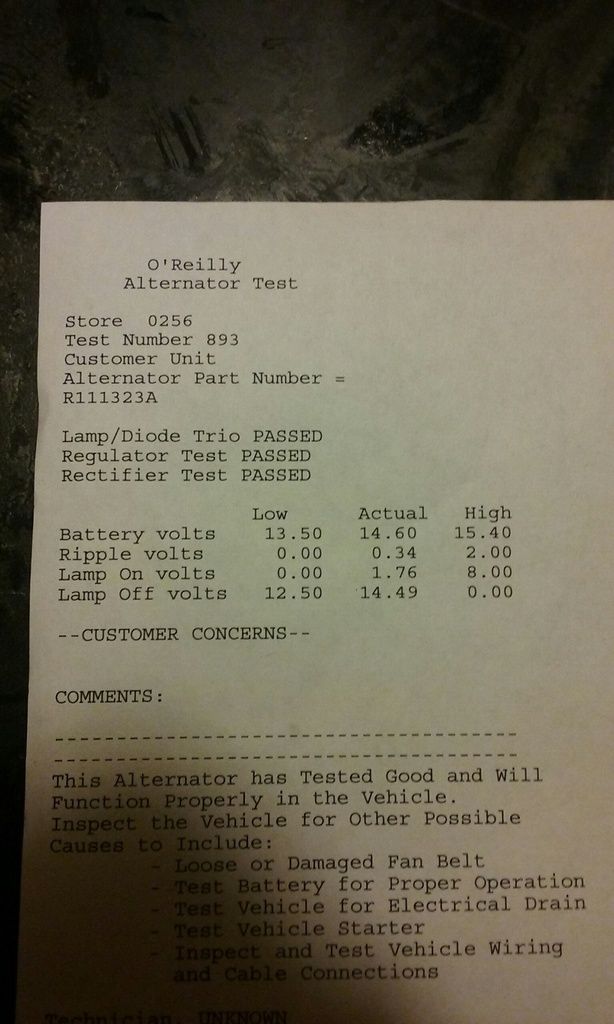
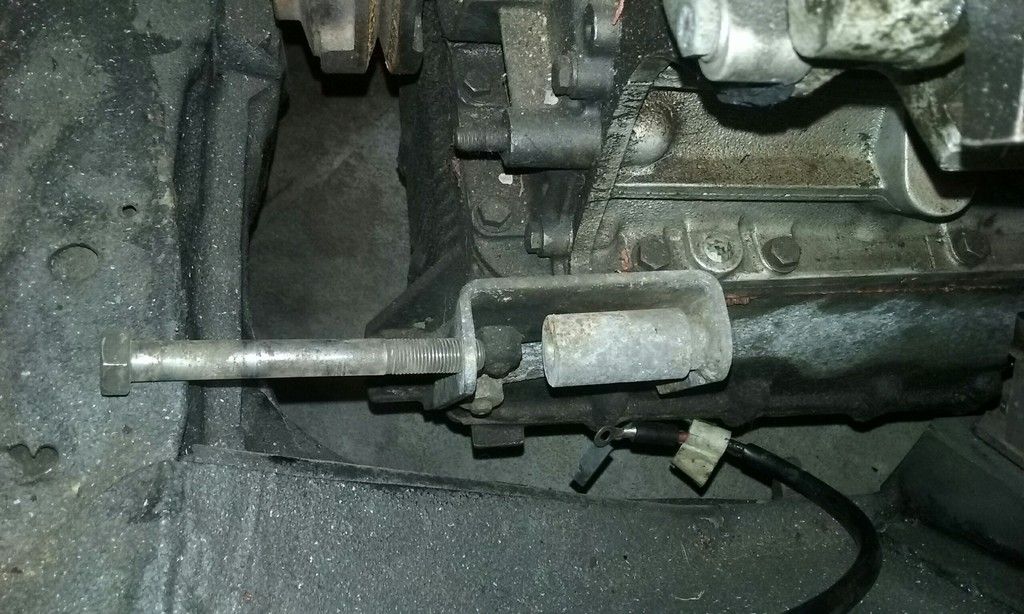
That second picture is the alternator bolt. I put it that way for a reason:
When I bought the car, I noticed I couldn't remove the alternator because the bolt was installed in this direction and it hits on that crossmember. That means the alternator was installed when the engine was removed. HAD the alternator failed on me before I decided to do all this work, I would have had to tip the engine up to get the alternator out ![]()
I put the alt and bolt back in in the CORRECT direction this time ![]()
I also did some sanding on the roof:
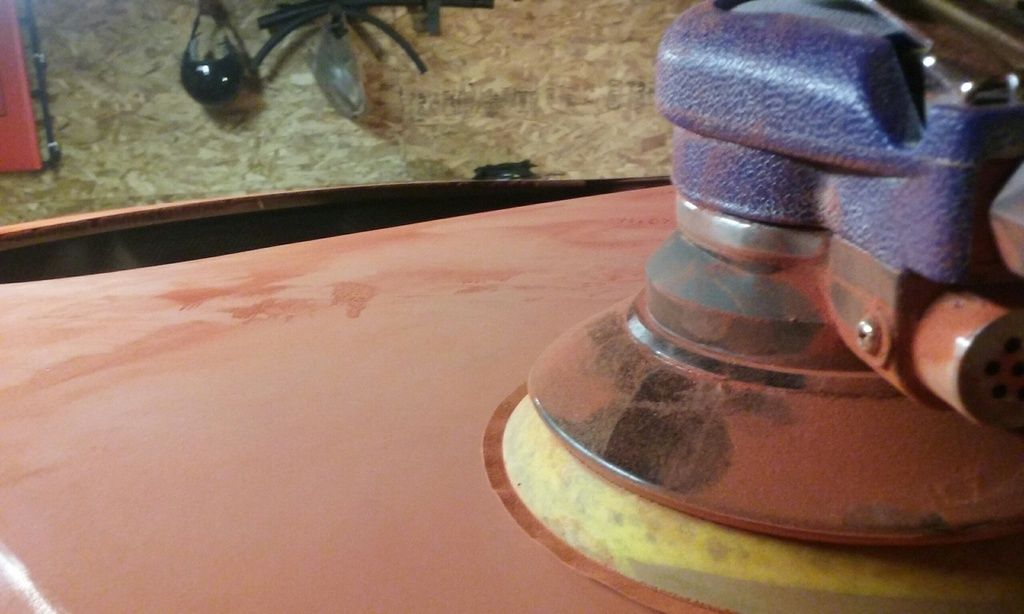
That was my second or third pass with the sander (sand, blow off dust, sand, blow off dust, sand...) and lemme tell ya, this paint is THICK!
On that note, it's also the third coat of paint I can see. I think I can see the original primer, then charcoal color, then primer again, then a proper Alfa Red, then primer again, AND THEN the crap orange peel that is currently serving as the car's top coat.
So I'm at a bit of a crossroad here. I can continue adding layers with this next top coat (and it'd probably save me a lot of time) but would it be "proper maintenance" to knock the finish down a layer or two?
I get the feeling the "right" answer is probably going to be along the lines of "take it down as far as you have to to fix damage and blend. Otherwise just get a good working surface and paint it". Thoughts?
I do have a few weeks to decide as I'll be off on a work trip again ![]()
Good times
Take it down. The cracking is from the paint being too thick. You don't want to be more than 6-8 mils thick total. If you paint over what is there without taking it down the cracks will reappear under your nice new paint.
Real quick. Is there a quicker way than 120 grit on my da sander to get through this paint?
Bonus points if it works with an angle grinder, drill, or similar
You'll need to log in to post.