1 ... 24 25 26 27 28 ... 35
FooBag
FooBag GRM+ Memberand New Reader
1/27/17 9:05 p.m.

Bill,

Sent you an email with shipping details for the housing. Let me know if it doesn't make it to you.

There used to be good information on www.clubgp.com on porting these; good luck with the awful search engine there. Do NOT fill the silencer holes (the slots to the side of the triangular outlet). Emulating the GenV blower outlet has been shown to get gains.

Hungary Bill
Hungary Bill GRM+ Memberand UberDork
1/31/17 10:51 a.m.

got it

Thanks a bunch man, you should have money headed your way!

Hungary Bill
Hungary Bill GRM+ Memberand UberDork
1/31/17 4:10 p.m.

Friday progress:

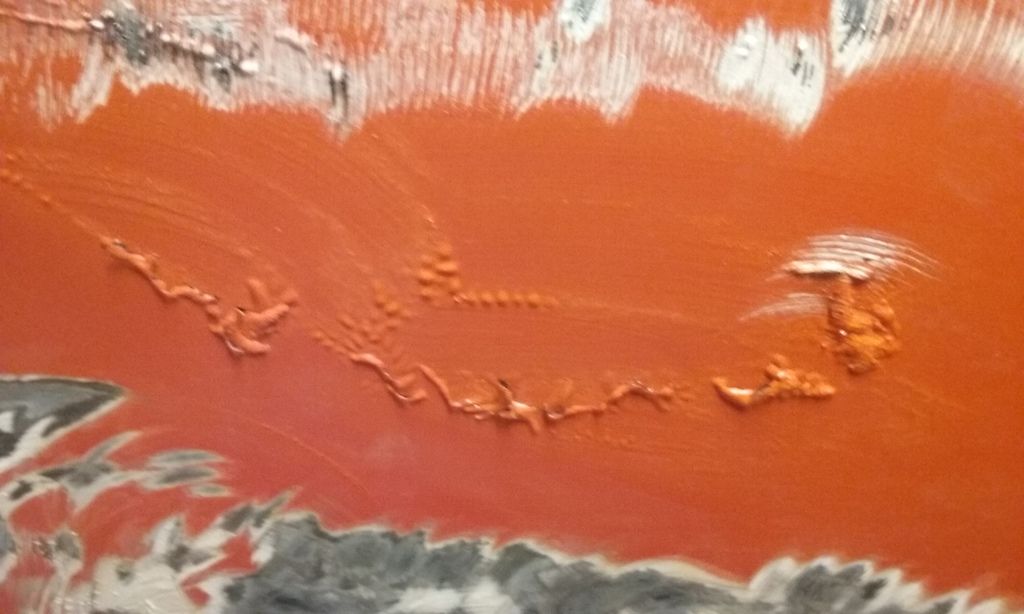
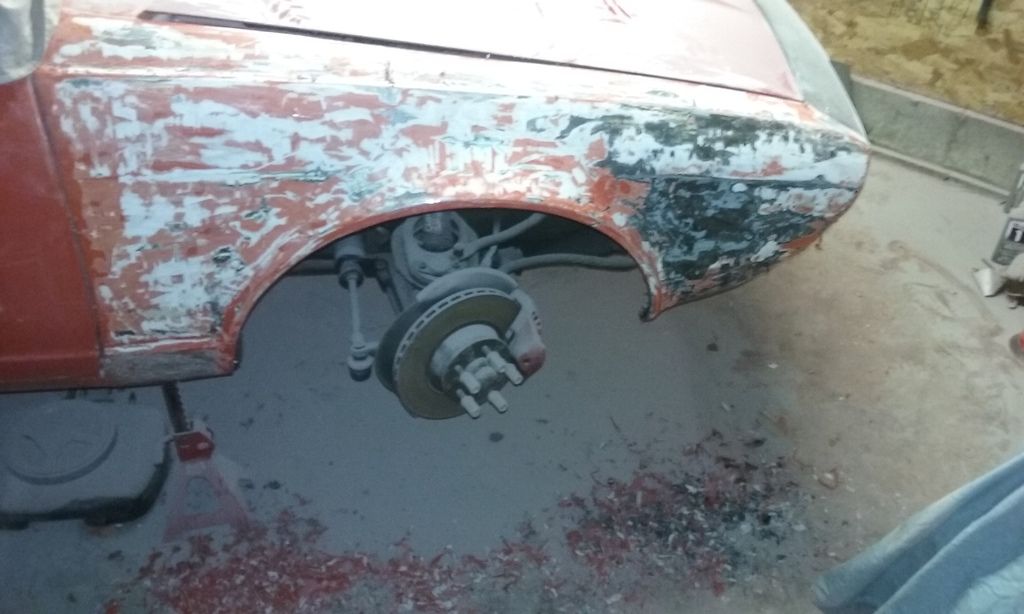
Well, that aircraft remover does work, but it doesn't quite eat everything.

Even though I let this sit as long as I did, it still keeps the paint a bit "soft". Not quite soft enough to wipe right off with a putty knife, but soft enough that when hit with a wire whip it doesn't put up much of a fight.

(more on the "soft" bit in a minute)

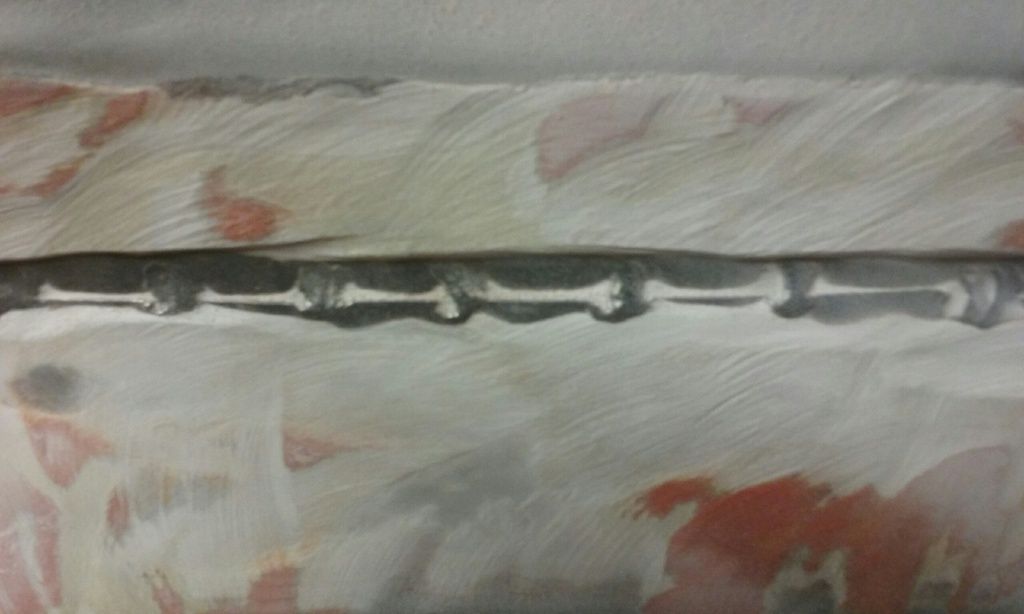
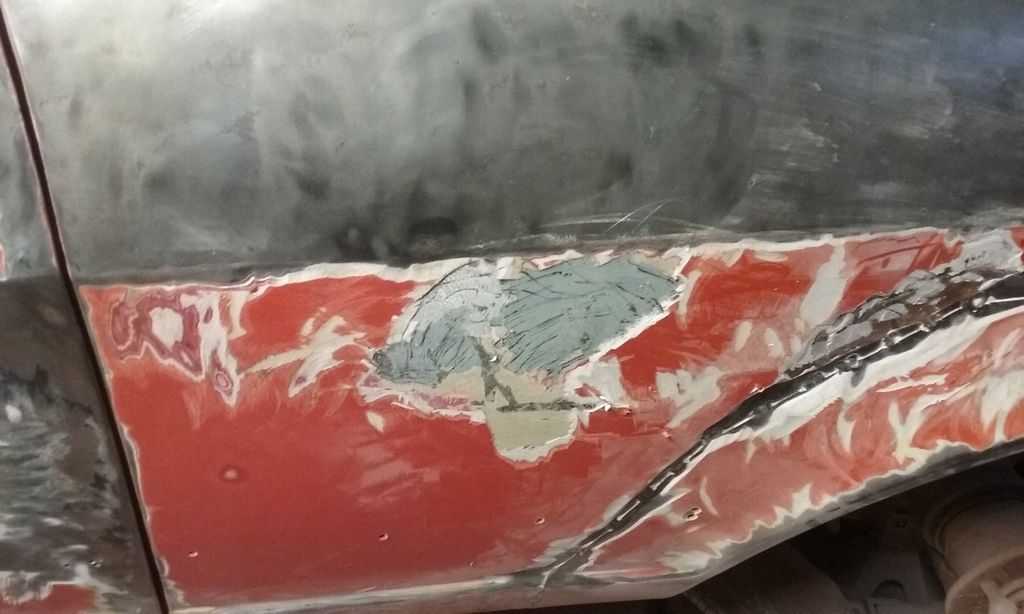
For now, I found this!

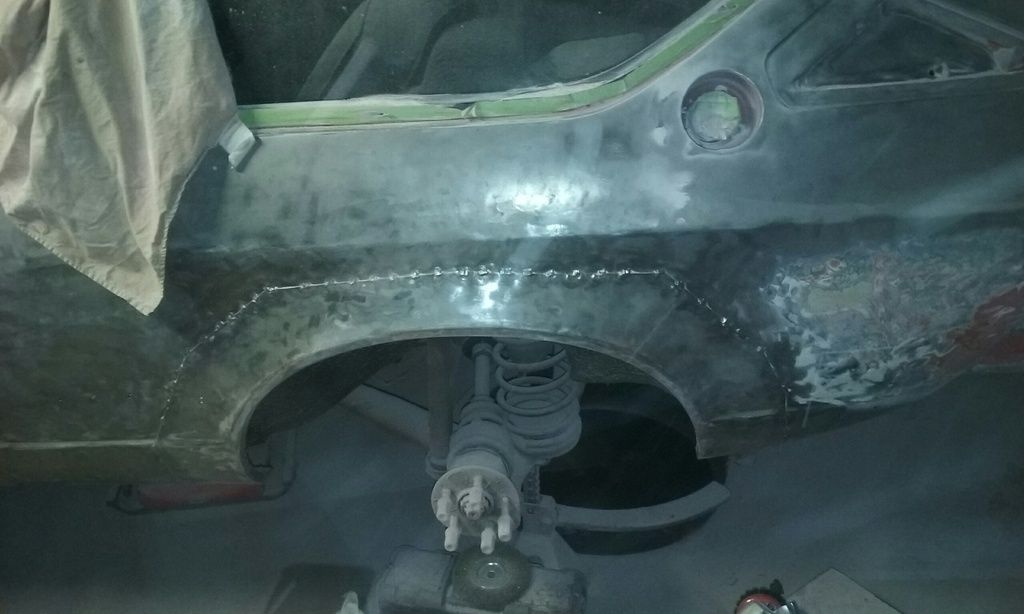
I'm pretty sure that I should have left that alone once I realized what was going on, but my OCD doesnt allow me to do that. Now that it's all uncovered I'm trying to decide if I want to try to finish the weld or cover it back up...

If I "finish the weld" I think I might be fighting some bondo-contamination as I'm pretty sure there's body filler in that seam deep enough I'll never get it all cleaned out.

Good times

mazdeuce
mazdeuce UltimaDork
1/31/17 4:20 p.m.

What does the back side look like?

Hungary Bill
Hungary Bill GRM+ Memberand UberDork
1/31/17 4:21 p.m.

Saturdate!

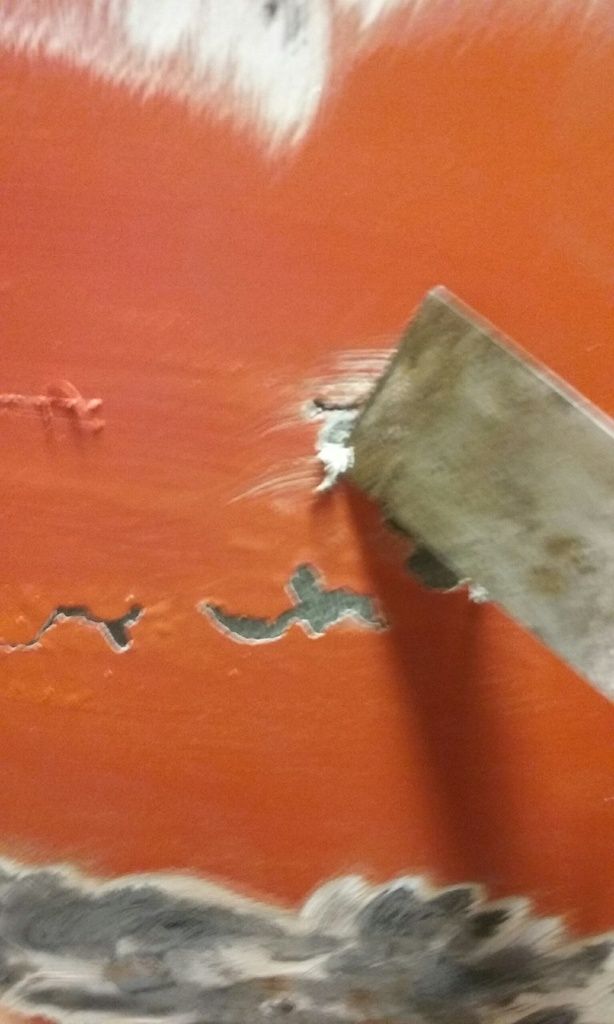
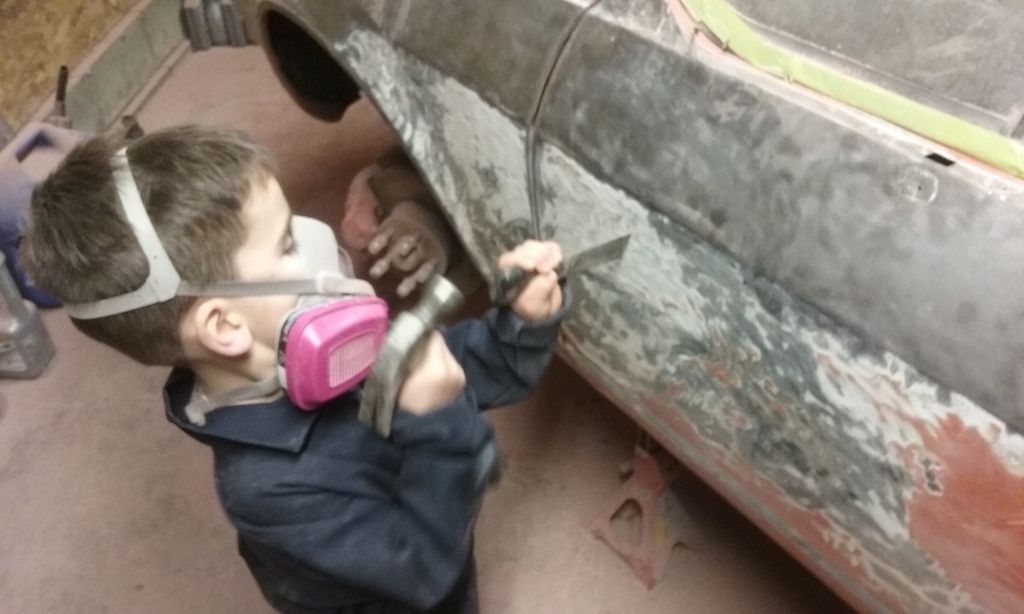
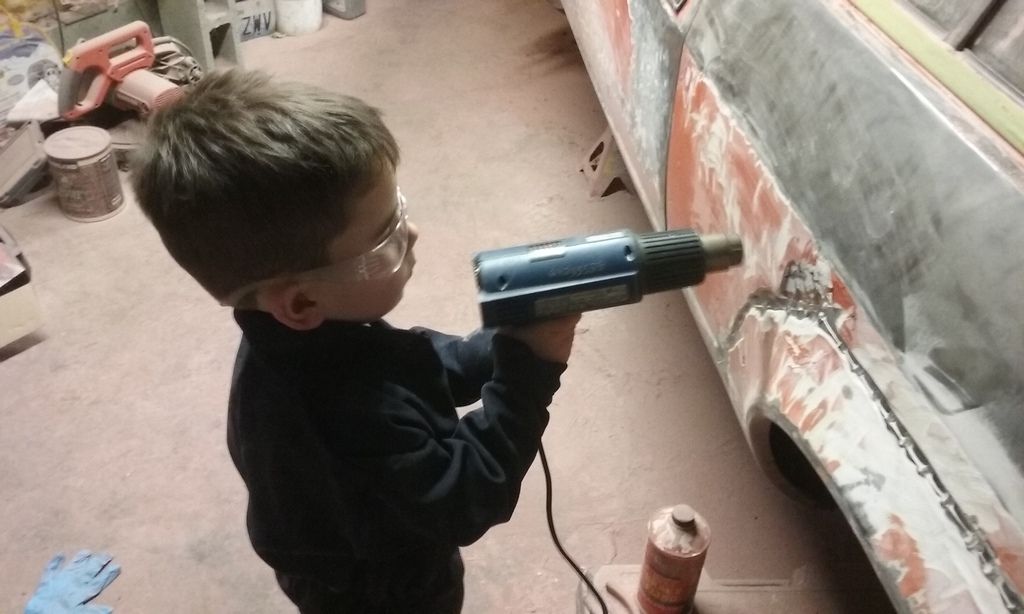
So with the sharp edges I thought I'd give a try at the "hammer and putty knife method of bondo removal (suggested previously). it works, but not well. the stuff is pretty hard and it's a lot like trying to chisel a rock (it chips off in small round chips, but only with a lot of sharply applied force)

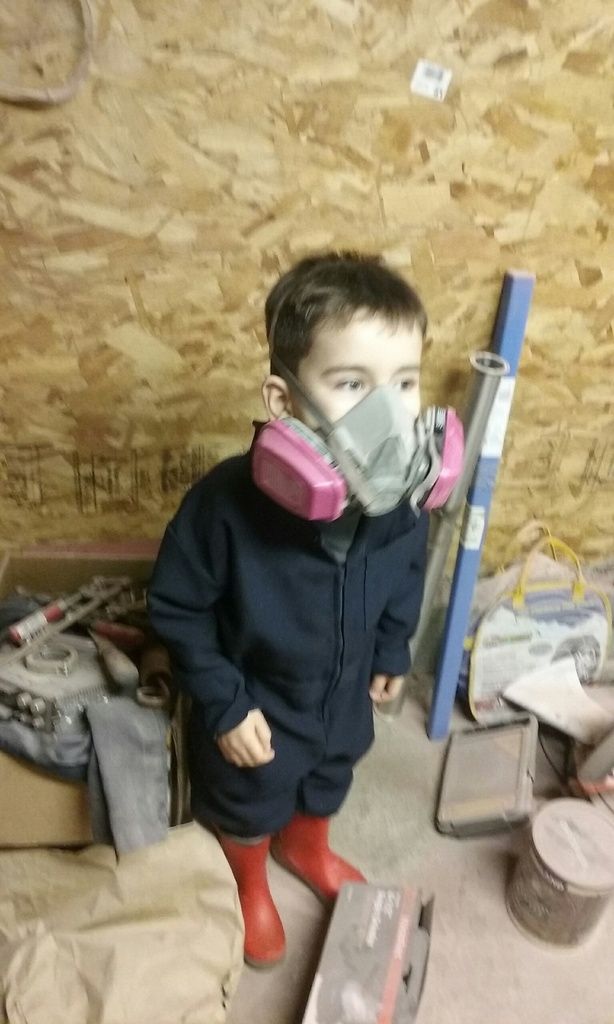
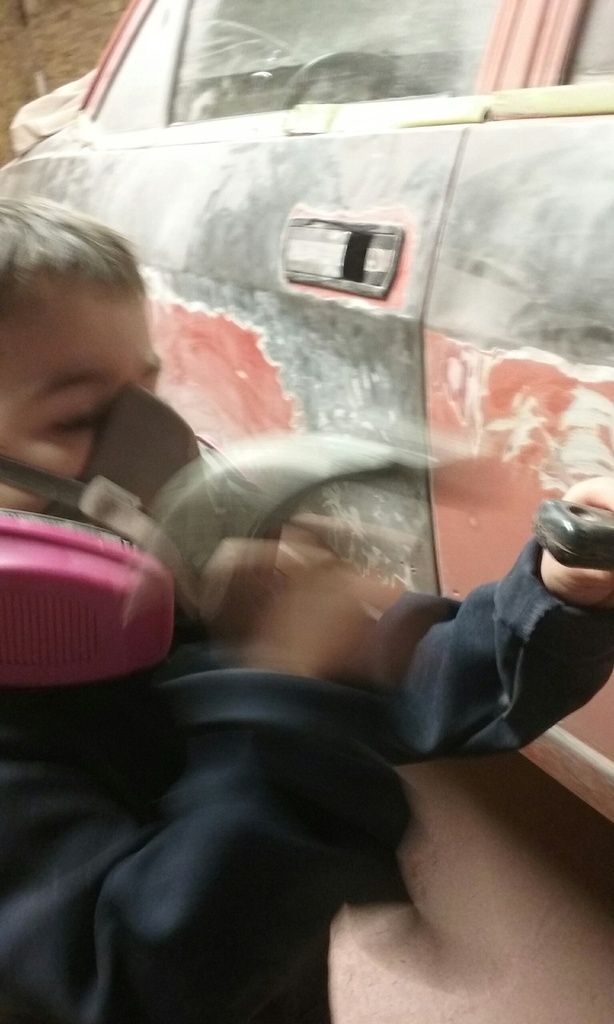
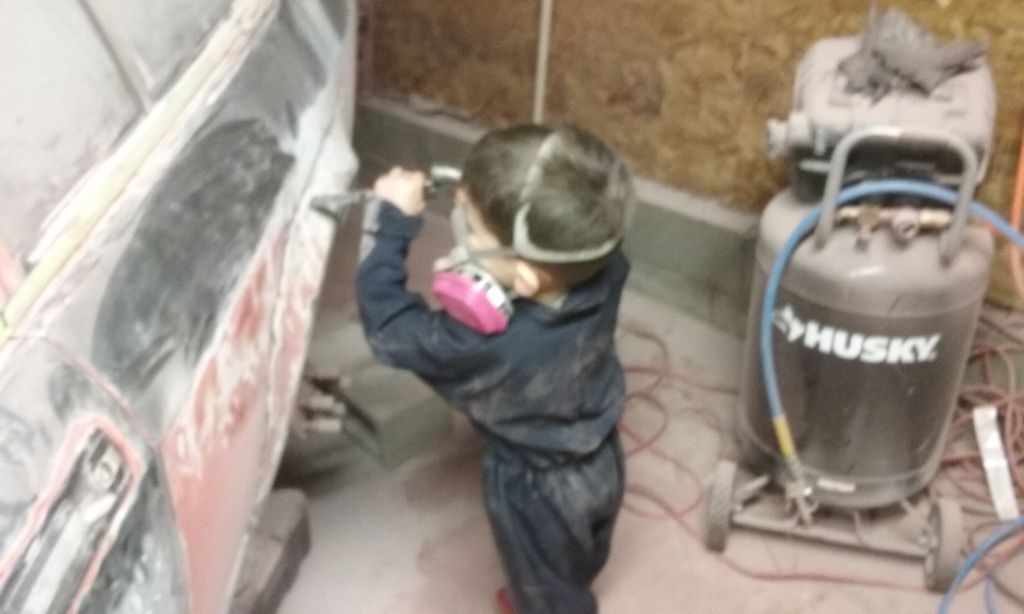
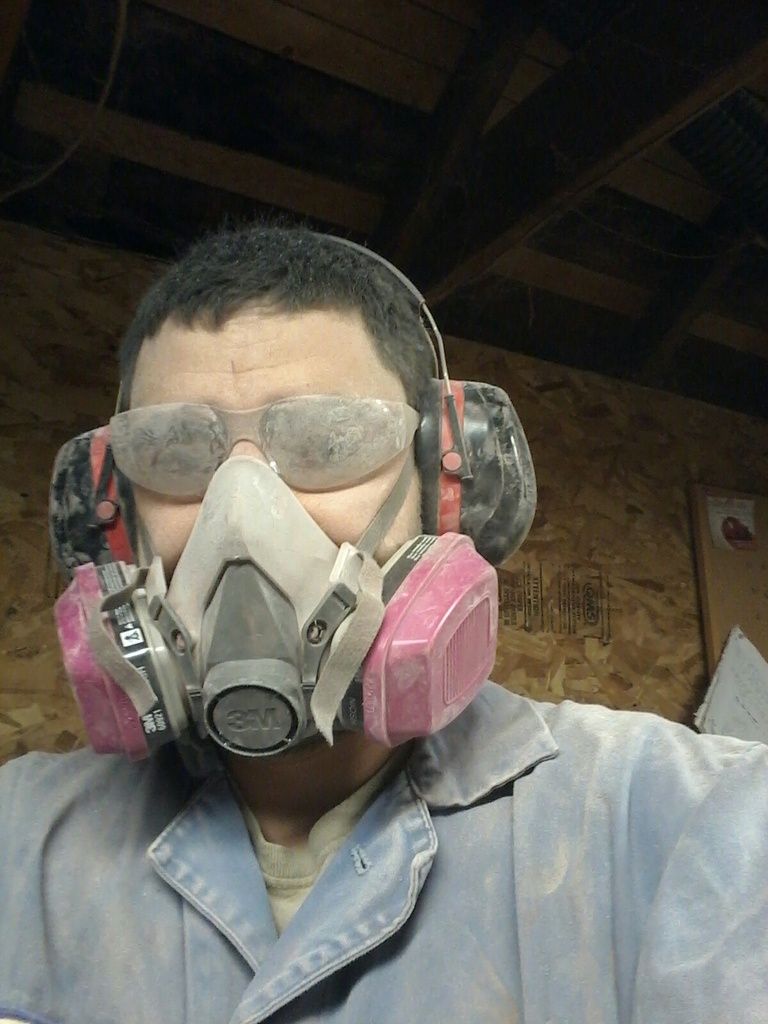
(safety alert: As hard as that bondo was, and as hard as the kid hits, I figured the risk of eye injury was low enough to snap action shots while I rounded up safety glasses for our morning work.)

I had kind of figured the chisel would fail (the Alfa never lets me have it that easy) so we went on to the heat gun method.

Now, the heat gun works but it's a little slow. I think it's best if you go at it as a team, one man on the gun, one man on the scraper. Even though the bondo gets softer I found I still wanted two hands to do the scraping for the control it offered.

Unfortunately my kids attention span is shorter than mine so we did a bit of chiseling in several different areas.

Good times

(one eyed smiley for eye safety awareness )

Hungary Bill
Hungary Bill GRM+ Memberand UberDork
1/31/17 4:35 p.m.

Monday was a sick day for me, as Sunday night both Mrs. Hungary and the eldest Hungarling were both feeling very ill. I took the day off to play "caretaker" and I thought for sure I was getting Alfa time Monday morning when they both felt better and went to work/school. Then I remembered we were moving soon That day, I think I spent about $600 on interior paint, filled a million nail holes in our walls, and succeeded in clearing the slightest of paths through our mess of a basement.

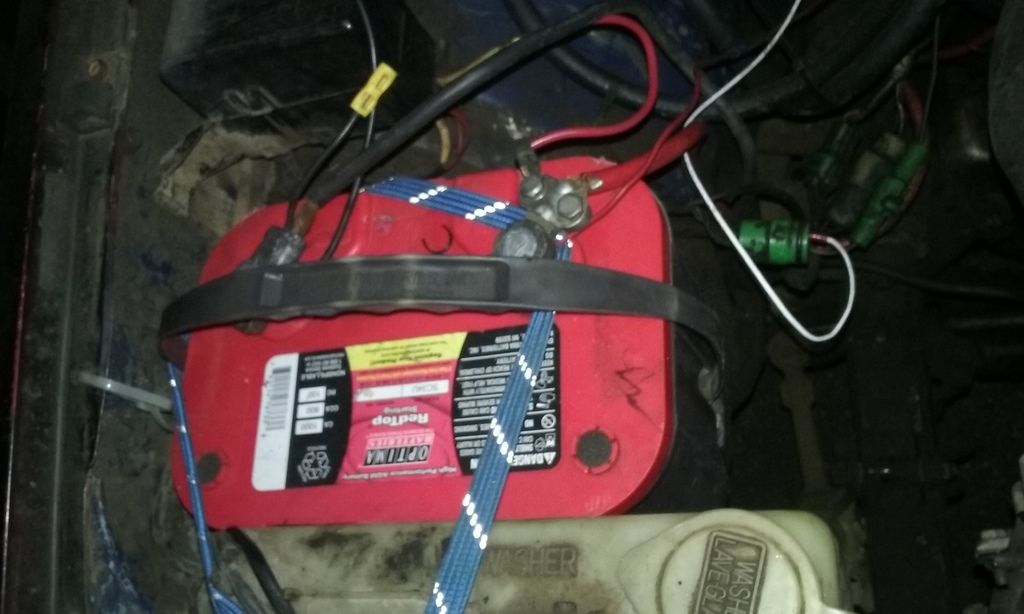
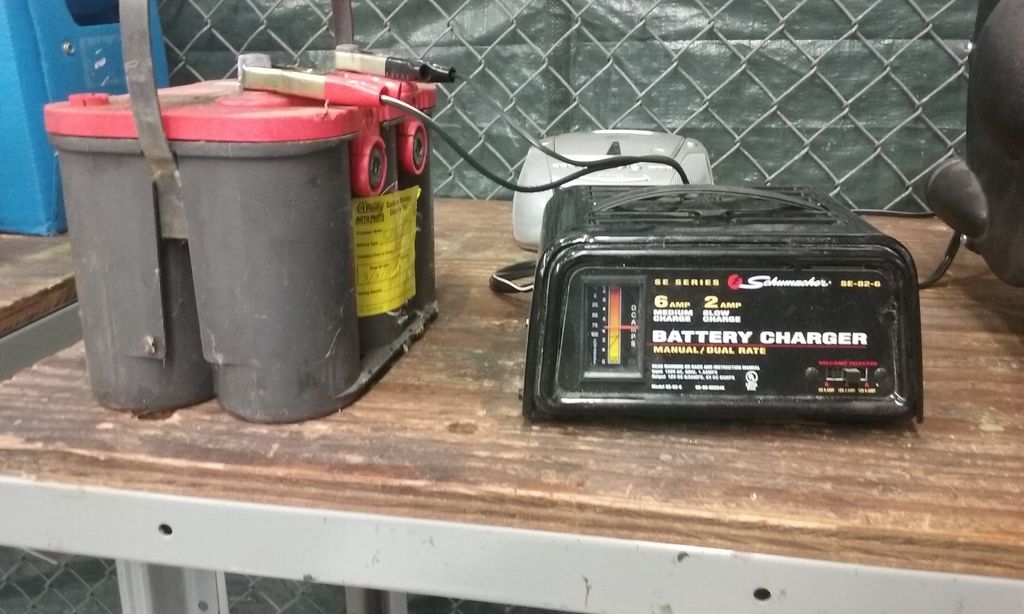
All in all, not much got done. I DID, however, score a free Optima red-top (a good thing, since I spent my battery money on a flocking kit for the dash).

No guarantee it's going to work, but I have a trick for getting dead Optima's to charge/work. I've done it twice in Hungary, and I'm hoping for a "third time's a charm here"

Today (tuesday), I'm back in to the normal swing of things. I figure the most effective way to use my time is to lay on a thick coat of aircraft remover in one area and grind on another. That way the paint stripper is working while I'm working (two man team baby!)

It does alright but that outer coat is as hard as tooth enamel.

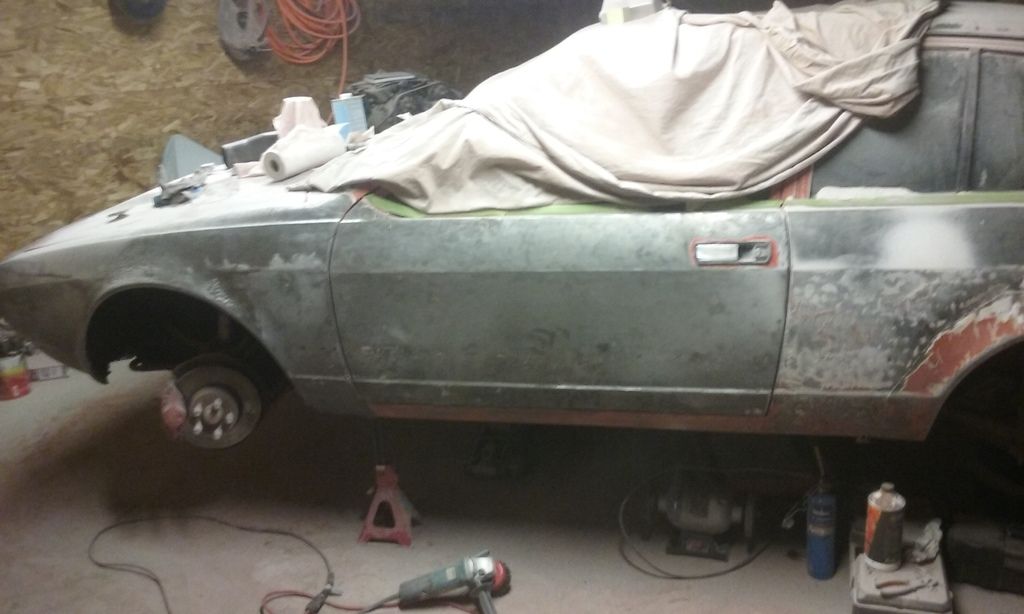
This area took 3 coats to get this far (driver's door)
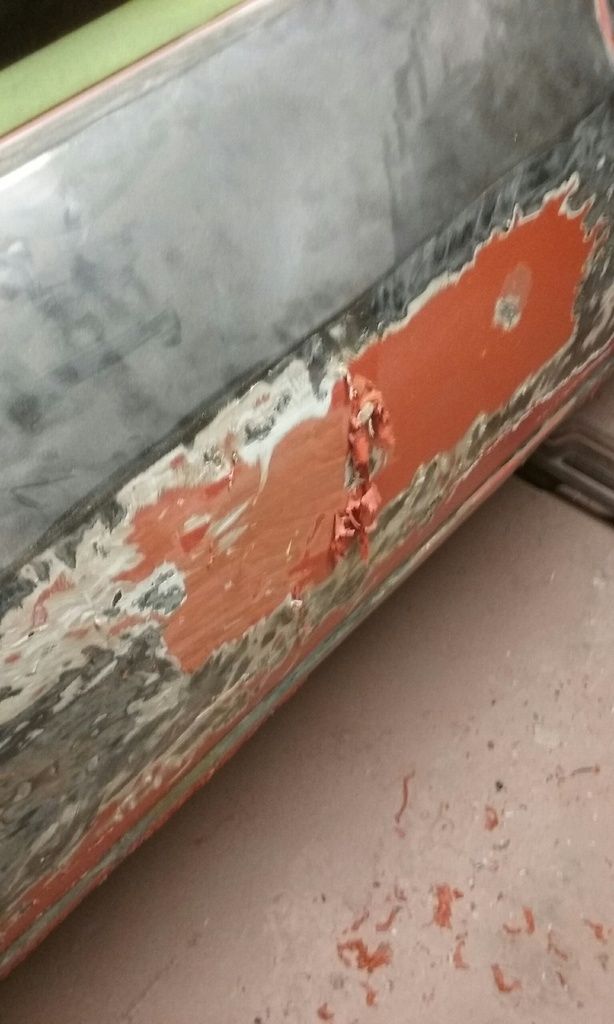
Once you get under the hard candy shell though the rest does seem to smear off pretty easily...

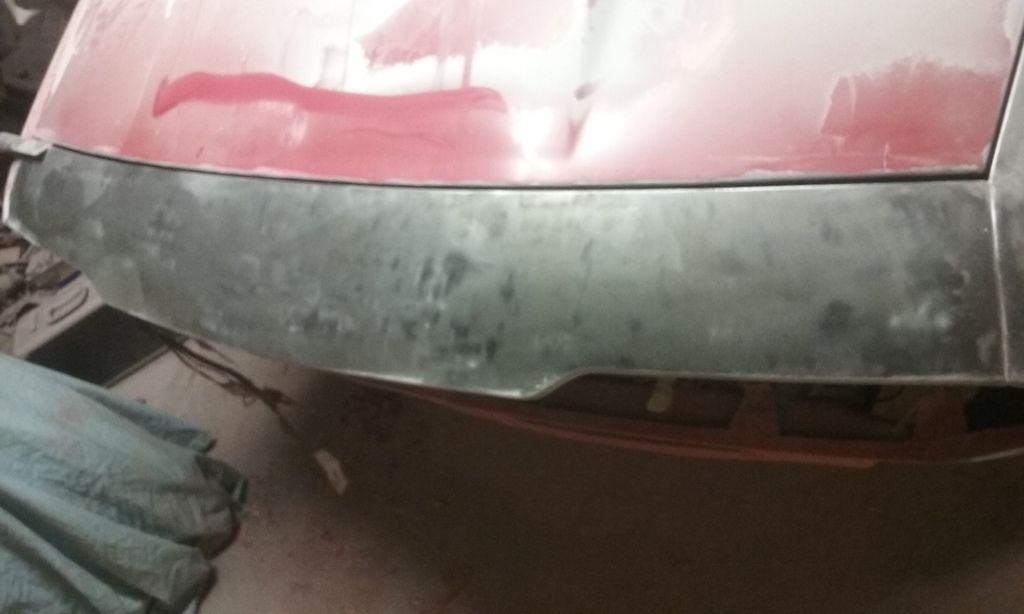
The upper nose area took 2 applications of aircraft remover, and then I went at it with the wire whip a bit. When I was done it was looking like this:
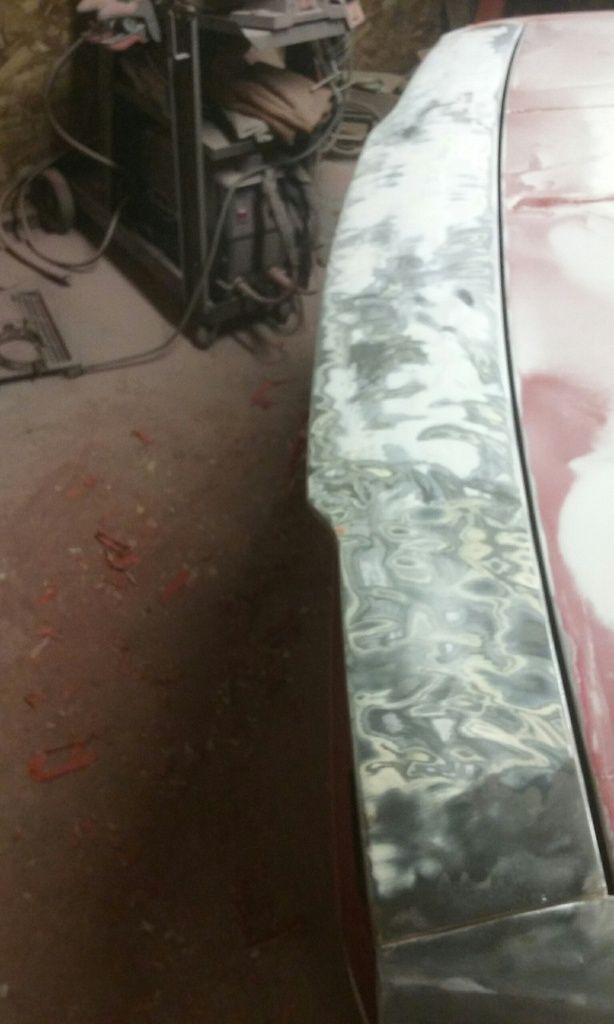
I also finished with the driver's fender (completely down to bare metal) but forgot to take a picture.

Tomorrow I plan to finish the driver's door, the upper nose portion, and the rocker panel under the door. That puts a complete "bare metal" on the drivers side at Wednesday, and the hood/nose should be done by friday. There's hope I'll make it yet

Good times

Hungary Bill
Hungary Bill GRM+ Memberand UberDork
1/31/17 4:36 p.m.
mazdeuce wrote: What does the back side look like?

No idea yet. If I get on top of my schedule I'll poke my camera back there and snap some pictures. I'm kind of afraid to look

Mezzanine
Mezzanine HalfDork
1/31/17 5:29 p.m.

OK, this is the exact reason I decided not to remove all the paint on the Fiat... You never know what is lurking under there.

I'd suggest that since you're pretty well committed to bare metal at this point, you need to focus on getting it stripped down and covered in some good primer. No body work.

I do have a twisted wire cup brush for that 8" man-eater grinder...

FooBag
FooBag GRM+ Memberand New Reader
2/1/17 10:44 a.m.
Hungary Bill wrote: got it Thanks a bunch man, you should have money headed your way!

The housing is in UPS' hands. You should see it early next week.

Hungary Bill
Hungary Bill GRM+ Memberand UberDork
2/1/17 1:31 p.m.

Woo hoo! Thanks again man, I cant wait

Hungary Bill
Hungary Bill GRM+ Memberand UberDork
2/1/17 1:40 p.m.

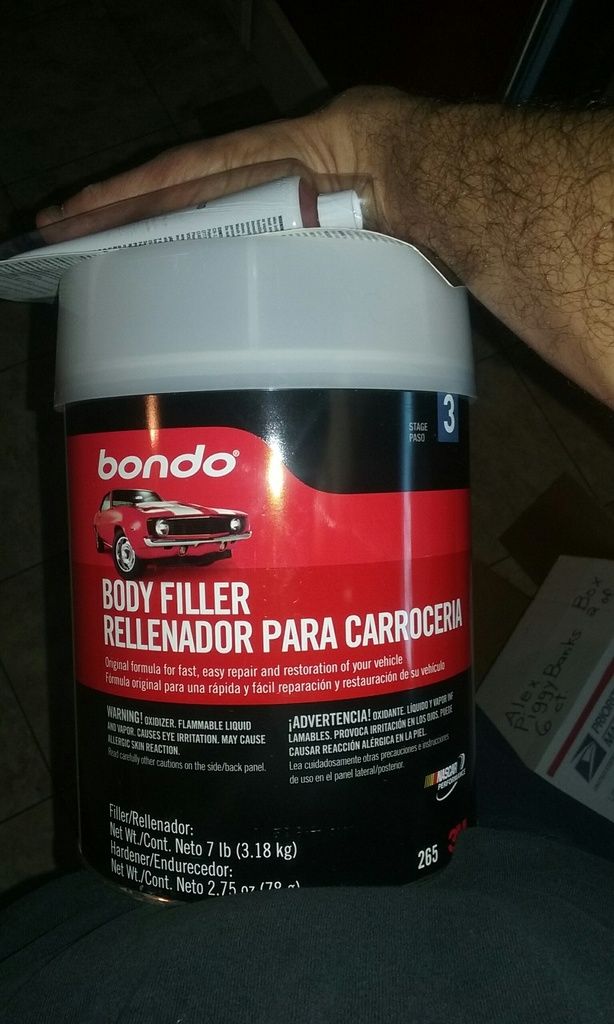
Ok, so I decided on my lunch break yesterday that it'd probably be a good idea if I picked up a gallon of bondo (I have a partial pint left over from the 4-runner). This should keep me moving forward for a while...

If it makes my car look anwyere near as good as that camaro picuterd I'd be happy

This morning I woke up even earlier than normal, and cant be held responsible for my sense of humor before coffee

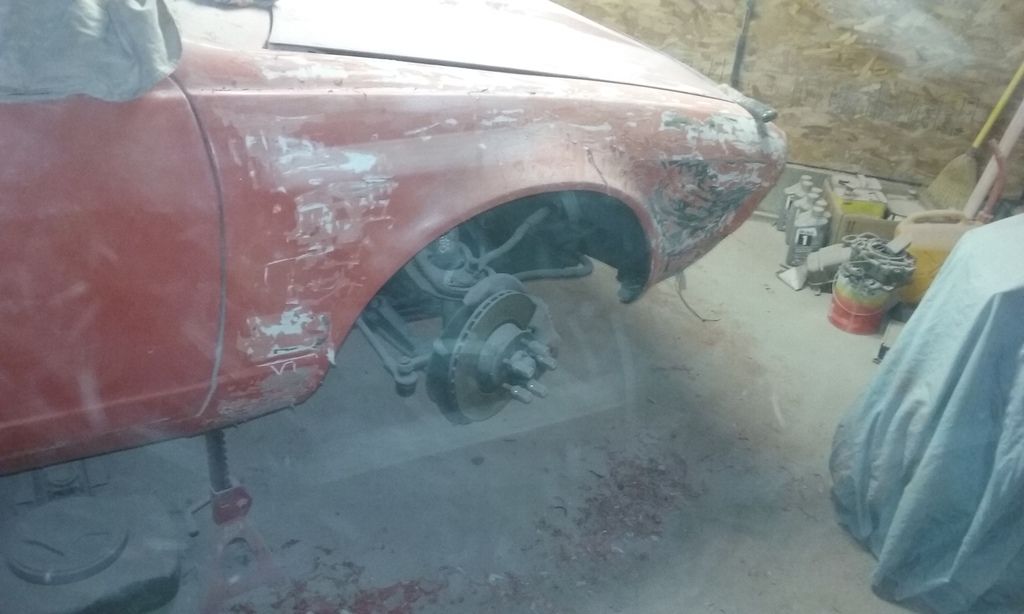
Eager to get started, I went through my usual routine: Slather paint remover over the next panel (passenger front fender), grind on current panels, reverse grind to refresh wheel, then back to grinding on current panels.

In all, I got the flat nose portion done, the driver's fender done, the driver's door done, and the rocker panel???? Weeeeeelll aim high, hit low on that one. Maybe tomorrow morning, but I really hate laying on my back with this thing.

I did get a decent bit of scraping done on the passenger front fender though. I'm thinking the sheer amount of dust that falls on the paint remover between application and removal probably does wonders to reduce its efficiency. Ah well, better than nothin

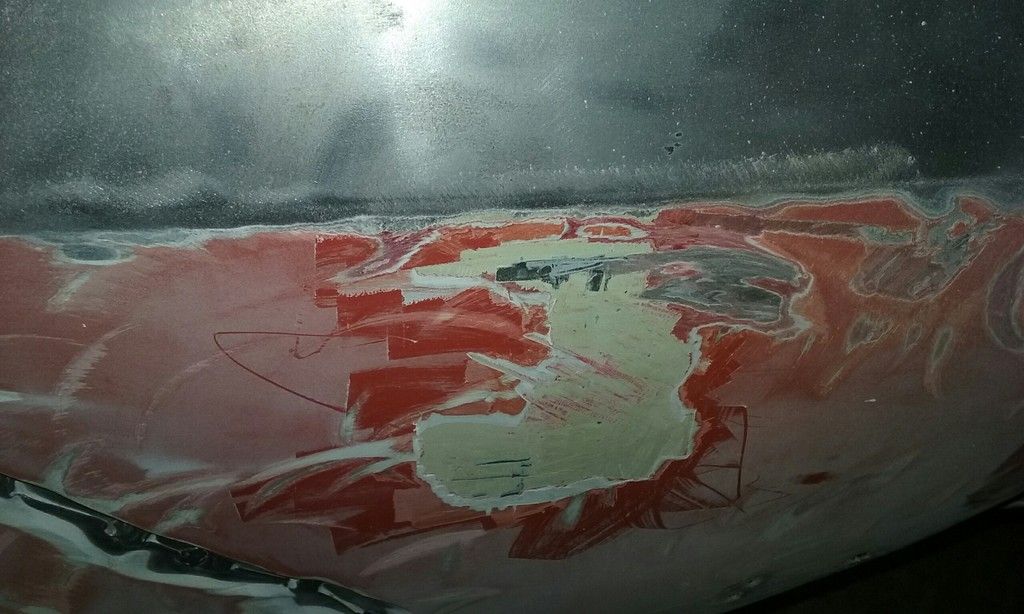
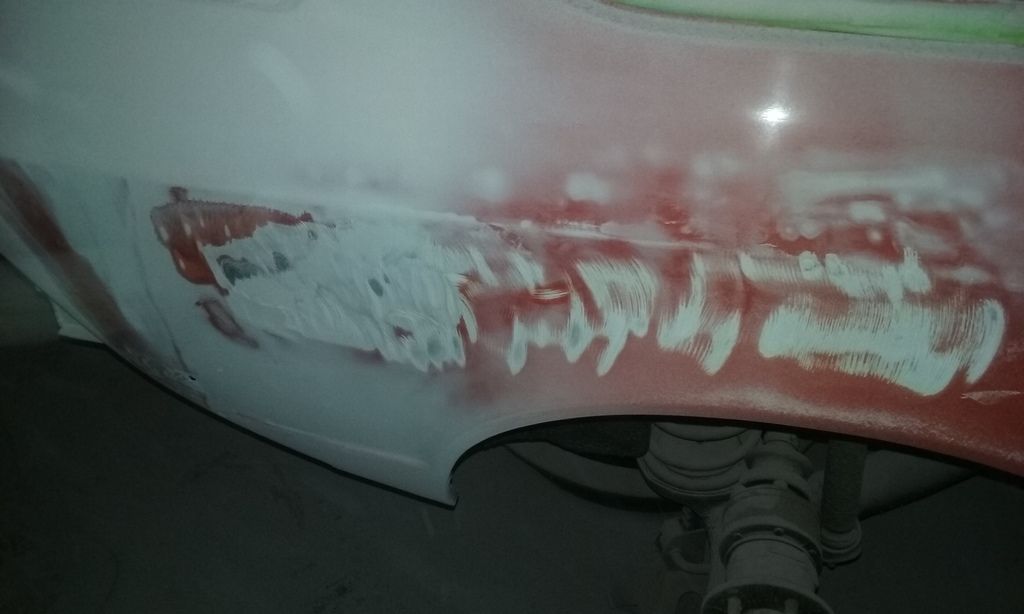
Also, that rear quarter panel section got its fair share of grinding done. Instead of scraping that bondo away with a heat gun, I'm using the "bondo banks" for a safe spot for reverse rotation. That wheel REALLY eats whatever it goes near when I reverse it, and I like to have that thick buffer between it and the metal.

Good times.

Hungary Bill
Hungary Bill GRM+ Memberand UberDork
2/1/17 1:49 p.m.

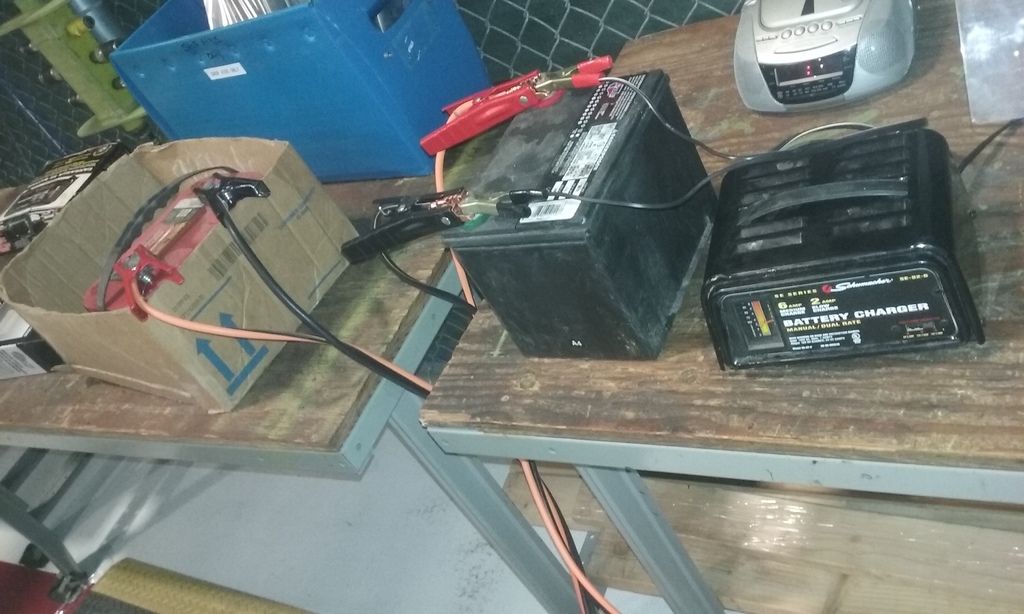
I left a little early this morning to get to work before anyone else. The idea is to get that Optima working by the end of the shift and to test it out in the truck on the way home.

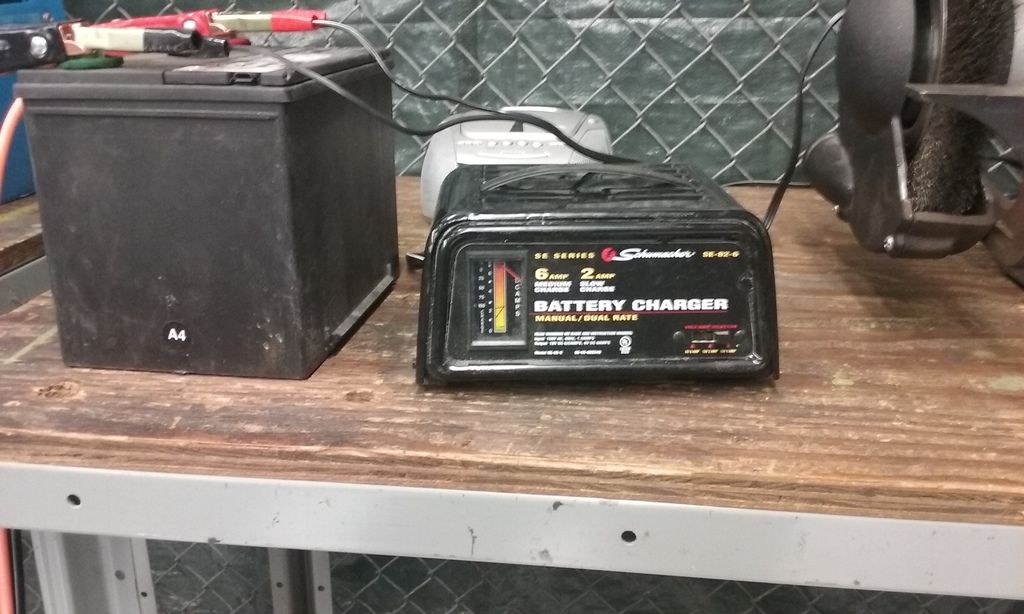
My "optima trick" is pretty simple. My theory is: the voltage of a battery can get so low that a charger won't know it's attached to a battery (called a reference voltage). Since the charger doesn't know it's attached to a battery, it never charges the battery. My solution is to connect a good battery to the charger and THEN hook an optima battery to the good battery (in parallel). I didn't have any extra batteries laying around, so I just took the one out of my truck (hence the reason I wanted to get to the office before people started showing up)

it goes something like this:

I start with a 6amp charge, and let it cook for about 2 or 3 hours

I noticed after it was done, the gauge went from the bottom portion to the top portion. I'm going to ignore numbers and colors and tell myself that's a good thing.

After that, I knock it down to 2amps, and let the Optima cook by itself for a bit (9am to about 3pm)

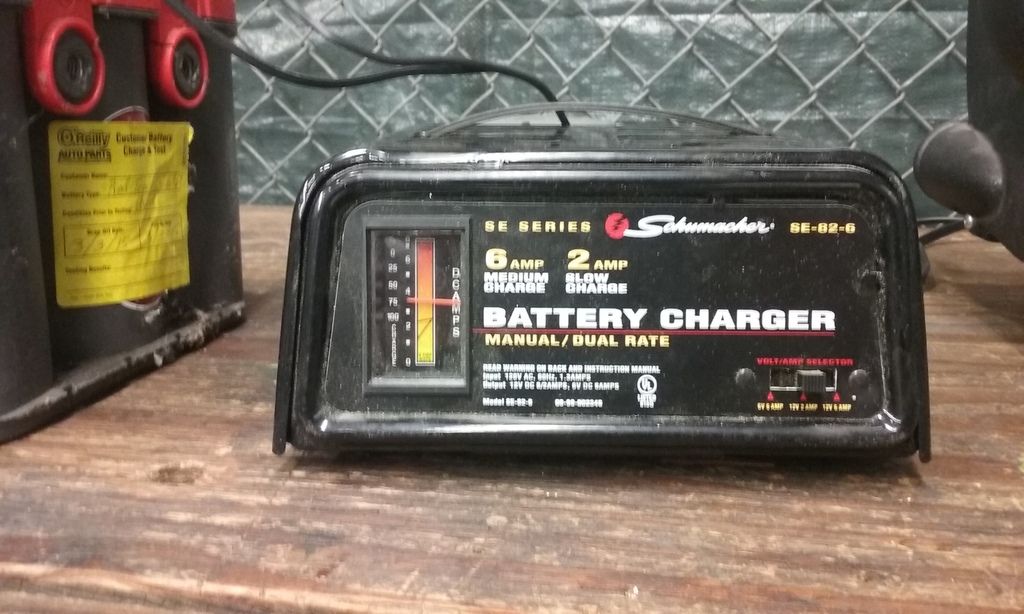
It's about noon now and things are looking like this:

It looks like the needle moved slightly in the "up" direction. Based on my previous ignoring of numbers and colors, I'm telling myself this is a good thing.

Will it WORK though?

Tune in tomorrow to find out. Same BAT time, same BAT channel

Good times
Hungary Bill
Hungary Bill GRM+ Memberand UberDork
2/1/17 1:54 p.m.

Two more things:

1) I'm considering the idea of taking a shower AFTER my garage time (instead of right when I wake up)

and #2) This is February 1st. If I'm going to keep my promise (earlier), this car needs to have color on it in T-28 days.

Begin.

java230
java230 Dork
2/1/17 1:59 p.m.

I have used that optima trick a couple times as well

Hungary Bill
Hungary Bill GRM+ Memberand UberDork
2/1/17 2:04 p.m.
java230 wrote: I have used that optima trick a couple times as well

The last two times it worked, I found a stack of them in a Hungarian bunker. I offered to "throw two of them away"

This time it was buried in my brother's garage (which is worse than an eastern bloc bunker in many ways)

jimbob_racing
jimbob_racing Dork
2/1/17 3:14 p.m.

I just caught up on this thread. Amazing work so far. I hope you make the deadline.

Hungary Bill
Hungary Bill GRM+ Memberand UberDork
2/1/17 4:13 p.m.
Mezzanine wrote: OK, this is the exact reason I decided not to remove all the paint on the Fiat... You never know what is lurking under there. I'd suggest that since you're pretty well committed to bare metal at this point, you need to focus on getting it stripped down and covered in some good primer. No body work. I do have a twisted wire cup brush for that 8" man-eater grinder...

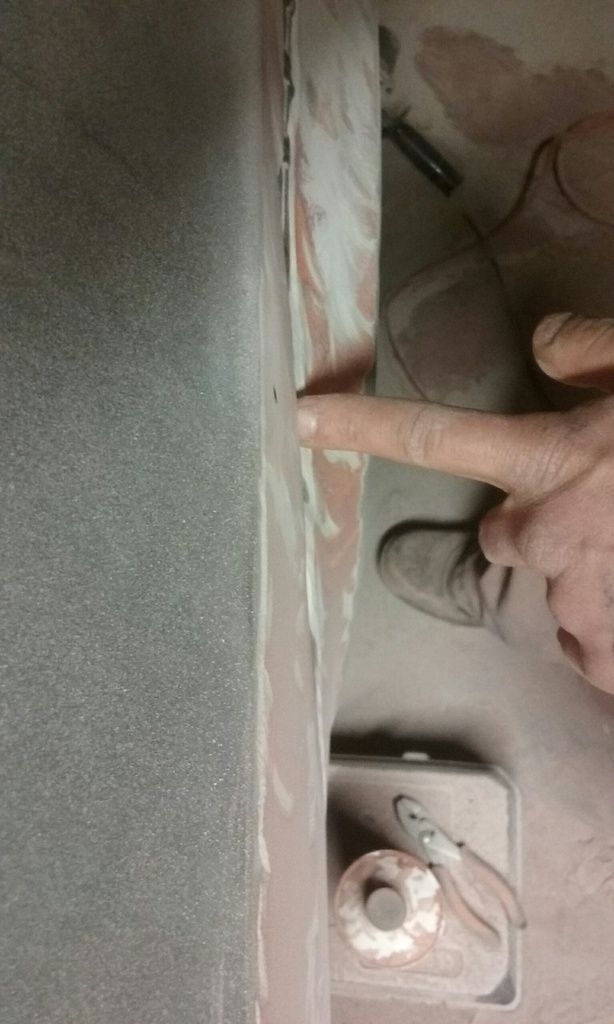
I would really like your opinion on my chances of getting the welds ground down to an acceptable level (it doesn't have to be seamlessly smooth, but I was hoping to rid myself of the 1/8" bumps the beads make if possible)

Also, should I finish the welds if I can get them to an appropriate level of clean?

Mezzanine
Mezzanine HalfDork
2/1/17 4:50 p.m.

I'll have to put eyes on the panels to tell you my opinion...but with the depth of filler the last guy used, I'm concerned that the panels weren't really welded to match the body lines too closely.

Start with a thin grinding disc to remove as much of the proud weld material. A flap wheel is your next stop to smooth and blend it.

Seriously, why are you hoping to get the car under final color? If I were you I'd focus on getting the bare metal sealed up, then shift my attention to getting her running and driving safely. Body work is a very slippery slope, and one that doesn't really line up with your timeline. Besides, driving a car cross-country is better under bare primer.

Hungary Bill
Hungary Bill GRM+ Memberand UberDork
2/1/17 10:02 p.m.

In reply to Mezzanine:

I hear ya but no guts no glory, chicks dig scars, and there's no point in me smarting to make good decisions now

I've got plenty of thin grinding wheels for that angle grinder, and I may even have a 80grit flap wheel laying around too. Let me finish the big paint grinding and then I'll hit it with what I got while I take care of the paint around the trim areas. Next time the stars align you can swing on in and shake your head at me Thanks!

Jimbob: Thanks man If you got a spare set of fingers, I'd appreciate it if you'd cross em for me

Banzai!

Hungary Bill
Hungary Bill GRM+ Memberand UberDork
2/2/17 8:37 a.m.

T-27 days

Still making good progress, still not thinking too far ahead (when I do, the project gets on top of me and I stop)

I started with a second coat of stripper on that passenger front fender, and slathered the first coat on the grille and air dam sections.

After sitting a bit (while I ground on that rocker panel and rear quarter panel) the front fender looks like this:

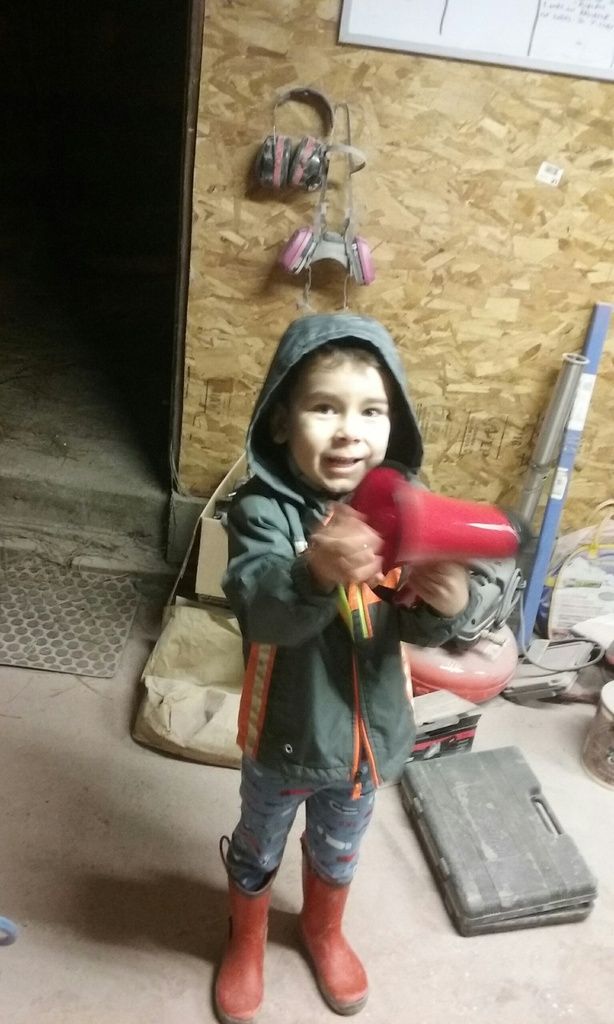
I was going to town on that rear quarter panel (and making good time too) but apparently the boss wasn't happy with my progress. This isn't the first time he's come out to the garage to yell at me, but this IS the first time I've seen him bring a megaphone to do it

it was just above freezing this morning and I didn't have a respirator for him to wear (or even as much as a dust mask) so I closed up shop and we went inside for some chill time before I had to get ready for work.

All in all, there's not much left to do on that rear quarter. I should have it done tomorrow and then I'll start on the passenger front fender

And remember me keeping that "bondo-bank" on the driver's rear for backwards spinning that I wanted to keep? Well, not to worry. I found another one on the passenger side. This'll serve as my reverse rotation spot for this side and will let me completely strip the driver's side. Of course, in keeping with tradition, I'll try not to think of what's under it and all the many reasons as to why I should have just LEFT IT THE HECK ALONE

Good times
Hungary Bill
Hungary Bill GRM+ Memberand UberDork
2/2/17 8:43 a.m.

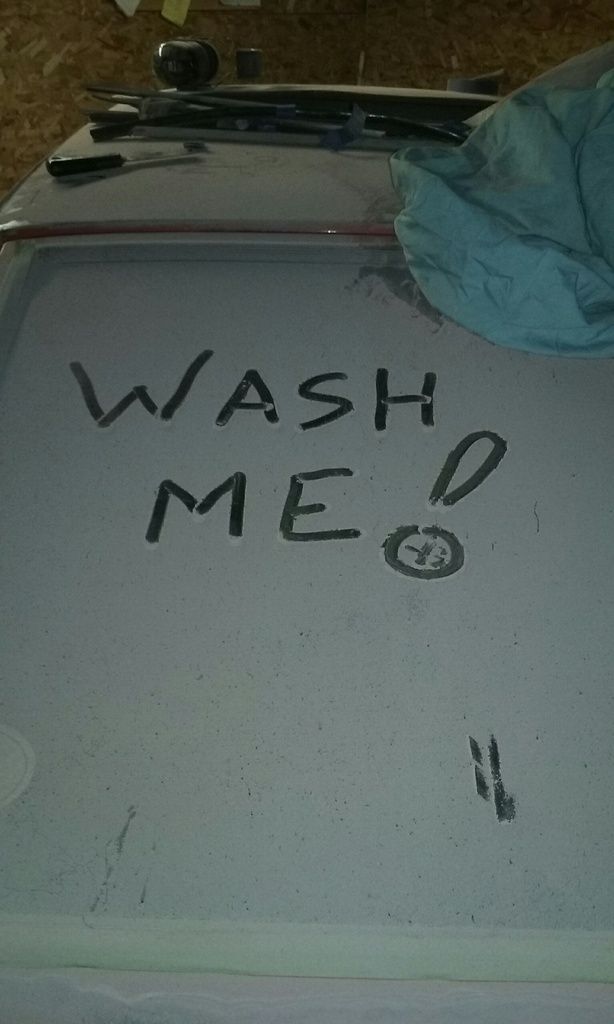
Oh, and look what got me to work today!

So after the charger trick, I threw the battery in the truck for the homeward commute and the dash lights came on, but there wasn't even REMOTELY enough juice to turn the starter.

I figured that was enough CPR for one battery. If I was going to breathe life back into this pig I was going to need an AED.

SO! I put the old (good) battery back in the truck and fired it up. Then I disconnected/removed the truck's battery while it was running and set the optima in its place (I love carburetors sometimes )

About half way through my commute I shut off the truck on the highway. While I was coasting I tried to crank it over, and got one "whir" before it quit.

That's progress!

I let the clutch back out (I was still in 5th gear and traveling about 55 at this point) and drove the rest of the way home. Short story long(er), it was 32 deg this morning and she worked like a champ. I'll probably leave it in there for a week or so just for a confidence build.

Good times
jfryjfry
jfryjfry Reader
2/2/17 8:58 a.m.

I'd say that, without removing the entire repair and getting a good replacement and making a metal -only repair (so there is NO filler), that the old repair is sufficient. It stayed in place, didn't leak, and didn't rust. What more could you ask for?

You're going to have to bondo the car back up one way or another and it seems like you have no shortage of other things to do. I wouldn't be adding unnecessary things to your to-do list :)

Hungary Bill
Hungary Bill GRM+ Memberand UberDork
2/2/17 11:05 a.m.

In reply to jfryjfry:

Yeah, as much as I hate to say it: Destroying the driver's side was just ignorance on my part. Doing the same to the passenger side would just be stupidity.

It's going to be hard for me not to mess with it though, and I'm not above being stupid (just lining up mu excuses in case I cant keep my hands off of it )

good times.

Mezzanine
Mezzanine HalfDork
2/2/17 2:53 p.m.

I'm on the road next week, but we need to make a date to pound some of this stuff out.

GRM all hands on deck for the weekend of the 11th of February? Bring your grinders, flap discs, PPE, sanding blocks, and enthusiasm!

Hungary Bill
Hungary Bill GRM+ Memberand UberDork
2/2/17 4:13 p.m.

I'm in for the tig, growlers, pizza, and project!

(not necessarily in that order)

I'm totally up for a GRM turn and burn if y'all want to swing in but it'd probably have to be on a week day. Our weekends are pretty booked up with house stuff and errands (for instance, part of our move requires us to get all sorts of disease testing done for anything ranging from HIV to a chest X-ray for tuberculosis... After that comes the FBI background check and I cant even imagine what comes after that.)

Good times
1 ... 24 25 26 27 28 ... 35

You'll need to log in to post.

Our Preferred Partners
LAdCN7Vq0QH93Cs4zEJzFIrZXI1P6eczzoy4N3FG8bc2E3ipVdSsdPmPrSxOxPgC