brainfart......
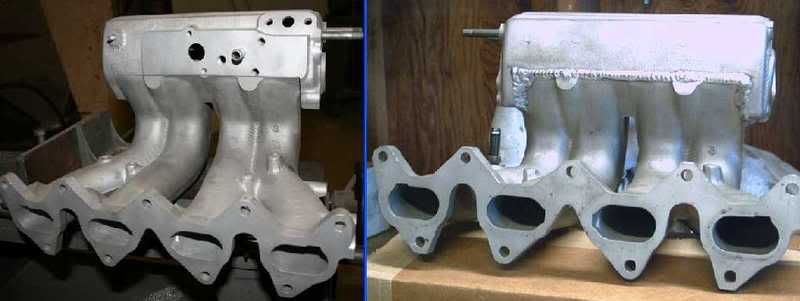
could you split the intake, and then flip it??
kinda like was done with a smallport 4AGE to fit rwd???

brainfart......
could you split the intake, and then flip it??
kinda like was done with a smallport 4AGE to fit rwd???


In reply to oldeskewltoy:
That would check a lot of boxes. It'd alleviate the oil filler issue (since the plenum would still be on the passenger side), I could use the stock air filter location, and it'd keep it relatively pretty...
Good call. I'll have to look at the manifold a bit closer and see exactly where the cuts would land.
Mezzanine: I hear ya. I was working this morning on the next portion of the engine bay to be painted. "One piece at a time...". Not very exciting, but necessary. I may also be hitting you up for some welding help with a steering damper (metal with rubber guts). It's safety related so I don't quite trust myself with the responsibility yet.
I finished spraying the last bit forward of the strut support on the passenger side of the engine bay (and finished my 3rd can of paint since the start) and I'm not quite sure yet how I'm going to go from there.
The section aft of the strut support has the vehicles "tags", and they look like they've already been painted once by a previous owner and then scrubbed...
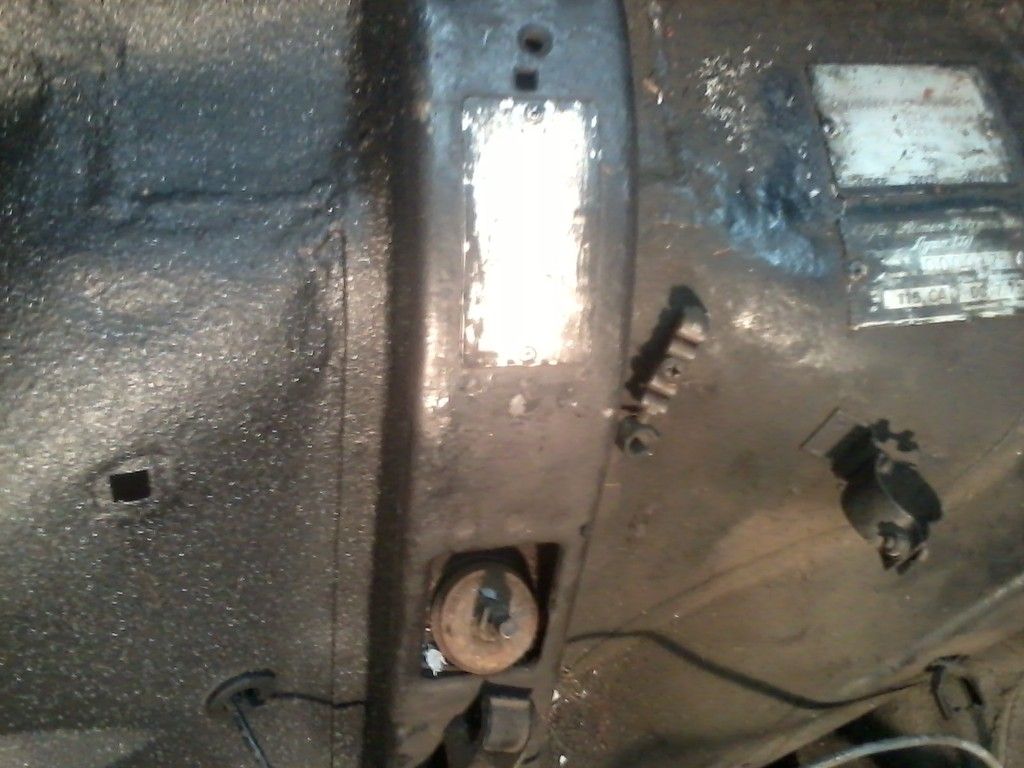
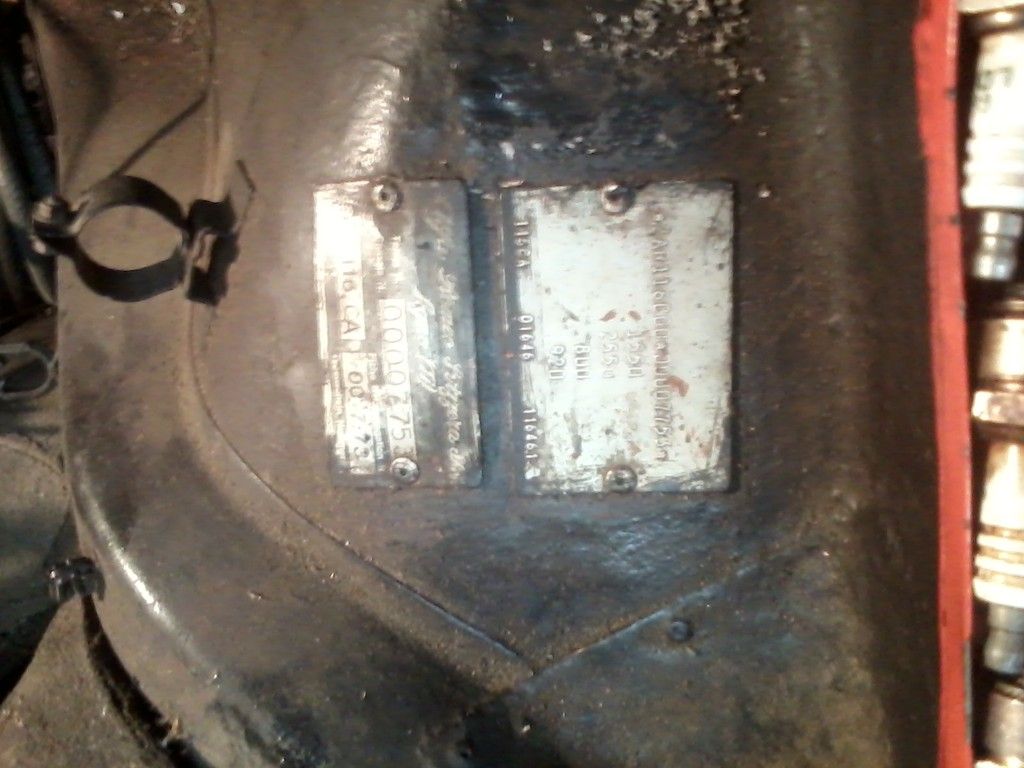
It's kind of trivial I know, but I'd like to see what I can do to make those "pretty" again. I doubt I could just order new ones, but maybe someone on the AlfaBB (or here) has an idea to clean these up or to get replacements. I'm thinking I may just drill out the rivets, move forward and reattach them later or something...
That one that's ON the strut support is completely blank, with the exception of a few stamped numbers that don't really seem to coincide with anything (VIN, etc). So I'm kind of curious about what that's for... (more to follow, I guess)
So, looking ahead while the paint dries: The insulation on the firewall was in AWFUL shape. It's not really something I thought could be saved, and at this very moment I'm thinking it's not something I'll be replacing either.
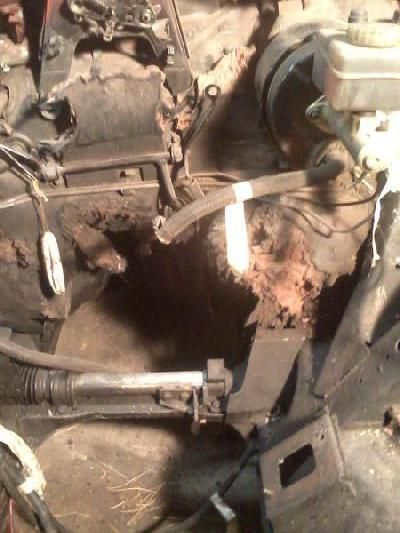
I did this with the assumption that there'd probably be a bit of heat transfer from the engine bay on into the cabin, but the armchair expert in me thinks I can get away with it. The darn stuff absolutely would NOT come off in one piece, so I ended up with a bunch of small pieces.
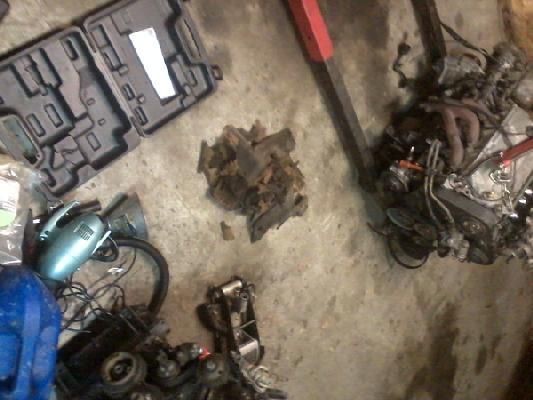
I really hope that's something I don't regret doing. I can see that whoever painted this bay last didn't bother removing it either because the paint behind the insulation was glossy black, and didn't look like undercoat that they were using. Seeing the black paint there has me wondering if this engine bay was always black, or if it was painted to match the rest of the car... meh, not that worried about it ![]()
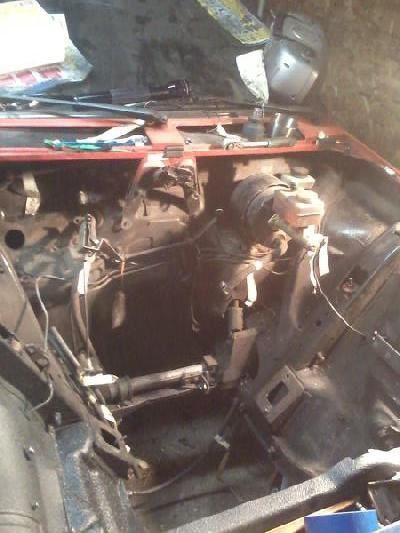
And that's where we leave off today ![]()
You can see where the paint is wet there at the bottom left of the picture. I'm thinking that until I figure out what I want to do with those tags I'll probably hold off on painting that area. I'm not really certain I want to start on the firewall as there's a LOT there that I need to remove before I go at it, so I'll probably move on to the driver's side (forward of the strut support) and start working my way back from there. I only have two cans left, so I think I may have exactly what I need to get that done before I order more.
Good times
Not sure on an alfa but the stamped tags affixed too the core support on foxbodys have stampings based on options, engine size, etc. Theres guys that decode them for fords.
Yeah, my first thought was color codes... is there a color code plaque somewhere else in there?
Kinda silly to speculate on this given the google could probably answer our question. /toolazy
meh, why google when you can make other people do the legwork for ya! ![]()
The consensus from Alfabb was "Those tags, are not typical for any North American car..."
Some of the stuff I can figure out. For instance one of the tags has the following stamped:
1780
2790
990
880
(or something to that effect) I think that's probably the weight of the vehicle (in kgs) probably curb weight, dry weight, front weight, back weight or something similar.
The other codes are "alfa" numeric (thank you, I'll be here all night). which I assume are the color codes, interior codes etc. But the paint thinner or whatever the POs used wiped all the ink on the tags away... Had I met my coffee requirement before I left the garage this morning I would have written everything down and done the googles, but alas. That'll have to wait until next time.
Really, it'd just be nice to know in case I have to go in for a State Patrol inspection, like I did the Impala, when I go to get it registered. Thinking along those lines, it may not be wise to put the 3-liter in her before all that happens... but then again, what would the fun in that be?
Good times ![]()
Hungary Bill wrote: Really, it'd just be nice to know in case I have to go in for a State Patrol inspection, like I did the Impala, when I go to get it registered. Thinking along those lines, it may not be wise to put the 3-liter in her before all that happens... but then again, what would the fun in that be?
WSP cares not at all about the difference between the old motor and the new one. No cares are given.
In reply to Rusted_Busted_Spit / Mezzanine:
That's what I was thinking ![]() Unless I specifically said "I got this engine out of such and such car" they'd probably just see "Alfa Romeo" on the valve covers / plenum and go "meh, it's good enough".
Unless I specifically said "I got this engine out of such and such car" they'd probably just see "Alfa Romeo" on the valve covers / plenum and go "meh, it's good enough".
Another 30-minute wrenching session before work:
To keep up with my ADD I decided to forgo the painting that still needs to be finished in the engine bay and move on to separating the engine I bought from the transmission it came with.
The bellhousing is pretty normal, but I noticed that one of the driveshafts runs right through the engine mount. This is a bit odd, especially as there are no flexible joints on the shaft so I'm really wondering how you're supposed to take this thing off.
The Catch-22? I cant separate the bell housing from the engine because this engine mount and drive shaft wont allow for movement back and forth. The bell housing wont allow for the side to side movement I need to get this darn mount off.
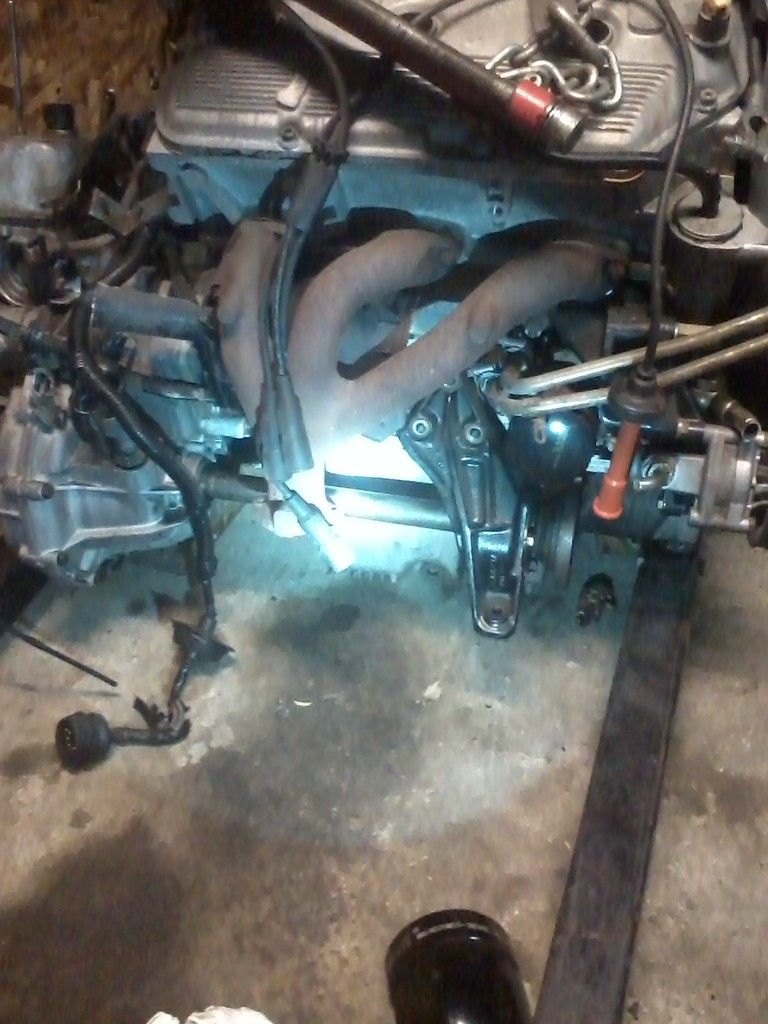
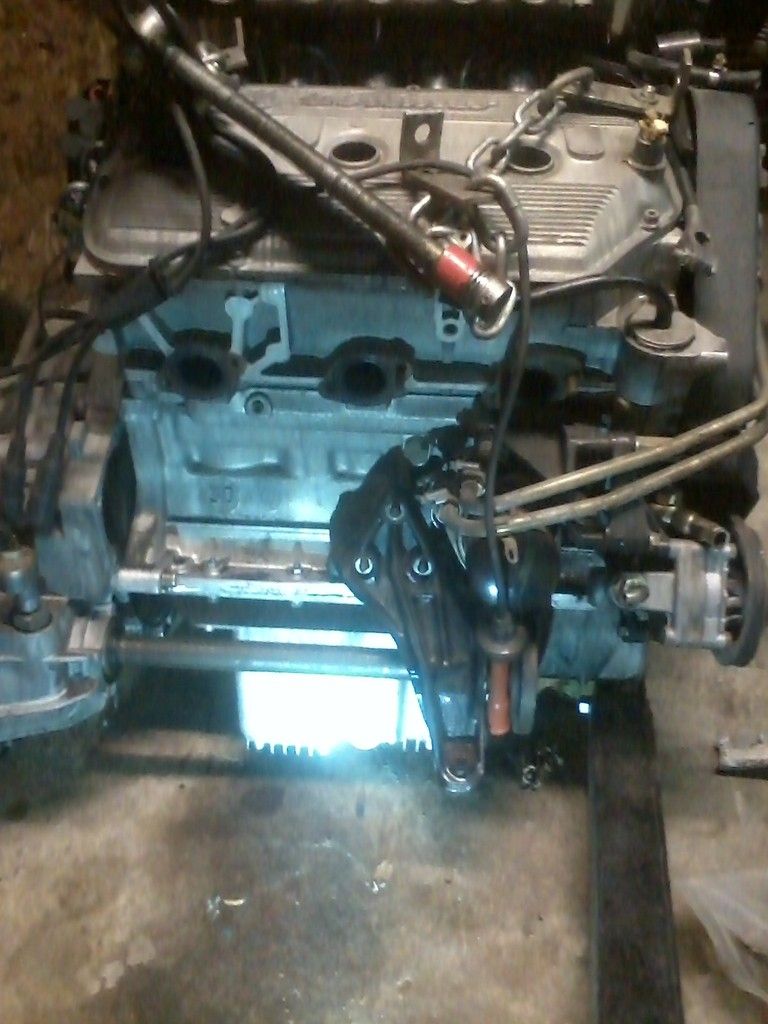
I started the usual way, removing bolts and surrounding ancillaries (like the exhaust manifold, and the starter). The starter's going to have to come off anyway while I pull the two apart, the exhaust manifold will probably go back on just to keep things from getting lost.
And then I just used the damn crow-bar.
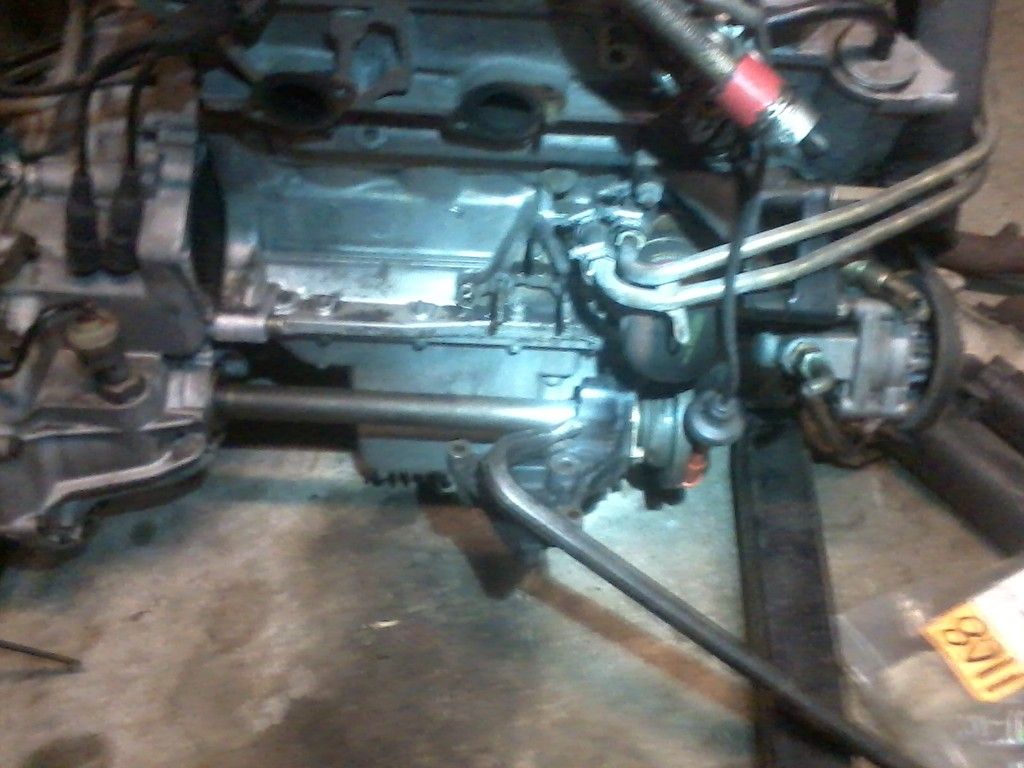
Ta-da!
aaaaaand we have separation!
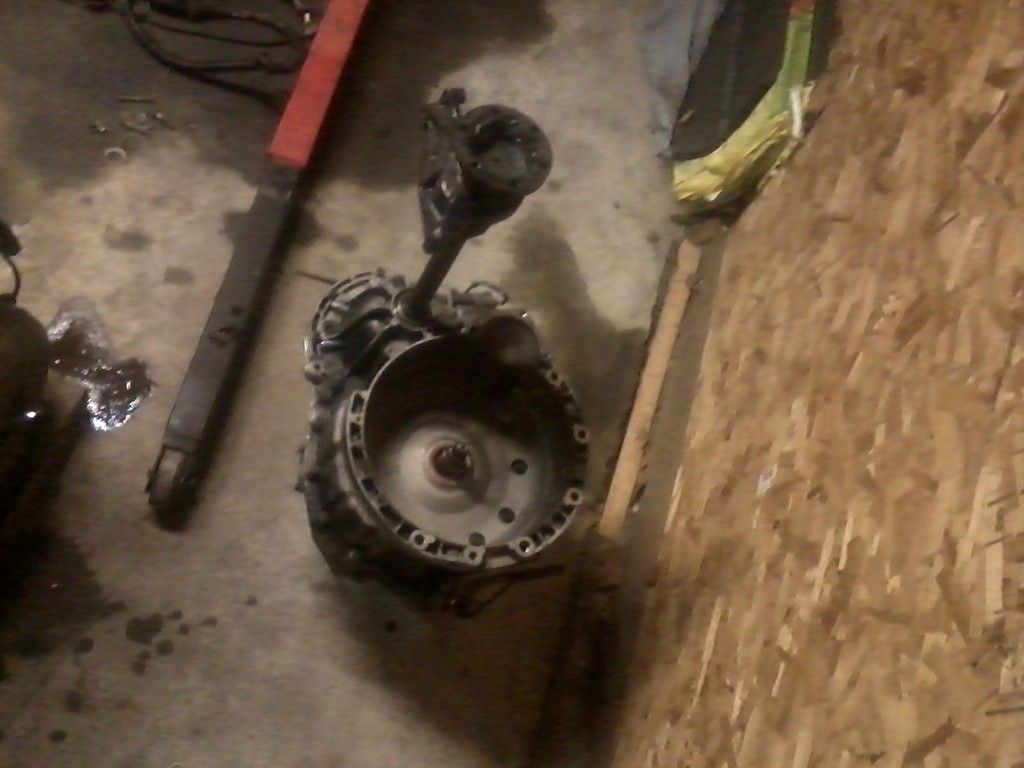
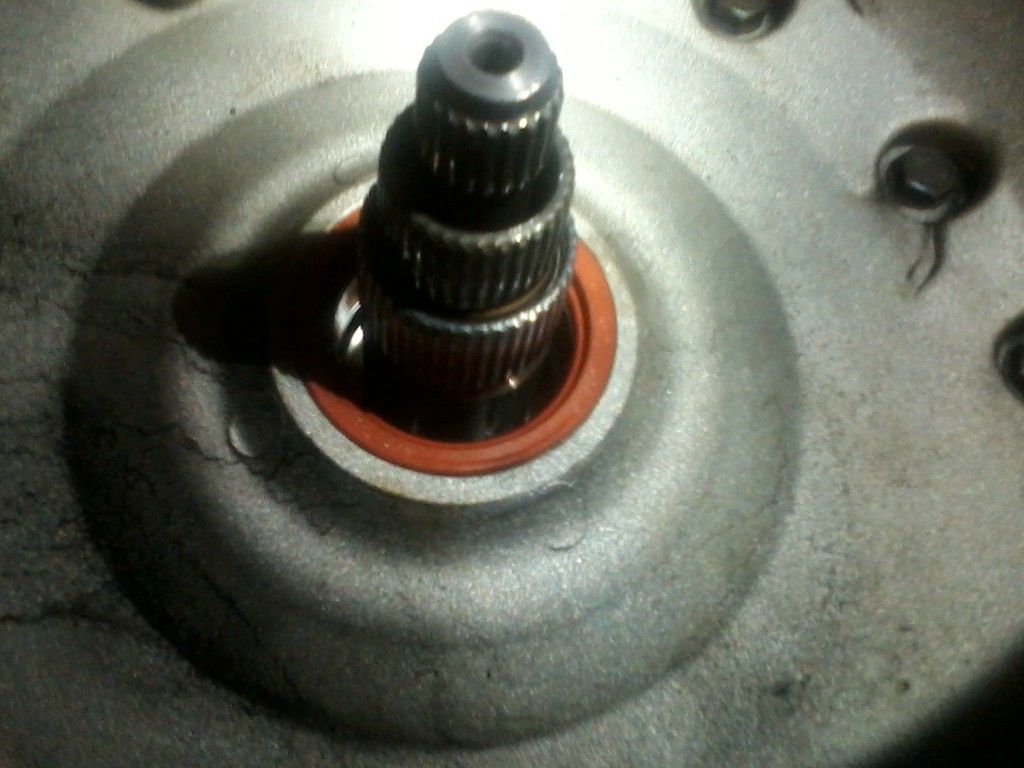
I've never seen an automatic transmission's input shaft before. That's pretty interesting!
(it's the simple things, aint it?)
I wanted to spin the various parts of the shaft and see what happens with it in gear, but time is short and I lack focus as it is...
I was, however, treated with this little gem (it's the filler cap for the transmission):
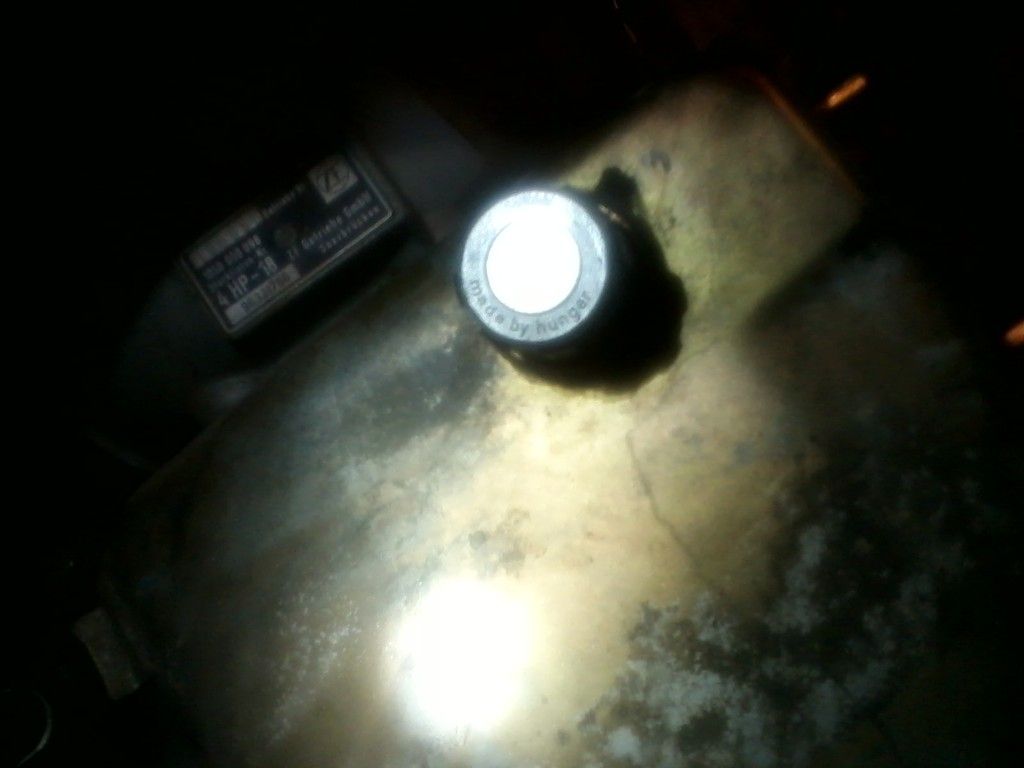
That's right: If you are driving an automatic Alfa Romeo 164, you are supporting the malnourishment of ZF transmission factory workers (probably children) and are a bad person.
So there ![]()
I'm going to put the transmission on craigslist and see if I can't get a little cash back on this purchase. failing that I had thoughts of trying to recycle the aluminum... Never tried that before and I don't really know what to expect (or even where to go!)
Good times
Hungary Bill wrote: I'm going to put the transmission on craigslist and see if I can't get a little cash back on this purchase.
you must belong to a few Alfa forums.... likely far better chance of selling it there..... or so I'd think
I took your advice and posted it on Alfabb (for free). I figure board members are entitled to a discount ![]()
I'll probably still put it on craigslist, just in case.
Well, that was quick! Looks like the transmission will be going to a gentleman on Alfabb in Blaine, Wa. He's going to install it in his friends 164 who's hit rough times and transmission issues all at once.
Oldskewl, I do believe you get credit for that one ![]()
Almost had it on the stand this morning. Unfortunately only two of the bellhousing bolts were long enough to make it through the stand mounts and into the block. I figured I should probably use more than that to hold this baby in place, and I thought I remembered once using bolts from my engine pulley puller kit to do the job, but there's no way those things were long enough. Anyhoo after work I'll be off to the hardware store, then hopefully I can get this baby pushed to the side and get the Impala back in her spot.
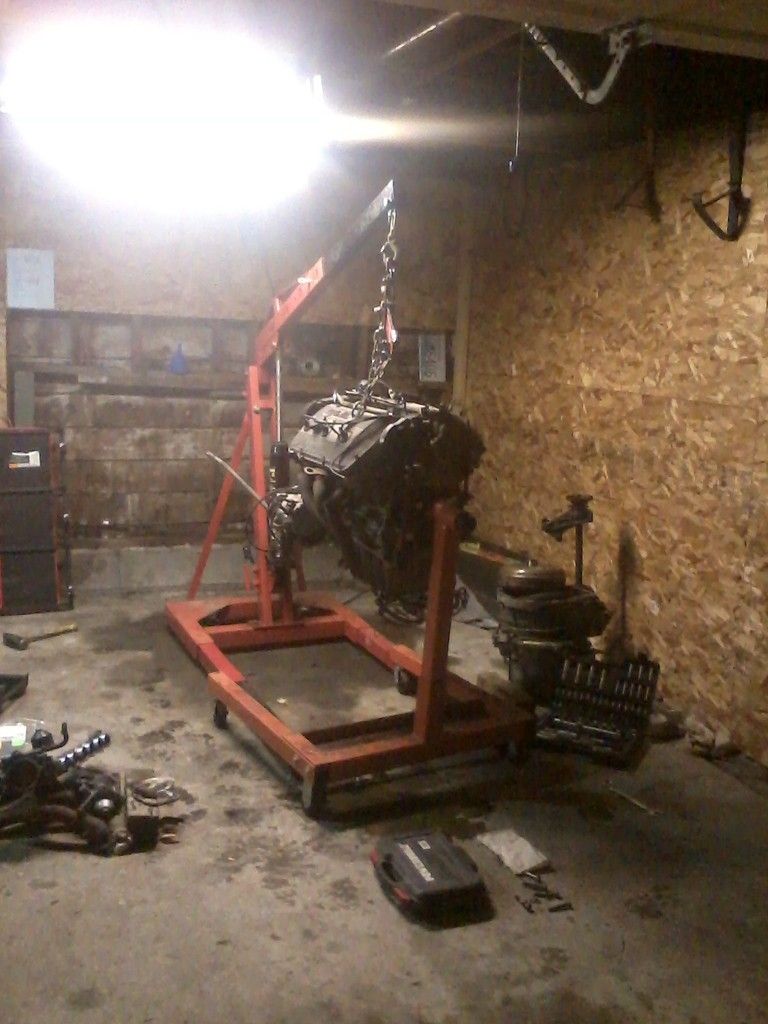
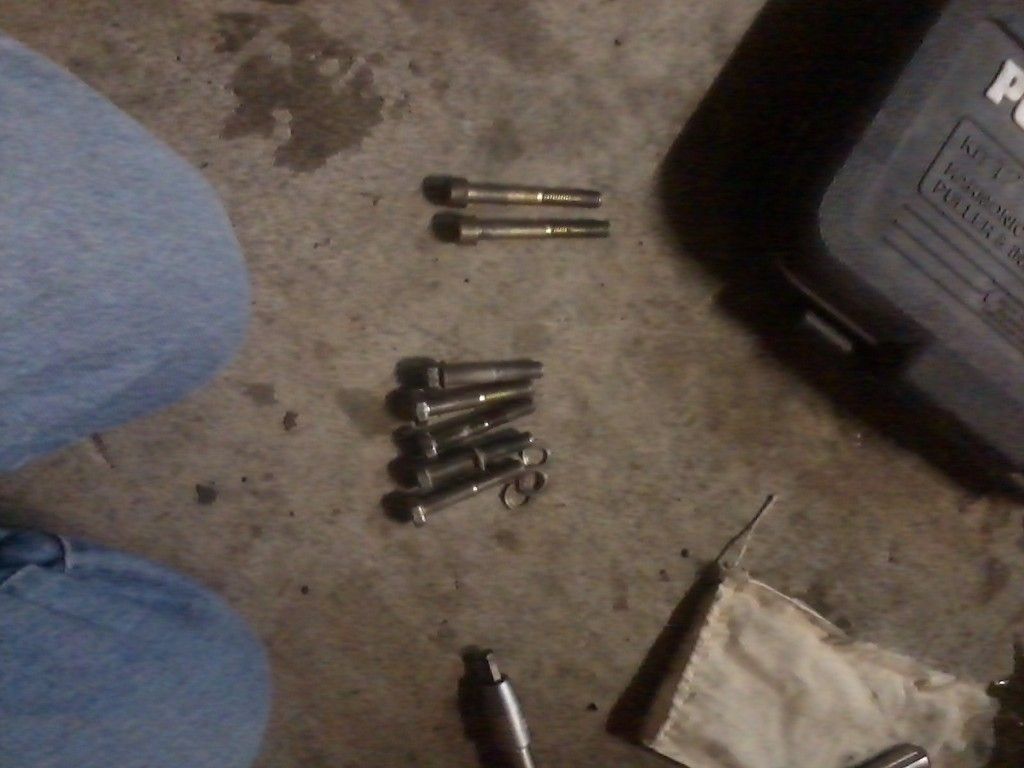
RossD wrote: As someone that has just painted their garage white, it makes everything brighter!
One of these days. One of these days... ![]()
The problem is, I have to quit spending money on cars, firearms, and alcohol long enough to save enough for a couple gallons of paint ![]()
Couldn't sleep last night. Kiddo woke me up at 1:30 and by 2:15 I decided to head out to the garage.
SO! I got the bolts I needed to get the engine up on the stand (yay!)
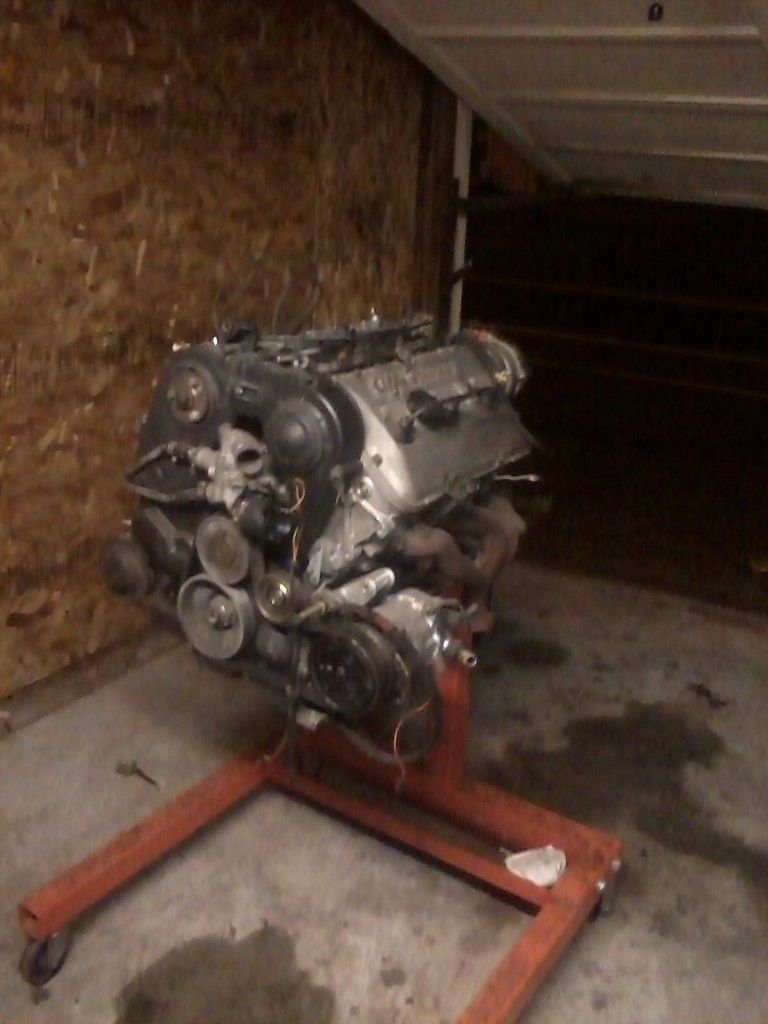
and I was happy to find that all the wiring on this beast was in SUPERB condition ![]()
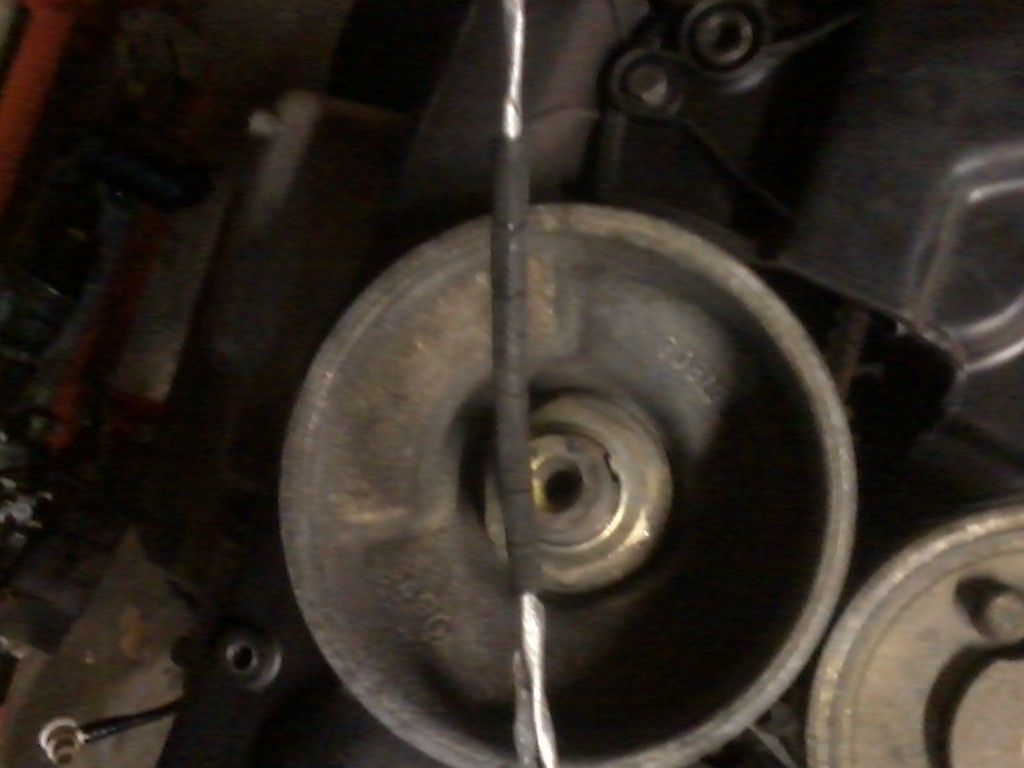
Aside from wondering how this thing could possibly run with that much interference being introduced, I actually got kind of excited when I saw the toothed wheel and VR sensor behind the crank pulley. With the 2.5L engine I was going to have to use the distributor's toothed wheel for Megasquirt RPM reference. I was thinking this toothed wheel would be much cooler, and then I could go "coil on plug", but alas. It looks like the pulley and toothed wheel are all one unit ![]()
So I started removing stuff! Taking a lesson I learned from the 2.5L, I ONLY started removing stuff I absolutely did not need, or could not use.
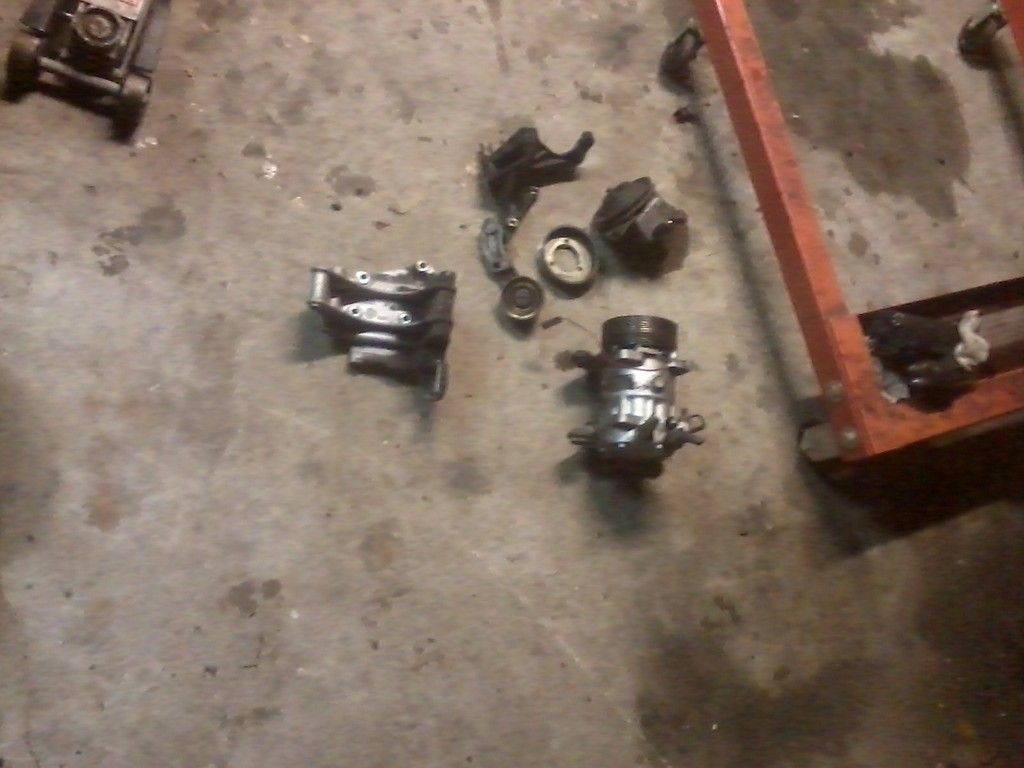
Like power steering and air conditioning (I call this part "weight reduction"!). I'm way too much man for both, and my car doesn't have facilities for either.
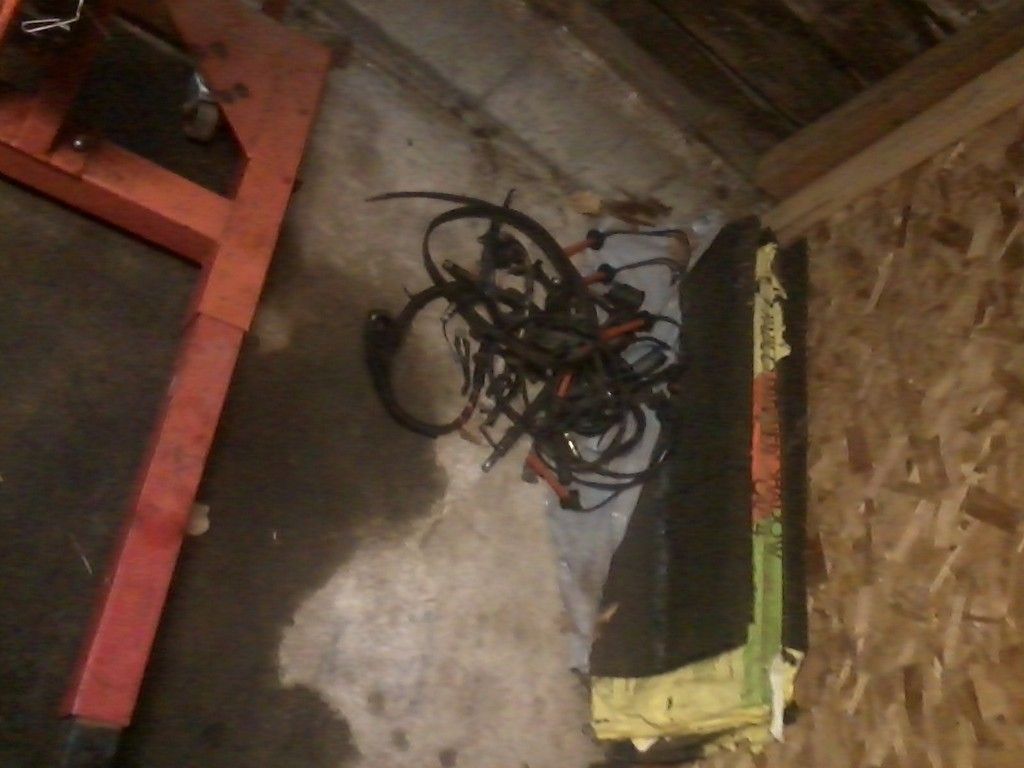
The other stuff I removed, I call "trash". Serpentine belts, chopped wires, cut hoses, etc etc etc. In the end, the pile looked like this:
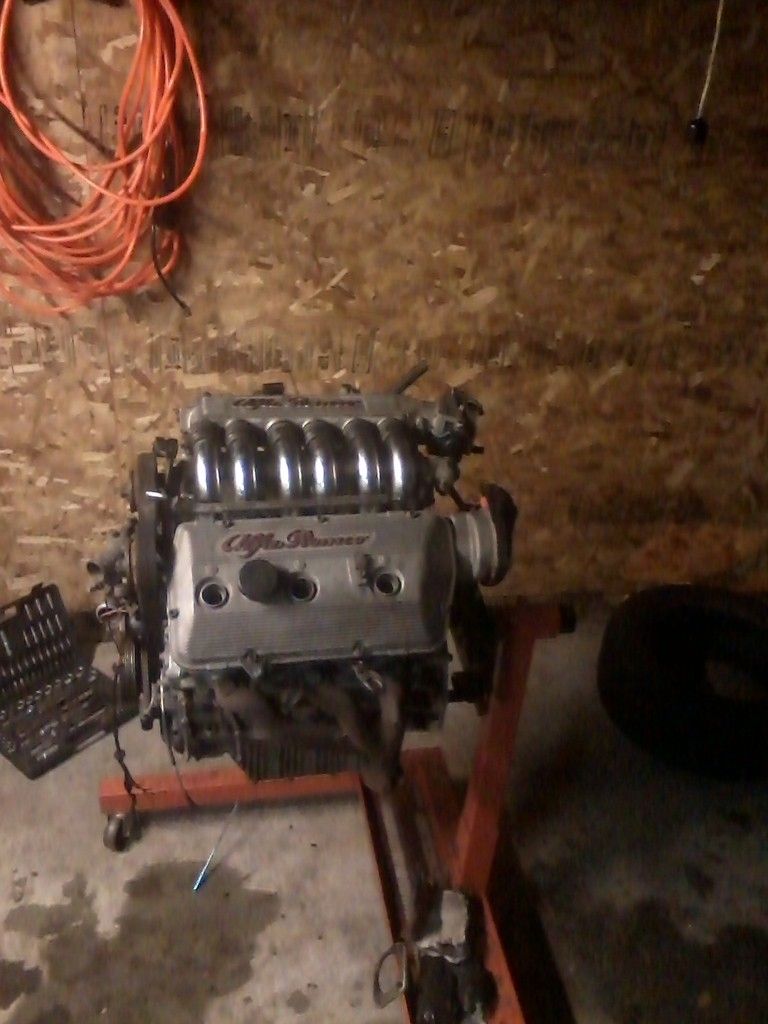
AND in the end, the engine looked like this! ![]() (and that's probably how she'll be looking for a while. I'm supposed to be working on the engine bay while it's still warm enough to paint, and it's high time I quit getting distracted by pretty engines)
(and that's probably how she'll be looking for a while. I'm supposed to be working on the engine bay while it's still warm enough to paint, and it's high time I quit getting distracted by pretty engines)
Not a bad morning in the garage. With some extra time I started cleaning up a bit. I moved stuff around, and really just tried to make room so I could park the Impala back in where she's supposed to be. I'll be honest though, I REALLY like having the room that empty bay gives me.
On a slightly sadder note, it was time for me to say goodbye to an old project I'd been hauling around with me. I found it in a barn in Texas and had dreams of turning it into a garage fridge, but alas...
Goodbye Kelvinator. (she's out on the curb if one of you wants to swing by and grab it ![]() )
)
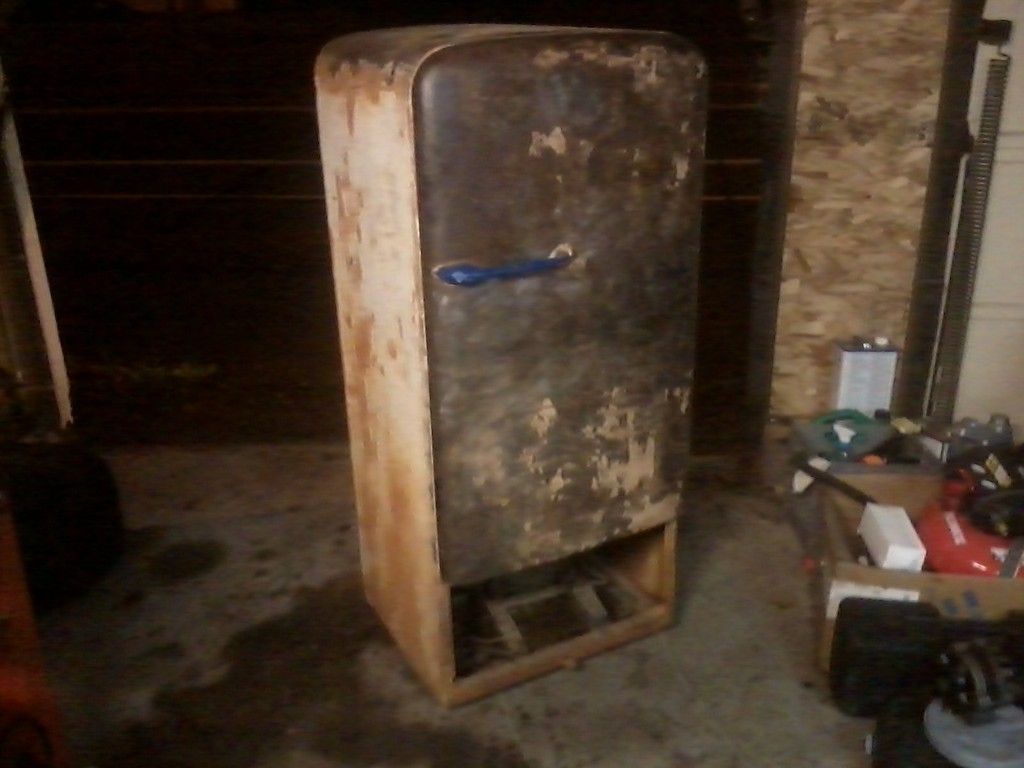
I'm thinking that what I've heard about scrap prices being "down" must be true, that darn fridge is STILL out in front of my garage! Even the box of used bras didn't make it on the curb THIS long. (See Toyota thread for details).
Another 2am wake up, I didn't even try to go back to sleep. Instead I went back out to spray the engine bay some more.
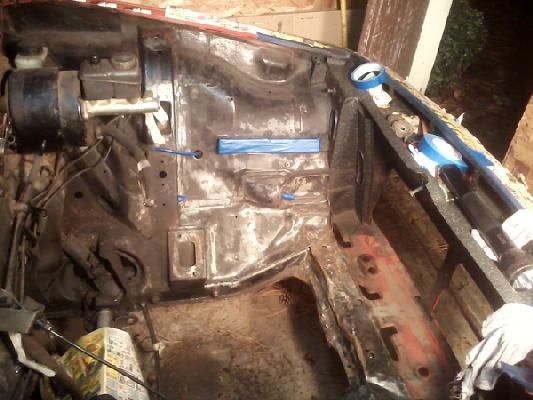
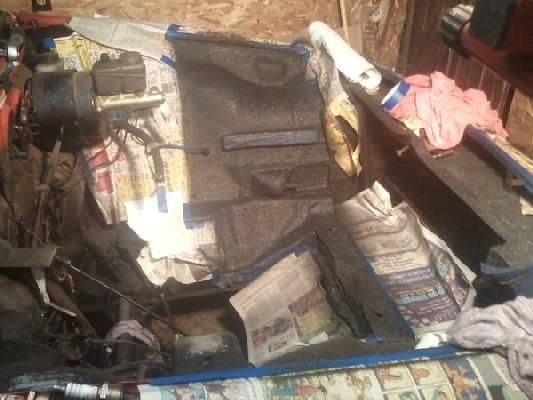
That's one can of paint. It still needs touching up (it's a little light in some areas) so that'll probably be it for my remaining can. I figure I can order about 4 more and I should have it done. That'll probably wait till about spring though. I figure by the time the paint gets here it'll probably be too cold in the mornings to spray it. Besides, I have that pretty engine to play with.
This stuff is kind of weird to use. It took me a couple cans, but I've found that the best way to do it is to spray a SUPER light coat and let it get tacky. Then spray the everloving heck out of it. Seems to work ![]()
Good times.
There may be some scheduling and budget changes coming down the pipe soon that will require this thing to be on the road a little sooner than planned. Mrs. Hungary and I are working out the details, I'll let you guys know as soon as we get something figured out ![]()
Put a sign with a price on it on the fridge. Say $10 or $20. It'll disappear quickly. At least that works around here.
Did you decide what you are doing for a flywheel yet? There are 2 possibilities for the crankshaft threads on those, the earlier ones you can either use the stock flywheel and bolts or a milano verde/75 3.0 America flywheel and bolts, the newer ones are the same except you have to have the bolts custom made since they don't exist as a stock size anywhere.
I hate to be the Safety Jerk, but remove the locking mechanism on that fridge door if it's going to be at the curb, especially on Halloween. Around here, the dump won't even take an old fridge if it's got a locking door. Kids get inside and, well, you know where the story goes from there...
Woody wrote: I hate to be the Safety Jerk, but remove the locking mechanism on that fridge door if it's going to be at the curb, especially on Halloween. Around here, the dump won't even take an old fridge if it's got a locking door. Kids get inside and, well, you know where the story goes from there...
Hadn't even thought of that. good call
In reply to Travis_K:
For the flywheel I'm thinking I'll use the stock 2.5 unit. I understand there might be a 4mm spacer needed to get the ring gear to contact the starter correctly but haven't tried to set everything together yet to see. At this point I'm assuming the ring gear must just catch the starter gear and the spacer pushes the flywheel out a bit to prevent that. I'm also told that those bellhousing bolts are going to be a BEAR to get in because this crank is 4mm shorter than the 2.5 unit.
I finished the last coat of splatter paint on the engine bay this morning. I have a few things on the list for this week that I'd like to do so I can get the Impala back into the garage (it's raining a lot, and 4-door hardtops have lots of places to let in moisture...)
finish stud removal on engines, and install the 2.5's engine mounts
remove 3L exhaust manifolds and compare the port dimensions to the 2.5 heads / manifolds. The object being to see whether or not they'll bolt right up, or if I need to start searching the aftermarket
Once that's done (keep in mind, this is done at a rate of a half an hour a day) I'll pull the Impala in and start work on replacing the entire chassis wiring harness and addressing a weak spot on the steering shaft. More to follow on those though.
This project is becoming a bit "consuming". I'm starting to find myself craving Alfa time, and if I don't get it I start getting irritated...
it's like I'm feeding an addiction ![]()
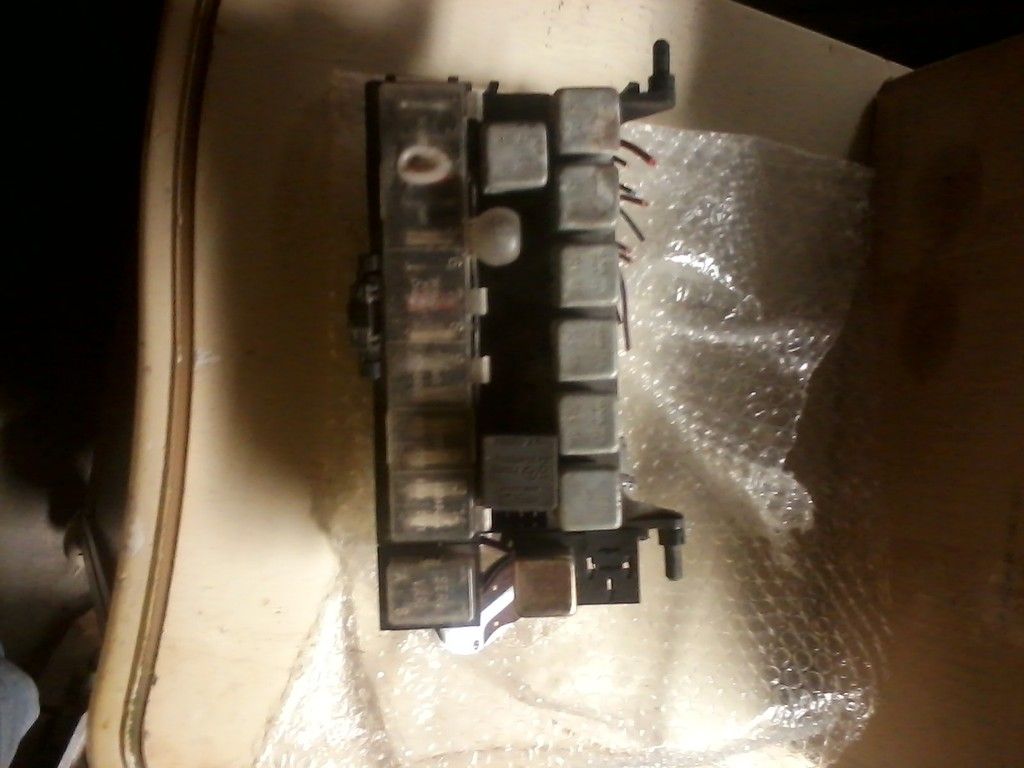
I set my alarm to go off an hour before the rest of the house woke up on Sunday. My idea was I'd run down to the basement and dig through the "Alfa Parts Warehouse" and pull out a few things to keep me busy in the garage before breakfast. Mainly a new fuse box (bought to replace my melted one), a 2.5-liter distributor, oil pump, and distributor drive gear.
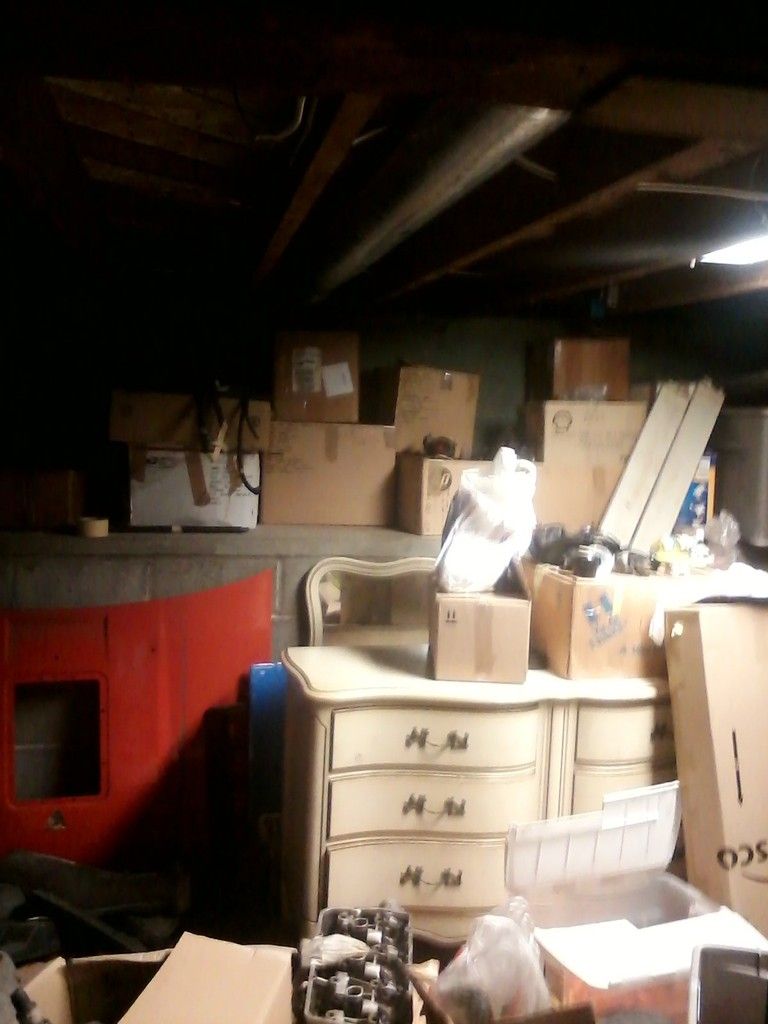
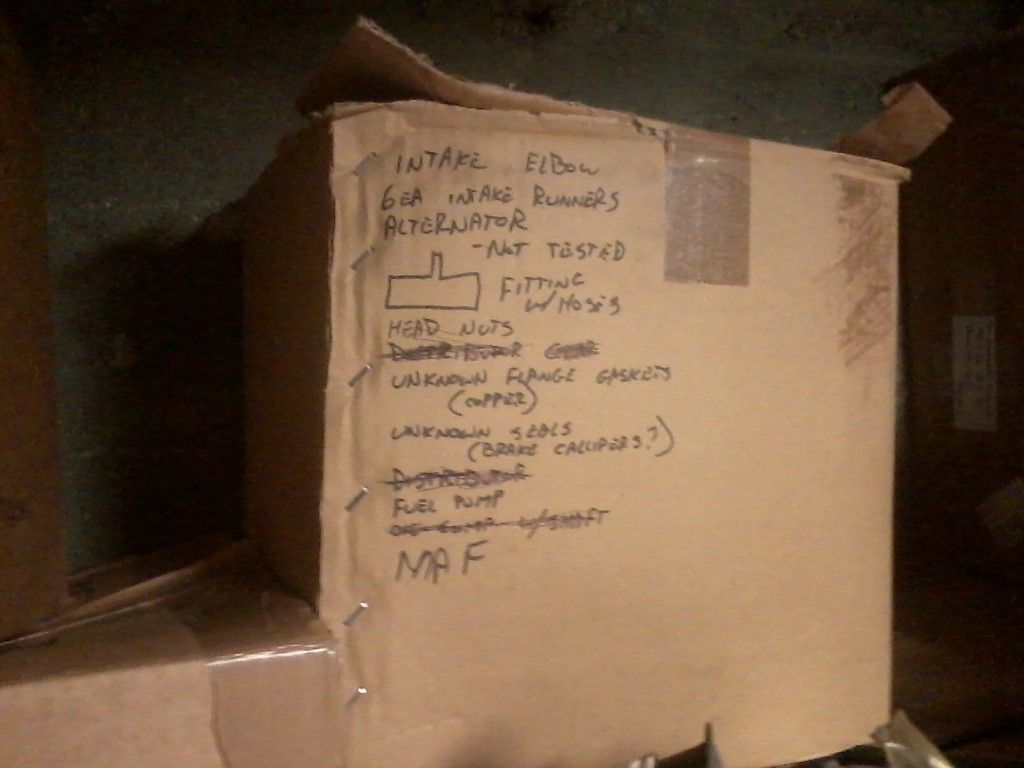
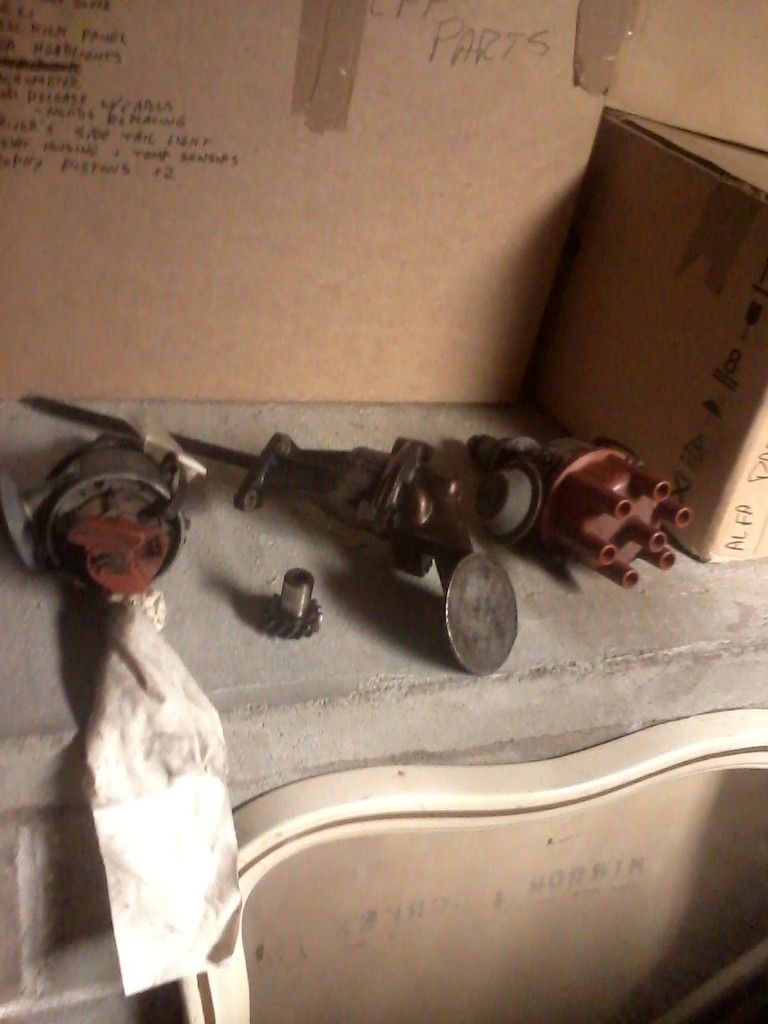
The oil pump, and the distributor with the cap still on it were part of a car-load of parts that were given to me with this car. The distributor without the cap was removed from my 2.5l that was in my car and running. I pulled them out of storage to change the oiling system and distributor location on the 3-liter that's slated for install. Alfa moved the distributor location to the back of one of the heads on the 3-liter (and subsequently the oil pump and drive) and installed a blank-off plate in the old distributor location.
I love Alfa for this. That means everything I need to make the change is already in place for me ![]() All was going well, until the youngest Hungarling failed to adapt correctly to the time change (fall back an hour).
All was going well, until the youngest Hungarling failed to adapt correctly to the time change (fall back an hour).
Poor guy.
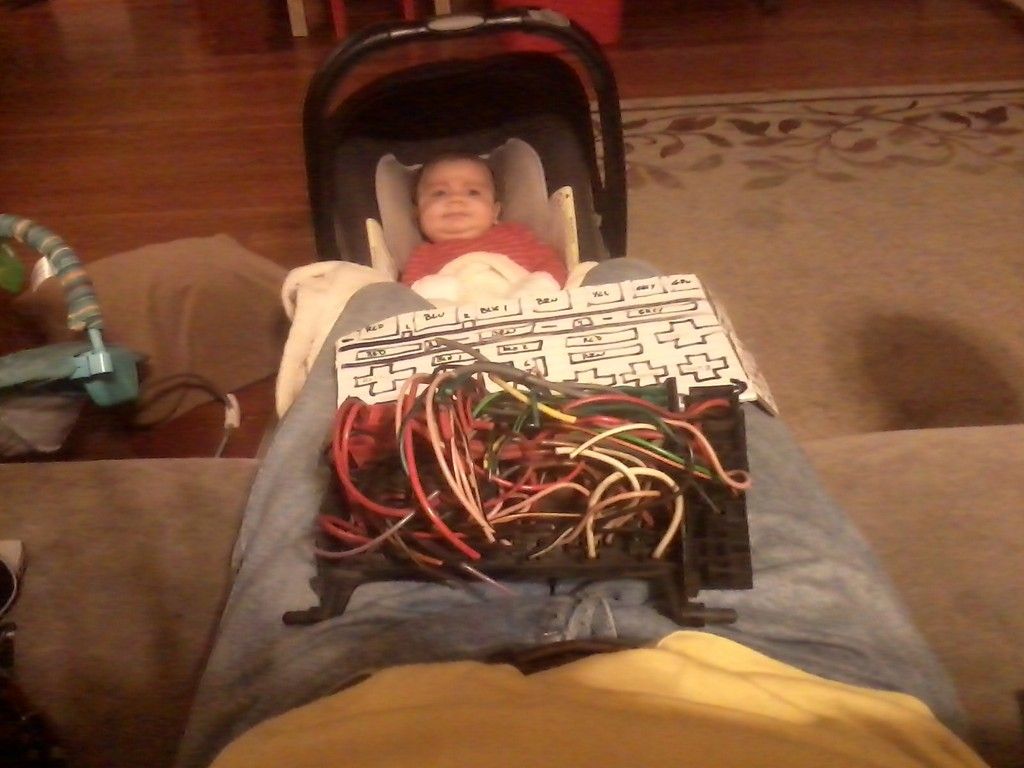
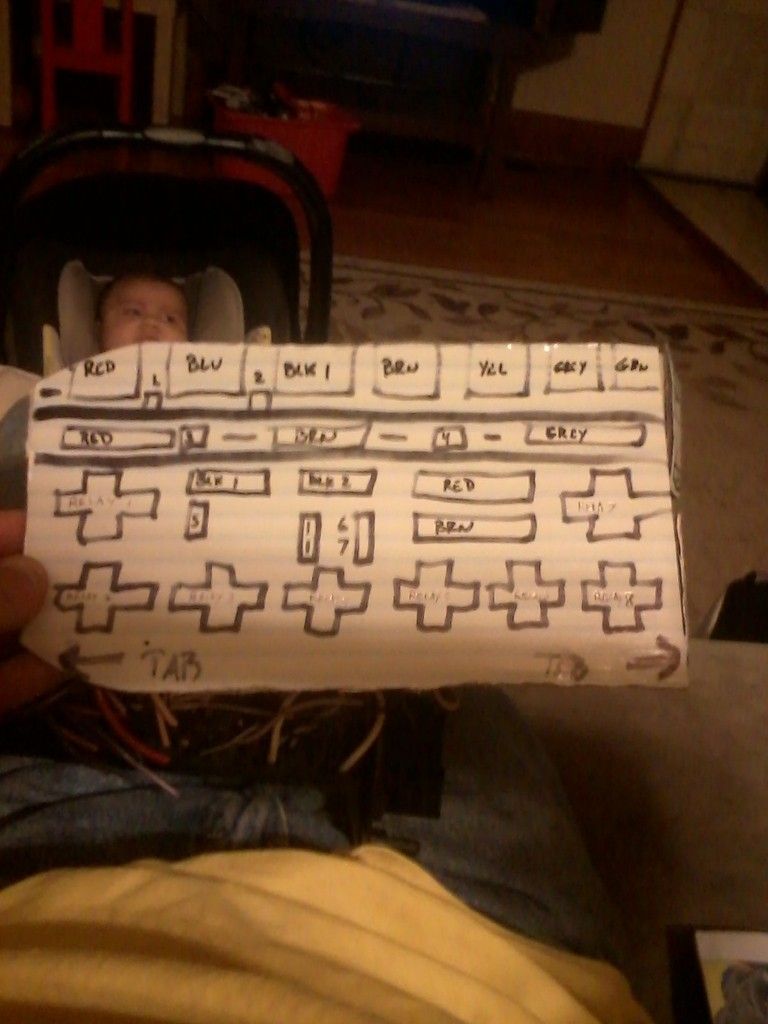
So I put on "Cars 2" and talked him through how to map out the fuse box. I used the connector shapes and colors as they seemed easiest to distinguish. The fuse box as well as the entire chassis wiring harness is going to need to be changed. It being a bit cold in the garage for the kiddo, I figured doing this was the next best thing ![]()
Good times. ![]()
You'll need to log in to post.