Previous total:
Car: 400
Trans mount: 35.35
Trans filter: 5.79
Rear trans seal: 3.99
Trans fluid: 23
Exhaust: 100
Intercooler: 100
Intake: 50
Stereo harness: 6
Storage cubby: 25
Crossmember/suspension/column/grille:234.61
Swaybar/control arm bushings/ heat shield: 55.30
This update:
I returned all the pullapart parts, so remove all that from the budget except 25.51 swaybar
Removed intake and intercooler from budget for now, as no intent to use
Roni sent me a free trans mount with an insert in it, so remove the trans mount cost. I also got one with the parts car!
My half of the Parts car: 225
Rock auto order (minus stuff that wont be in the car at the challenge, listed in the actual update): 304.90
Nicopp: 29.99
Brake Unions:5.00
Exhaust gaskets: 31.59
Gauges and pillar pod (had) 20 fmv
Silicone Hose kit: 42.31
Rustoleum: 9.98
New total: 1258.06
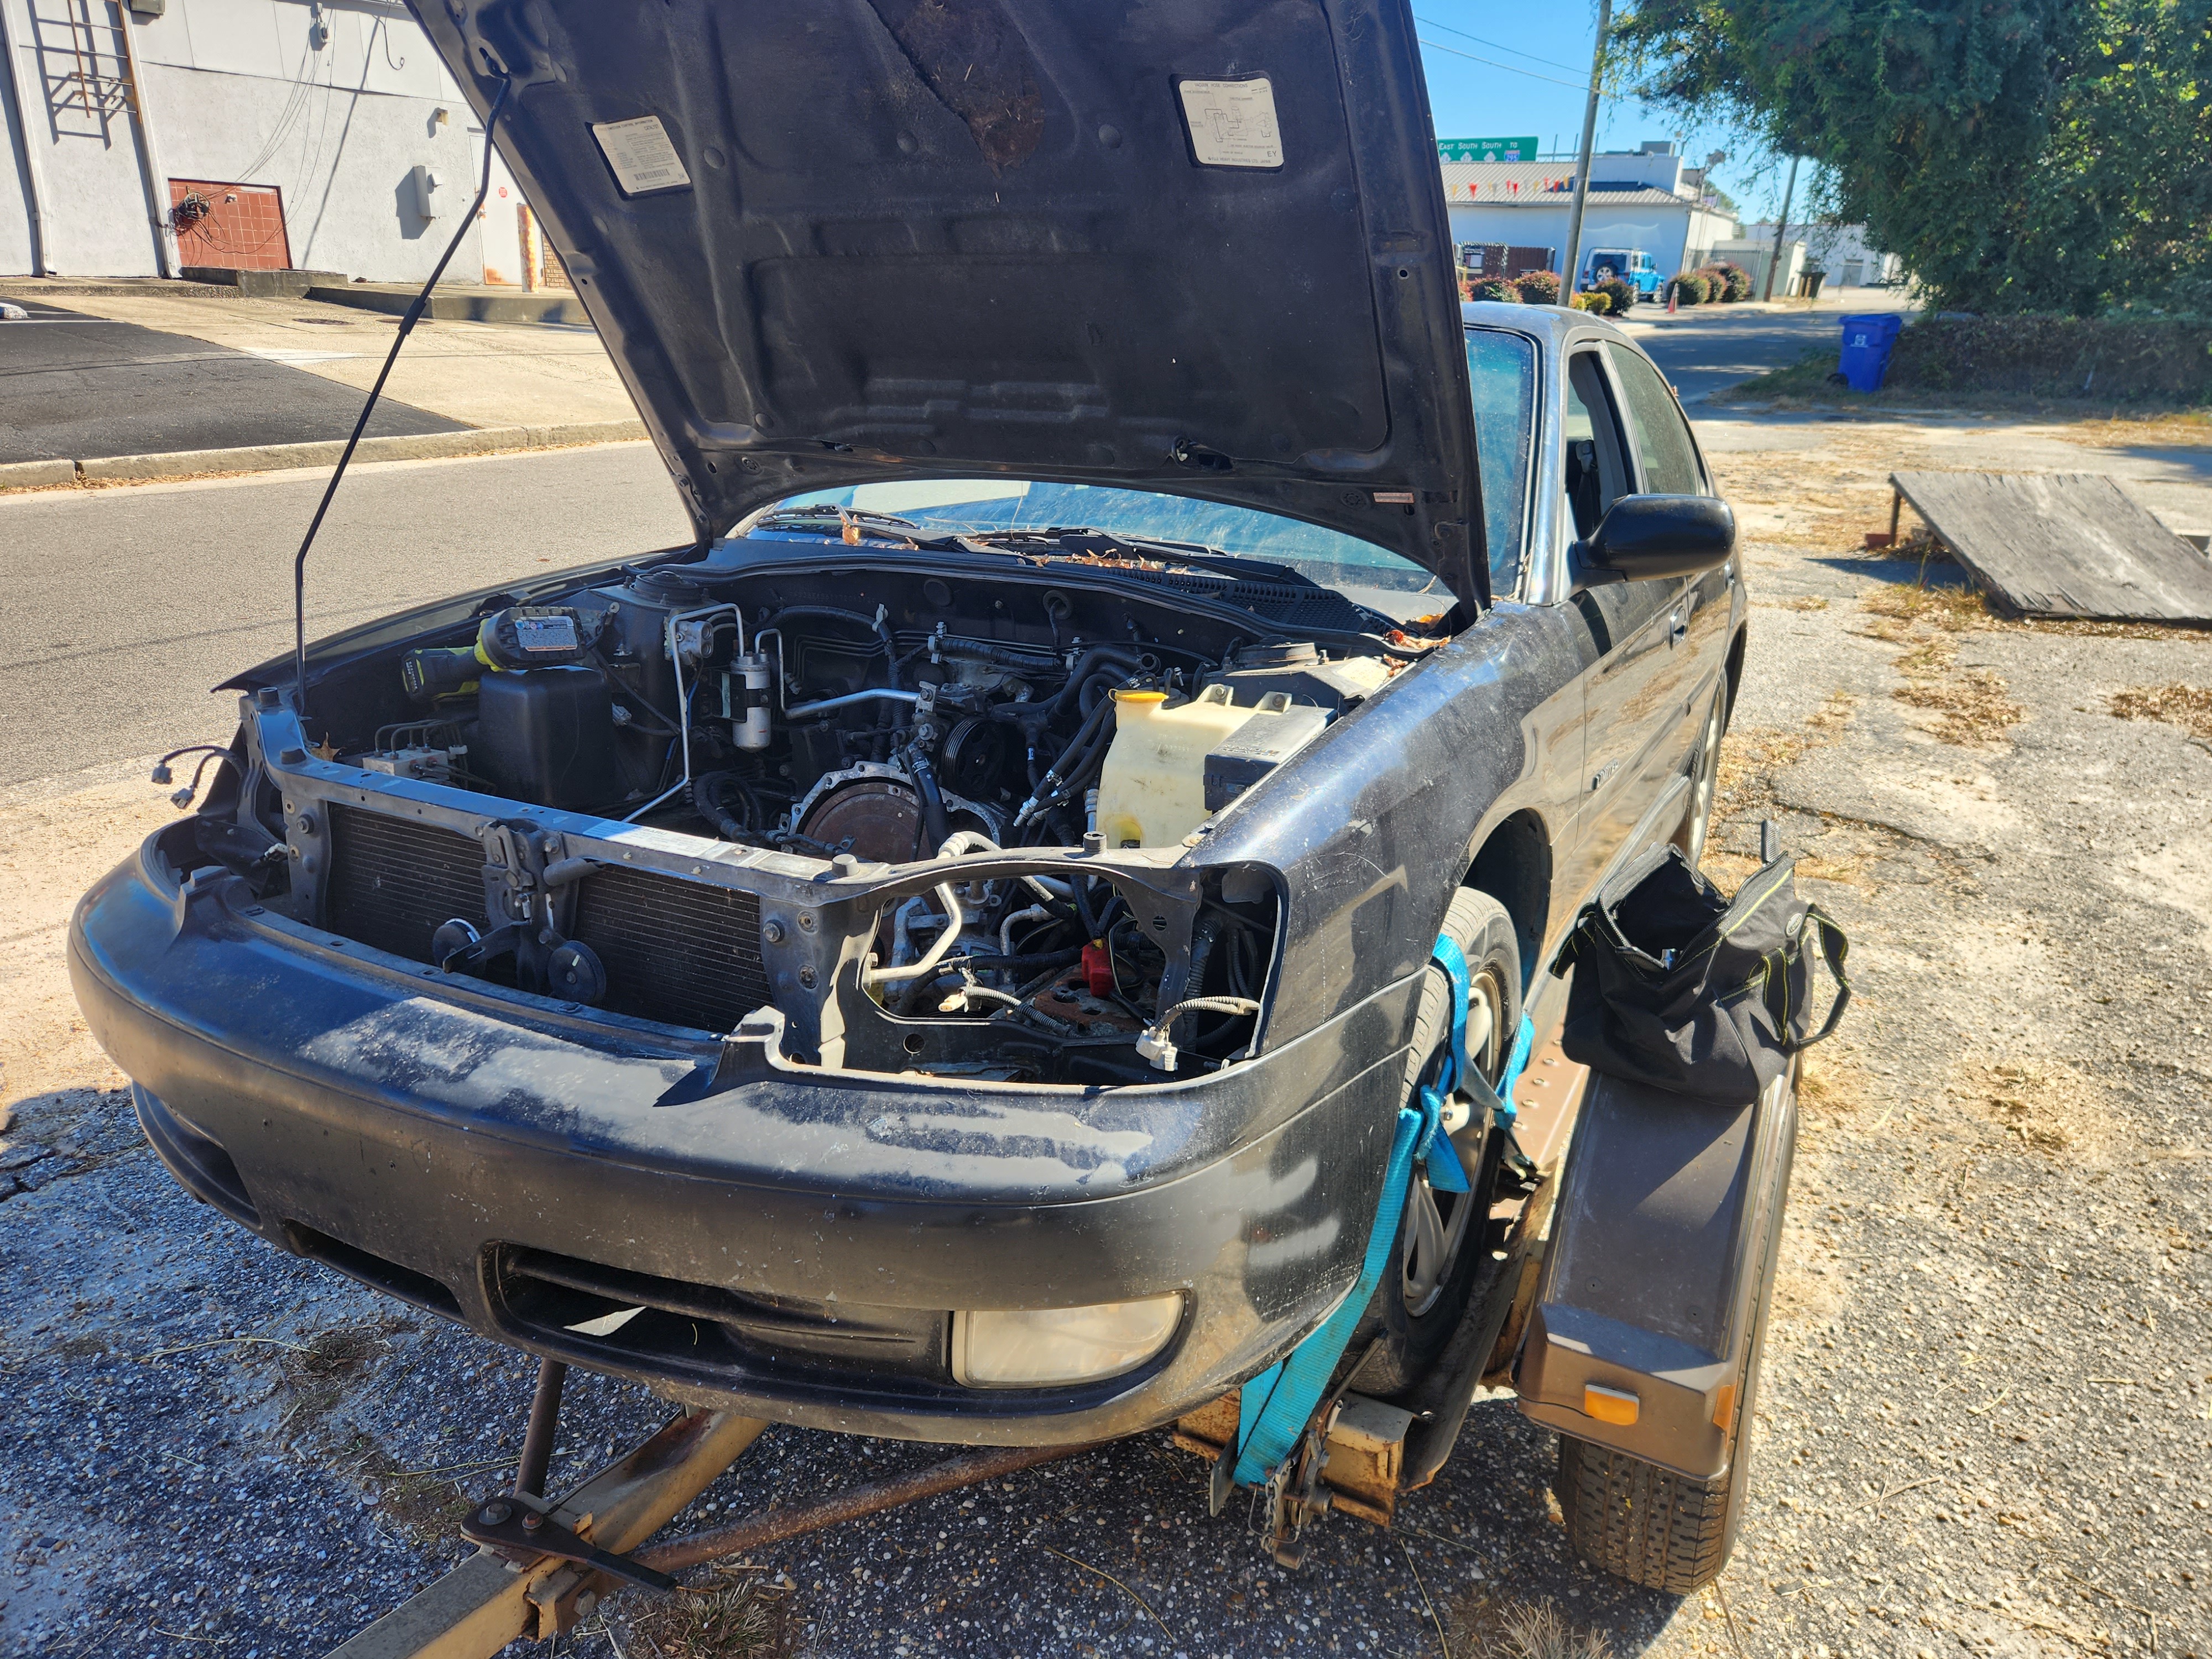
So, when we left off I thought I had the trans leak fixed, and the car was soldiering on as a rolling project. That was a couple months ago. It got pressed into daily driver duty for the wife while I had her van down, covering about 3k before it popped a brake line. At that point, I pulled it offline for proper repairs. Looking at it, it seemed that to do the brake lines right involved dropping the crossmember, so I anticipated doing both jobs at one time.
And then my friend brett called me with a 2001 legacy 2.5gt parts car deal that he found. 450 for the whole car. He needed the drivetrain for his legacy (building an earlier legacy with a Frankenstein 2.5 swap for the challenge) and I could return ALL my pullapart parts and replace them for 225, thereby saving money while investing more effort. Well, all except the b9 tribeca front sway bar.
As Deadpool has taught us since I was a lad reading his comics, its all about maximum effort.
So we went to Fayetteville, paid our money, and took our chances.
 Screenshot_20231102_210405_Facebook by Michael Crawford, on Flickr
 20231104_133842 by Michael Crawford, on Flickr
Got it home, and gutted it for all its worth. I kept all the suspension, interior, brakes, front lights, hood, etc. all the stuff that I could MAYBE use on the baja, including cv axles, while brett got all the wiring, computers, engine trans, etc. we then traded the leftovers to my scrap guy for used tires. A set of nearly new 205/55/16 for the gt snowflakes, a set of well loved 275/40/17 for my sawblades, and a set of 215/50/17 for the srt4 wheels. We’ll get to the wheel whoring in a while, so keep that thought.
Anyway, stripping went like this…
 20231128_170220 by Michael Crawford, on Flickr
 20231128_170157 by Michael Crawford, on Flickr
 20231128_170501 by Michael Crawford, on Flickr
 20231203_072709 by Michael Crawford, on Flickr
 20231206_072002 by Michael Crawford, on Flickr
 20231208_120456 by Michael Crawford, on Flickr
 20231208_122259 by Michael Crawford, on Flickr
Not shown is that I saved all the hardware, all the interior, the front and rear impact beams, all the bulbs, etc. everything I could think of for reuse in my car for challenge budget savings. This thing even had a newish radiator in the trunk, an underseat sub, decent headlights up front, and good heater hoses! Like I said, I saved EVERYTHING I thought I could use, and now its clogging up my shop and storage.
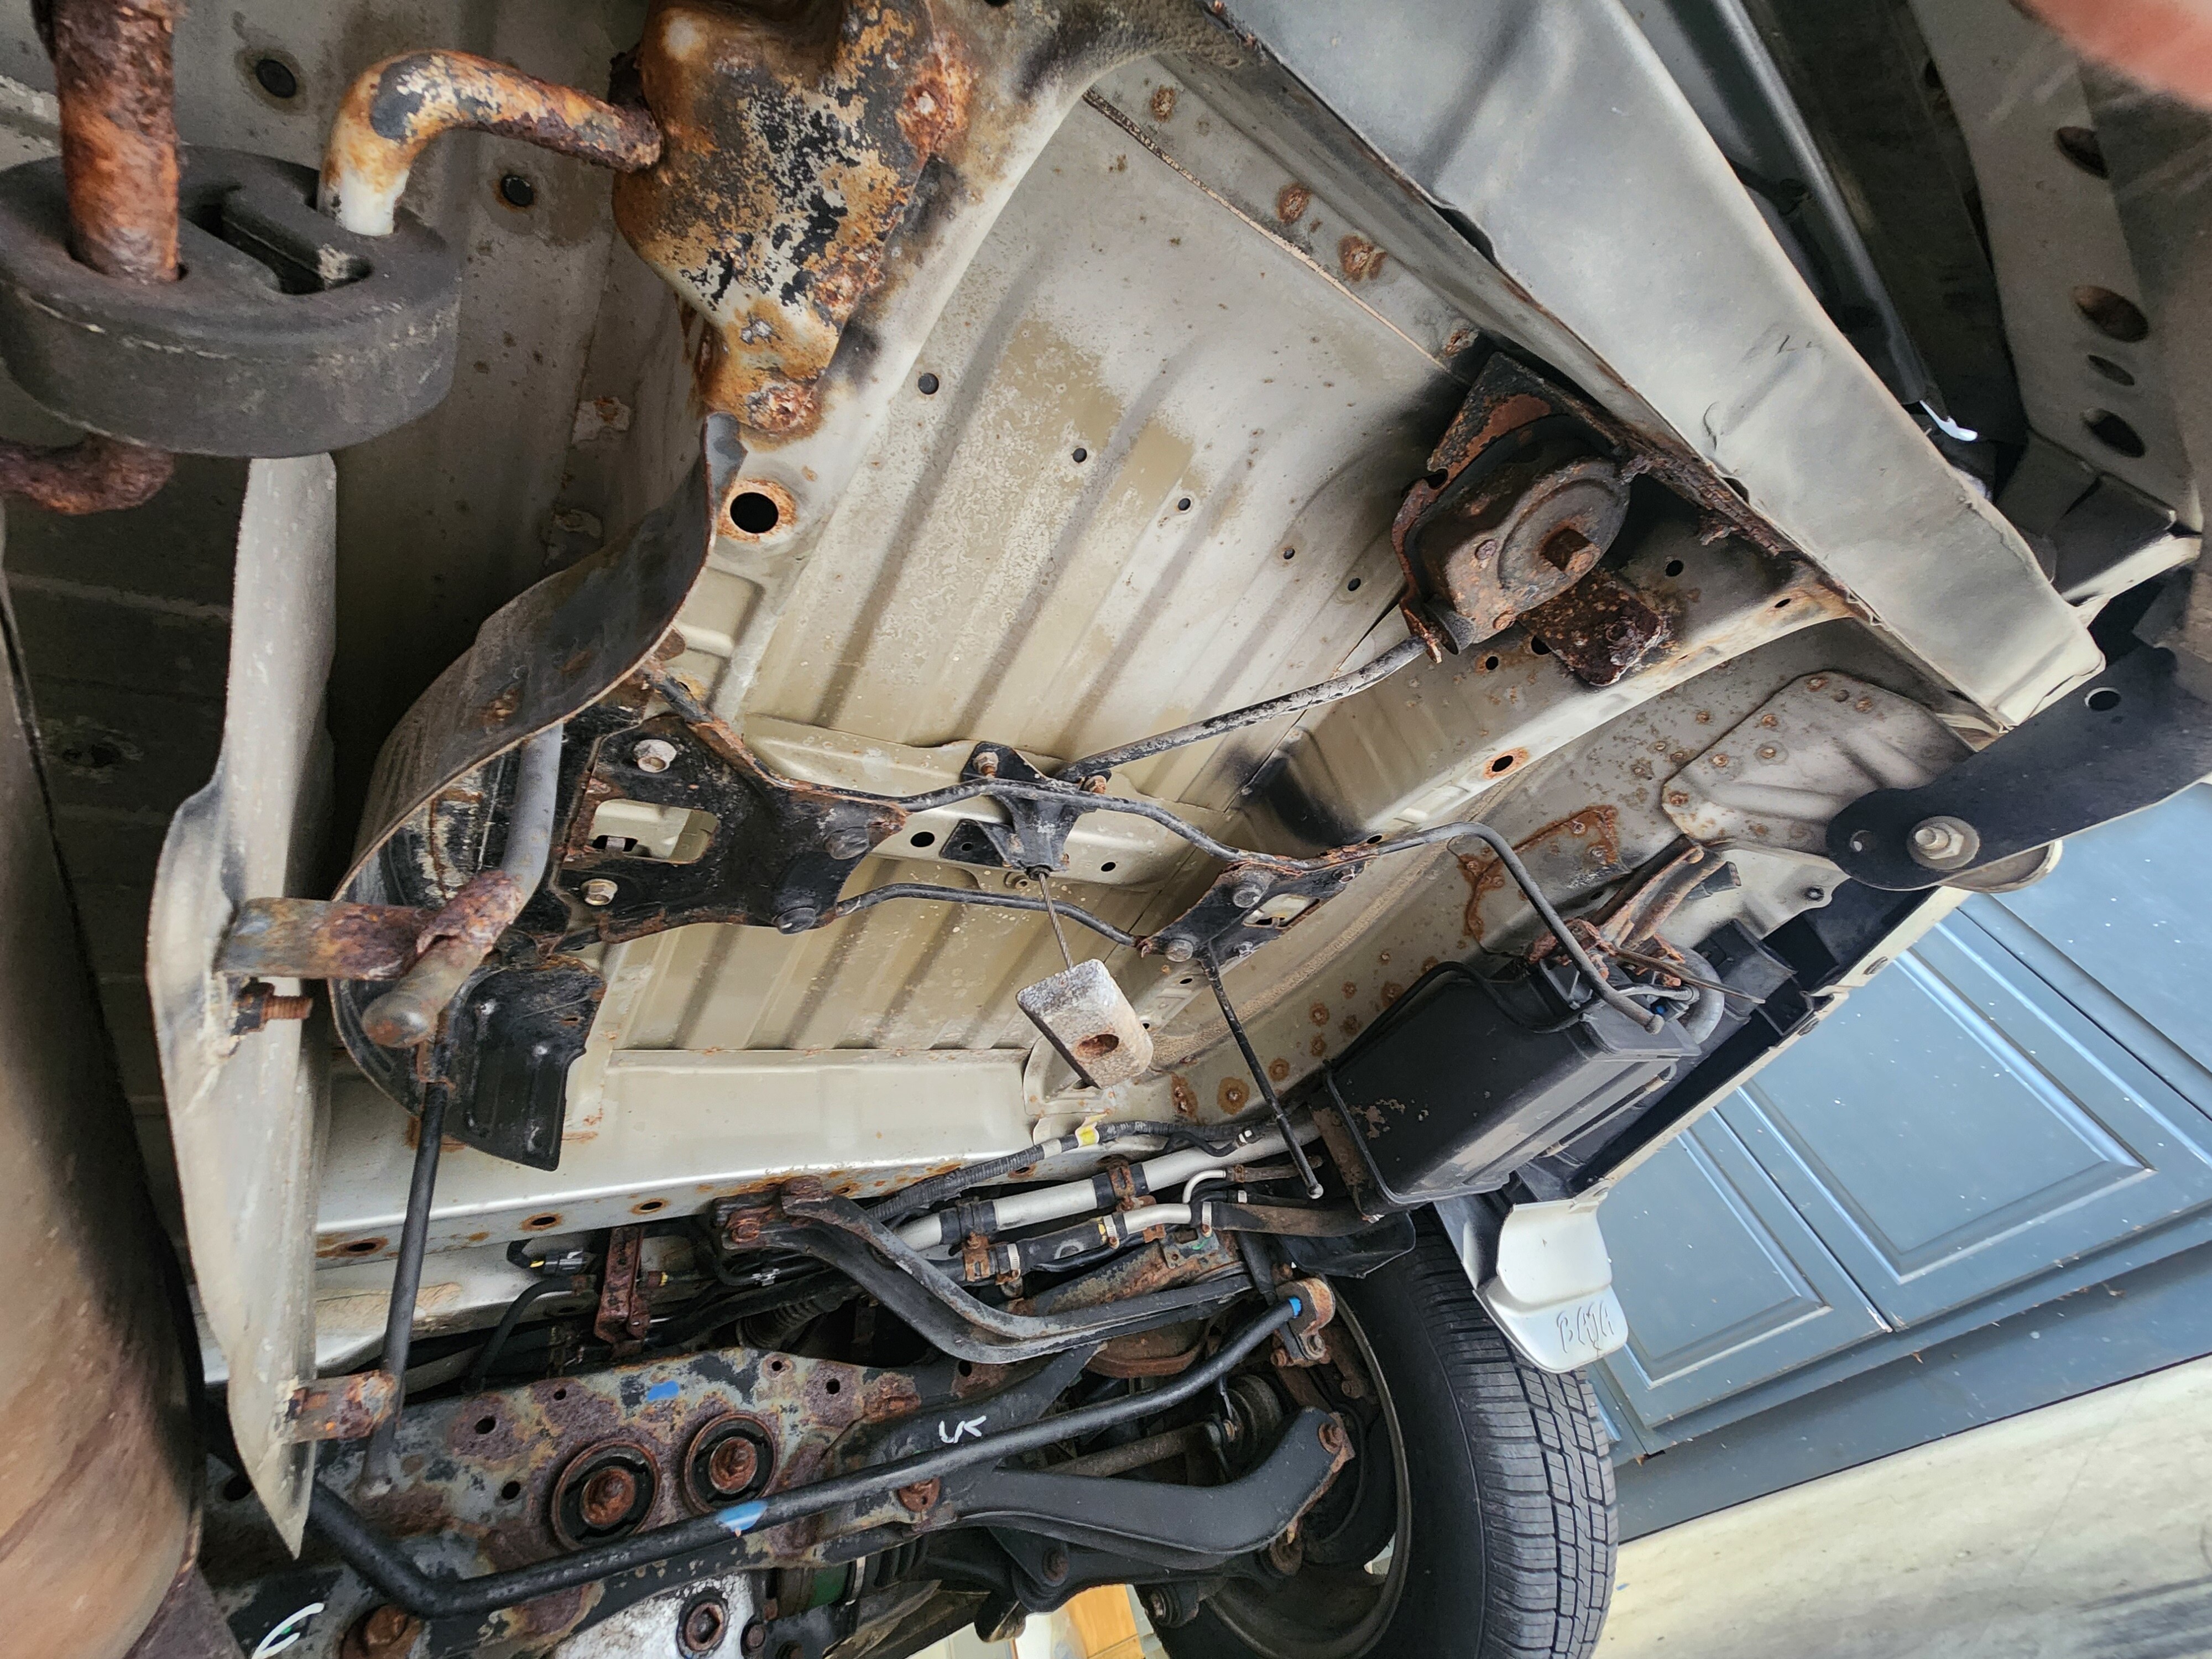
With the parts car gone, I readied the baja for surgery. I dropped the spare, and limped it to the local coin op car wash where I pressure washed the underside the best I could with castrol superclean while it was on jack stands. Tried to limit the amount of dirt and rust and crap that will be falling in my eyes and on my floor.
Got it home, on the quick jacks, and started soaking the subframe hardware in penetrating oil. The rust looked way less bad after cleaning. I hit it all with some rustoleum rust converter, just to slow it down.
 20231209_113418 by Michael Crawford, on Flickr
Pulled the crossmember and rear suspension. Most of it came apart easy. One bolt didn’t, on the drivers front cossmember mount. Snapped flush with the frame.
 20231215_070931 by Michael Crawford, on Flickr
Which I then proceeded to make worse on myself by breaking a drill bit off in the broken bolt.
 20231217_081833 by Michael Crawford, on Flickr
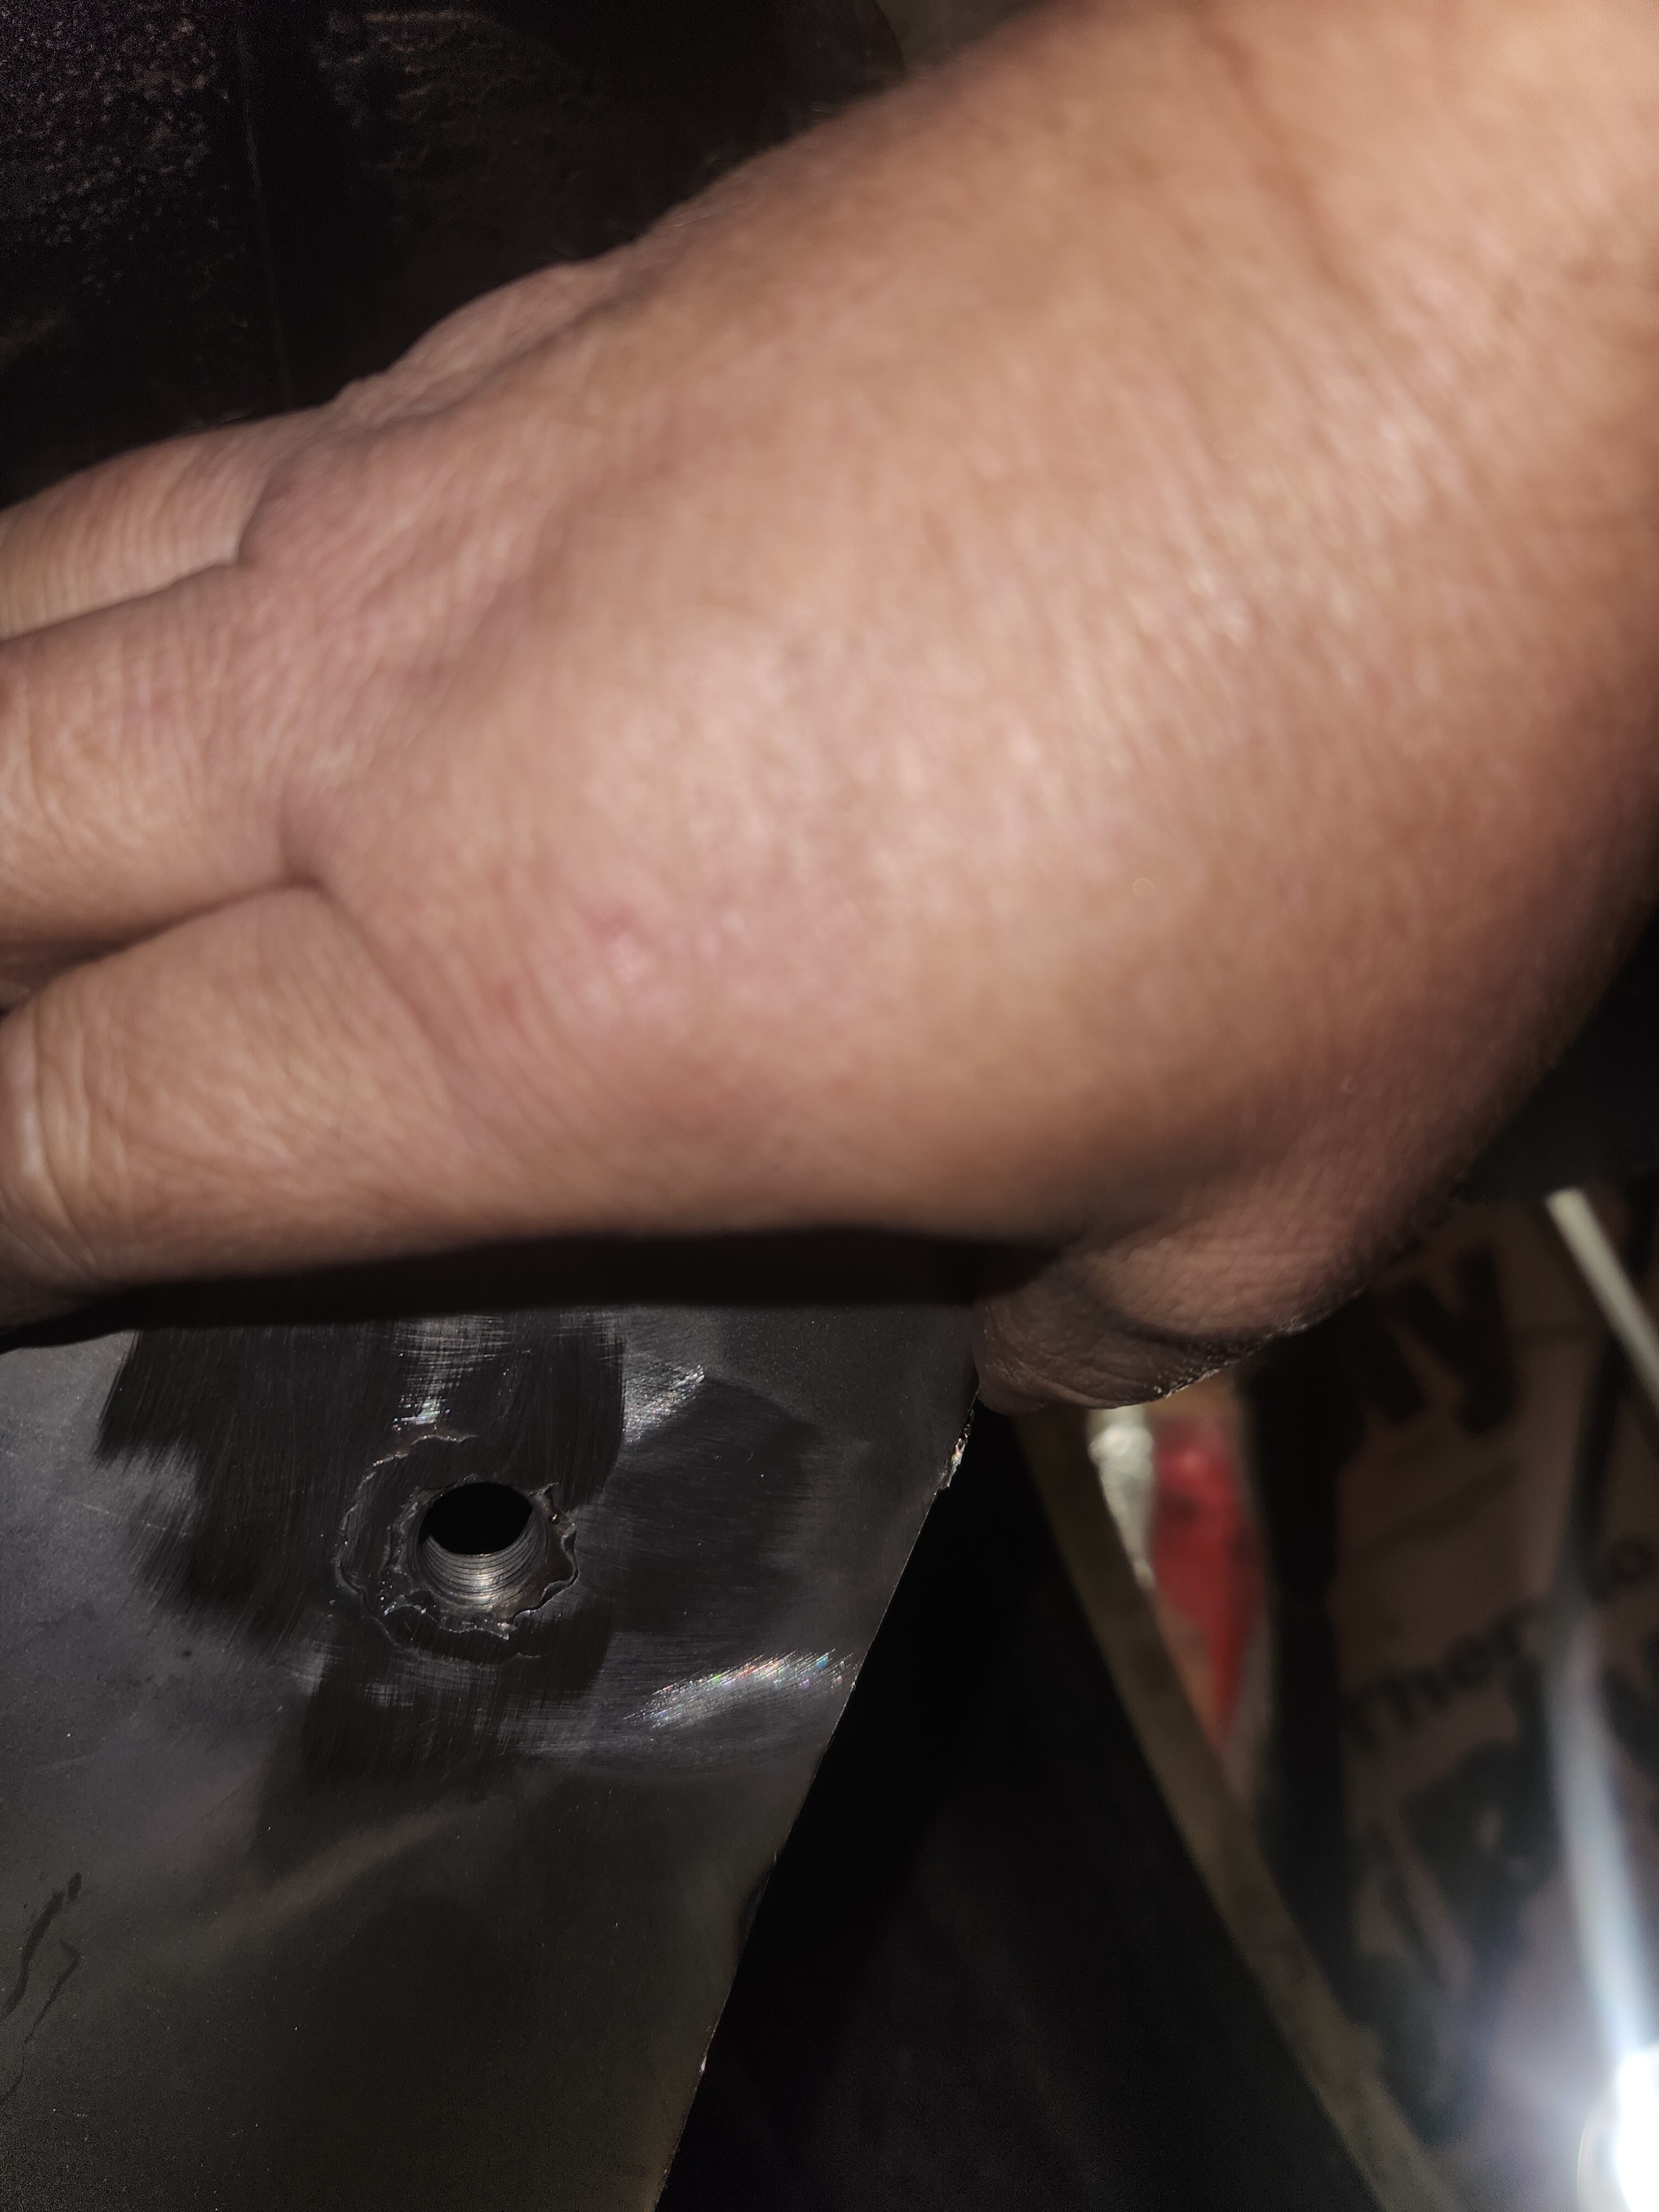
Tried the trick of using a carbide tipped masonry bit on a hammer drill, tried welding a nut to the chunk of bolt, tried drilling beside it, etc. finally grabbed the plasma cutter and cut the whole mount apart.
 20231219_162449 by Michael Crawford, on Flickr
Made a new spacer/mount nut from an old cv nut and an extra m14 nut welded together, then welded to a chunk of 16 gauge that was welded and hammerformed to the frame rail. Its not pretty, but it’ll outlive me or the rest of the car. For alignment purposes, I bolted the patch to the crossmember, then bolted the crossmember to the car. Welded the patch to the car where it landed, dropped the crossmember and finished welding.
 20231219_161444 by Michael Crawford, on Flickr
 20231219_162341 by Michael Crawford, on Flickr
 20231219_171941 by Michael Crawford, on Flickr
 20231219_171935 by Michael Crawford, on Flickr
 20231219_175809 by Michael Crawford, on Flickr
Then top coated everything to prevent future rust back there
 20231217_081815 by Michael Crawford, on Flickr
 20231219_180838 by Michael Crawford, on Flickr
I’ve ordered a thread chaser for the m14 hardware, as I don’t have one and I want to clean all the threads in the body prior to reassembly. I’m also going to use never seize on all of them. Being nice to the next guy that has to service this thing.
In doing the rear subframe, I’m deleting the factory body lift ang going to standard legacy GT height. The changes in this swap include, but aren’t limited to: diff mount, remove spacers and add locators, different driveshaft, different LCA supports, different sway bar supports, different trans mount, different heat shields, different bolts, different springs and struts, different steering column and coupler, different inner fender mounts, different front lower control arm bushings different rear upper control arms, different rear bump stops. All these were retained from the parts car. If I’m doing it, I’m doing it RIGHT. Half measures availed us nothing. I went ahead and swapped the front struts already to get them out from underfoot, as well as to make sure that the baja sized tires would clear the legacy get struts. They do. Need to turn the car around after finishing the rear to do the rest of the front suspension work. The parts car had fresh-ish ball joints, steering rack and tie rods as well as one new cv joint. So ill be swapping that stuff over too when the time comes
 20231222_184605 by Michael Crawford, on Flickr
On the baja, to remove the rear shock you have to disassemble a lot of the rear seat. This is also need to access a good place to splice the leaking rear brake lines, and I’m swapping to the non-crunchy emergency brake cables while I’m in here. This means that essentially the whole interior is coming out, which is good for cleaning and replacing broken clips and using the best parts from both cars. Id also like to delete the DRLs, change the fog lights to independent operation, and rewire the seat heaters that just the back comes on on low (no tutorial for that, so no idea where to start yet). Probably put the good stereo stuff in while I’m here, etc.
So were halfway through with all that. Most of the interior is torn down, first round of carpet cleaning is done. I debated using the carpet from the parts car, but after sitting them side by side the baja carpet was in better shape. Its still bleached in a few spots, and I haven’t figured out what color dye is the necessary color for this.
 20231222_200149 by Michael Crawford, on Flickr
 20231222_200124 by Michael Crawford, on Flickr
While here, I pulled the cabin air filters out to inspect. They were reasonably clean, so I knocked the leaves out and looked at the evaporator. Then cleaned it the best I could. I debated running some coil cleaner through all the fins, but don’t know if the condensate drain is plugged, and decided it wasn’t time to worry about it yet. Vacuum is good enough for now.
 20231222_193719 by Michael Crawford, on Flickr
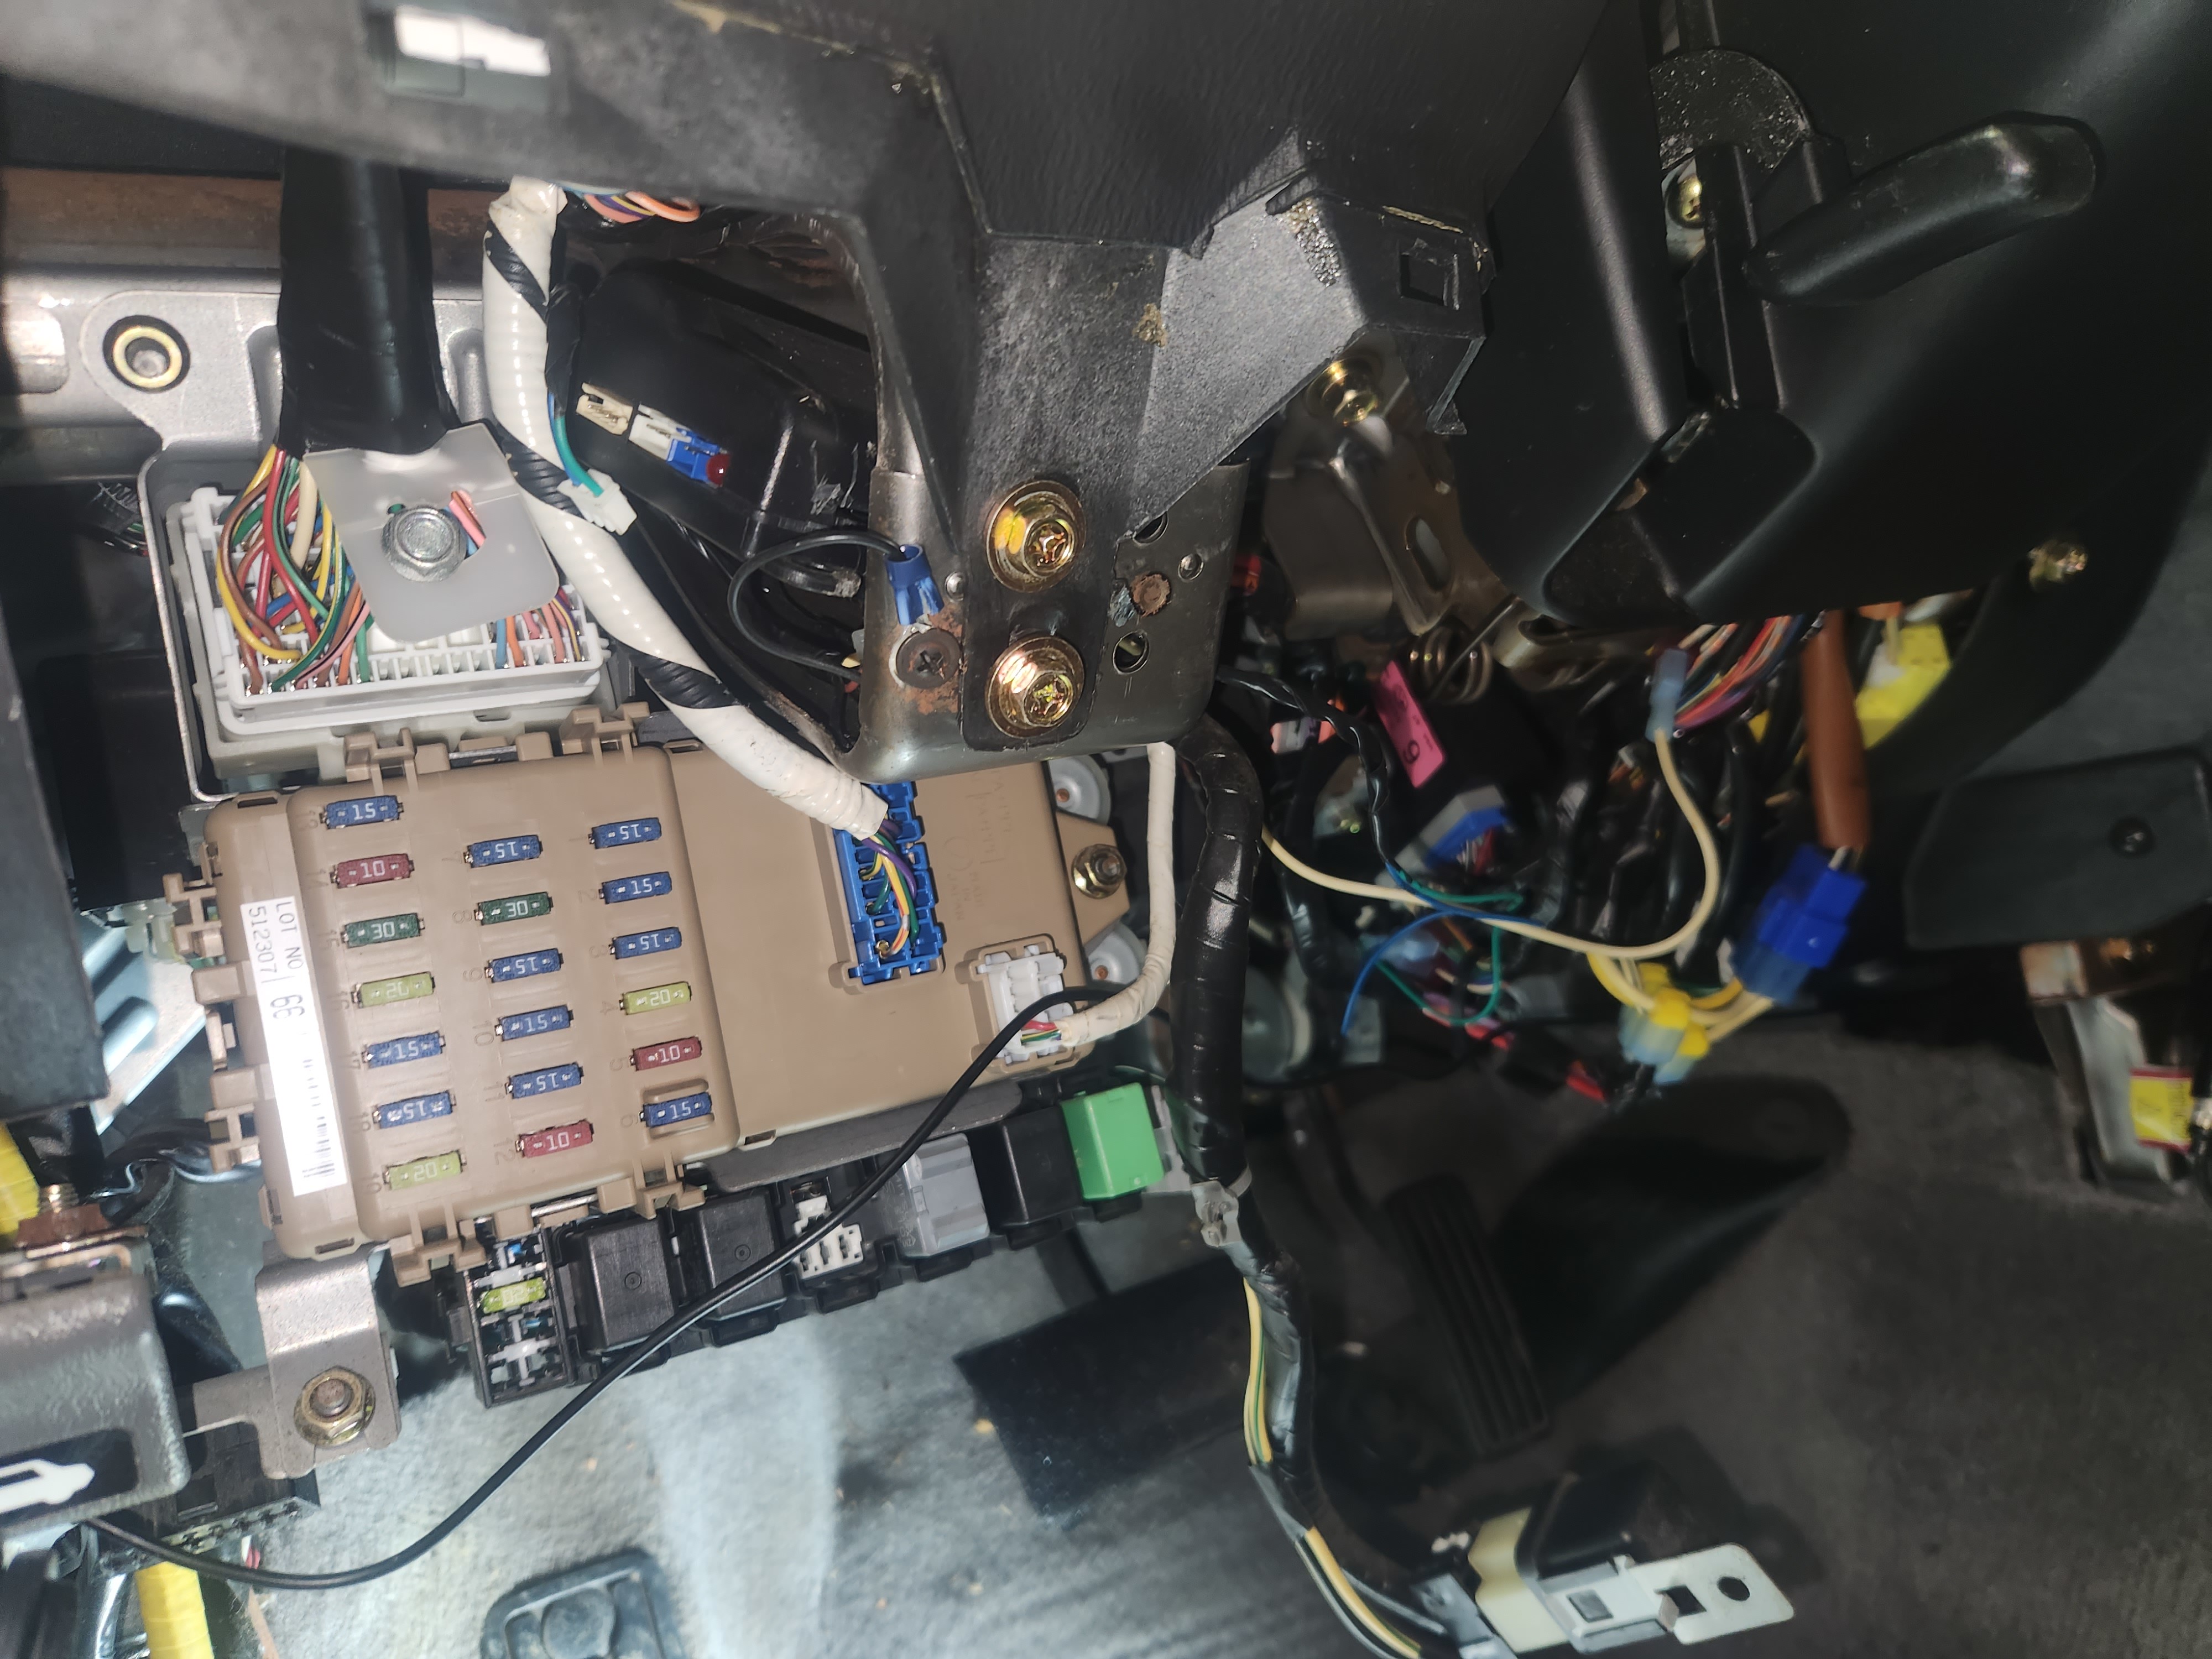
While under the drivers side of the dash, I pulled the malfunctioning remote start. That made me happy.
 20231222_191641 by Michael Crawford, on Flickr
One of the side projects I’ve been working on is a pillar pod for a boost gauge and an oil pressure gauge. Using leftover gauges and a universal pillar pod to start. The pod doesn’t fit the a pillar for crap, so I used my heat gun to reshape it, Dremel to grind clearance in it, and woodworking bandsaw to trim it to size.
 20231120_181946 by Michael Crawford, on Flickr
 20231120_181957 by Michael Crawford, on Flickr
 20231120_182121 by Michael Crawford, on Flickr
 20231120_183312 by Michael Crawford, on Flickr
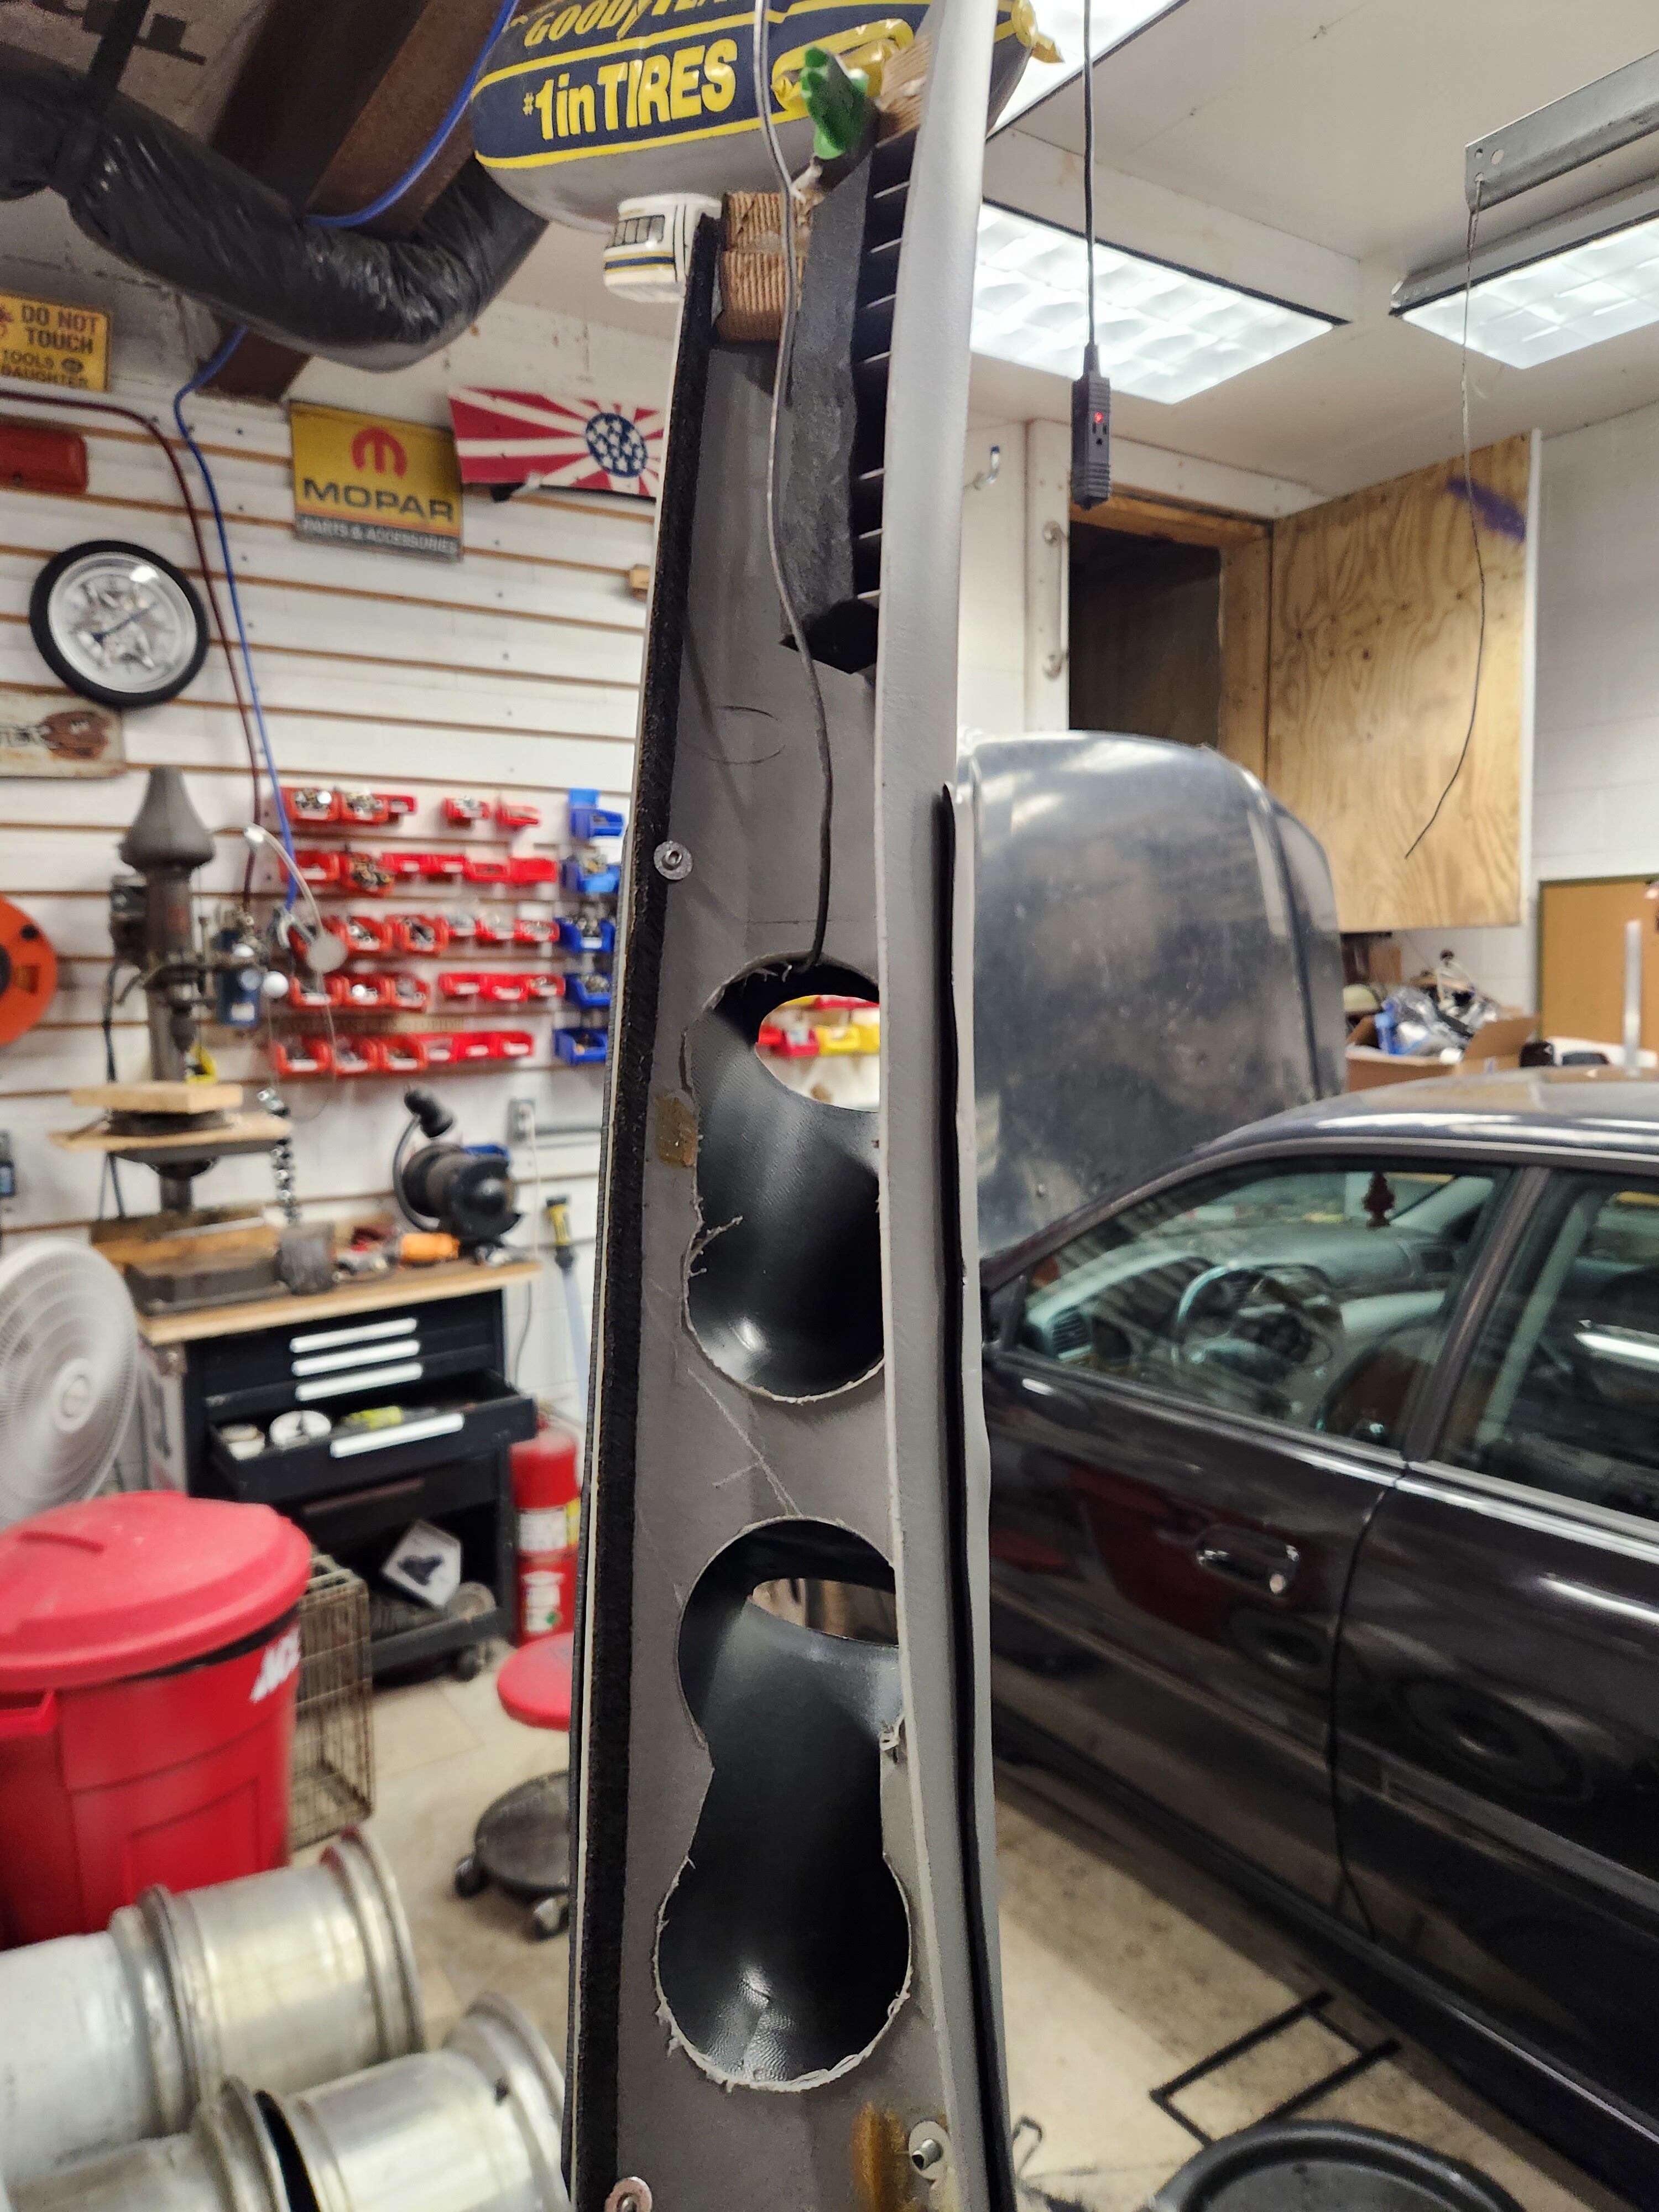 20231201_071835 by Michael Crawford, on Flickr
 20231222_195943 by Michael Crawford, on Flickr
Well finish off this update that’s wholly unsatisfying due to nothing being actually finished by discussing my addiction.
I’m a wheel whore.
Currently there’s close to 30 sets on my property NOT bolted to anything. 6 sets for the baja alone in total…
I don’t like the factory wheels. They do nothing for me, but have newish tires. Brett claimed the gt snowflakes when im done with them. Regardless, I had to do something for wheels. So I bought a few sets….
 20231126_184032 by Michael Crawford, on Flickr
From left to right: $100 set of 17x9.5 corvette sawblades, $80 17x7 srt4 wheels, $125 16x9.5 z51 salad shooters. Only the srt4 wheels will bolt up. So I grabbed a single 5x100-5x4.75 adapter in 1 inch thick based on my best guess.
The salad shooters just aren’t gonna work. Look neat though!
 20231209_175030 by Michael Crawford, on Flickr
 20231209_175023 by Michael Crawford, on Flickr
The sawblades on the other hand, are perfect. May not fit in the challenge budget, but they look amazing (to me). Picture makes it look like they poke more than they actually do. Pardon my craptastic photo abilities.
 20231209_174440 by Michael Crawford, on Flickr
 20231209_174532 by Michael Crawford, on Flickr
Merry Christmas yall!
 dakota is coming along nicely. Tomorrow brett Murphy and i go grab a parts car, which should help lower the budget for this signifisignificantly.


 we got a parts car. Brett and i paid 450, or 225 each. He gets tge drivetrain and wiring and computer parts for his car, i get the legacy bits for mine. So for 225, i get decent headlights, a rear subframe, hopefully good balljounts, the delift parts, nice,carpet, etc. My old 95 silverado is good at this.
 my wife is still driving it. As her van continues to kick me in the daddy bags.
 i may have a problem.
  parts car is here. Munchkin steered and ran brakes while i pushed with my truck. Went shockingly smooth.


 this pile alone is worth my 225 investment in the parts car
 probably time to do a real update....


 think i have some vacuum leaks


