Will
Will Dork
7/27/13 3:35 p.m.

Yup, re-build. My Z/28 was a perfectly happy ESP autocross car until I killed the engine during an autocross last year. For no good reason, it's taken me over six months to do anything about it.

Although I've not made a definite diagnosis yet, I'm betting on spun bearings (and maybe the crank), caused by G-induced oil starvation. There's no telling what else might be wrong, though.

Here's the car in happier times:

I should mention that I've never attempted to rebuild an engine before. But I'm going to try to do as much work as possible myself. I'm also going to try to do this as cheaply as is reasonably possible, and of course adhere to the Street Prepared rule set. So no strokers, no head work, nothing exciting like that.

Because so much of the car is already built, this may not be the most exciting build thread ever. I'll state my goals from the outset, so if they don't interest you, you don't have to bother with this thread:

  • Diagnose engine

  • Rebuild it myself, with some help from friends

  • Take reasonable precautions so I don't have the same problem again

  • Remove at least 50 pounds of weight from the car to make it more competitive

Thanks for humoring me in my first GRM build thread.

Will
Will Dork
7/27/13 3:56 p.m.

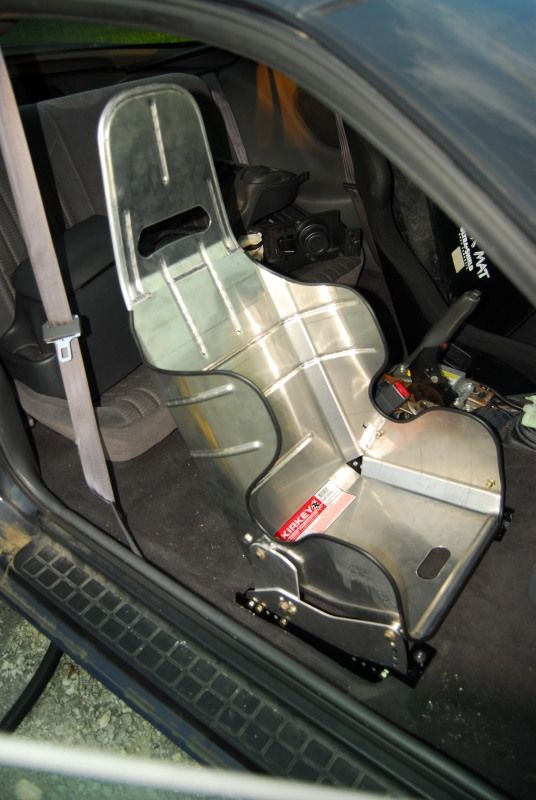
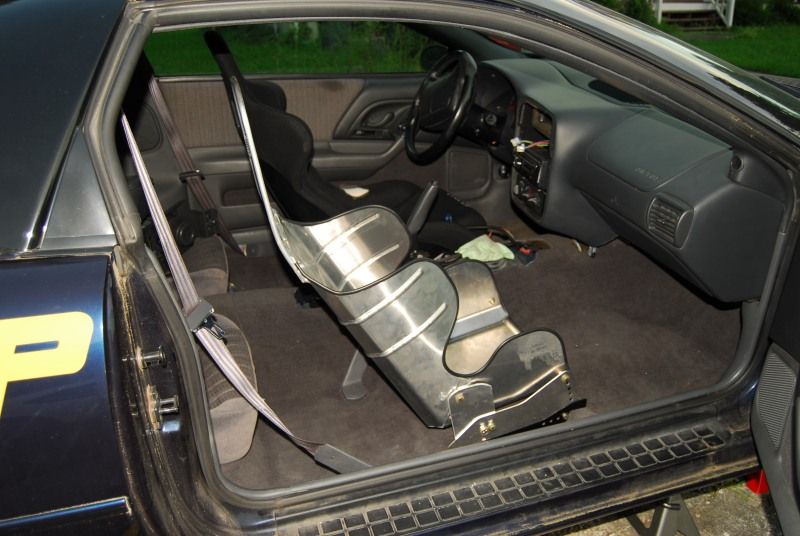
I waited a long time to begin this thread because I wanted to have some reasonably interesting pictures to start out with, and so that I could update it with semi-regular progress.

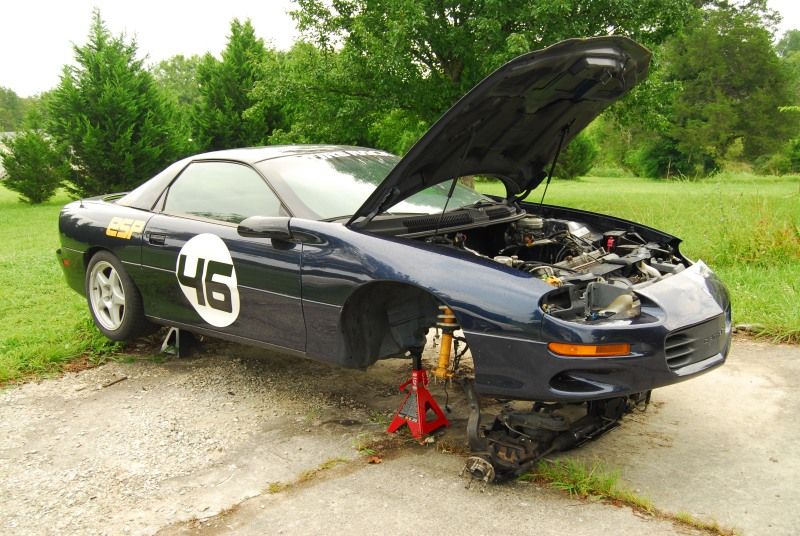
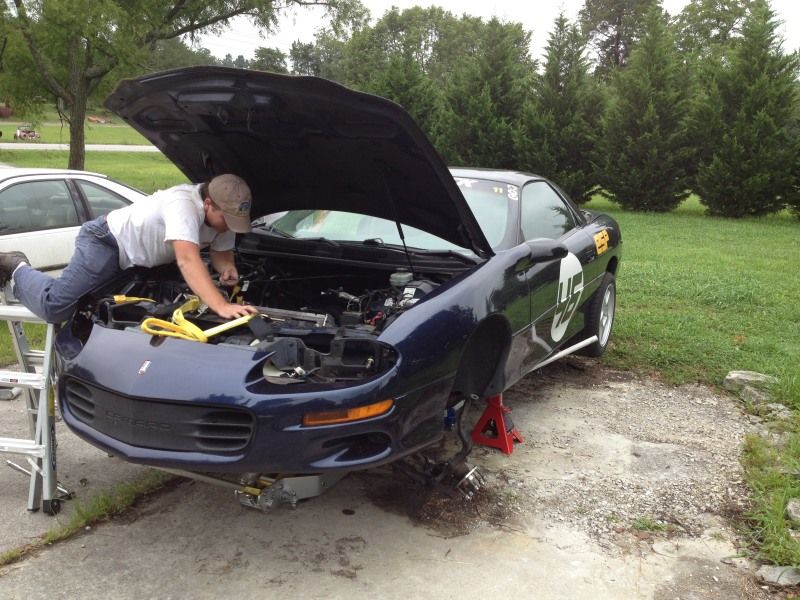
I've spent the last few weeks preparing to remove the engine. On a 4th-gen F-body, the engine pretty much has to come out the bottom, and that requires removing a ton of other things, too. So I removed the front sway bar, radiator fans, air filter/MAF, power steering pulley, driveshaft, steering shaft, (non-stock) cats, disconnected the torque arm from the transmission, disconnected the front brake lines at the ABS block, and unplugged many, many electrical connectors.

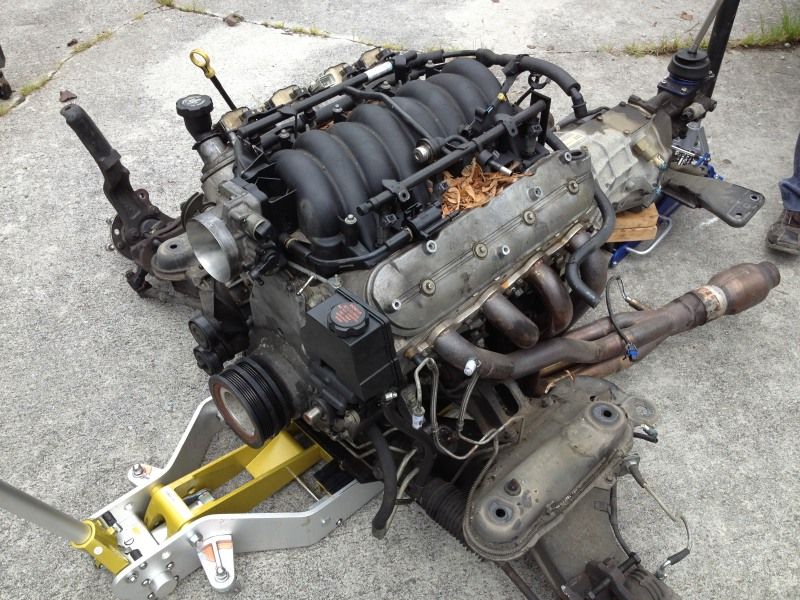
The LS1 is packed very tightly into the Camaro. So tightly that while it's not theoretically necessary to remove the alternator or starter to drop the engine, I had to remove both just to get to the wiring and disconnect it. By removing the water pump, I was able to wiggle the AC compressor out of the way so that I didn't have to disconnect any of the lines.

My plan was to remove the engine, transmission and K-member all at once. Today, two of my friends came by, but since neither of them had ever worked on one of these cars, we had to make it up as we went along.

Step 1: I bought a motorcycle jack because they're wide and flat, so I figured it could support the K-member/engine and keep it stable as we lowered it to the ground. We simultaneously lowered the transmission with a regular floor jack.

After lowering that stuff halfway, we discovered that GM bolted the wiring harness to each head and the block. You can't see that or get to it until the engine is halfway out of the car, so here's one of my friends attempting to remove those bolts.

Step 2: After lowering the engine/trans/K-member to the ground, The next step was to pick up the whole front of the car with an engine hoist in order to get enough clearance to roll all that stuff out from underneath it. We didn't have enough people to get in-progress shots, but you can probably get the idea from this shot just before we lifted the car.

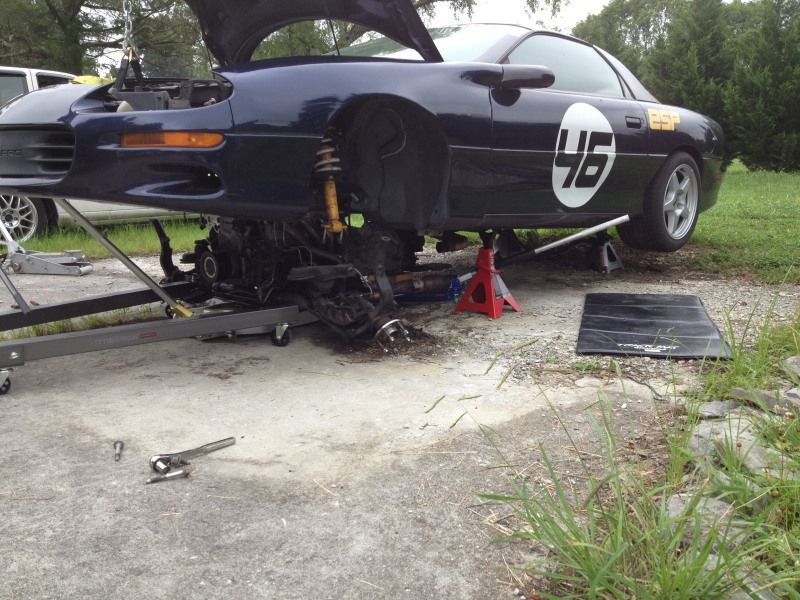
Step 3: after raising up the jack stands, putting the car's weight on them, and rolling the engine hoist out of the way, we rolled the drivetrain and K-member out on the two jacks.

That probably seems like an insane method and amount of work to get the job done, but this is actually pretty standard procedure for a 4th-gen.

Also, the motorcycle jack worked great. It has a 1,500 pound capacity, so it was plenty for this job. I'd absolutely recommend one for removing transmissions, IRS center sections, etc. No more trying to balance stuff on a standard floor jack for me!

Once done, we just stashed the K-member and suspension under the car. You can see that the shocks/UCAs are still bolted to the car, while the spindles, calipers, rack, PS pump (kept the lines sealed that way) and LCAs are attached to the K-member. Some remove the shocks and UCAs, but to remove the driver's side assembly, you have to remove the master cylinder first. No thanks, as I'd rather not bleed it if I don't have to.

Will
Will Dork
7/27/13 4:10 p.m.

I drained the oil, then removed the pan. These three pics show the majority of the metal shavings that were either lurking in the bottom of the pan, or stuck to the drain plug magnet.

I'm hoping that those shavings are just bits of bearings and not anything more serious, but I honestly don't have the experience to make an educated guess about that. As I said, I've not done this before, and I'm learning as I go.

Still...there's really nothing good that those shavings could have come from.

I'm not going to bother cutting apart the oil filter to see what's in it. I think I've got enough evidence in these pics.

DoctorBlade
DoctorBlade UltraDork
7/27/13 4:50 p.m.

I wonder what shape the cylinder walls are in.

Ranger50
Ranger50 PowerDork
7/27/13 5:59 p.m.

Time for a JY 6.0 and a tune....after putting on a baffled pan.

Ranger50
Ranger50 PowerDork
7/27/13 6:00 p.m.

And that is just all bearing flake.... Most likely a rod and/or thrust by the looks of it.

Will
Will Dork
7/27/13 6:20 p.m.
Ranger50 wrote: Time for a JY 6.0 and a tune....after putting on a baffled pan.

No can do on the 6.0. SP rules limit me to an LS1 with essentially stock internals.

I'll address the oil pan plan in an upcoming post.

If the Camaro were remotely competitive in Street Mod, It would be on, however.

DILYSI Dave
DILYSI Dave MegaDork
7/27/13 6:48 p.m.

That's not bearing stuck to the magnet. Bearing = non-ferrous.

Ranger50
Ranger50 PowerDork
7/27/13 7:56 p.m.

In reply to DILYSI Dave:

It has eaten down into the steel backing or the bearing has slipped like a bunch of them I have seen and hammered the rod cap into an egged shape to produce the slivers of metal. GM didn't put aluminum bearings into play until the early 2000's. And more then likely, it will be #7 and 8.

Will
Will Dork
8/2/13 8:16 p.m.

Haven't had a chance to tear the engine down yet, so I've been doing weight reduction stuff. The stock passenger seat was 30 pounds, and I figured I could save 10-15 pounds with an aluminum race seat. I bought Racecraft chassis-specific mounts, and a Kirkey economy 20° layback seat.

If I were to do this again, I'd buy the 10° version so I could lower the rear of the seat, angling the knees up a bit, and still get the same total amount of recline.

Also, the seat mounts weren't designed for this exact model of seat. The front part of the mount is just fine, but I had to fab up an adapter per side to make the rear of the seat work. It seems very solid, but it's not very elegant, so I may redesign it all as one piece per side.

Slippery
Slippery GRM+ Memberand Reader
8/2/13 8:39 p.m.

Good progress. You have a weekend coming up, pull that pan and lets see what happened.

My advise is to get a clean table with nothing on it and keep all the internals organized. Dont mix anything up if you are going to be reusing them.

Will
Will Dork
8/2/13 9:09 p.m.

The oil pan is out and clean. But the oil pickup and everything else is still in there.

Before I do anything, though, I need to clean the garage to create that table and shelf space.

fujioko
fujioko Reader
8/2/13 10:09 p.m.

I’m a big fan of engine autopsies. Sometimes you see some wild stuff. Hopefully you will be able to save that engine.

Anyway,

When you crack the main and rod bolts, an odd aroma will fill your garage. It is a bizarre thing that happens every time one of these bolts is loosened.

ooh that smell!

Anybody have a clue what that smell is? Old oil?

Will
Will Dork
8/3/13 10:24 a.m.

Just pulled the heads, and the good news is that the cylinder walls are gorgeous. There's cross-hatching still visible, and no nicks, scoring, or anything like that. I don't have a crank pulley remover, so I haven't pulled the front cover, cam, etc. However, what I can see of the cam through the block looks very good.

I don't think I'll pull the main caps/rod caps yet until I have that crank pulley off.

There is no bad news yet, so it's a good morning so far. There was a little bit of debris in the oil pickup screen, but I expected as much.

Will
Will Dork
8/3/13 5:44 p.m.

So, here's a look at one of the bores. They all look about like this.

Granted, this is the first engine I've ever taken apart, but I'm going to go out on a limb and guess that the #6 rod bearing might be part of the problem. I mean, I was under the impression these were supposed to exist as two halves.

That flaky stuff is a match for what was in the oil.

Unfortunately, but not surprisingly, that bearing does appear to have scored the rod journal. I'm not positive yet whether I'll get it turned, or replace the crank.

Perhaps surprisingly, the main bearings looked great.

The cam looks just fine, but I'll replace the cam bearings just out of principal. So now that I know what's wrong, I can put together a shopping list and make a plan for getting this all back together.

You'll need to log in to post.

Our Preferred Partners
D3vLlQ6BeaS3yv6ZRLLQks1A4D3NpHnZT7DpPz8RsXFJUwfCbl0F4ZI114HGHK59