It may have been mentioned already but be sure to change the seal around that rod that attaches to the shifter. Those are very leak prone.
It may have been mentioned already but be sure to change the seal around that rod that attaches to the shifter. Those are very leak prone.
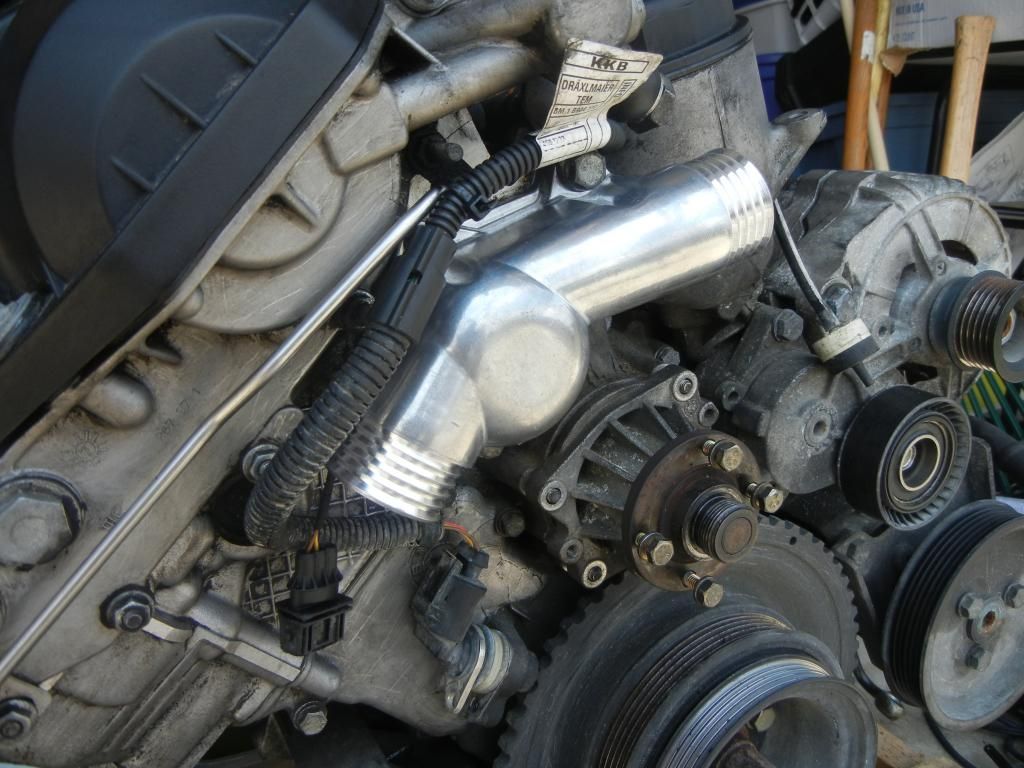
While I was waiting on the clutch alignment tool, I replaced the thermostat and the housing with an aluminum one.
I also pulled out the pilot bearing.
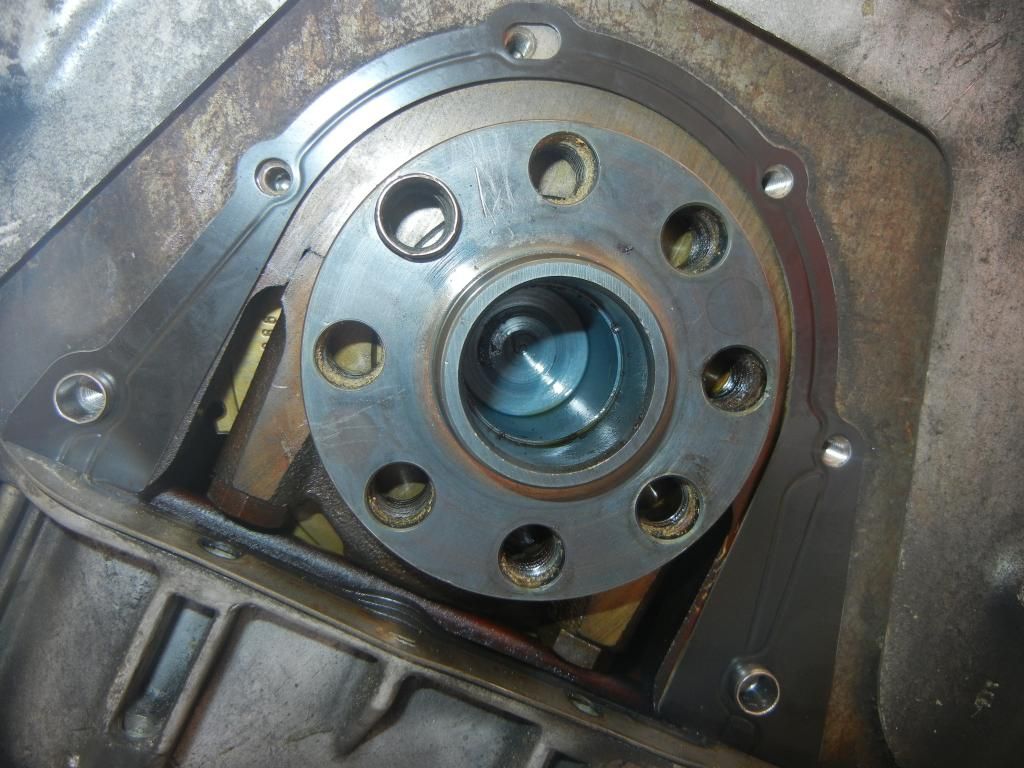
I did just bend that piece under it.
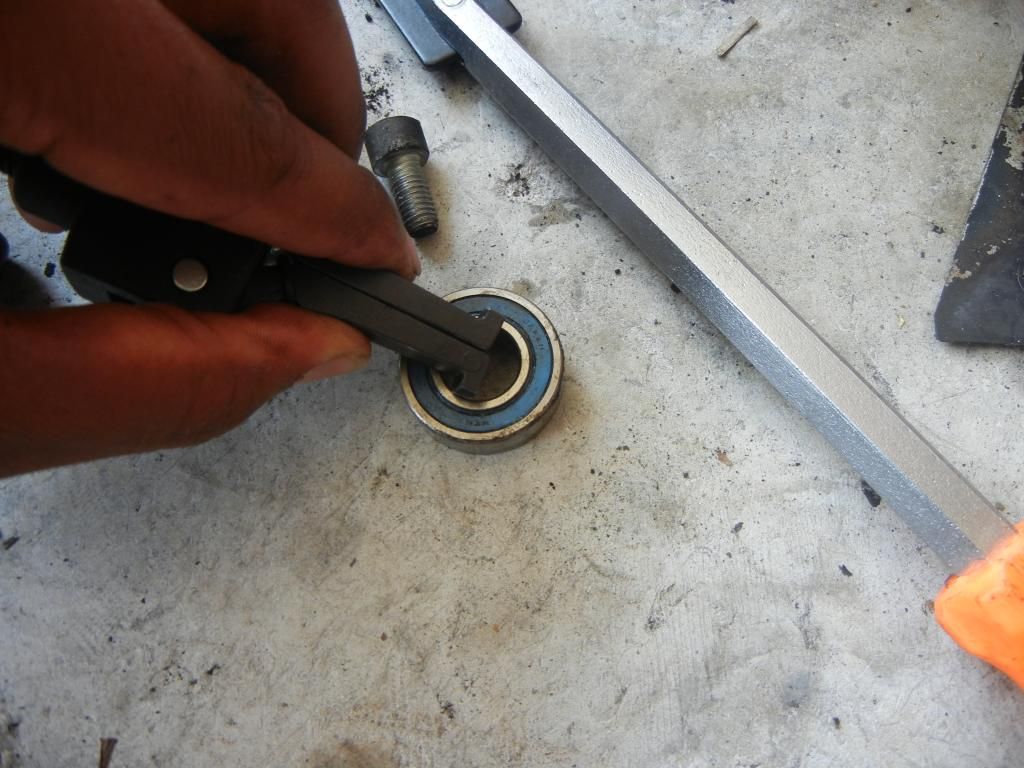
Because the parts store puller is too big. I pulled it out by hand by wedging half of the tool in the bearing and the other half against the engine, and it took at least 12 minutes to do it. I don't feel so bad about it because Pelican Parts doesn't have one available right now.
I also installed the rear trans gasket and the flange.
These items came in the mail today.
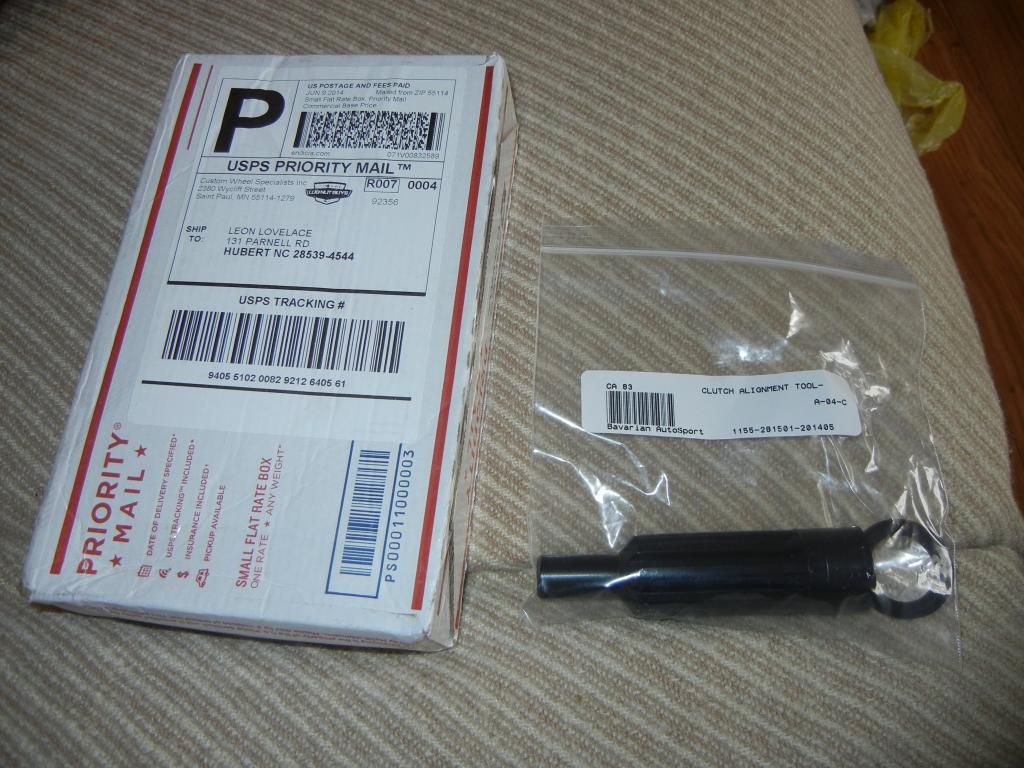
Sometimes you can get lucky, but most of the time, next day shipping costs a fairly large lump of money ($46+). It was just for the clutch alignment tool. It's understandable though, since jet fuel can't be cheap.
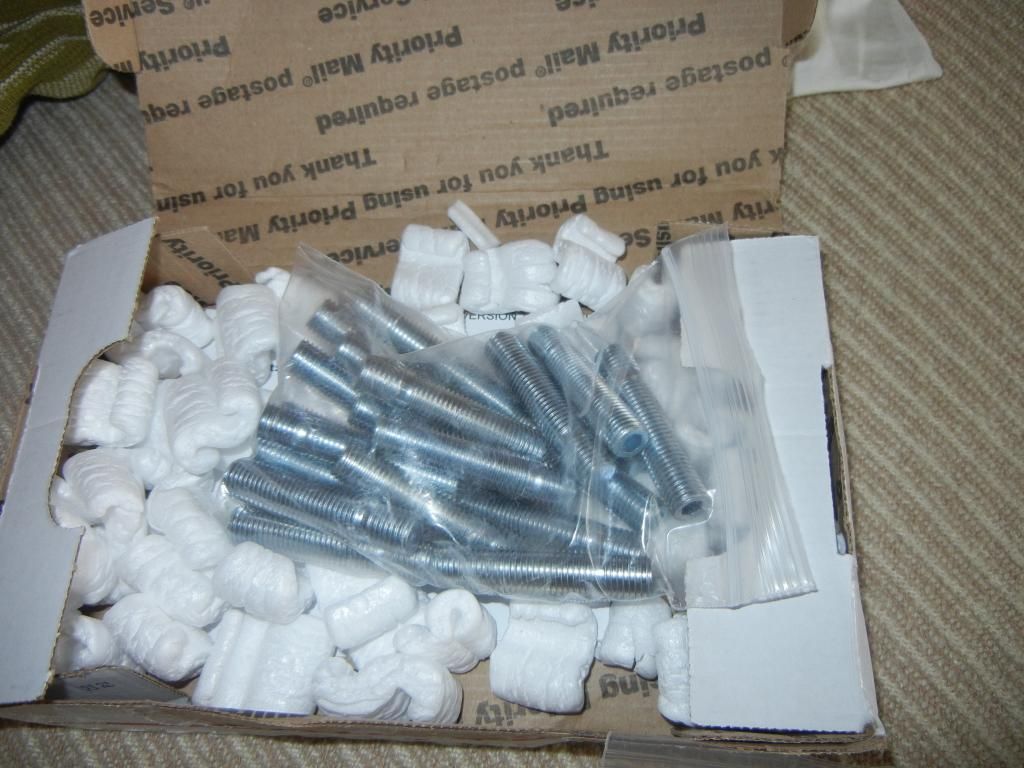
I read some of irish44j's build thread and it inspired me to do an affordable wheel stud conversion, along with some other things too.
They're only a quarter inch longer than the factory lug studs, but that should be enough.
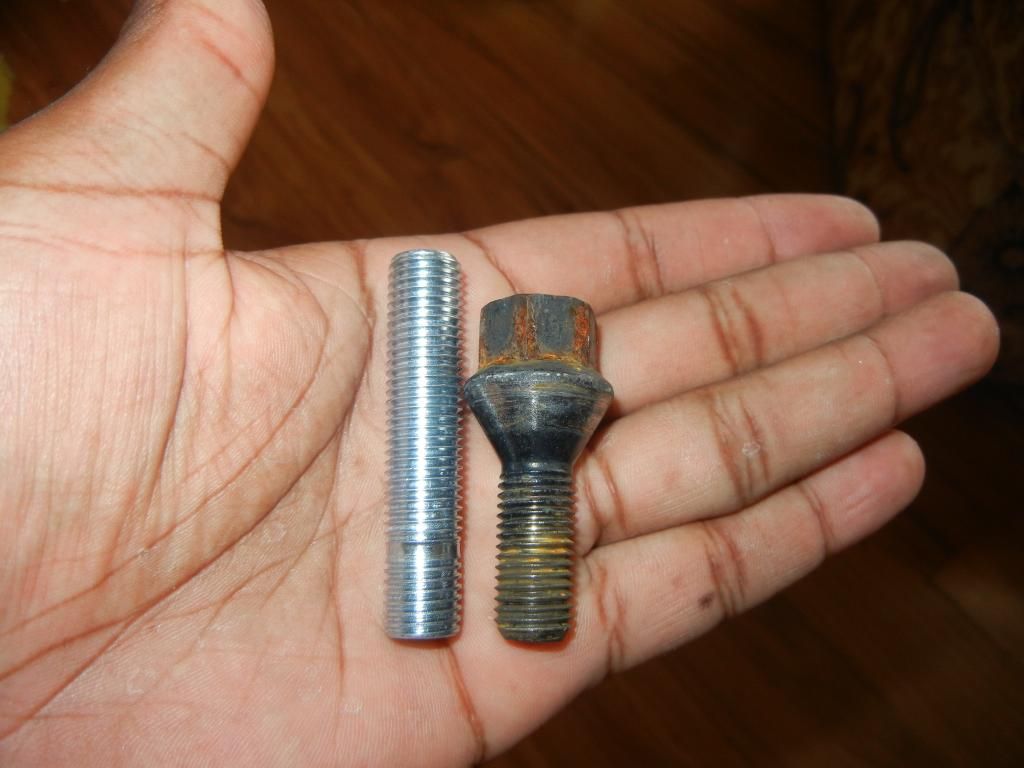
Shipping was really fast on these, only two business days.
It's definitely a better idea to buy all the parts and then start a big job because having to wait for parts is a little draining mentally. It also doesn't help when you forget to buy a couple of parts and need to order them midway through the job.
I also was hoping to use Evans waterless coolant, but I'm not so sure I can afford it right now because I still need my shop to weld up my exhaust and install the new cats on it. I have a battery drain issue also. The block is completely drained of coolant, too. ![]()
In reply to Mr_Clutch42:
You are somewhere that freezing isn't going to be an issue for a while right? Distilled water is your friend @ $0.85 / gallon. Throw in a bottle of water wetter to lube the pump and/or fight rust.
Yeah, the water wetter bottle says to use just it and distilled water, but that sounds crazy during the winter. I definitely buy a gallon of distilled water and a full jug of coolant. No more 50/50 mix, ever!
I also installed the new motor mounts. I just forgot that I did it.
I finally did some work in the evening. I installed the rear main seal in the metal housing and bolted it back on.
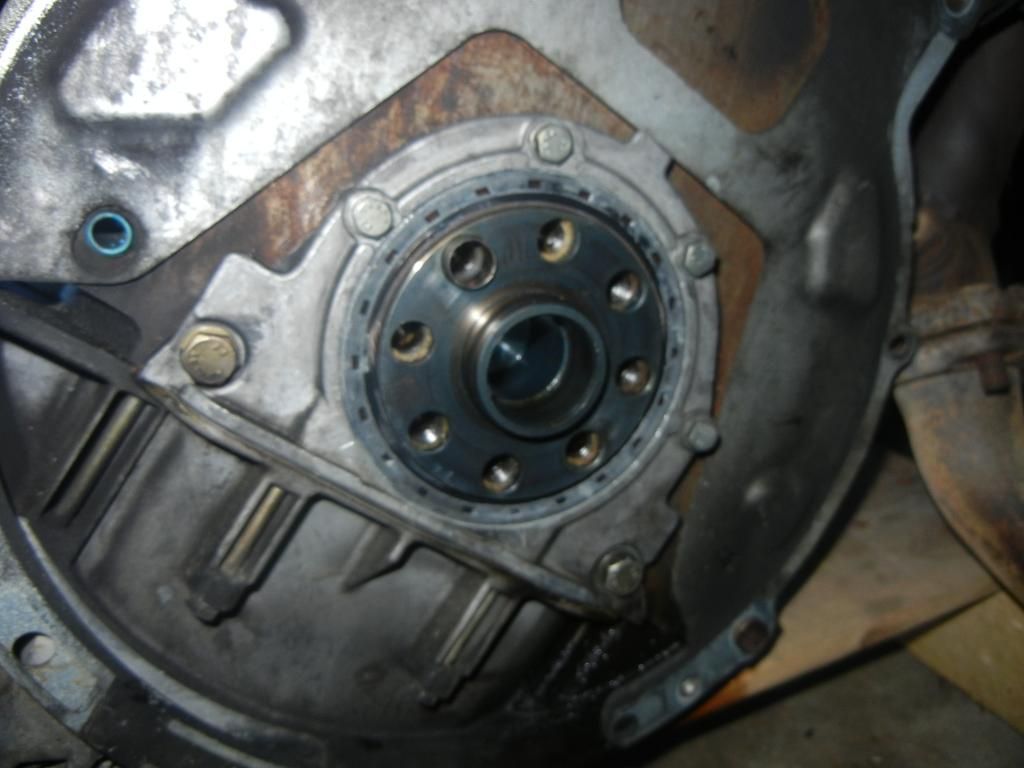
I also replaced the oil filter and gasket. I'm waiting on parts again so there's only a little bit of work that I can do to the engine and trans until the drop tomorrow. Oh, and regular nuts didn't thread onto the wheel studs so that's a bummer even though they're the same size. ![]()
I installed the new throwout bearing, the input shaft seal, and the new pivot pin. I mostly did the pivot pin because it was cheap to buy.
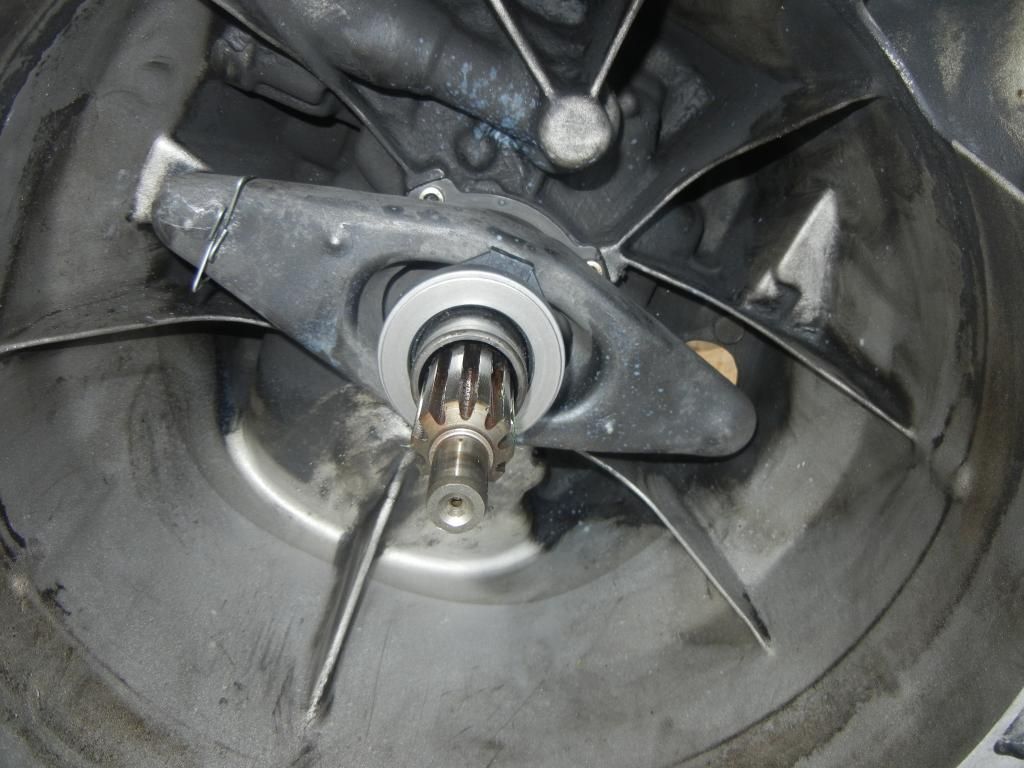
Then, I installed the pilot bearing, bolted up the flywheel, placed the clutch disk in place with the alignment tool, and bolted up the pressure plate. I cleaned the flywheel and pressure plate with brake cleaner.
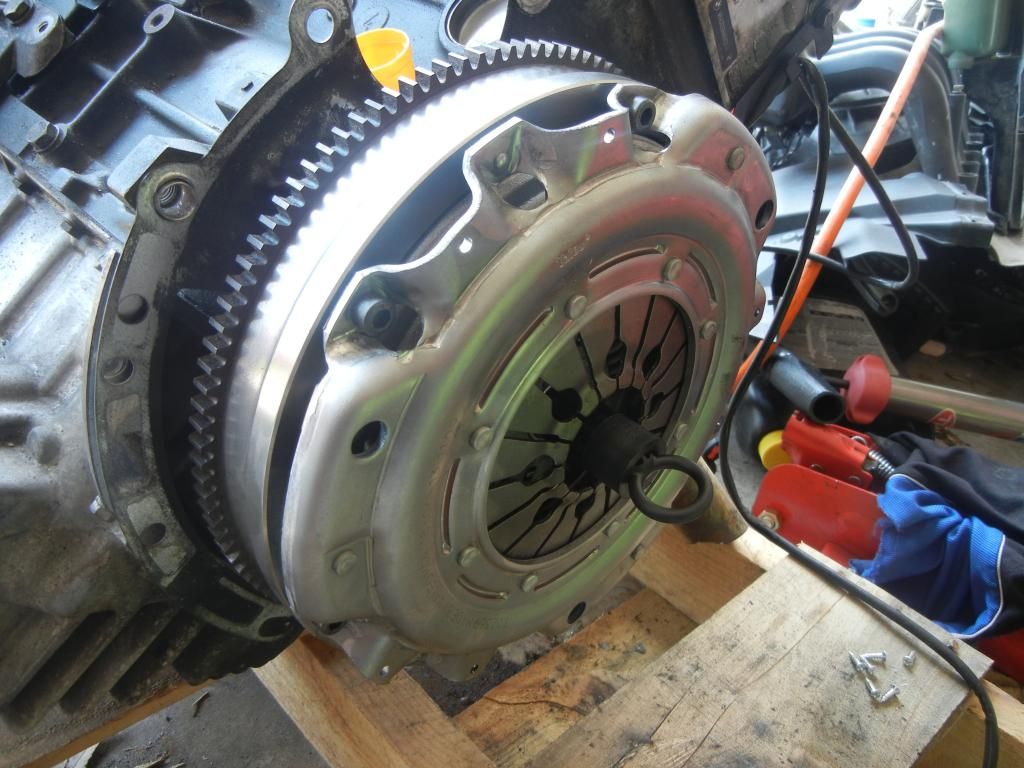
After I took this picture, I pulled out the tool and the pilot bearing came out of place. Then, I had to wrestle some to keep it in place when I took out the tool again.
I took off one of the exhaust manifolds yesterday so I could fix the stud issue. I had to use my cell phone camera so these pics aren't as good.
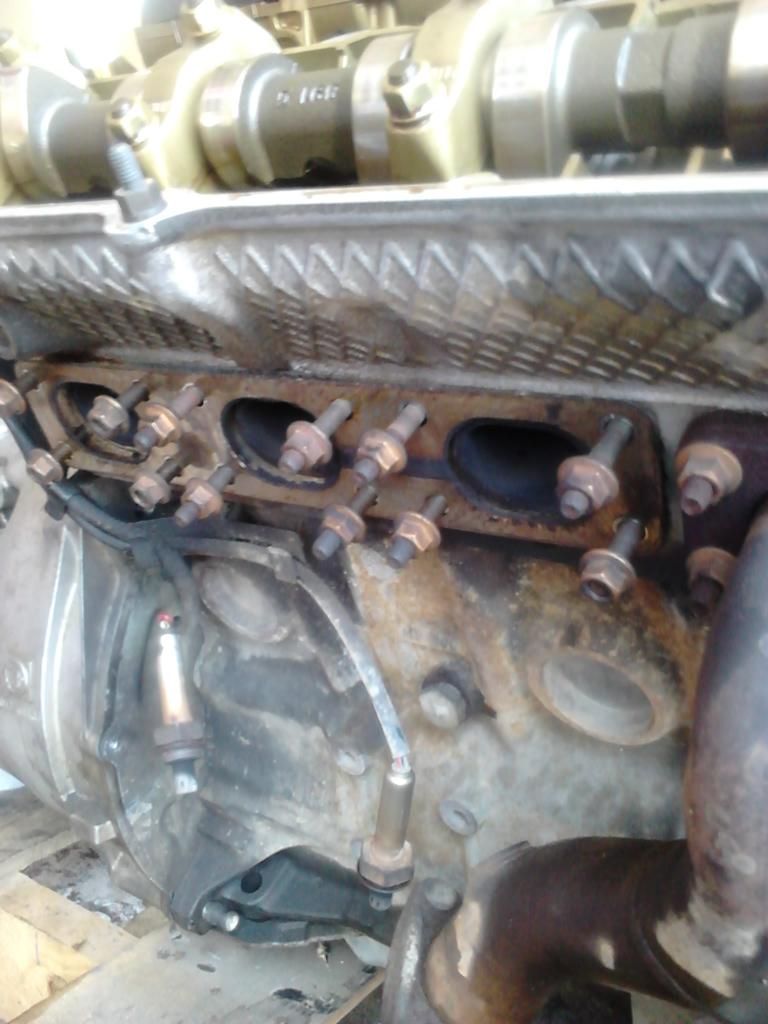
I also took off the valve cover to replace the valve cover gasket. I used some gasket sealant to help seal it up.
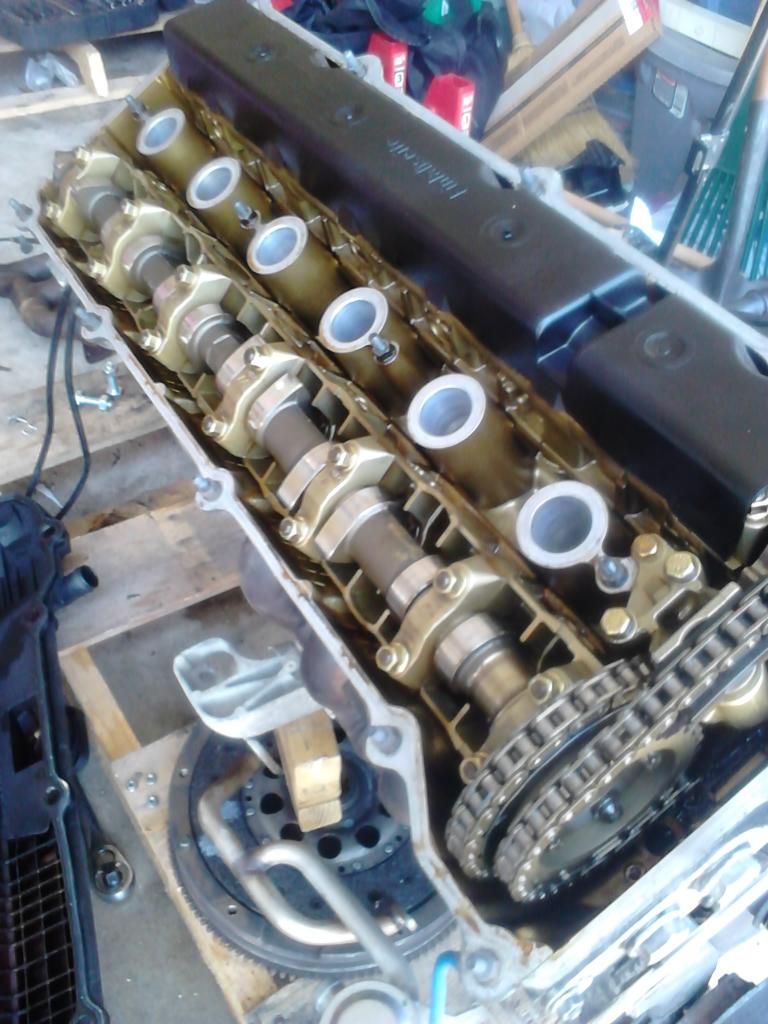
It looks really clean in there so the POs must have kept up with oil changes, thank goodness.
In reply to Mr_Clutch42:
It is important to use a small bit of sealant at the transition points where the VANOS cover goes on and where the cam divots are in the rear. The rest is a pretty good seal on gasket alone. If you seal the whole thing - be careful not to use so much that you get gobs squeezing out on the inside or around the plug holes. They can fall off into the head and plug the oil drains or make it to the oil pan and clog the pickup screen.
Here's me hanging out at my aunt's house on Father's Day. You gotta hang out with relatives every now and then.

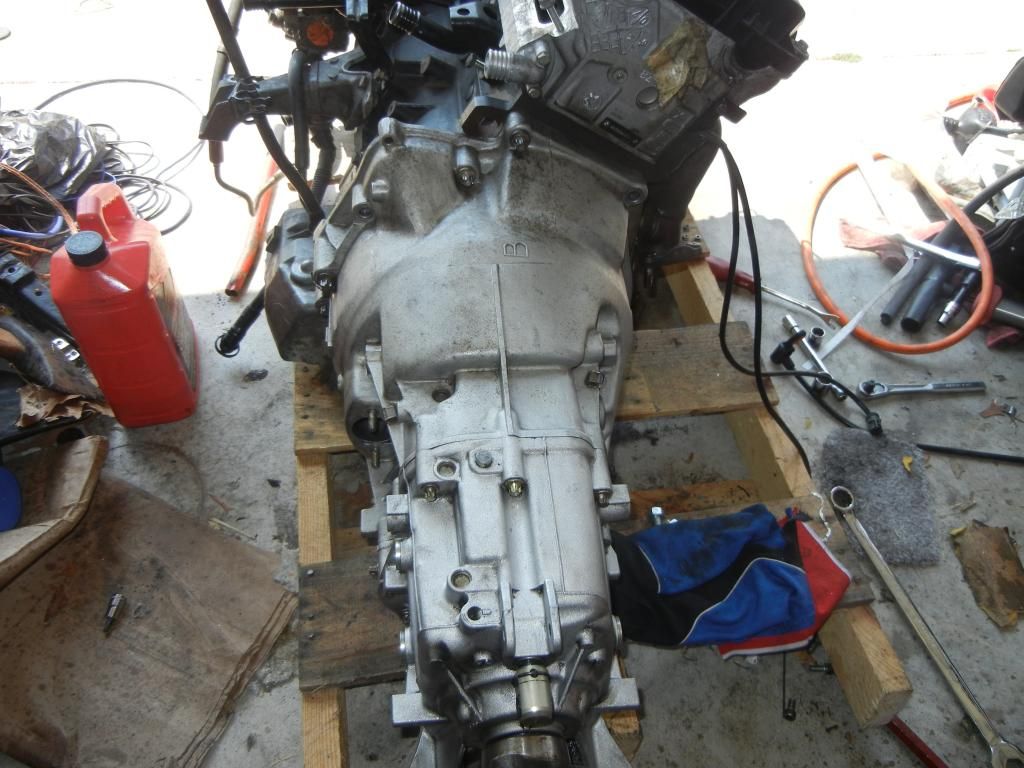
On Monday, I re-cleaned the trans and bolted it up to the engine. I did order the torx bolts that are missing. One is actually on special order so it will take 5 days before they can ship that one. ![]() It did take at least fifteen minutes of wrestling it in place.
It did take at least fifteen minutes of wrestling it in place.
Here's a shot of the shifter shaft seal I replaced. I actually poked and wedged the old one out;I should have done this last year when I did the shifter bushings.
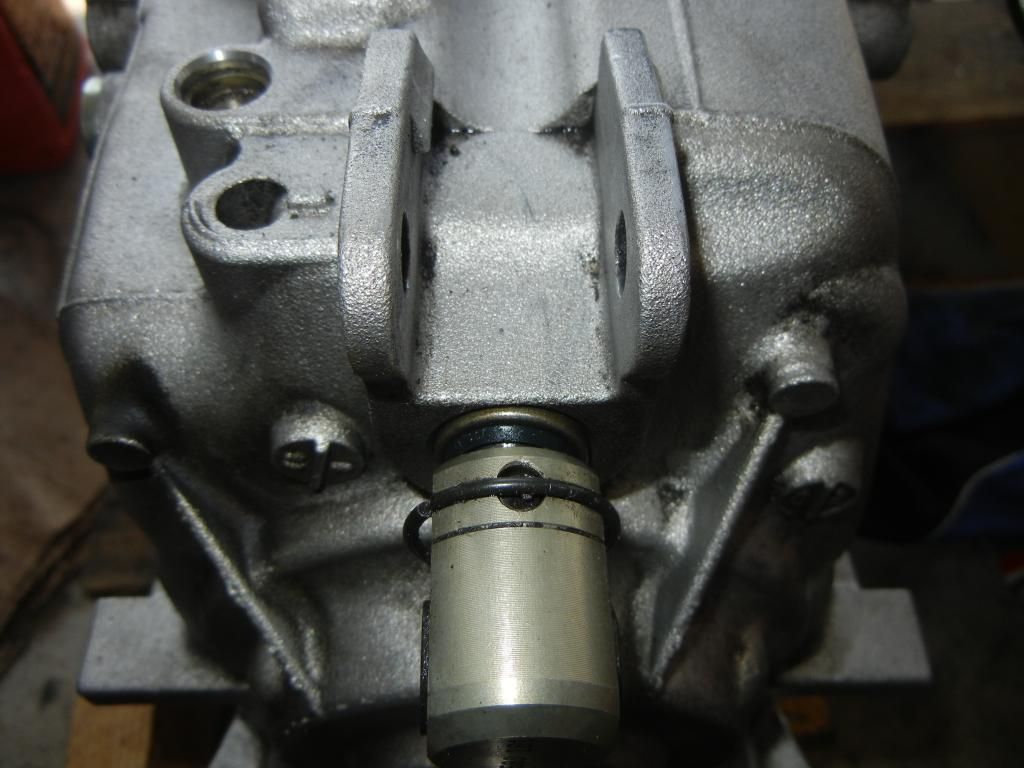
I'm pretty sure that I pressed it in a little farther after I took the picture so it would stay in place.
Then I put the drivetrain on the hoist and drained the oil while it was in the air.
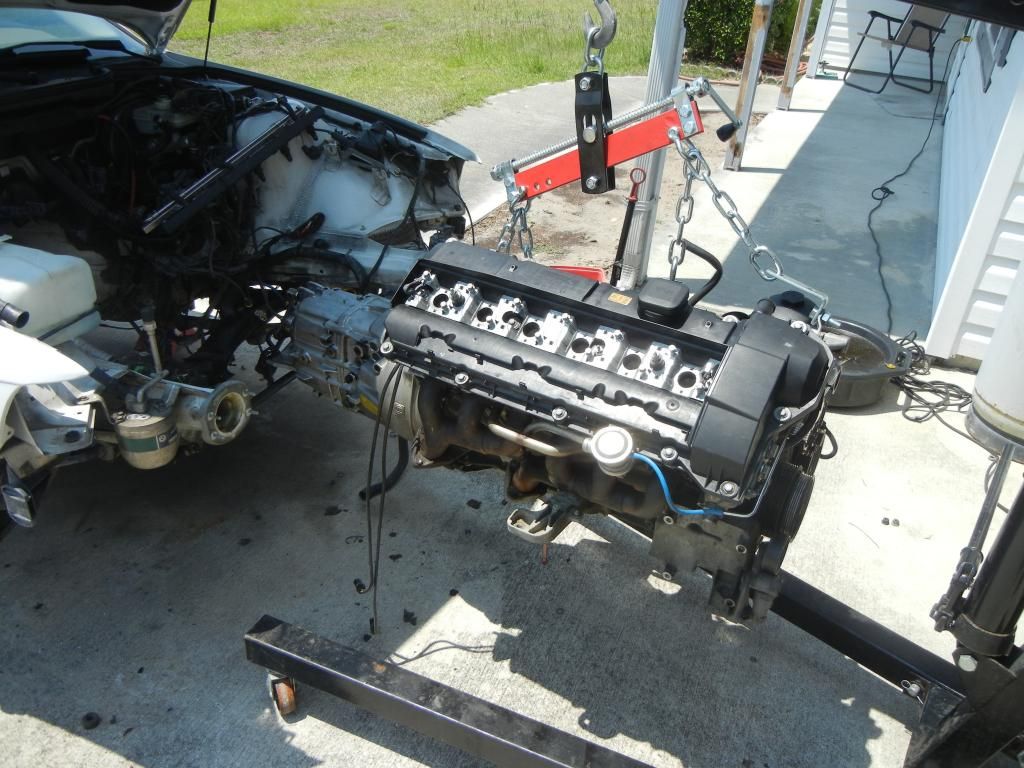
It's in position.
Now, I'm getting it at the correct angle to fit it over the subframe and engine mounts yet have the leveler under the wiring harness.
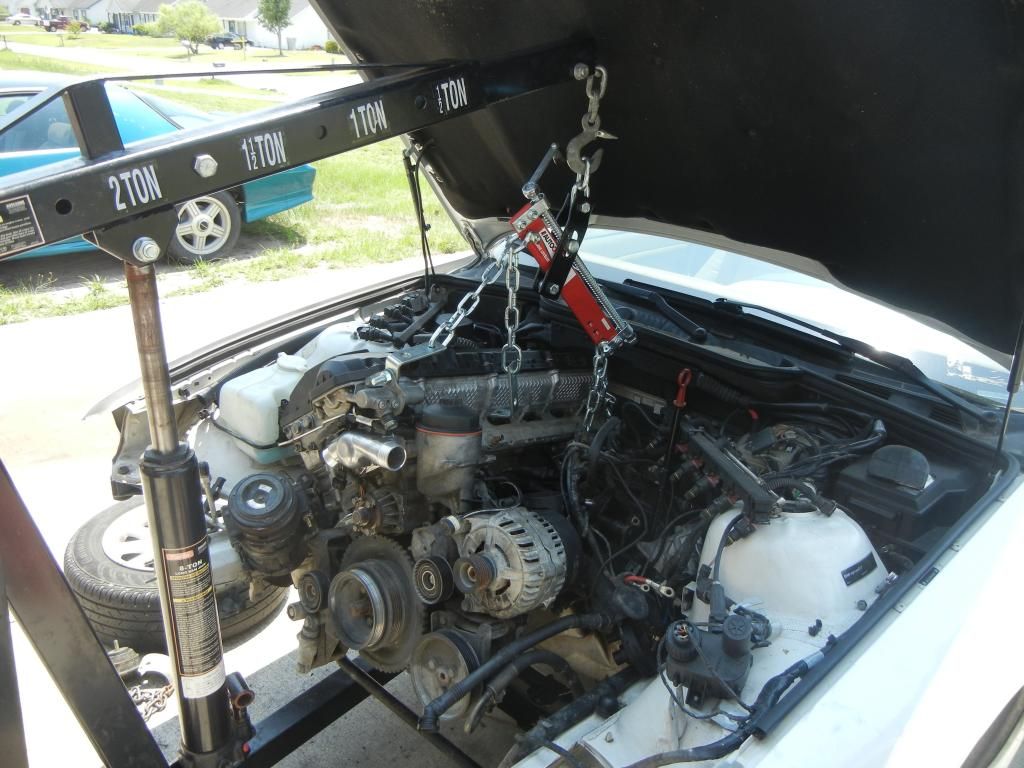
Wheels are a great invention. I can move maybe 400+ lbs of drivetrain easily.
I have to maneuver it under the wiring harness too.
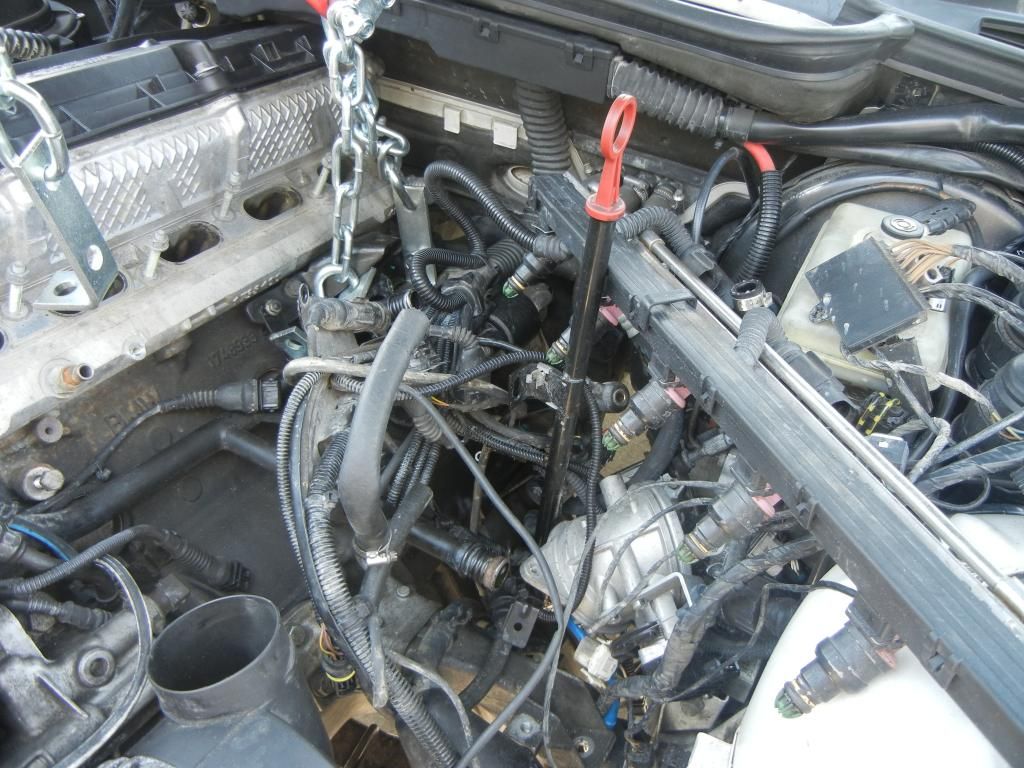
The picture makes the cylinder head look cleaner and newer than it actually is.
Now, it is bolted to the engine mounts. I hope I didn't berkeley up the trans because I supported it with a regular jack to help level the engine and trans. There was a little gear oil dripping from the middle area.
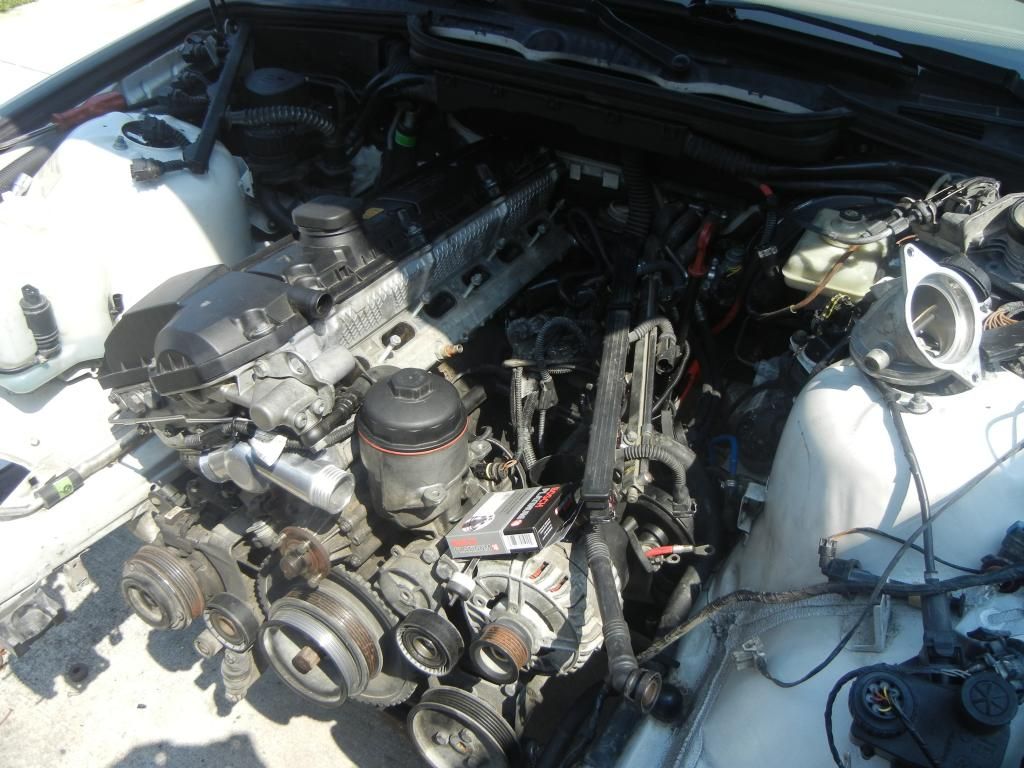
I also put in the new spark plugs. It would have been better to install those while the engine was outside the car because of cylinder #6. The welding shop also told me that they couldn't weld the trans crossmember due to the composition of the metal. He said that it wasn't a high enough quality and maybe a mixture of magnesium too.
I didn't do anything today though because my daughter was ill. I'll do at least some stuff tomorrow.
I have a two event autocross weekend on the 21st and 22nd. This car clearly won't be ready and I unfortunately, won't be able to race my Camaro either. So, I will just have to ask someone with a RWD, (or a non-FWD) car and summer tires for a co-drive. I have an autocross event on the 28th at my next closest region, and I may be able to race my Camaro there.
I took off the valve cover and applied some gasket adhesive to it.
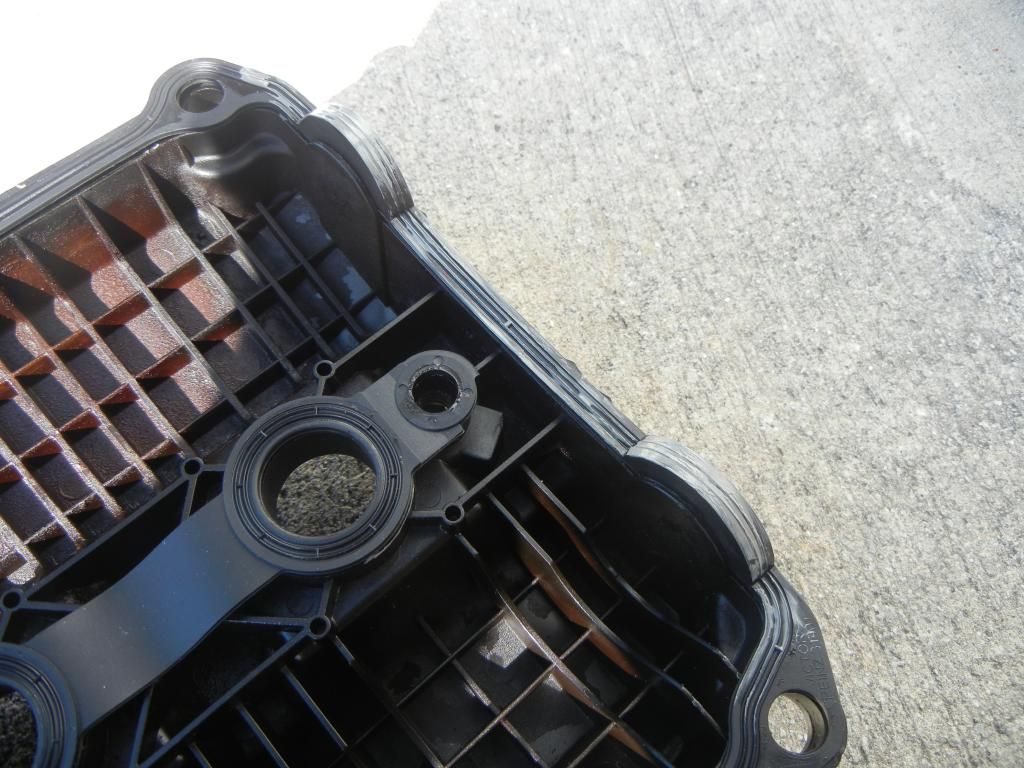
I then had to fiddle around with the small nuts that seem like they ground the circuit for the coils while I was re-torquing the valve cover back on.
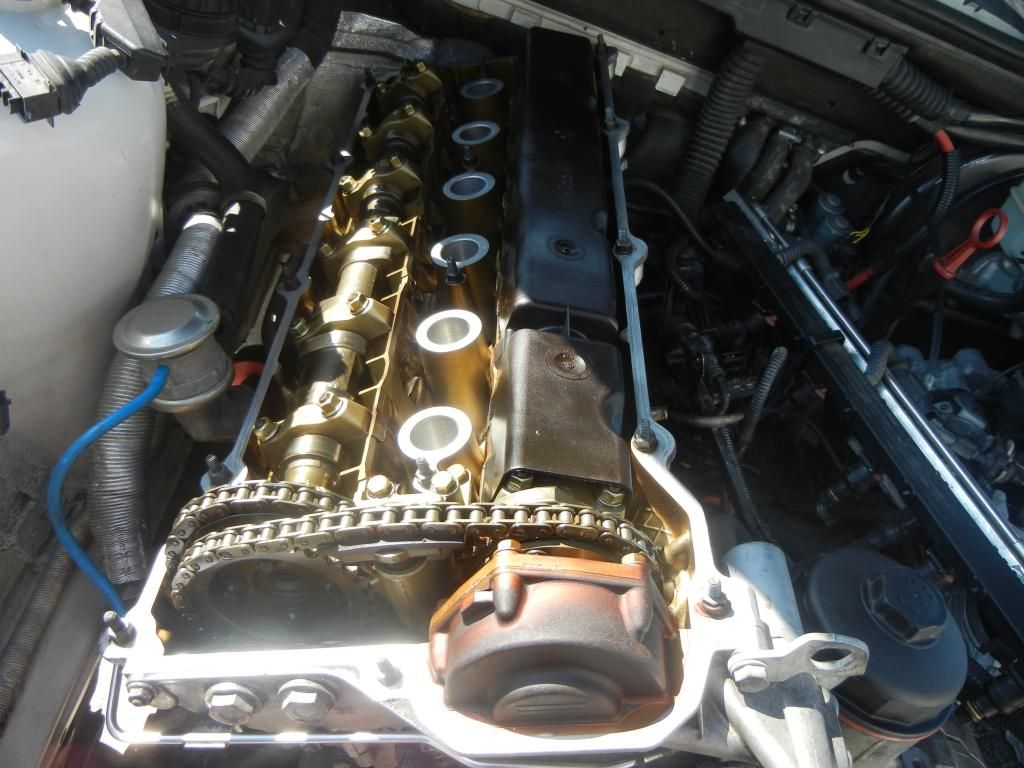
Here's another shot of the camshaft with the good camera.
I put the coils back on.
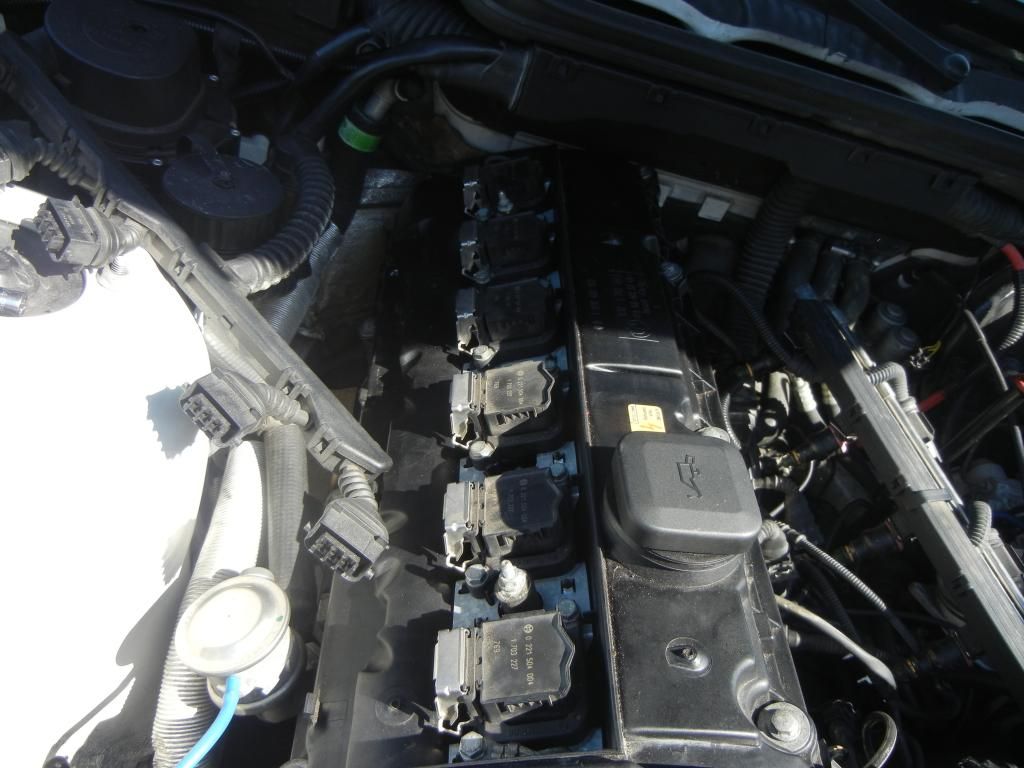
I then spent the next few hours guessing and trying to see which connectors plug into which plug. I also seem to be missing a few bolts for the brackets that bolt to the block. ![]()
I also ordered Evans waterless coolant. I did blow out the coolant;as much as I could anyway, and it was fairly dry in the block so I feel confident that the water in there will be minimum. I only ordered 2 gallons because I'm broke now; I may order some more If I need it.
You'll need to log in to post.