AxeHealey said:Dusterbd13-michael said:
So good.
Hnnnnnnng
Yep, looks just so good.
I have like a dream of doing this to an early Granada Coupé body here in Europe.

Something like that. Ish.
Two problems;
- We don't find old "Nascar" chassises (chassisis? chassis's?) here in Sweden
- We are soon out of rotted out Granada bodies
So, in the meantime I admire your work and dream a bit.
Gustaf
I thought dark colors were easier to paint over, so maybe dark-grey primer? Or maybe shoot to match the primer color to the final color? Painting white over dark-gray would probably suck.
BTW, your dad's dog is legit cute. I would give ear-scratches for sure.
In reply to wvumtnbkr :
Theres a difference between patina and beaten E36 M3box. With the bondo exposed, rotten fenders and quarters, plasma and grinder blow through, etc it just too rough to be cool in person. So it WILL get painted. Just not certain how or when yet. Step one is primer.
Scott: i need to look into that more! Thanks. And kimber is probably the only dog i like. After 400 stitches from them, im scared of dogs. But kimber is cool. Shes a lap cat that barks at squirrels.
It's really coming together. Proud of ya.
Stolen from Chipex:
https://chipex.com/blogs/news/does-a-cars-primer-color-affect-the-final-shade-of-paint
In reply to bOttOmfeeder :
As good as that would be for a couple of laughs I absolutely hate those commercials period however I have been down a rabbit hole of various vintage race liveries. No idea what I'm going to do yet. Have decided I like the 70 to 72 front clip way better than the 73 and up stuff. Ultimately the car will be bodied more or less as a 70
way ahead of ourselvourselvesbut some thoughts.


Theres a reason i plan a photobash thread. Its different enough from stock that it chamges the looks of colors in my mind.
Im also STRONGLY attracted to using the neon lapis blue with the blackout hood treatment....

In reply to Appleseed :
Let's wait until I get it in one single color of primer and mounted with properly radiused wheel wells and throw all your ideas at it via photoshop. I'm willing to consider anything.
What about a Mercedes C63 AMG metallic grey with a matt finish. Looks grey, but at certain angles in the sun, there is a slight green tint

One of our vehicles spray about the same colour with the matt finish


Green tint is slightly more visible.

With blacked out bonnet and body colour GT stripes. Pardon the dust, had a sand storm over night.
Previous budget was 4434.66 with 2019 recoup
new money:
box of wiring, switches, an fittings, shift knob, etc.: $10
3 new spare rotors and hats 150 (not in total)
Front sway bar: 50
Hurst comp plus shifter 20
Pro comp ls1 style intake 225
Spare 5.3and all sorts of extra bits from 2001 suburban 400 (not in total)
Tick stage 3 cam: 20
Choke cable for remote battery kill: 5
Worlds cheapest wiring harness: 34
25/8 autometer water temp gauge (for oil temp) 5
Warning lights:10
2 more sets of nascar wheels with sticker goodyears: 90 (not in total)
Sales
None lately
new total: 4813.66 with 2019 recoup
I was tempted to wait until the body is final mounted to make the next update post. Obviously, I didn’t.
So, I’ve been really really busy since the last update. Between the new job, the girl scout troop, brush clearing, truck fixing, selling the Prius, and just general life on life’s terms, I’ve been chipping away. I also hit two swap meets and some iron horse auctions and amassed some more parts. Except the wiring harness. That was amazon, and way too cheap to say no its really bad, honestly.
I’ve had a lot of help from my friends in the last few months. And been able to spend time with dad more, which is way more important than the car, honestly. Hes my best friend.
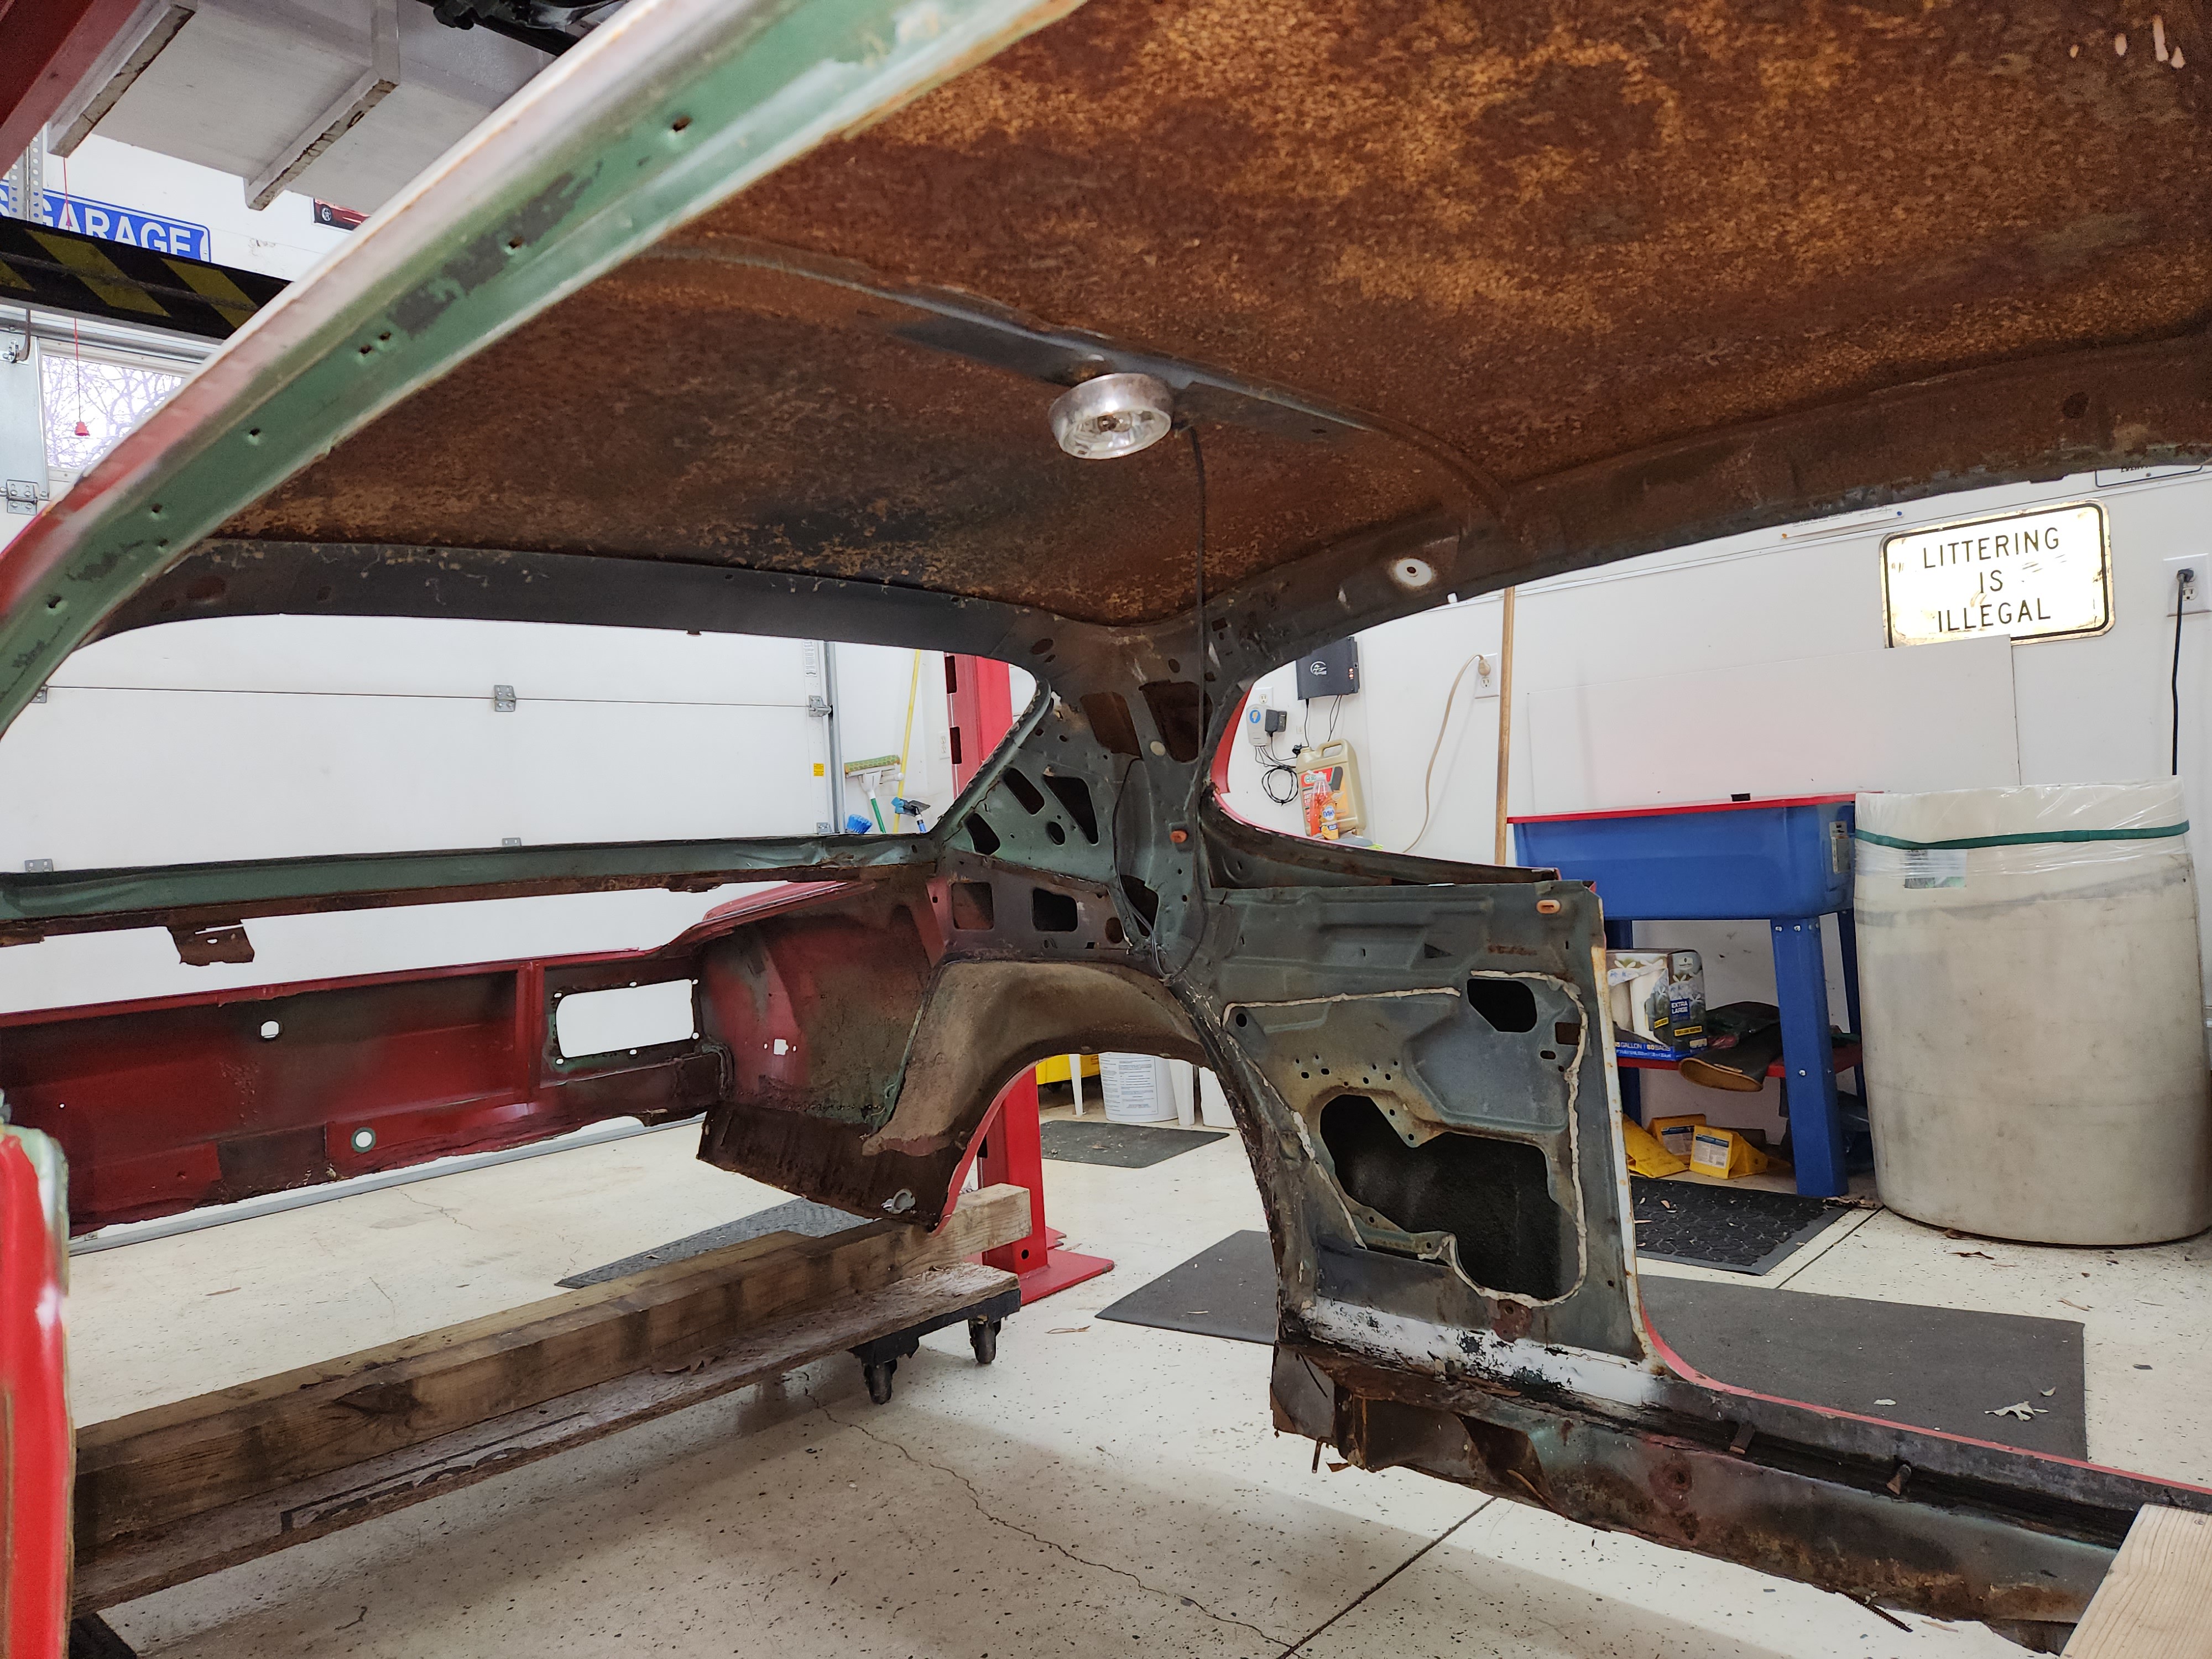
Anyway, when we left off, I had a nice and detailed chassis, and a hacked up duster shell. It looked something like this.
 20221231_084650 by Michael Crawford, on Flickr
 20221231_084659 by Michael Crawford, on Flickr
 20221231_084703 by Michael Crawford, on Flickr
Many hours and cutoff wheels later, we got here. Its considerably lighter than it started, and very very floppy (that’s what she said!!). I blew through in spots with the plasma, and the cutoff necessitating more repair than expected. Nobody to blame but me.
 20221231_103310 by Michael Crawford, on Flickr
 20221231_125255 by Michael Crawford, on Flickr
On body fitting day, dad Dustin and I took the torch to the rockers and cowl.
 20230102_120853 by Michael Crawford, on Flickr
 20230102_141833 by Michael Crawford, on Flickr
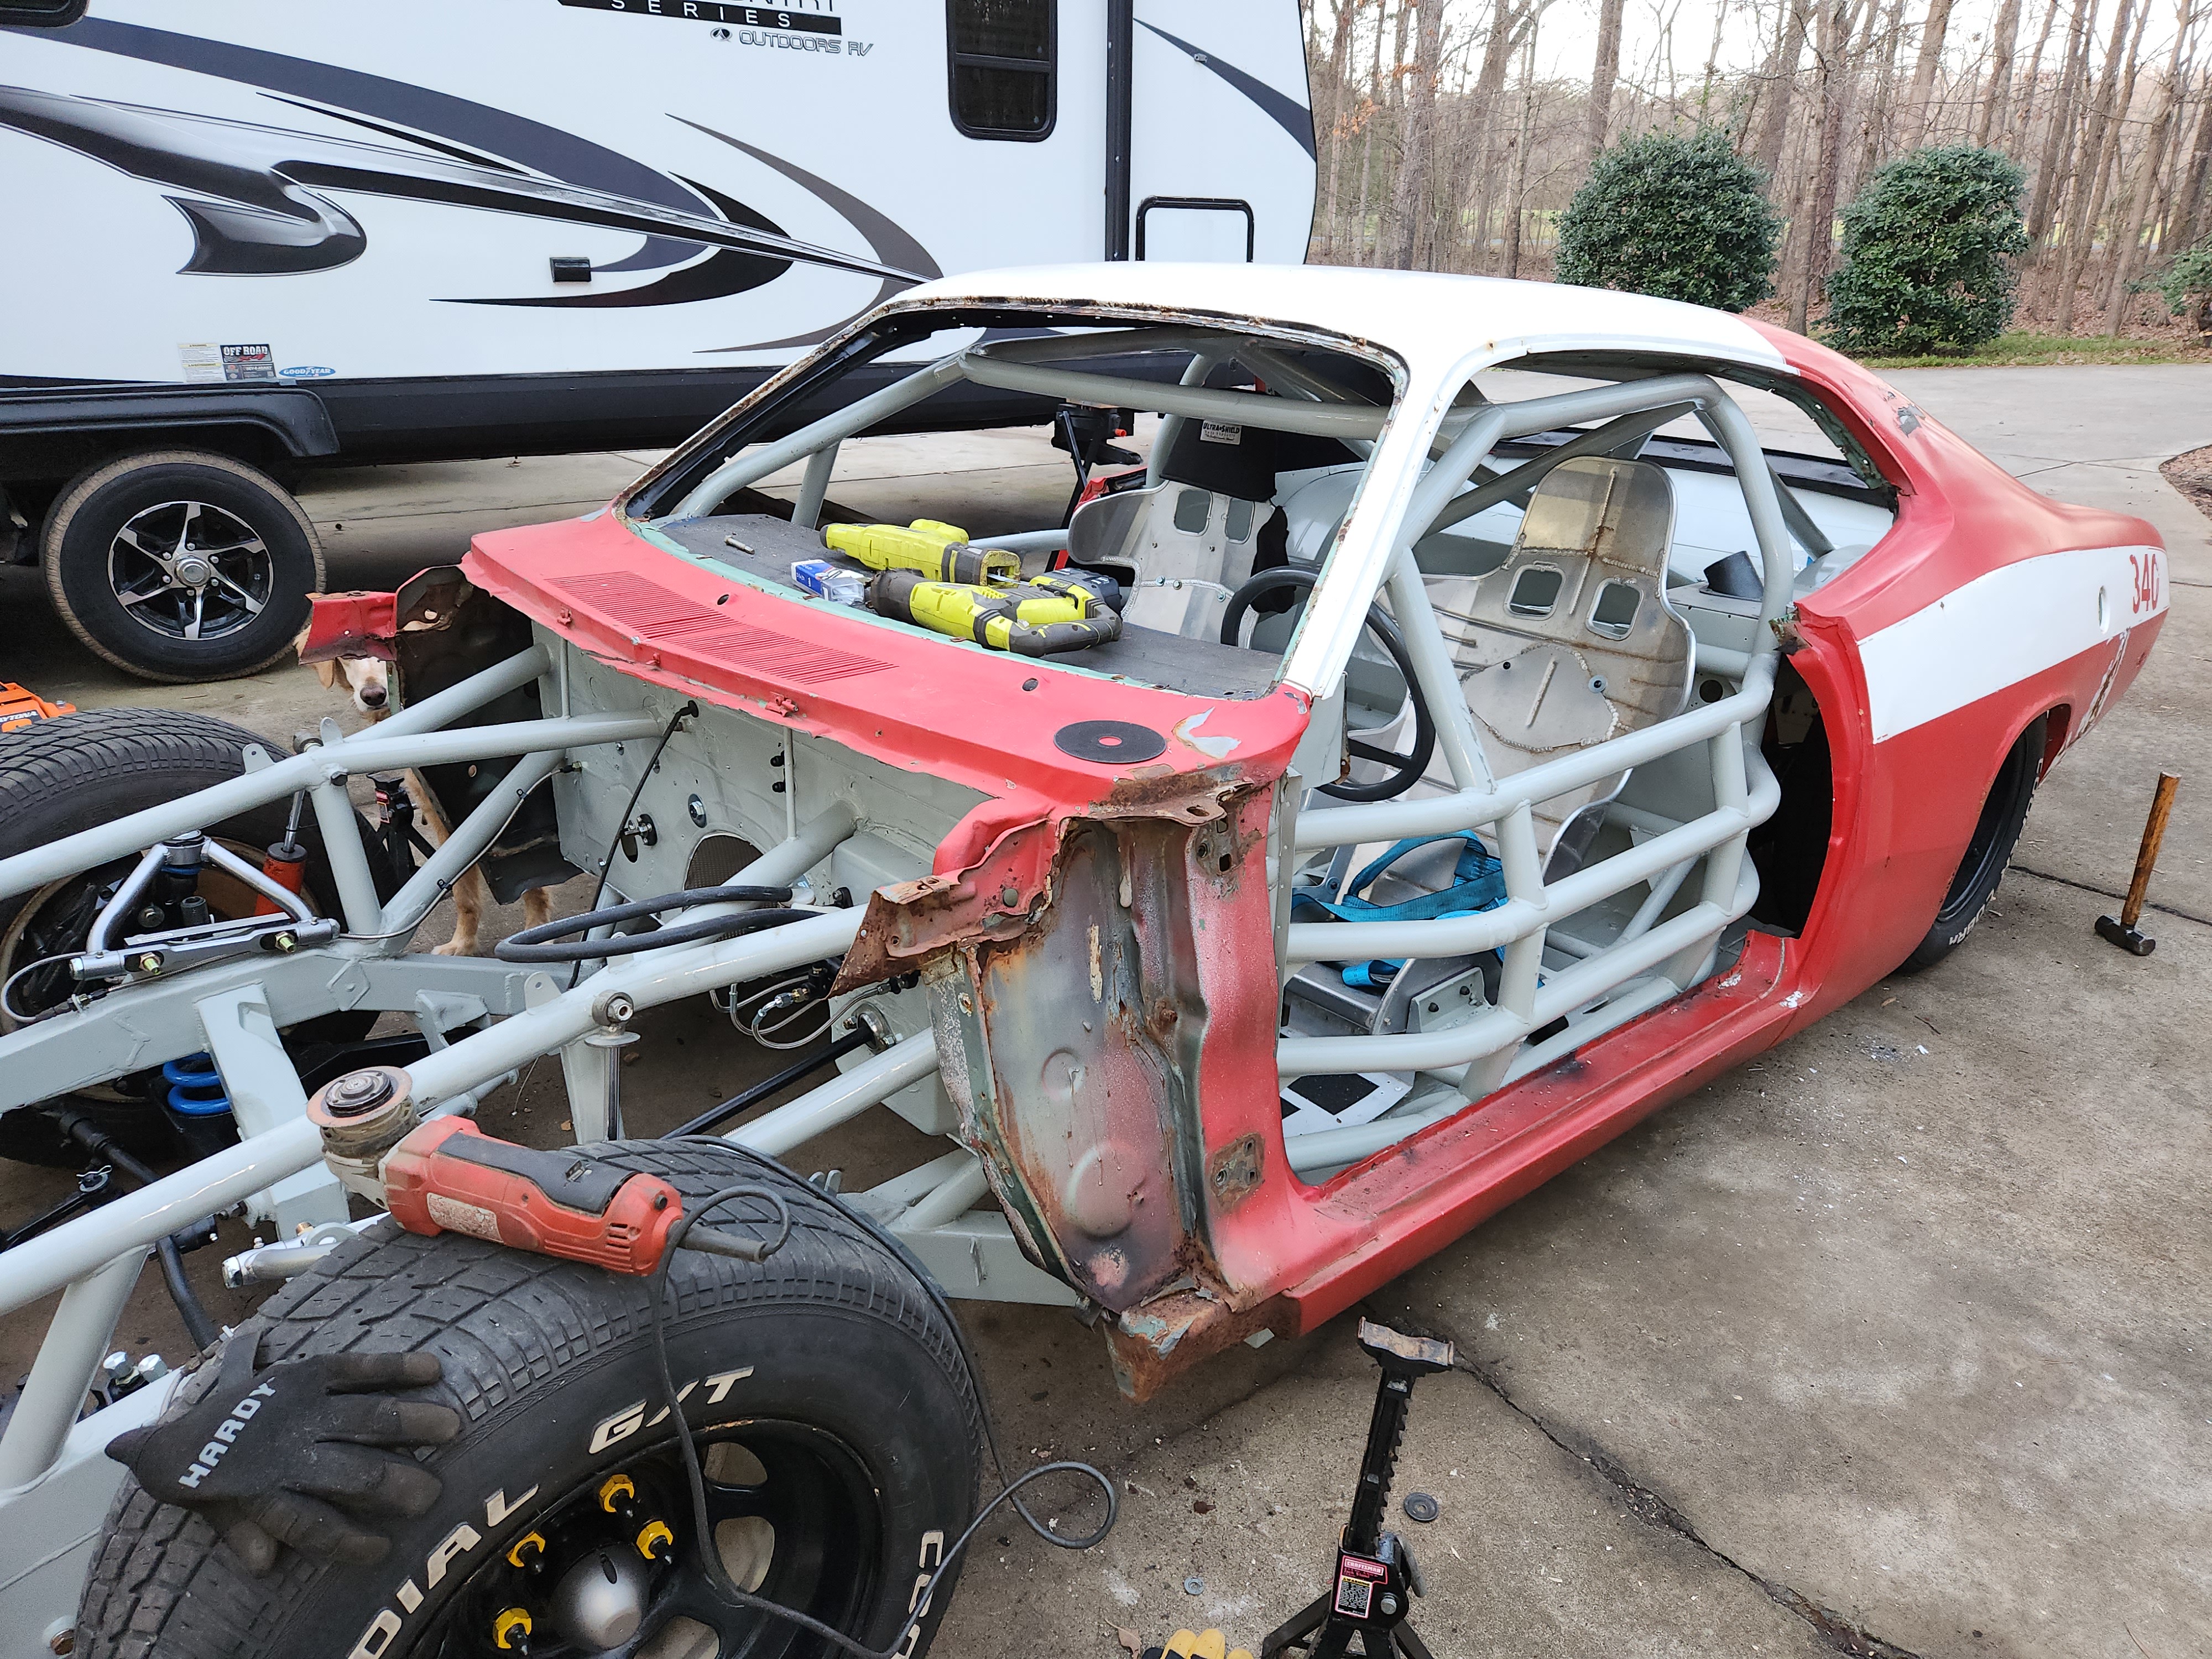
Put the body on stands, and shoe horned it over.
 20230102_154645 by Michael Crawford, on Flickr
 20230102_160159 by Michael Crawford, on Flickr
 20230102_160159 by Michael Crawford, on Flickr
 20230102_170643 by Michael Crawford, on Flickr
It didn’t fit like we thought it would. So, we stood back, and thought about it a bit.
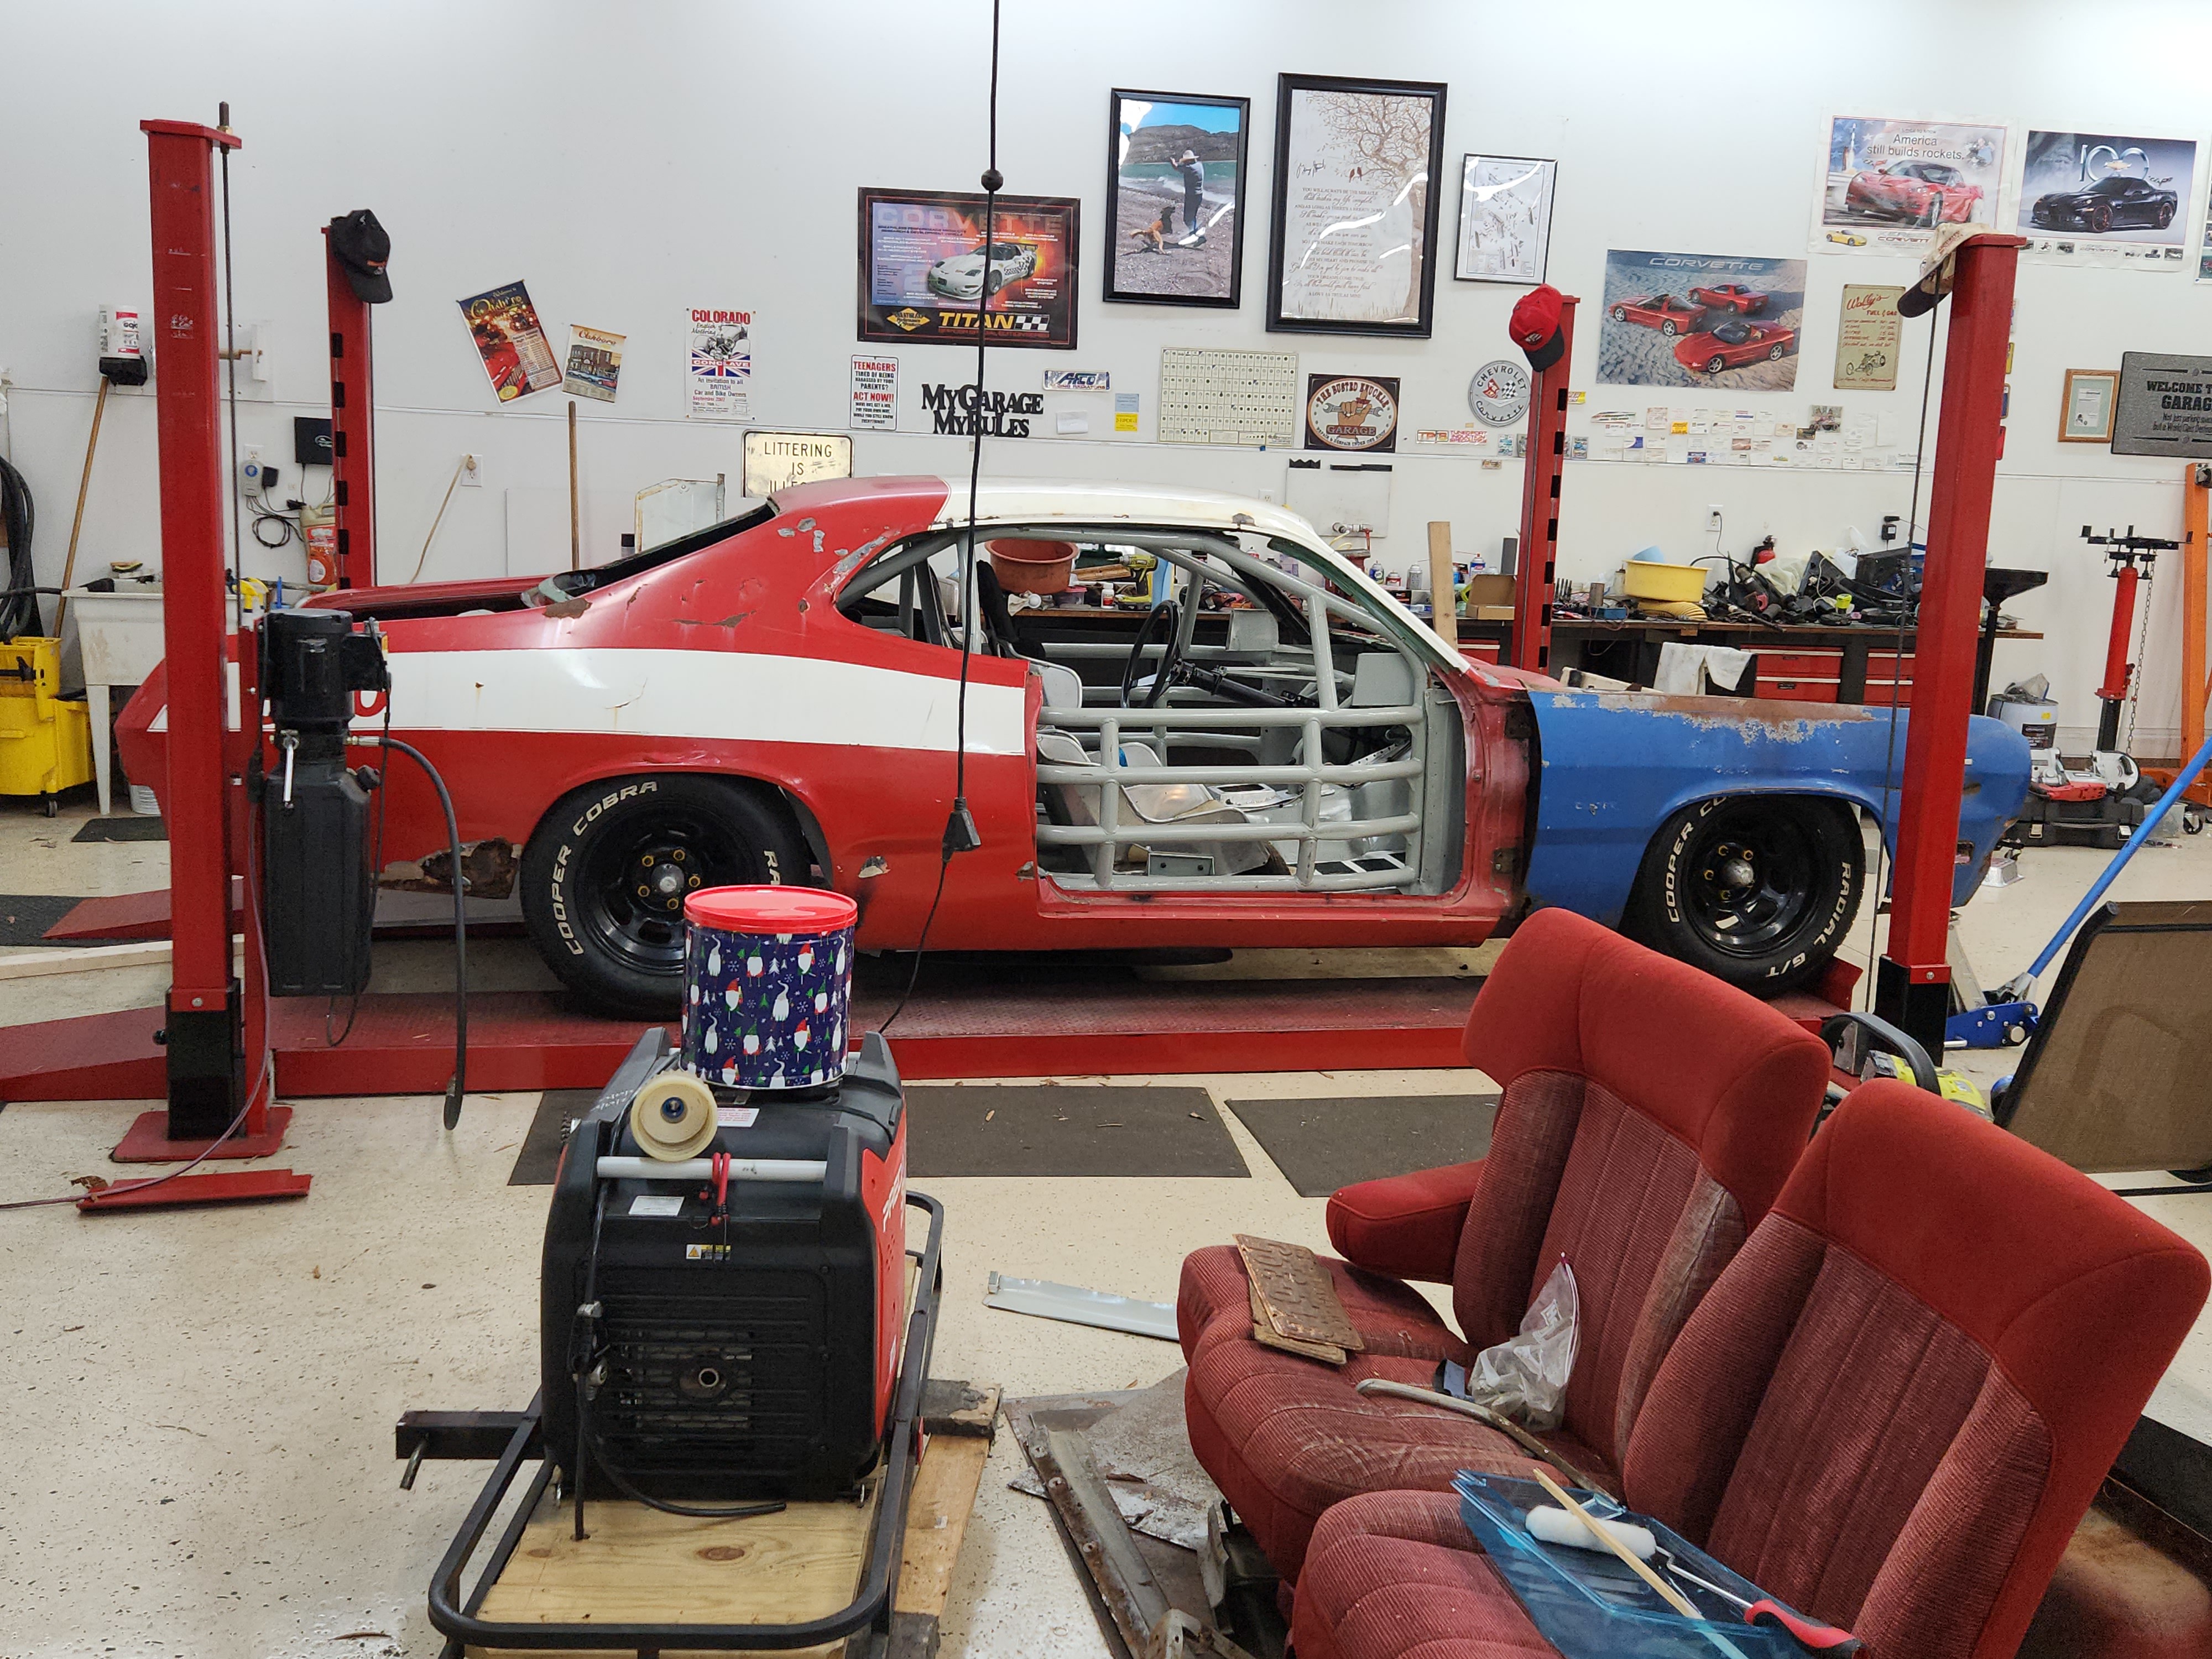
We cut the cowl first. Hated to do it, but no way around it.
 20230106_183509 by Michael Crawford, on Flickr
More better, but still not great
 20230106_191601 by Michael Crawford, on Flickr
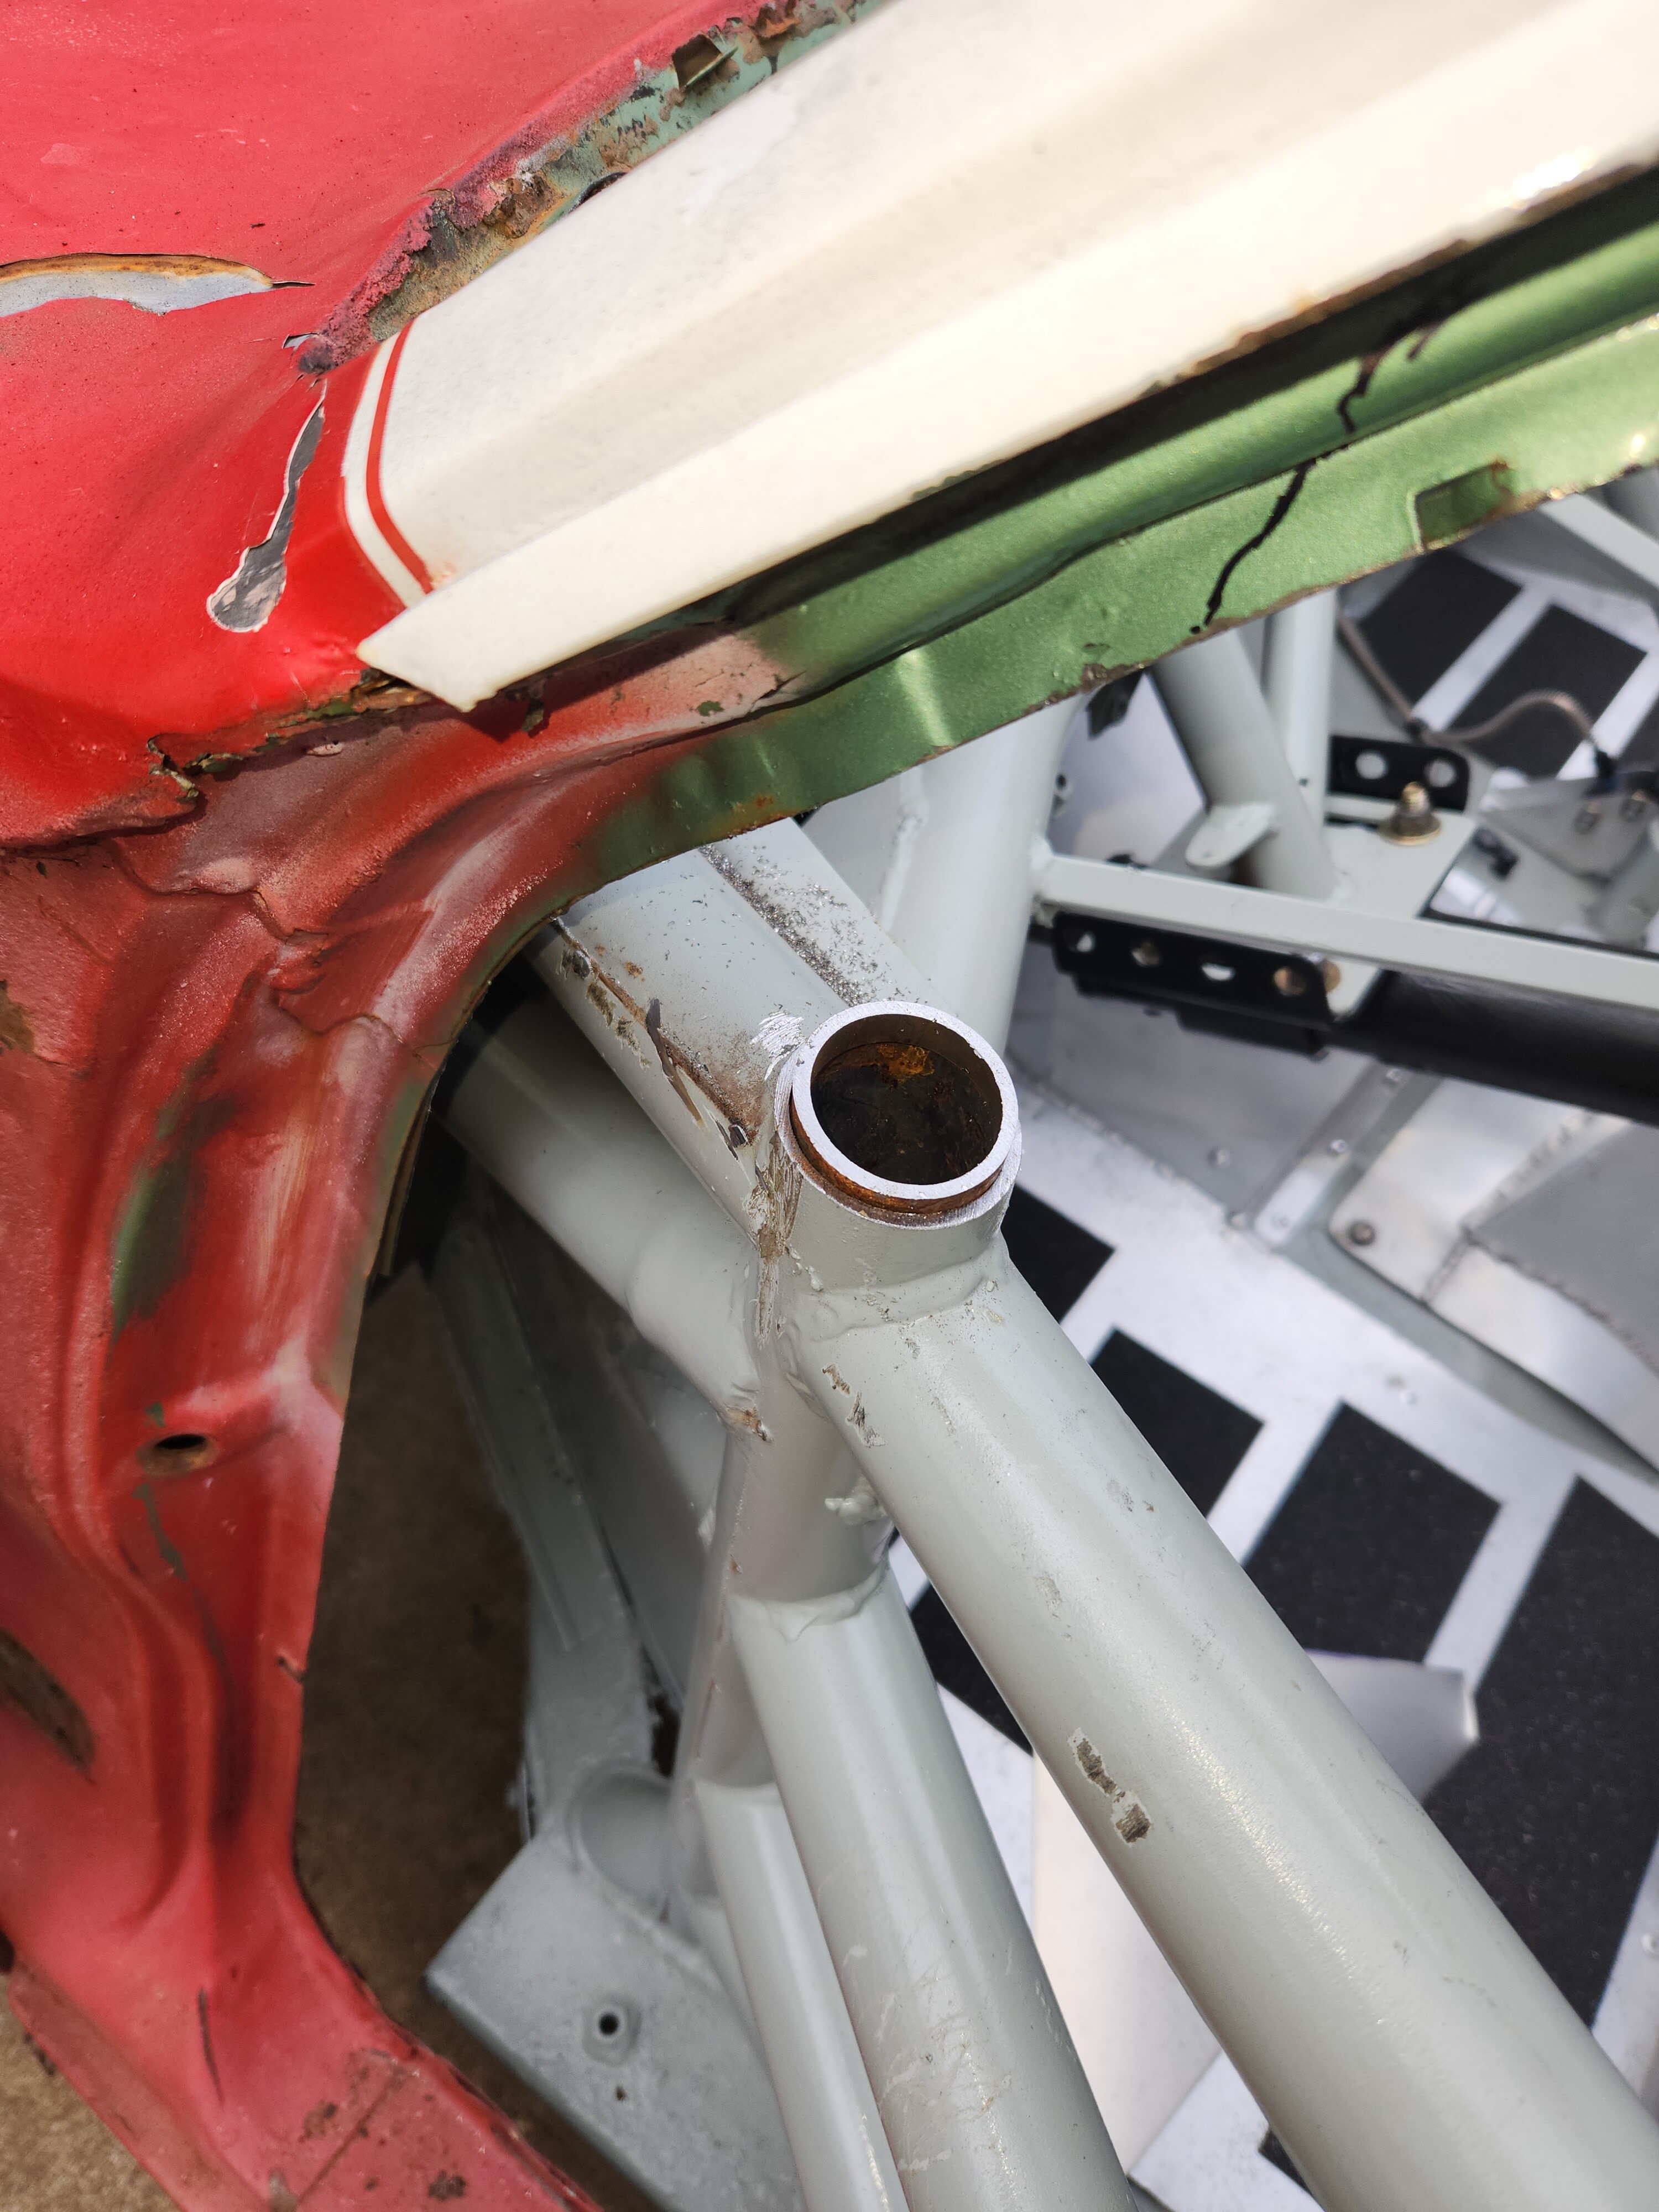
Fouled on the a pillar to a pillar bar fit. It became obvious that they were going to need to be altered. I called in Steve, who built the AMC cage, is an engineer, and is way more talented and smart than ill ever be. His solution was to try to bend the pillars first with oxy acetylene and a come along. Problem was, we couldn’t get it to budge. So, we went nuclear. Steve has been around racing as an engineer and employee most his life, and has experience in many different areas. He proposed sleeving the vertical bars, and bending new tops to better fit.
 20230107_124956 by Michael Crawford, on Flickr
We found the a pillars had already had this done to them. In addition, the car has had a different front clip installed at some point as well. However, the body fit proper now!
 20230107_142755 by Michael Crawford, on Flickr
 20230107_143921 by Michael Crawford, on Flickr
We wound up chopping the weight rail off the driver’s side, chopping out the door jambs, hacking the rear wheel wells, removing the package tray and side tin from the chassis, and grinding the a pillars on the body significantly to fit better. Lots and lots of flap wheels, cutoff wheels, and plasma tips.
 20230107_170515 by Michael Crawford, on Flickr
 20230108_110211 by Michael Crawford, on Flickr
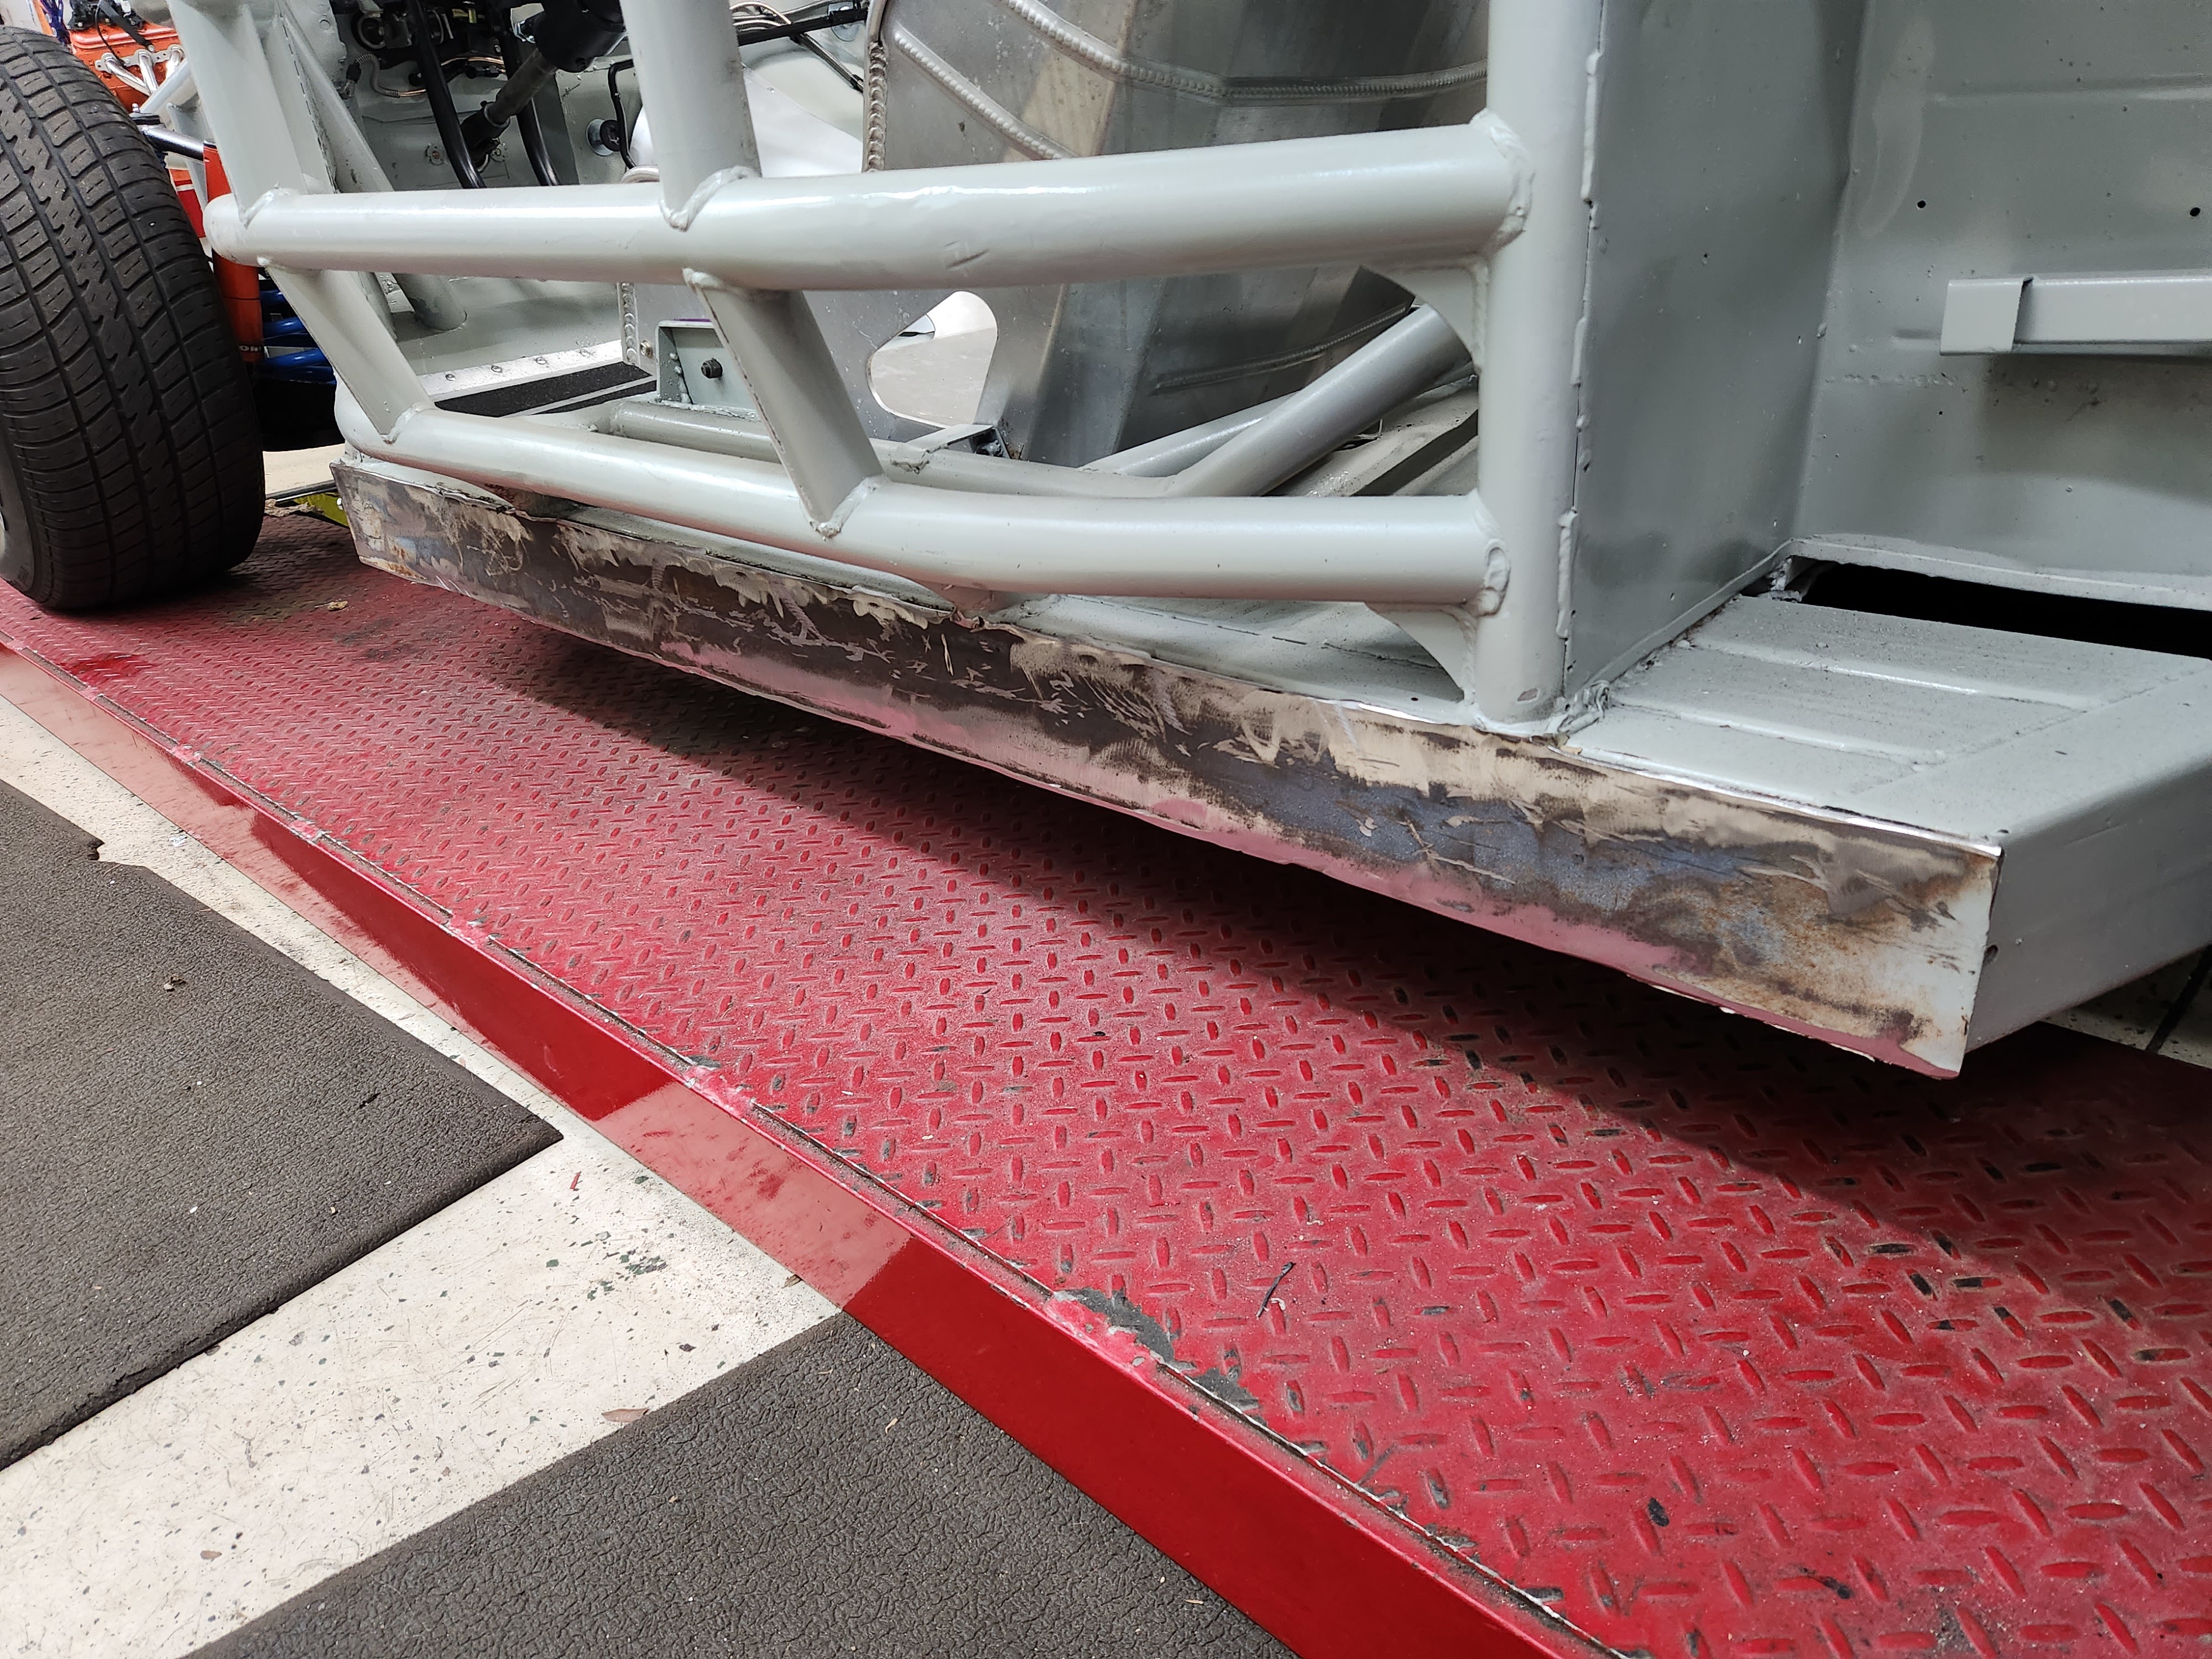 20230210_182340 by Michael Crawford, on Flickr
Then I cleaned up all the duster shrapnel and traded to my scrap guy for money off of a good running 5.3 with 160k and service records that I drove around his lot.
 20230108_110152 by Michael Crawford, on Flickr
Steve and I then bent up and welded in the sleeves and new a pillar bars. Broke in the new TIG, and taught me how to start using it.
 20230114_174754 by Michael Crawford, on Flickr
 20230114_184652 by Michael Crawford, on Flickr
I then spent a while cleaning up cuts and sharps, welding up blow through, etc.
 20230128_135056 by Michael Crawford, on Flickr
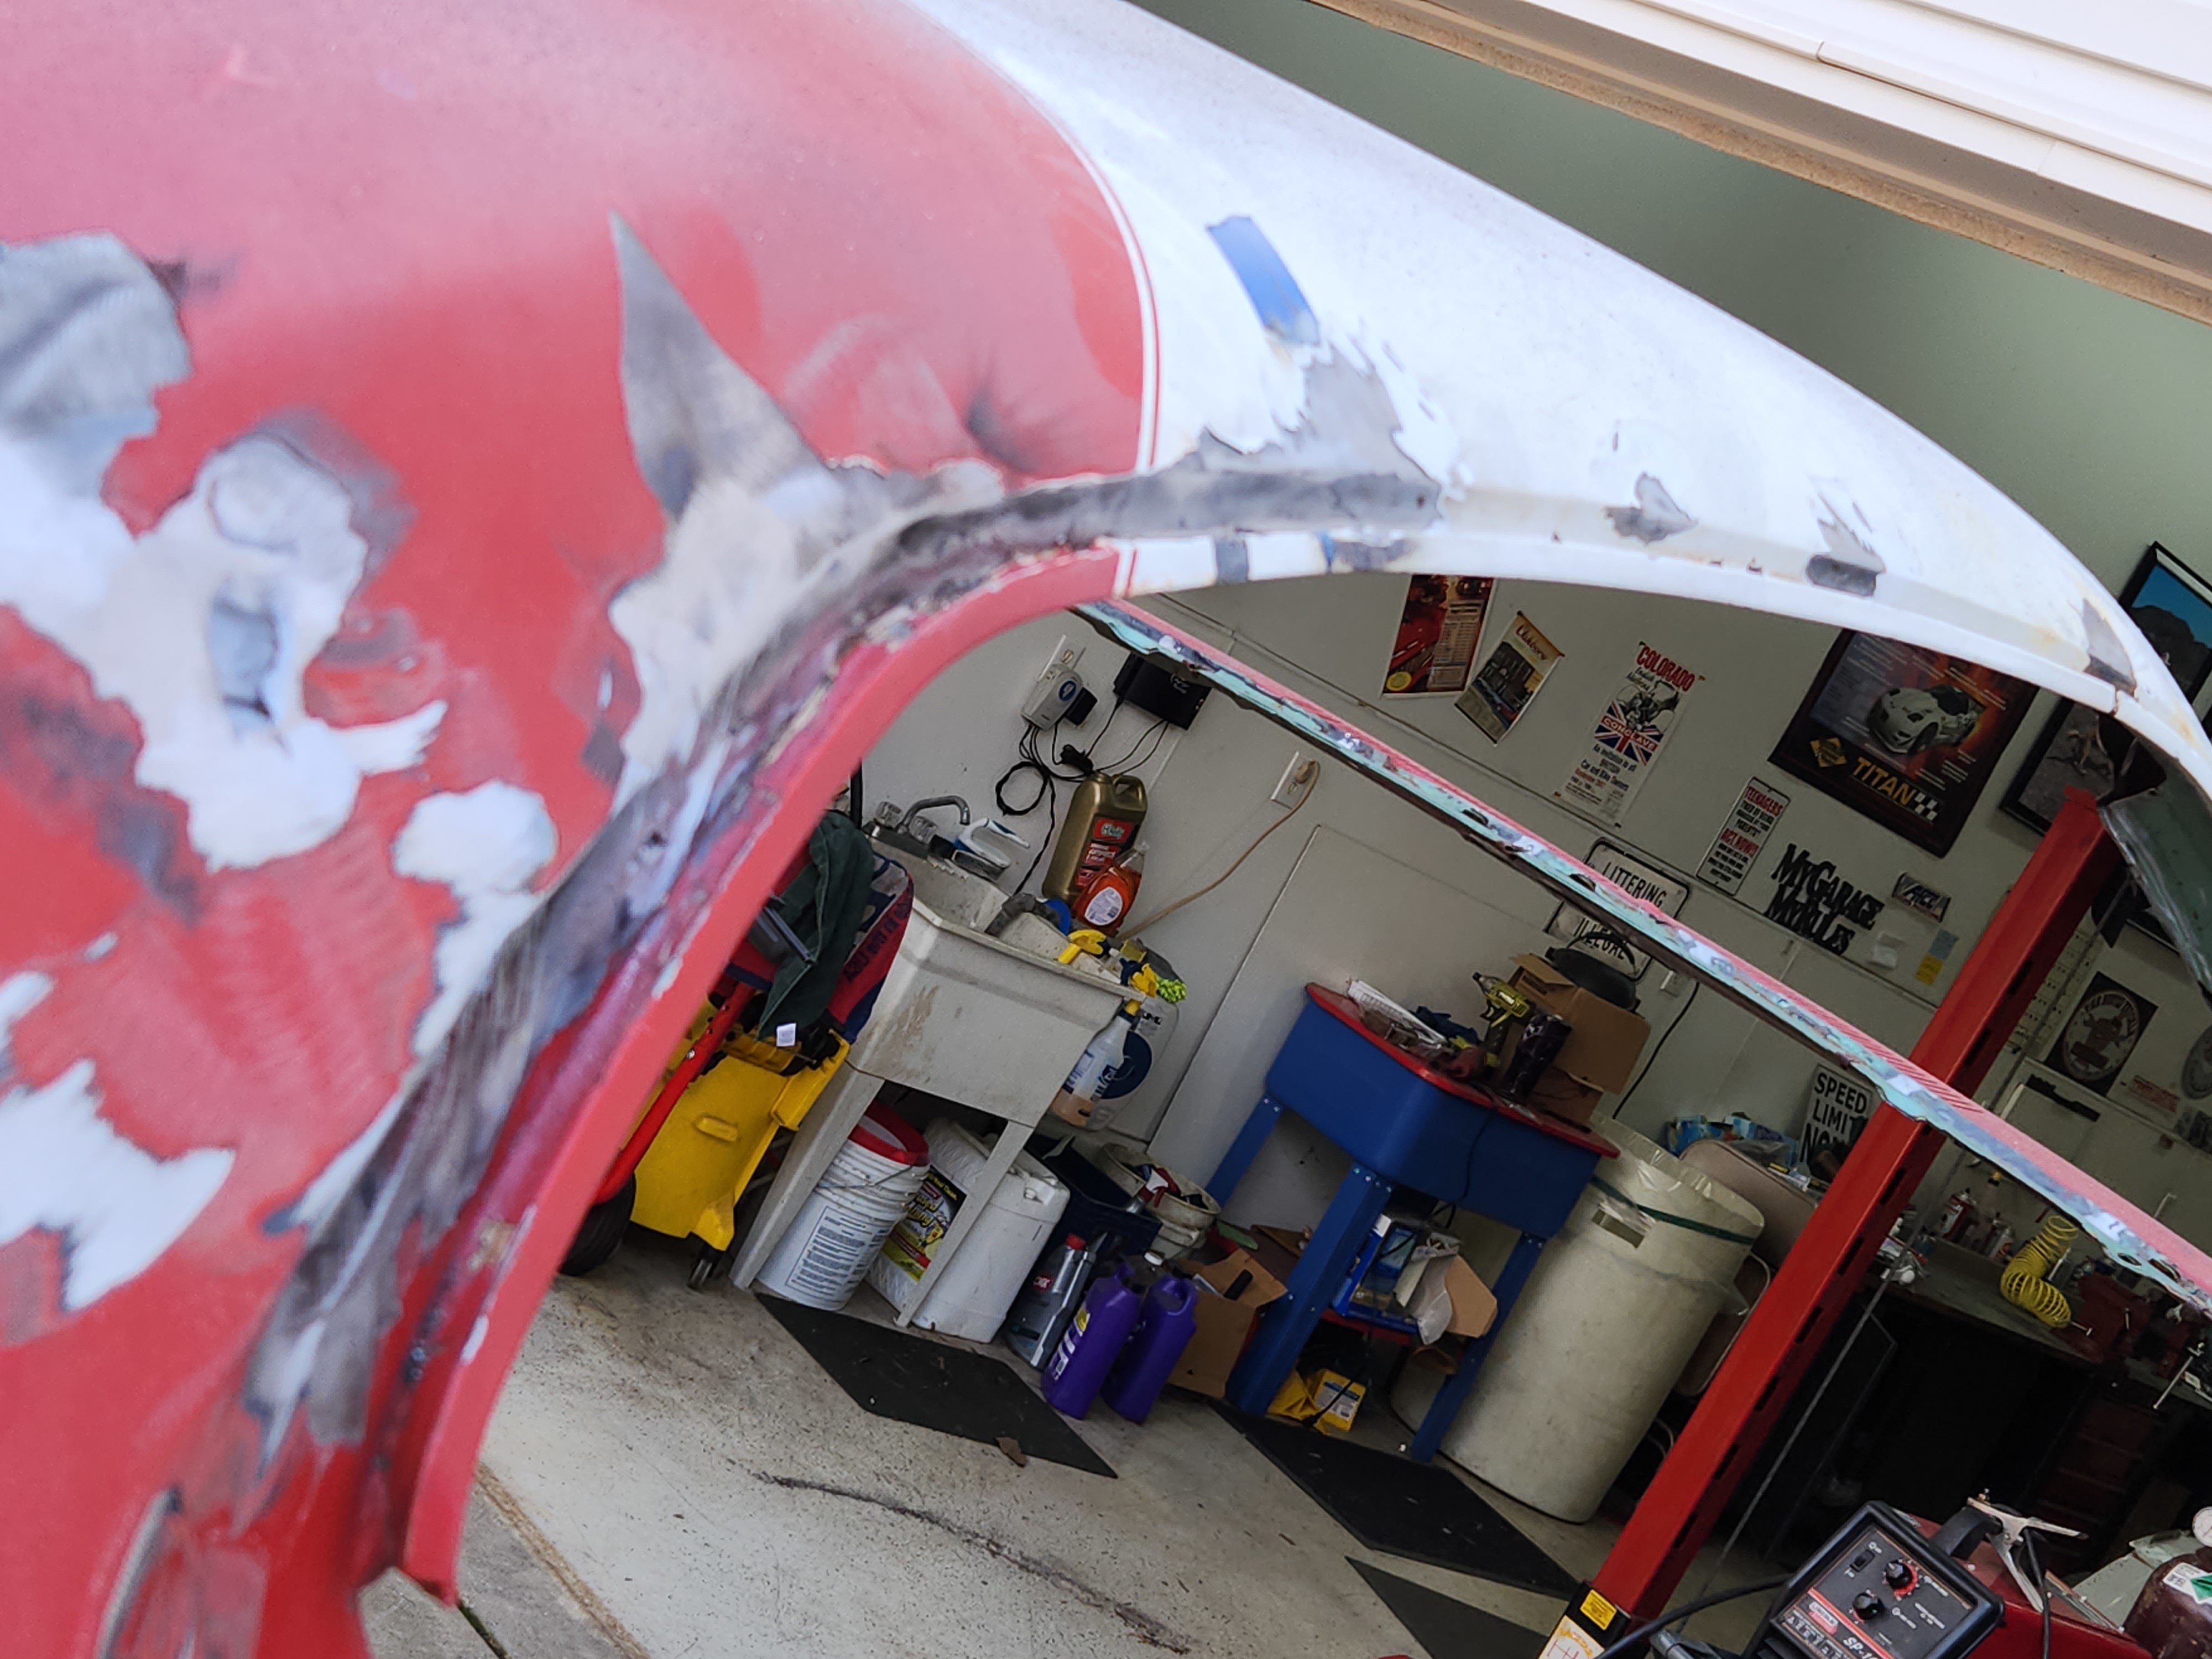 20230128_143741 by Michael Crawford, on Flickr
 20230128_143730 by Michael Crawford, on Flickr
Things turned ugly when I went to fill the side markers and make patches for the quarters.
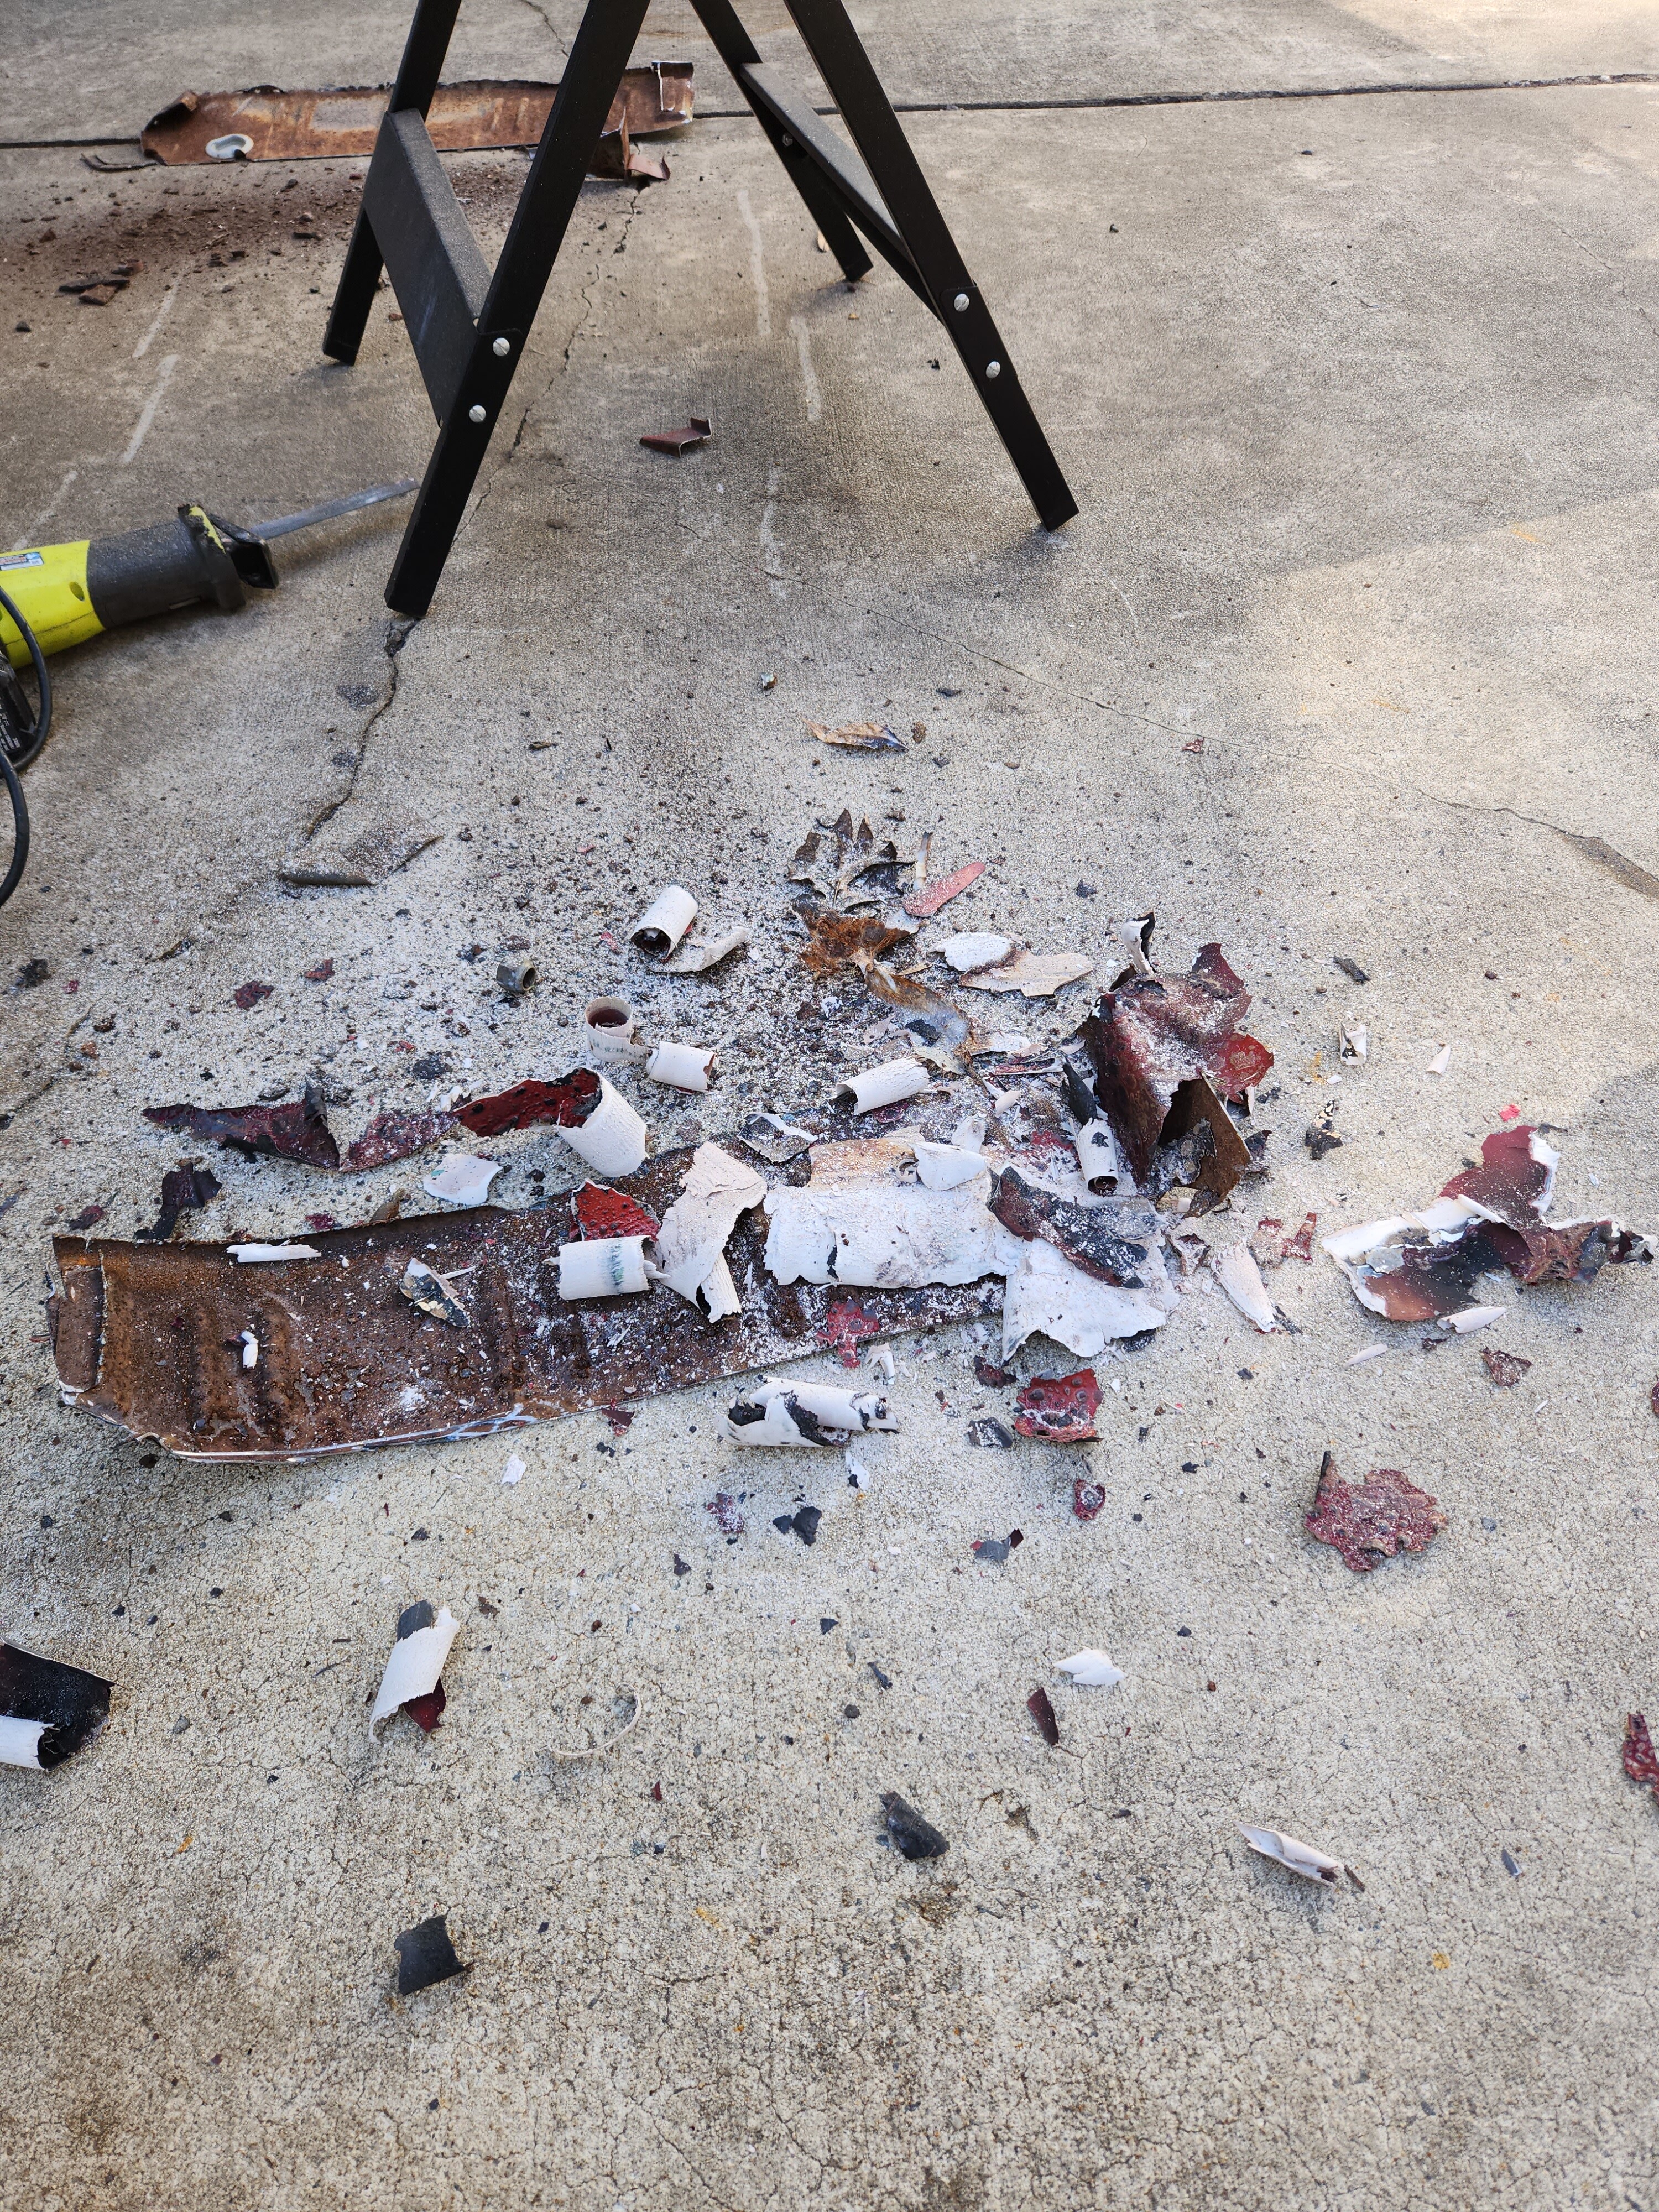 20230128_122141 by Michael Crawford, on Flickr
 20230128_122147 by Michael Crawford, on Flickr
There’s a sideswipe, rust, and someone used Bondo to fill the trim holes. Its mudded ½ thick in places, the whole way up to the center body line. There’s plenty of sheet metal screw holes, trim holes, and other ugly to justify getting the body sandblasted. I want a nice racecar, not a Bondo buggy waiting to crack. So ill do it mostly right. I have the mobile blaster scheduled to do the shell, doors, and my dads truck interior here in the next couple of weeks. In the meantime, I gutted the other door, cut up the front fenders and decklid.
 20230211_122550 by Michael Crawford, on Flickr
 20230211_144303 by Michael Crawford, on Flickr
 20230211_152406 by Michael Crawford, on Flickr
I’ve been working on the fuel cell baffling as well, and here’s a teaser
 20230211_075957 by Michael Crawford, on Flickr
I also scored two full sets of sticker slicks mounted on wheels at auction for 90 bucks all in
 received_1674795619604531 by Michael Crawford, on Flickr
Lastly, lets talk engines. The truck 5.3 I am using, with truck intake, cleaned up very nicely.
 20230115_101200 by Michael Crawford, on Flickr
Unfortunately, after cutting the cowl I don’t think the truck intake will work. This image shows it to be above the seam that I cut it down to, and the cowl panel from the duster body comes to 3/4ofaninch from the top chassis rails.
 1658014973_20220716_172242_mmthumb by Michael Crawford, on Flickr
To resolve this, I purchased this intake from a friend. It an old professional products pieces, with rails and injector spacers and all. Its considerably shorter than the truck intake, and from what I’ve found makes more power. I haven’t decided if it’ll stay aluminum or go black.
 694733693 by Michael Crawford, on Flickr
Today at the swap meet, I took a gamble on a $20 cam. Seller stated it was an unknown new ls cam that came with a Camaro he bought. Based on the numbers, I believe it’s a tick performance stage 3 cam. Which may be too much for the 5.3, even with milled and ported heads and a four speed. Dunno, but for $20 I’m pretty damn happy!
 20230218_175939 by Michael Crawford, on Flickr
Until next time
 imagejpeg_1 by Michael Crawford, on Flickr
Sam Posey Trans Am Challenger motif......scratch Bo....er....kimber behind the ears for me...g'night

So I had to go after ounces. Spent the day with an oscillating scraper and a propane torch taking out undercoating.
according to the weight of the bag of scrapiins above, each quarter had roughly 3lbs 14 ounces of undercoating in them. Doors made a similar pile.
ill call it 13 lbs of undercoating removed. Thats not insignificant.

spent 4 hours welding up sheetmetal screw holes, trim holes, plasma cutter blowout, shaving sidemarkers, etc. Ready to sand and prime. I have the quarters to repair and the front fenders to fix, a few more screw holes in the doors, etc. Dads truck has a couple cracks to weld yet. Should prime by the weekend.
You'll need to log in to post.