Patrick said:Maybe we can swap sheetmetal
Is that what the kids are calling it these days?
For what it's worth, I got my set from eBay for $60 CAD shipped. 16 gauge, I opted fo the 'angled' design, welded nicely to my factory hood. There were other options but it seems like crossing the border brings shipping costs up.
Just as a thought!
wheelsmithy said:(Some awesome E36 M3 about forming louvers with hand tools)
This interests me as a way to add functional vents to my rally XR4Ti's hood without just cutting big berkeleying holes in it- was it an incredibly time consuming process, or is it really as quick as cut/clamp/bend for each louver?
Im seriously debating buying a set of those pliers to try this myself. Those look really good. My only concern is that the hood on this thing is so curvy that it may go pear shaped.
In reply to Crackers :
That made me laugh hard enough to make me cry (bruised ribs and laughing do NOT mex well)
I may paint the car pink with ice cube trays on the hood now. If you squint real hard and take a few hits of lsd itll look like a baris car!
Also, also,

I think you get where I'm going, from here on in my photo responses are boarder line ban-level, so I'll stop now.
Crackers said:In reply to SaltyDog :
That's so ugly/blasphemous it made me angry.
Also, this...
Twilight Zone FTW!
In reply to ¯\_(ツ)_/¯ :
Yeah, man, on my truck, an afternoon, a couple of beers, and suddenly, Bob was my uncle. Not too difficult at all on a flat surface.
In Duster's case, on a curvier hood, You have to find a way to stretch the upper part of the louver. I'd sort of consider heating and bending the pliers on a similar radius to the hood, and using heat. This is pure conjecture on my part, but there you go.
Some corners did tear a bit on my truck, but I wasn't terribly concerned, nor careful. With some care, I think these could be really nice.
In reply to SaltyDog :
It's actually kind of funny, because I just watched that episode a few days ago.
Bought a set of seaming pliers to try this out on some flat .030 aluminium sheets. Then well try making curvy ones.
wheelsmithy said:
Above are a set of louvers I did on my crappy Dodge truck. I used one of these:
Basically, Mine worked out OK because it was a flat surface. I cut the slot the width of the jaws(long side), plus 2X the length (short side) of jaws in the picture. I centered the jaws, and just pulled the pliers up. I believe better results than I got are attainable with heat. FYI, the negative(flat) space equals the positive (bent) space when you are doing your layout, if that makes sense. I hope this makes some kind of sense.
I want to make sure that im understanding you. You cut a rectangular shape that is 3 inches wide (width of jaws) by 2 inches deep (jaws are 1) inserted the pliers, clamped down, and pulled up. Right?
wheelsmithy said:In reply to ¯\_(ツ)_/¯ :
Yeah, man, on my truck, an afternoon, a couple of beers, and suddenly, Bob was my uncle. Not too difficult at all on a flat surface.
In Duster's case, on a curvier hood, You have to find a way to stretch the upper part of the louver. I'd sort of consider heating and bending the pliers on a similar radius to the hood, and using heat. This is pure conjecture on my part, but there you go.
Some corners did tear a bit on my truck, but I wasn't terribly concerned, nor careful. With some care, I think these could be really nice.
Duster's hood is aluminum so I'd be careful with any heat application involving a flame.
Challenge budget so far:
previous challenge budget: 1286.58
recoup total: 800
new money:
bought an aluminum seat sand cover from a grm member: 40
new total: 1326.58
recoup: 800
I haven't been moving to quick the last few weeks. Migraines have been the worst they've been in years, which has dramatically slowed progress, and lessened the quality of my work.
Anyway, last week john (untouchabl from grm) came over to see what I am doing to the car he sold me. He also brought an aluminum seat for me to try (too big for him). Seat fit me and the available space in the car. So I bought it at asking price ($40). I haven't figured out how I want to mount it yet, and am open to suggestions. Needs to be low in the car though. And sturdy. And cheap. Im thinking 3x3 angle iron bolted through the floor, then the sides of the seats. But there's gotta be a more elegant solution....
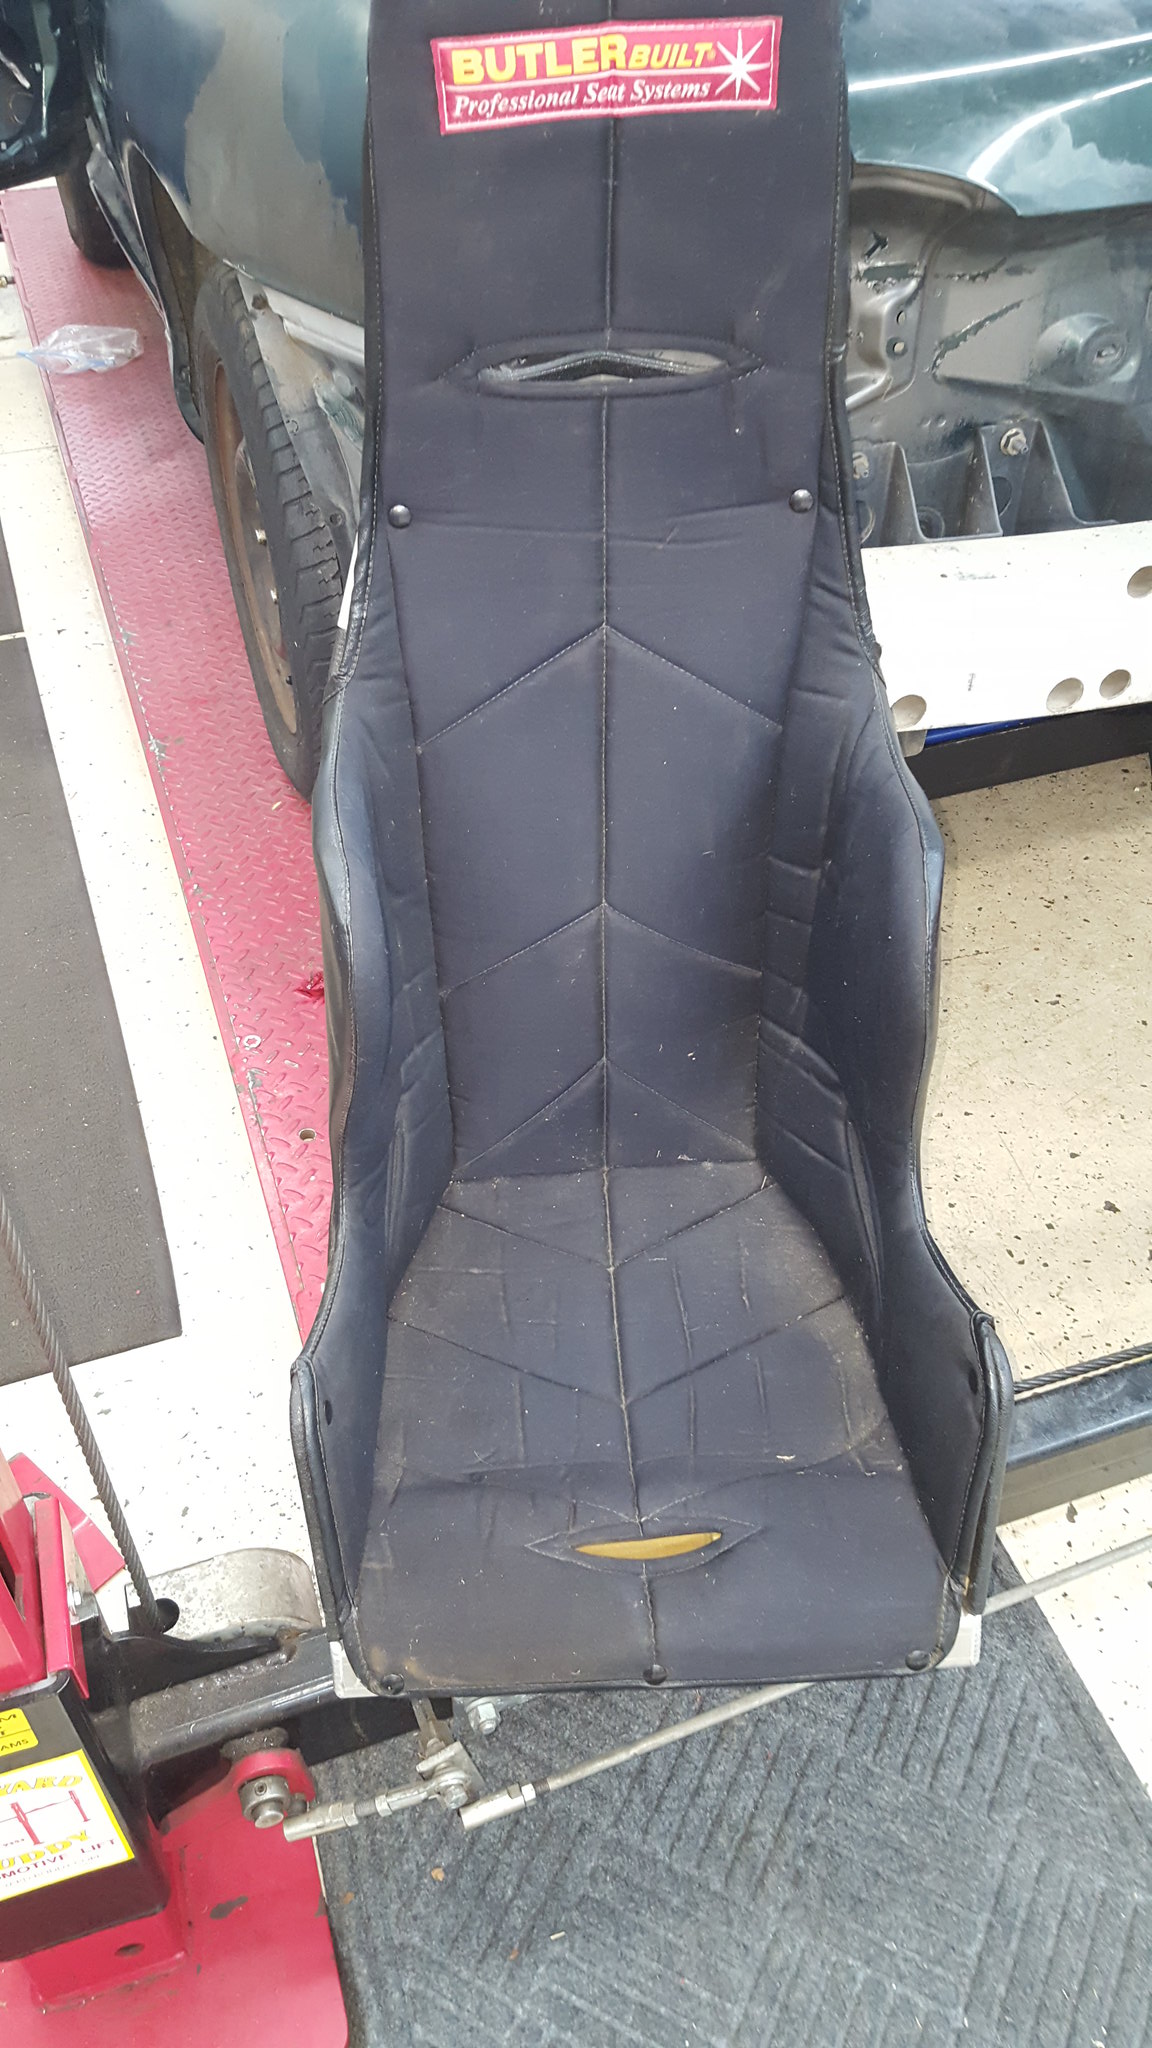 20180203_164639 by Michael Crawford, on Flickr
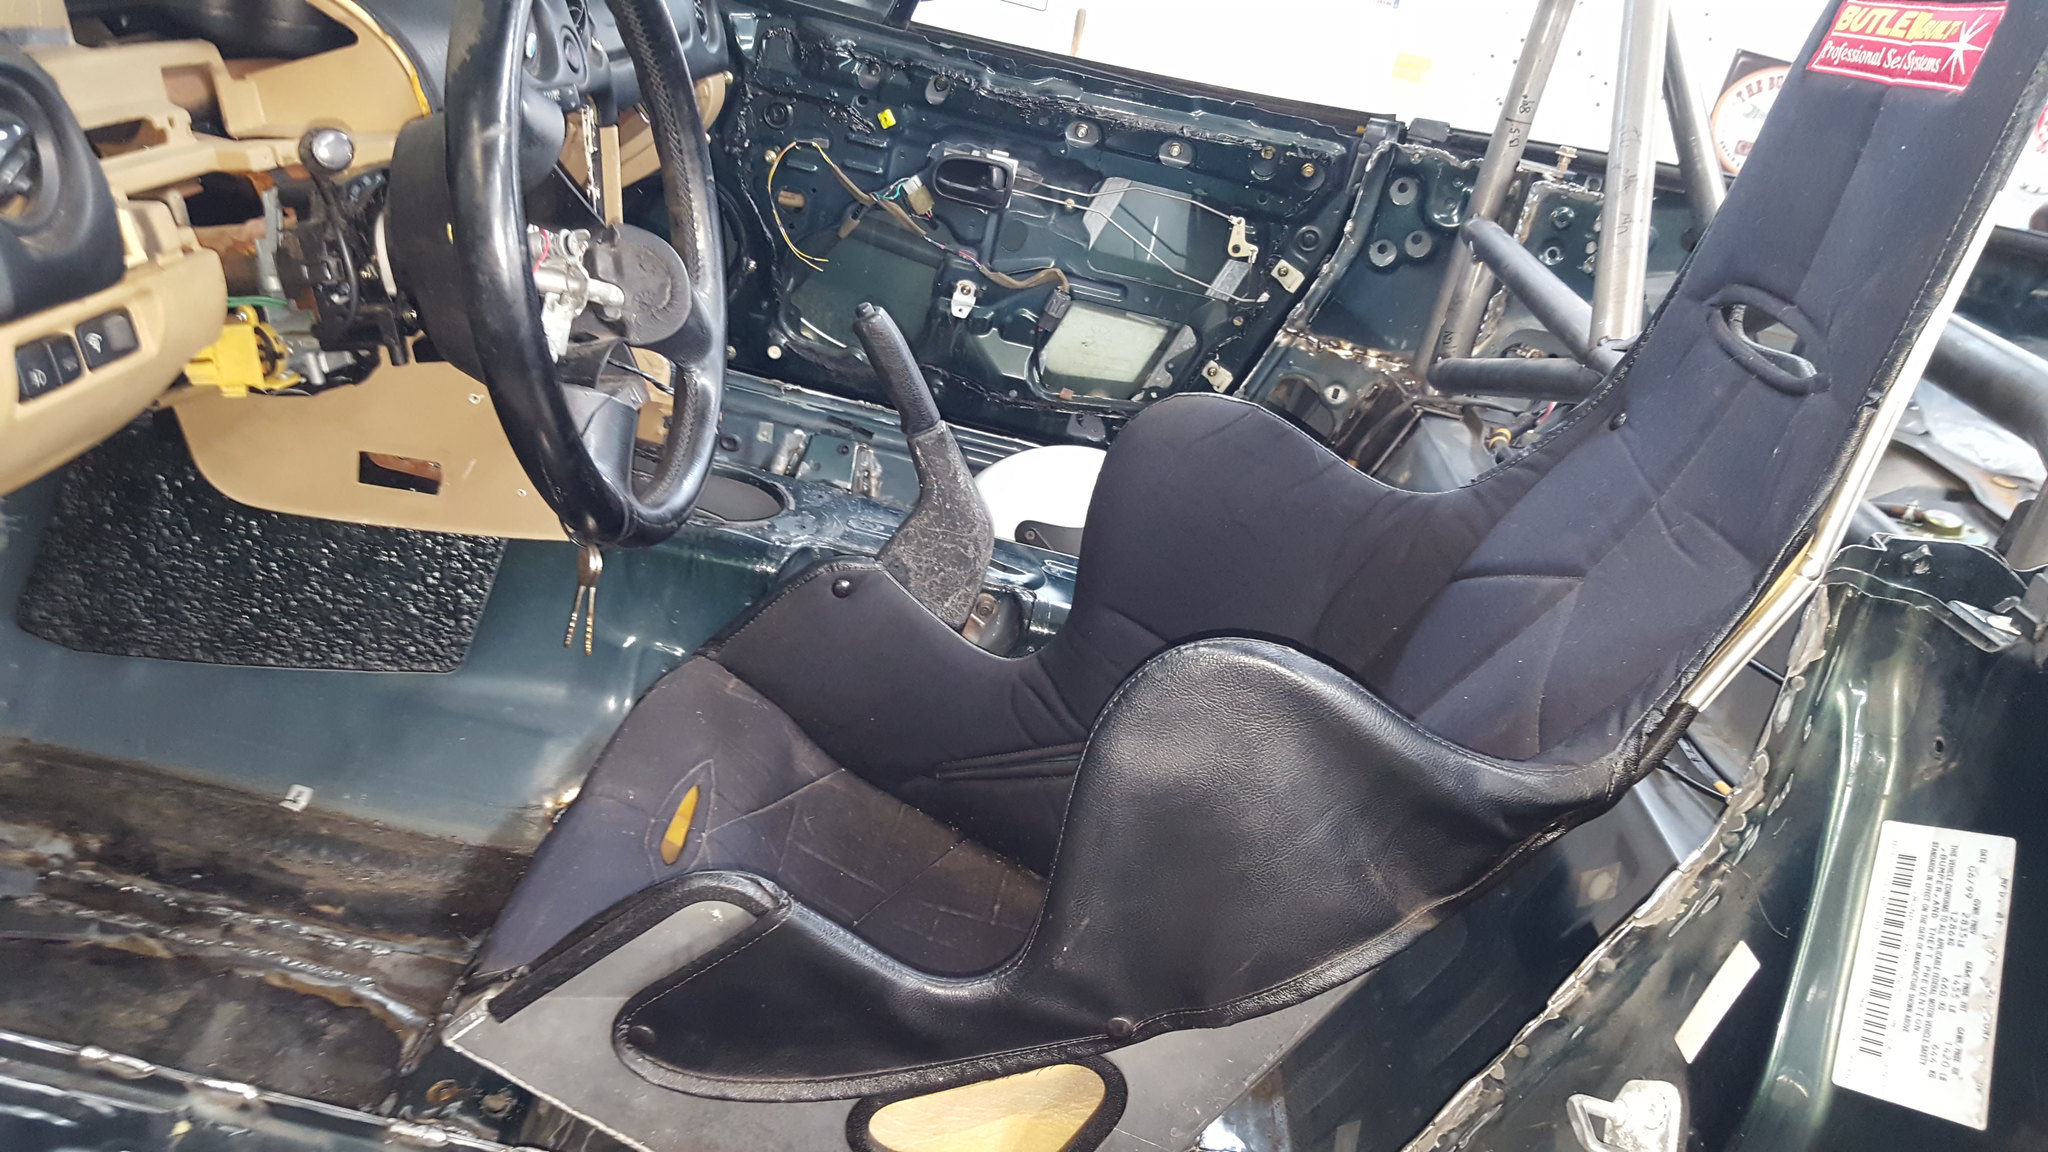 20180203_185333 by Michael Crawford, on Flickr
ive also been working on the drivers side header. You know, the hard one.
I ran out of correct bends, and necessity is a mother. So I pie cut one of the tubes and welded it back together.
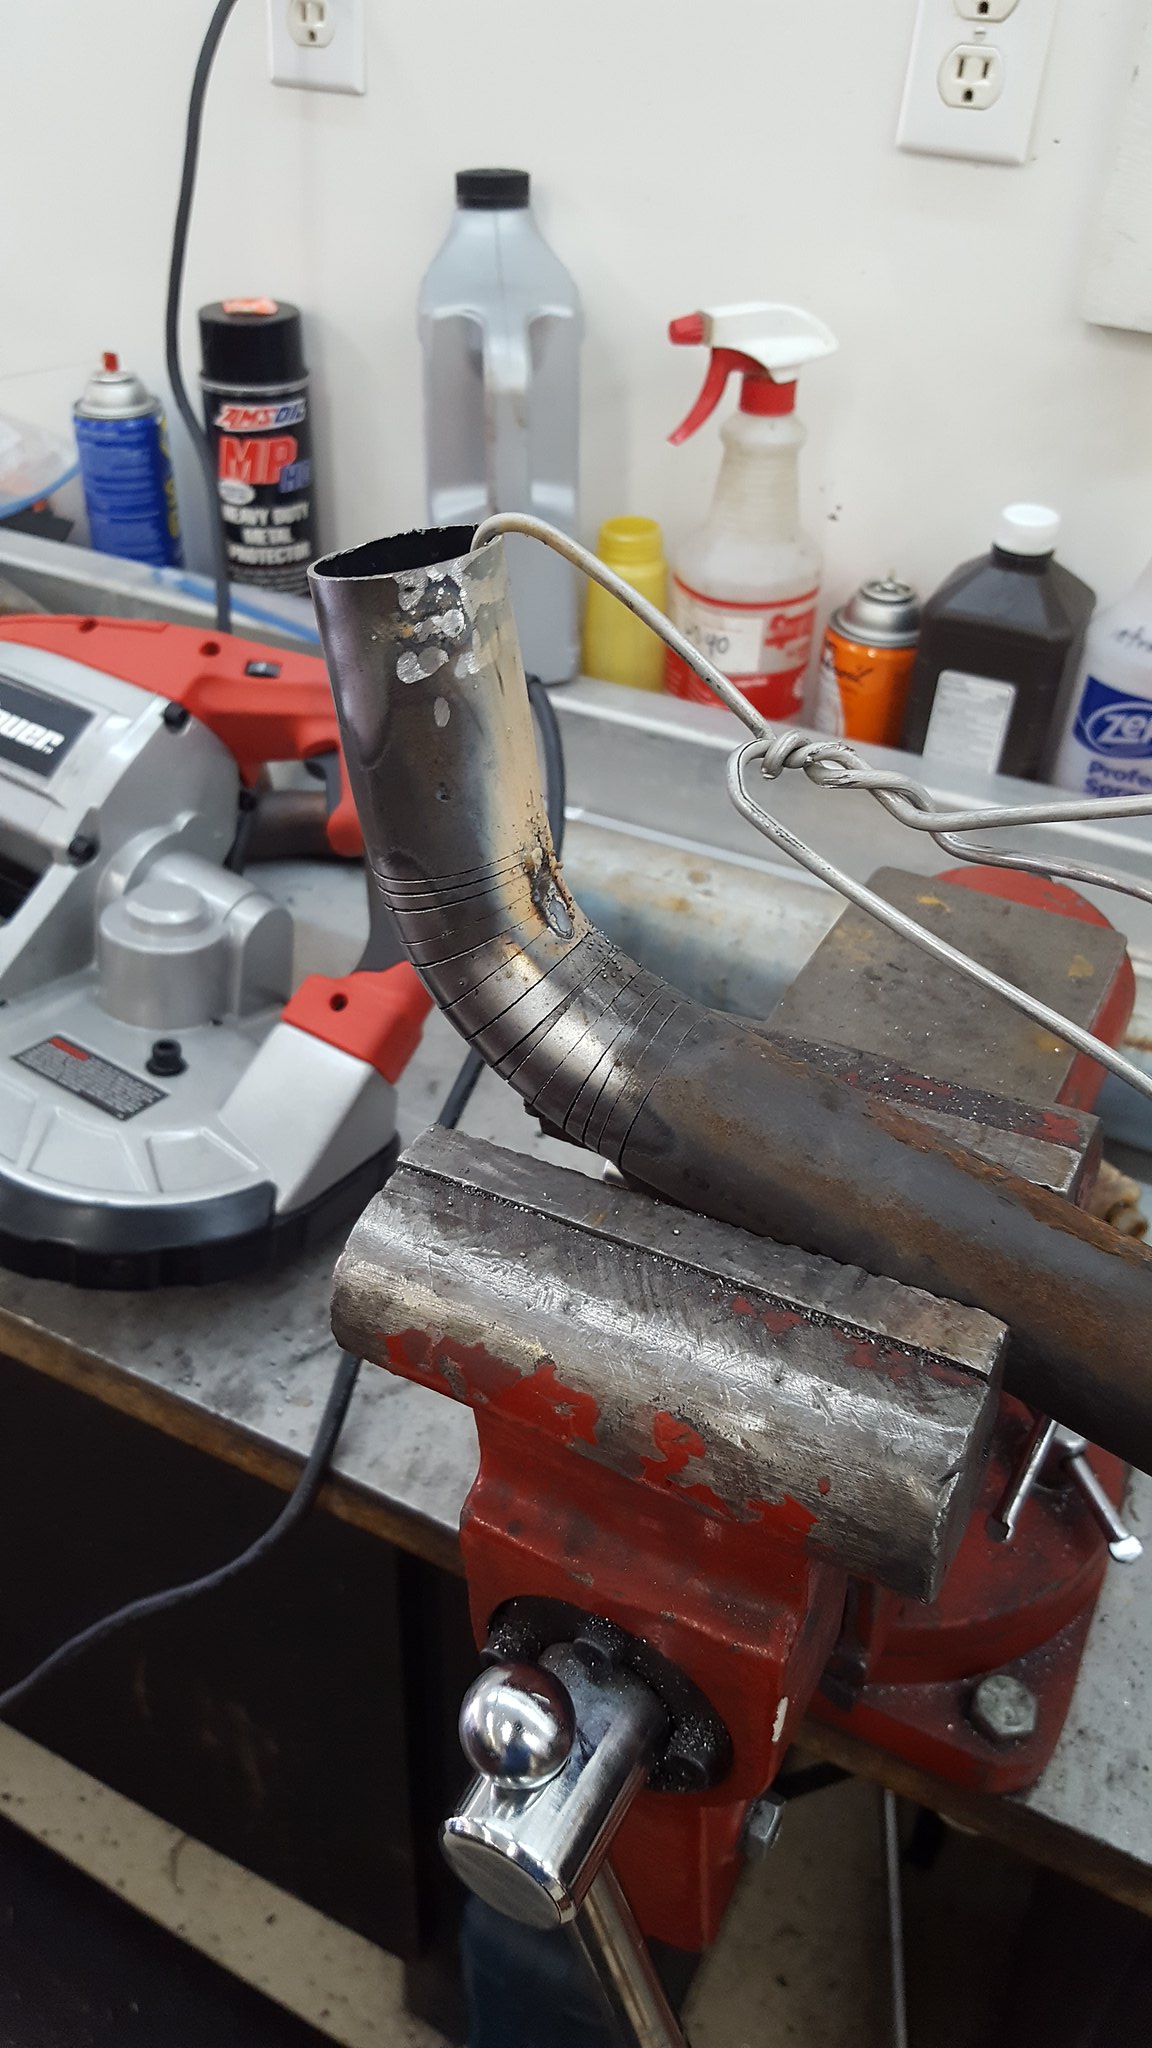 20180203_143220 by Michael Crawford, on Flickr
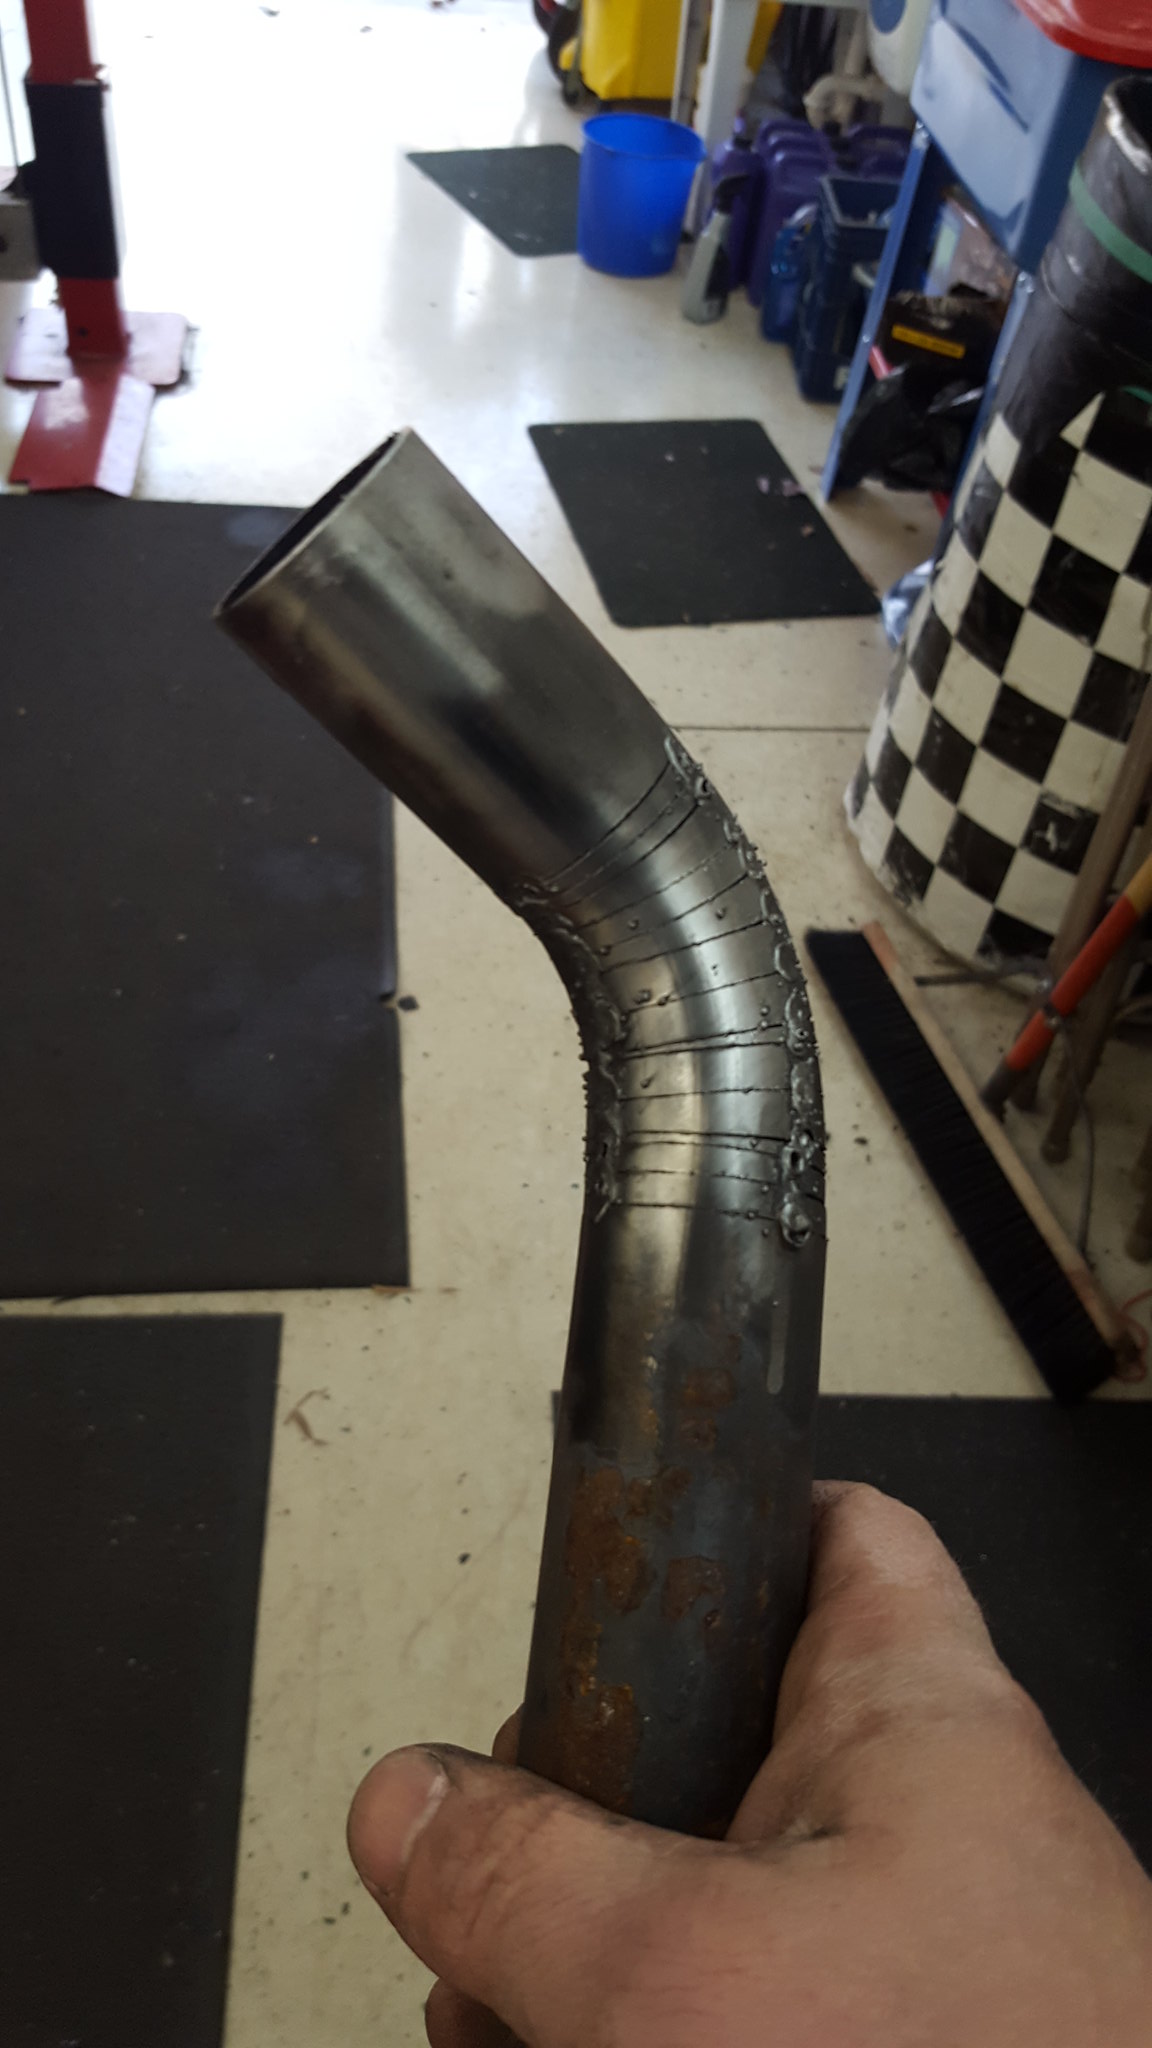 20180203_144619 by Michael Crawford, on Flickr
lots of cursing and cutting later, I had a header for the drivers side.
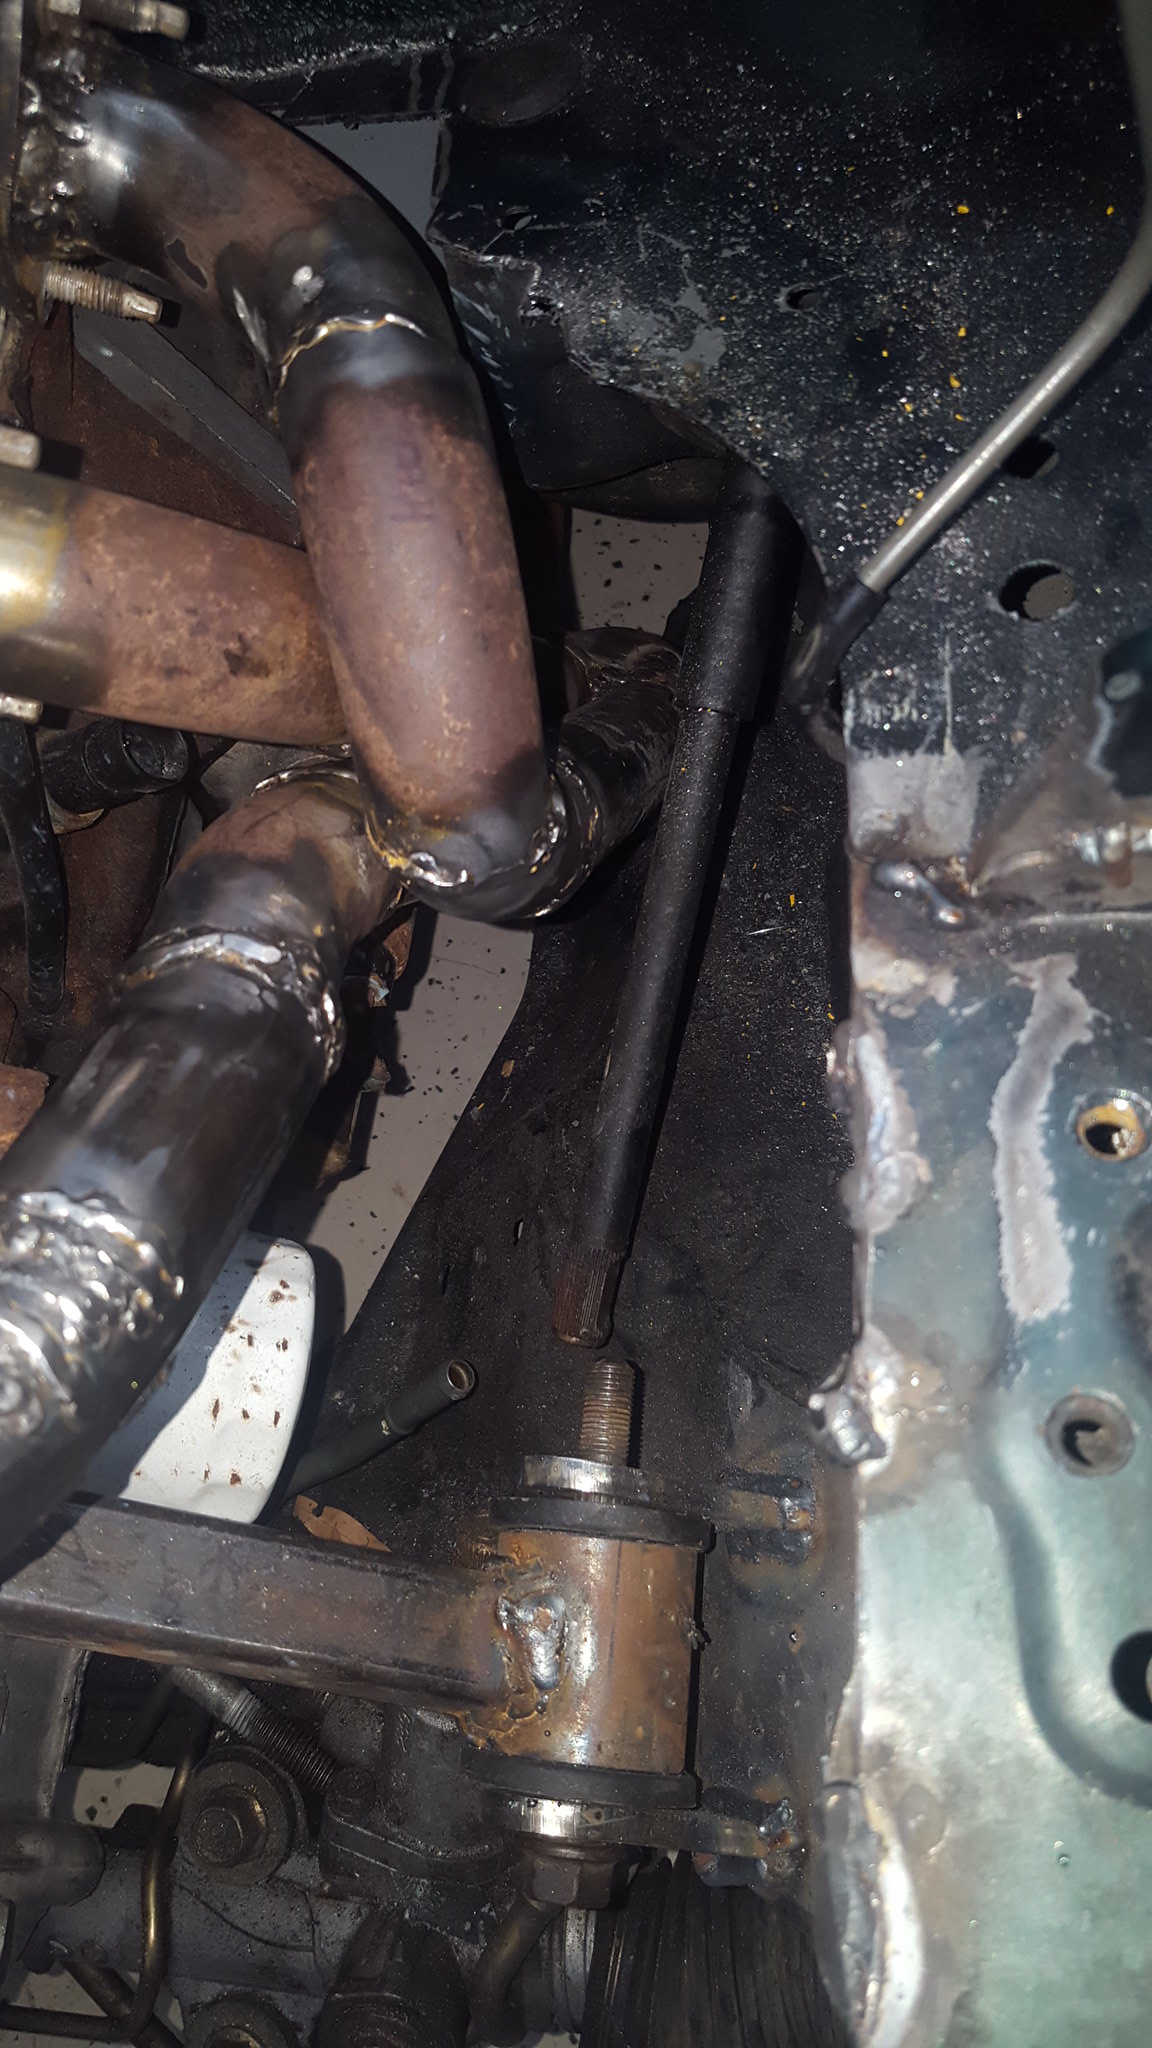 20180211_121115 by Michael Crawford, on Flickr
I then cut up one of the c5 muffler assemblies and used the 2.5 bends to get out to a slip fit with the flexible exhaust pipe chunks, then cut and sectioned the merge collector from the big block chevy truck pat sold me. Again, lots of cutting, grinding, and welding....
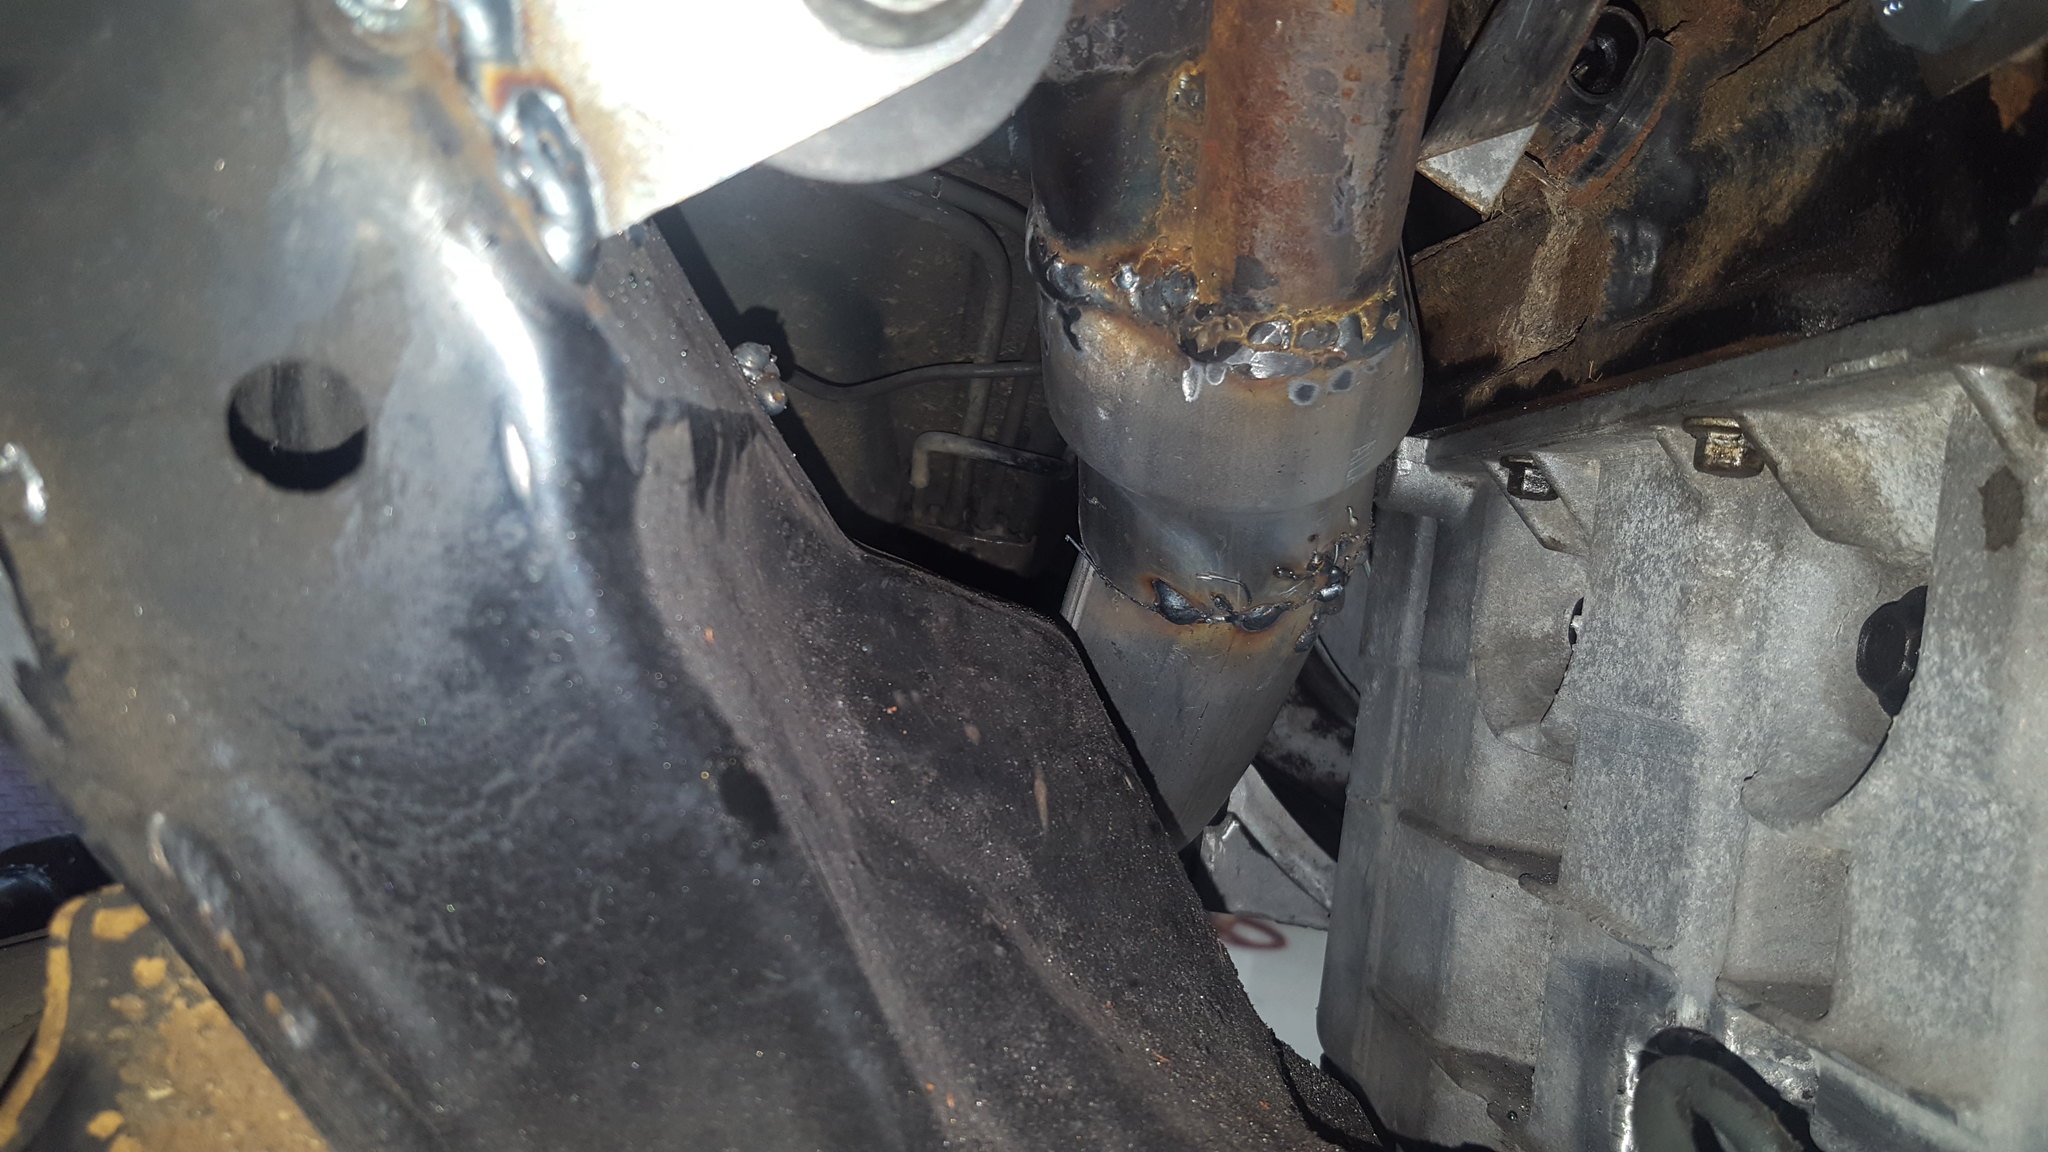 20180211_154135 by Michael Crawford, on Flickr
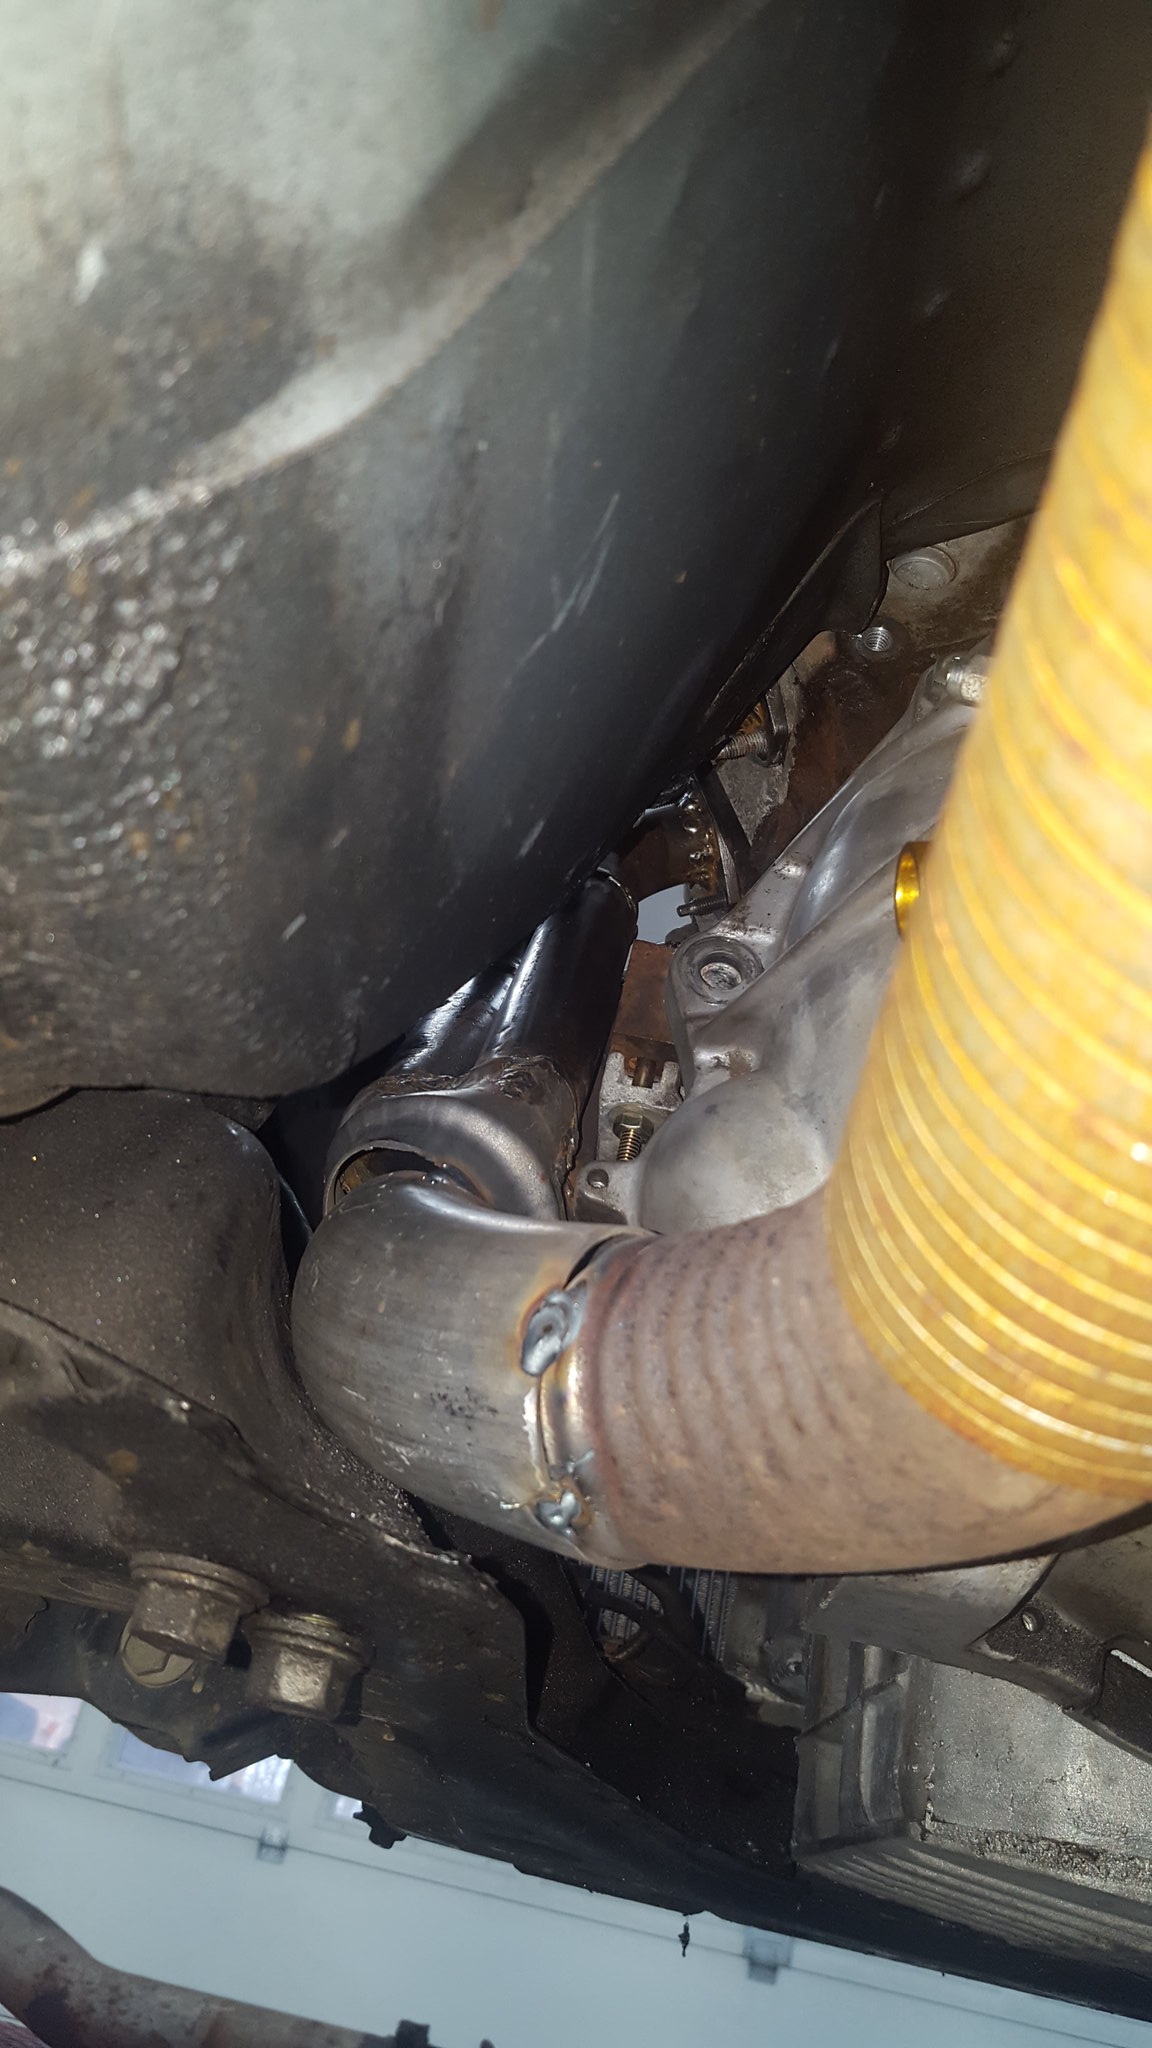 20180211_154113 by Michael Crawford, on Flickr
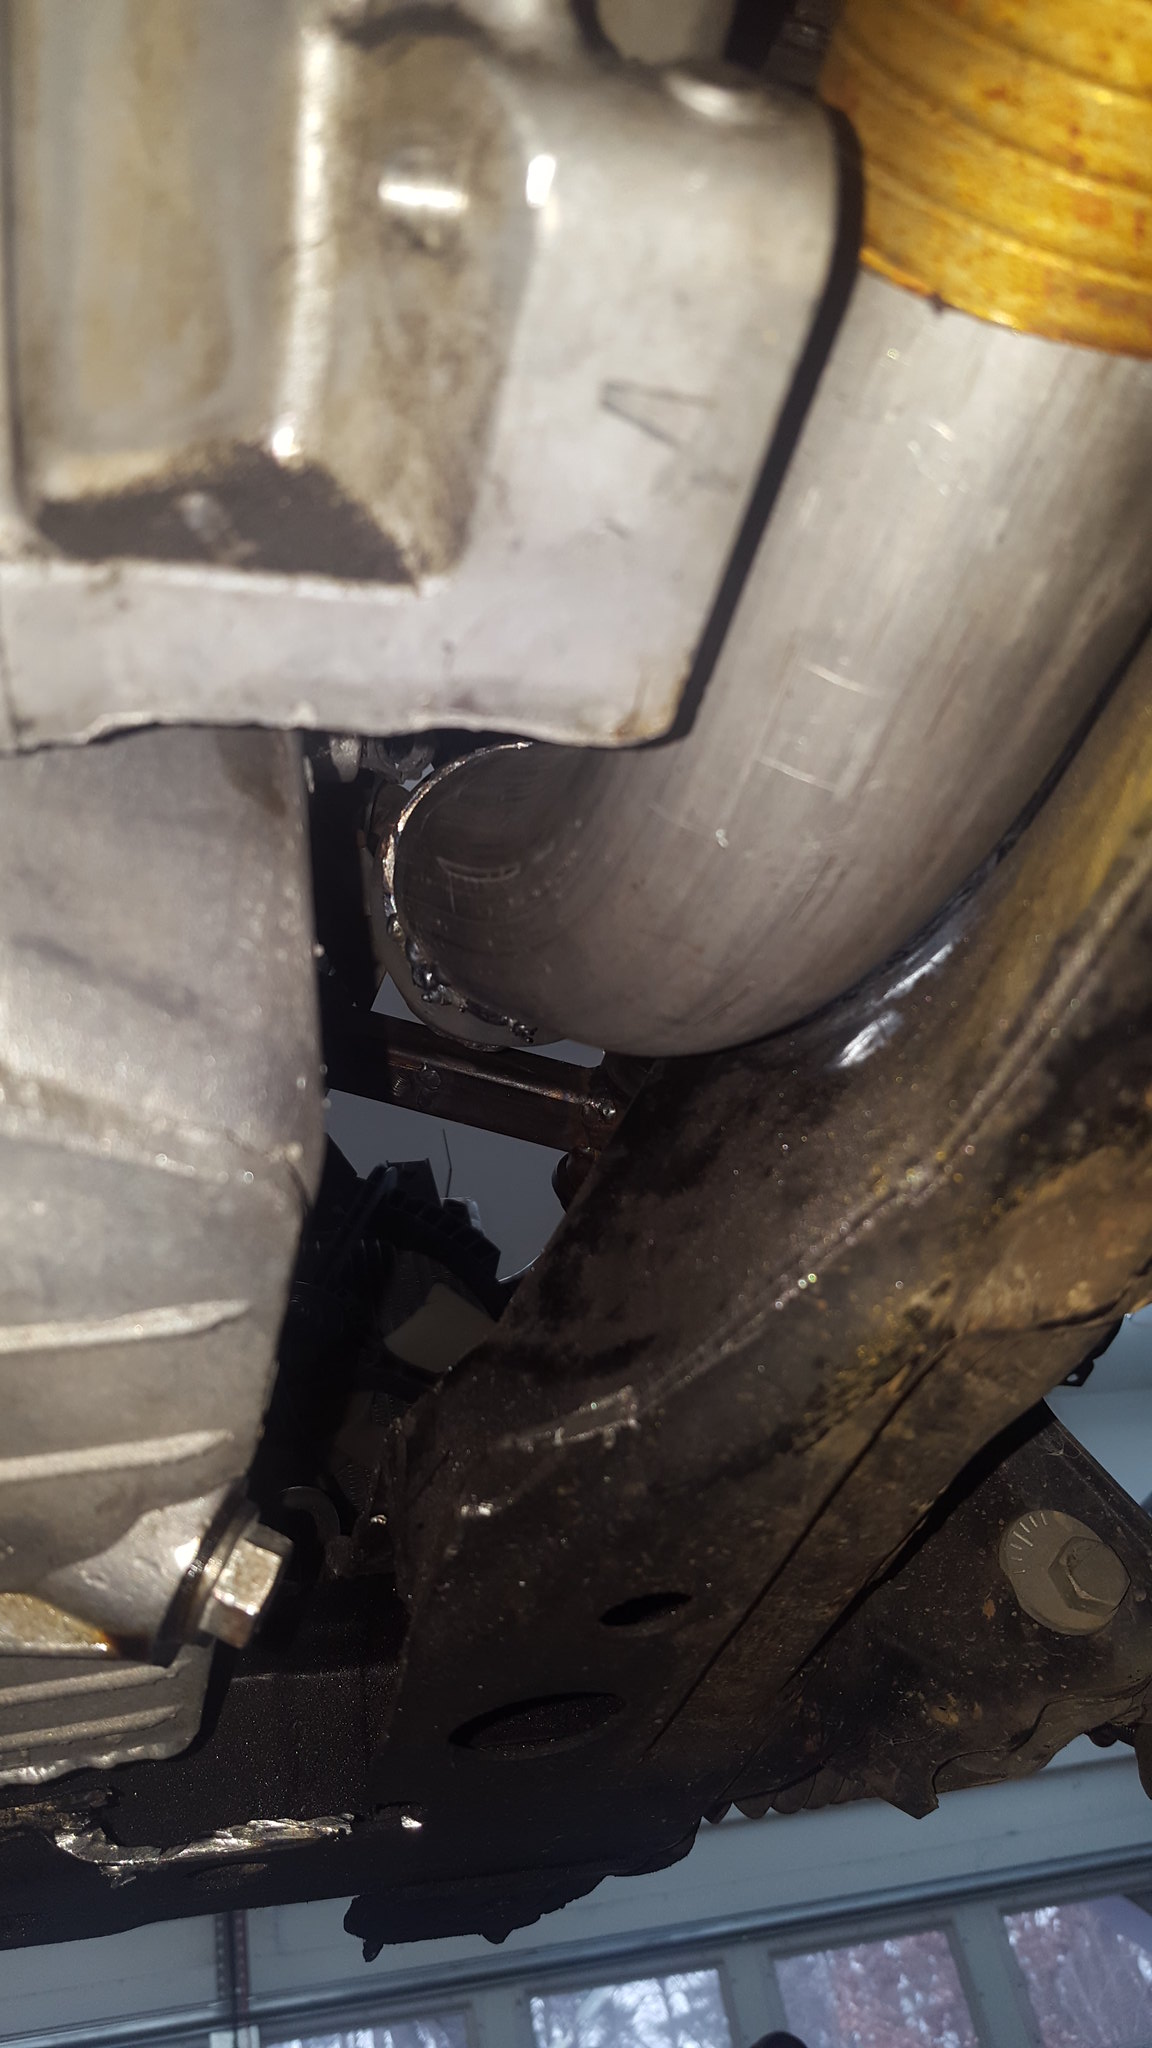 20180211_154120 by Michael Crawford, on Flickr
 20180211_154107 by Michael Crawford, on Flickr
im ready to mount the glasspack and build the tailpipe now. Some judicious beating of sheetmetal and pipe will be needed for clearance. Then build some hangars, take it all apart for final welding and grinding and.....
also, I discovered that the stock miata driveshaft is exactly the right length for the swap, and I found a yoke in storage that fits the camaro trans. I think the yoke came as a tail shaft plug in a 700r4 I bought from the junkyard. Dads going to take both parts to the local driveshaft shop this week to see if we can get the two joined reasonably cheaply. Ive built a couple of driveshafts at home, and really DONT want to do that again.
Lastly, ive been working on making intake and stuff fit. I cut the EGR boss off the 3500 intake, which let it sit down perfectly. Steve is going to weld up the holes for me, and that job will be finished. Also, we discovered that after notching one of the hood braces, this should fit under a stock hood with room to spare. We think.
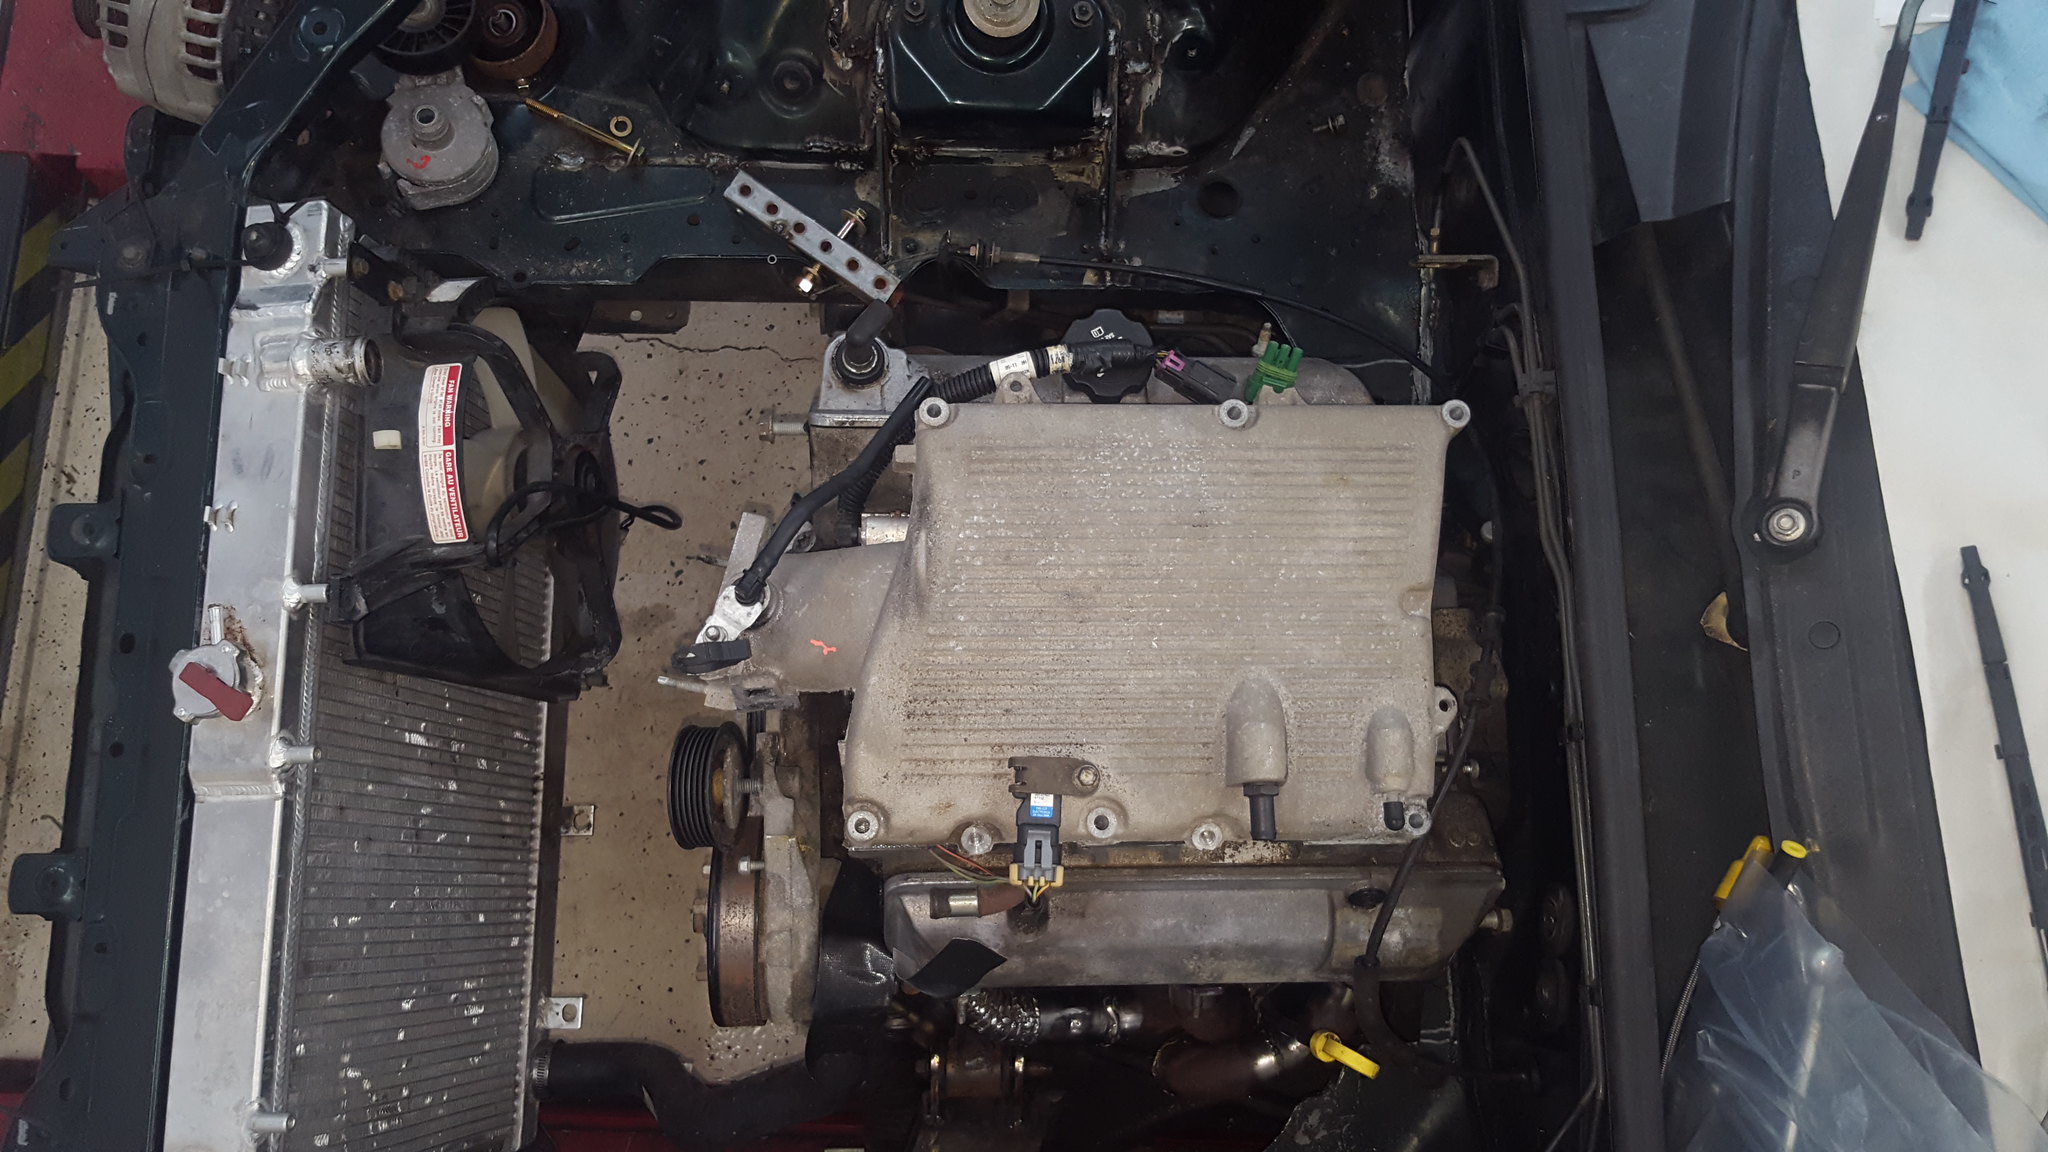 20180211_160307 by Michael Crawford, on Flickr
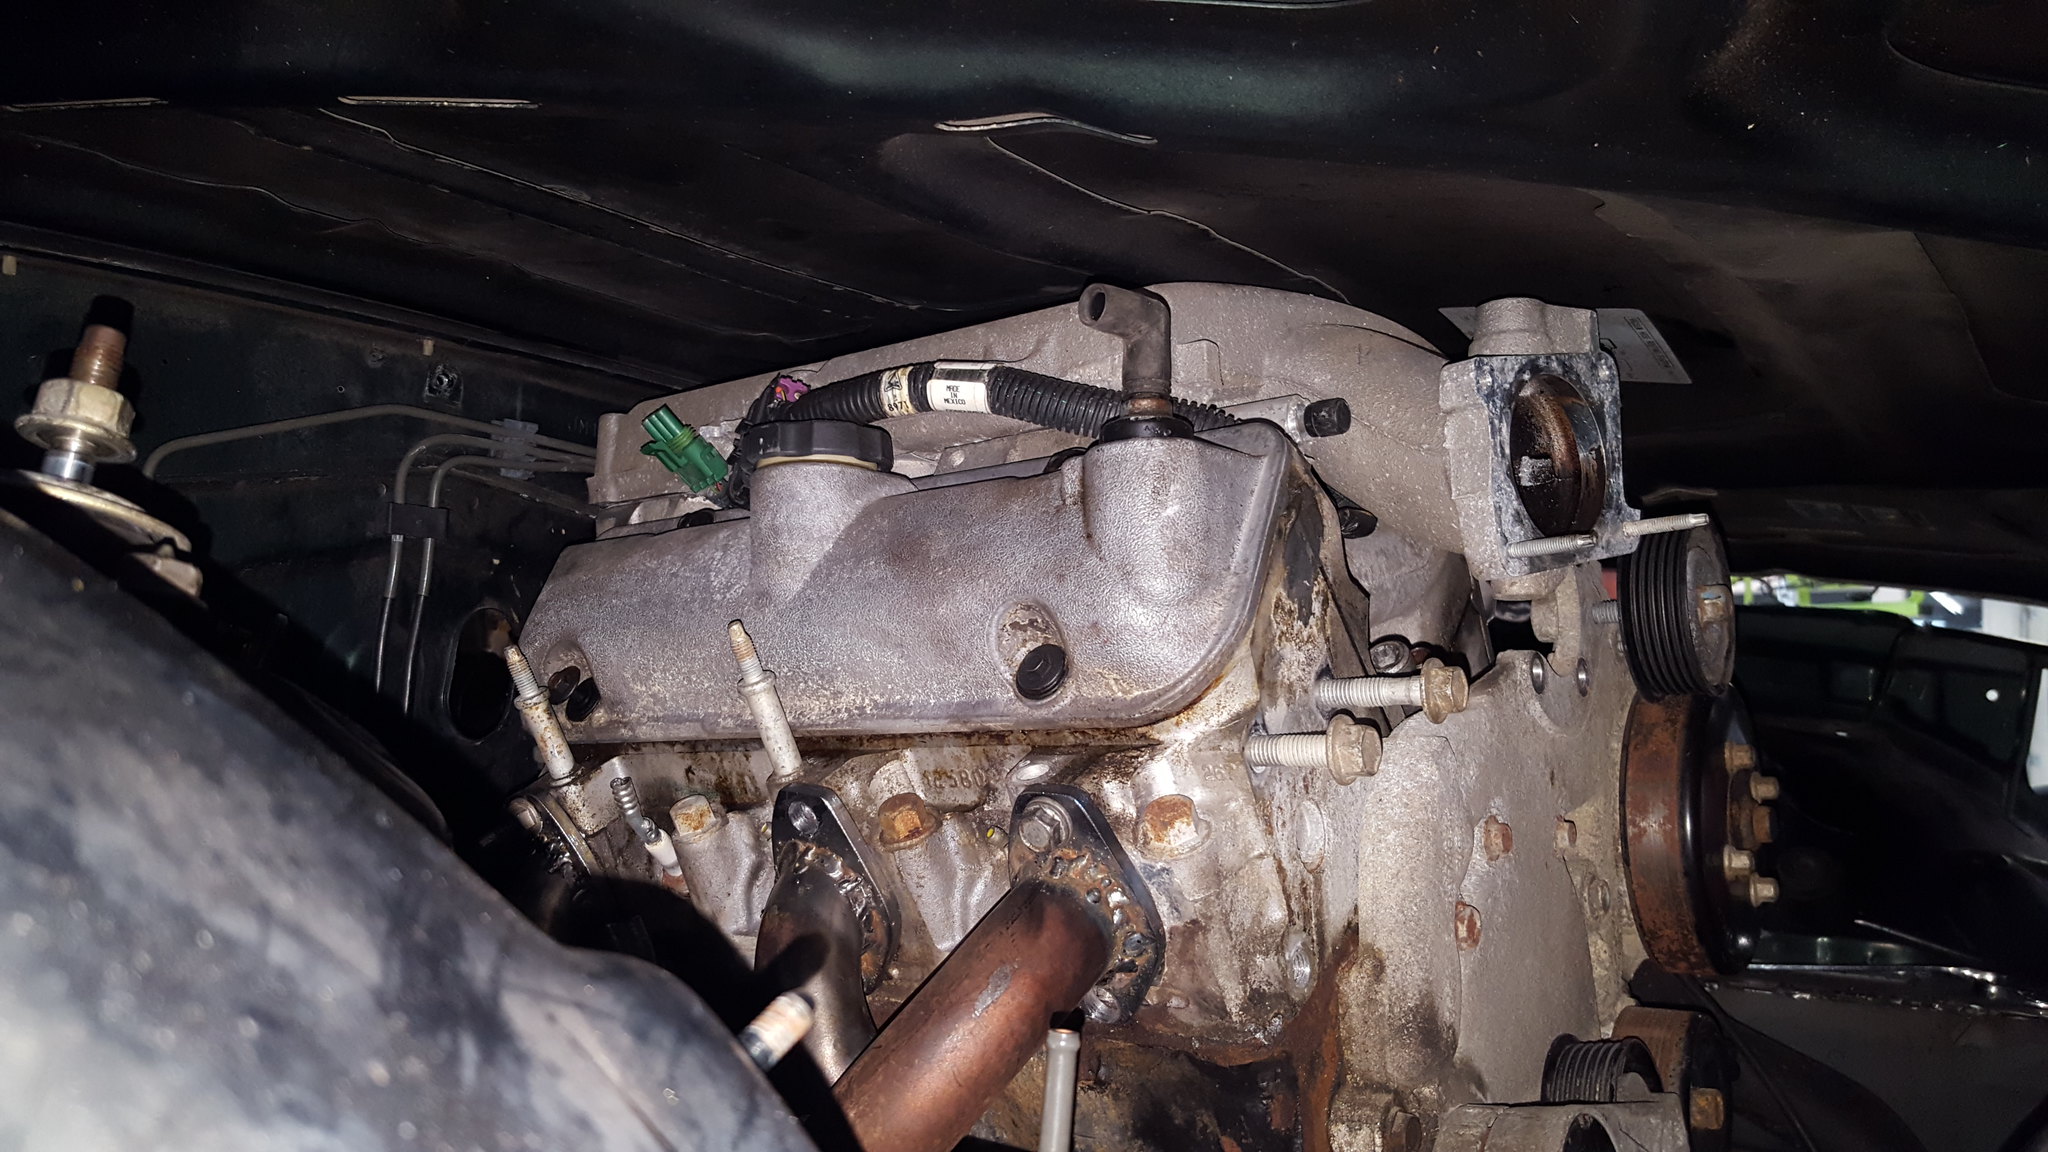 20180202_202832 by Michael Crawford, on Flickr
I still need to build the alternator mount as well, and then we can pull the car completely back apart for cleaning/seam sealing/painting, and start final assembly. We will be doing a good port and polish job on everything while we have it torn down for gaskets, and seeing if we can find hundreds of places to make things ounces lighter.
Shame about the migraines.
Curious what this thing will sound like with the custom built headers and a glasspack.
Im looking forward to it as well. Hopefully it will not sound like ass.
Im definitely not happy with how the whole custom made headers and exhaust are turning out. Not very proud of the quality. I know it's my first time, and im still learning. I also know myself well enough to know that if they work, the will be ignored until such time as they stop working.
You'll need to log in to post.