bluej said:
Dusterbd13-michael said:
The bad part of it is is that once they're welded in ground down and painted none of the Concourse judges will ever be able to see them
Pics in the build book!
latest schedule doesn't include "ground down" or "painted"
So there’s stuff happening here:
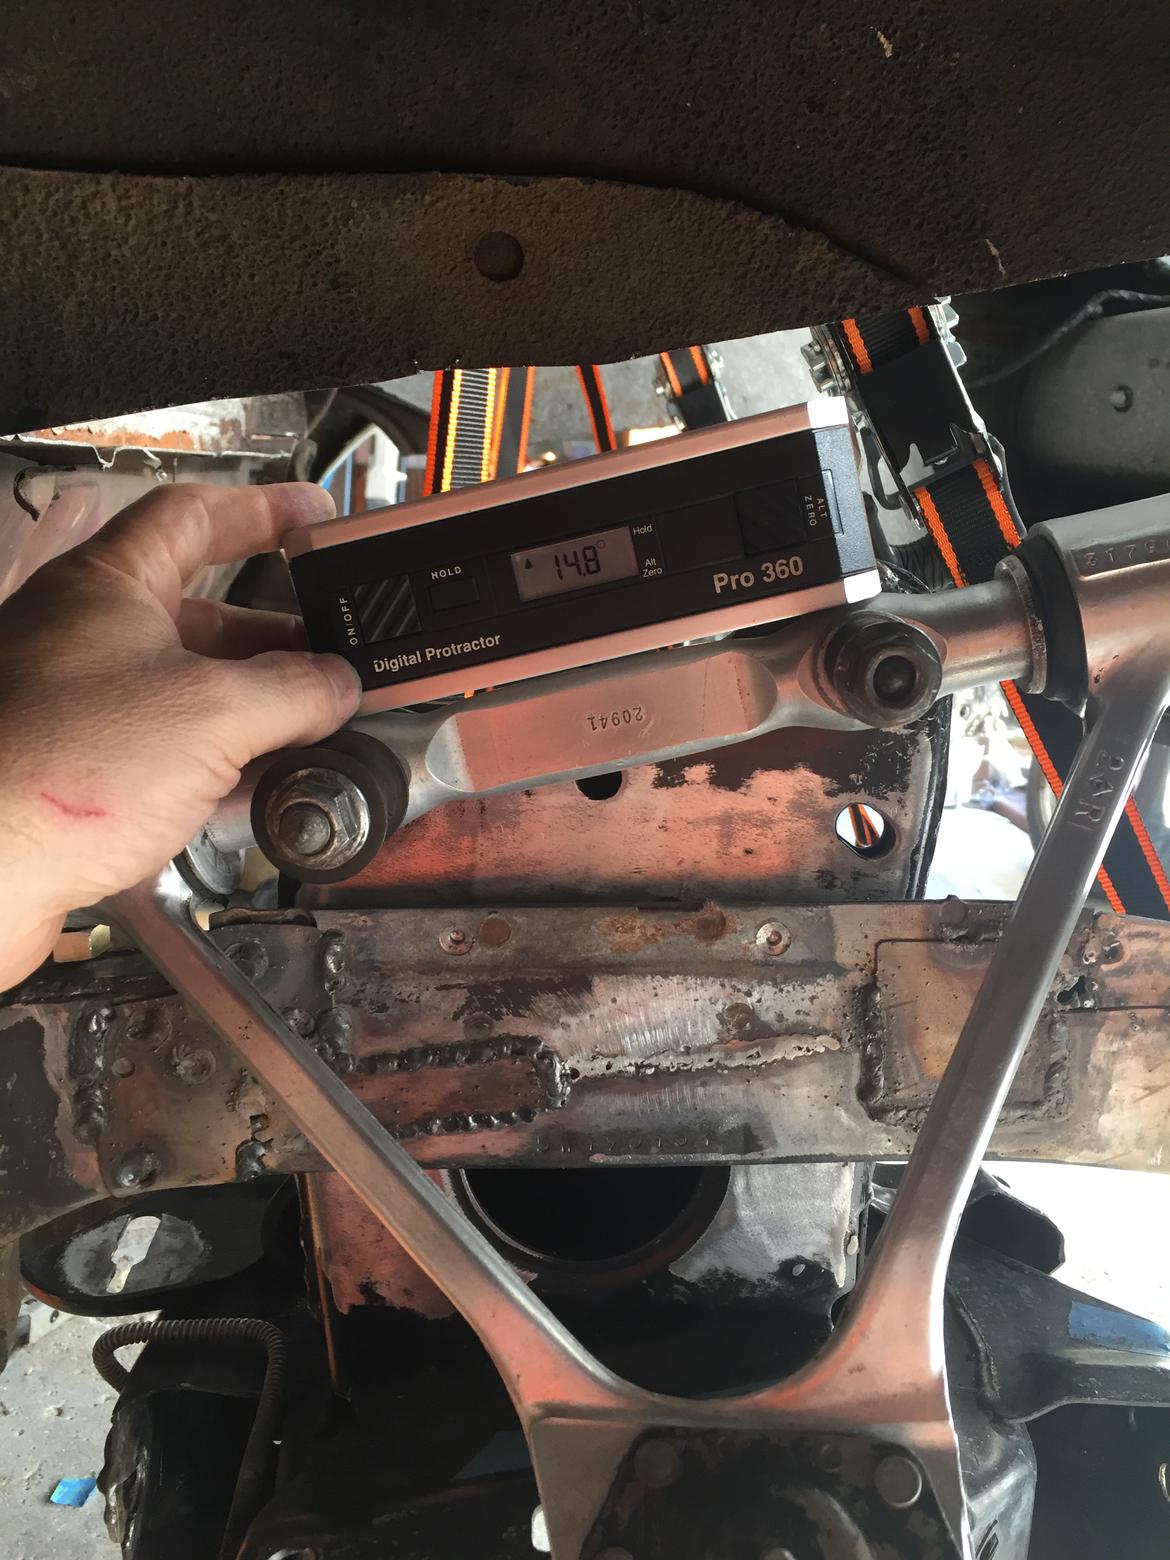
Target UCA angle is 14.5 degrees, so I’m calling this close enough.
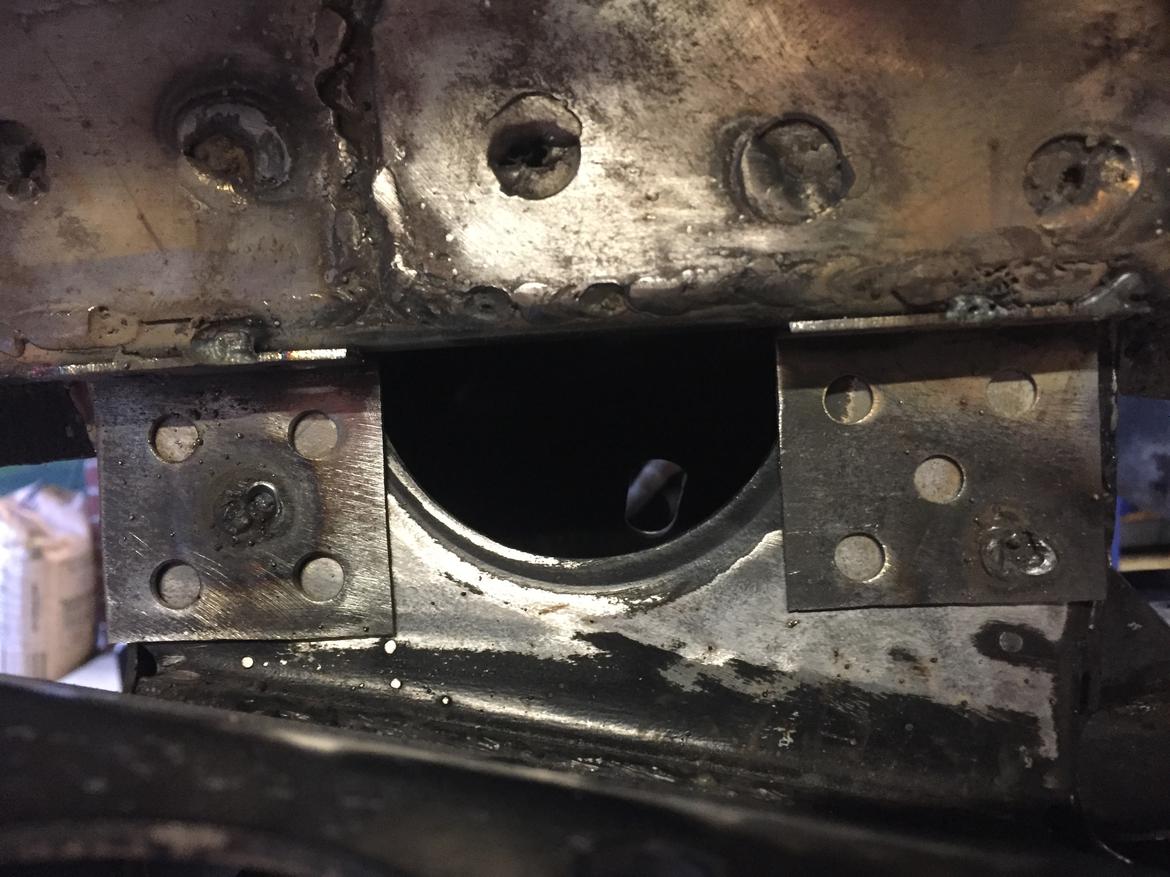
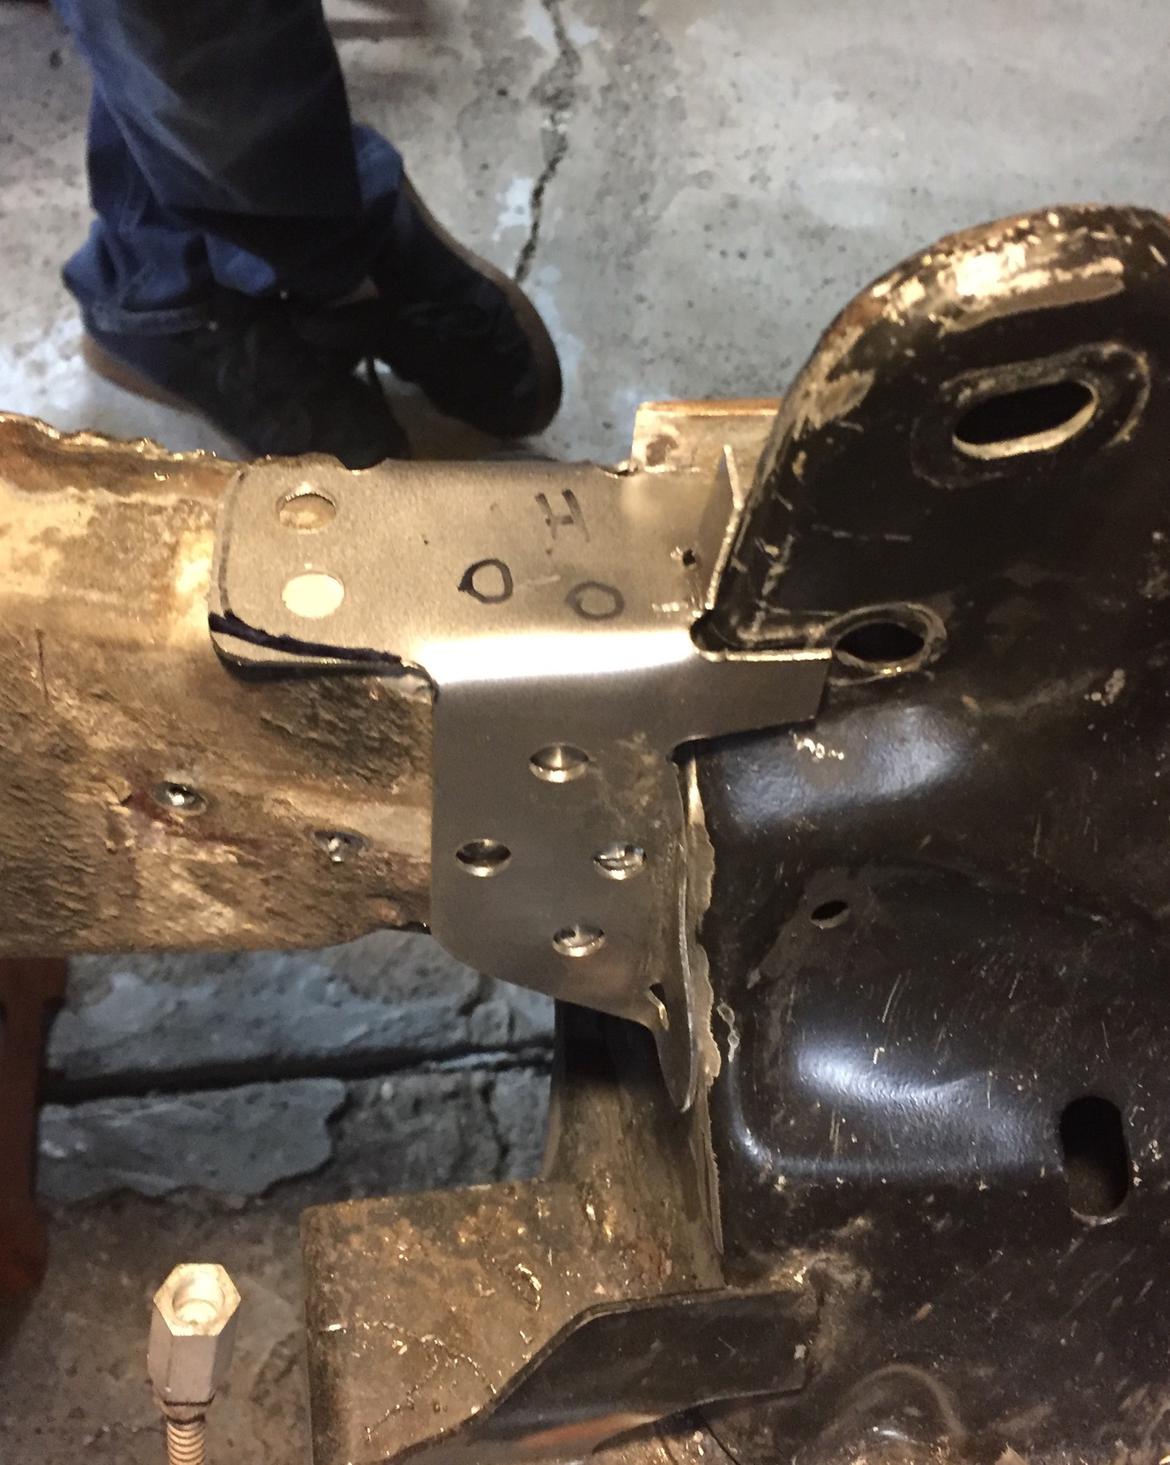
The brackets above (2 per side) tie the horizontal (bottom) surfaces of the Corvair rails to the vertical outboard surfaces of the C4 crossmember.
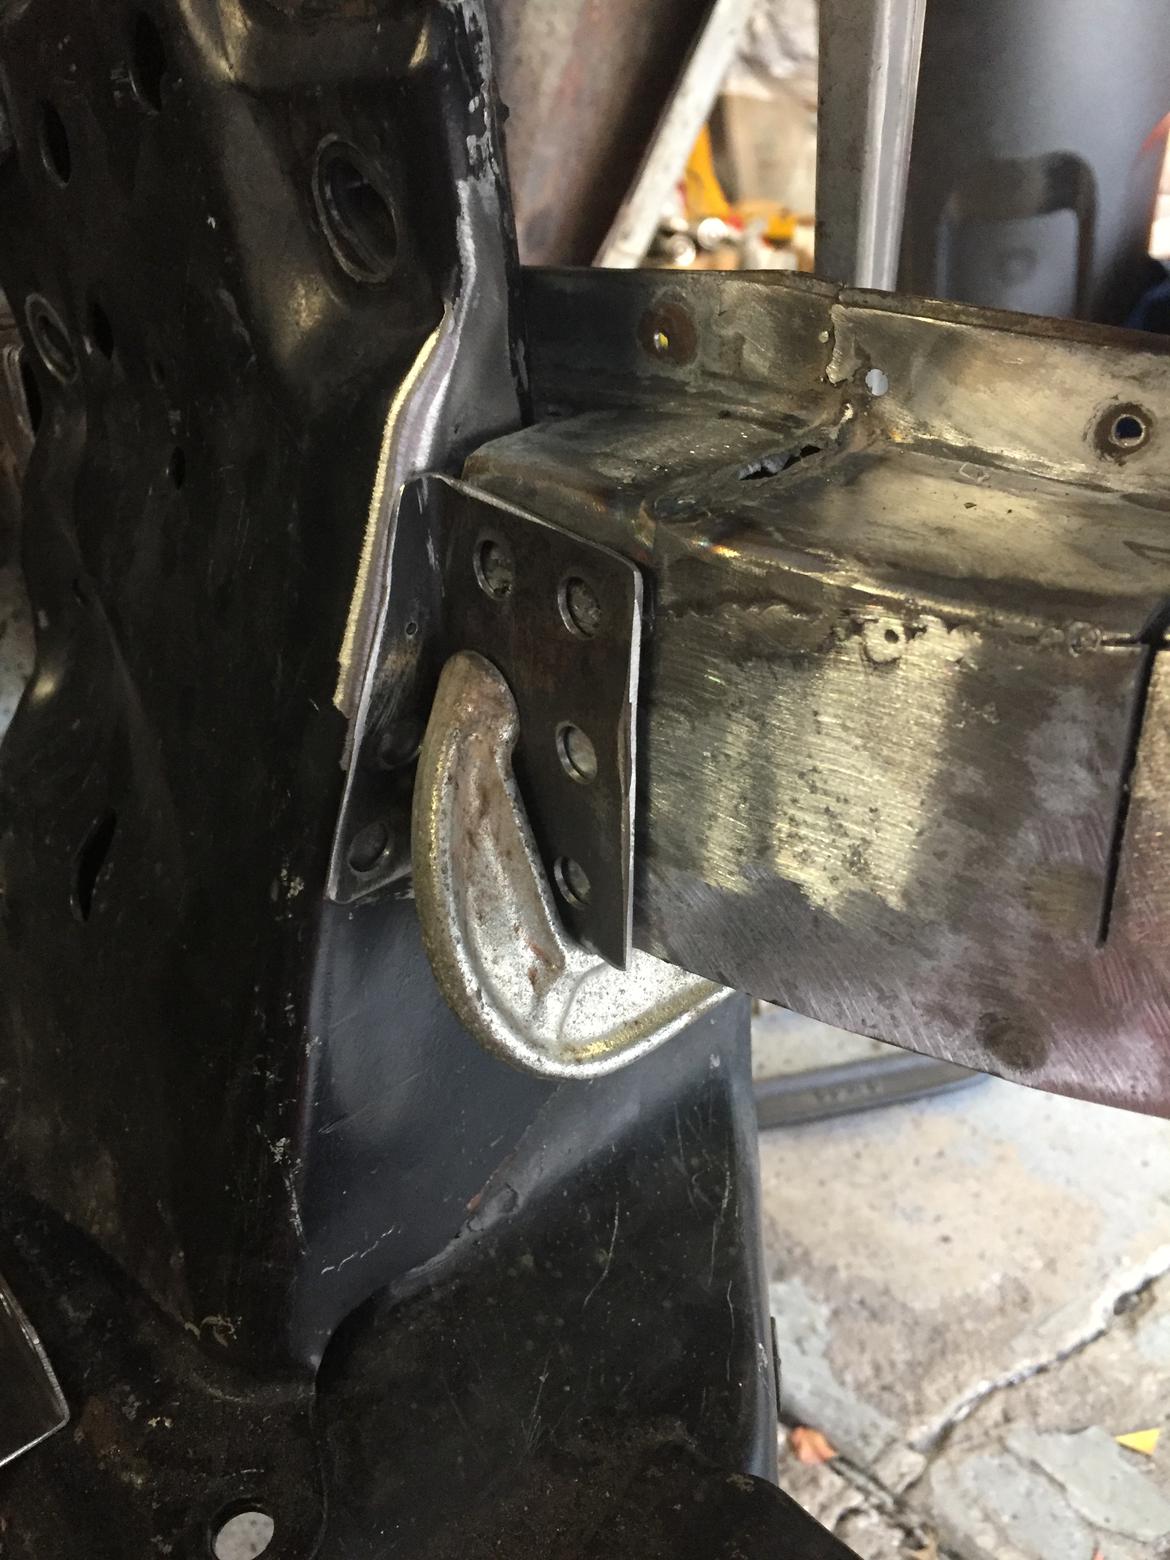
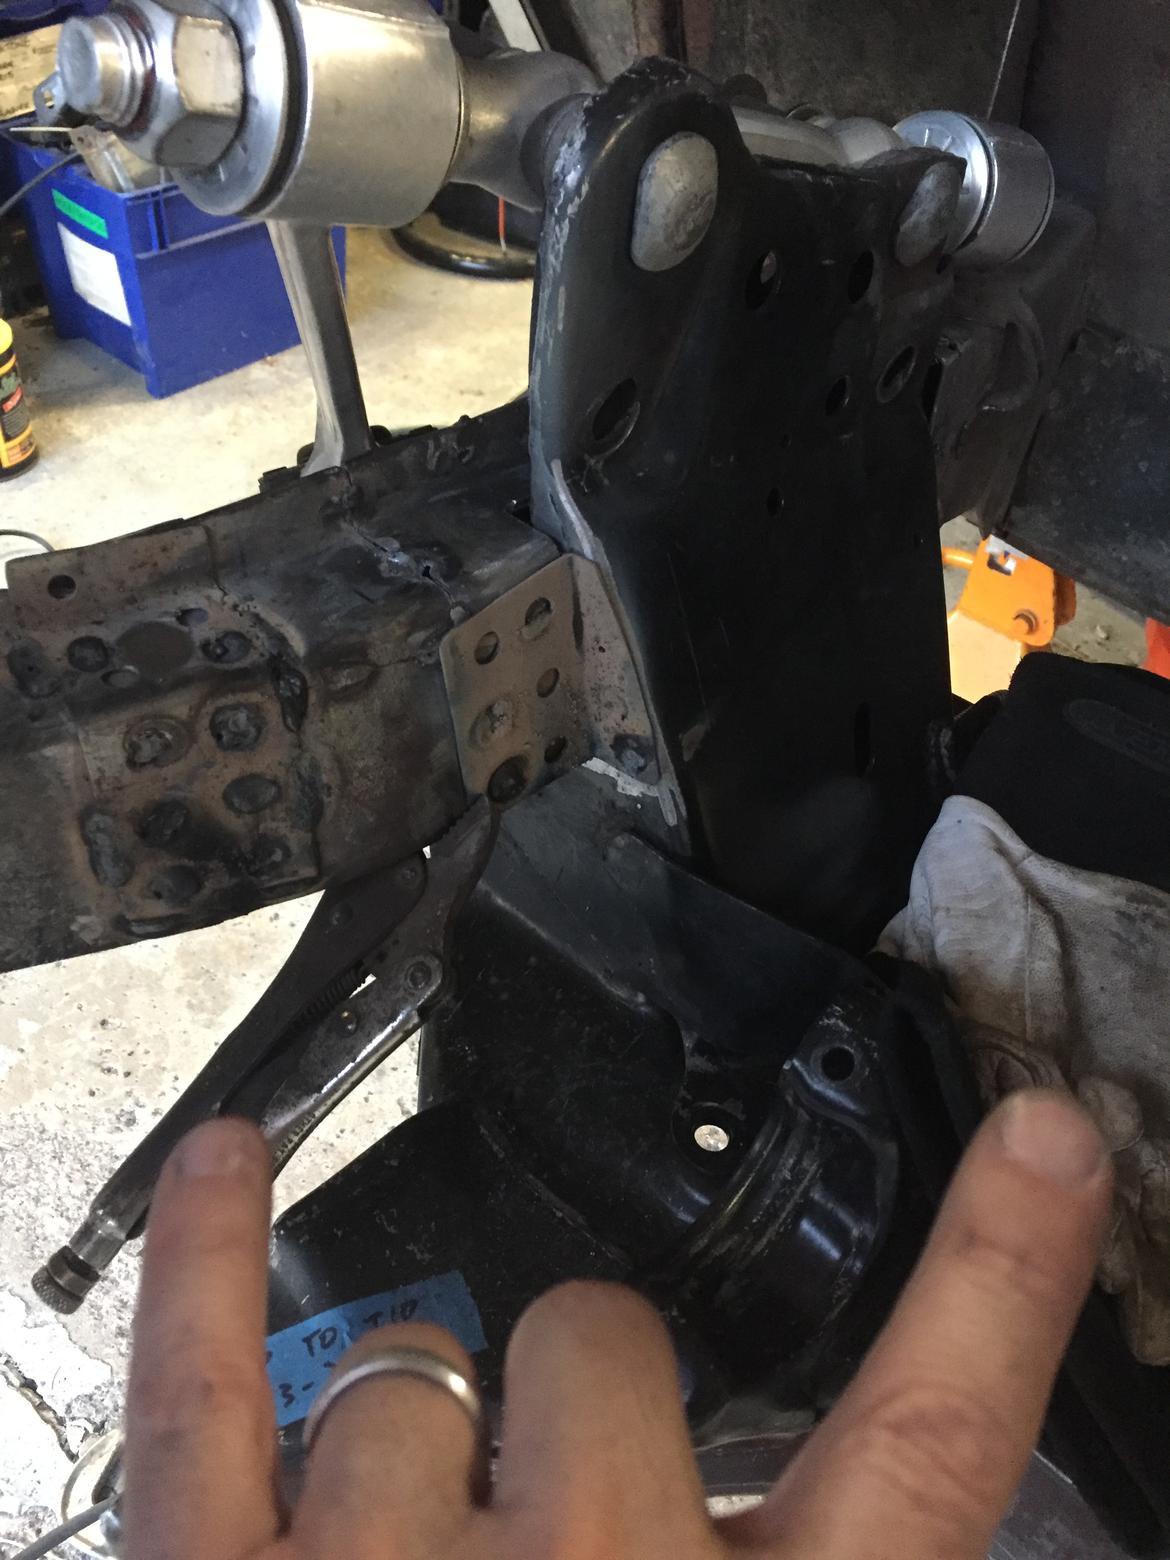
The brackets above (1 per side) tie the inboard vertical surface of the Corvair rails to the front-facing vertical surface of the C4 crossmember.
First load test received positive feedback:
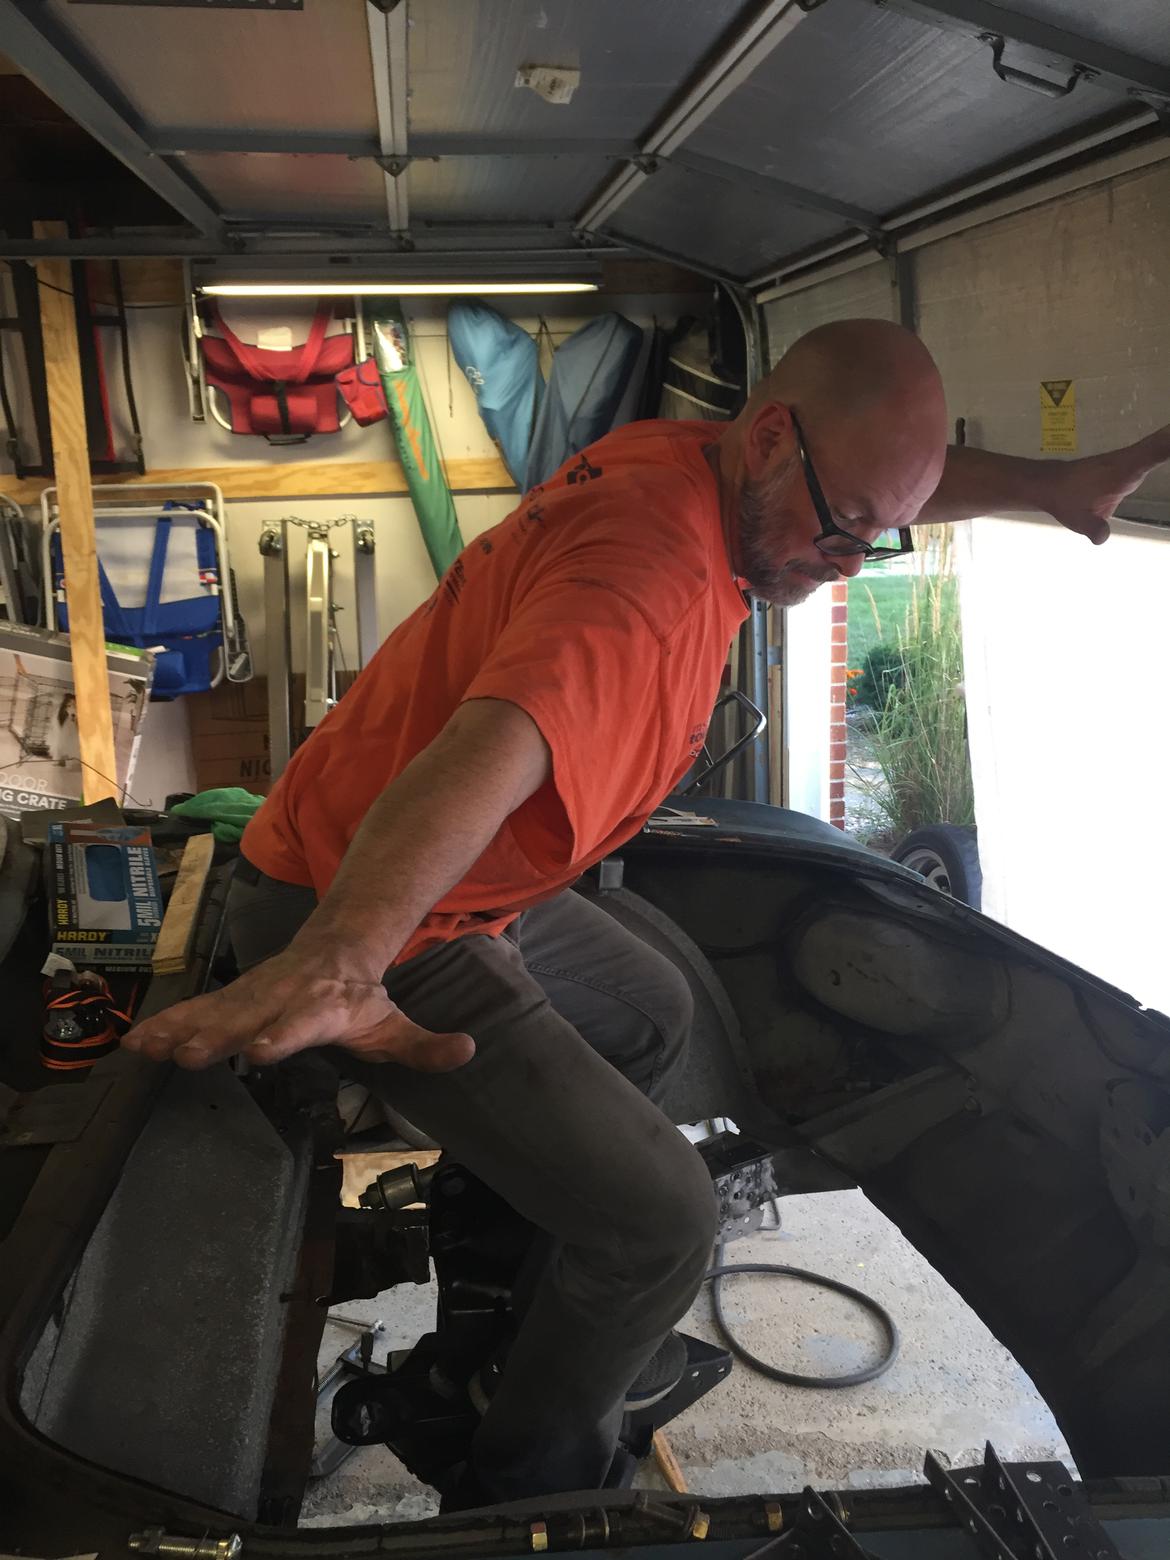
I have to quit for the night, got daddy duties to fulfill, but I’m berkeleying stoked!
AngryCorvair said:
bluej said:
Dusterbd13-michael said:
The bad part of it is is that once they're welded in ground down and painted none of the Concourse judges will ever be able to see them
Pics in the build book!
latest schedule doesn't include "ground down" or "painted"
I’m questioning my decision to go full “ground down” and “painted”
The long brackets (1 per side) will tie the horizontal (top) surfaces of the Corvair rails to the outboard vertical surfaces of the C4 crossmember. shown in place, but not welded, below:
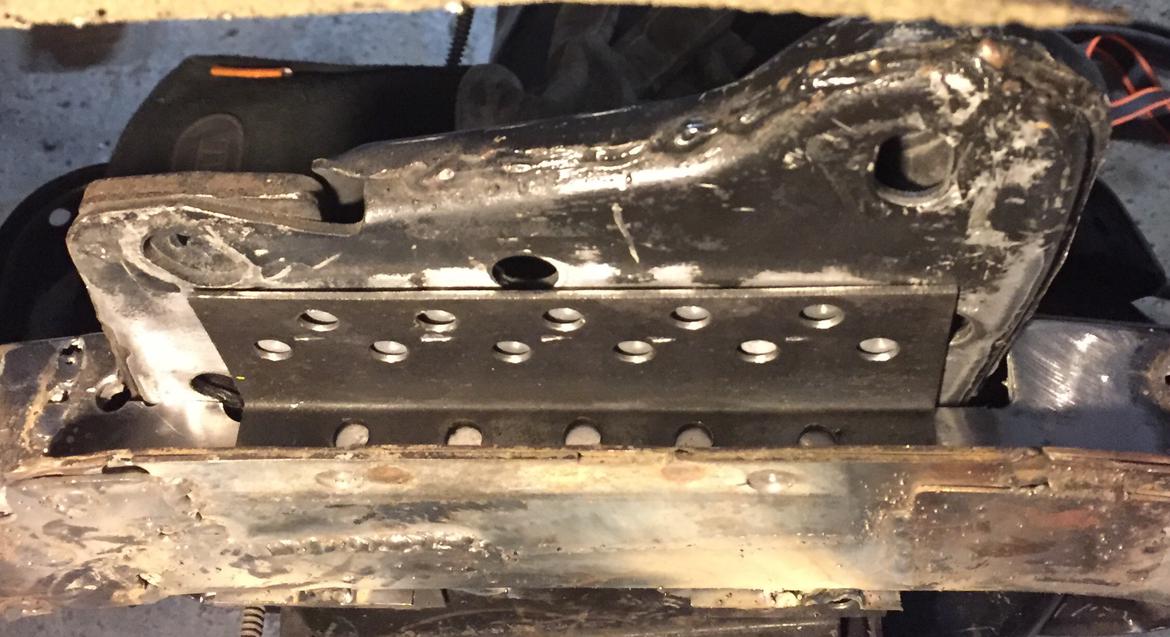
These brackets will provide plenty of strength and distribute all applied forces at least as well as the OE Corvair and C4 attachment methods did. I have designed additional structural members that I will add later.
I really like these plug welded sheet braces
RacetruckRon said:
I really like these plug welded sheet braces
Thanks! The crossmember braces started life as a cutoff of 2x2x.065 square tube from my local metals outlet. When I transferred CAD to tube, I laid it out so the tube’s seam would get thrown away.
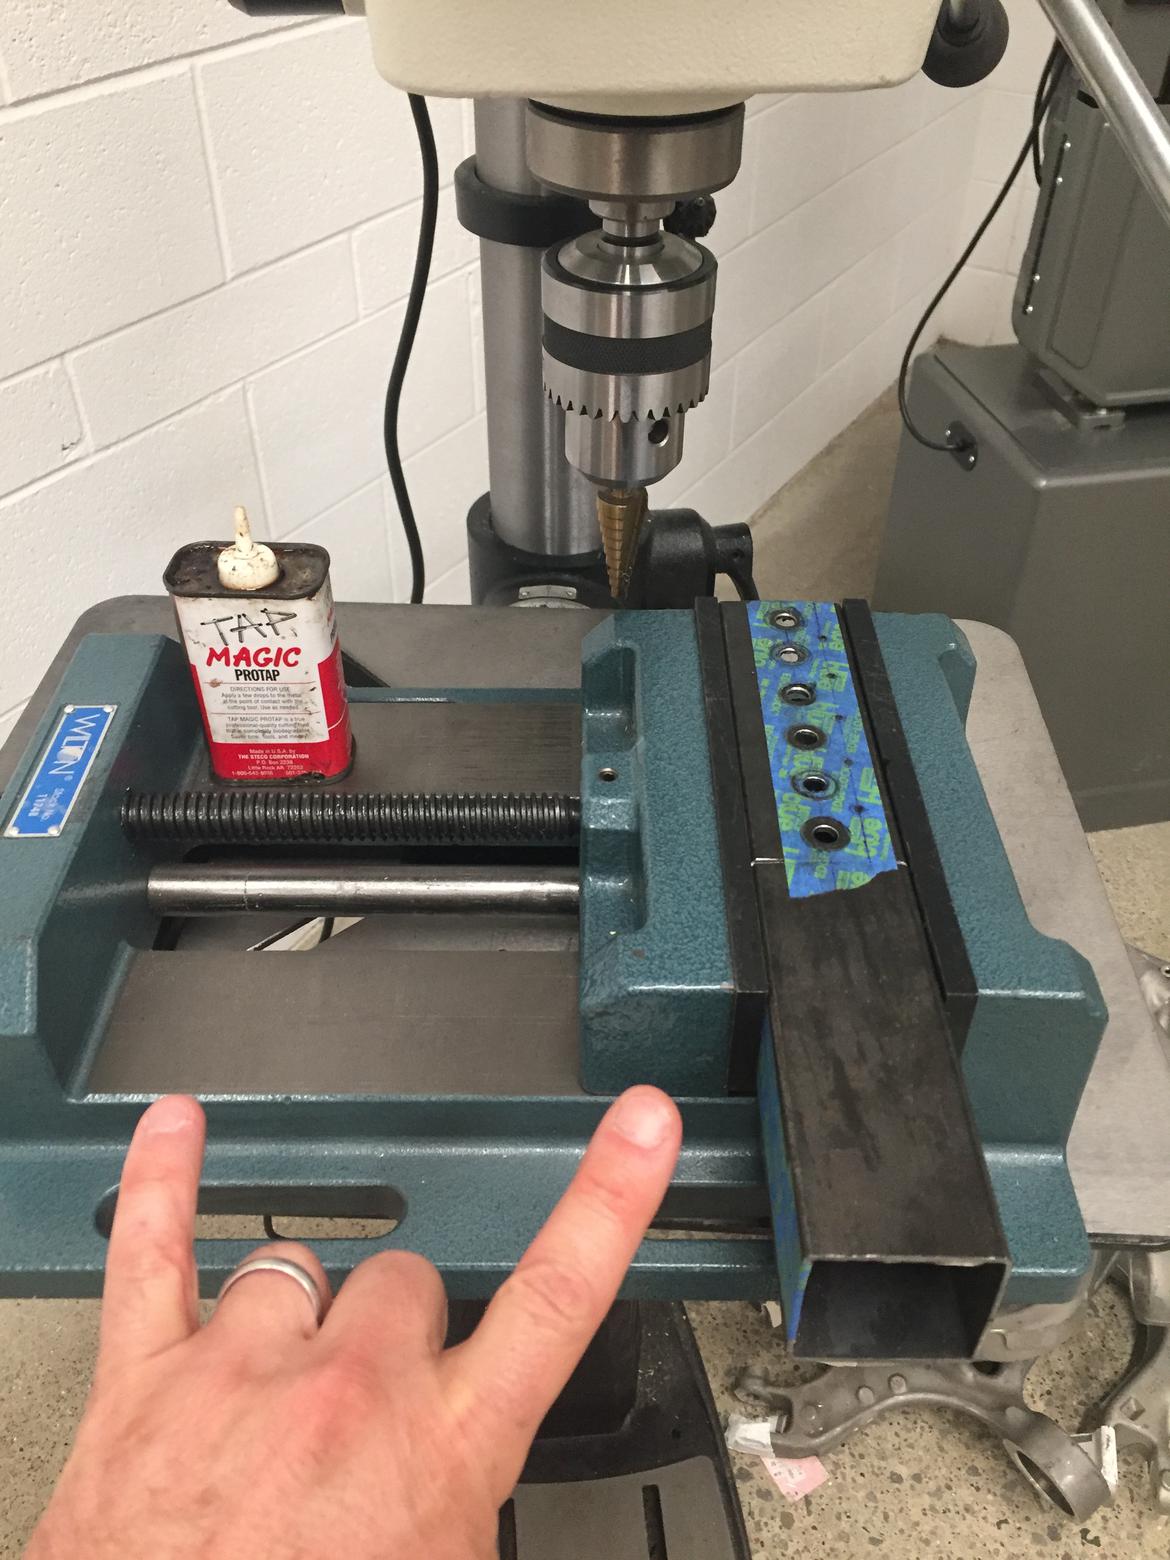
Drill press, band saw, belt sander, done. At $0.50 / lb cutoff price, I think I have about a dollar (pre-welds) tied up in them. :-)
Great progress and I see you got that welder dialed in now. I also like the idea of the plug welded patches. I normally use thicker steel and seam weld with a few plugs but I like how you are doing this with the multiple plugs.
dherr said:
Great progress and I see you got that welder dialed in now. I also like the idea of the plug welded patches. I normally use thicker steel and seam weld with a few plugs but I like how you are doing this with the multiple plugs.
thanks man, i am relieved when i hear that people who know more than me approve of my solutions. ;-)
With that many holes you need a hole punch.

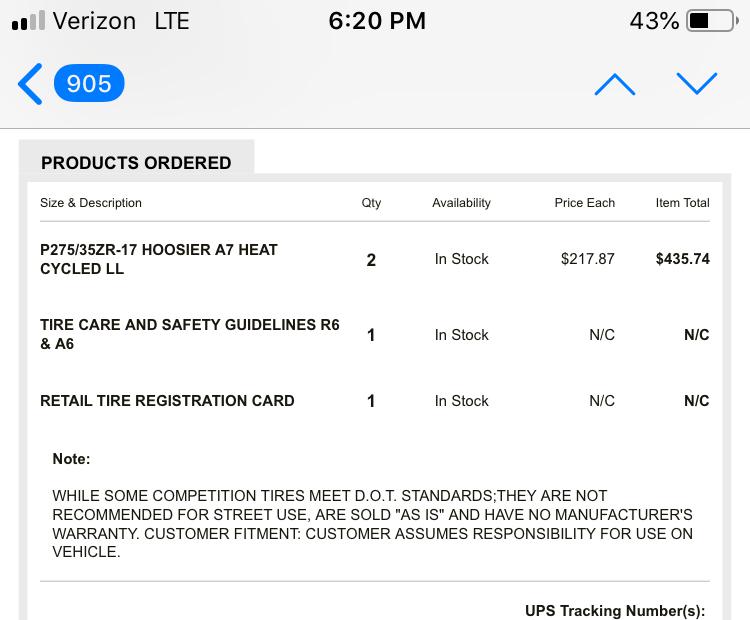
Was playing with tire sizes today and these caught my eye. Normally $340-ish each, plus heat cycling.
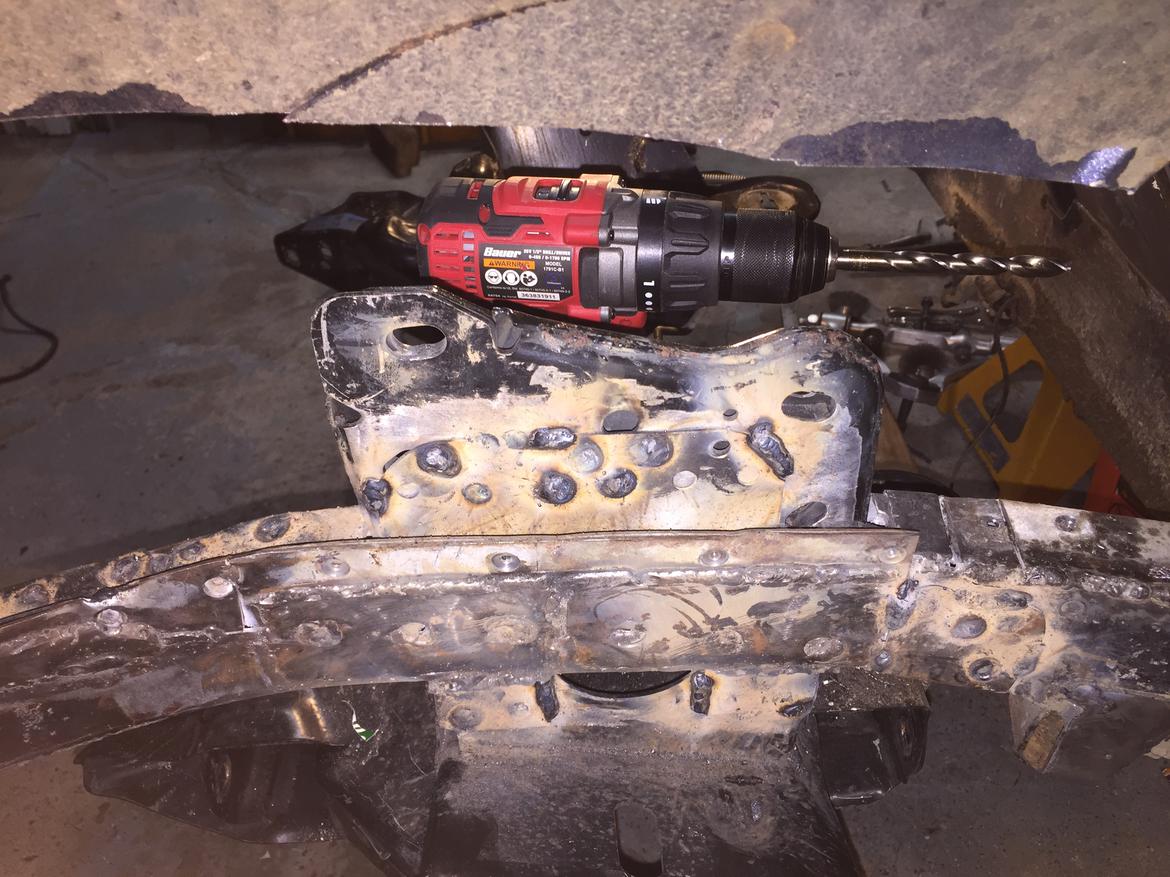
Moar welding:
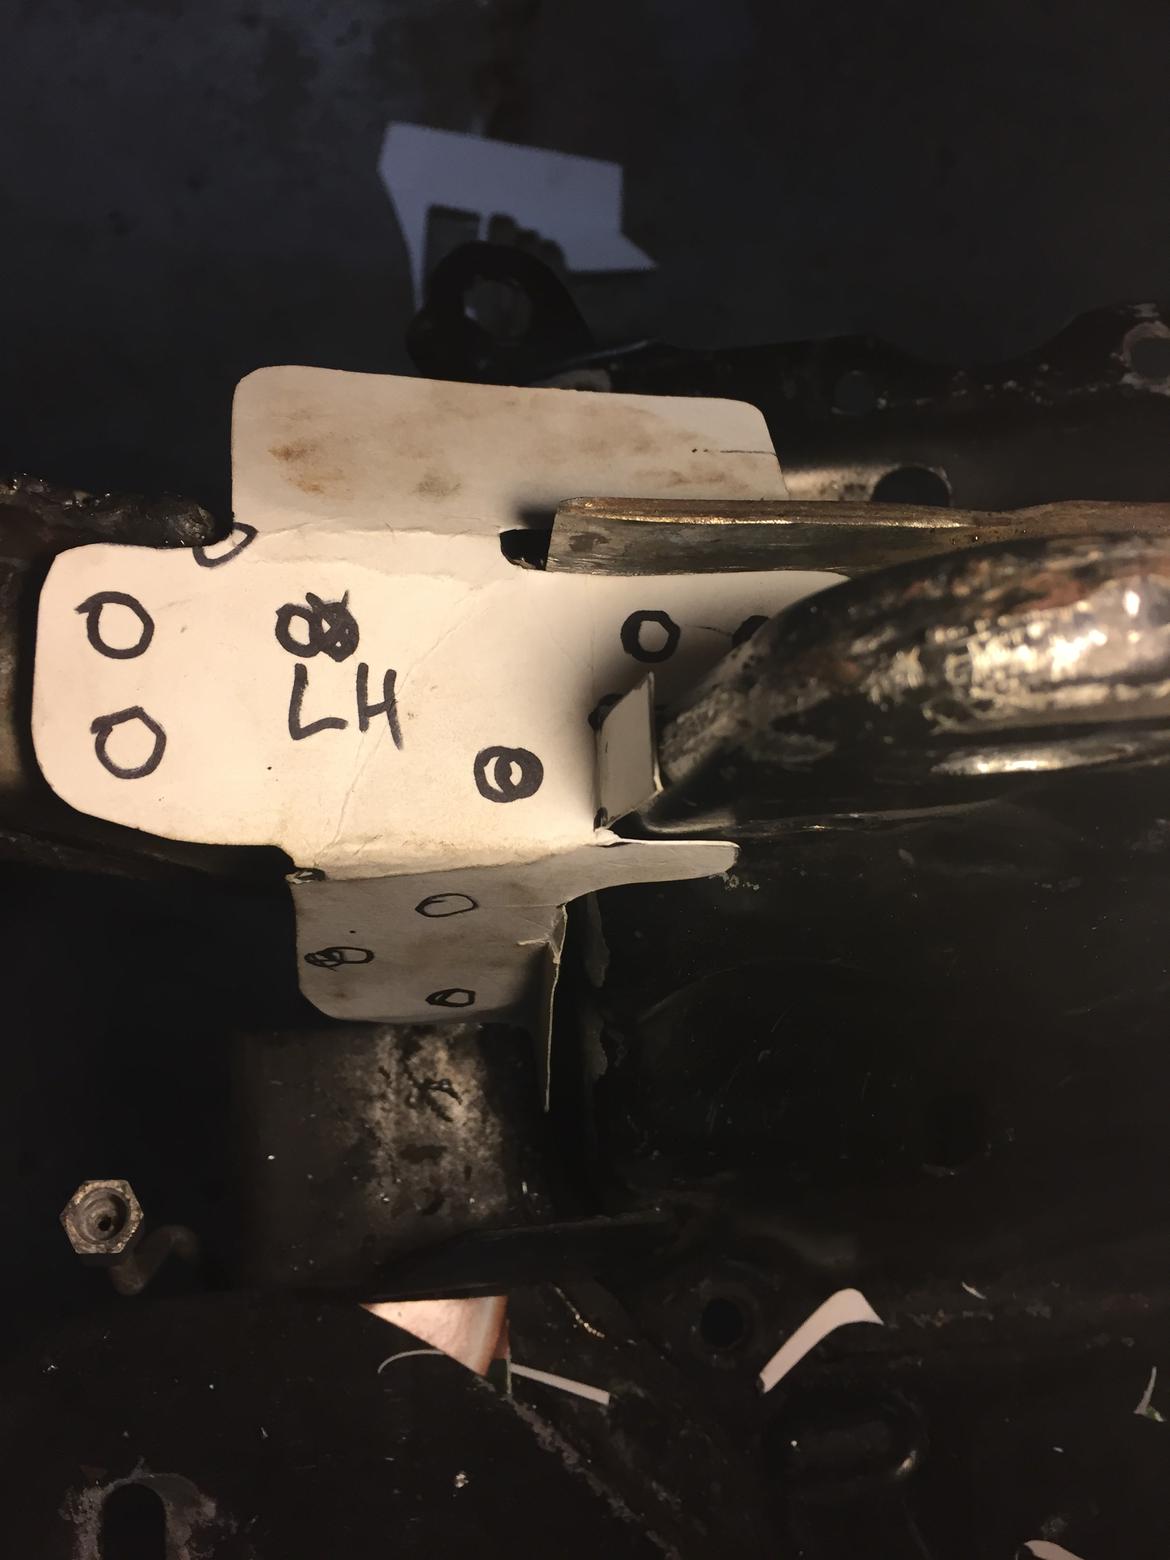
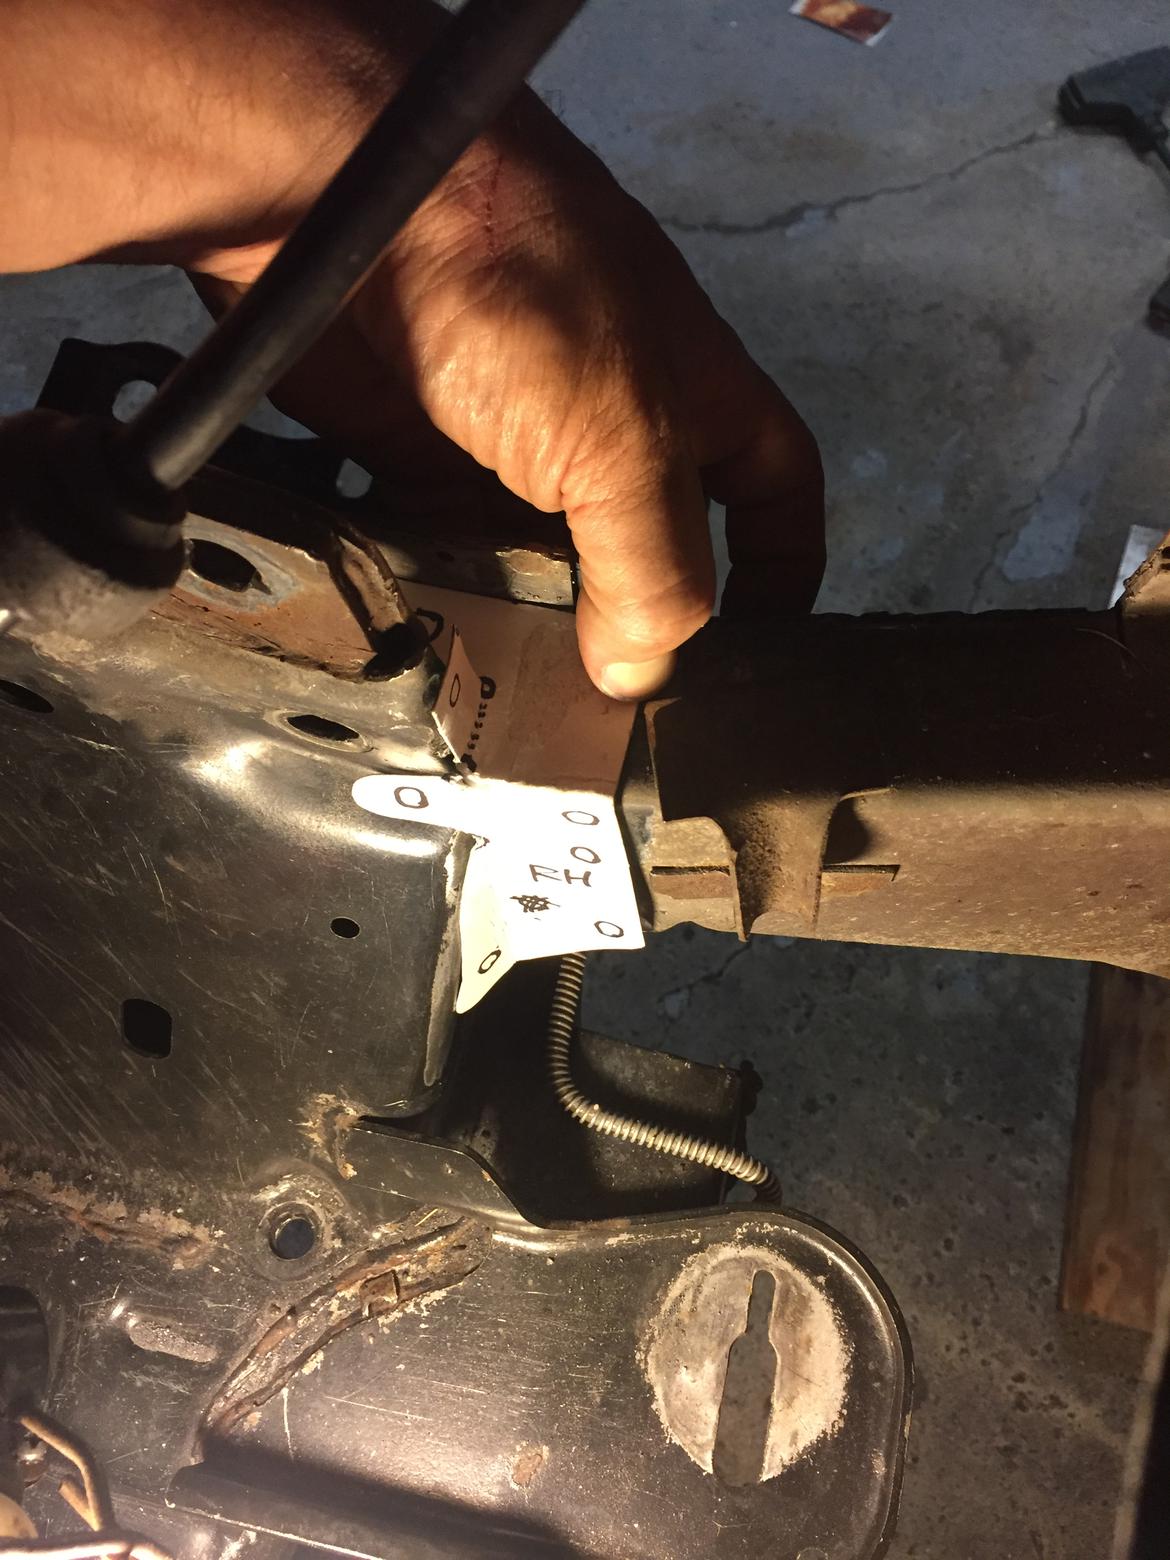
And moar CAD:
And a box of belts for my sander:
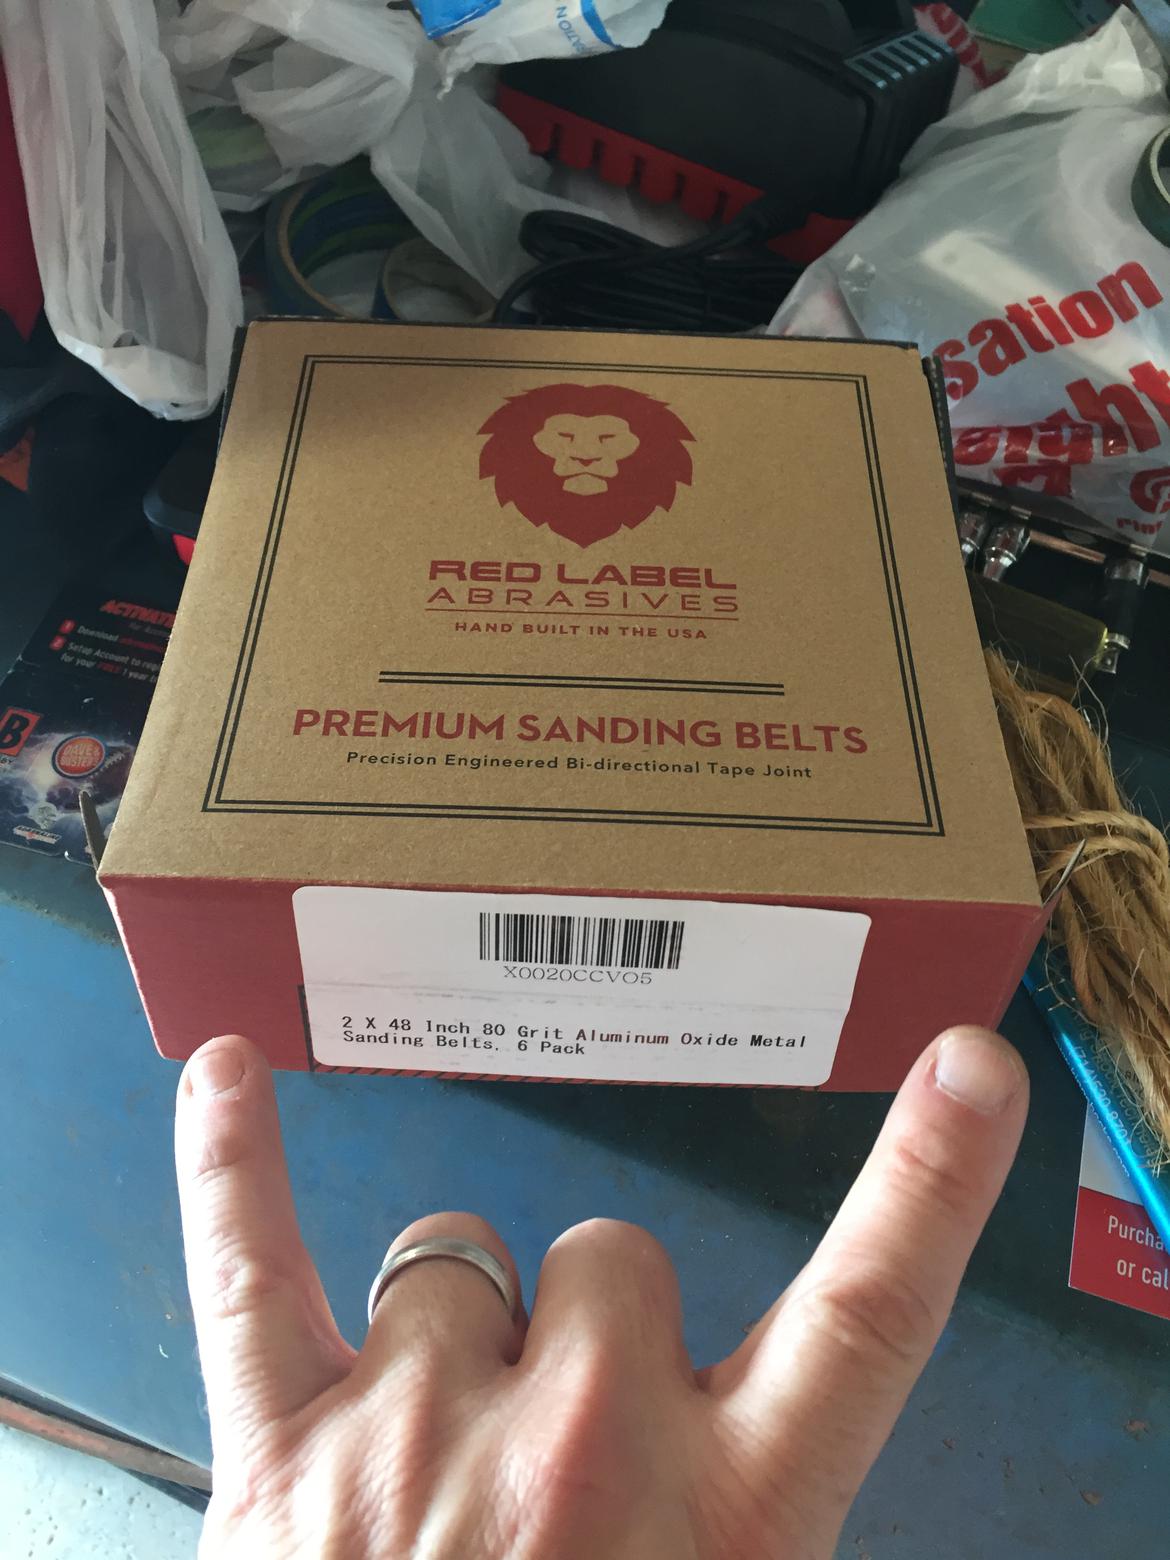
X was like “Amazon Gon’ Give It To Ya!”

Tomorrow lunchtime I’ll transfer CAD to steel and cut ‘em out, then buzz ‘em in tomorrow night after dinner. Then I just need to modify steering shaft and make brackets for front bar, but those are parallel-path things that can go on in the background while I start hacking up the back of the car.
Tire Rack’s Gon’ Give It To Ya!
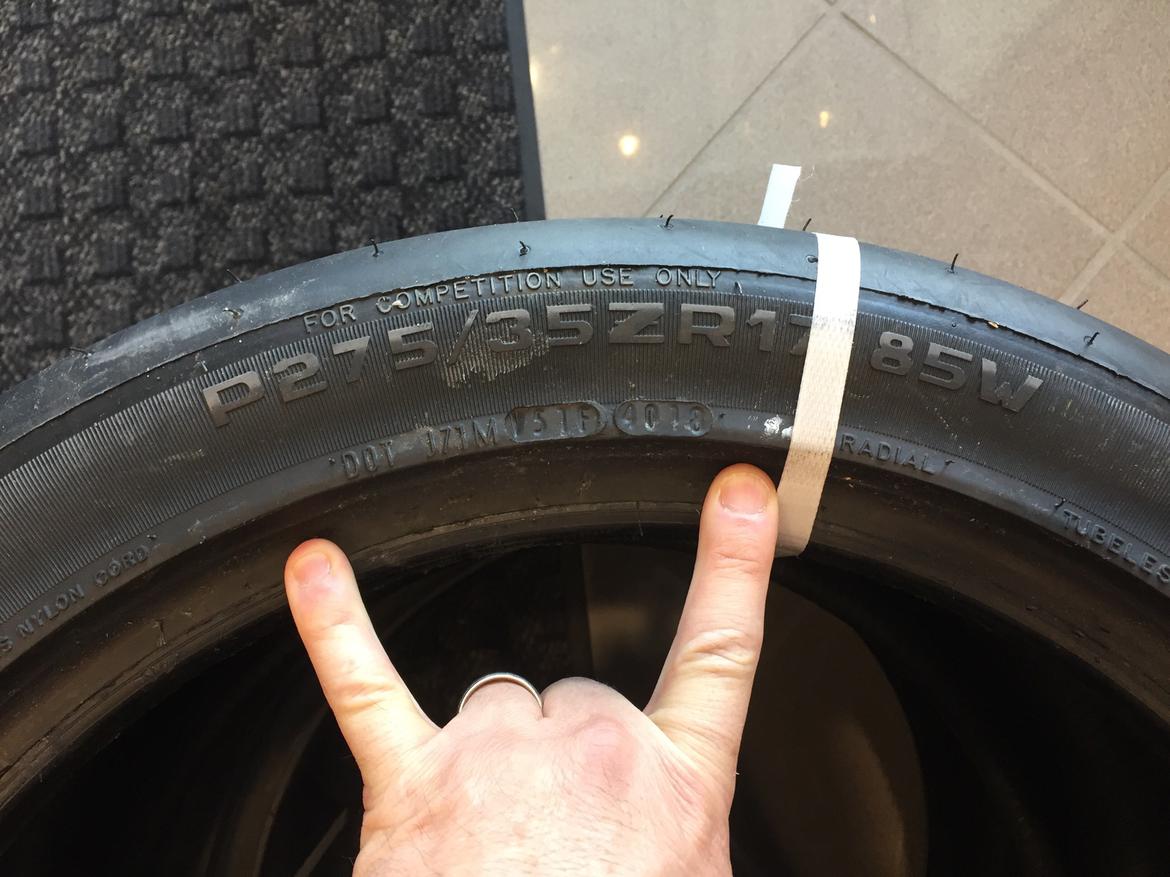
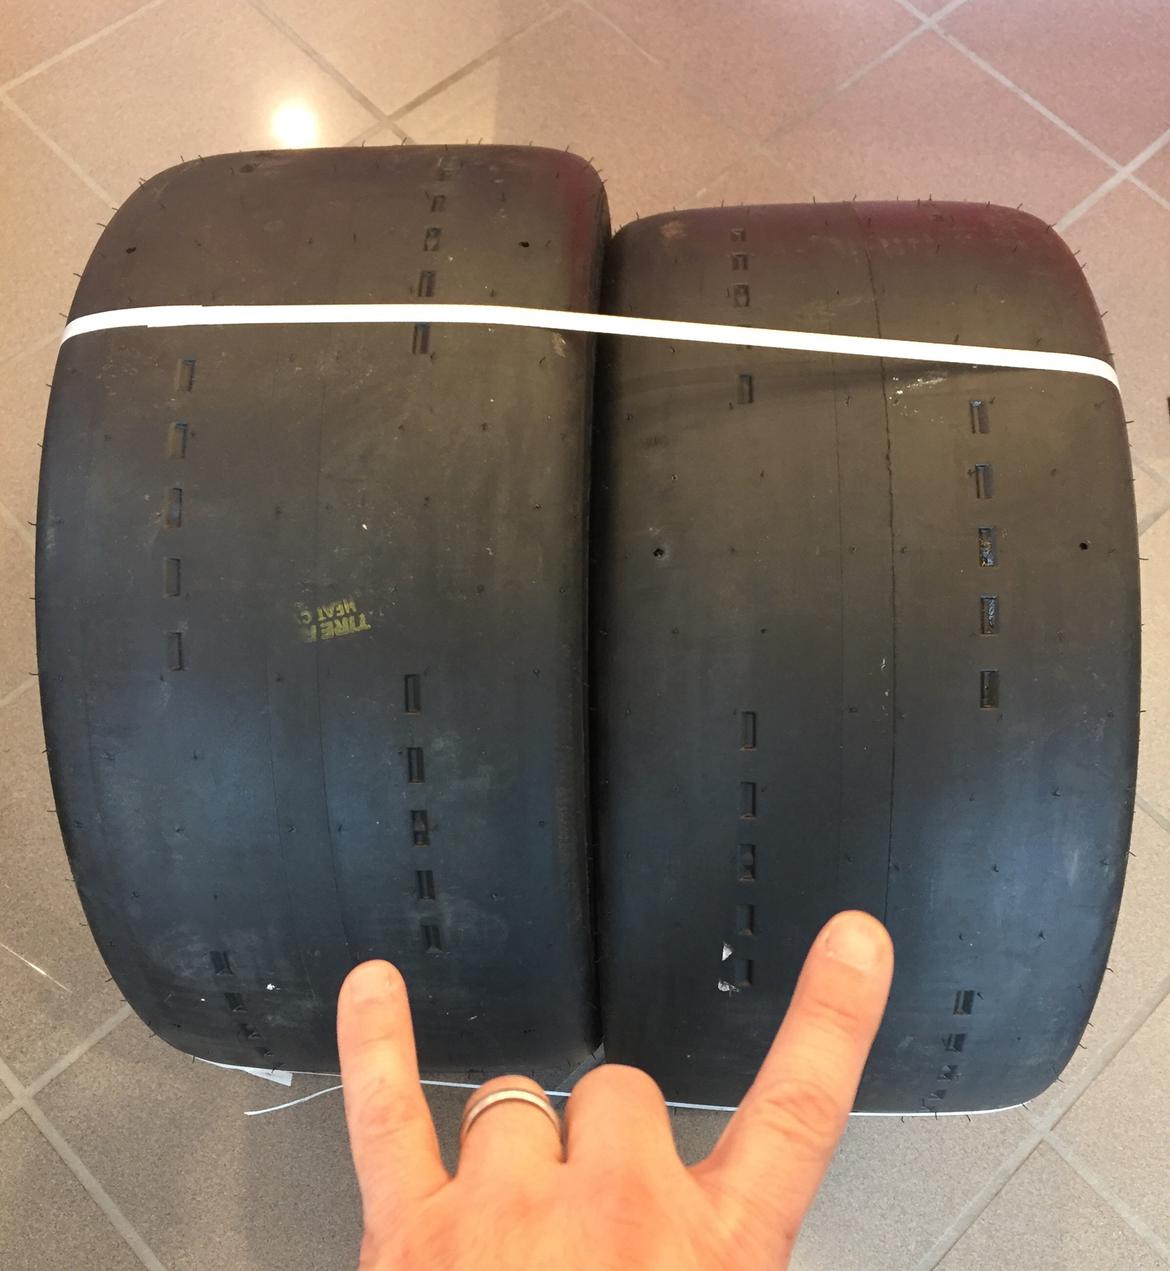
eight weeks and counting...
Nice deal! Those are $50 cheaper than my little 15" A7s.
As promised, CAD transferred to steel and cut out today. Not as promised, an old friend was in town for one night only, then another buddy stopped by to check out the progress, so I bent 1 of 2 plates and welded 0 of 2.
Car-part.com told me a junkyard in Detroit had my transaxle (01X, A4 FWD, code GVD), so I took a drive down at lunchtime and picked it up. Minor win: it still had slave, fork, throwout bearing, and shift rods attached.
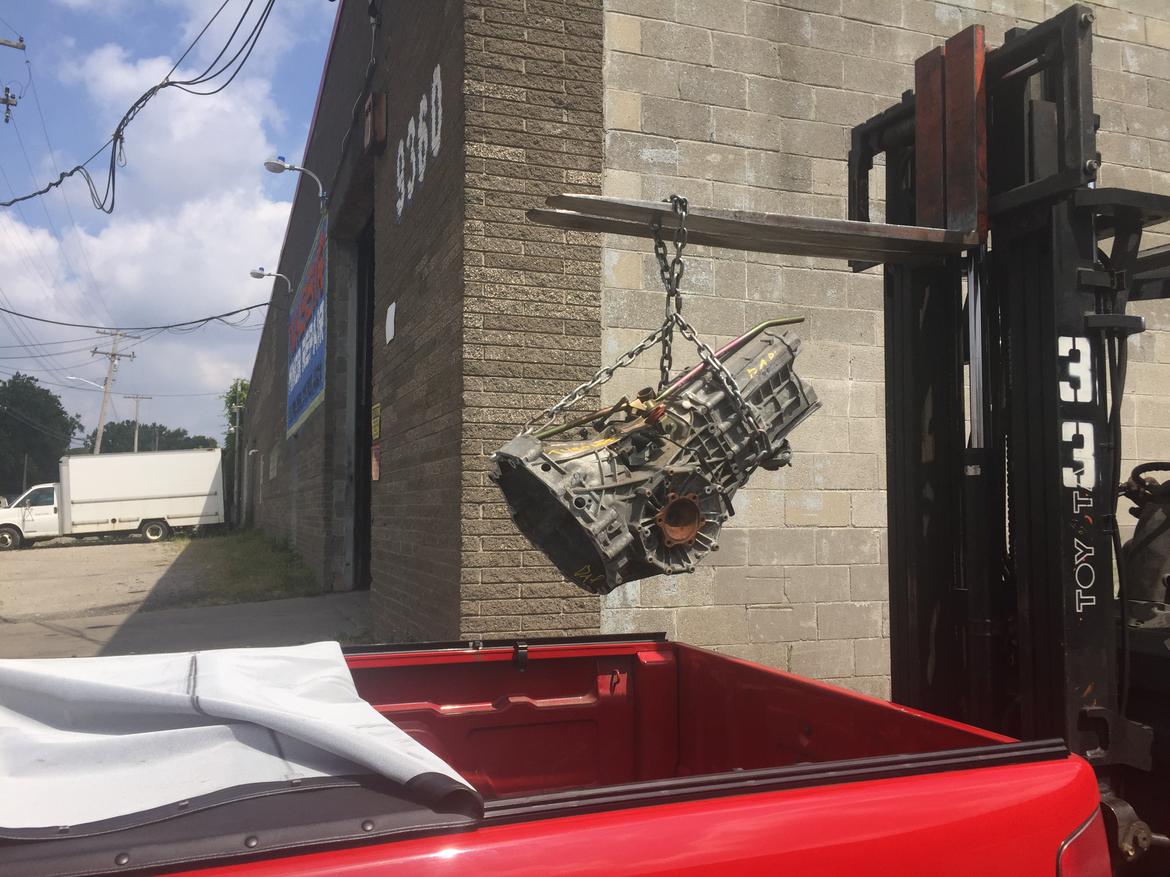
Sweetness.
I'll be firing up the Robot Fire for some other things next week. Let me know if you need things made.
TVR Scott said:
Sweetness.
I'll be firing up the Robot Fire for some other things next week. Let me know if you need things made.
i look forward to employing Robot Fire in adapting cable shifter to rod-shifted trans. must do CAD first. ;-)
Ran out of wire with one patch to go. :-(
good time for a lunch break! :-)
Got more wire.
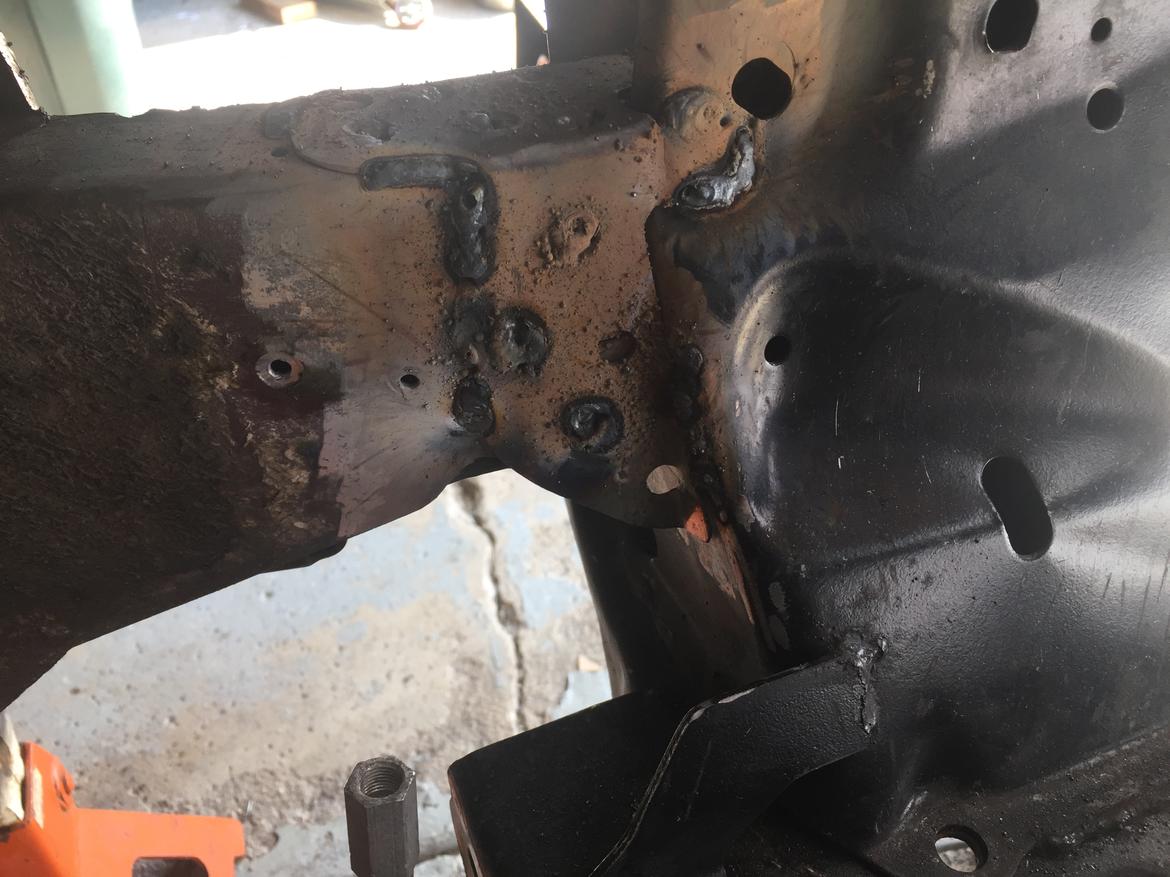
burned in the last reinforcements for the front end.
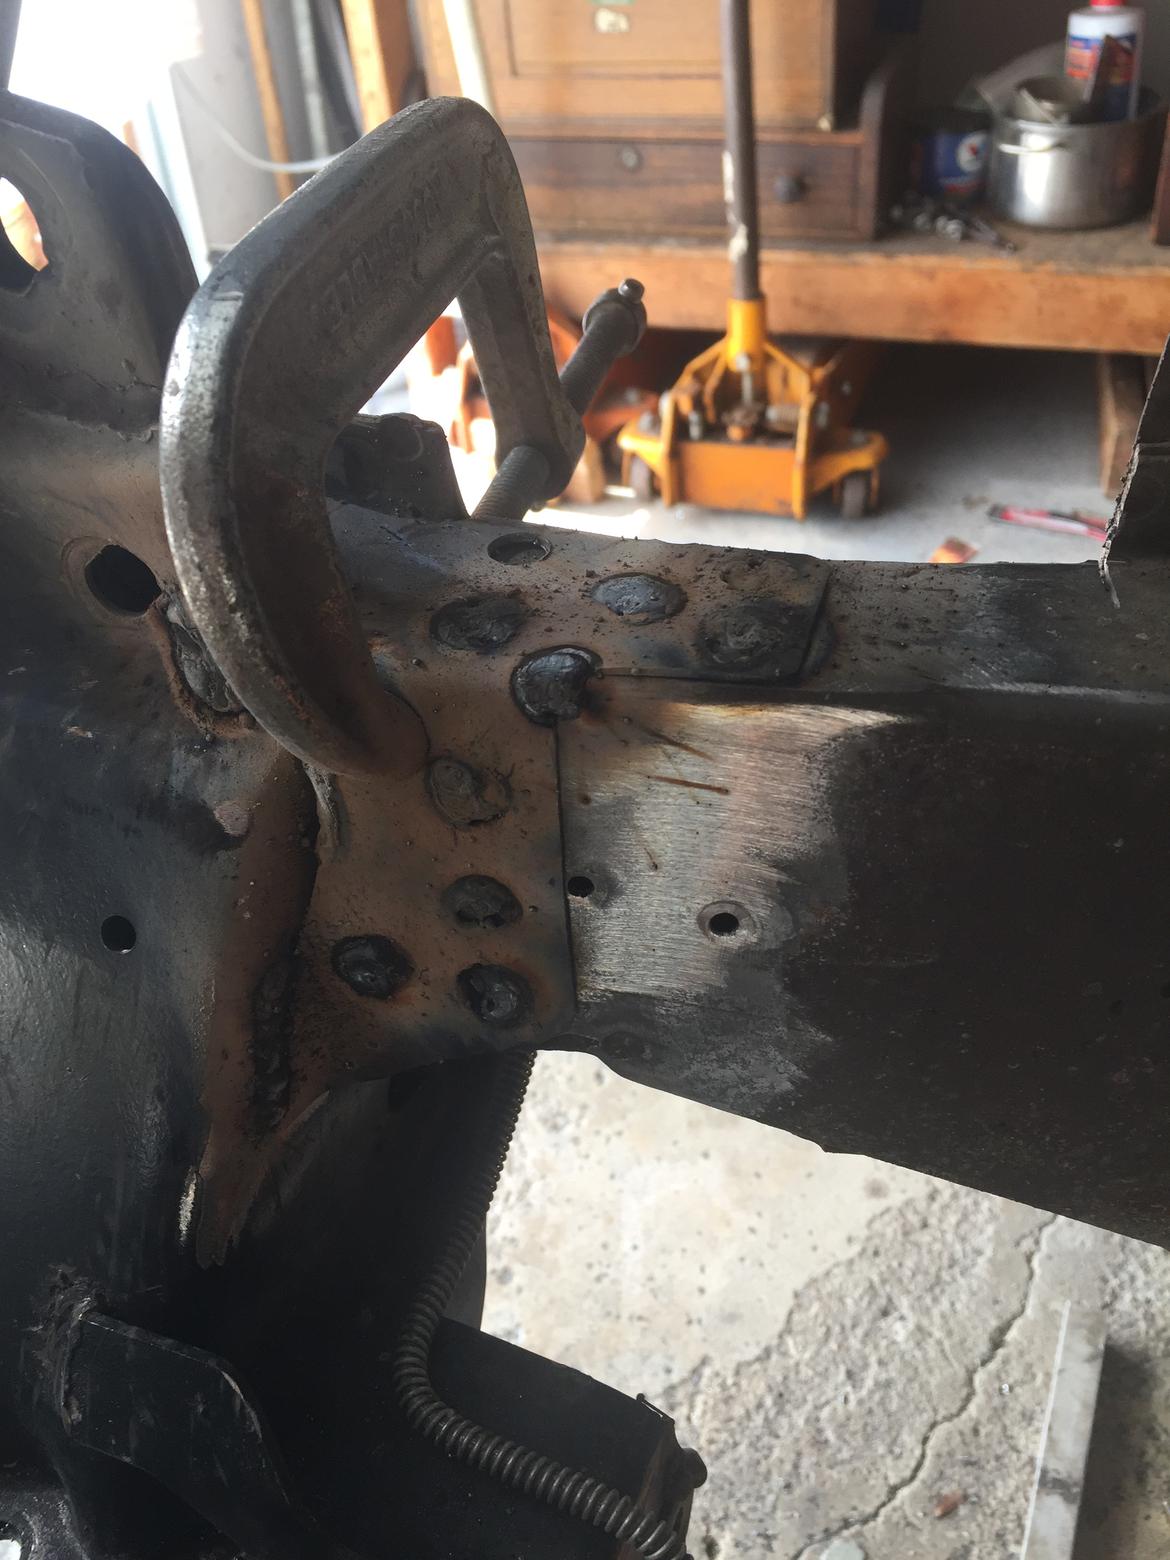
I had a problem with the welder spitting and popping and just not laying down a nice sizzling-bacon weld. Clean materials, good ground, same settings as before. Weird. Realized the only difference was that I plugged into a different outlet. Went back to previous outlet, sizzling bacon again.
Tomorrow I’m cutting rear frame rails out of a crashed C5. Or maybe I’m not. What’s it to ya?
Remember back in the original thread when I said I figured out a rear suspension and subframe arrangement that would be lighter *and* take less fab versus cobbling part of the C4? As luck would have it, there was a crashed C5 being parted via Detroit CL. I checked eBay completed auctions and it turns out that C5 rear suspensions have similar FMV to C4. So I self-traded my recently-purchased C5 rear suspension and frame cut for my leftover C4 parts. :-)
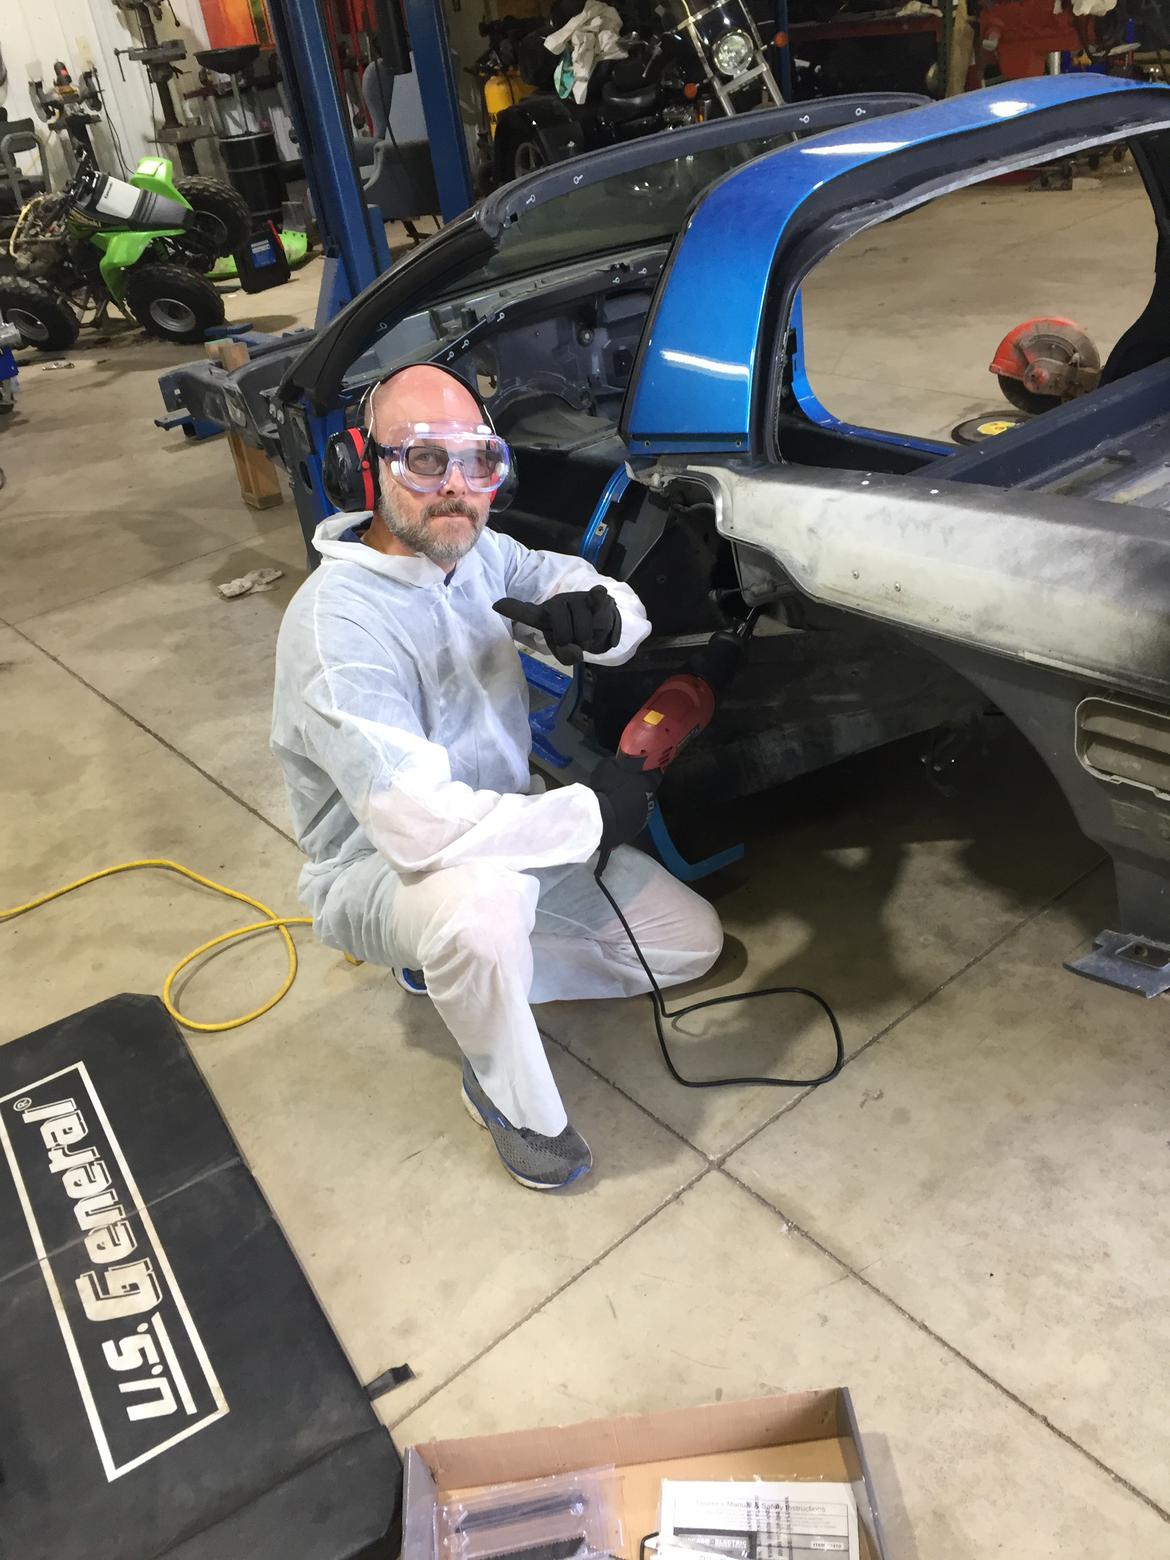
PPE, motherberkeleyer! Do you speak it?!?!
i put on the bala and breather before cutting any fiberglass.
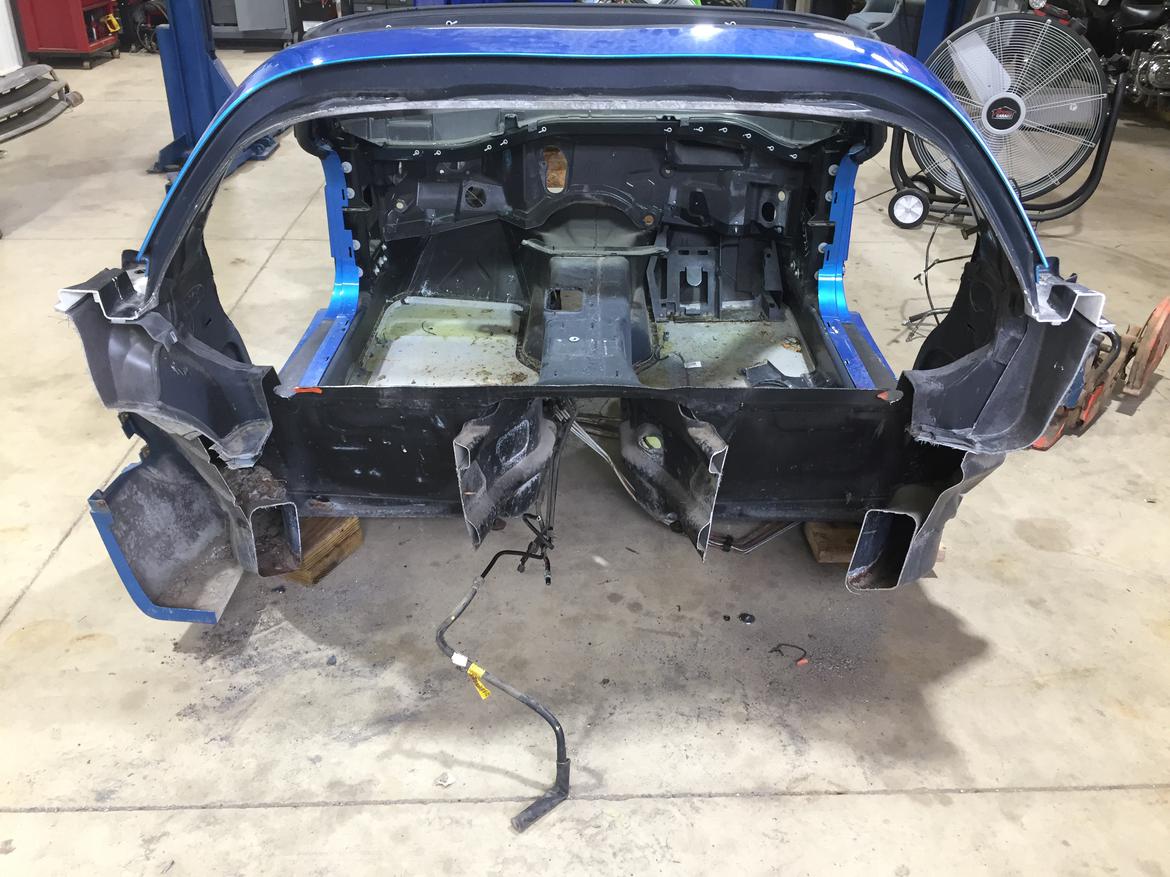
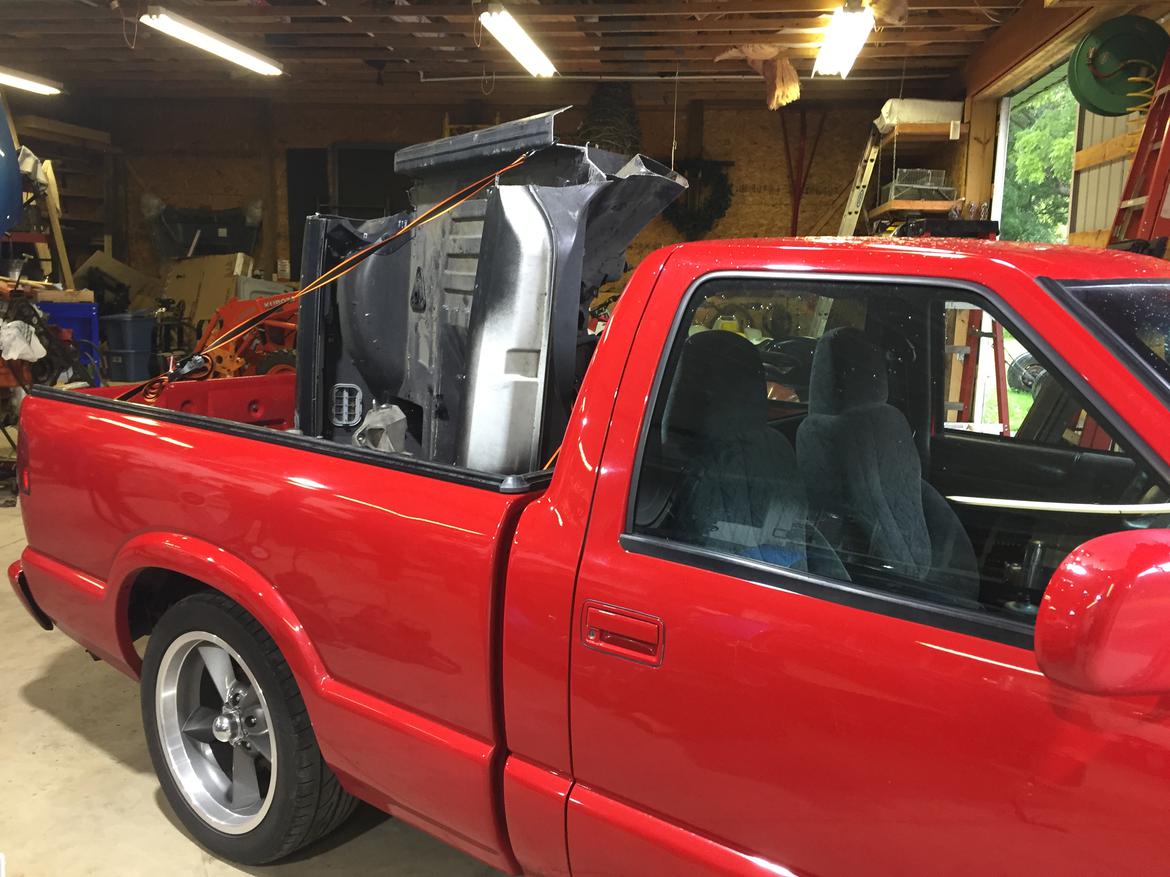
Frame cut gives me attachment points for subframe, upper control arms, and upper shock mounts. Because the tub is bonded to the frame, I’ve got a trunk floor and partial wheelhouses as well. Not sure how much of that becomes part of MONZORA but it’s good to have options.
That is way too familiar to me
Who’s down with PPE? Yeah you know me!

Psssst! Hey! You wanna see something cool?
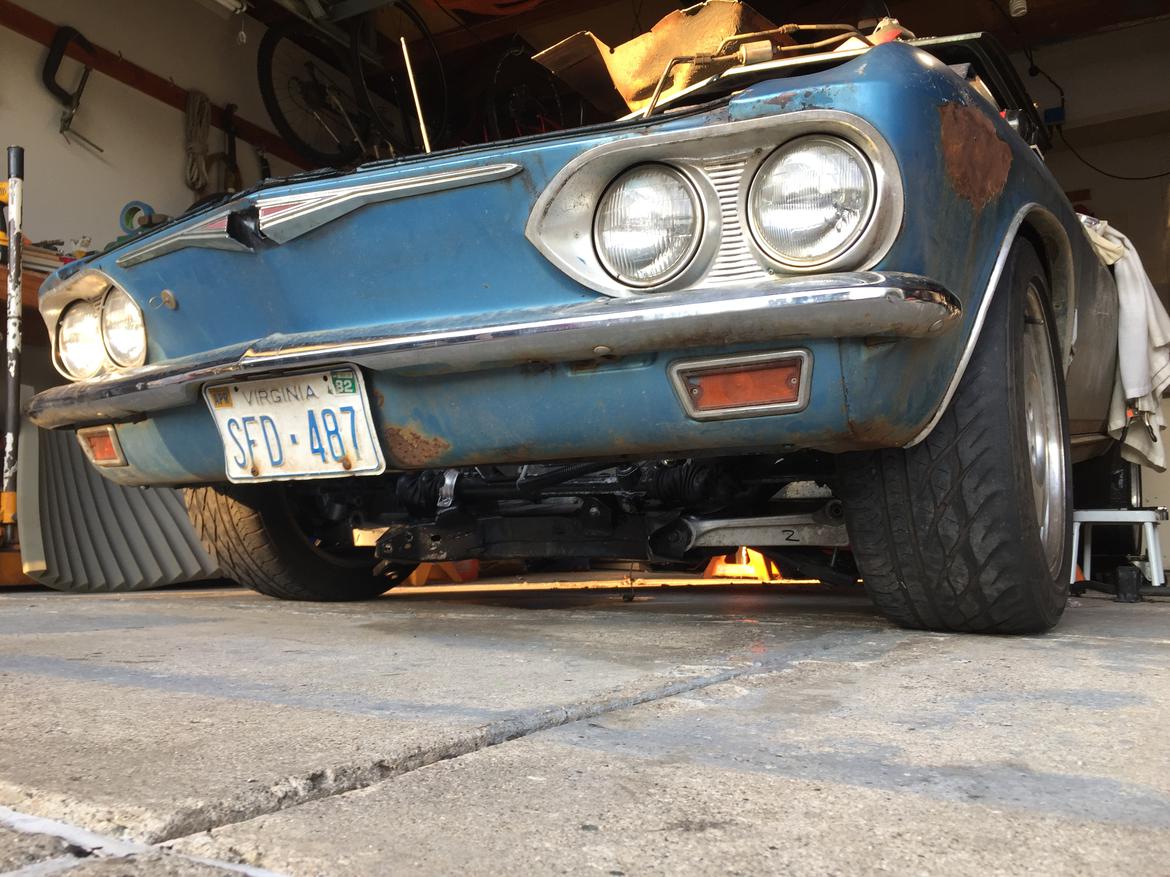
That’s a ‘65 Corvair with ‘94 Corvette front suspension, supporting its own weight. But wait, there’s more!
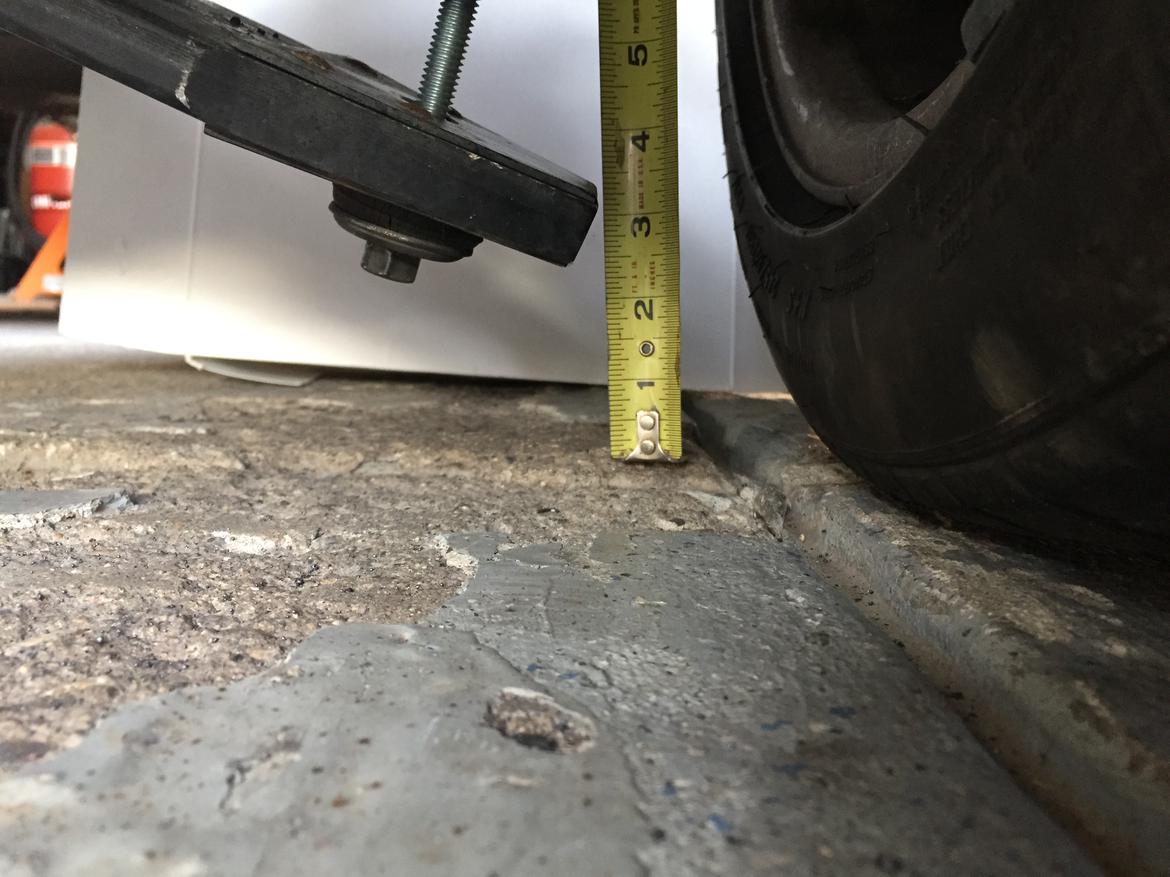
That’s a corner height adjuster on a C4 front spring. From OEM, the leaf pushes down on a web section in the LCA, and that interface is not adjustable. What I did is basically copied the rear spring attachment, where the spring goes under the upright and is connected to the upright by a drop link similar to old-school sway bar end link. My buddy Tony drilled matching holes in the LCA webs and the spring ends, and now it’s a “spring-under” with (temporarily) a short length of all-thread connecting the LCA to the spring. Bam! Tunable corner weight / height.
Note: this is the minimum preload setting. I’m gonna raise it a little from here, once the car is at race weight.
2nd note: dear future me, this is present me. Well, by the time you read this, I’ll be past me. Anyway, shortening the drop link by 1” raised the free end of the spring by 1.5” (because it changed the angle as well as the height), and raised the front crossmember by 1.25”. You will want to have this info on race day.
So yeah, I’m kinda stoked right now.


