Breaking this update into a few posts.
First, there was the CEL crisis. We have had a CEL for years. MAF mismatch, usually a vacuum leak. Literally everything that could be related was checked or replaced as we worked the FSM diagnostic tree.
- There was a massive vacuum leak at the throttle body. The TB and intake were replaced and re-sealed.
- We replaced every vacuum line/hose on the car.
- New intercooler and silicone hoses.
- MAF coupler and MAF.
- Cobra pipe.
The car sometimes took two tries to start cold, but it made great power and fuel economy. Our trusted mechanic was stumped, we were stumped.
CRISIS: Missouri has OBD-based emissions testing. Doesn't matter what shows up at the tailpipe (the don't even sniff it), a CEL fails the car. Our AR tags were expiring, MO tags urgently needed. In desperation, we played a hunch and bought another throttle body.
Success! We hate front license plates but we made the deadline and the wagon is now registered and tagged in MO.

Winter was closing in. The fall colors told us it was time to address the heater box/blend door situation once and for all. Truthfully, our epoxy putty fix would have worked if we'd showed a little restraint - the excess putty was causing the DS blend door to bind. But the air distribution control had also failed. There was no air to the defroster vents, ever.
We bought a second-hand heater box and set about replacing every replaceable component: AC evaporator core, orifice, blend door motors, heater core, everything.
Here's the replacement box on the bench:
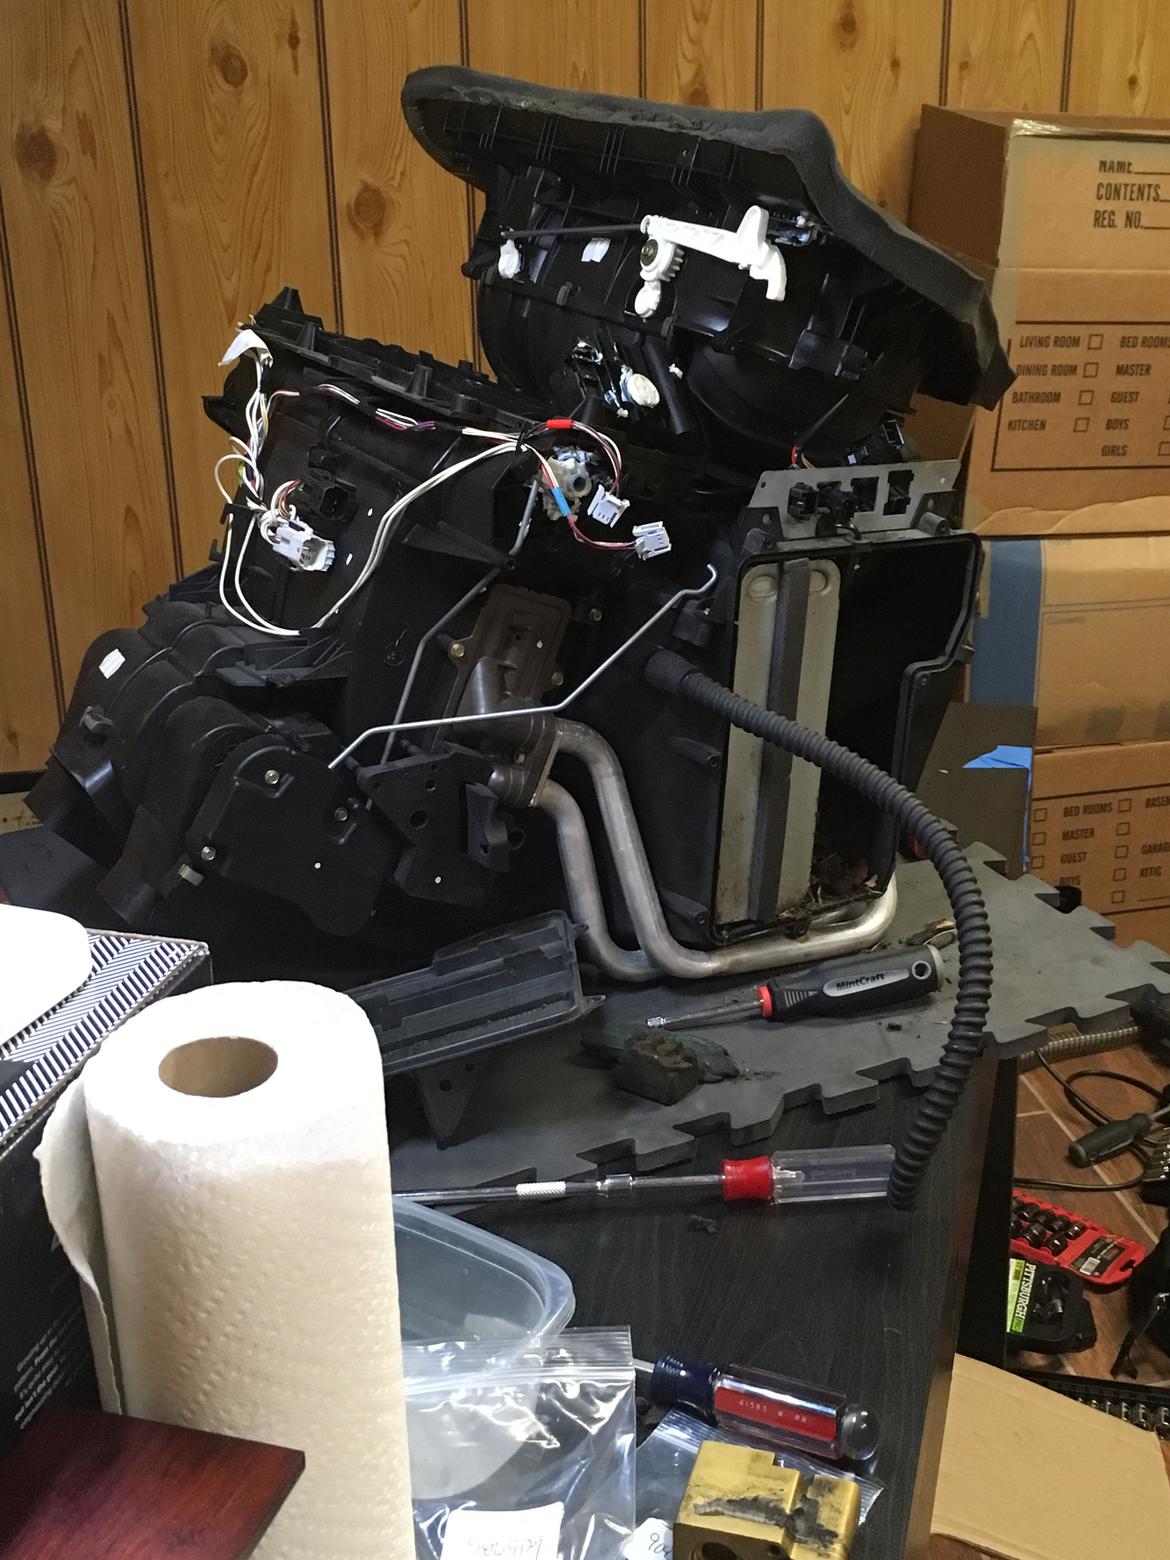
Trivia: know what that long corrugated rubber tube does? Directs cold air from the AC to the glovebox to keep your ham sandwich, can Coke, maps, registration, owner's manual and presumably gloves cold in the summer months. So thoughtful.
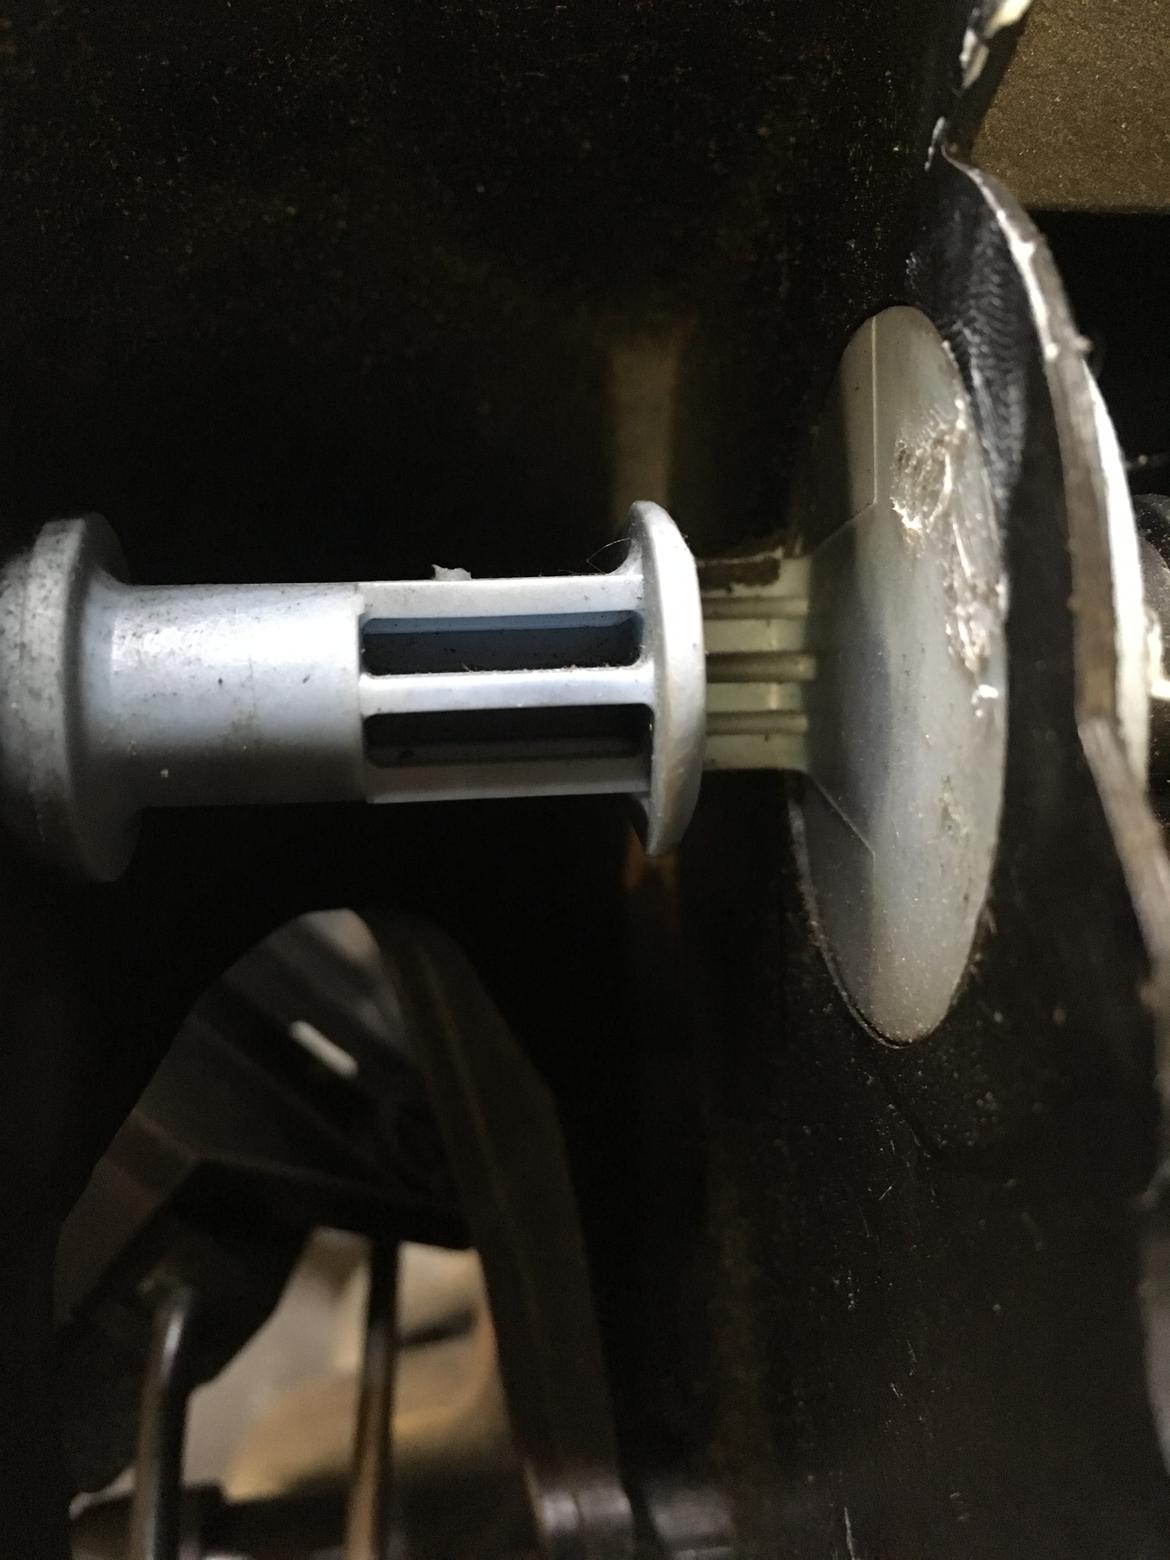
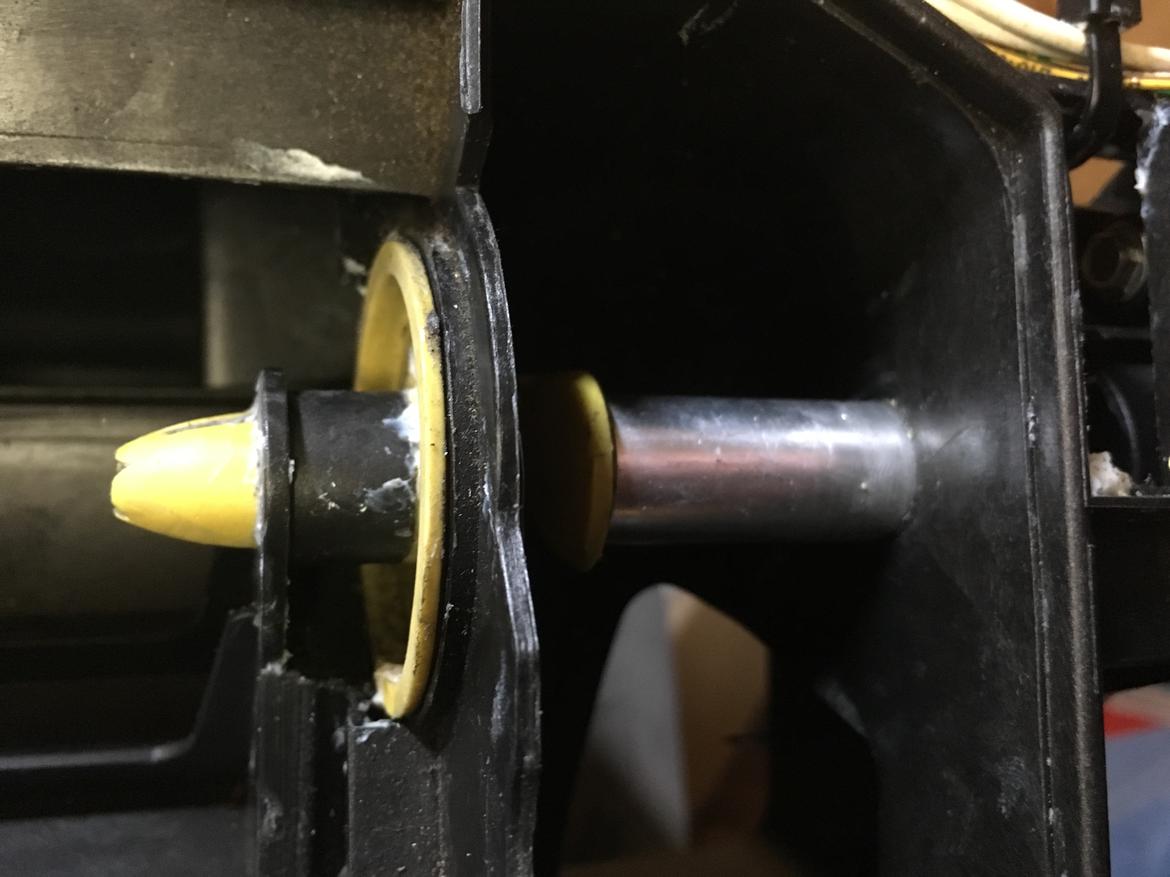
The blend door arms weren't broken - yet. So, we re-sleeved them. This is a job you only want to do once. Period.
An intact blend door arm:
We dremeled the arms in half and sleeved them. A door arm with repair sleeve:
This is why you can find otherwise-decent Mercedes for sale cheap, "Needs AC repair." The cars are almost built around the heater box, and the evaporator core is integrated therein.
Remove speakers, climate controls, radio, switchgear et al, then carefully pull the dash skin.

Label all the things.
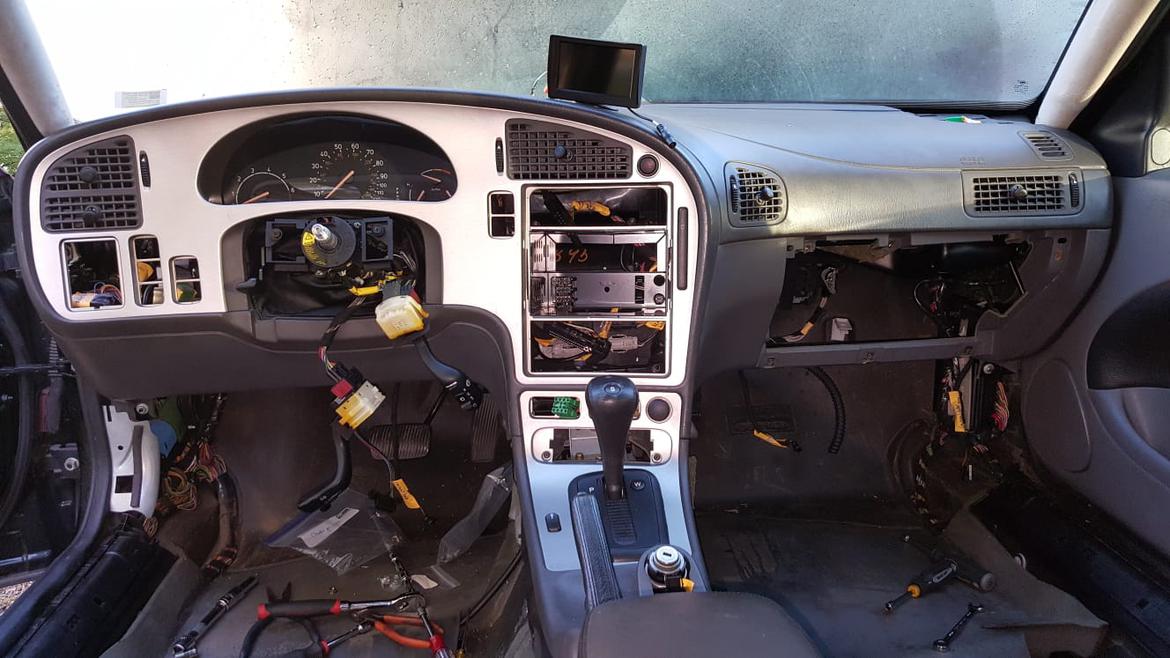
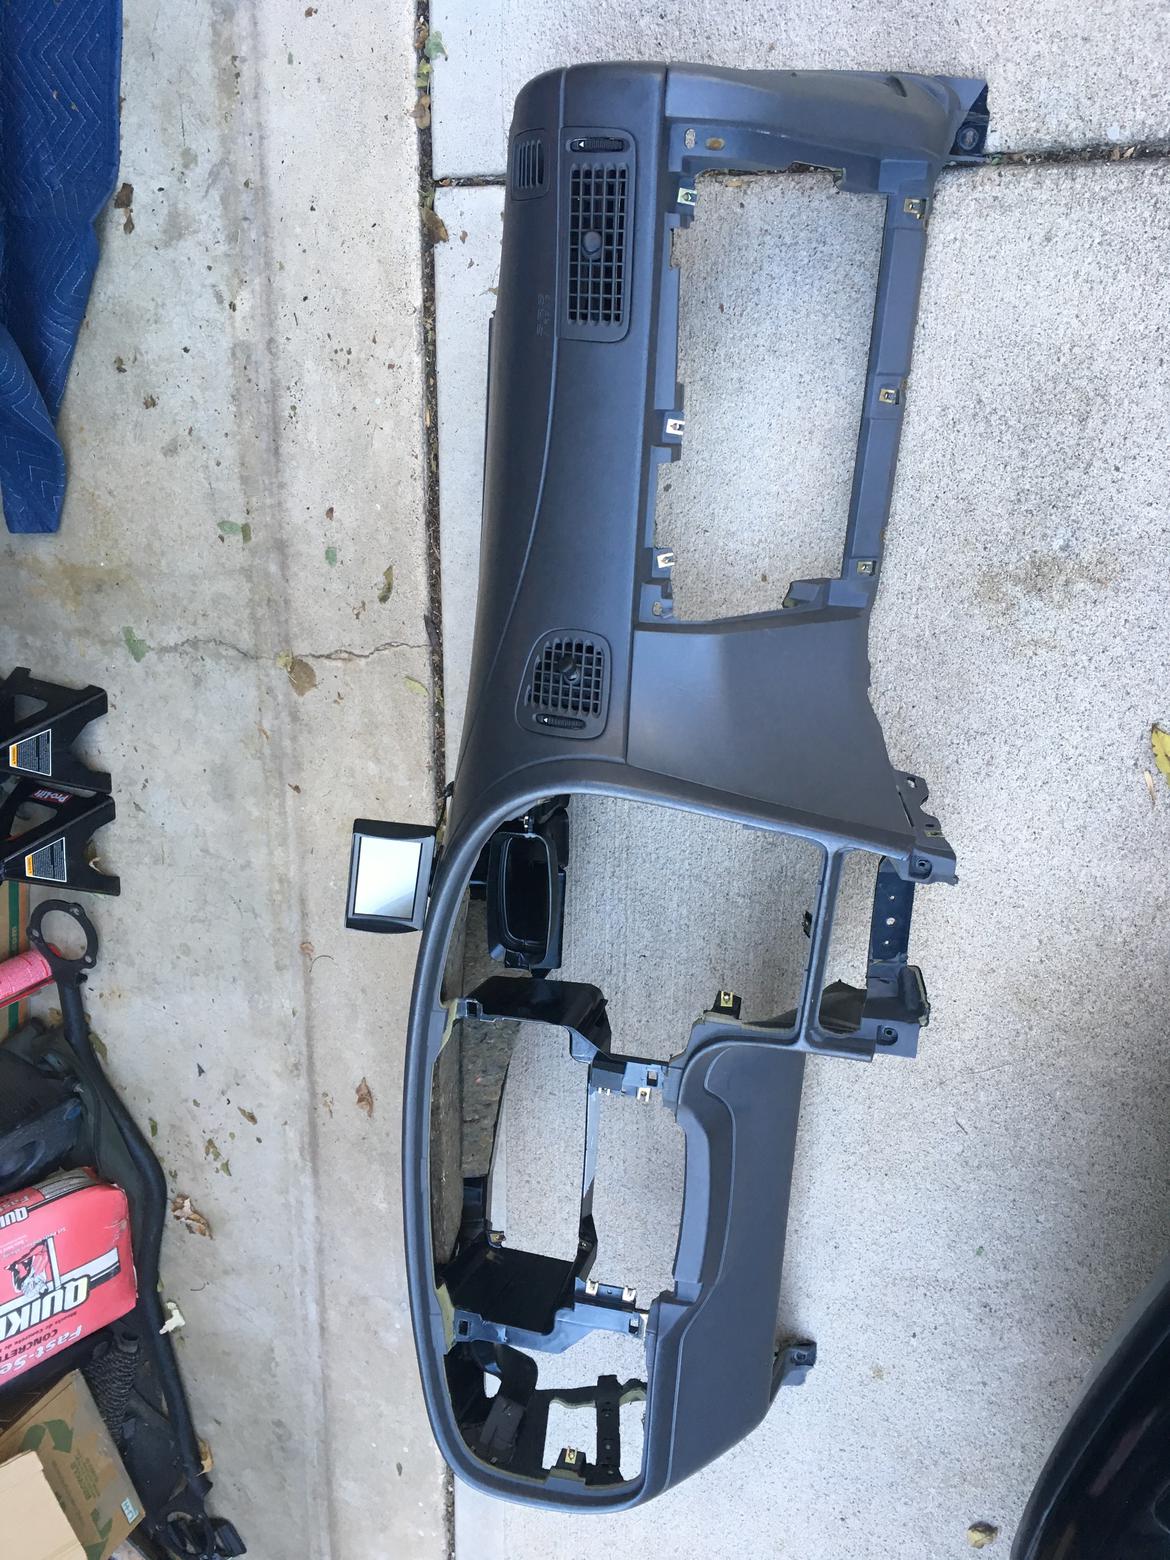
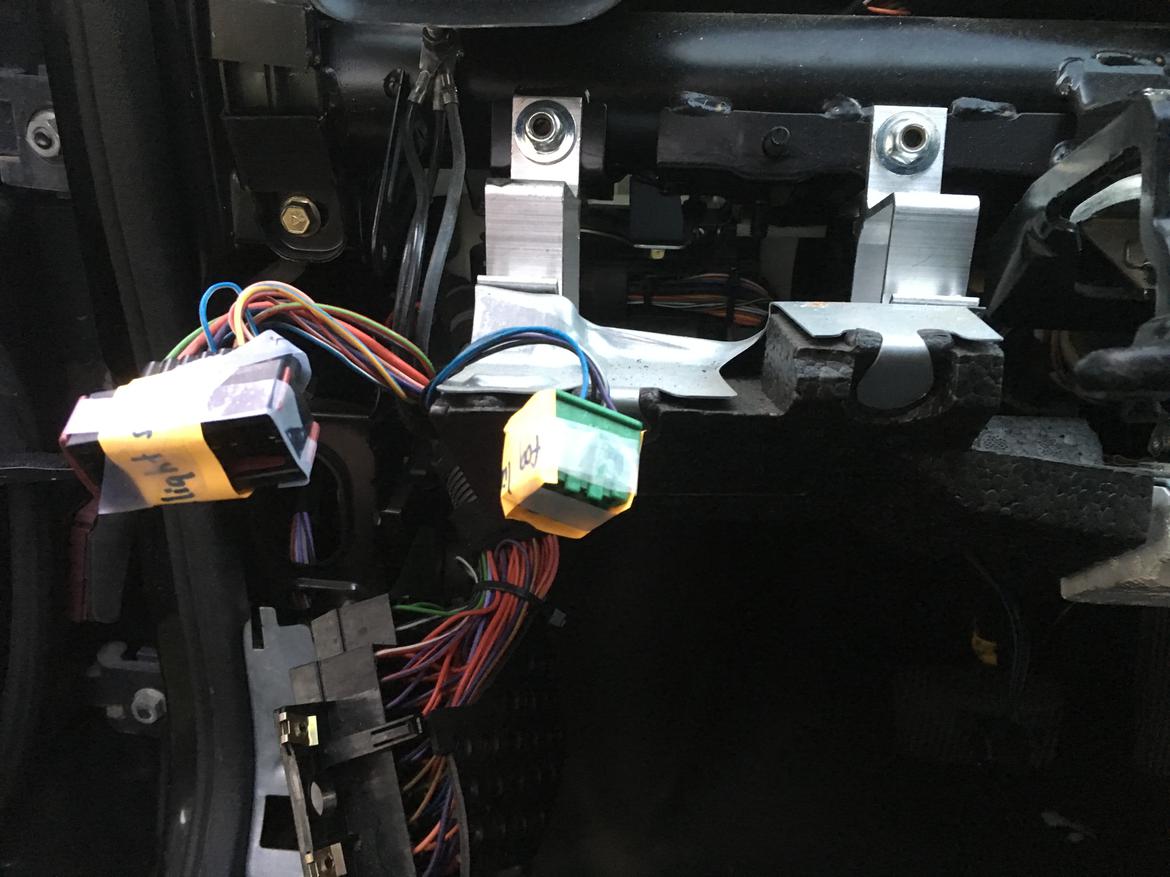
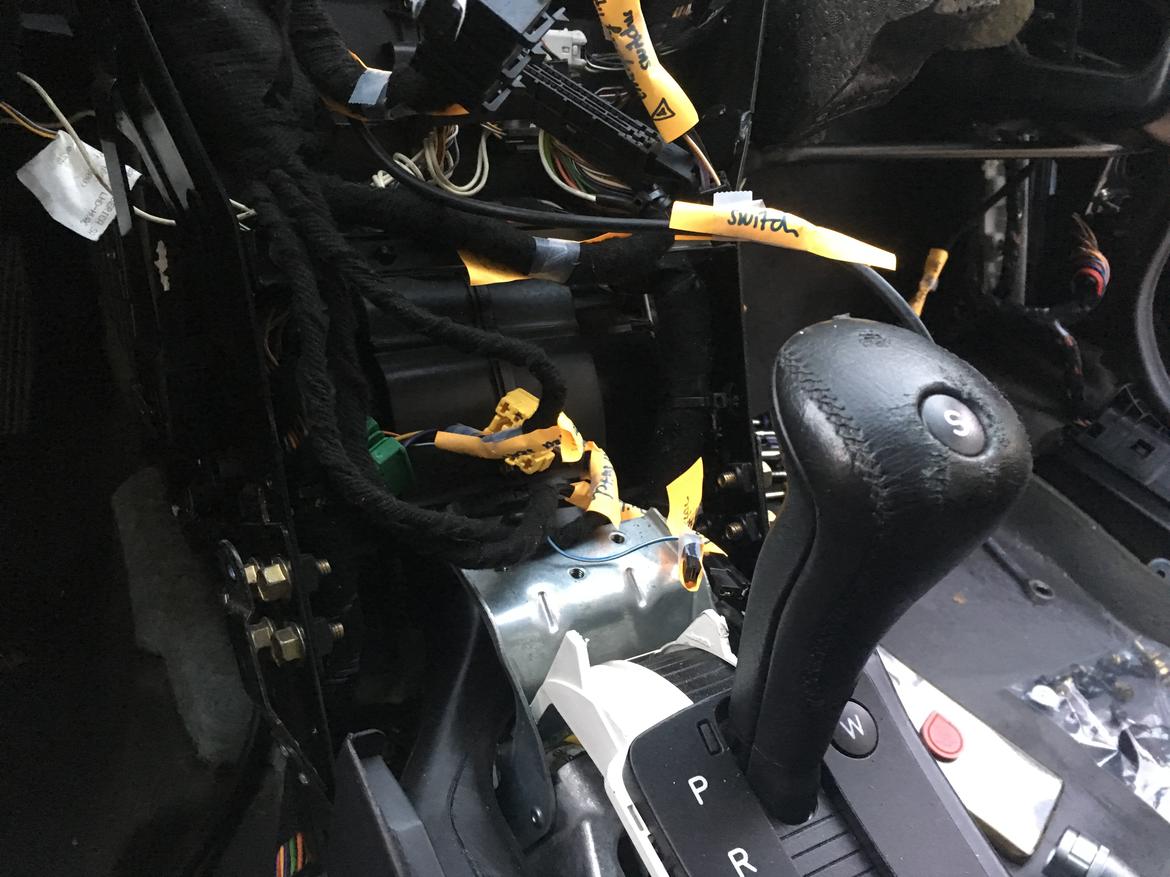
Pro tip: leave the key in the ignition and select the lowest gear. The shifter handle causes clearance issues with the box.
Yes, the steering wheel has to come out. So do the seats.
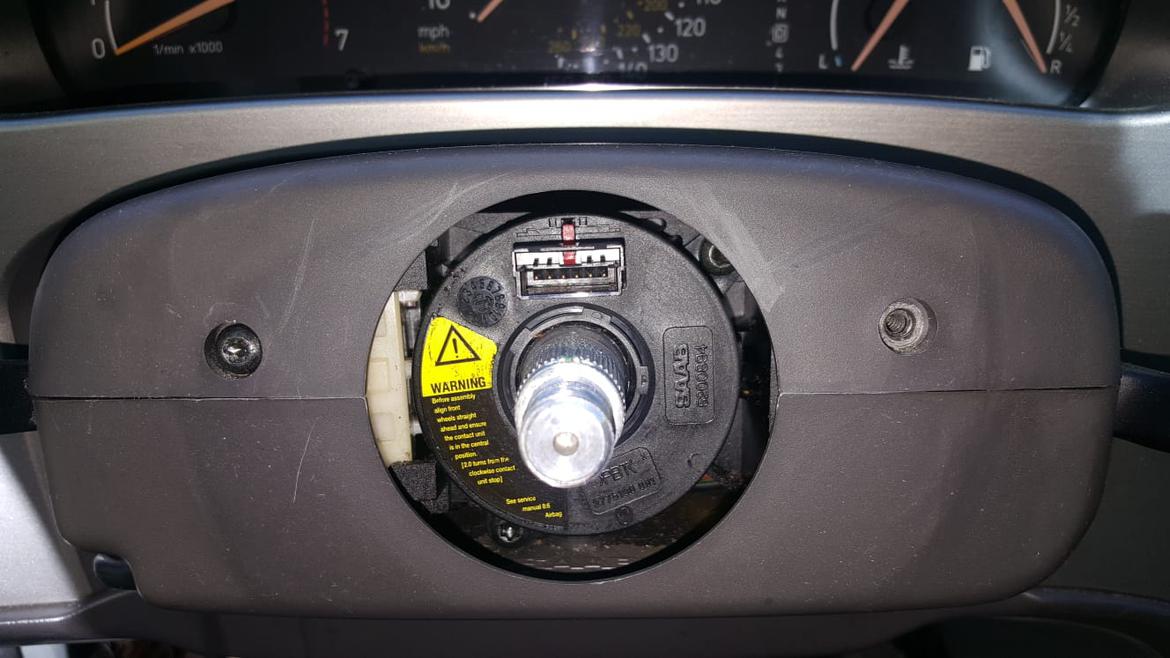
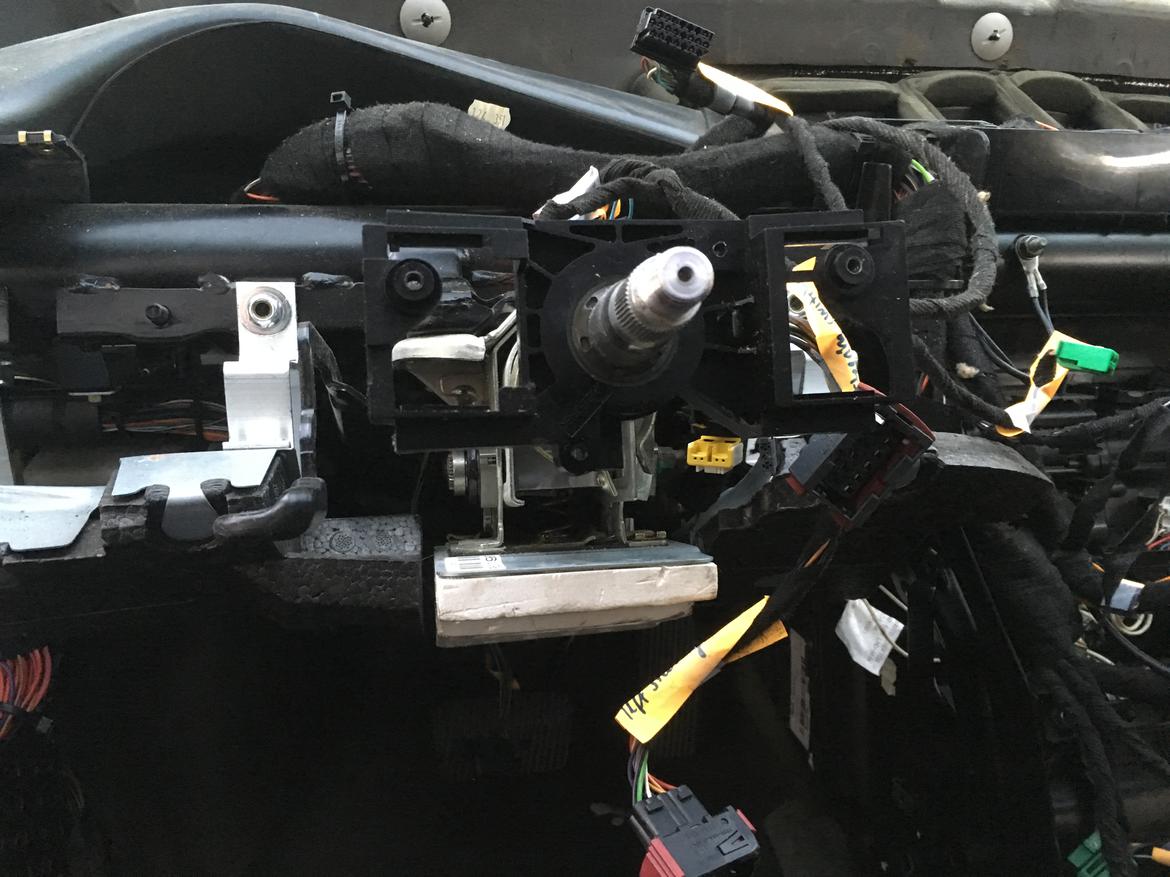
The steering column is fiddly, BTW, Deploy patience mode.

Right about here, you may have a twinge of anxiety:
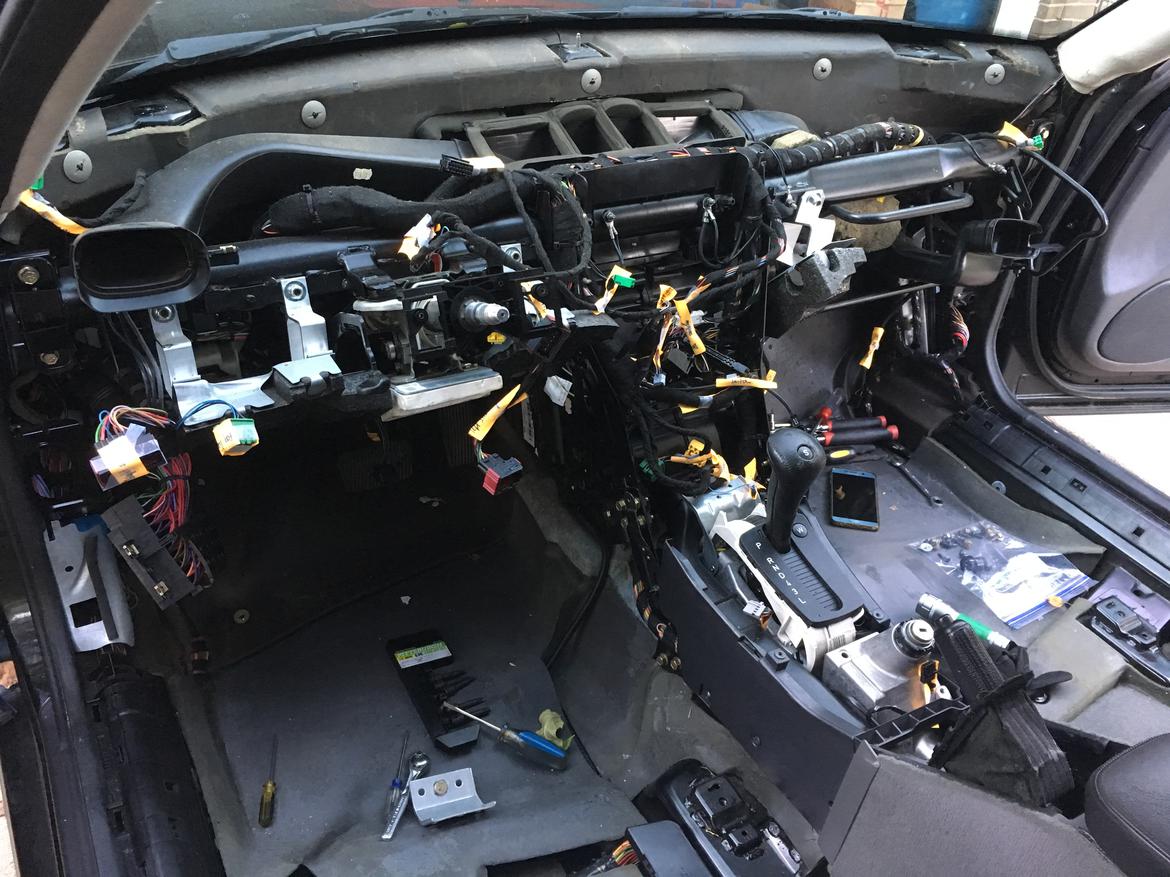
That black sort-of-tubular-but-flattened-in-places bar is the dash brace. You'll be taking it out, too
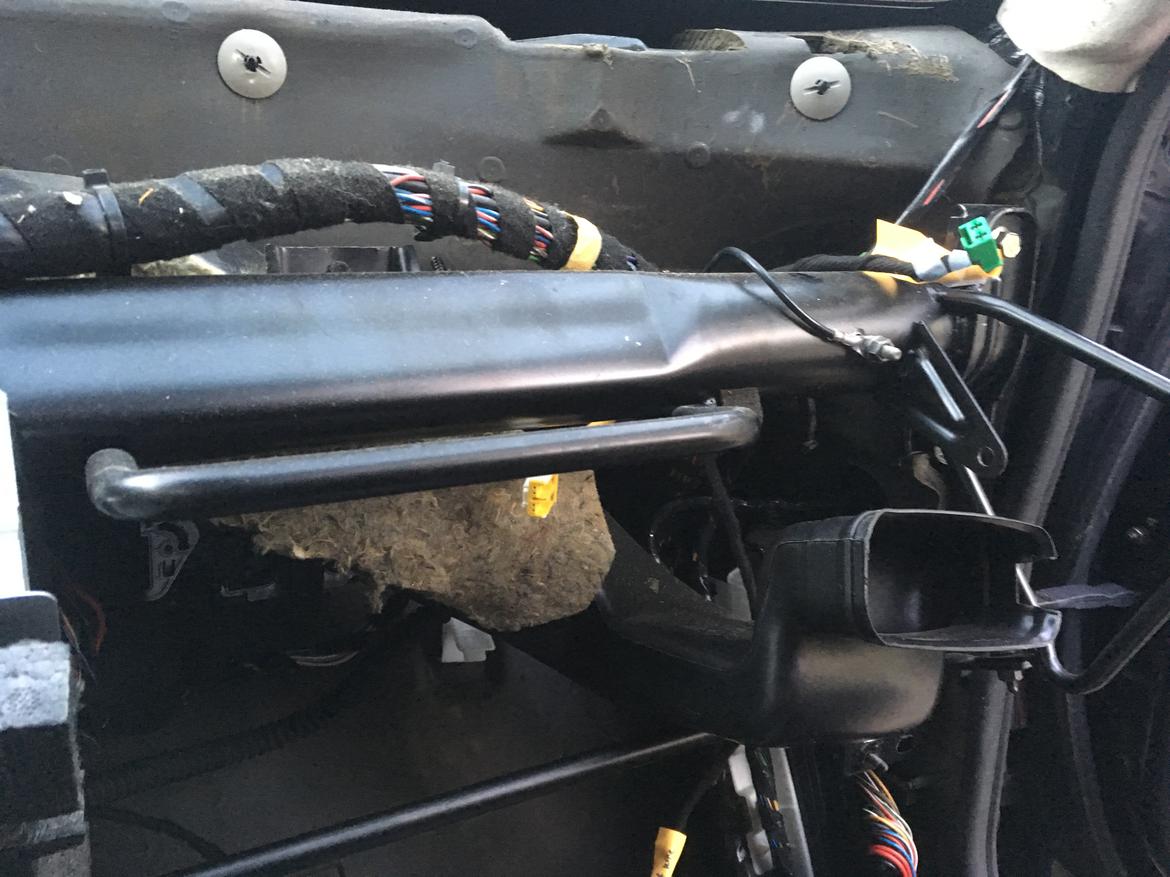
And it's out.
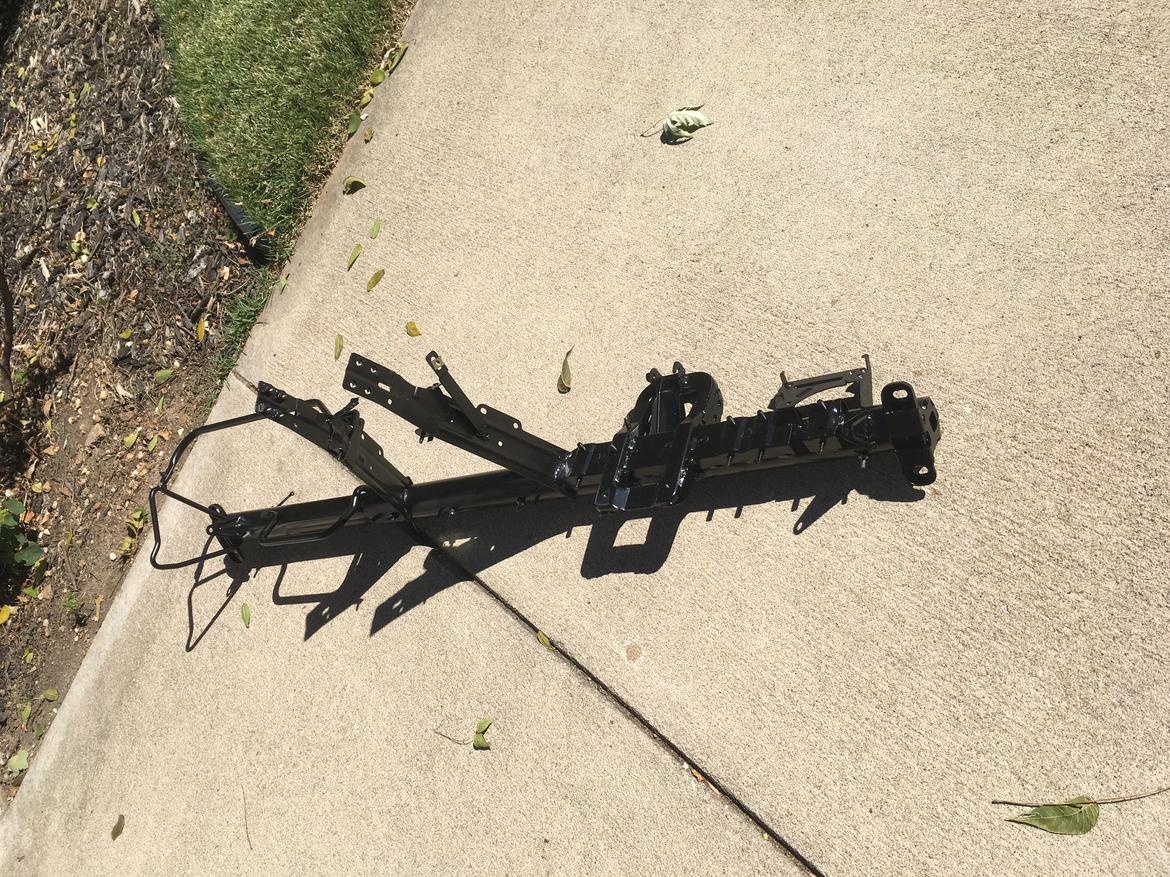
Have some towels around, a couple of fl oz of coolant will spill when you free the heater box.
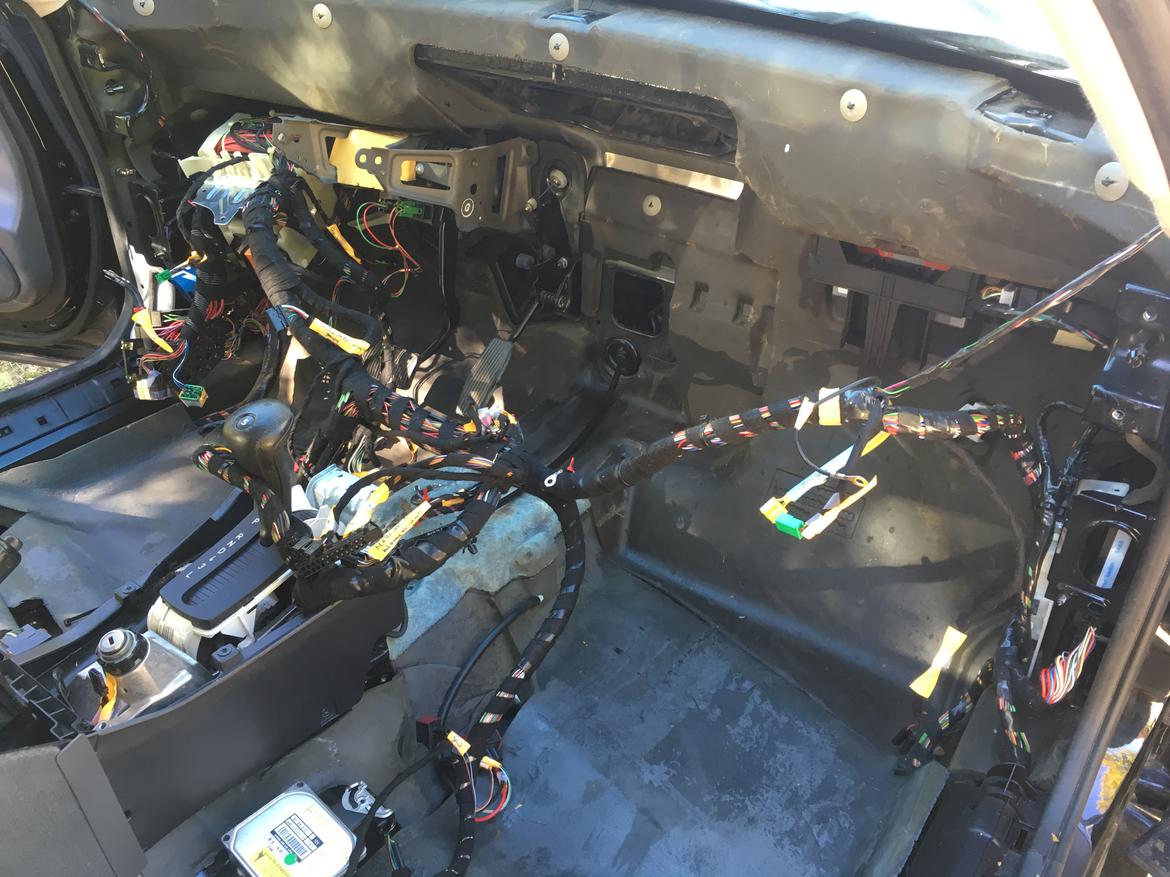
If you didn't have a moment of anxiety before, you would be forgiven for having one now.
Along the way there was evidence the dash had been out before: missing fasteners, mis-routed wiring and the like. But the heater box itself gave unimpeachable testimony that someone had been here already.
If you look at the insulation on the horizontal axis below the four openings, you see it has been pulled away at the far left and right. This is for access to fasteners. There was also a glued-shut keyhole in the body of the heater box. We surmise from its location there was a (failed) attempt to access the driver side blend door.
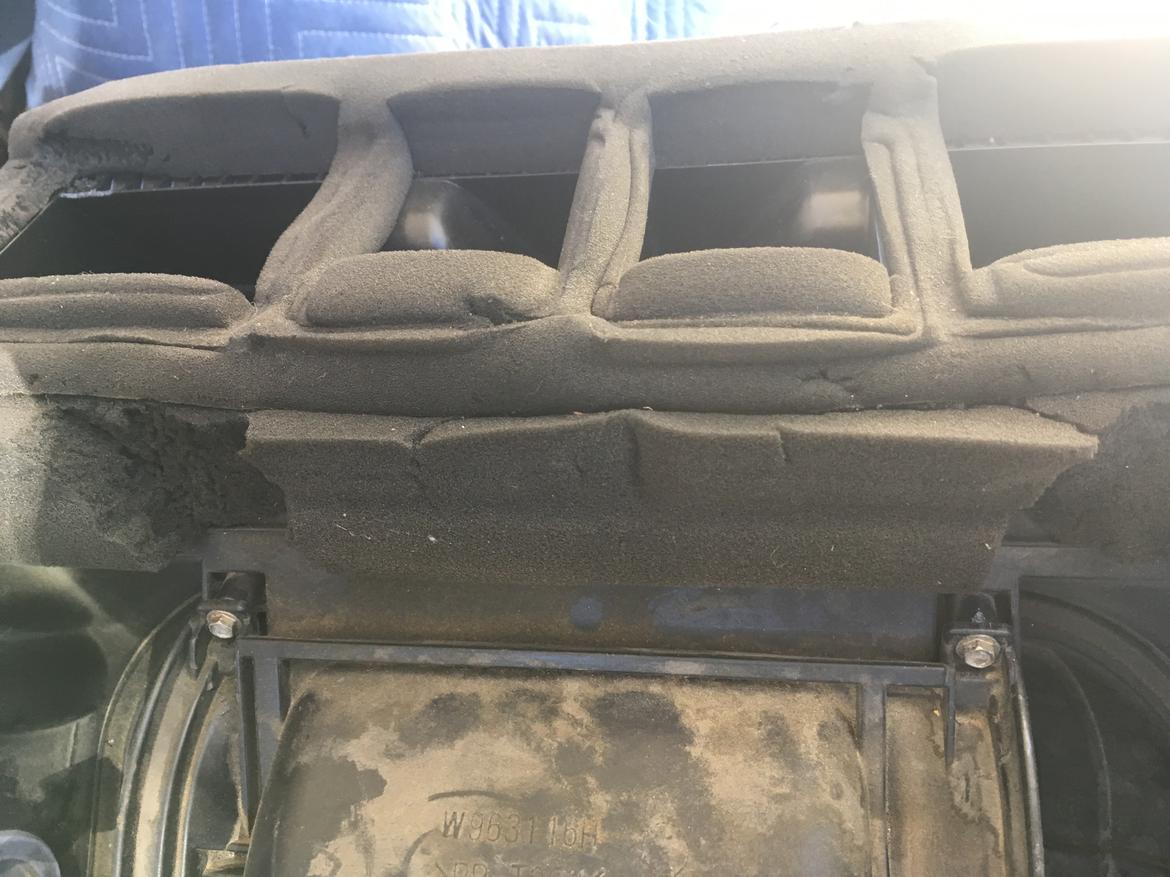
Also, the box is supposed to bolt to the firewall in three places near the expansion valve and where the coolant hoses attach to the heater core. Our box was just sitting in place. This pic shows two of the three fasteners back in place when we installed the new box

And we dunno how so many made their way past the cowl cover, but the blower box was full of leaves. Huh?
New box is in position.
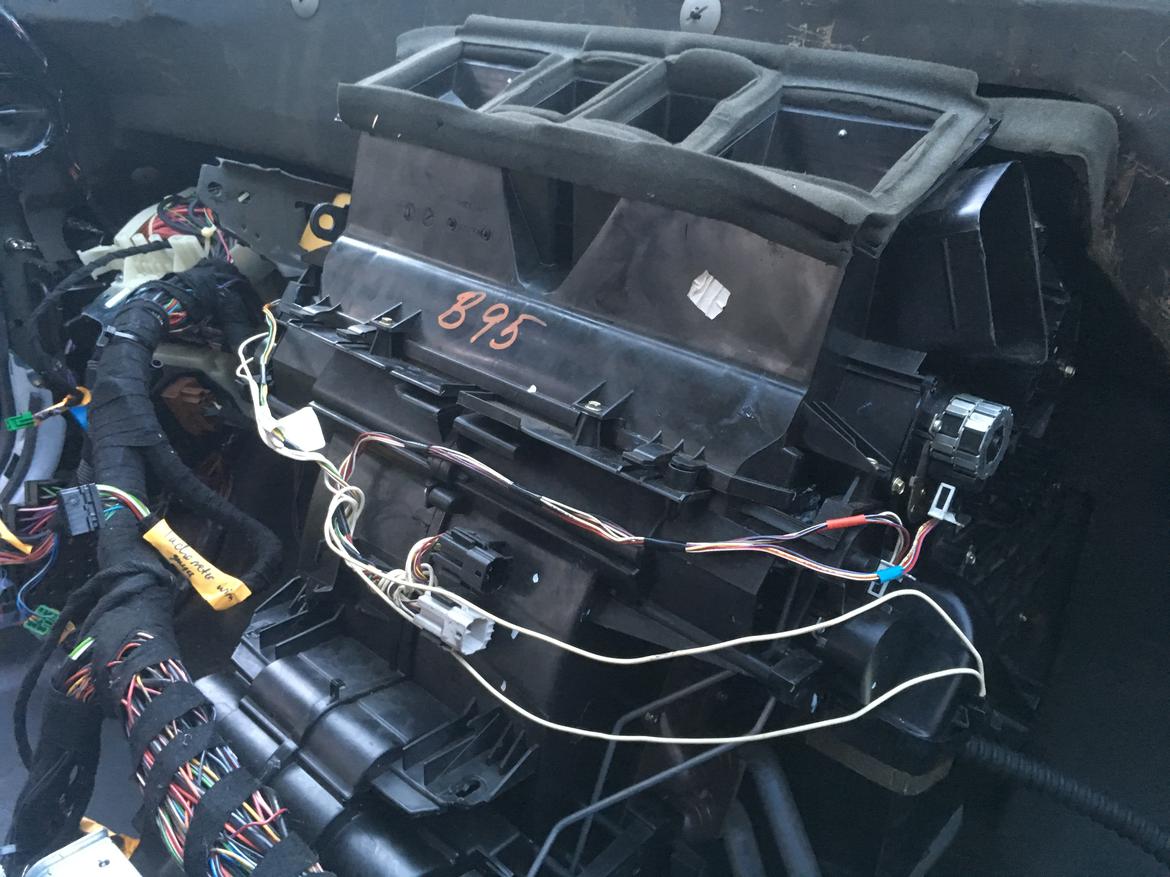
Putting everything back where it belongs:
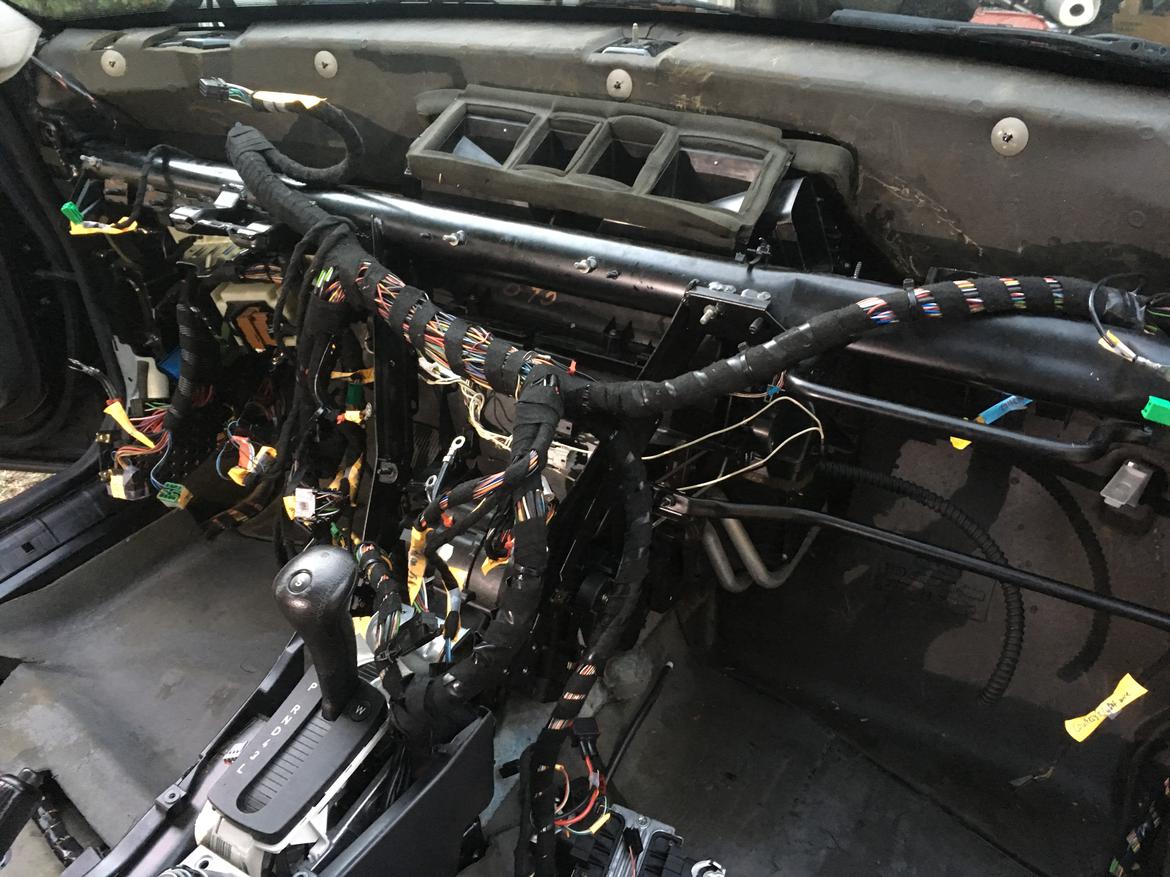
Putting her back together.
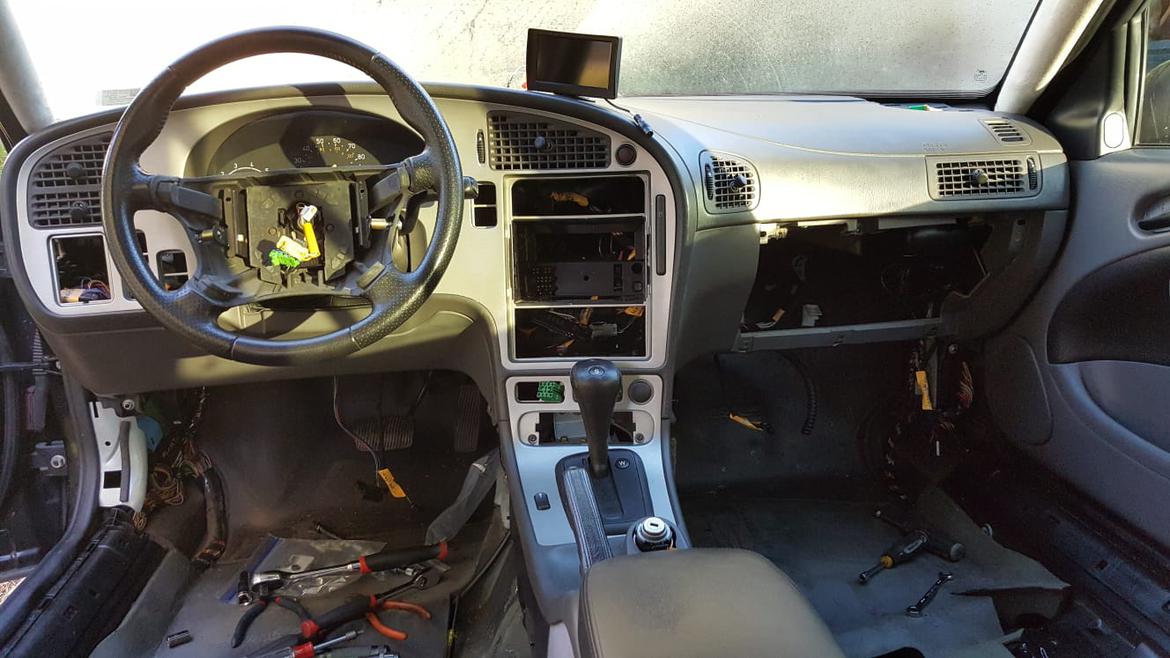
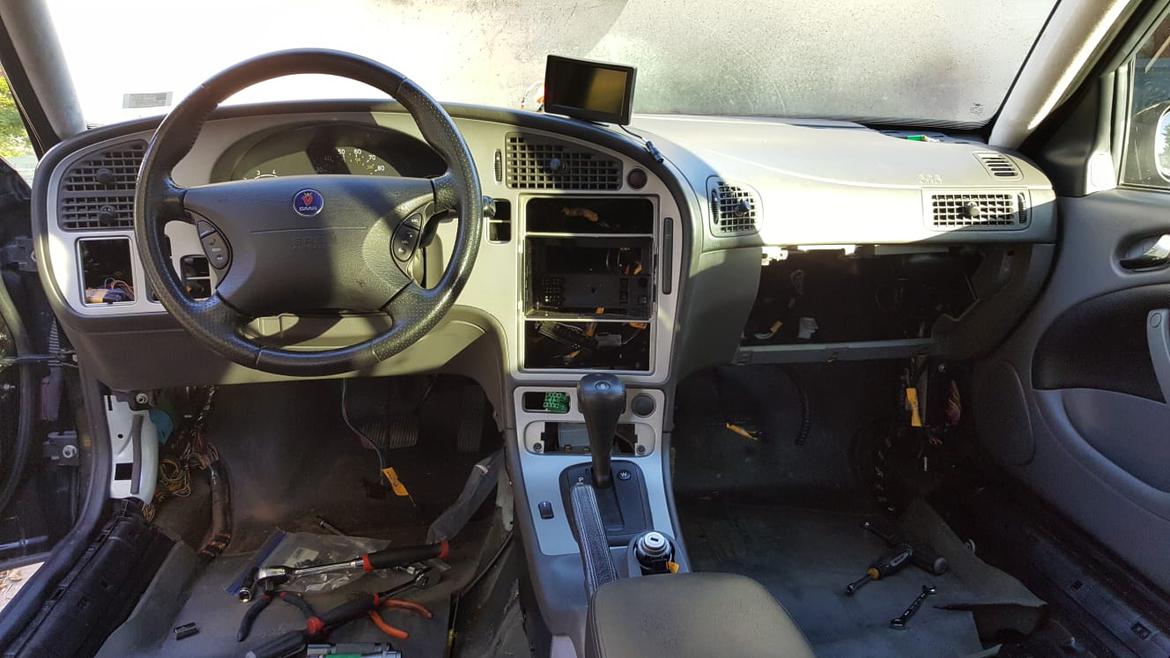
Any shop that charged us less than $2k in labor would have lost money on this repair. We had about 30 hours in it overall from draining the coolant and disconnecting the battery to firing her back up and burping the cooling system.
This one was a welcome win. Biggest problem encountered: an over-tight torx head seat bolt we stripped trying to take out. Biggest surprise: we still have an error code - driver side blend door out of range. It's pulling our leg, though. Everything works perfectly - hot, cold and every distribution mode.
What's next? I'd like to say a healthy break from repairs and maintenance, but there is the matter of a weeping water pump...
More to come.
Great thread here!
I don't think you included a report on how it drives with the Stage xx upgrade?
damen
First: the Saab is a thing of beauty. Really nice-looking. Second: you have my pity but more than that, my sincere admiration for the talent and patience for this car. And third: this thread is precisely why I started the thread asking who makes the most rudimentary cars!
The tune is nice. Low end torque was already in good supply and midrange thrust for 45-70 passing was more than ample. With the tune, those attributes are amplified. If you go for a pass and stick with it until it feels right, 90 is the new 70. We haven’t noticed much or any mileage penalty for regular commuting.
Probably we will trade back a few horses and go back to the stock air box or modify it to work with the open air filter element. There is too much air induction noise when calling for power and it’s an unpleasant, gravelly sound, like you are dragging a stick that got stuck in the undercarriage crossed with an electric percolator.
If we had good sense we would have sold her long ago, but like I said, it made us mad. And we use it as a wagon, so there is the utility aspect.
A few smallish projects this weekend.
Project 1: new trans mount. Our old one (on the left) was a bit deflated-looking compared to the new one.

Take out the battery box, support the trans and presto!

We replaced the "chicken leg" sway bar end links but they've started clunking again recently. Naturally we upgraded to a HD set of Moogs. Also, we now own a grease gun. Old one on the right, new one on the left for comparison.

Finally, we replaced the strut mounts. The ones we intended to use when we replaced the struts weren't threaded, so we reused the old ones. We've second-guessed that call. Here are the crummy old ones, now replaced.


In reply to conesare2seconds :
Chicken leg.
INDEED.
the Moog looks like a worthy upgrade.

Good news. Our weepy water pump wasn't. We used the wrong washers (alliteration is fun!) for a banjo bolt on the new turbo. Correct washers solved the very slow leak. We also replaced the driver's left axle assembly. At $60 or so after a coupon from eEuroparts, it was cheaper and easier to put a new one in than rebuild the CV joints on the old one. No pics because it went way more smoothly than expected. Added to the list of things I wouldn't pay a pro to do in the future. We were glad we DIY'ed it.
The car has been running great. The exhaust is a little leaky when cold, but after a few minutes running it expands and seals up. It hasn't bothered us enough to bother with. The Saab isn't my daily and every time I get in it I fall in love with how well it rides and the power from the 2.3t. The Michelins are quiet, the FSDs give a smooth, controlled ride and the seats are some of the best you can get.
It's time to make her shine again. Our roof has gone pretty flat and the black paint shows automatic car wash swirls.
We broke out Harbor Freight's excellent d/a polisher. Just replace the backing plate and it holds its own against much more expensive brands.
First step was a bath. Next, we clay barred the car to get rid of any embedded nasty. Meguiar's ultimate compound followed. These shots show we have done a pass down one side of the roof (far side of frame).


We switched to Turtle Wax polish, the Meguiar's ultimate went sticky and was hard to work with. Every finish is different. Don't be married to one brand. Be prepared to experiment and find what works that day on your car.
Quite a difference.

There are two stubborn dull areas on the center line at the front and rear of the sunroof. But all in all, a great result after a little work.

That’s a sexy car. I’d never own one, but it sure is nice to look at.
Waxed the freshly polished finished and took her out for a few pictures.


Wow, that looks beautiful! I'm hopefully getting to the point of getting my wagon up and running again. It hasn't seen sunlight in quite some time now. I haven't been online much lately, but just noticed there are several Saab projects going on right now.

TJL
Reader
5/27/19 6:34 p.m.
It certainly does not look like a car you picked up cheap. Looks very slick. Good work!
Gratuitous interior shots. Leatherique once or twice a year and it stays looking great.


Gotta give it to the Swedes, the interior looks like a 50k mile car. Their stuff was built to last. Check out the miles on the chassis:

FYI, you just made me drag all the crap out of the way to access the drivers' door and sit in mine, and make subdued vroom vroom, turbo and wastegate sounds. I REALLY miss driving it.
We replaced the LR window regulator a few weeks ago. Drill out rivets, install new regulator, rivet into place. Easy. Plus, now we own a rivet gun. 


