Toyman01 wrote:
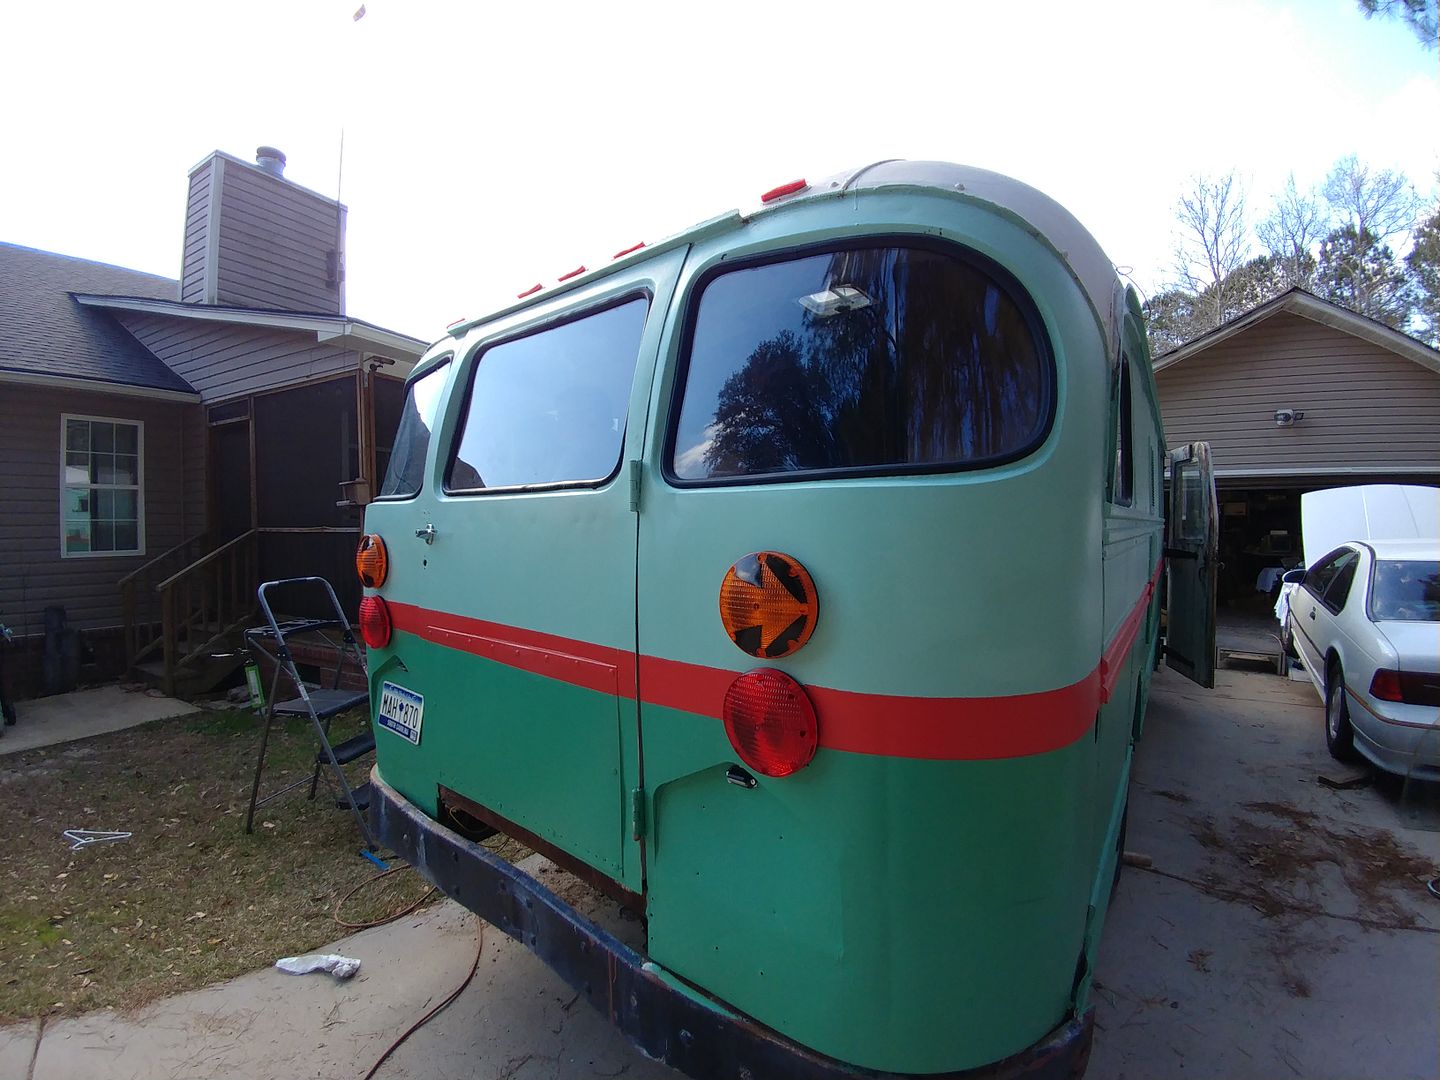
The front turn signals are done.
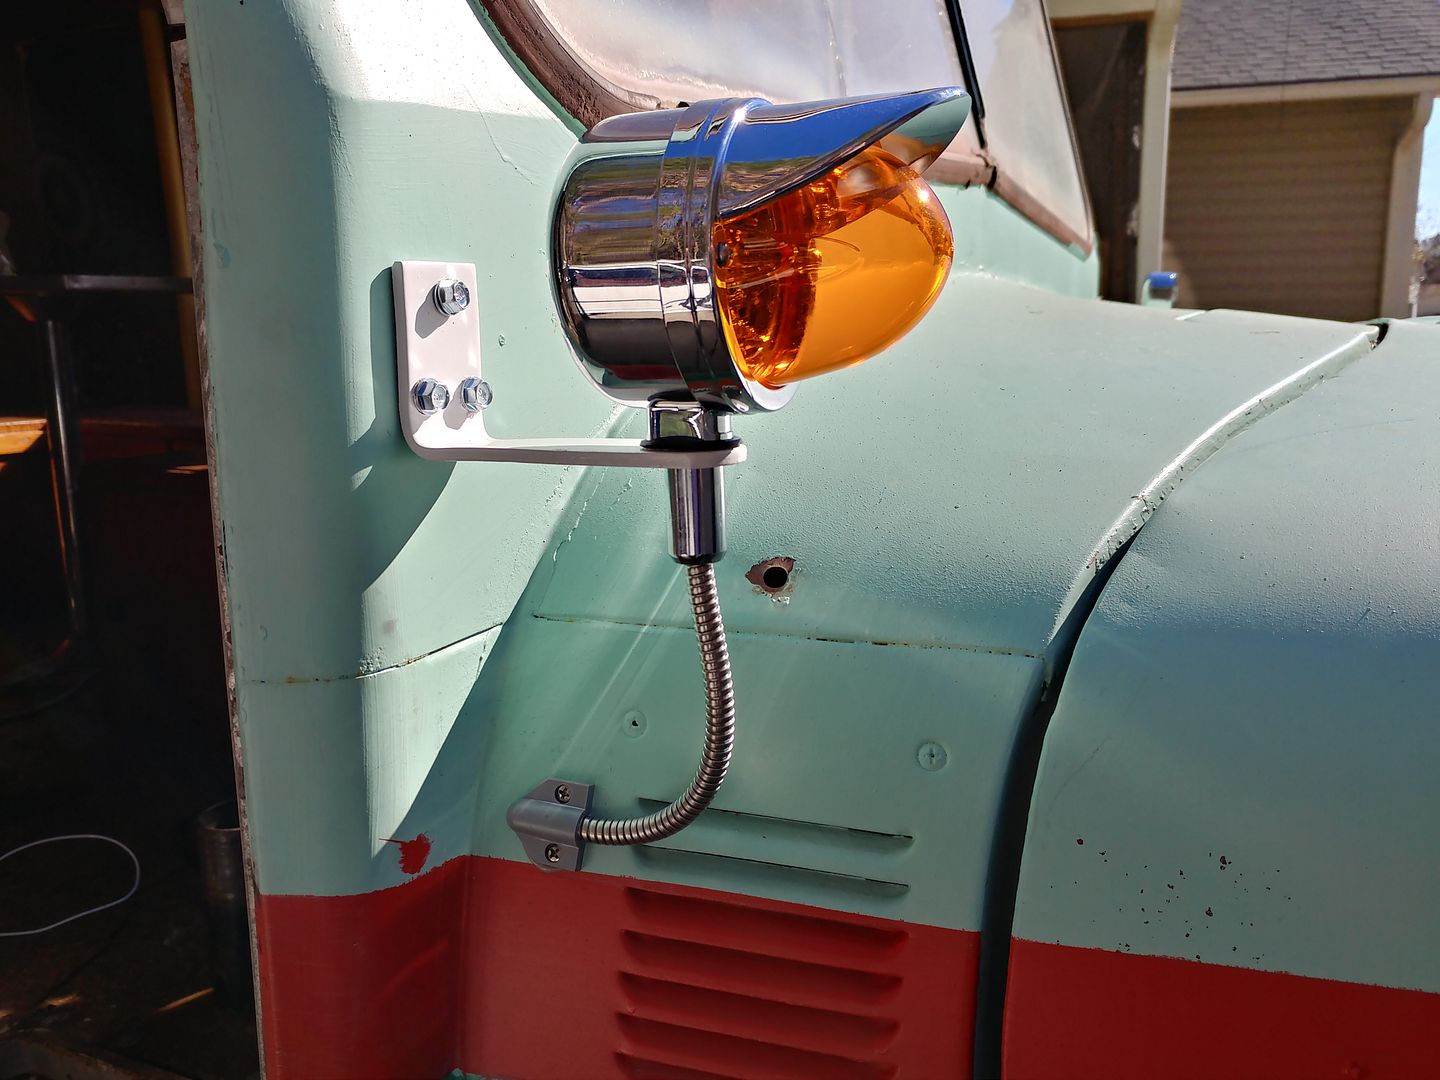 I didn't want to use the zinc nuts that came with the fixtures. The studs happened to be 1/2" 20 so I trotted town to the local parts house and picked up some chrome wheel locks that looked acceptable.
The wire runs through a stainless tube used for door loops. It's not perfect, but I like it.
Some time in the future, I may build a set of custom mounts that will hide all the wiring. I might not as well.
I didn't want to use the zinc nuts that came with the fixtures. The studs happened to be 1/2" 20 so I trotted town to the local parts house and picked up some chrome wheel locks that looked acceptable.
The wire runs through a stainless tube used for door loops. It's not perfect, but I like it.
Some time in the future, I may build a set of custom mounts that will hide all the wiring. I might not as well.
That turn signal is perfect.
This morning I took a little time to remove the controls and thermostat from the case and to add a flange for the return plenum. I still need to build a new front cover for it.
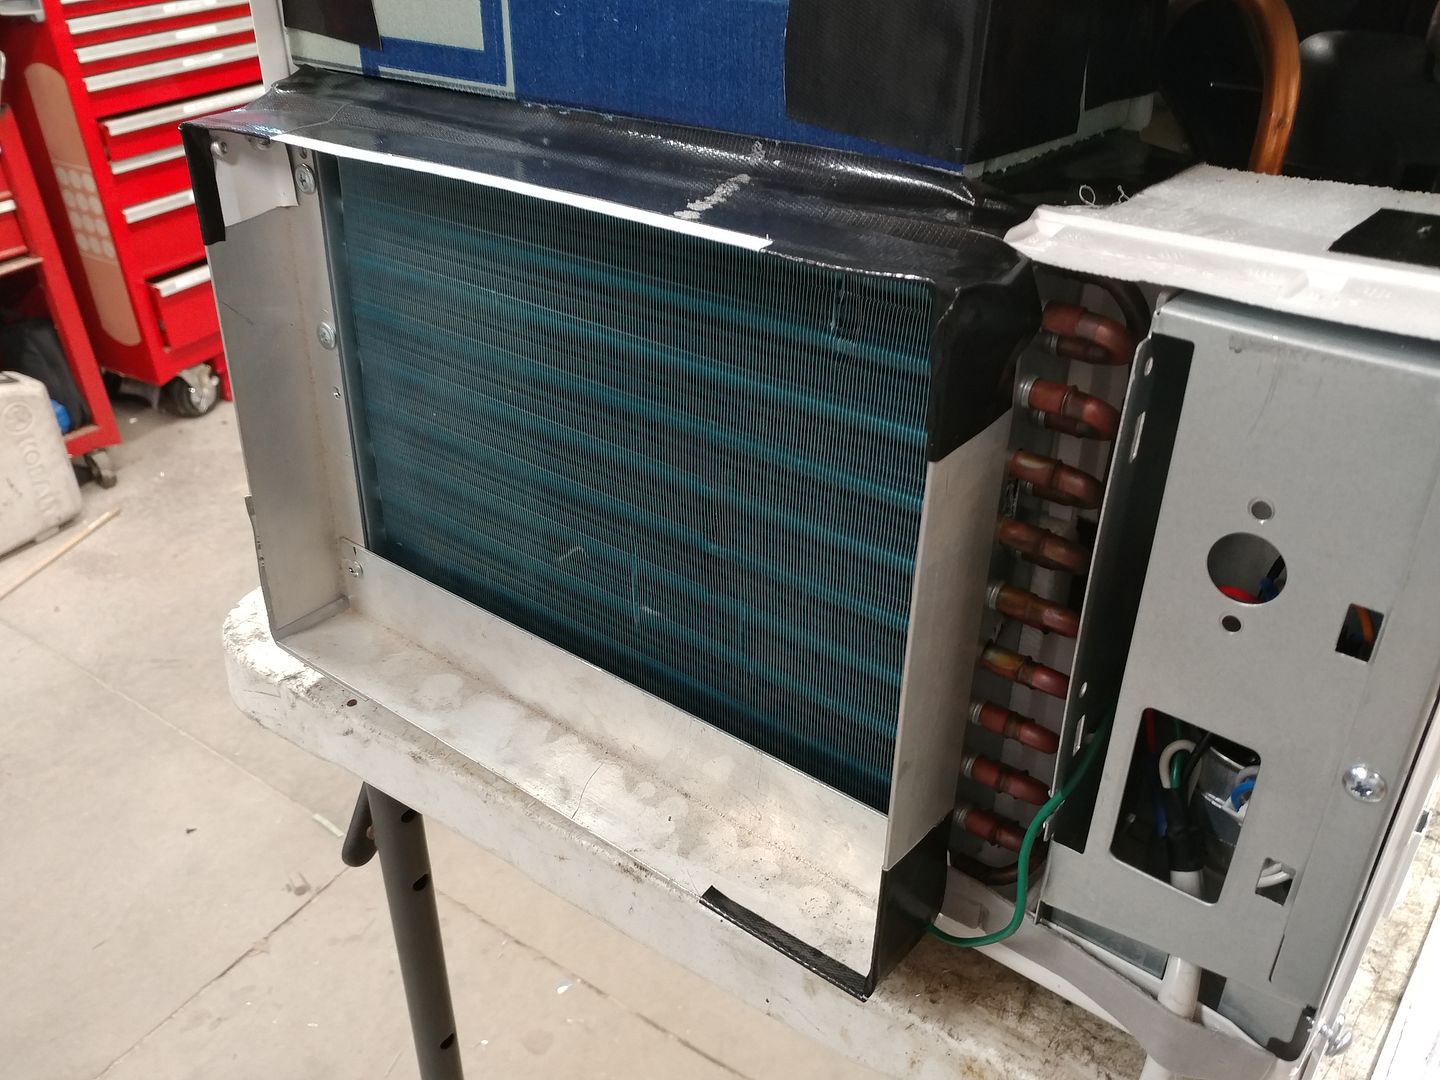
Nice air conditioner setup. When you say return, do you just mean an exit or do you want to recirculate the air? I'd personally just opt for some vents up high that would allow the warmer air to escape. Cold air input from the bottom and hot air exhaust up high to keep it simple and take advantage of natural thermodynamics. Probably not enough power or insulation to justify a regular air return system.
In reply to Petrolburner:
It's going to recirculate the inside air just like a regular A/C system. Air will be drawn in from a filter near the floor, into the unit under the bus. There it will be cooled, and then blown toward the ceiling. That should keep the air well mixed. The two units should recirculate all the air in the bus every 3 minutes.
As to heat load, I was using a 8000 btu portable unit last summer when I was working inside the bus. It did a fair job of keeping it cool. Not cold, but cool. These two units will be 10K btus. I'm hoping it will be enough to at least keep the humidity down and the temps reasonable.

Ian F
MegaDork
2/5/17 12:18 p.m.
Once you get the roof and walls insulated so they don't become massive radiators under the Sun, the A/C should work better.
A short, fairly easy project for this afternoon. Monitors for the sideview cameras are mounted. I don't particularly like the look, but that might be because the dash is so nasty looking. I foresee a pretty intensive dash rework in the future.
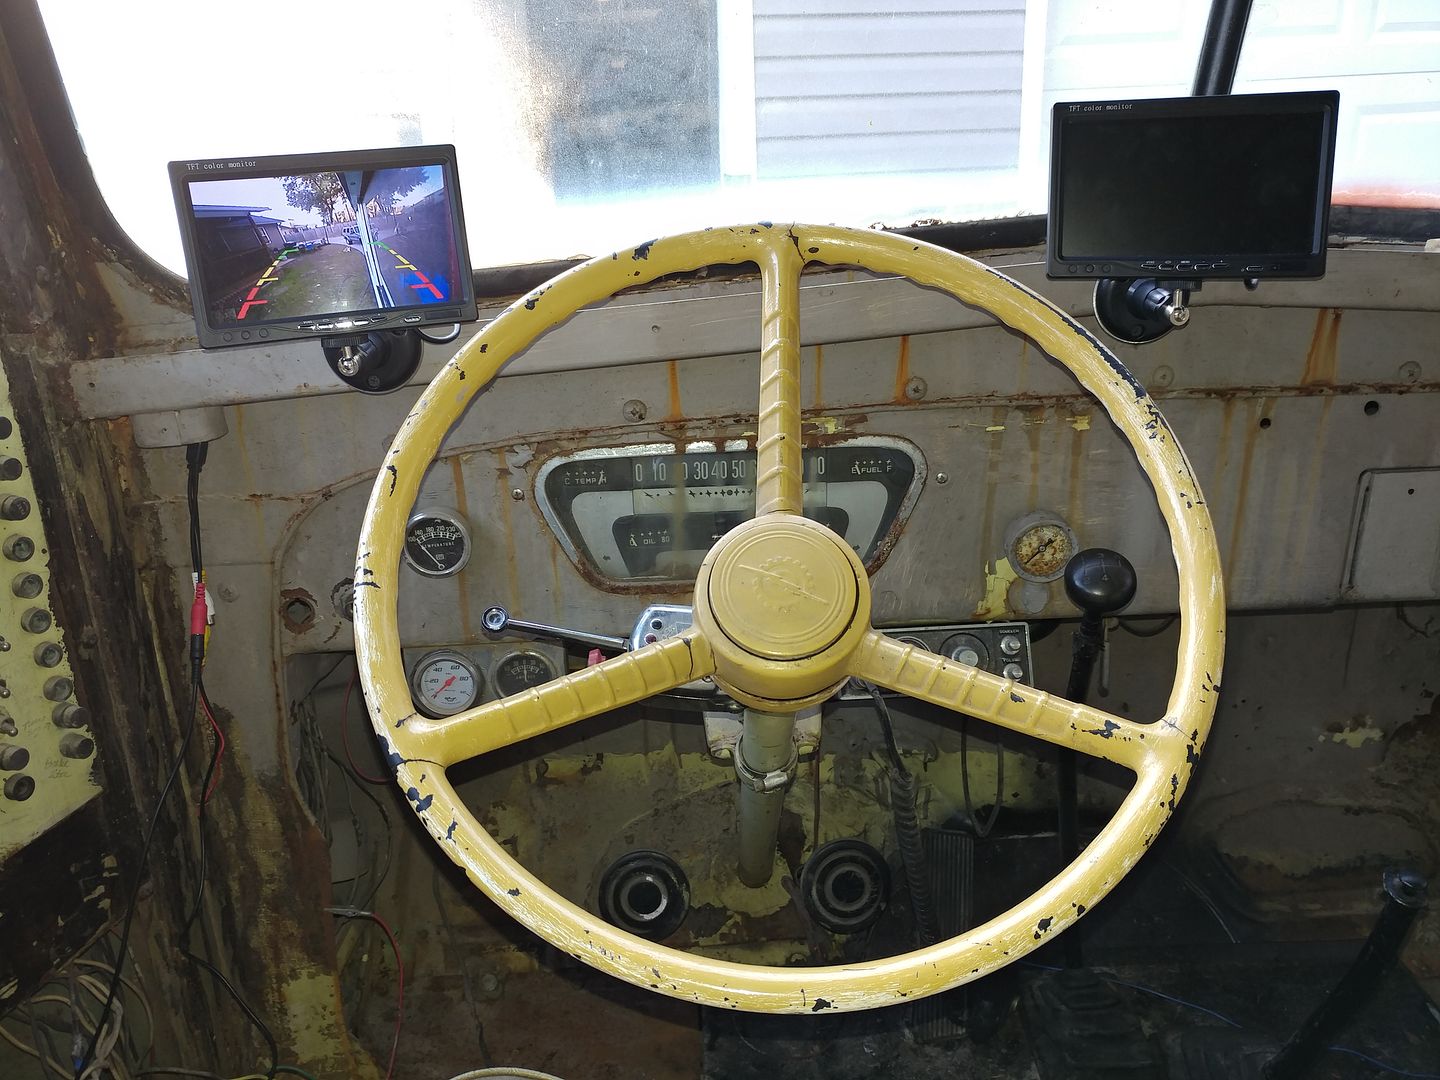
I also managed to get the wiring for the passenger side camera down the wall and under the bus. I'll run it around the entry stairs and up under the dash to make the crossing to the fuse box.
Do any of you gents or ladies have experience with electric power steering?
Saturn Vue power steering to be specific. The units are fairly cheap, there is a controller sold on Ebay to make them usable in just about anything.
It seems to be the easy button. Much easier than finding a steering gear that won't fit, power steering pump, hoses and all the other assorted debris.
My question is how powerful are they. Are they likely to go up in smoke if I install one in SanFord? I don't need full power steering, but a little assist in tight quarters would be nice. I would also like to reduce the diameter of the steering wheel to something smaller than a extra large pizza platter.
Thoughts? Ideas?
I'd measure out how long your pitman arm is, how much drop and try to figure out what the steering box is (mounting-wise). I'd be surprised if you couldn't find a set of off the shelf parts that would work to replace it and add power steering. Probably stuff from an older 1 ton pickup would be a good starting point.
I pretty much stayed at a holiday inn, I would say that using something from a passenger car on that heavy of an application would probably not work out well due to overloading. There would be a much higher resistance which might burn out the pump. (different from high temp performance application failure)
How about using a hydraulice ram assist, like early Mustangs, Fords, Chevys used in the 60's. Probably could adapt one of the ram setups 4WD trucks use, like this: link
I have added power steering to a few old vehicles, including a 1960 ish fargo 2 ton 4x4.i just went down to the junkyard and found a power box that looked sort of like the oem manual box, and made it fit. The rest is just details. They come in an amazing variety of different configurations.
Or even better, take your box to a steering gear rebuilder and they will be able to find you one off the shelf that will work. And then find a pitman arm off another vehicle if need be. I just did that for our 1970 F100 4x4 project.

Steering is on the back burner for today. I'll come back to that in the future.
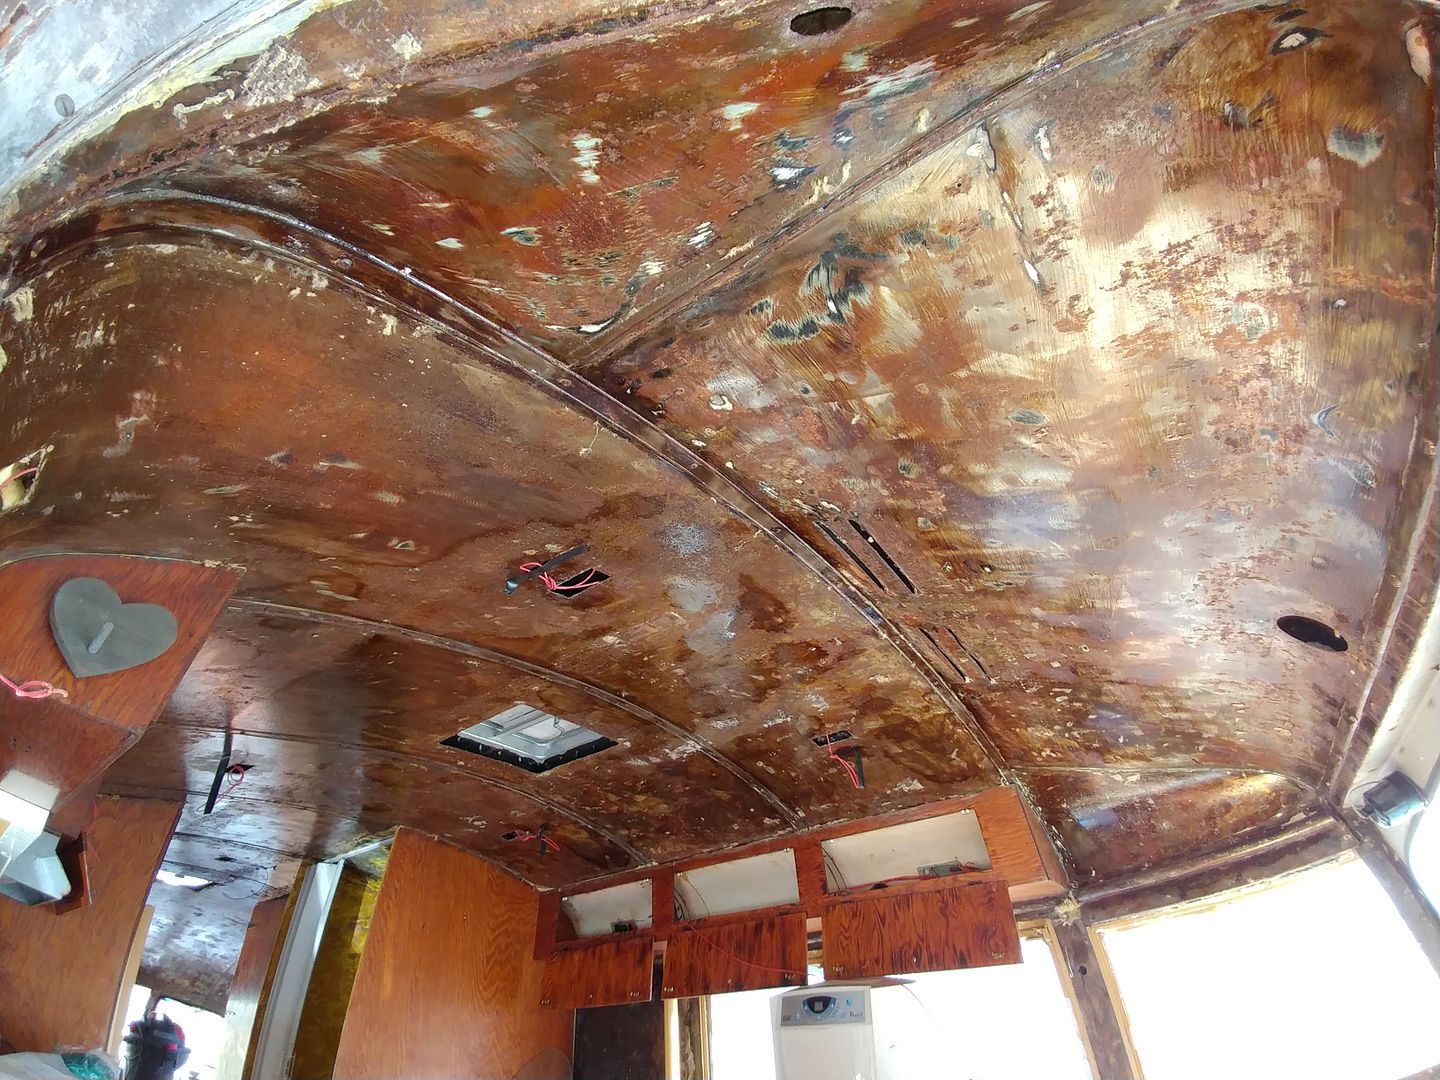
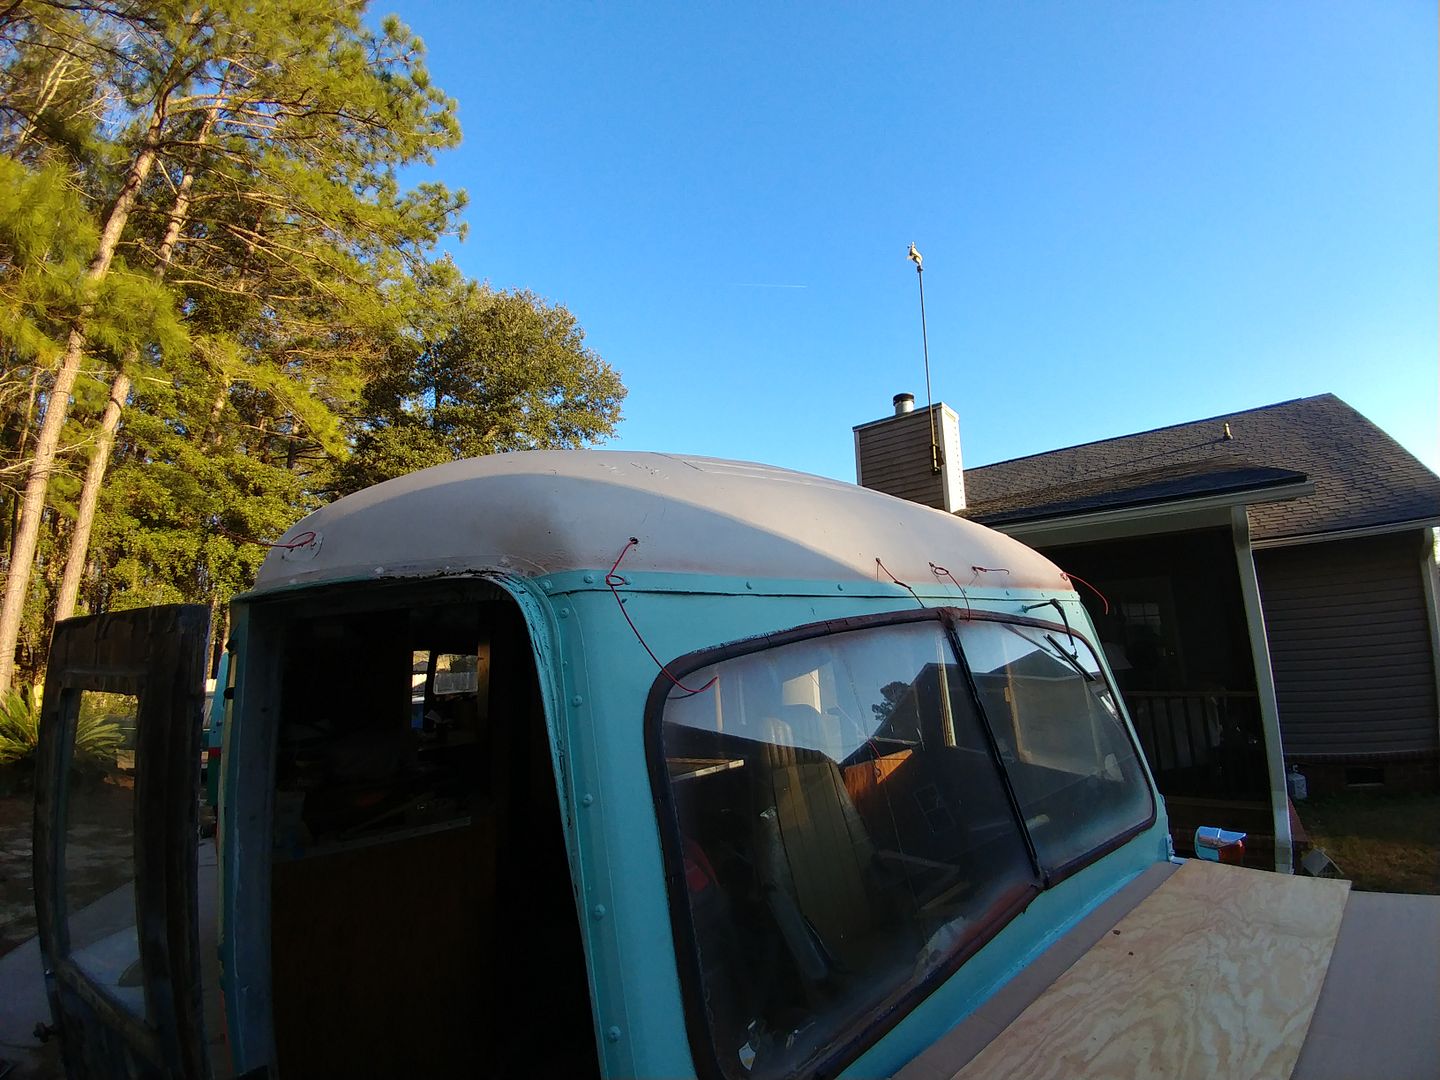
Today was ceiling day. At least it started out that way. I finished wire wheeling, sanding and metal prepping the bedroom.
Ready for Ospho and paint.
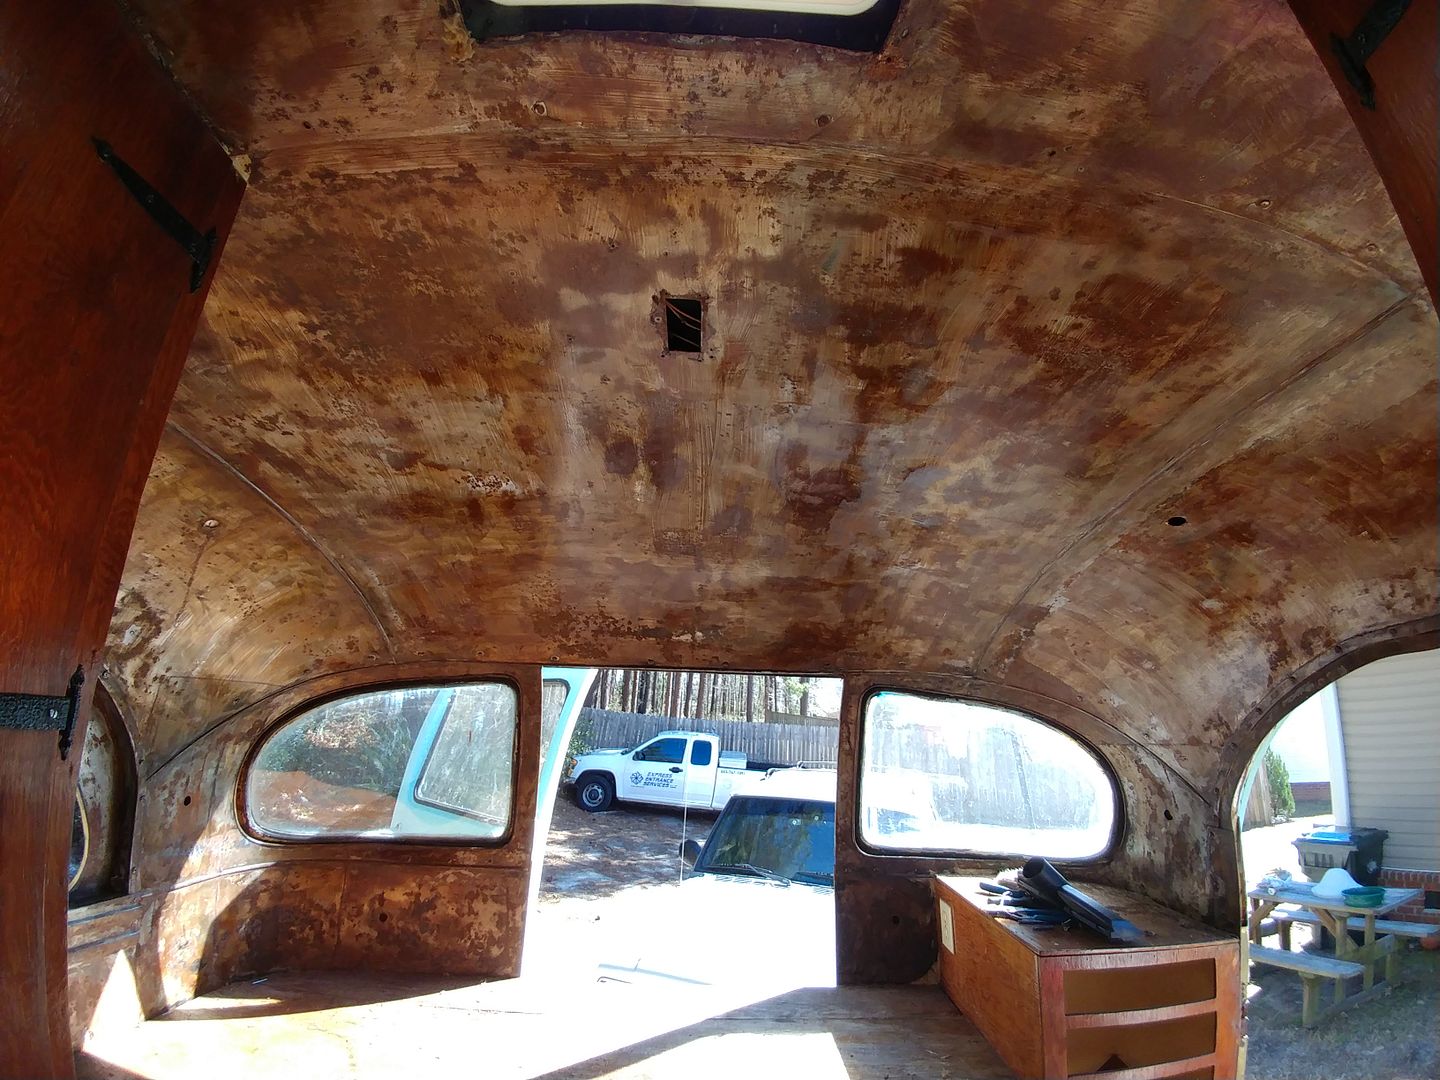
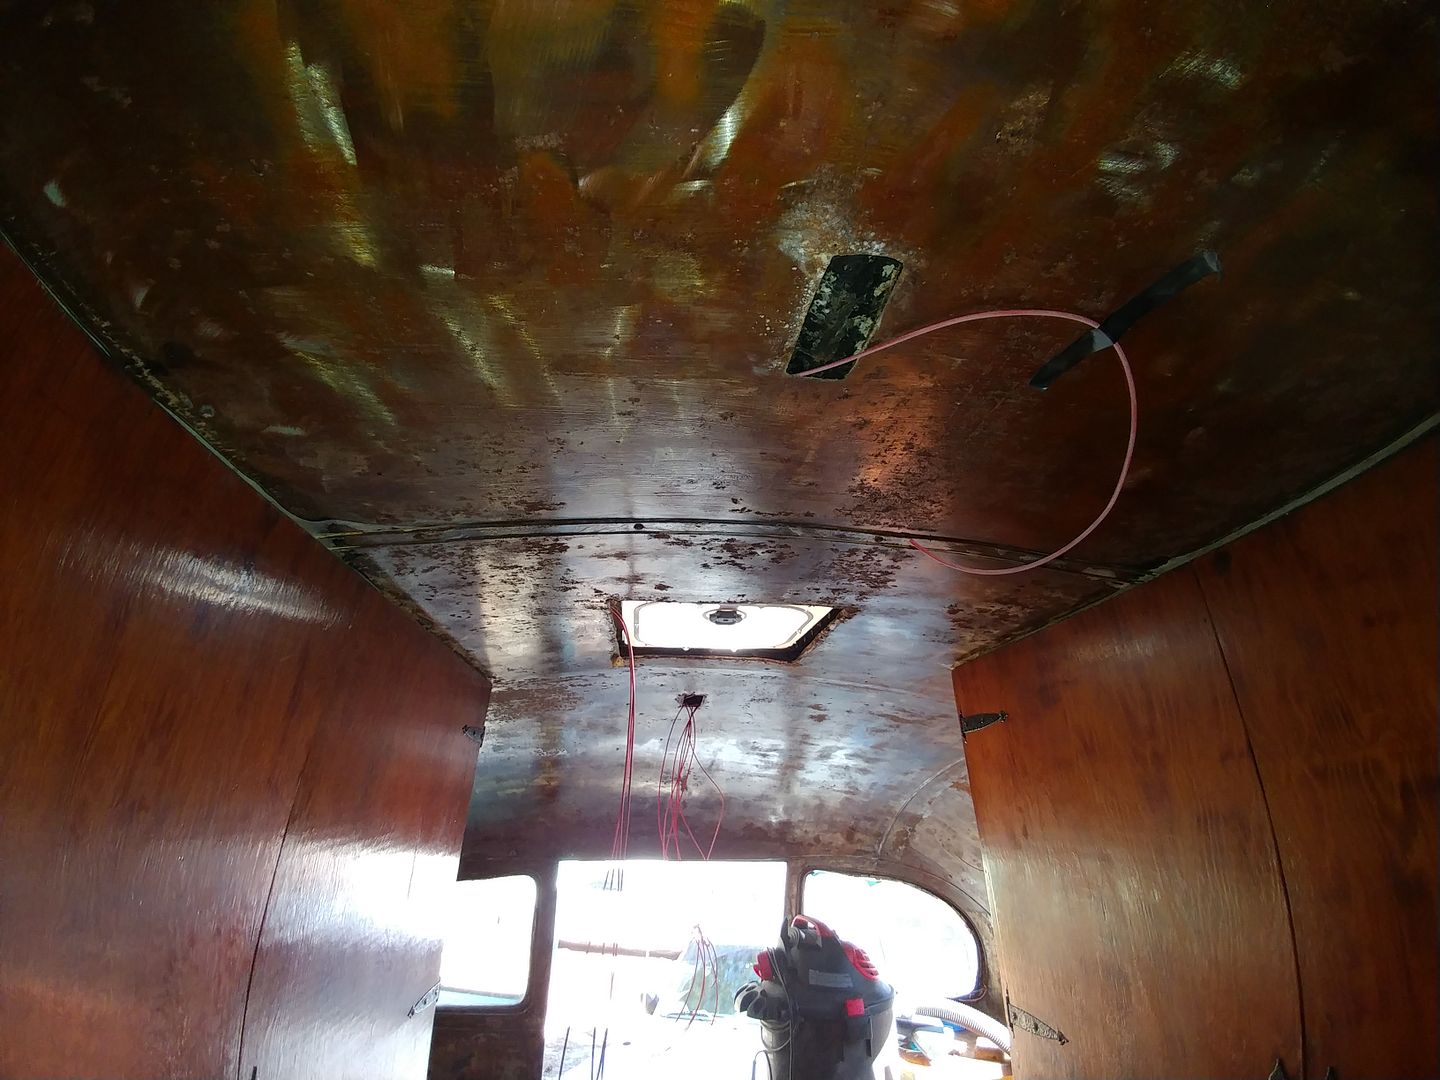
Then I started studying the holes in the metal. Patch them? Use for lighting? What?
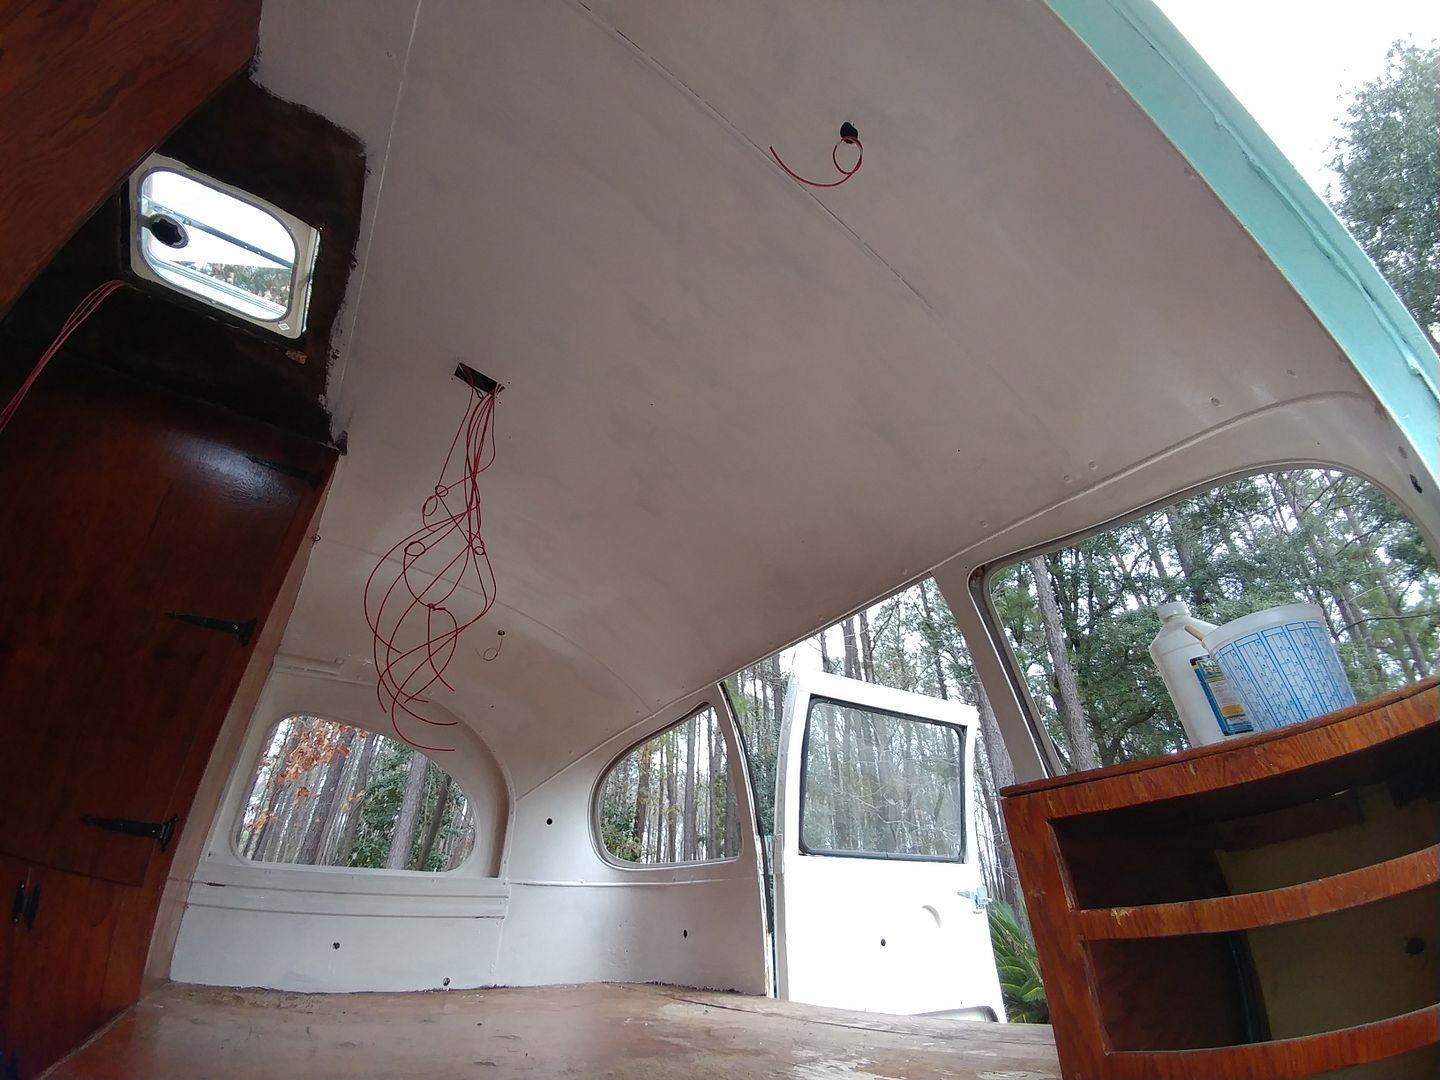
The choice was lighting, and that led to another question. Could I get wire to the holes without cutting more holes. Since I didn't want to spend a bunch of time painting just to have to make more holes for wire, I went ahead and pulled in the wire. I started at the front, behind the driver's seat. There will be a chase that runs to the switch panel there. I'm going to I have 4 circuits total in the ceiling. Two for overhead interior lighting, one for the teardrop lights on the side, and one for the clearance lights on the back of the bus.
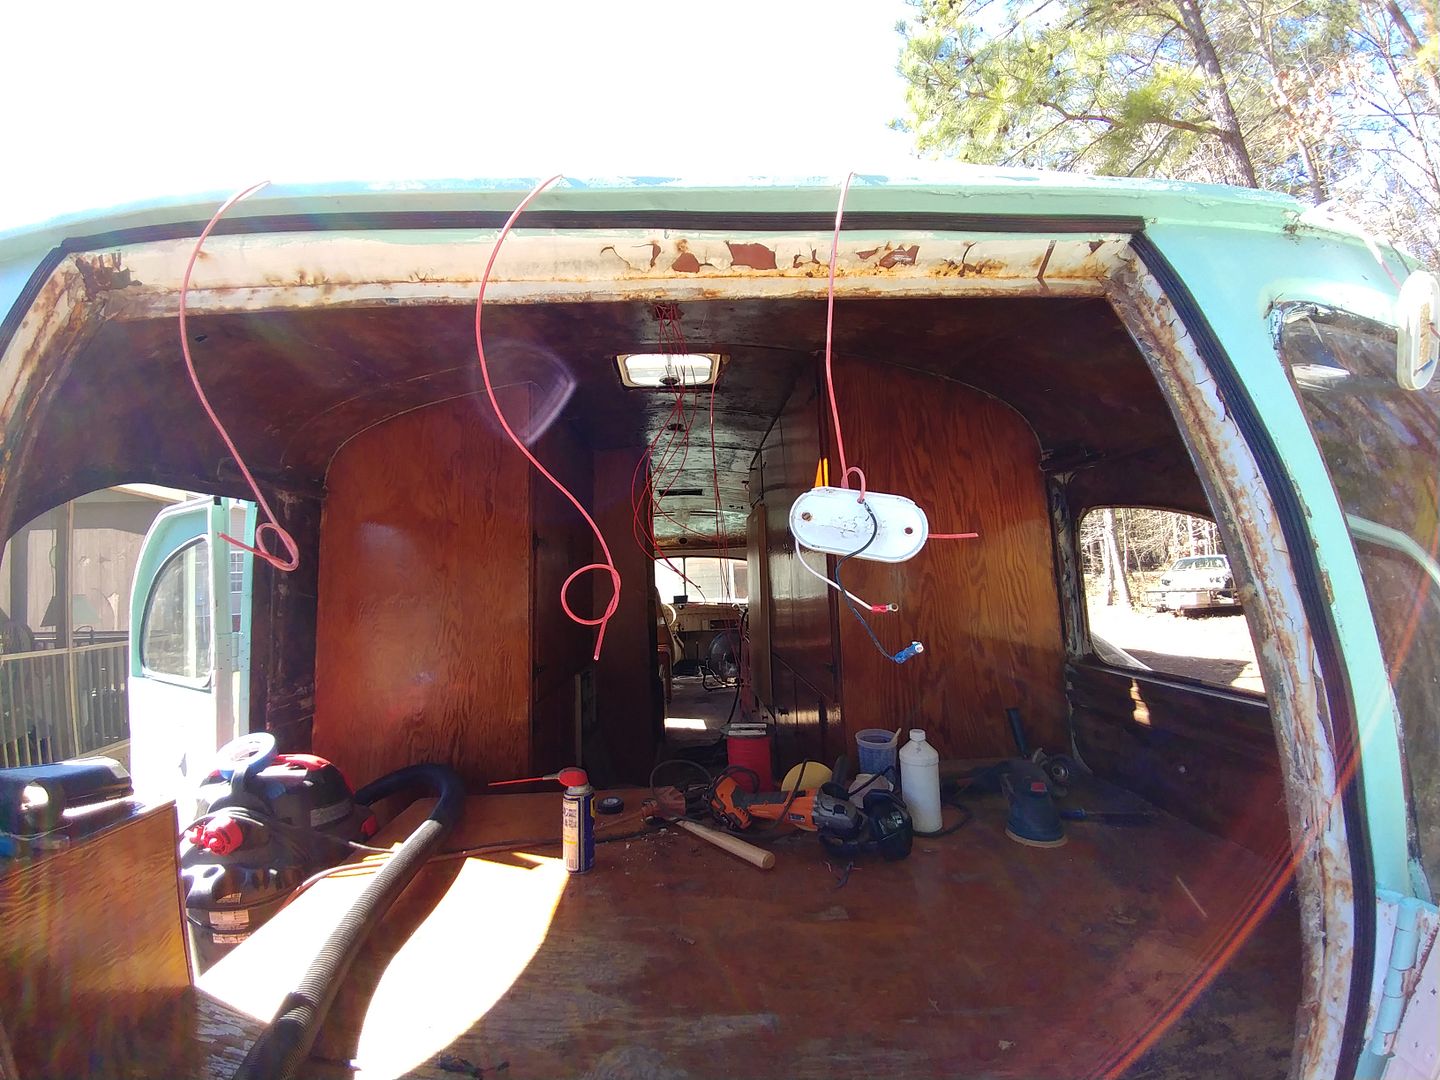
Now I just need to figure out what I'm going to do for lights that will fill a 2" x 4.25" hole and not hang down from the ceiling.
To truly finish the back walls, I needed to pull the last three windows, including the curved corner windows, to clean up the rust and goo in the corners around the widows and stop them from leaking. Breaking one of these would cost me big money, so my eldest son came over to help. It was nerve wracking, but we got them out. The good news is, they are tempered. With a little cleaning, the frosting around the edges should clean up nicely.
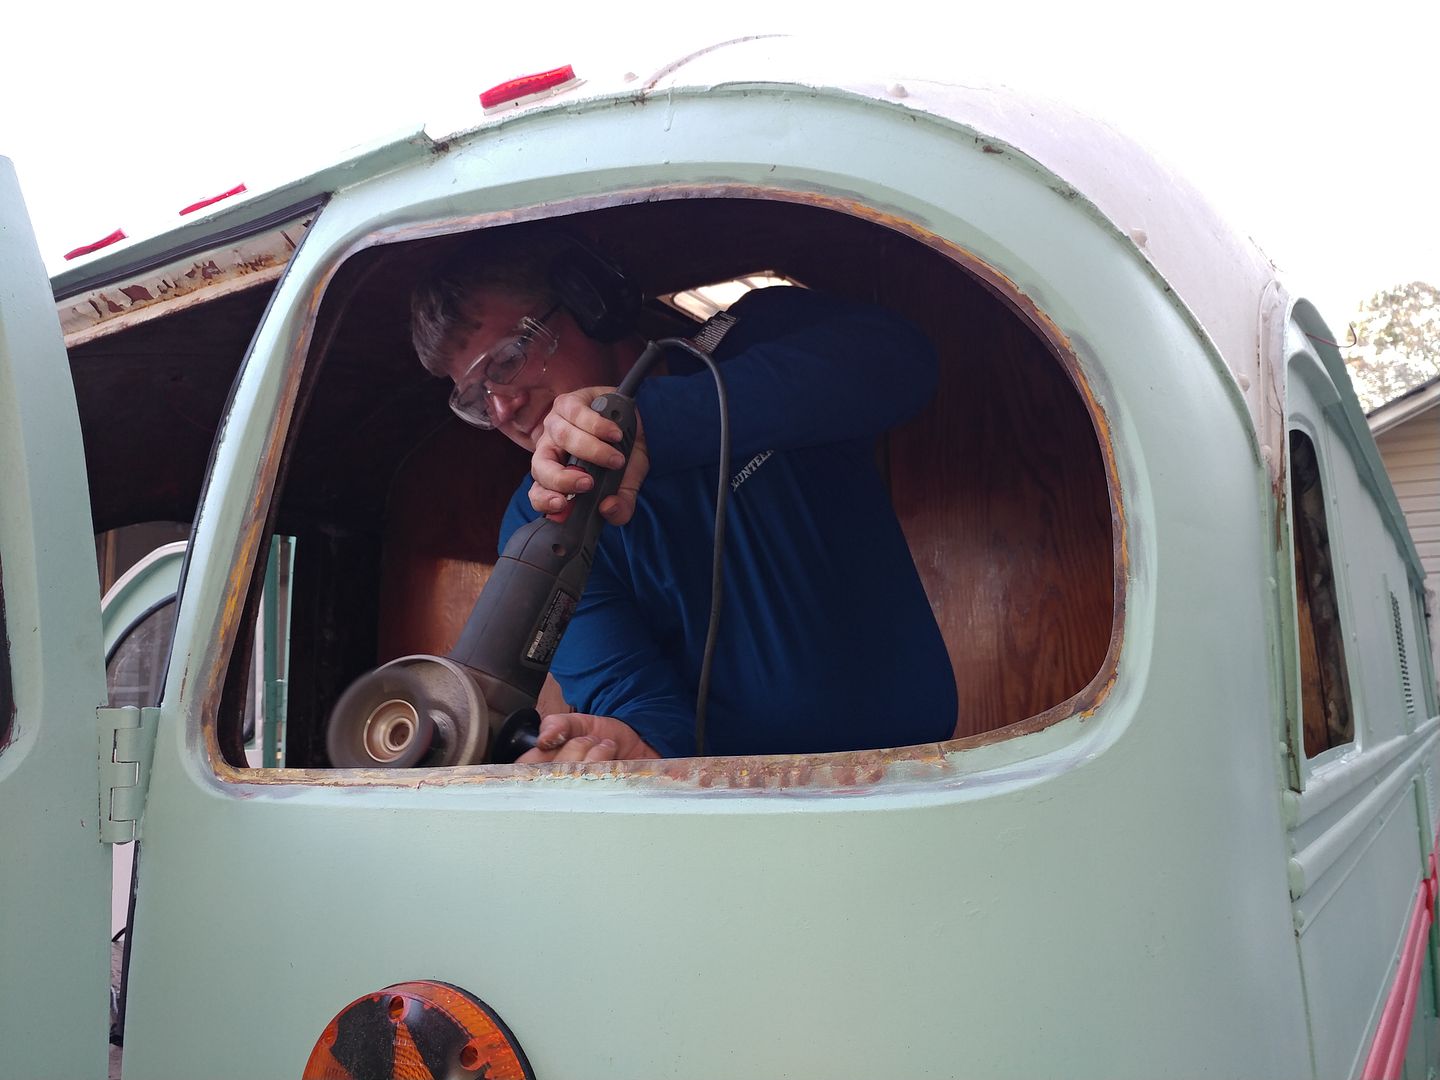
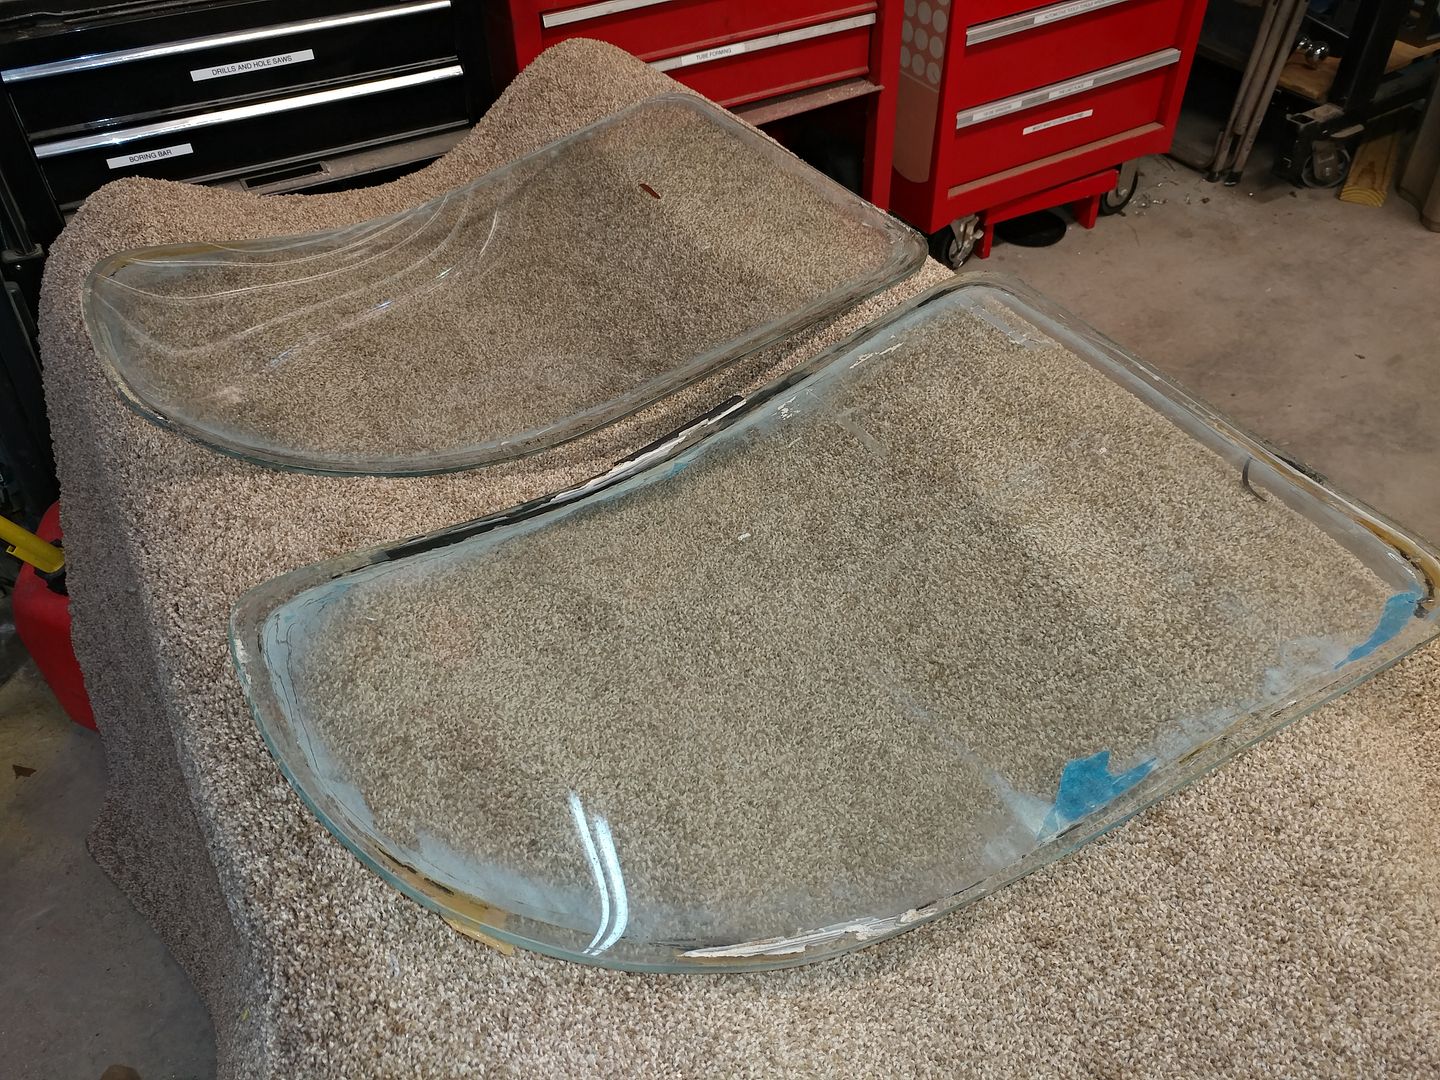
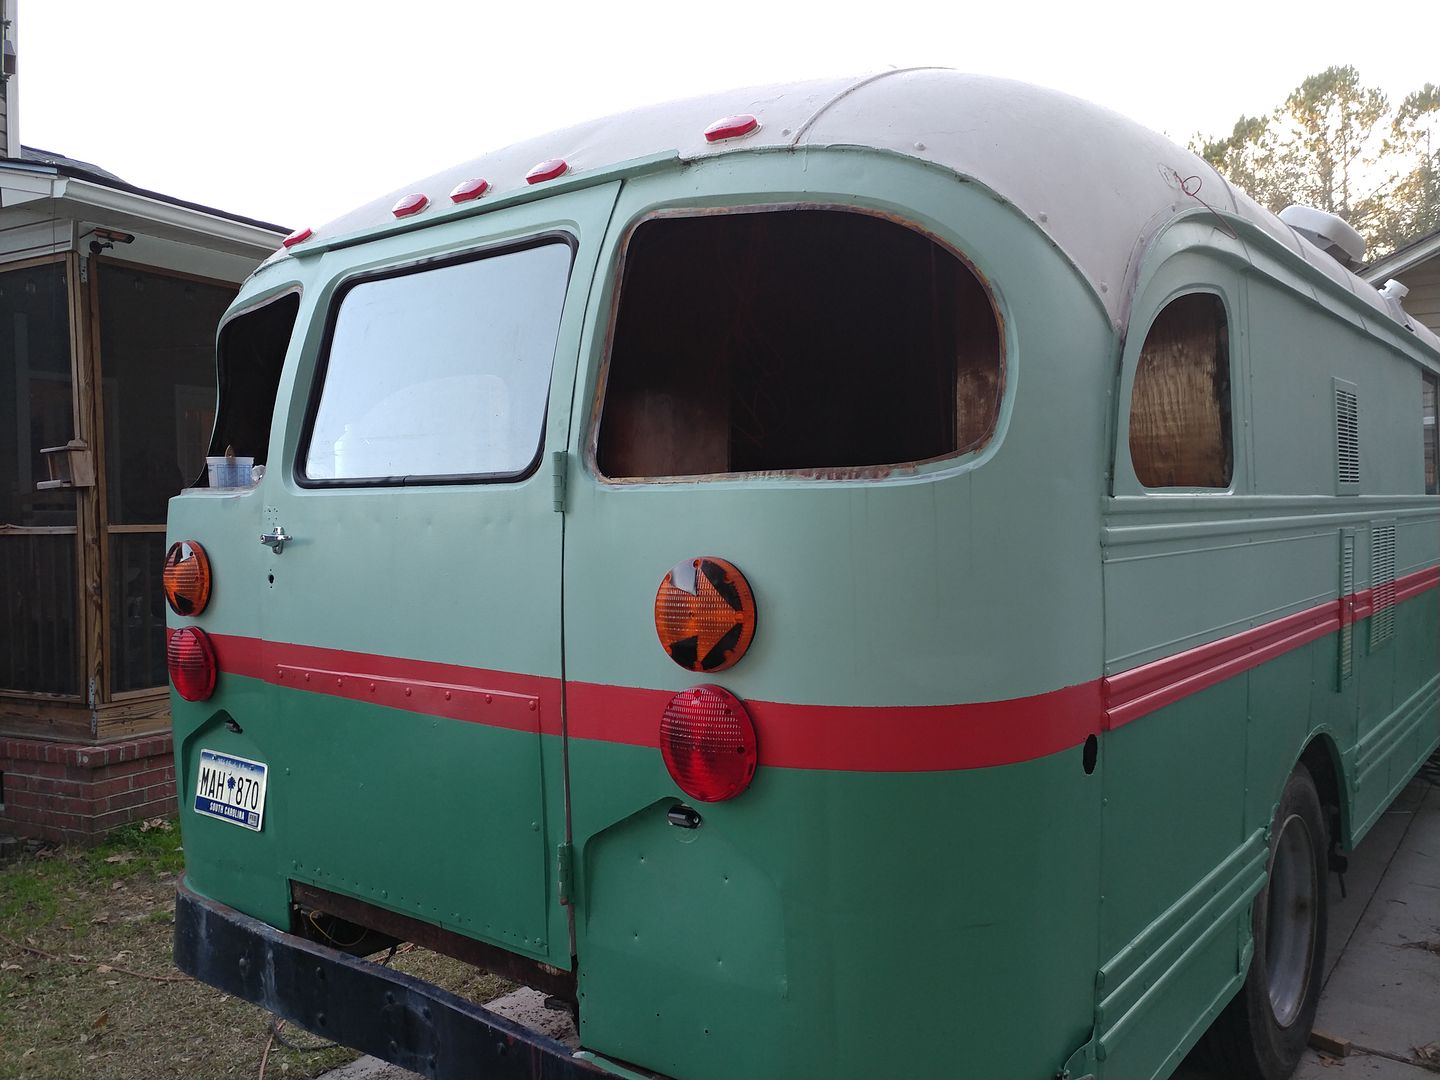
Tomorrow morning, I'll get the glass cleaned up and the frames painted inside and out. Tomorrow afternoon we'll put the glass back in the holes. Everyone wish me luck or say a prayer for a successful reinstall.
Edit: I also pulled in new wire for the front clearance lights and all the teardrop side marker lights. I need to do some touch up painting on the roof before I install those lights. That may happen tomorrow as well.

NOHOME
PowerDork
2/11/17 5:34 p.m.
I am so looking forward to the trip reports when you get this on the road.
Damn, I'd be nervous about glass removal as well.
SyntheticBlinkerFluid wrote:
Damn, I'd be nervous about glass removal as well.
I almost talked myself out of pulling them, but the gaskets were falling apart and I was afraid they were going to remove themselves. WIth all the silicone and goop smeared on them, they also looked bad.
I have done some research and found a place that can make the glass if I break one. To say they aren't cheap is a understatement. The teardrop side windows cost $35. The back corners would be close to $300 and take forever to get.
You can't imagine how relieved I was to find out they are tempered instead of laminated. Tempered is 1000 times more durable than laminate. It will still shatter, but you really have to abuse it for that to happen.
Today will either be a really good day, or a moderately bad one. I'll let you know this evening. Lucky for me, I'm optimistic. 
Ian F
MegaDork
2/12/17 8:22 a.m.
I discovered tempered glass windows aren't that hard to remove. I read a how-to and decided to try it out on the spare GT6 rear hatch I have. Had the glass out in maybe 15 min. without damaging the gasket. Good to know for me since I'll need to remove the rear side glass from my 1800ES and those gaskets (specially formed and side-specific) are NLA.
Some knowledge of the Saturn EPS module. I have also considered this for the 1800ES since the steering at low speeds is quite heavy. There is a company in Europe that sells ready to install kits, but they aren't cheap. The big advantage is the kit entirely bolts-in from the steering wheel to the rubber coupling and uses new components. So the choice is either buy used junkyard parts for $$ and trust that welds on the steering column will be good, or pay $$$$ for some peace of mind. Right now, I tend to lean towards the latter, however "un-GRM" that may be. Although I am years away from the car being drivable, I am tempted to go ahead and buy it now while the exchange rate is good.
In your case, I'd be more inclined to seek out used medium-duty truck power steering from a yard.

Toyman01 wrote:
Do any of you gents or ladies have experience with electric power steering?
Saturn Vue power steering to be specific. The units are fairly cheap, there is a controller sold on Ebay to make them usable in just about anything.
It seems to be the easy button. Much easier than finding a steering gear that won't fit, power steering pump, hoses and all the other assorted debris.
My question is how powerful are they. Are they likely to go up in smoke if I install one in SanFord? I don't need full power steering, but a little assist in tight quarters would be nice. I would also like to reduce the diameter of the steering wheel to something smaller than a extra large pizza platter.
Thoughts? Ideas?
I'll be able to give you some feedback in a month or so. The car I'm codriving this year is an F-Prepared Miata. The owner put one of those Saturn Vue columns in it with the controller. We have a knob on the dash to adjust the amount of assist it provides. I know it's apples to oranges compared to Sandford, but I can at least get an idea of how it works. If it's overkill for the Miata, then it might have a chance for your application.
First coat of paint on the interior.
Great stuff toyman, is the target to have this thing out and about by spring (probably been mentioned but missed)? Looks like you're flying on progress.
Turns out today was a very good day. 
The glass cleaned up very well. It's not perfect, but good enough for this project.

The only glass left to replace is the windshields and one side window.
In reply to johndej:
Target date was actually mid December.
The new target date is mid March. I still need to finish up the light wiring, the camera wiring, installing the mattress and some major cleaning.
Looking great! The white on the interior makes a huge difference! Glad the glass didn't break
man, that thing is looking fantastic! Love the turn signals, and the windows look great.
Total sidebar thought...With the new super-bright LEDs available, I'd love to have a set of cab clearance lights that had one circuit with the standard orange tear drop lights, but a second circuit with a high-output white LED in the front of each light. Built-in, streamlined flood lights for dark roads or working in front of the truck. Anyone ever seen something like that?
Lighting problem solved.
I found some cheap LED lights on Amazon that looked like they would be perfect. The would fill in the existing holes in the ceiling, and even more important they were low profile and flush mount. So for $9, I ordered one. The only issue is they are designed for 120vac and I wanted 12vdc lighting. They came with a LED driver, so I hoped that the driver output was 12v and I could power the lights off the bus, or at worst case it was 24v and the lights would run at half brightness on 12v. That and task lighting would be plenty for camping.
As soon as the light showed up, I did some testing. (Took it apart and tried to burn it up.) The driver was 28v output. At 12v, they would barely light at all.  At 24v they were very bright, and at 18v they were about 1/2 bright. So a little more digging and I sourced a 12vdc to 24vdc converter that was good for 12 amps and ordered 2 of them as well as the rest of the lights.
Screwing a piece of wood into the existing holes let me drill them to 4 1/8 with a hole saw.
I'm going to have some existing screw holes to fill, but I think these are going to be perfect for general interior lighting.
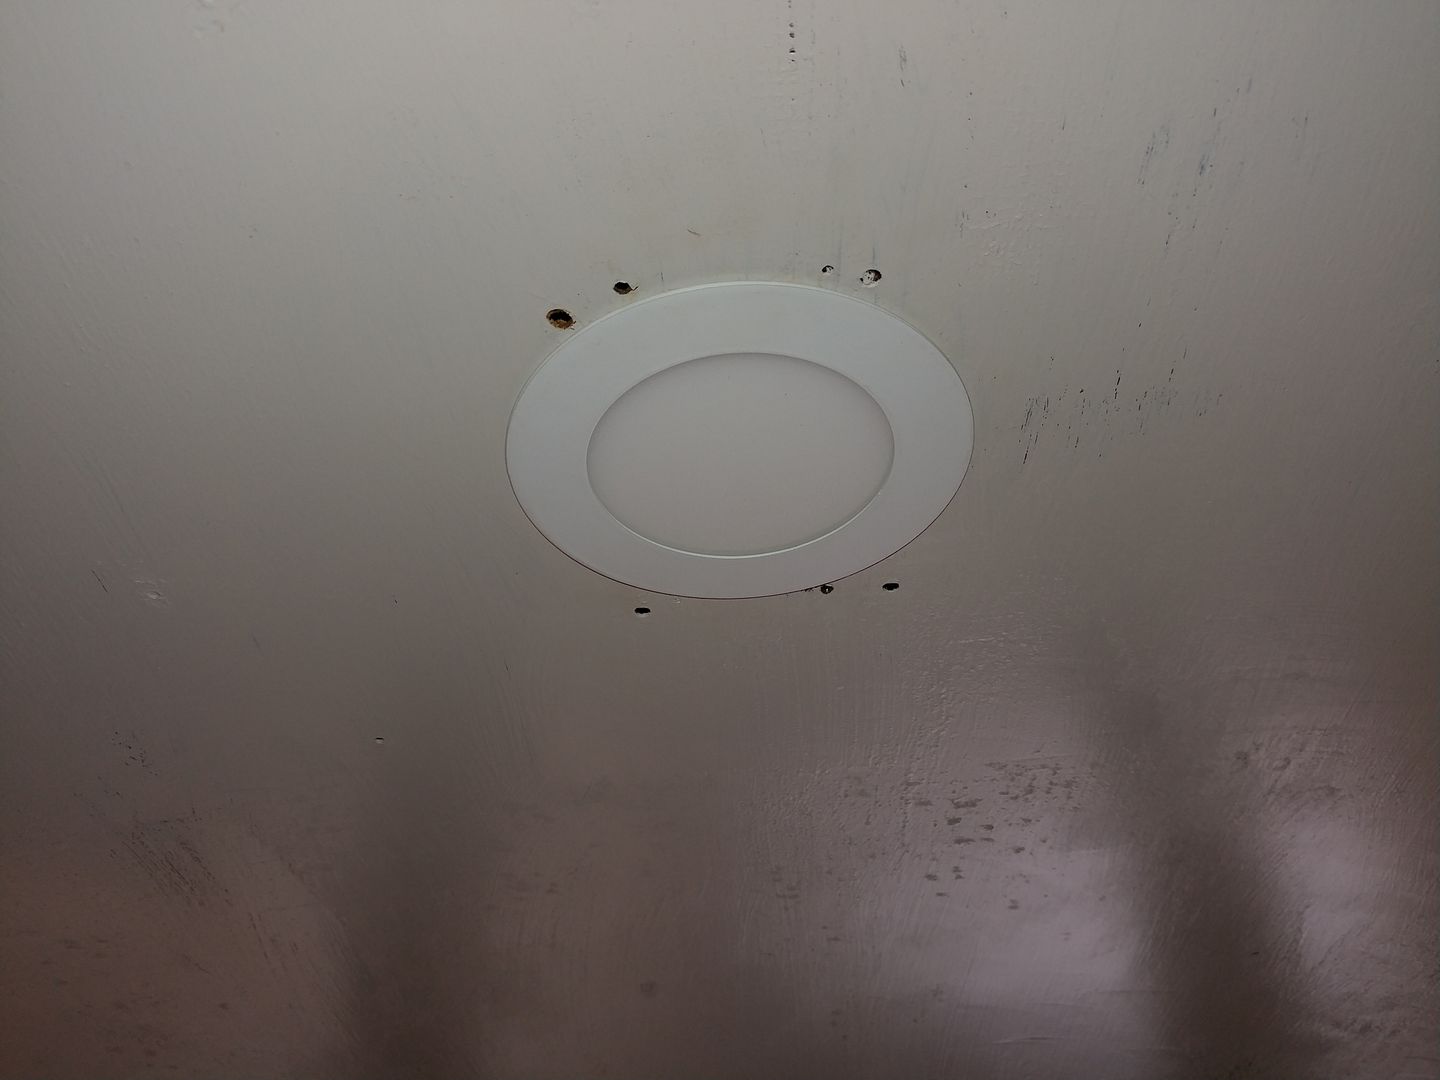
They hang down about 1/16". That's important because the ceiling height is already very low for me.

Here is what the converter looks like.
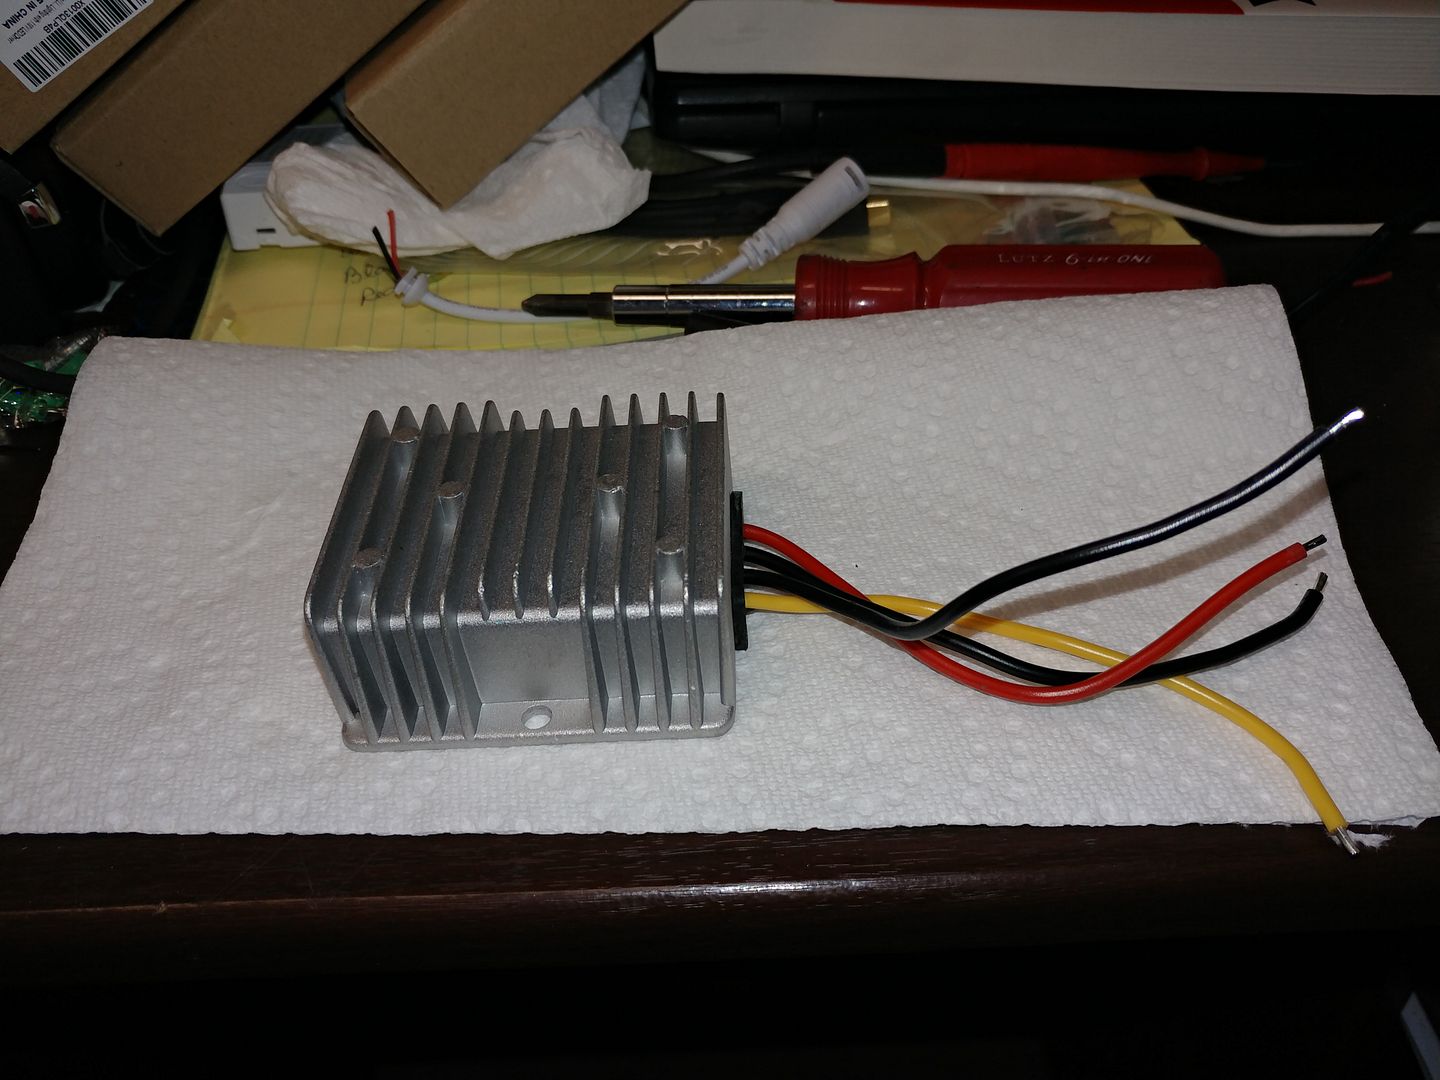
I also ordered a rheostat so I can dim the entire system. It hasn't showed up yet.


