In reply to SkinnyG :
Another entertaining and informative video. Thanks for shooting and narrating that!
In reply to SkinnyG :
Another entertaining and informative video. Thanks for shooting and narrating that!
Thanks man!
-8 and -6 fuel line arrived.
FPR never arrived, was lost in shipping and I got a refund. Will have to re-order.
I had never welded stainless before, so this was a new experience.
I started with 1/16" filler, but switched to 0.030" MIG wire to weld. I found 1/16" was too much for the size of the puddle.
Well, the covid teaching really got in the way of anything on the '61.
As I started digging my rut for online teaching and helping kids while working from home, I needed a stress reduction plan - I was not able to maintain the level of video production I was doing, all the while trying to come up with an entire shop course for shop kids with no shop. I was stressing out, and starting to unravel.
I did end up finding a balance, where kids were working on projects, and I could step back and "escape" in-between emails from students, and demo videos to help them out.
And, since rust patch panels were starting to arrive for the '61, I needed a new sheet metal brake.
Oh, I built a 36" one earlier, to make rocker panels for the V8 Firefly, but it really was a piece of crap.
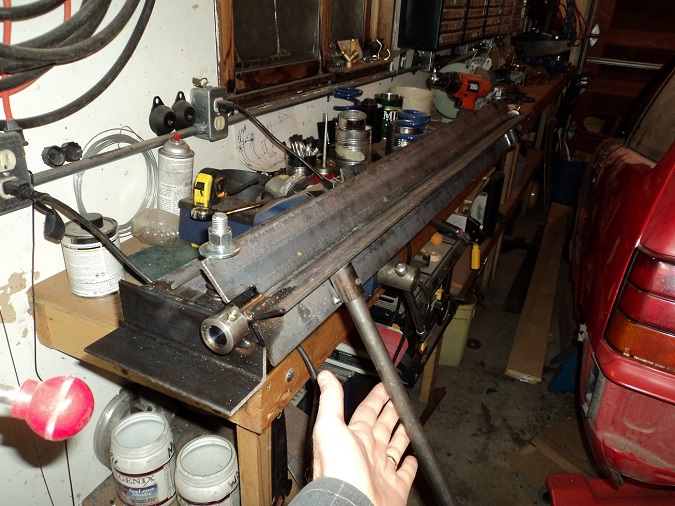
This one is certainly an upgrade, but took a whole lot longer to produce:
School has been a horrific amount of work, and things sat still for a couple months.
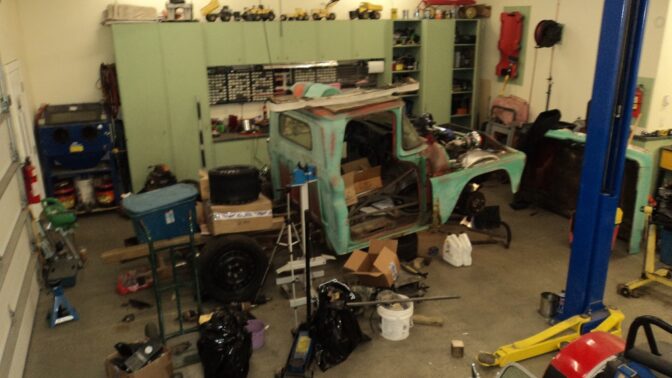
Then I was able to settle in, and get back at it.
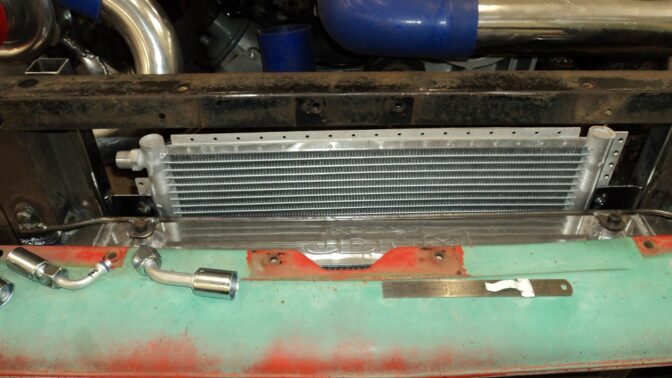
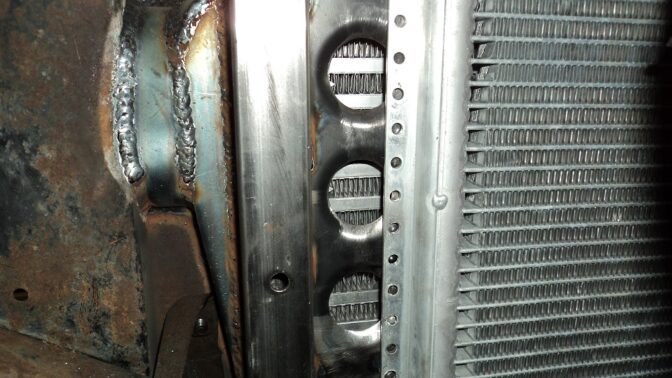
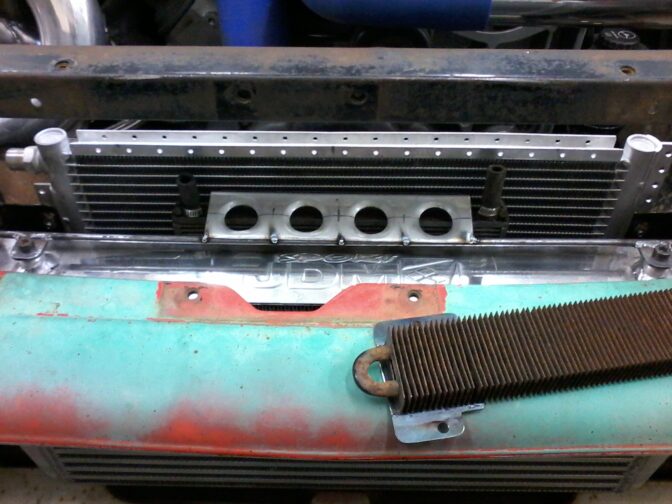
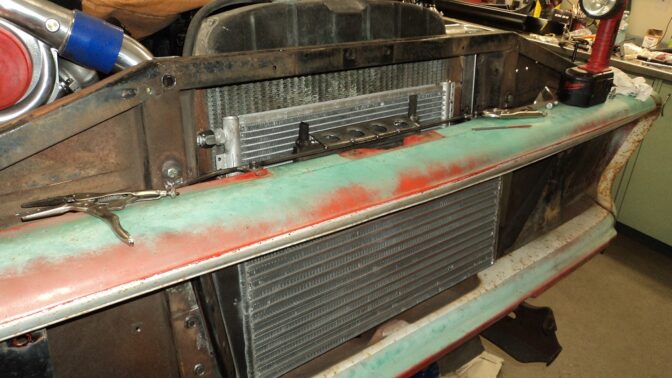
Figuring how to mount the A/C Condenser (tacked in), and I am able to slip the transmission cooler between the Condenser and the Intercooler. Wrecked my big 1-3/8" step drill. Well, it was wrecked to begin with, as it appears they made it out of non-carbon steel. Ended up clamping the brackets down in the mill and just using a hole saw. Did I mention I made my own dimple dies?
SkinnyG said:I was not happy with those motor mounts. I am very happy with these motor mounts.
Driver's side welded and installed, passenger side ready to be tacked.
So I'm still trying to catch up on this one, but I had to pause to comment on this. I basically came up with the exact same solution last week for a project where the strut tower is tied into the cross member except my lower mount at the cross member is bolted so I can drop the cross member with the engine in place to remove the pan without pulling the engine.
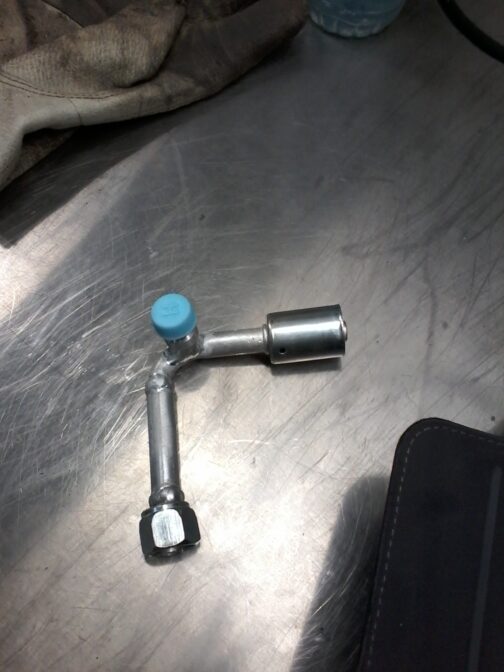
Oil cooler mounted. And modified the high pressure AC fitting to be 2" longer, and re-located the port to make it accessible, but I need to find the correct tap to put it back together. I think it's 6mmx0.75....
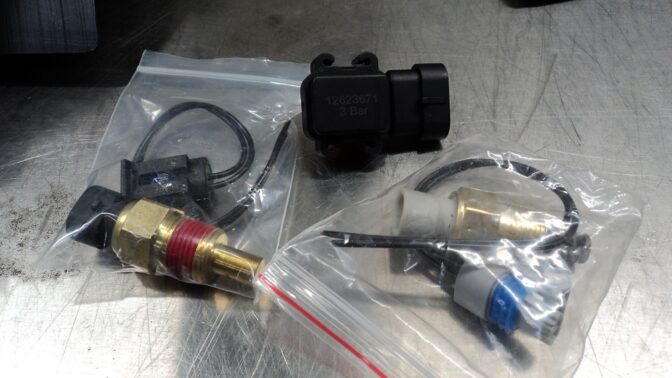
3-bar "truck-style" MAP sensor, plus threaded IAT sensor, arrived from EFI Source. Yay!
Nothing happened in the shop, though, as I was prepping next week's assignments for the cherubs. I don't know about your own kids, but I'm getting about 5% to 10% return from my students at this point. I'm riding my own kids like rented mules.
SkinnyG (Forum Supporter) said:
Nothing happened in the shop, though, as I was prepping next week's assignments for the cherubs. I don't know about your own kids, but I'm getting about 5% to 10% return from my students at this point. I'm riding my own kids like rented mules.
I've heard the return rate is pretty low in our district too. And same here: I take time off work every day to flog my daughter through her math and other school work, but I feel like it's a losing battle right now.
Love the brake; that thing is serious business.
Lengthened the cold side of the evaporator connection today.
Also bought some -6 fittings for the oil coolers and power steering lines.
And fitted as here:
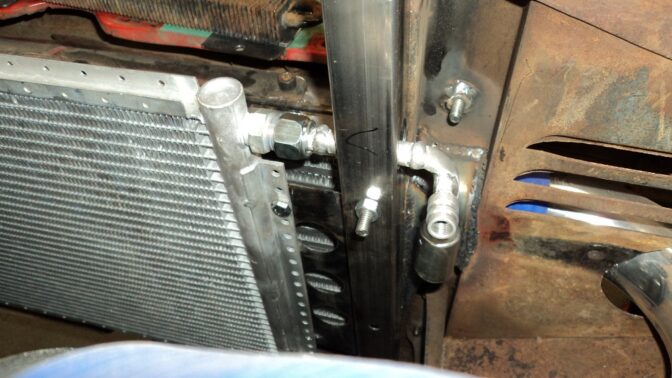
The lengthened 2" Condenser outlet got shortened 1/4":
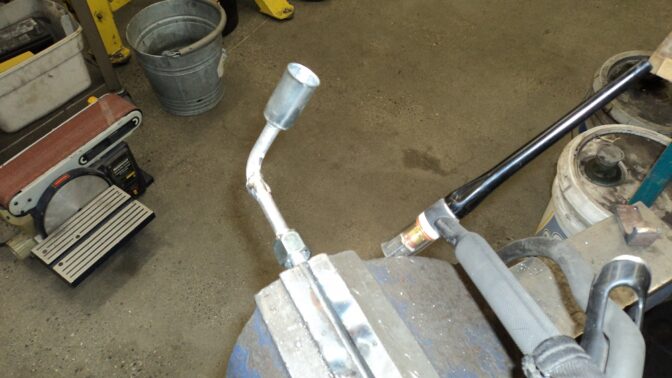
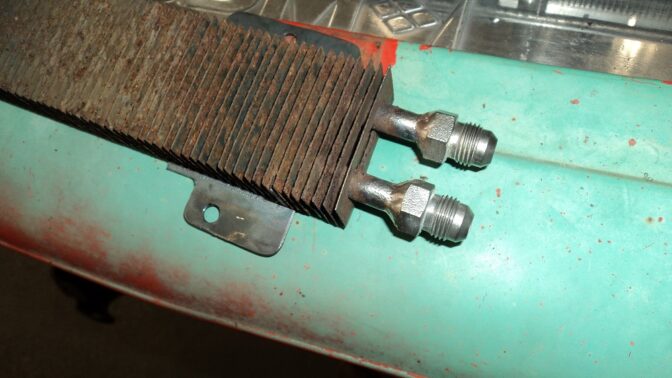
I also tried my first foray into Silicone Bronze Welding with TIG, putting -6 JIC fittings (same angle as AN) on the power steering cooler. Seemed surprisingly easy.
The 3-BAR "Truck" MAP sensor is part #12623671 from EFI-Source. Not sure if they had it custom made, or if it's an OEM fitment elsewhere, but I figured I'd put the number up so I can find it again when I need it.
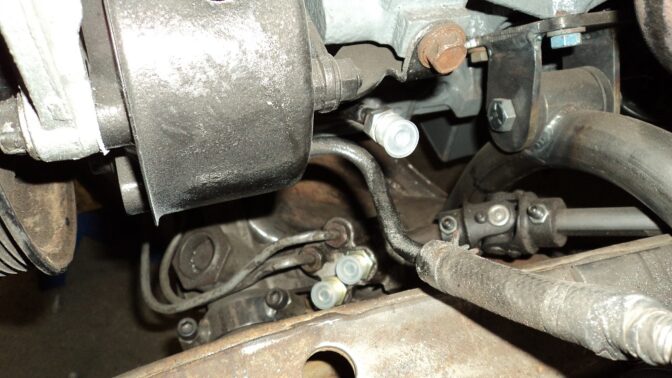
I cut off the end of the PS Pump line, and Silicon-Bronze-Welded -6AN to the end. Also installed the Fox-Mustang-Rack -6AN fitting adapters (Unisteer #8026070):
Added Hydroboost -6AN adapters (Earls #961955ERL and #961956ERL) to the Hydroboost unit:
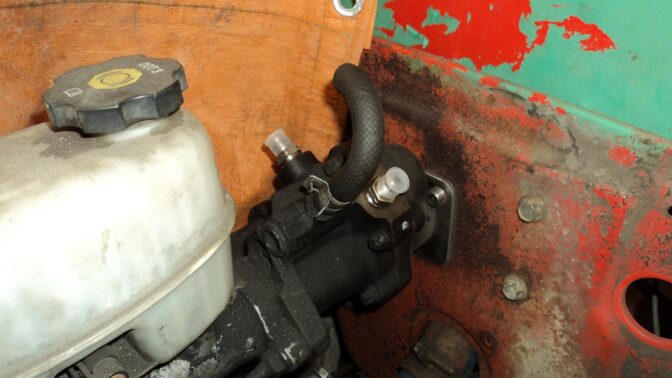
I was also a little concerned about the PS reservoir return being so close to the exhaust manifold, so I cut it out, plugged the hole (what my finger points to), and Silicon-Bronze-Welded it to the front side with another -6AN fitting (shown here completed):
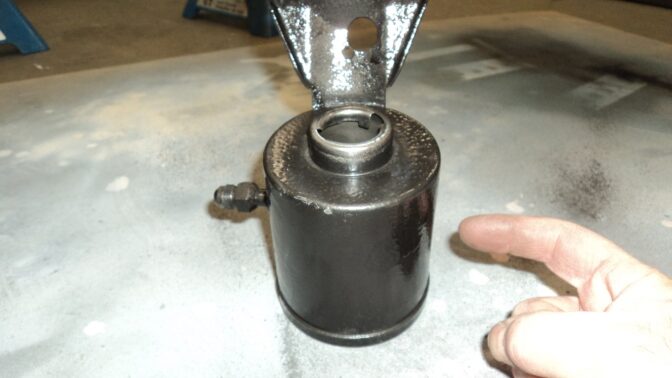
My LQ4 engine is from an Express 3500 van, but did not come with the remote reservoir, and just buying a reservoir was cheaper. I did have to do a lot of re-shaping to the bracket to make an acceptable fit. At the time, I wasn't sure if I was going to do the turbo crossover in front of the engine or not, and the placement of the reservoir was a concern. I ended up not, and it is what it is.
Front view, with radiator, AC condenser, trans cooler, intercooler, and (not shown) PS cooler under the AC and trans cooler:
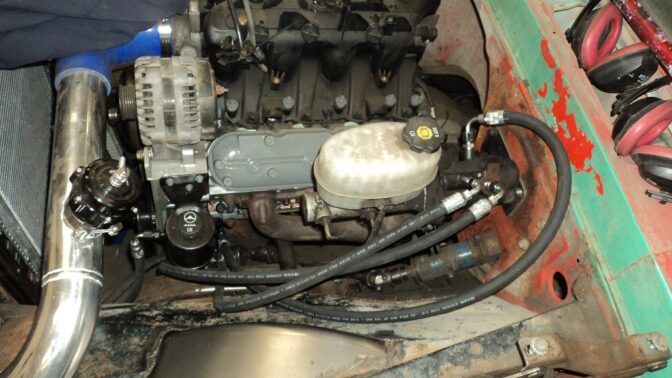
I had Princess Auto make up the hydraulic lines. Was half almost a third the price of doing it all in fancy braided line. I Bronze-Welded -6AN fittings to the return at the pump, and I Bronze-Welded a -6AN fitting to the shortened return barb at the Hydroboost so I can run hydraulic lines for return too, for a more aestheticly pleasing spaghetti-collection of hoses. I will be getting the HB return hose shortened 2".
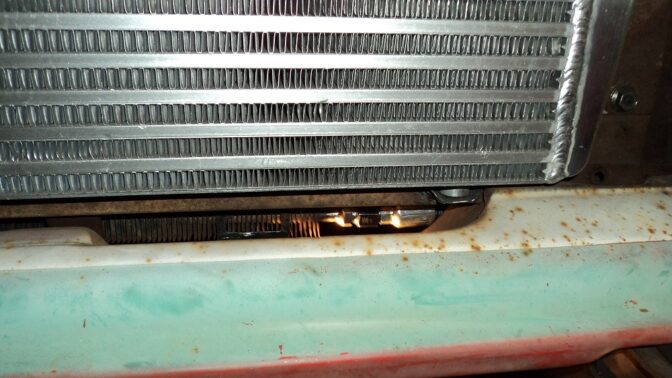
Lines to the P/S cooler under the rad:
I had one hydroboost line shortened 2". Rearranged some of the other lines to fit better.
I dug up the factory LS thermostatic oil-cooler adapter, disassembled the unit, dug out the original hardline (sheared by the wreckers who pulled it), drilled and tapped 1/2" NPT for -10AN (need to pick up another fitting). I'll use the oil cooler I didn't use on the V8 Firefly.
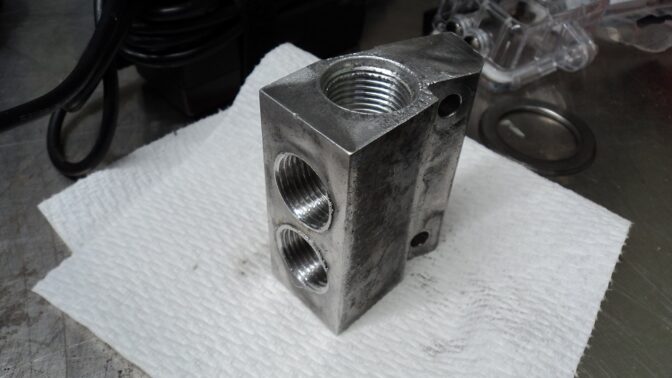
IN and OUT are on the left; threaded end up top is the plug to hold the thermostatic valve
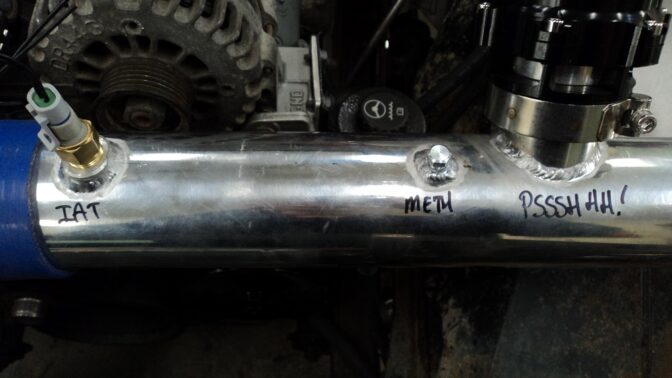
Also added an IAT bung as well as a Methanol Injection bung.
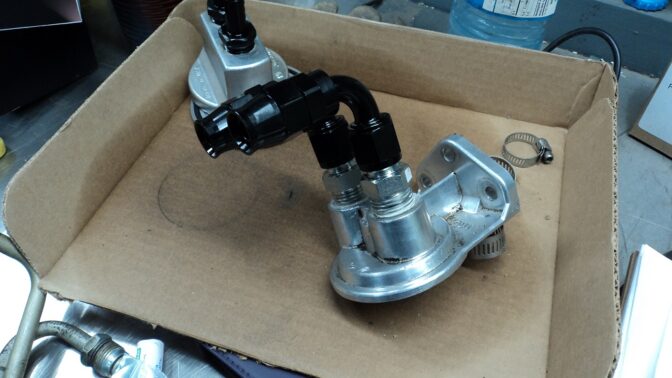
Also, since I am running -8AN fuel line to the fuel rail, I am going to use the remote oil filter mount from the V8 Firefly oil cooler kit as a fuel filter holder, with a WIX 33382.
The more I look at the guts of the oil cooler adapter, the less I think it's thermostatic, and more a pressure relief valve if the cooler is plugged or the oil is jello.
Ran into a snag - because I started drilling and threading for 3/8"NPT fittings and then changed my mind and went 1/2"NPT so I could run -10AN hose for the oil cooler, the fittings were now too close together to assemble. This would not do.
So I ran a plug in through one, and drilled (at an angle) and tapped the end of the oil cooler block to relocate the fitting.
Also ported the mother-loving mess inside to make it flow decent.
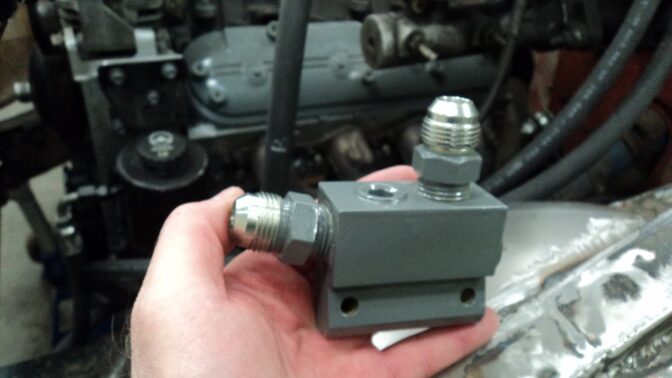
Fabricated an oil sender adapter so I could feed the turbo.
The LS uses a 16mm x 1.5 thread and a sealing washer. I turned half of some 1" steel down to 5/8" and threaded it, then bored the other end and threaded it as well, then drilled and tapped 1/8"NPT at an angle such that I can easily thread the adapter and sensor into the block, then thread an 1/8"NPT 45° in there to better reach the turbo feed.
Image once the paint dries.
Also put the rad in to measure fan clearance. I have just under 4" to the stub of where the fan clutch was, so I'm going to need a thin electric. But, if I can find one, I should be able to squeeze the engine oil cooler behind that.
If I can't find one I like, I could probably relocate the trans cooler, run a thinner rad-spacer-back-inator and gain maybe another 1/2" of fan room.
You'll need to log in to post.