In reply to Run_Away:
But with a lot better instructions.

I love to see this stuff happening. I've built many speakers myself, though most were done professionally, not for myself.
I'm considering adding a second subwoofer to my home theater. This has me thinking much more seriously about it.
And this very kit is one I've thought about doing myself.
Run_Away wrote: So these are like the IKEA version of speakers?Neat.
Sort of. You do have to add inputs and feet, though. I have the same kit and did simple input posts instead of the cutout type. No feet. I used a simple coating, I can't remember the name of it. Barely darkened the wood. My sanding skills were crummy, but I managed a couple coats and got a decently uniform finish.
Initially I built with a much-too-large piece of cardboard.


I made dead certain I understood the schematic before that got hacked apart. Cut, twist, solder, repeat... this was the result.


The cap in the inductor still seems a little dodgy, but I love the speakers. Fantastic first project for speakerbuilding in an apartment. MDF dust everywhere is not an option.
Joined after lurking for a long time, since I can finally see the light of being able to work on my car and this is a good post that I can say hello on.
In reply to teskadera:
Welcome! And nicely done on the speakers. Glad to hear that you like them. I considered the "just solder it all together" approach, but decided that it would be easier to make clean connections with the components all on a board.
And thanks, everyone, for the comments. I haven't made much progress over the last day or 2, but the second component of my audio overhaul came in, so I got it all connected and working.

That's not a very good picture, but it's a turntable from u-turn audio. They're local, and I saw someone post one in a "show us your turntables" thread. Once I did some reading on them, I decided to go for it. It sounds amazing, came quickly and seems very well constructed. I do wish that I'd gotten a more fun color now that it's here, but overall I'm very happy with it!
Sorry for the lack of updates. Time has been in short supply these last few days, and my general state of sleep deprivation makes mental exercises more difficult than they should be.
I got the first crossover completely assembled, soldered, and ready to be installed. I decided to mount them in the bottom of the cabinet before I close the cabinet up and finish it, so I'll have to tape off the various holes, but I think it will be easier to make good connections this way.
Here's the underside of the crossover

It's a little messy, but not too bad. The number of times I've used a soldering iron is somewhere in the single digits, so I'm happy that everything seems stuck together.
I also put terminals for my posts on the input wires

Those should work.
I got the second crossover assembled on the board and got about half the soldering done before my wife texted me "It's 11:30. Are you alive down there?", so I ran back upstairs without grabbing a picture. I'm always amazed at how much easier things are the second time - it's a shame that there's not usually a third!
In my experience building speakers, I've noticed a real difference in mounting the crossover outside of the speaker box. The acoustic waves can create feedback in electronic components that leads to noticeable distortion. Of course, then you have to deal with external electrical components, mounting them in a box, etc.
Even just mounting them on the back of the speaker cabinet in a separate enclosure is helpful.
In reply to volvoclearinghouse:
The thought had crossed my mind. For now, I'm going to just stick them in the box and see how it goes - these speakers have lots of well-documented builds and not many complaints. I doubt that I'll be able to tell the difference.
If they do cause problems - the nice thing about building something myself is that I rarely feel bad about tearing it apart again to make revisions. I'm planning on hot gluing the crossover down, so it shouldn't be hard to get out of the enclosure later if I decide to do that.
I built a tuned subwoofer for my home theater.
15" sub, box was 24"x24"x46" (something similar). with a tuned port.
The amp died on it (cheap dayton plate amp) after about 3 years of use, then my wife forced me to move it upstairs. One of these days' I'll bring it back down and turn it into a sealed enclosure. (and cut it in half to make it an endtable.)
I miss the thump that sucker gave me. The port length was calculated to give me responses down to 10hz.
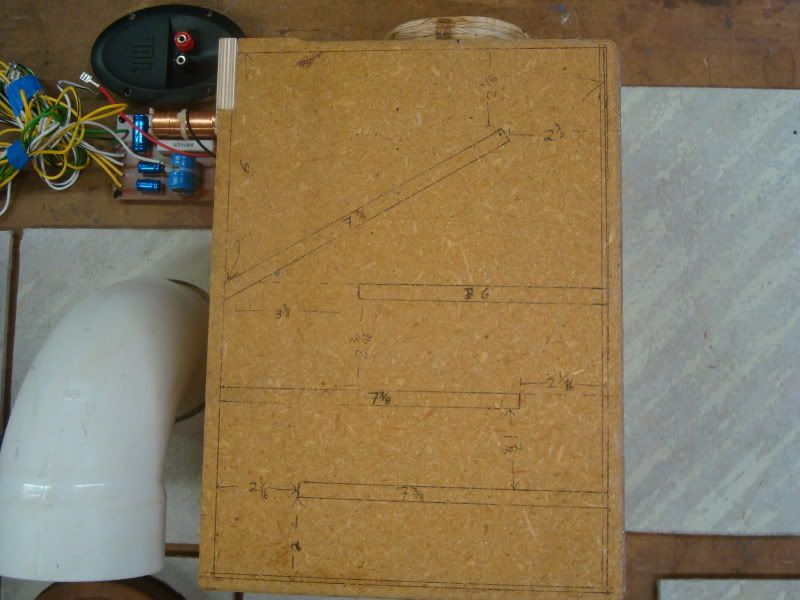
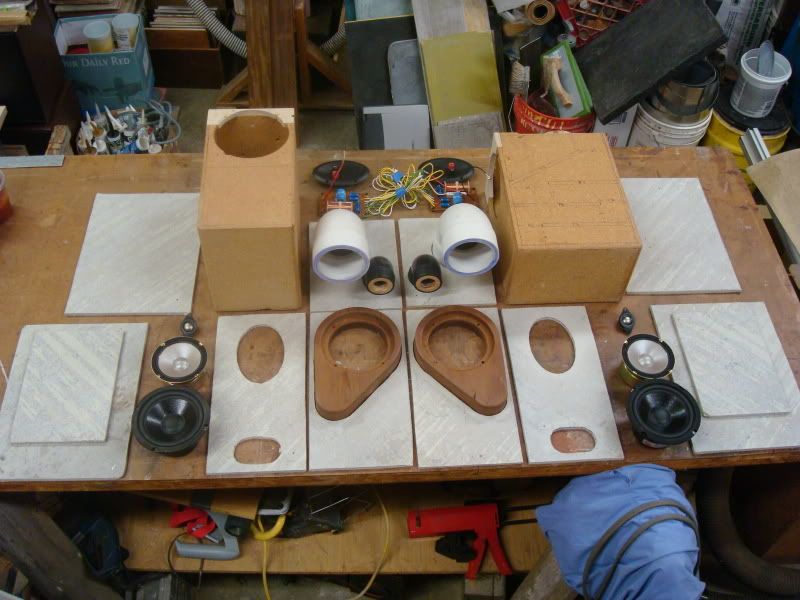
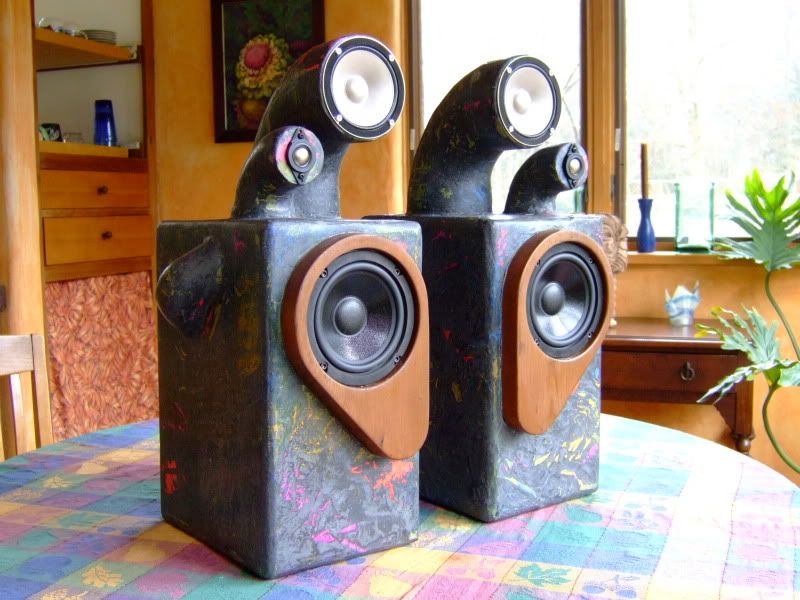
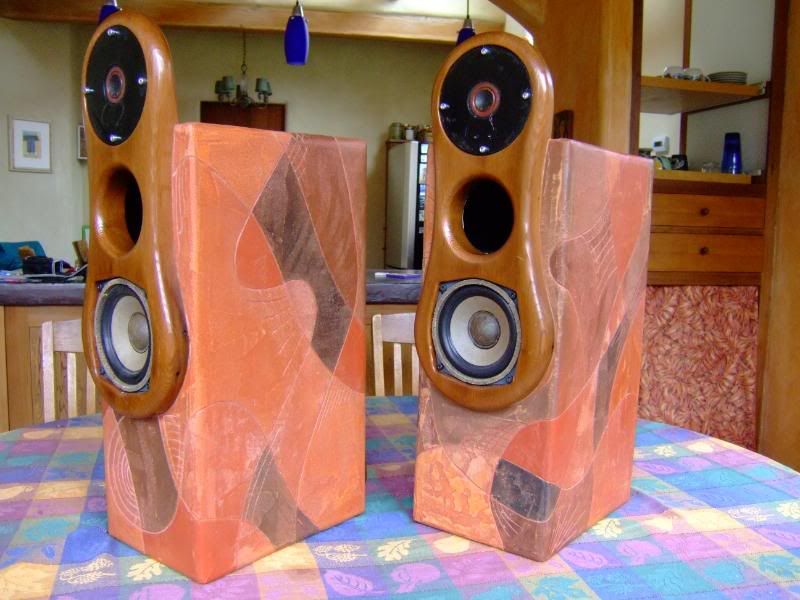
I built these a few years ago. Blue set for a friend, orange set for us. I also put the xover outside the cabinet in ours.
In reply to coexist:
Those are COOL. Did you design them yourself?
I finished up the crossovers last night. I had to undo my nicely soldered on terminals - I didn't test fit first, and the wires were ridiculously long. Don't know why I didn't think of that before I soldered them on, but here we are.
I also made sure that my paws were going to fit through the woofer hole to wire stuff together before gluing the faces on the cabinets. I've waffled back and forth on the order of operations here but I didn't have the stuff to get the crossovers mounted and I wanted to make some more tangible progress, so here we are. Hopefully tonight I'll get a chance to sand the cabinets and put on the stain. Then, assembly should go quickly.
One picture to prove I'm actually working on these things! I really have to declutter my workbench again.


It's hard to tell in this picture but they're stained. Very light gray, just enough to darken the grain a little. I'll put poly on them tomorrow morning.
Also - I dropped one of the cabinets. Of course it landed on a corner and bounced onto 2 others, flattening them out. That was frustrating.
Now I really want to see those in person. I used Aquavar to seal mine, veeeerrry neutral. The plies on the corner look like they have a lot more pop because of the way the wood picks up the stain. Aquavar isn't a stain, so it's much less pronounced. Maybe I need to sand mine bare and redo with gray stain...
I like how they came out a lot. It's pretty subtle, but the stain makes the grain pop a little, and gives a nice effect on the crosscut plywood. I put a coat of polycrylic on them this morning, I'll try and get a picture in some more natural light tomorrow.
cmcgregor wrote: In reply to coexist: Those are COOL. Did you design them yourself?
I worked for an eccentric audio genius over the summer when I was in college. he had designed the folded baffle boxes, and we were listening to single 3" driver speakers at his place. The range was amazing, so I bought some French Polydax 4" drivers and duplicated his design. Made a few sets for friends as well. Raw particle board.
I kept the speakers, used them on and off, and finally decided to do the visual upgrade. I laminated cement board onto the particle board, so the boxes are stiff. One more pic:
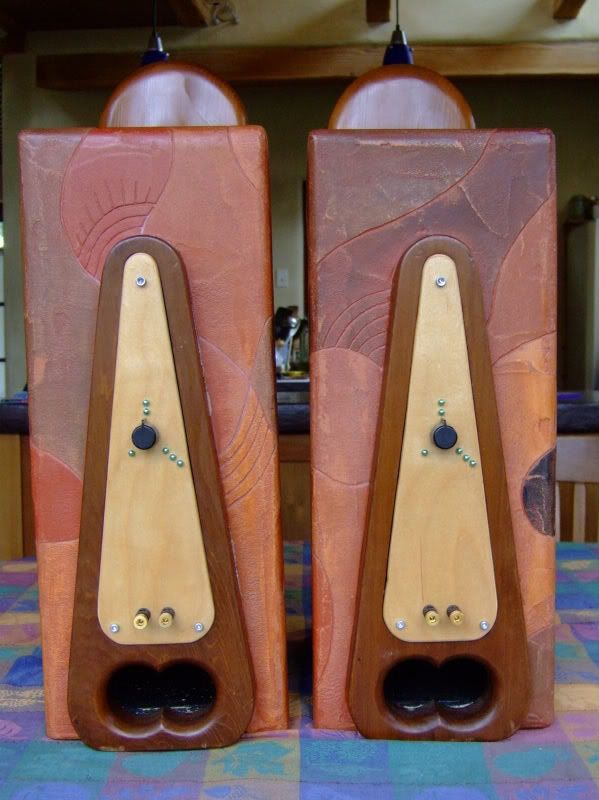
The grey stain looks good, I too like the ply highlighting.
Had some more time to work on them last night, finally.
I cut some standoffs to mount the crossovers

Got everything glued in

I used this hot glue gun that I bought on Amazon for like $20. It works really well.

Also hot glued the adjustable port to a total length of 6"

I ended up soldering the speaker connections as well - my crimp on terminals were too big and I'm running out of steam on getting these wrapped up. Once that was done, I popped in the speakers and admired my handiwork!

That's not entirely true. The woofer was a tight fit in the CNC cut inset, and as I was pushing it in, my finger slipped and dented the cone. I got that sinking feeling deep in the pit of my stomach - I hadn't even taken these out of the package before this point, to avoid damaging them as I worked on everything else. There's nothing I can do about it now, and I probably won't replace it, unless it really drives me crazy every time I see it (and it might). The crossover is also really close to the magnet on the woofer, so I may have to reconfigure that mounting situation, depending on how everything goes. It's glued pretty securely, so that may or may not work out. We will see. So, one done, and one very close to it. Here's hoping that this blizzard pans out and I stay home from work tomorrow - that way I can finish the second and see what they sound like!
Nice project - and I'll bet they sound great- there are some very smart people behind some of these online speaker designs. I built a pair of Jon Marsh's Modula MTM's as ported towers more than a decade ago and they still sound terrific.
So, I've been listening to the full-range pair (plus sub) that I posted in the thread as computer speakers. It's a semi-obscure design called the Lineup F4.
They beam a little bit in high frequencies because it's using a 4" full range. But, since I'm sitting in the same place every time, it's not really a big deal. I gave away my Overnight Sensations that I built a few years ago, but either one is a huge upgrade over most "computer speakers".
Now if I could just get off my butt and actually apply a finish to them...
So, I am just about finished with my overnight sensations, and went to find this thread and stumbled across scardeal's build thread from a few years back.
I've got to put a coat of polyurethane on my boxes and then do the final assembly.
I finished mine tonight. A fun project and really not all that hard to do. I came up with my own layout for the crossover components and then built them on pieces of Luann scrap I had. I used some of those little pins that hold up shelves as standoffs to keep them off the bottom panel.

I'm happy with how they came out. Listening to them in my office as I type this.
In reply to T.J.:
Nice! I've been enjoying mine, still have to grab a finished picture at some point. I see that you went with the grey stain as well!
In reply to cmcgregor:
Yep. I orignally wanted them to be almost a solid gray to match my cabinets, but after four coats of stain I couldn't quite get the look I wanted, so I went and bought some gray paint. I did some sanding on the speakers in preparation for the painting and liked the look, so just poly'ed them as they were.
 EDIT: After looking at the build pics I took, I realized that I wired one my crossovers incorrectly, so today I fixed it. I'm glad I didn't permanently glue the crossover in place. I drilled small shallow locating holes with a forstner bit that aligned with the standoffs on the bottom of the crossovers and then just used some of that blue tacky stuff meant to attach posters to walls to secure the cross overs. Just didn't want them vibrating, but don't care if they cannot stand to be inverted. That made getting everything back out a breeze. My right speaker sounds better now.
This is an old thread, but this shelter in place order has me feeling antsy. I thought maybe I would have more time for projects (which was ridiculously optimistic, given the fact that my wife and I are both trying to work full time from home, and we have our 2 kids here, but I digress). That dent in the speaker cone has been driving me crazy ever since I built these. So, I decided that first set could go into the office or garage, and I'd do this whole exercise again. Let's see how it goes.

You'll need to log in to post.