Seth,
For your street testing, put some adhesive backed foam on the bottom leding edge of the splitter and try some heavy braking tests. That will let you know how close to the ground the splitter gets in a fairly controlled experiment. My guess is you are going to be at least 1" from contact. Once that test is done, remove the foam because it will hinder the performance of the splitter in your intended application.
You may want to build your spares as half width pieces with some method for connecting them along the centeline. They will take up much less space an probably even fit in the back that way...
Dusterbd13-michael said:
¯\_(ツ)_/¯ said:
Maybe you should do a run of little stickers that you can put next to bolts which might be removed for typical modifications- they could just say "don't berkeley with it!"
I probably need some of those.
I'd sign up for a few. I definitely need them. For everything i own.
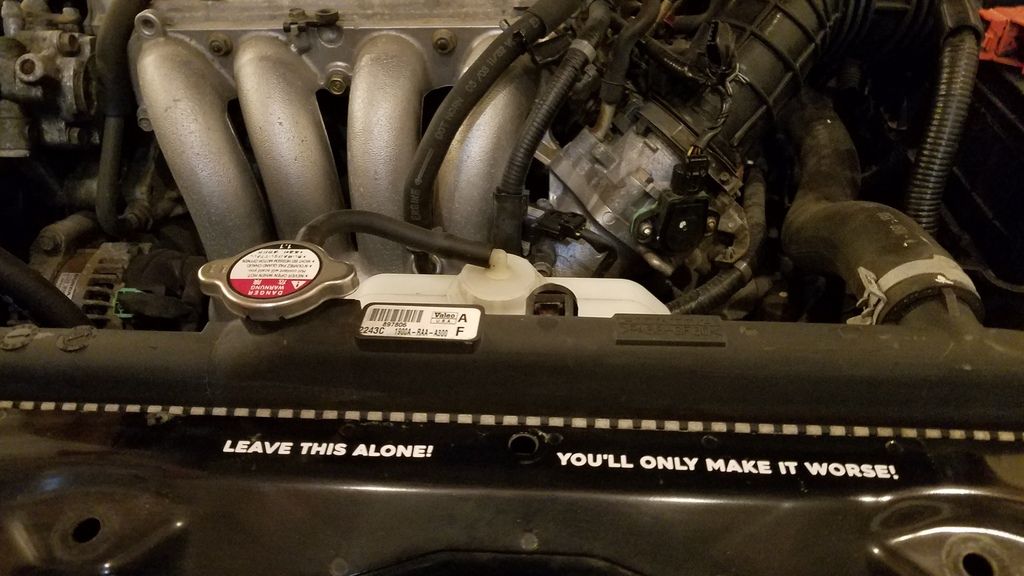
That takes care of the engine bay.
In reply to stafford1500 :
Will do. Hoping to finalize height and mounting this weekend. Also have an brake ducting idea that I'm going to take pictures of today that I'd love your input on.
Thanks for watching our stupidity. 
mazdeuce - Seth said:
Thanks for watching our stupidity. 
This way I get to be part of the stupid, but dont get the splinters or busted knuckles...
This is meant for all of us, tongue in cheek.


Making thoughts into my head into cardboard is to exciting not to share.
The plan is to build a box that seals with the bottom of the bumper. Maybe attached to the bumper and seals to the splitter/air dam? Either way, box front and center on top of the splitter in what should be the highest pressure part of the car (unless Stafford1500 tells me different). Ignore the black garden edging, that'll go.
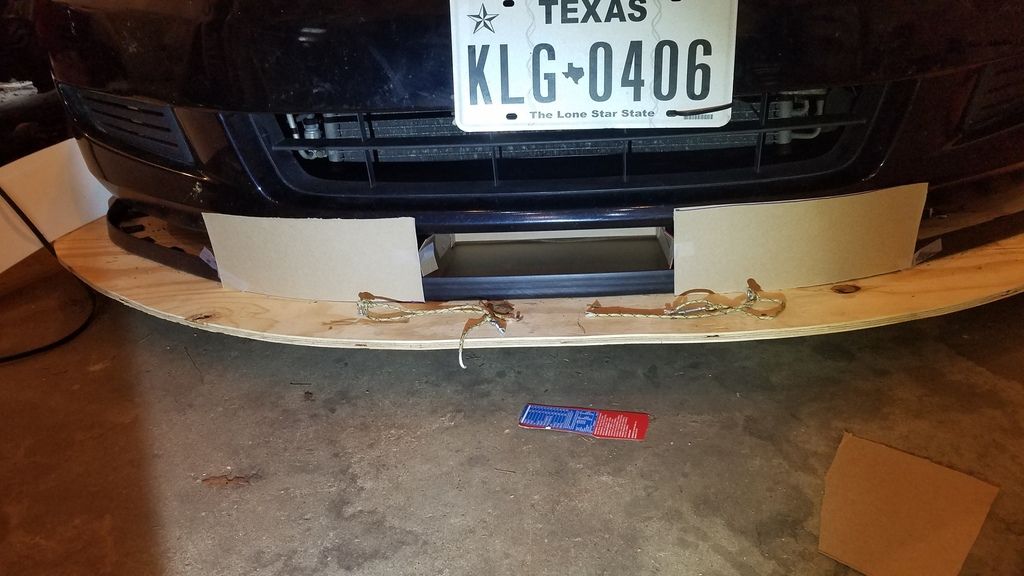
Then I cut a couple of holes in the bottom of the bumper and attach the brake hoses. There is a TON of room to run along the inside of the bumper cover.
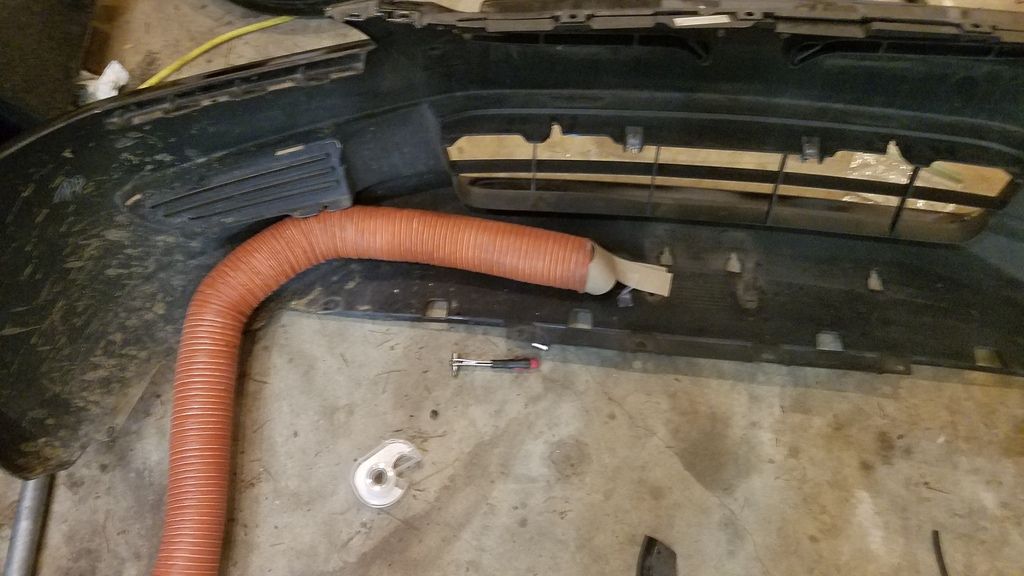
The hoses run up here like this. The car at full lock and sitting on the ground barely touches them. I think I can secure them so they'll stay through most anything.
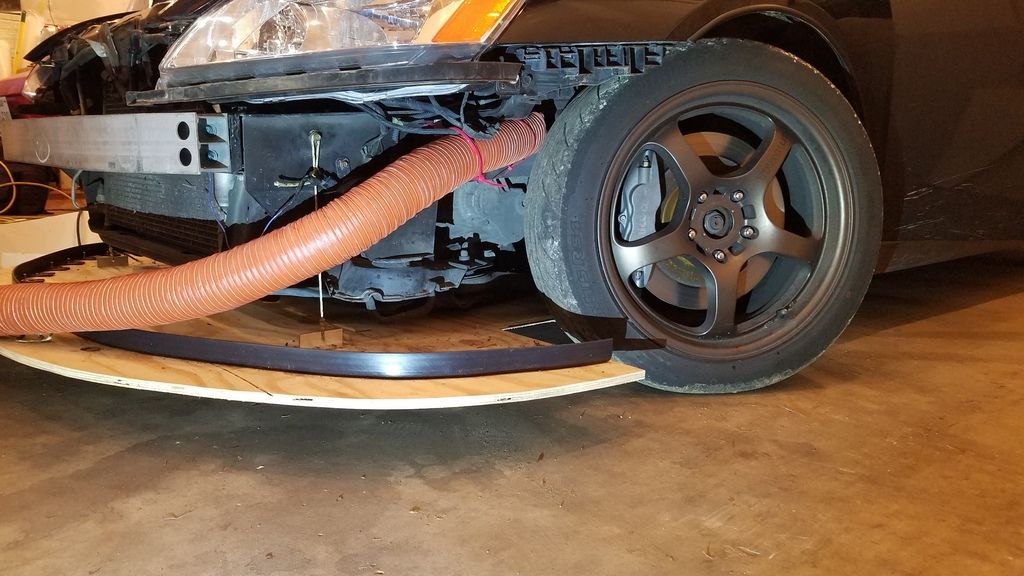
Then I build a deflector of some sort to direct that air at the back of hub/disk/caliper as best as I can.
Thoughts?
The advantage of having the box attach to the bottom of the bumper cover is that I can still run the whole system if the splitter doesn't work. I can just reshape it until it mostly doesn't get ground off on the road. Without the splitter it wont' work as well, but it should work better than nothing.
Your plan is sound and should work very well. Hoses mounted to the sides of the box, with a small drain hole or holes at the bottom back edge to let water/bebris out will keep from putting water/junk on the brakes if it happens to be wet or dusty and you don't have time to tape up the intake box. Add some sort of screen to the inlet of your box and you can tune the brake cooling with tape.
Any reason you couldn't source your cooling air from the fog light openings? Sure the air pressure might not be as high as what you're describing, but with the longer ducts you'll bleed off some of that added pressure. Not sure which one would net more cooling flow.

Sonic
UltraDork
1/30/19 11:38 a.m.
On Honda bearings you can pop the race out if needed for things like replacing the studs and then pop it back in with no long lasting impact. For a track car, by the time you are that far in, you might as well replace the bearings. We get 5-8 or so lemons races out of front bearings, so with the miles on your car and planned use then replacing them is the right choice. Best brands to get are SKF, National, Timken. A trick to help them live a little longer is to pull the inner races, clean out the grease you can, then repack with a very good quality bearing grease (I use the Mercedes green stuff because I have it).
You probably want to protect the wood on that splitter from weather so it doesn’t de-laminate or warp. When we made ours I gave it a coat of epoxy resin, then a layer of fiberglass cloth, it added notable strength and makes it nearly waterproof, no water damage despite racing in the rain several times this year.
In reply to klipless :
Six of one, half dozen of another. Eyeballing some fluid dynamics of the front of pointy cars like mine says that the fog light location is about the worst place on the whole front of the car. The flatter the front the more ok it is. Since I have neither the software or the knowledge to properly model this, I'll wing it, as usual 
In reply to Sonic :
Thanks for all of that. I did press everything back together so I can do some splitter testing on the road while I wait for the bearings to come in. The splitter will get paint/epoxy before we head off. This version is just supposed to be for testing. 
Data point, the splitter is heavy.
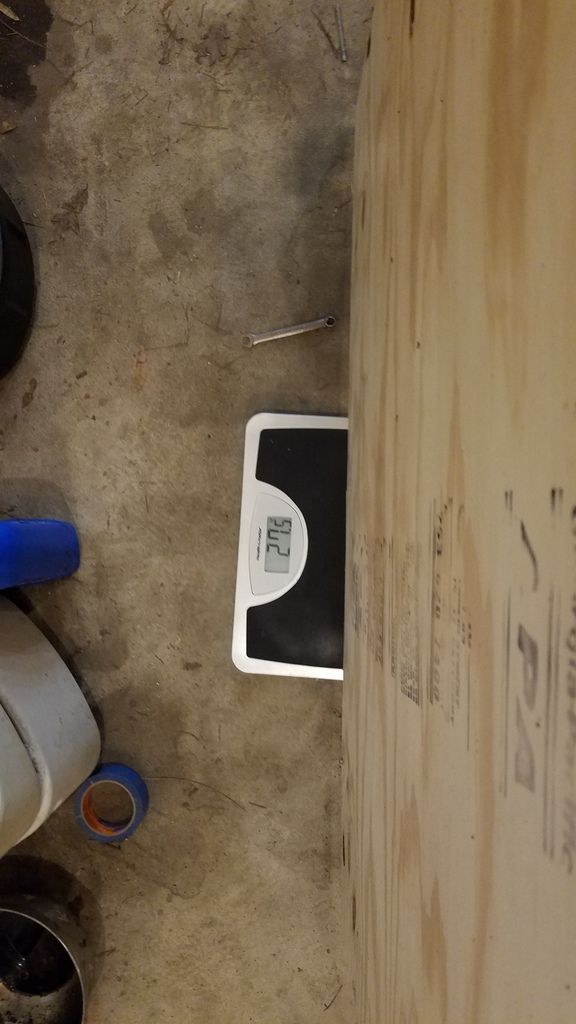
The spliter is heavy, but at least it is low.
I would offer up that the inlet you mocked up with cardboard could be be closed up to about 2/3rds the size you pictured. That reduces the amount of tape that needs to be added to get the cooling right. On the subject of tape, tape it evenly fro the outboard side toward the inside and leave the opening full height. This gets you closer to the centerline which should provide just a little more head pressure to work with.
The bits you plan for the exit side of the hoses should be reasonably straight. Do not try to neck the nozzle down too much. You just need fresh air to get to the hot stuff.
In reply to stafford1500 :
That outlet was conveniently the size of the cereal box that my kids finished this morning. I have a couple of three inch rivet on flanges coming and once I see how those fit I'll make the box around that. I'm still deciding if I can attach the hose to the upright above and in front of the axle. If I can make it fit and not rip the hose off when I turn it should direct the air better than just trying to turn it from the frame behind the wheel. Still thinking.
I did get the other upright off and disassembled and pressed in the new wheel studs. This time the wheel speed sensor came out but the bolt that holds it was seized. That required a drill and tap and it's back to functional.
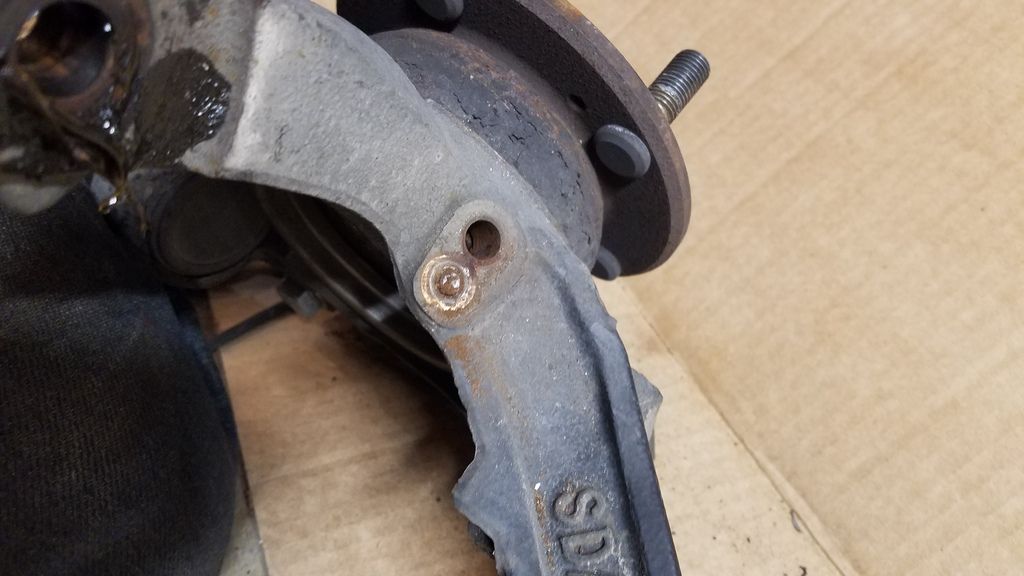
Ad soon as the open ball seat lug nuts get here I can test the Civic wheels with the spacers and once I know that works I'll order a set of test tires for OLOA. Then it's some road miles and autocross to test the splitter.

klb67
Reader
1/30/19 4:36 p.m.
Are you considering a lighter weight material for the final splitter after your R&D is done? Some kind of composite sheet? Fiberglass honeycomb? Carbon fiber sheet? Maybe just thinner but higher quality and lighter plywood?
In reply to klb67 :
I'll make one in Alumilite eventually. Maybe. Plywood is actually pretty ideal for a splitter that gets beat on. Most of the other materials, though lighter, don't like to get hit/bent repeatedly. Again, a lot of this depends on how much road contact is made while driving my kids around. Building a One Lap car is always about compromise.
After a half dozen or so plywood splitters a few best practice items we've picked up are:
Round the bottom edge of the splitter (you can round the top edge as well but AFAIK it's worse for aero) whatever you coat the splitter with will have a much easier time adhering to a radius than a 90*
Also, primer and then spray can truck bed liner is typically what we've used to coat ours with, it's quite a bit tougher than normal paint it seems and especially if you can get a really thick final coat on the leading edge it holds up well.
Additionally, our splitters seem to usually not care too much about bottoming out or smacking the entirety on the ground (i.e. braking into a crest) however the moment you get a chip in the leading edge and it rains the whole thing "blossoms" apart.
A layer of fiberglass on the leading edge or something may improve the design even further but we're lazy and wind up breaking/wearing out a splitter 3-4 times faster than brake pads so we just keep making more.
In reply to klodkrawler05 :
I've contemplated some sort of......transit skids for lack of a better term, that will slip/bolt/something on and take the brunt of the road abuse.
Thanks for all of your experience BTW, it's very helpful. Hoping to get the splitter mounts finalized today or tomorrow and hit the road with it.
On the nose of the splitter, why not use a silt hose to protect the leading edge?
My bad, spell check is awful. Slit hose...
In reply to MyTford97Truck :
Word from smarter people than me is that is seriously messes with airflow under to car to have the turbulence at the leading edge. For transit/street driving though, its a darn good idea.
Obvious, I know 0 about splitters, but......Could you use short hood support struts, with pins, to mount the splitter? My thinking is that it would provide some give in normal driving, yet not be effected by downward force. Also, easy on, easy off? Or am i drinking too strong coffee, and just follow your progress quietly?

Several things are conspiring to steal time from my day, not the least of which is that it's 51 in the Grosh. Since there isn't enough time for a big job I'll do a little one.
I had a friend in college who got a job making parts fit inside missiles. That was it. Parts tetris. There are times working on the car when I feel like I should call him. Running brake duct is one of them. On the drivers side I have room because I removed the big air snorkel thing. On the passenger side I have the washer tank.
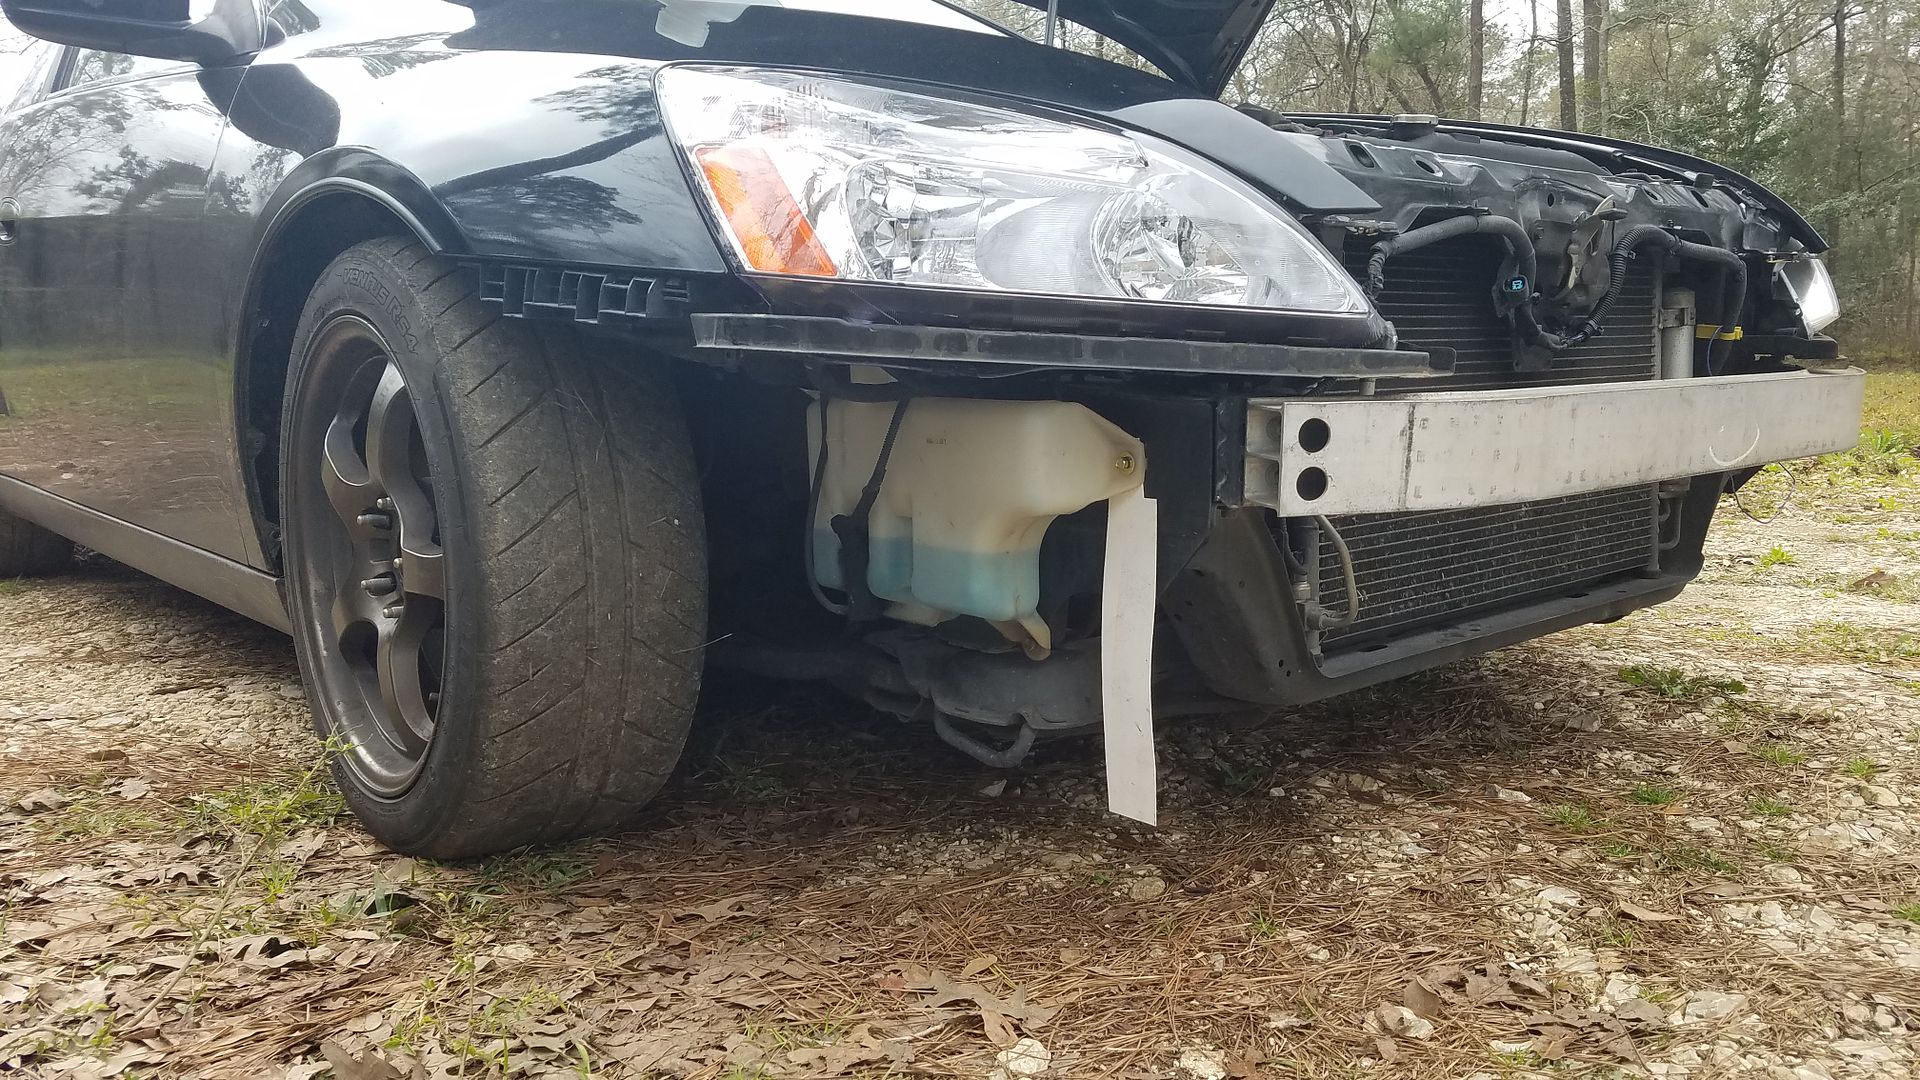
Easy button is to say "pfffffft, this is a race car" and just throw it away. I am going to throw it away, but I still want a washer. Night time road miles and bugs and all of that. The neat thing about this generation of Honda washer tanks is the pump mounts in a rubber gromet that fits in a hole in the tank. I know my wife's FJ does it like this to. Hell, maybe everyone does, I haven't taken a lot of them apart. Anyway, it seems that all I need is the right size hole in the side of a flat sided container and I'm golden. Right? Right. I found this 16oz rectangular Nalgene bottle on the internet somewhere and it just so happens to fit well right here which is about where the filler neck of the old tank came up.
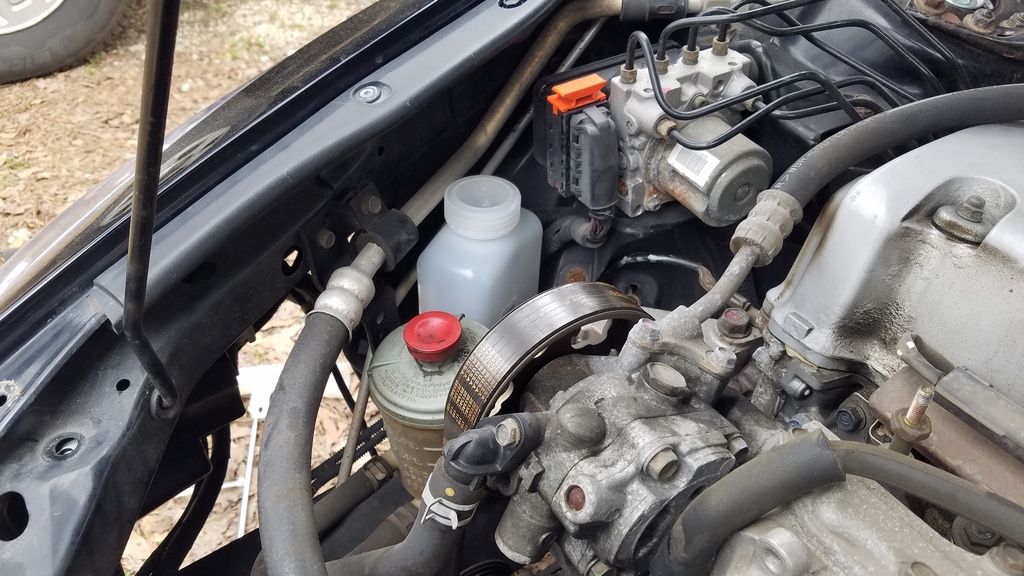
The hole in the stock tank measures 53/64 or some number of millimeters.
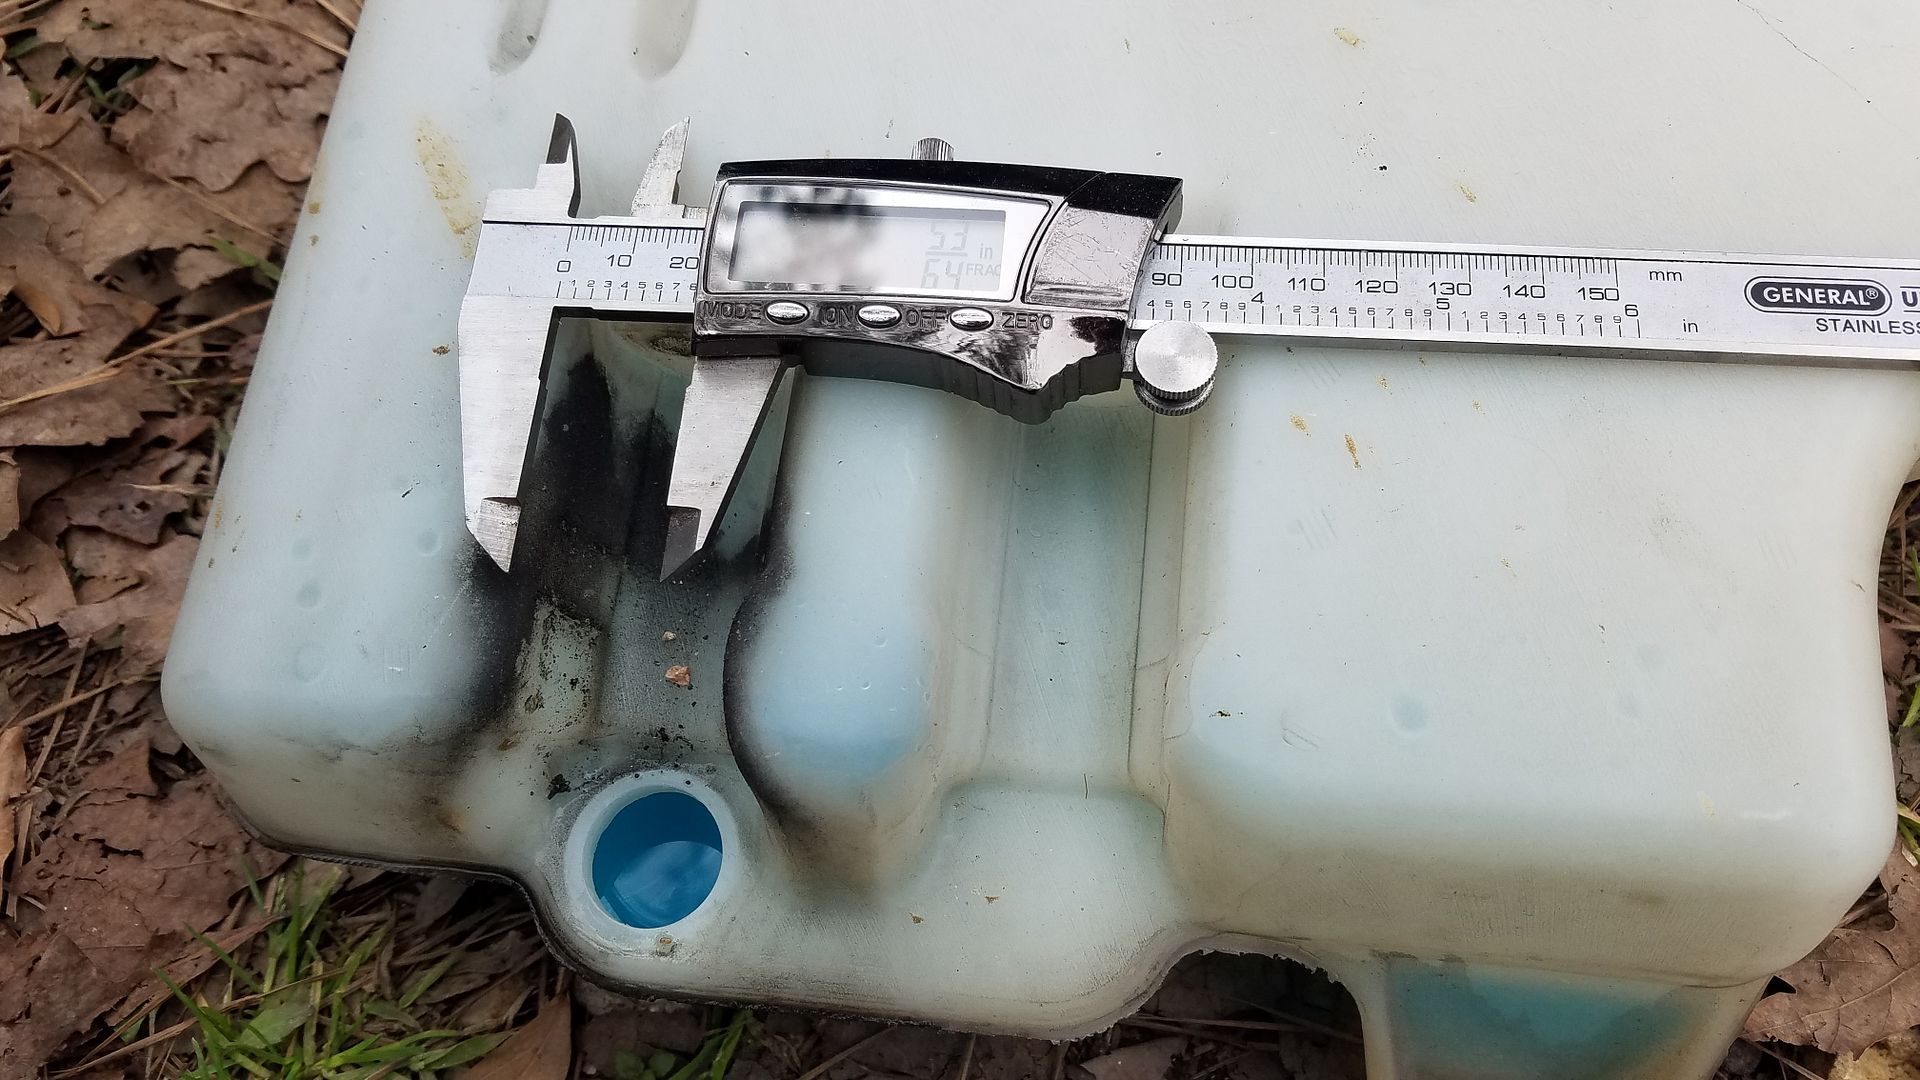
This is 1/64 bigger than 13/16 and I just so happen to have that size on my step bit!
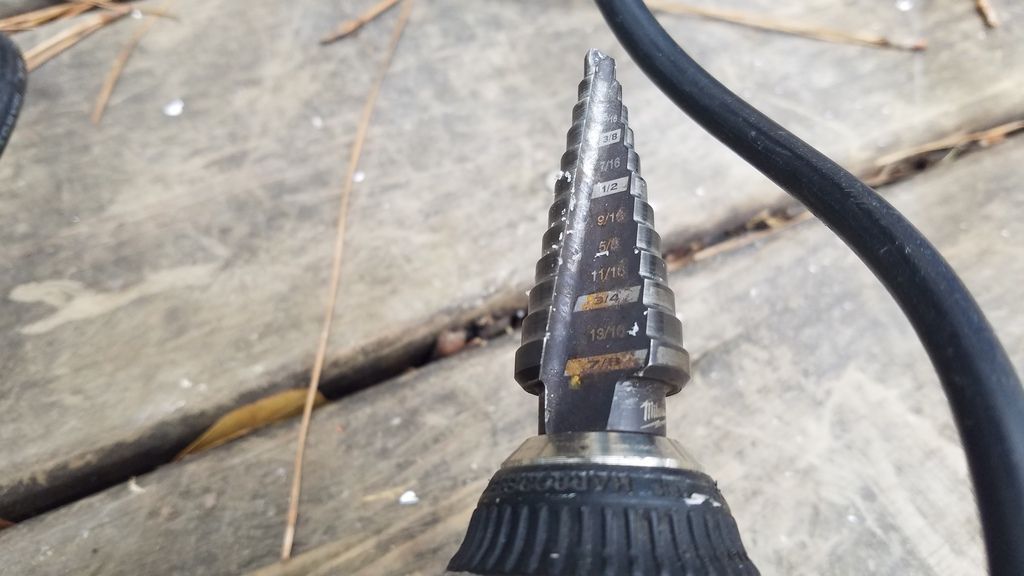
This plastic isn't as thick as the stock tank, so I'm only pretty sure it's going to work. I think I'll need an elastic strap and a foam spacer block to help stabilize the pump, but half an hour in and it's not leaking!
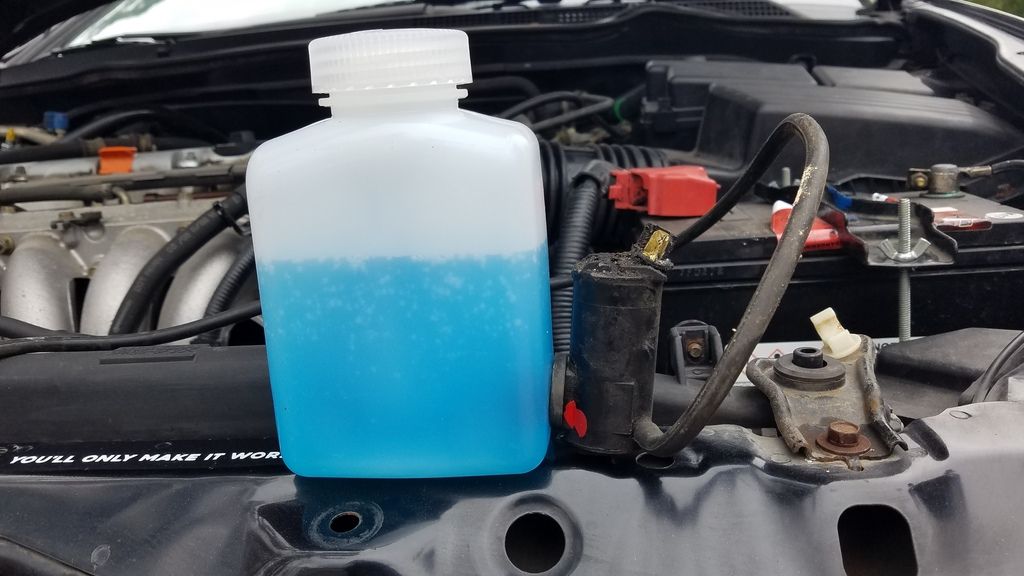
I'll work on mounting it later, I need to move around some wires first, assuming it's still full of fluid tomorrow morning. I'll also need a tiny hole in the lid to let air in when I hit the washer button. What I'd like to find is a little rubber one way plug thingy so that the fluid doesn't evaporate if anyone knows were to find one.
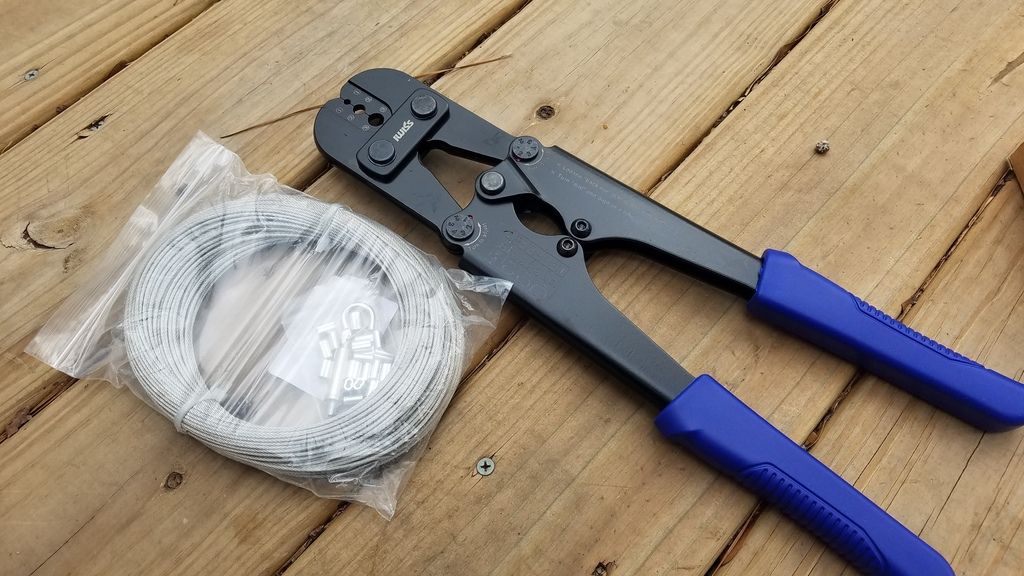
When I do manage to find time to get back to the splitter I can use these guys to make guy lines. I'm pretty excited to see how well they work.
In reply to mazdeuce - Seth :
“I had a friend in college who got a job making parts fit inside missiles. That was it. Parts tetris.”
That’s a thing? Because that’s seriously the one skill I have that I’m better at than anyone I know. Not to brag, but when going over the results of my adhd testing 6-years ago, my shrink said he’d never encountered anyone with a spatial-recognition IQ as high as mine. It was 140-something. I can eyeball a pile of parts/boxes/random crap vs. a given space and just know where/how everything needs placed to fit, or if it will, with 90%+ accuracy. Ok, enough bragging/threadjscking, I need to google this E36 M3 & find out more...

klb67
Reader
1/31/19 9:01 p.m.
I never built a splitter but I have worked with fiberglass and plywood and it would be super easy to use fiberglass resin on both sides of the plywood and a strip of fiberglass cloth on the edges to seal it from weather. Paint or coat as desired. That should greatly increase durability and prevent delaminating.
In reply to mazdeuce - Seth :
I have used the fishing leader and crimp method to retain splitters on cars a whole lot faster than your Honda. It works well, and still fails in a crash soon enough to mitigate damage to the mount.


