


That didn't last long


That didn't last long

30 whole miles.
When is that darned light going to just burn out?
Turns out that this is an intermittent check engine light. It went back out last night and hasn't come back on today. I'm going to give it a few days to see what it does so I can more accurately describe the behavior to the dealer. I *think* that the cause might be due to an O2 sensor issue. It has a relatively new Bosch sensor from FCP on it, but the generic code reader was giving me some sort of O2-related code back before the Adblue heater/level sensor/tank went bad. I had put a little Stabilant on the connection and I - perhaps wrongly - assumed that they'd pick up an O2 sensor code when they were poking at it.
I am a little bit surprised that the bulb hasn't burned out yet. I know that they offer the little mileage badges for the grille; do you think they have one for number of hours on the CEL bulb?

If the CEL is lit and goes out, the fault code is still saved as a historic code, until it times out or is erased.
If M-B would do a scan with newest Xentry while the code is still lingering, that would solve the mystery. They don't have to fix it, but at least get a record of it for future reference.
That's what boggles me a bit. One would think that when they've looked at it the last few times it would come up that there's a code stored in there.
Reposting here for sheissewagen content:
Loaded up racecar on trailer yesterday. Towed to Mid-O for test day, which went surprisingly well. Towed back home. 180mi round trip, averaged 18.0MPG, no check engine light.
Pics or it didn't happen...

In reply to FJ40Jim :
Awesome! You know it's a good day when neither the race car nor the tow pig break on you!
Update on my continuing trailer brake controller saga....
Received a new warranty replacement Curt Spectrum brake controller to replace the first one, which seemed to be bricked. After swapping it in, it still didn't work. Plugged in an older Curt Reflex controller, worked fine. It seems the solid state "brake light signal" from the rear SAM is too high voltage when it's off & should be zero volts.
Before I monkeyed around and smoked the new controller, it was tested by de-pinning the brake light wire. At that point the controller could be calibrated and manually actuated. If +12V was applied to the red brake light wire, the controller actuated normally. So what was needed was a proper 0V/12V brake light signal.
This turned out to be a simple problem to solve. Zip screwed an aluminum bracket to the pedal bucket, added a generic Toyota brake light switch, zip screwed an AL angle to the pedal to contact the switch. Tapped 12V power from the 12V brake controller wire to one terminal of switch. Connected other side of switch to red brake signal wire to controller.
Result: fully functional trailer brake controller! And the HAL9000 body controller doesn't know it's there.
Gonna give it a good test on the way to NCM Racetrack this weekend.

Hindsight: Mercedes probably biases a small voltage across the lights to detect a burned out bulb. I wonder if a resistor of TBD resistance across to ground would be enough to drop the voltage on the line low enough to keep the controller from wigging out.
Or even just a relay.
In reply to Pete. (l33t FS) :
Yes, because the brake light signal is coming from the rear SAM instead of an actual brake switch, it's 1.x volts when off instead of 0.0V.
I considered using a relay (an electric powered electric switch) but decided the foot powered switch would be the most reliable & analog way to go.
Just got home from NCM (We won, woot!). The fully functional electric trailer brake controller worked great the whole trip, but....
On the way down to KY, the 2011 Tundra pulling the racecar popped a rusty brakeline. We got it fixed after a nice repair shop flared a 39" piece of cunifer w/ M10 toyota fittings. I made some comment about "shoulda bought a rust resistant german sheissewagen". (insert ominous schadenfreude music).
About 100 miles later the Benz lit up a brake warning lamp and an ESP warning lamp, and kicked off the Cruise. Stopped for fuel & a code scan. Coughed up codes for RR Speed sensor inop, and implausible speed signal. Cleared codes, went to get back on the highway, dash lit up like a christmas tree, trans wouldn't shift outta 3rd-ish gear. Scan again, has codes for RR speed sensor and now a LR speed sensor inop and implausible. Stupid transmission won't work without at least 3 good wheel speed inputs. How about if the tranny based gear selections on trans output shaft speed? No, that would be too simple.
Anyway, clear codes again, make a run for the highway, manage to get to interstate speed with only one inop wheel speed sensor. It's now like the movie "Speed"; even if it loses a few speed sensors it won't drop down to 'limp-home' gear as long as speed stays high enough to require 4th-7th gears. We're full of fuel , got 110 miles to go straight down I-65. Make it in a little over 1.5hrs, yes!
Friday is supposed to be test n tune, but I spend most of the day extracting 2 rear speed sensors. Nobody in Bowling Green has them in stock, except the Benz dealer for $124/ea. Close inspection finds nothing wrong with the sensors, but the knuckle is just rusty enough that the sensors won't come out in one piece (typical). Before installing new sensors, used a slightly undersize drill to drill the rust outta the hole so new sensor will go in with minor resistance. Then used a sharp chisel & a file to clean the scaly rust off the registration surface. IMO, the failing signal was due to this rust buildup lifting the sensor tip away from the wheel bearing. Put it all back together with 2 new OEM sensors in clean knuckles, test drove, works perfect!
After racing Sunday, we hitch up camper and head up to Mammoth cave, only about 40 miles, but everything works fine. Monday we drive around sans trailer for some sightseeing & fillup with fuel for the trip home. Next day hitch up & go to leave, truck grinds to a halt above 5MPH or so, unintended ABS activation. Scan now shows bad RF speed sensor. Clear codes and turn off ABS/ESP switch and head for the highway. Sucks not having cruise, but the truck makes it home with ABS, ESP and CEL on the whole time. Oh yeah, it's also picked up an 'undefined' engine fault code.
Time to order 2 new OEM frt sensors from FCPEuro for $40/ea and get it working reliably(?) again.
In reply to FJ40Jim :
I can understand the failure mode of having a bit of rust in there to confound the signal that the sensor is trying to read, but having three of them drop out like that at the same time is pretty weird. I do think that cars (and pretty much everything else electronic) need to come with a "Raikkonen switch". You know: when the computer starts telling you that something isn't right and it wants to go to limp mode or whatever, press that button and it tells the computer "leave me alone, I know what I'm doing".
Looking back, I really should have noted the mileage back when I started der Scheißwagen up and didn't see the Check Engine light for the first time. It has been a rather large number of start/stop cycles, though, and despite the fact that I didn't actually do anything, I'm starting to think that I might be able to call it "fixed" for now. That part of it, at least. There are a couple other things that I need to address, but that's more because it's a vehicle with 144k miles on it. I'd like to do the transmission service since I last did it at 106k miles. There is something on the right side of the car that isn't the canopy which is rattling a bit on the highway. The windows could use a little bit of lubrication. I think the motor mounts need to be replaced and/or there's a heat shield loose on the exhaust somewhere. It's a little bit extra vibratey and noisy at idle, but it's not an internal-engine noise, it's more like the engine is making the chassis ring like a bell. And, of course, I'd really like to try to track down the front-of-the-engine oil leak(s) and get that cleaned up.
While saying this is probably a sure-fire way to make sure something very inconvenient and expensive breaks, I'm actually back to really liking this beast.
As predicted, acknowledging the lack of Check Engine light has summoned the Check Engine light. Popped back on Saturday evening. I'll have to make an appointment to have them read the code for me. I'm actually letting the daughter use it today since the Saab is at the glass shop having its windshield replaced and I didn't really feel like driving the younger kids to school, then driving her to school, then picking her up from school later. I think she's starting to like it.
Fun with front ABS wheel speed sensors....
Ordered new made in DE sensors, but also had to order some new brake pad harness and wire mounting clips because of updated cabling. Turns out the new sensors were still the original style, so didn't need (couldn't use) the other parts. Called FCPEuro, explained the situation and they emailed me a FedEx return label immediately. Props to them for taking care of a repeat customer.
Installed 2 new front sensors, cleared codes, test drive, no problems. Heck, the CEL even forgot to turn on.
For the first time in the entirety of my ownership, it is a fully functional tow pig.
Lately, SWMBO's TDI Sportwagen has been acting up because (modern diesel) + (short tripping) = (problems/ 0).
So in a petulant fit of spite, I sold the TDI, which leaves the ML350 as our only 21st century vehicle. We'll see how long a 14 year old Mercedes can function as a reliable daily driver.
I think the over/under is about 42 days or 902 miles until it berkeleys up, leaving SWMBO stranded somewhere. Then I can buy her a new used appliance, e.g. Prius/Volt/Bolt...
I haven't had much to update, which is probably a good thing. The check engine light went back off and has remained off. Since they replaced the Adblue tank, my consumption of DEF has dropped dramatically. The last full fill of DEF got me through over 10k miles while before that I was going through 5 gallons in as little as 3k miles. I do have a rattle and a leak in the exhaust right now, but that should be something that's covered by the extended warranty. I need to make an appointment to have them look at it, but I'm kind of trying to hold off at this point since I'm so close to 155,000 miles - might as well have them sign off on the paperwork at the same time so I can hang this on the grille:

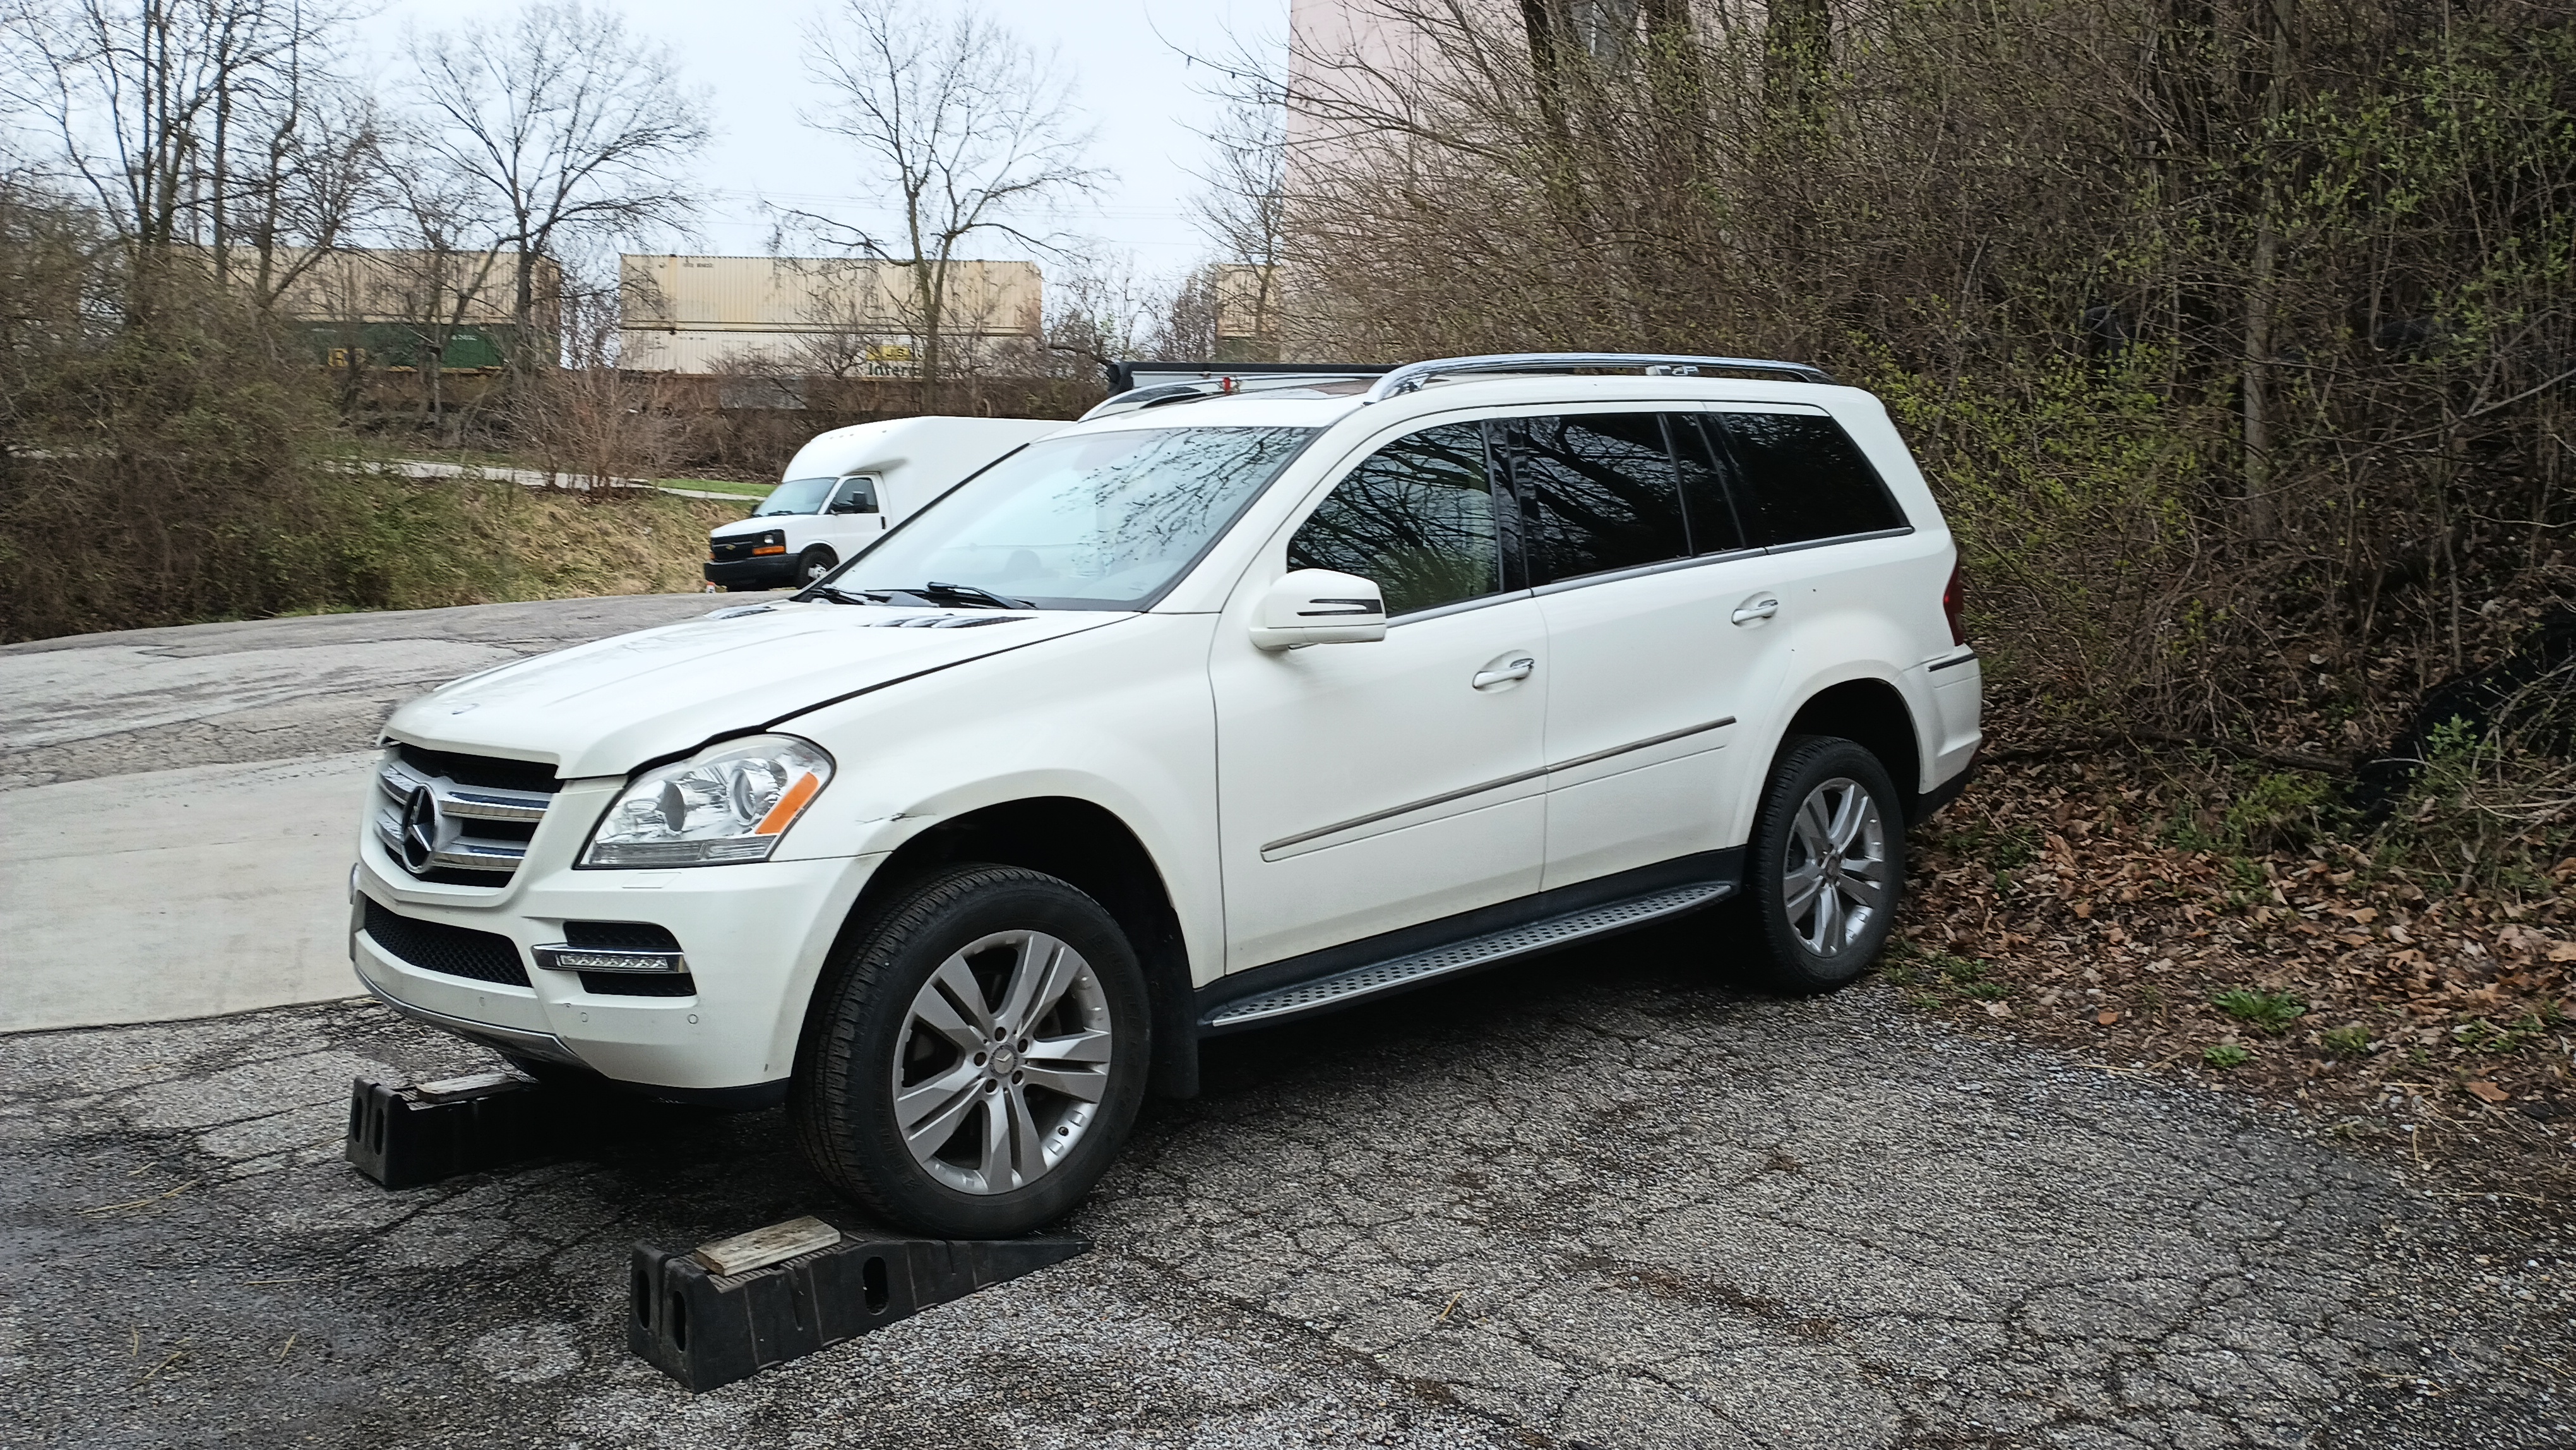
In the meantime, I do have a couple maintenance items that need to be addressed: Transmission fluid and air filters. The trans fluid is a little bit overdue and I've had the box from FCP Euro sitting in the shop for longer than I'd like to admit, so yesterday I decided to get it taken care of. Step one was to get it on the lift in such a way that the transmission pan was leveled out. I screwed around with that for about an hour and could not find a way to lift the vehicle in such a way that it would level. Even trying the little extended pad things in the back:

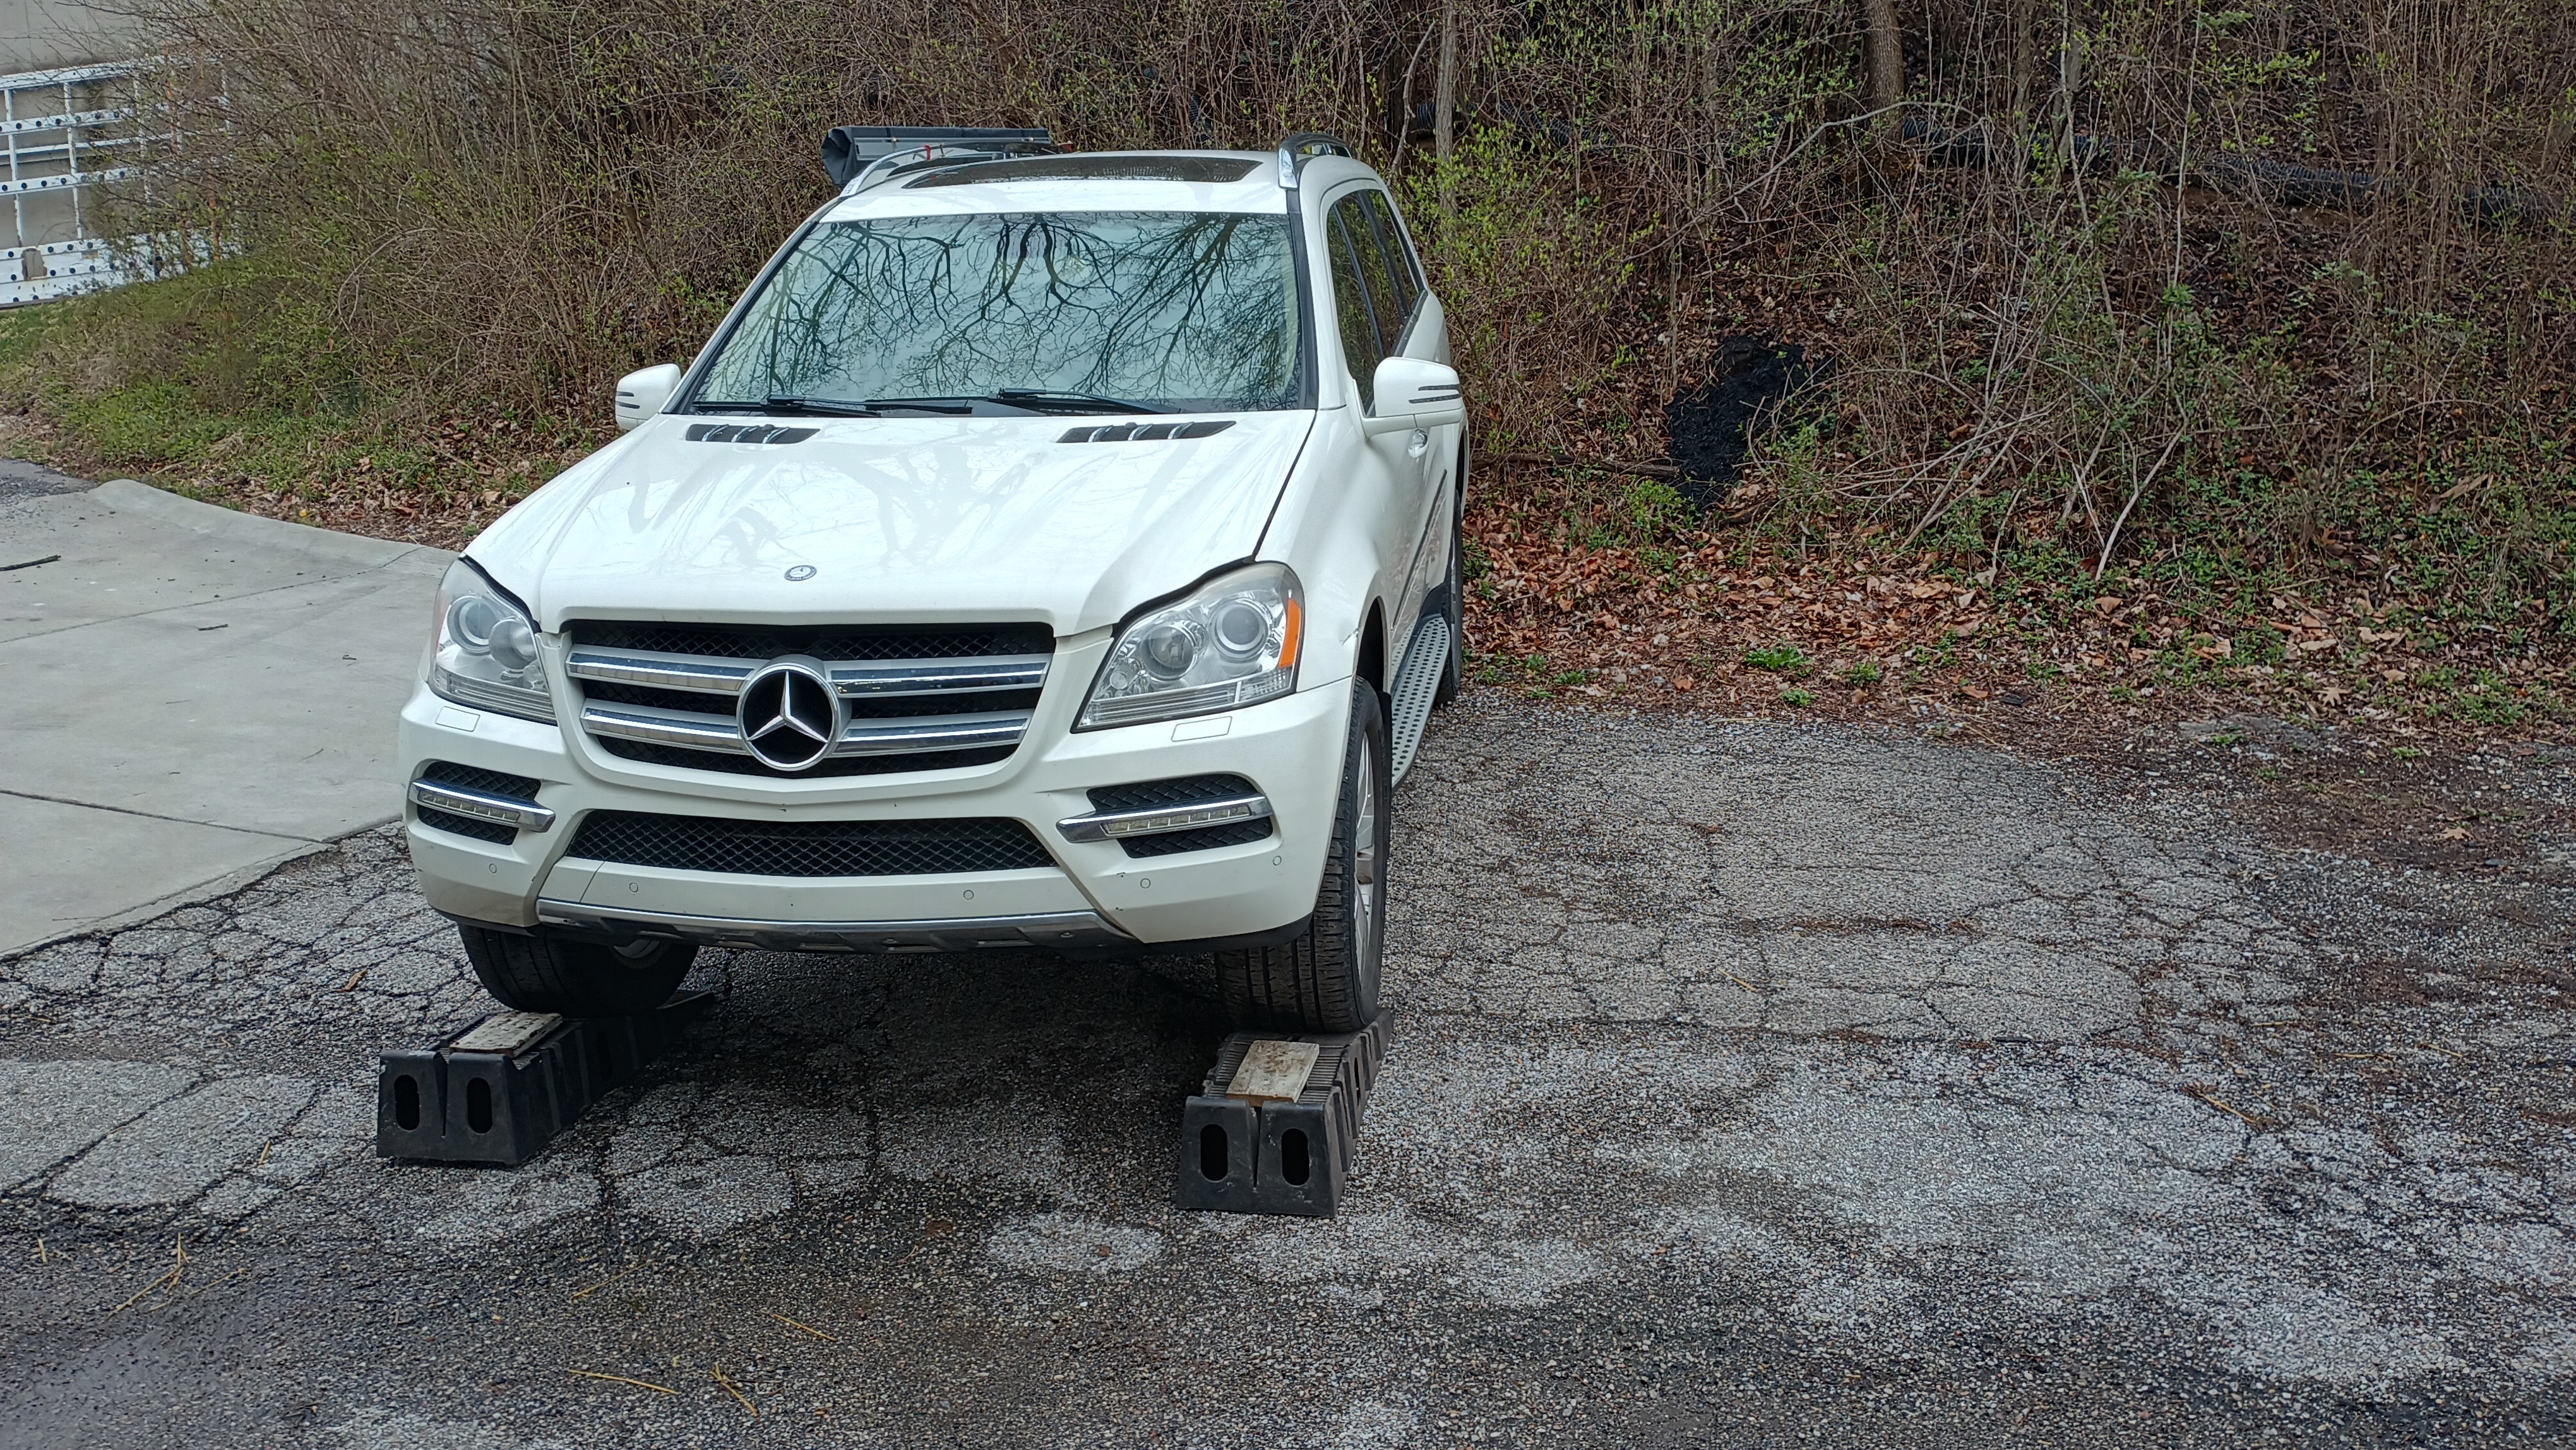
With just the little pad in the front, it still needed the rear of the vehicle to be up higher - or the front to be lower. I'm a little bit curious how they do that at the dealer without causing the stupid things to tip forward and land on their nose. Finally, I gave up and decided to do it the way I did it last time and use some ramps for the front with the rear wheels uphill.
It took a while to turn the engine so that I could access the torque converter drain plug. It's not difficult, per se, it's just a pain in the butt to crawl under, look through the inspection hole, climb back up, turn the breaker bar on the crank pulley, crawl back under, and so on. It's a 6mm hex head, but you can't really get a socket on it because of the angle. Fortunately, I have a 6mm allen wrench that is a perfect fit.
The rest of the process went pretty unremarkably. Once the TC was drained, I put the plug back in and replaced the inspection cover. That was about 3.75 qts of fluid. The pan is a three-step process: first remove the drain plug and get about a liter of fluid; when the flow stops, use a drift to knock off the little fill neck that's inside the pan and get another whole bunch of fluid; when that flow stops, put the plug back in and remove the six bolts and sprags that hold the pan on and carefully drain that. All in, I think I had about 8.25 quarts of fluid.
Yes, I know the fluid is sold in liters and all the specifications are in liters. But the graduated drain pan that I have is marked in quarts, so that's what we're going with.
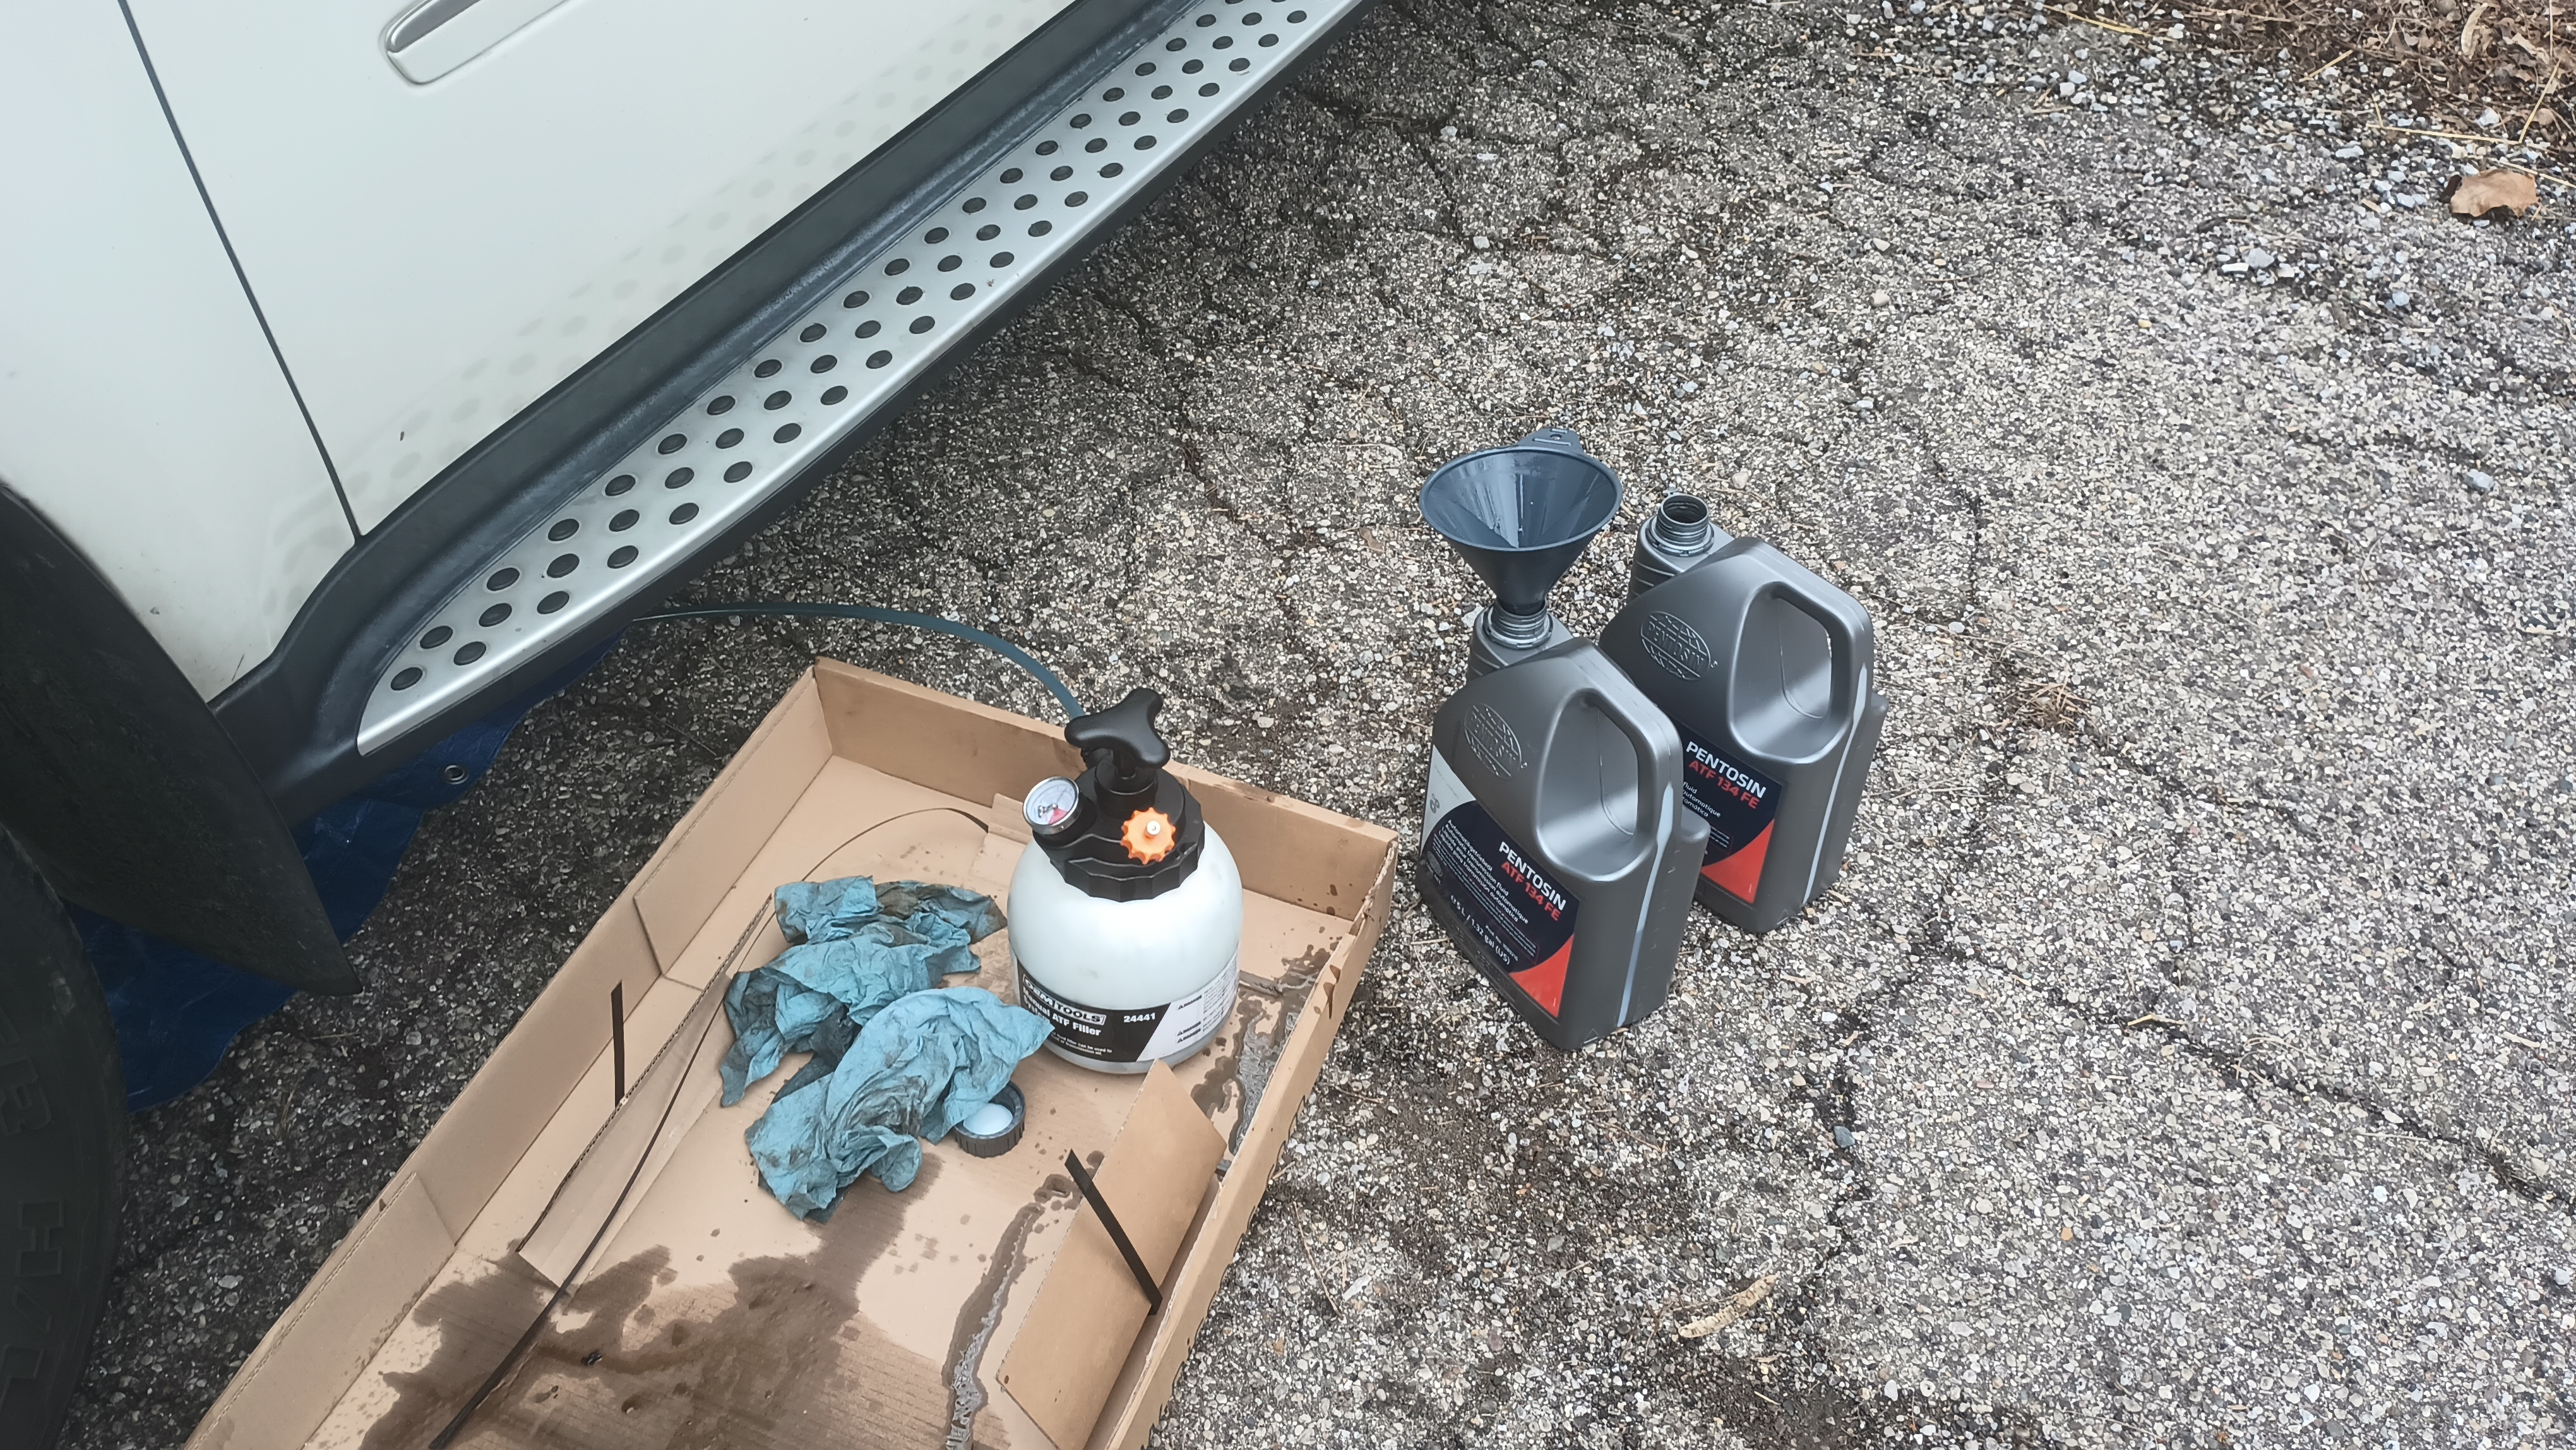
Anyway, everything gets cleaned up, the filter pops off and gets replaced, and then the drain pain gets a new gasket, six new bolts, and torqued to 35.4 inch pounds plus 180 degrees. The drain plug comes back out and it gets a new crush washer. The correct adapter from the pressure-filler gets screwed into the drain hole:

And then the pressure-filler gets filled with nice, new ATF. This thing was a hundred bucks, but it's now done three transmission services, so worth every penny considering this is a $500+ job from the dealer.

The guidance is to put back the amount of fluid that was drained plus a liter, so that's what I did.
Once all the fluid is in, just turn the little red handle on the pressure-filler to shut off the valve, make sure that the socket and breaker bar that you used to rotate the engine is no longer attached to the crank pulley bolt, and start the vehicle. Run it through the gears a few times (with your foot on the brake) and then wait for it to come up to temp. I used Xentry/DAS to access the "oil level check" in the transmission module, but the MBII can get the data as well. I also understand that using an infrared thermometer on the pan will get you where you need to be, but I've never tried that. It takes a while, but once the fluid is at 45 degrees C, put a drain pan under the pan and pop the quick release connector off the pressure-filler to let the transmission drain the excess fluid. Once you've got just a tiny bit flowing out, remove the plastic adapter and put the drain plug back in to some number of torques. Don't shut off the engine until the drain plug is in because if you do, the fluid will rush back into the transmission pan and you'll drain too much out. That's all there is to it.
But this is a Bill story, so you know that's not all there was to it.
When I went to put the drain plug back in, I had a blue-tinted fluid coming off the bell housing and forming a puddle under the car. Not good. It looked and smelled like a petroleum product, so I must have screwed something up in the process of getting everything sealed back up. Since it was coming from the bell housing, it must have been the torque converter drain plug. I didn't feel any fluid on the inside of the bell housing, but there's also a cross member and an oil line right there, so it's hard to see or feel into the inspection port. I rotated the engine around again to get the plug, put my allen wrench back on it, and gave it some more twist. For good measure, I also snugged each of the six pan bolts a little more, although I was quite nervous about that since the last time I did this job on this vehicle, I snapped one of the aluminum bolts because my torque wrench was broken. This time when I started it up, I didn't see anything and I was running very late, so I closed up and headed out. Job done!
You're right. Bill story. Job very much not done.
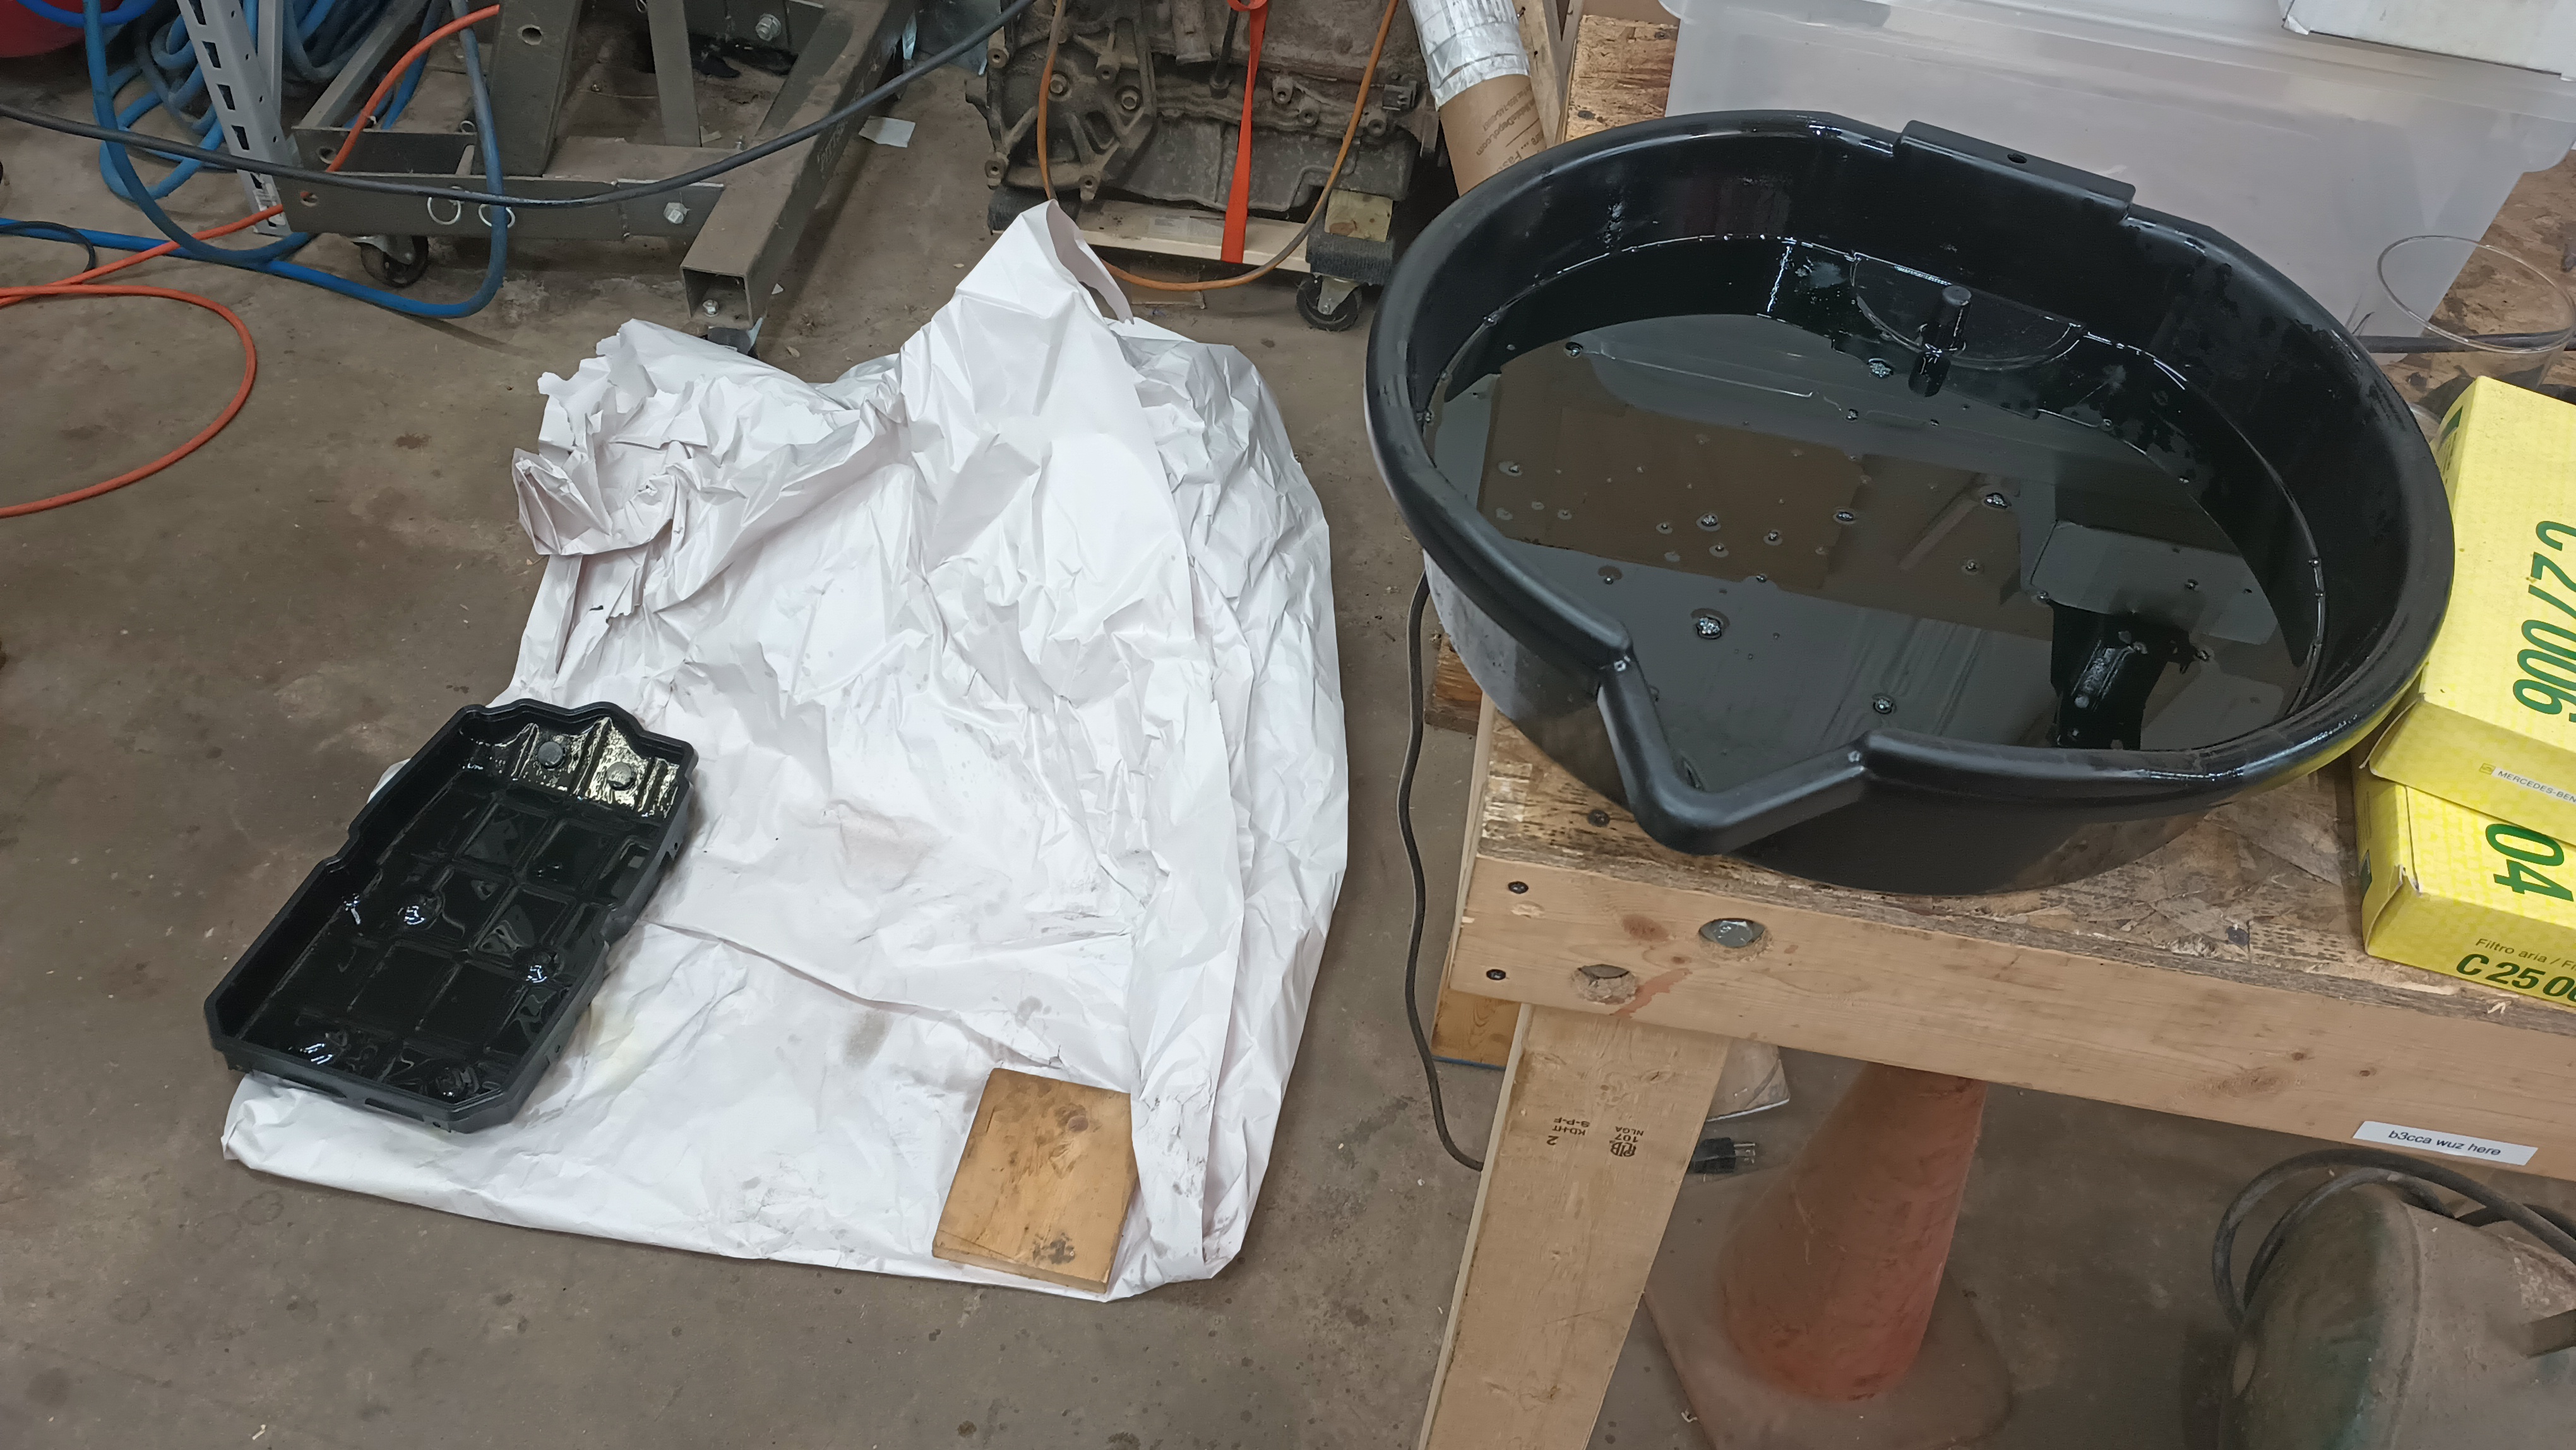
When I got back home, there was still some drippage. I must not have gotten the mating surfaces between the pan and the transmission clean enough. So back to the shop. This time, I decided to work inside since it was dark and cold outside. The only part for which the trans pan has to be level is the level checking, so I just got it up on the lift to take a look. It looked a bit like there was some fluid along the pan, so my assumption was that the pan was leaking. I don't have any more of the fluid hanging around and I can't really get any locally, so I cleaned out a drain pan really really really well and set about draining the pan. Getting the firstfruits was easy - I just held the drain pan under the transmission while it emptied the first liter or so. The second step, after knocking out the fill tube, was going to be more difficult. I had hoped to put the pan on the transmission jack but the scissor lift was where the tranny jack needed to be for that, so I needed to get creative.
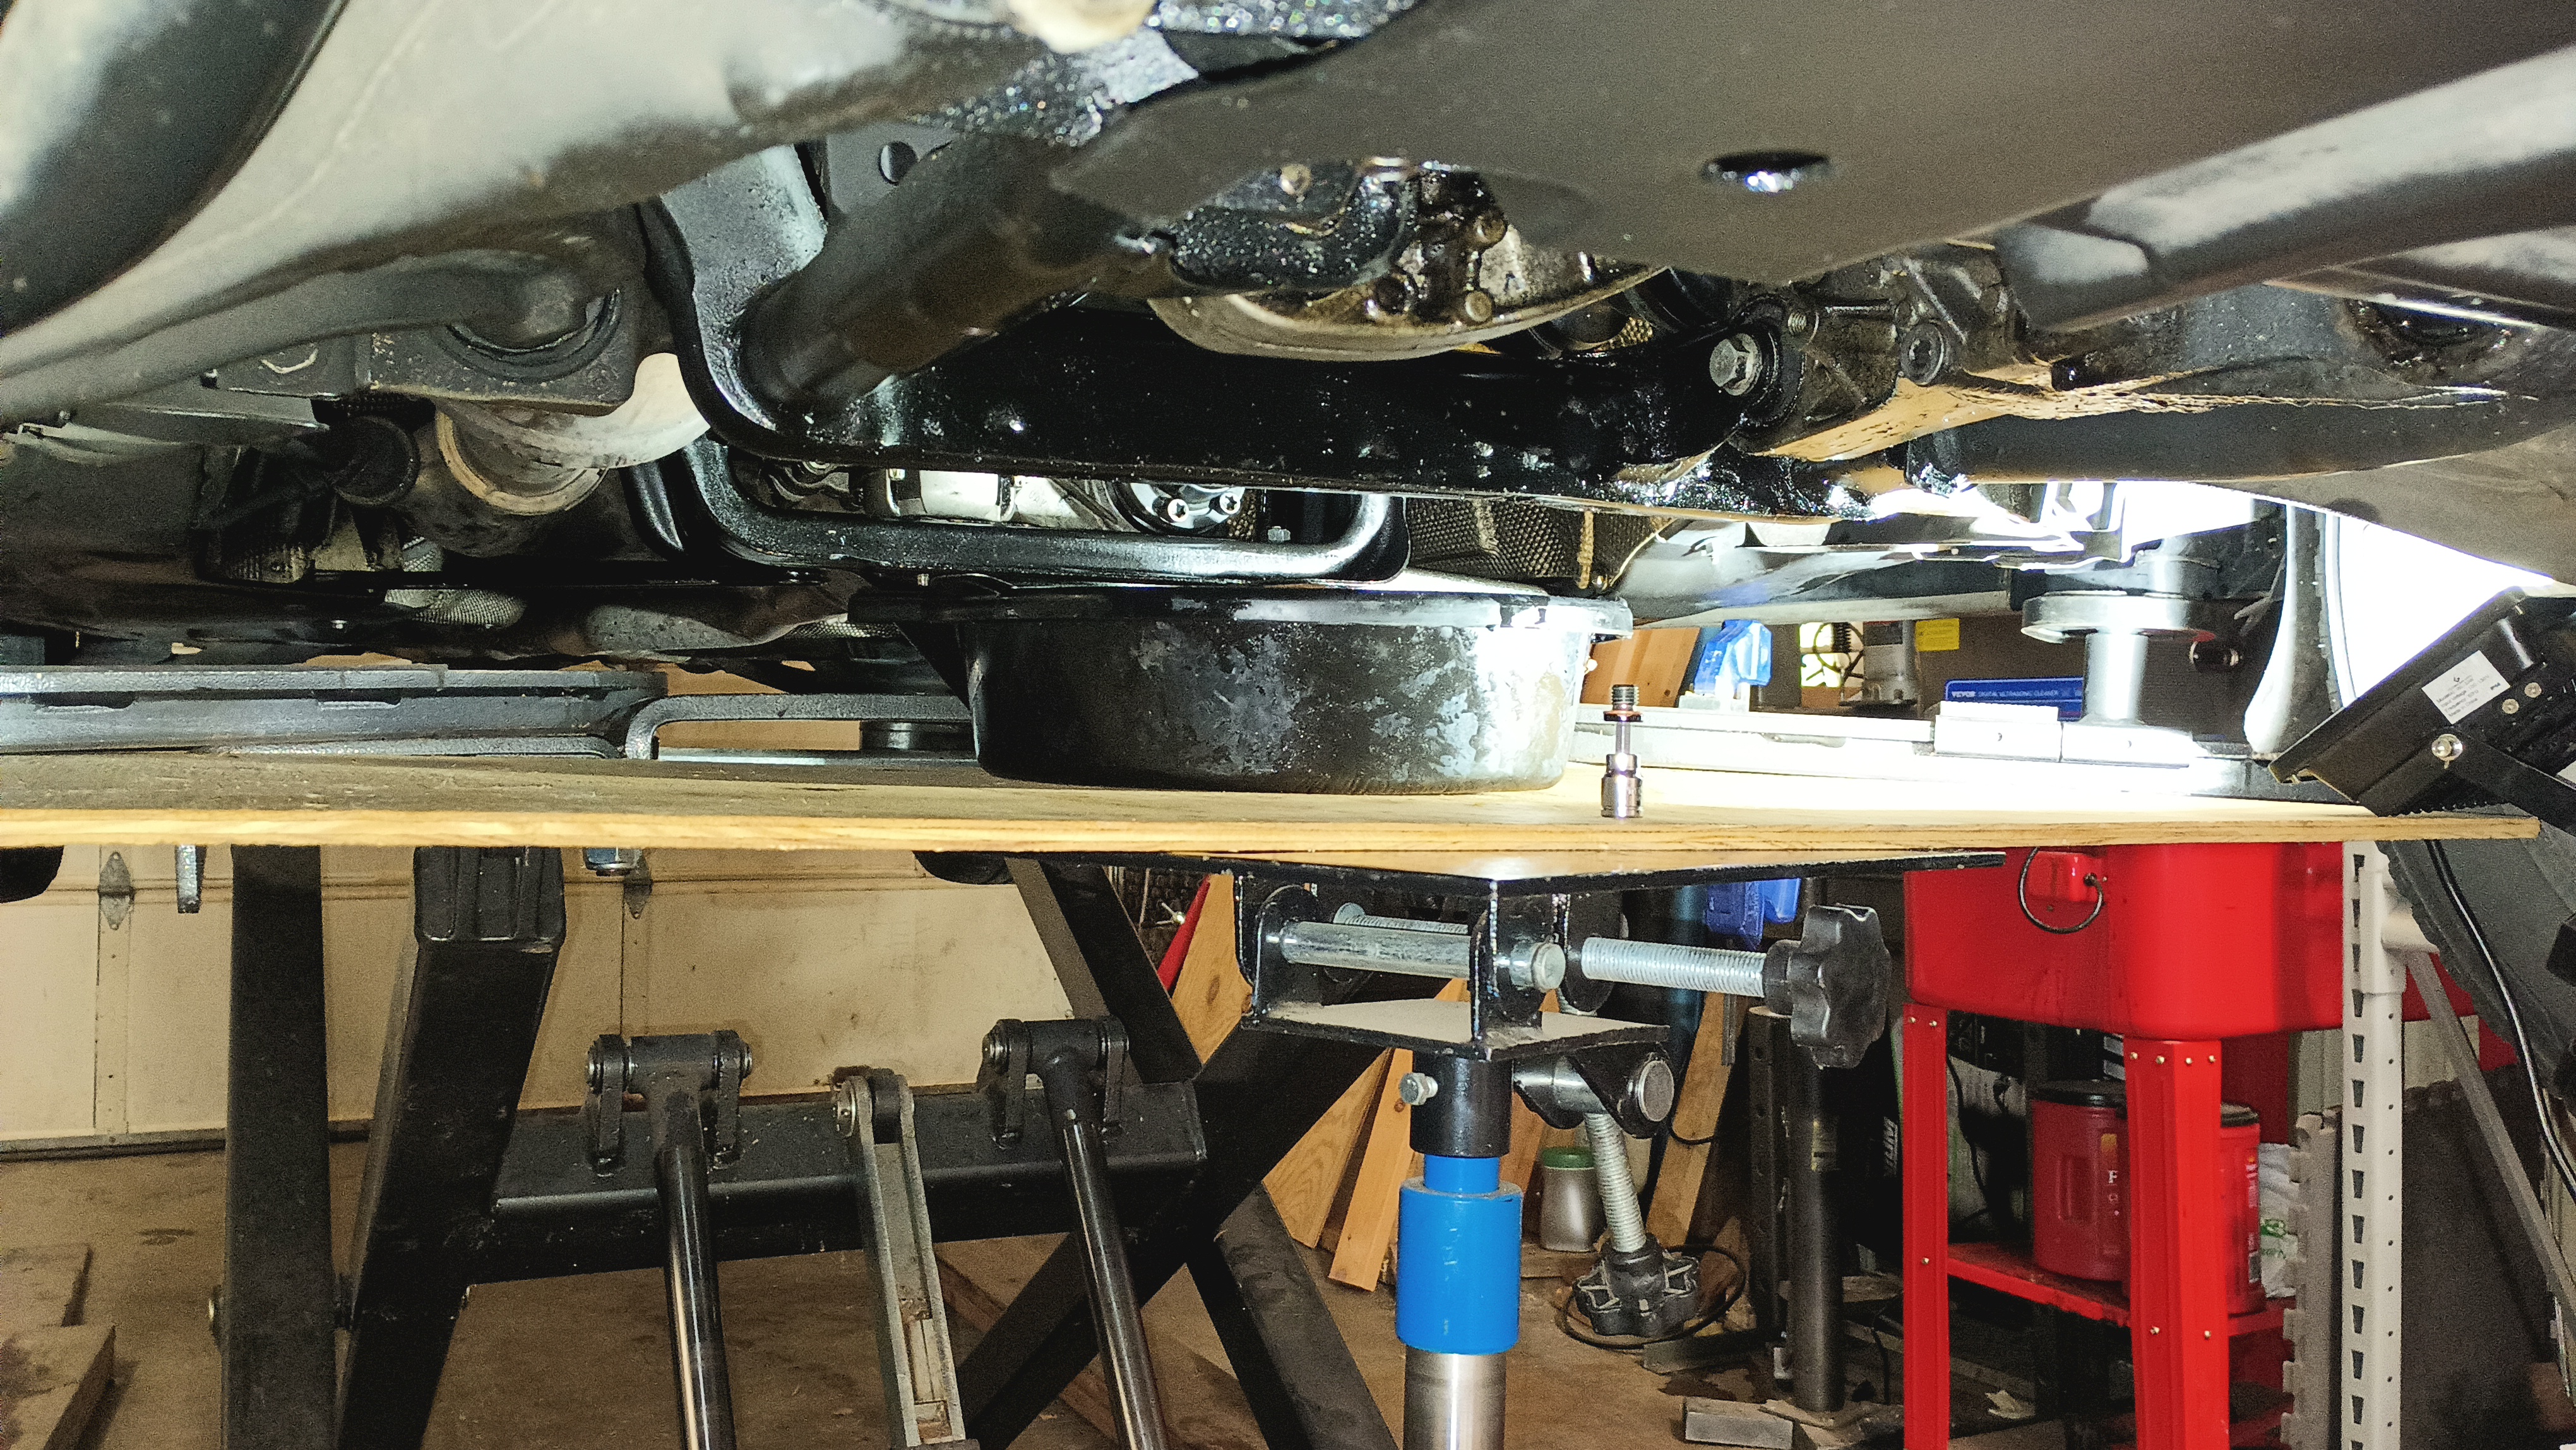
I clamped a bit of plywood to the arms of the lift to support it in the rear, and used the tranny jack to support it in the front. That allowed me to put the pan directly under the drain hole so I could have my hands free to knock the fill tube out of the way. When that was drained, the plug went back in and I dropped the pan. I left the pan on the plywood - I added a layer of cardboard to collect the drips - and removed the filter and let everything drip into the pan until I had recovered as much of the fluid as I could. I dumped the pan into the drain pan and set about meticulously cleaning the surfaces.
When everything was clean, the filter got popped back on, the fill tube was installed, the gasket went back on, and the pan got re-installed. I re-used the bolts because I didn't have any extras there at the shop with me. I filled the transmission again using the pressure-filler, and then set about trying to level out the tranny pan. In the end, what seemed to work was putting a couple layers of 2x4 on the oil change ramps, locating said ramps under the rear wheels, and dropping the vehicle so that the rear wheels were up on the ramps and the front wheels were on the ground. Same process to get the temp up to 45 degrees, drain, and cap. For the record, this is how I should have done it the first time. And, as you would expect, no more leaks!
hahahaha! No, you totally expected more leaks. This is a Bill story.
That same leak was still present, so leaving the engine running, I lifted it back up so I could get a look. Here's a riddle for you: What looks sort of blue-tinged like Euro antifreeze and Mercedes ATF, smells, feels, and tastes like a petroleum product, but isn't ATF or coolant?
Diesel fuel. I've got a Mister Falcon-ing fuel leak and it's running down the block, and dripping off the bell housing. The whole second draining and filling of ATF was absolutely unnecessary. As Ben might say, I am not knowing my fluids.
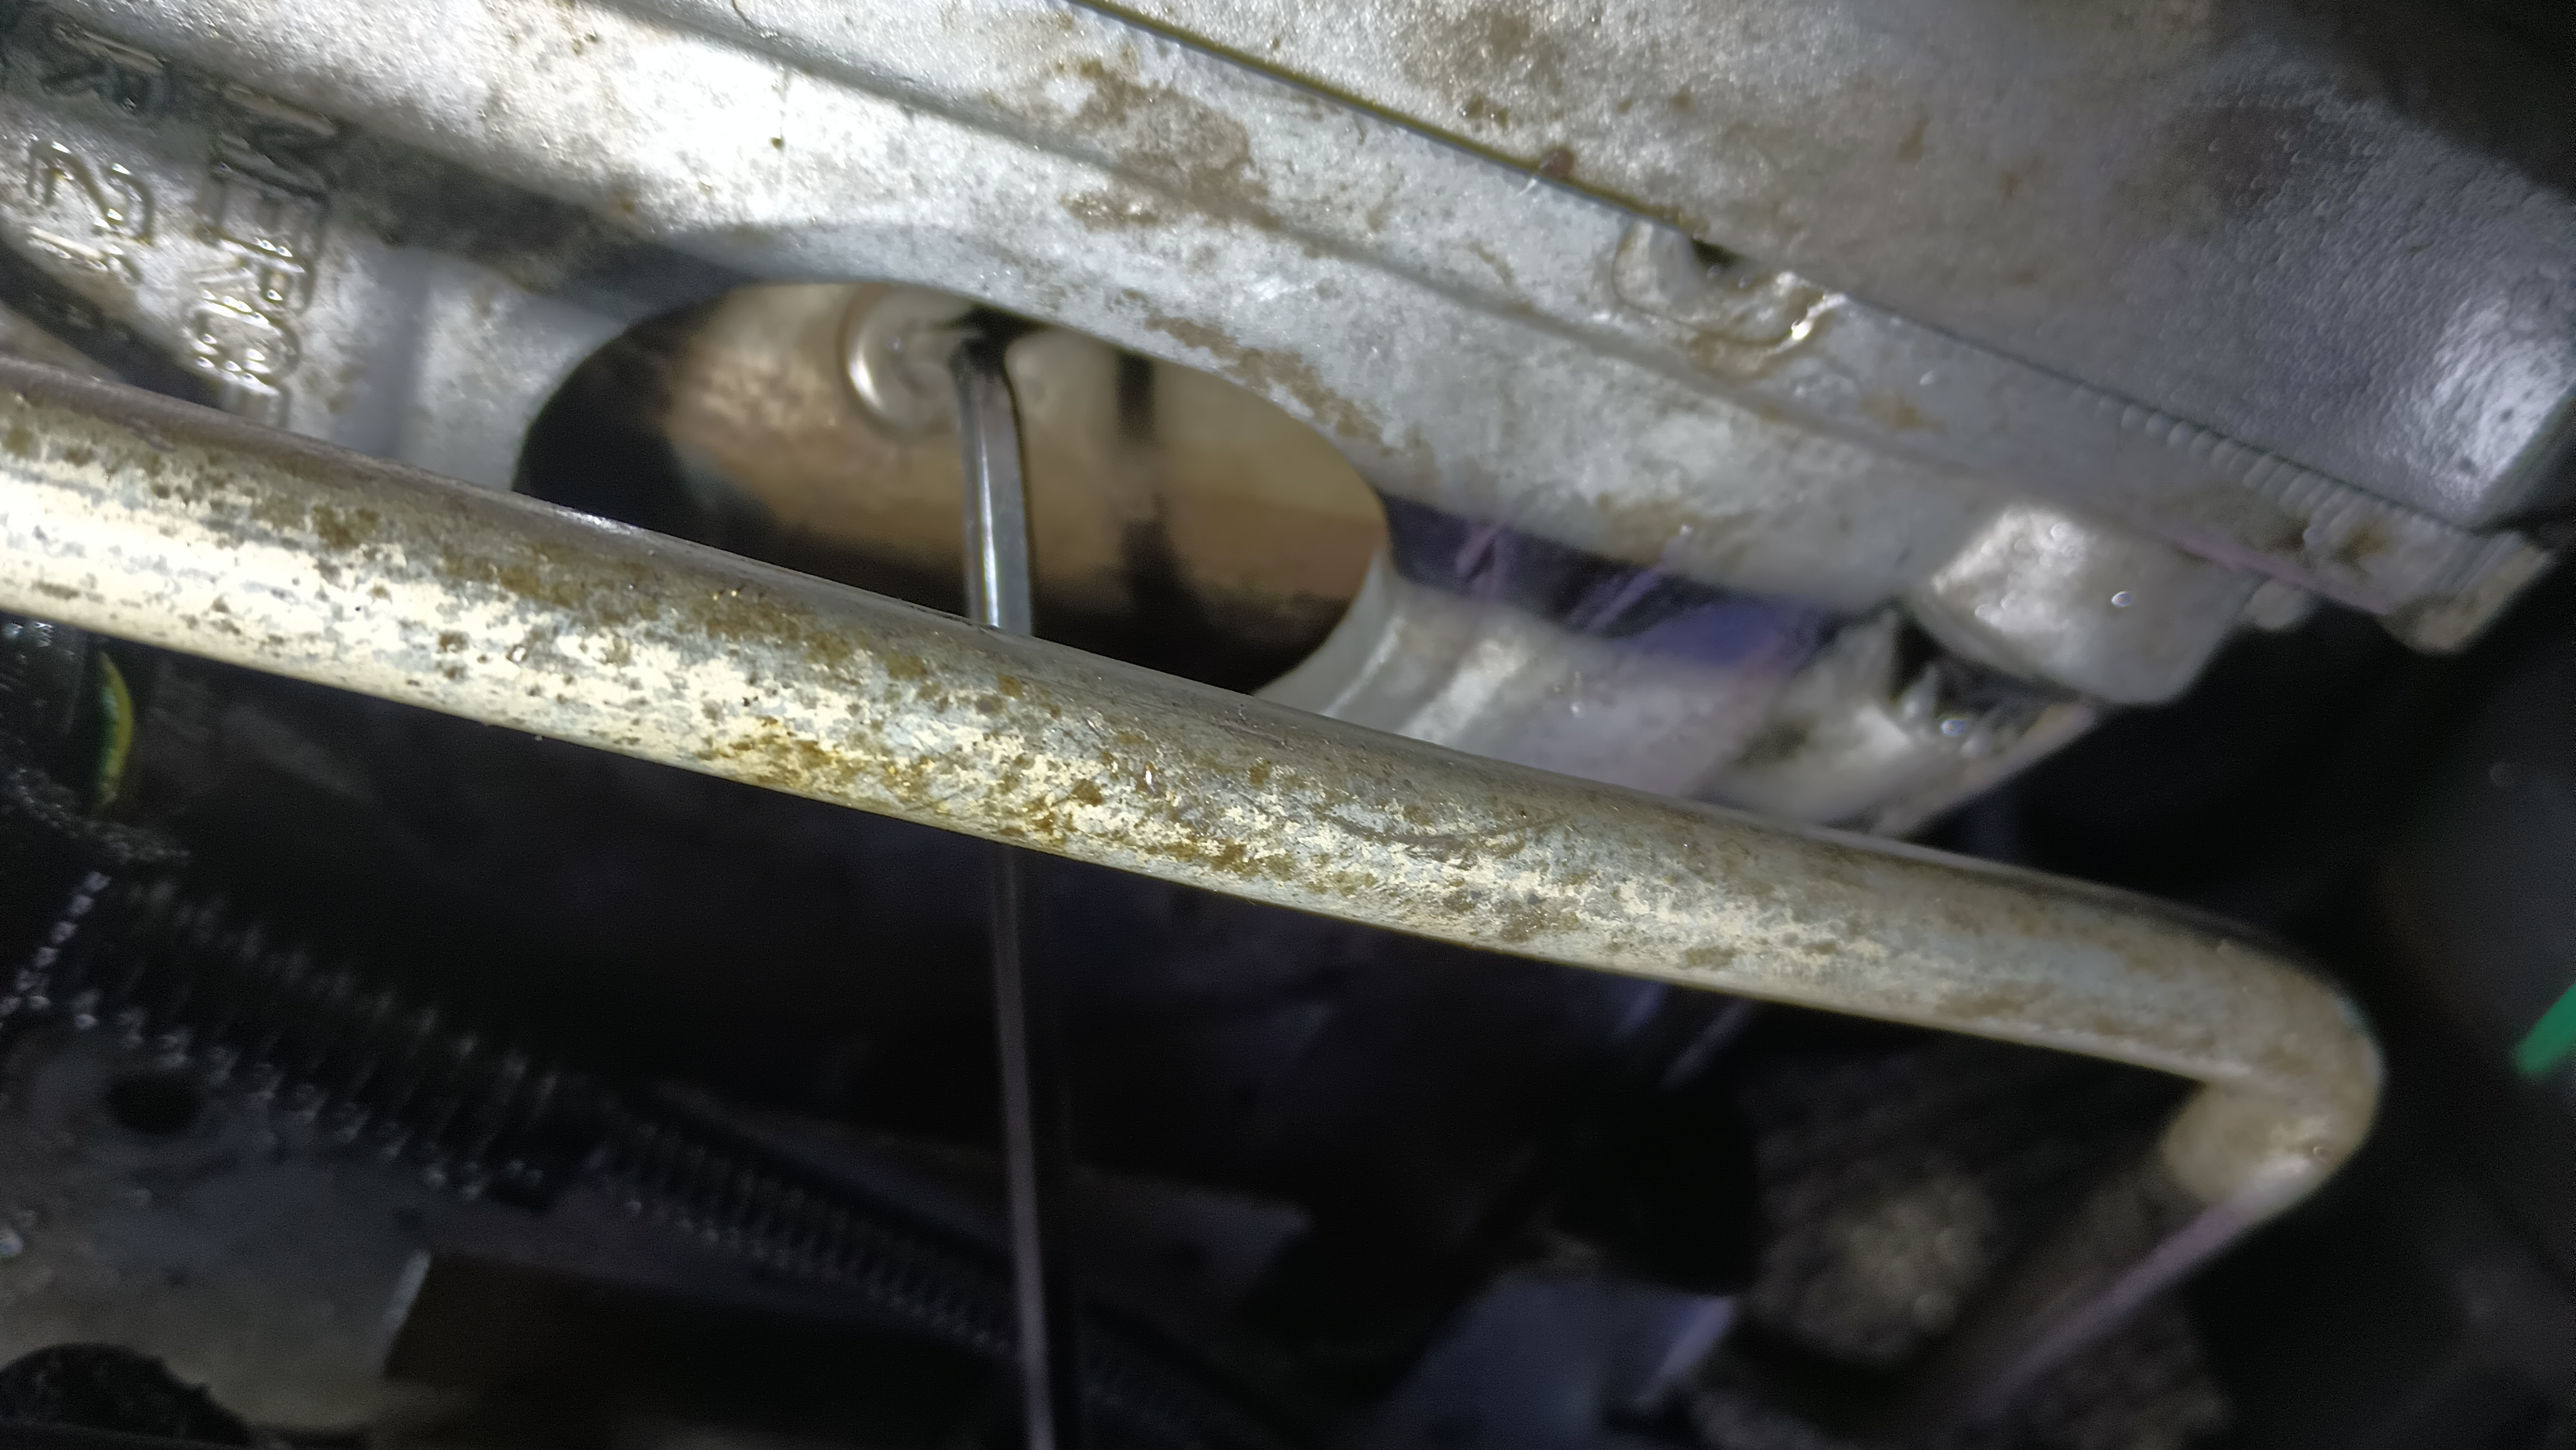
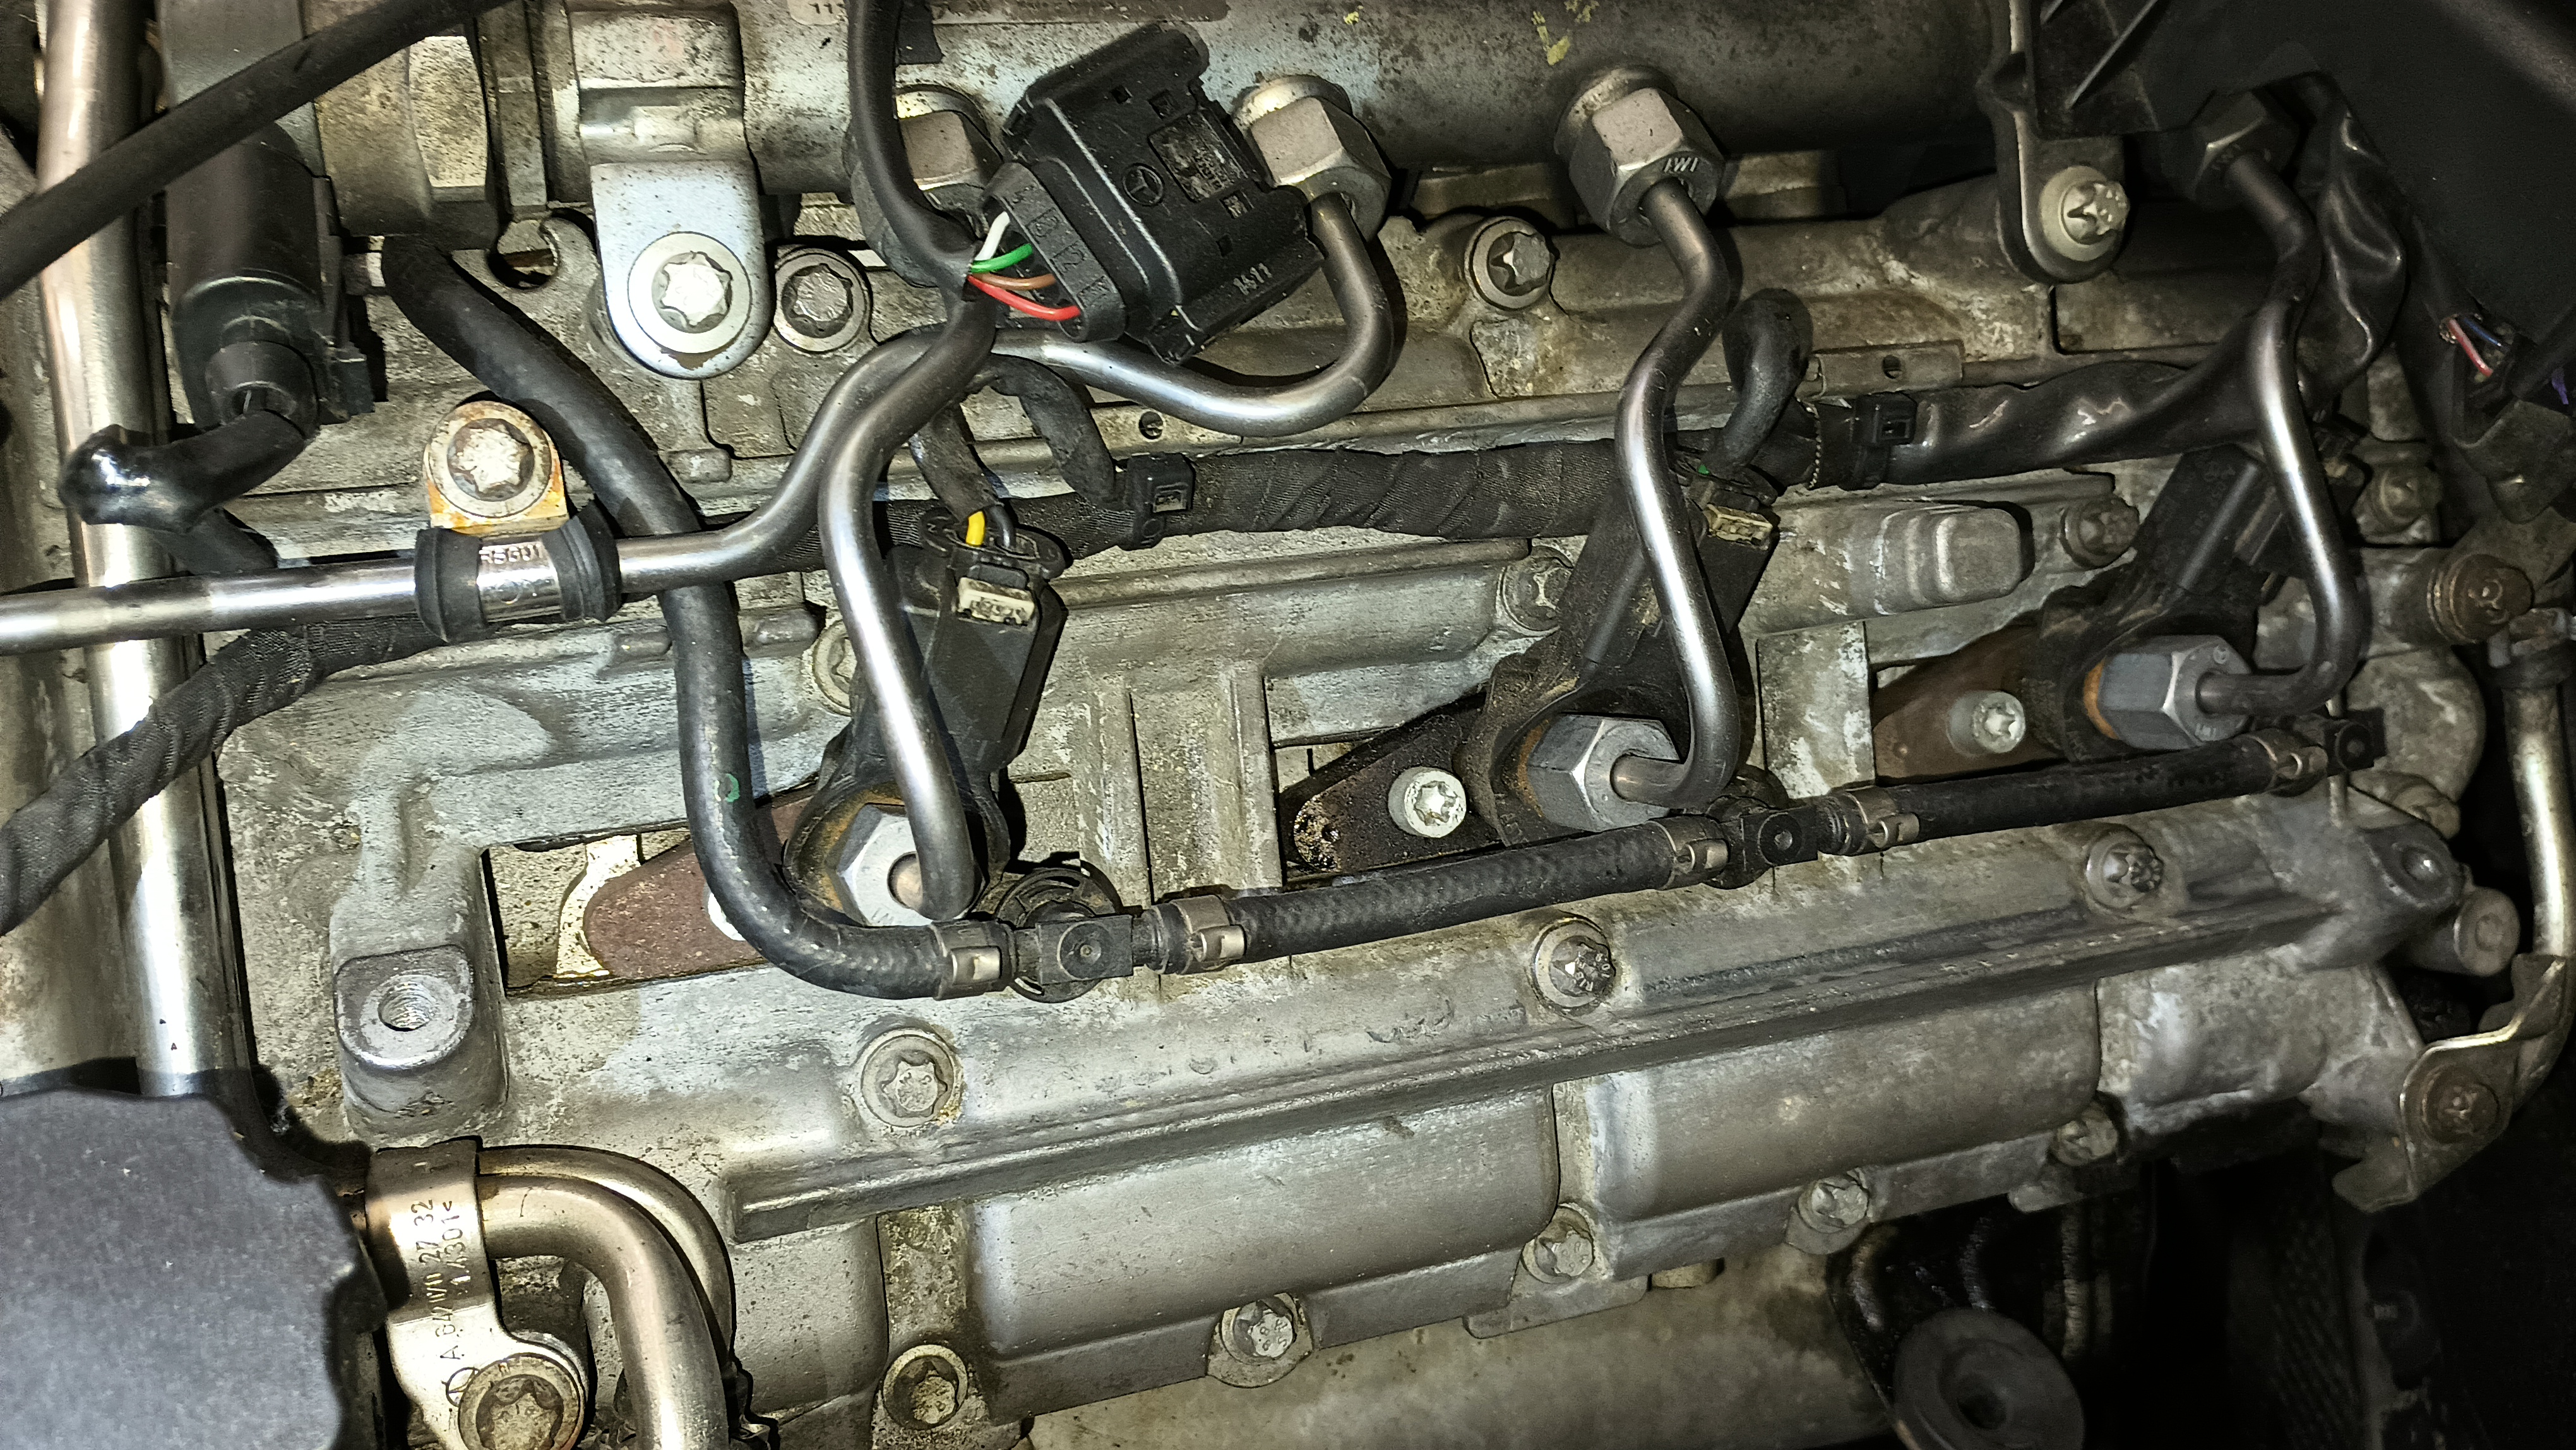
Putting the wheels back on the ground and pulling the engine cover off, I see this:
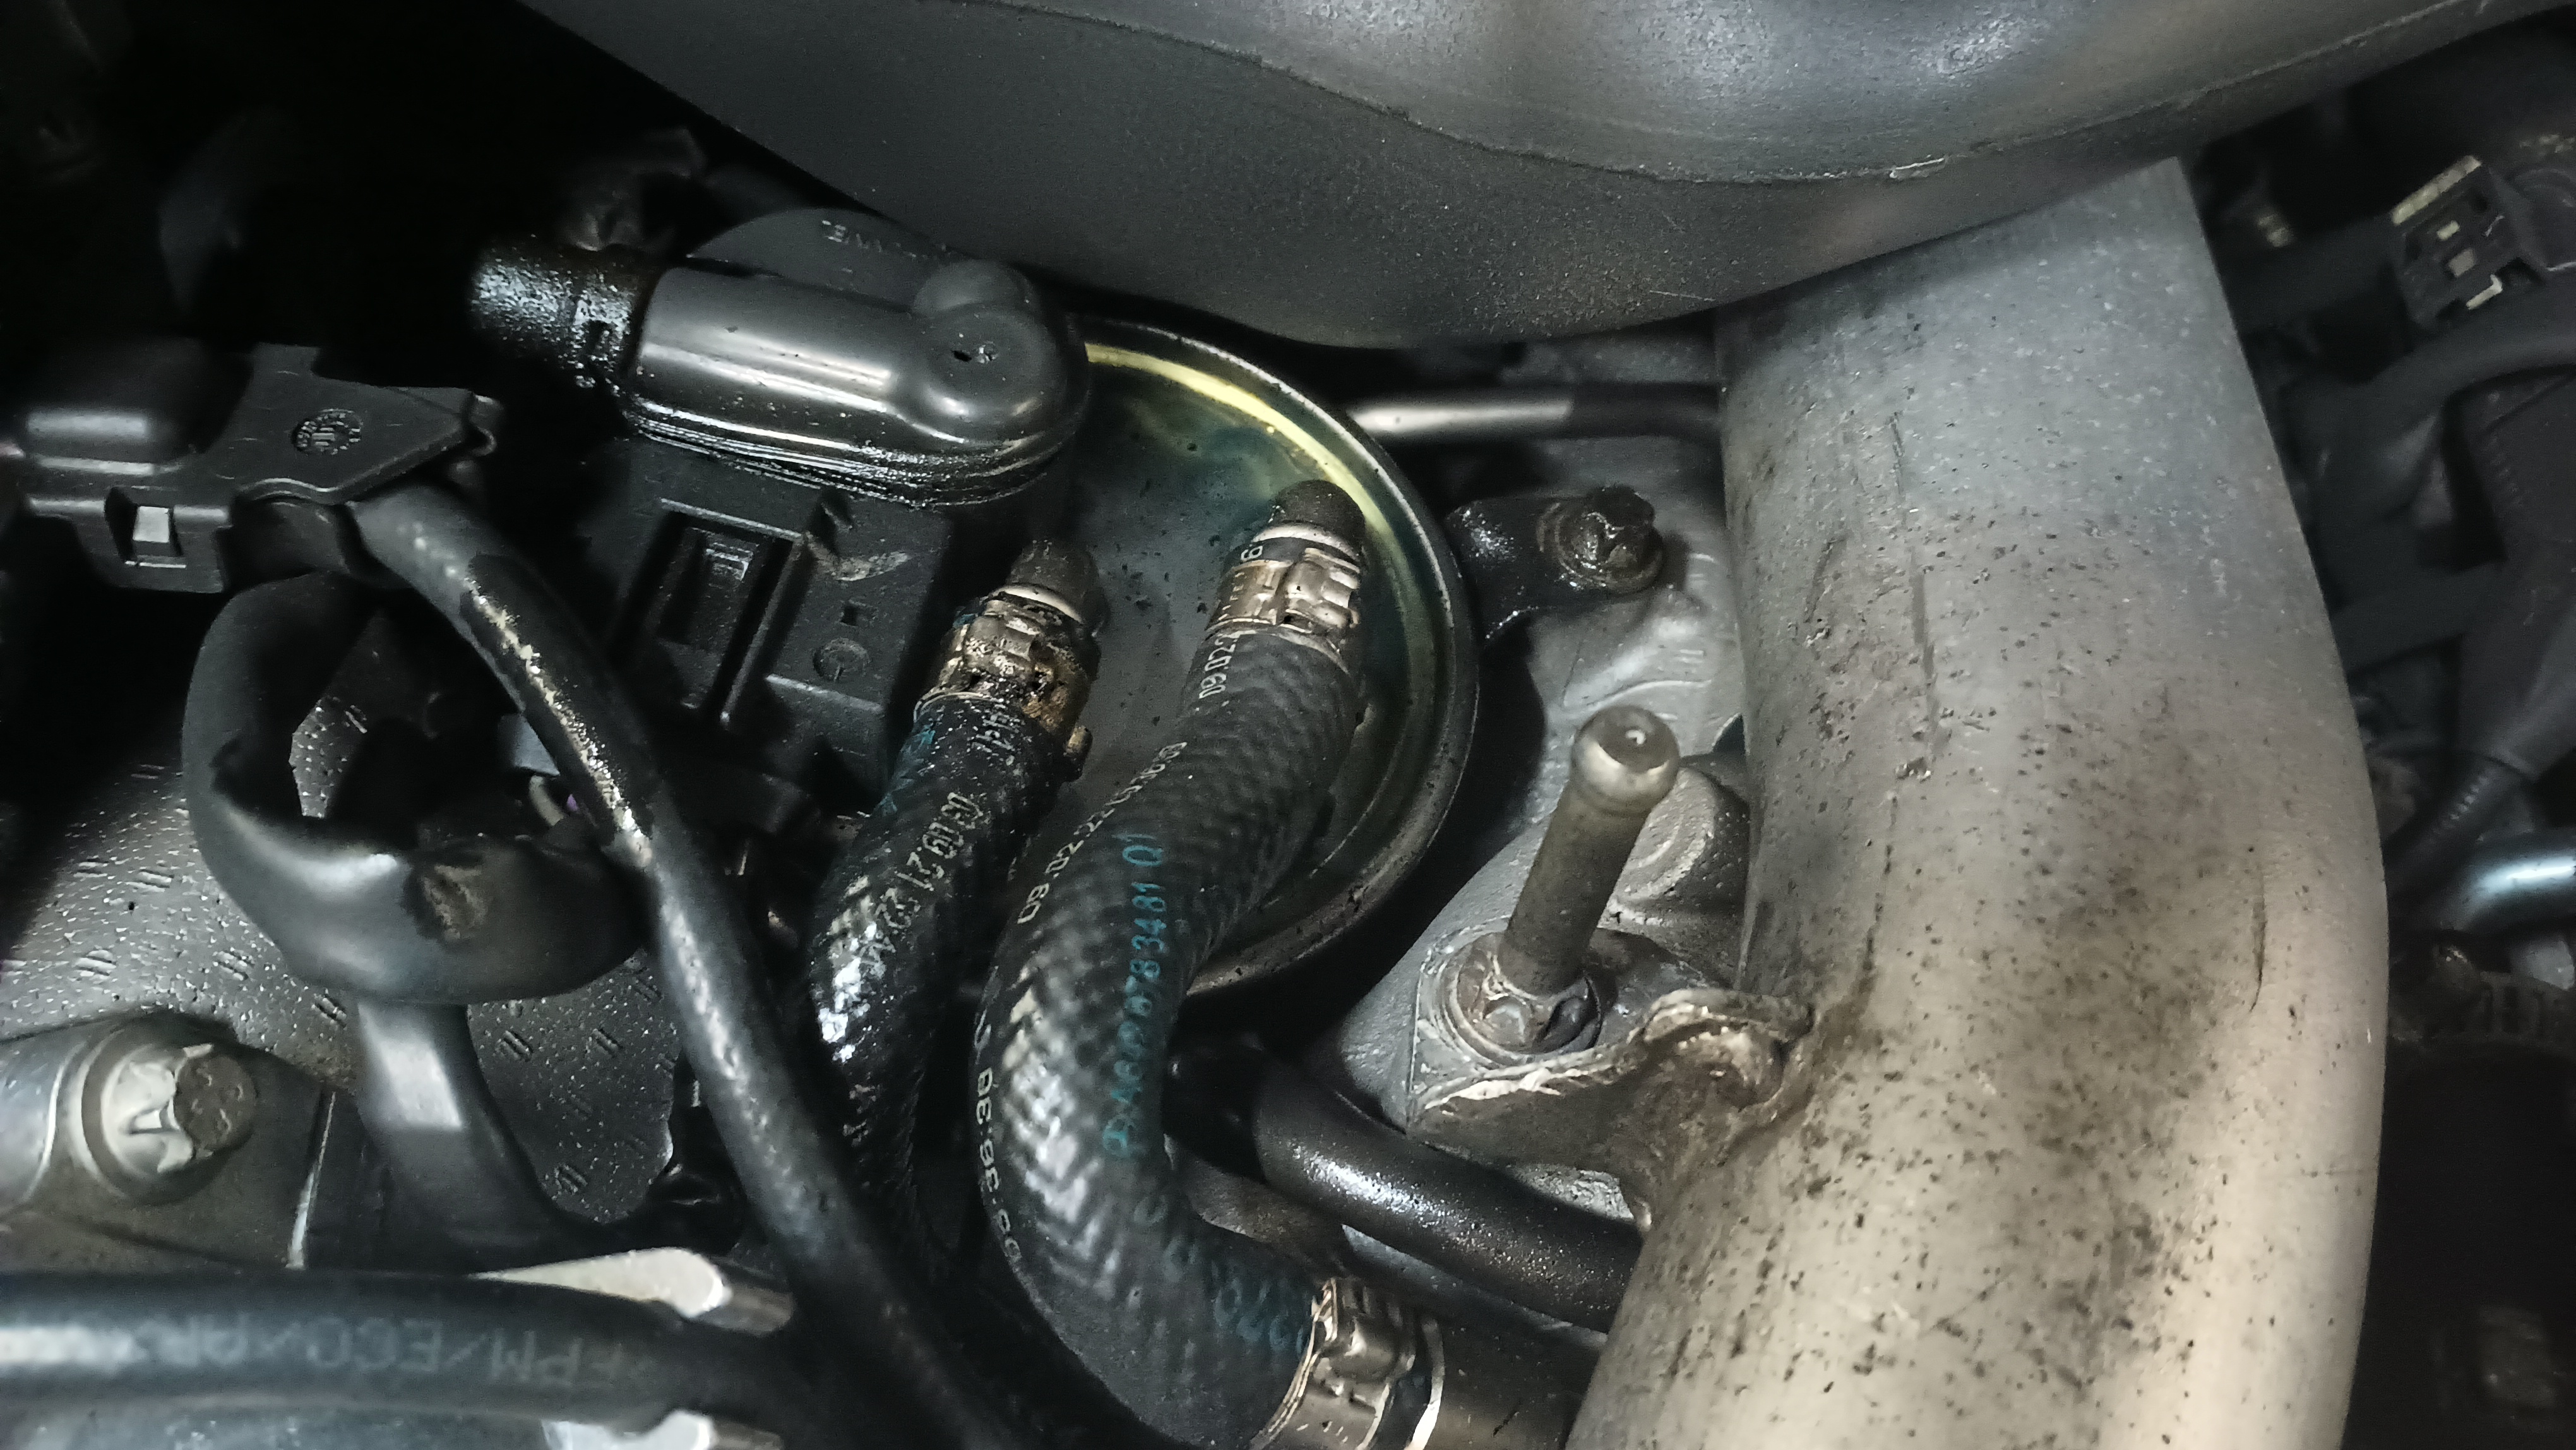
The little fancy hose clamp on the fuel line on the left was pretty much loose. I replaced it with a worm-type clamp and cleaned up the fuel. Hopefully that should take care of the leak.
At least I am getting really good at doing the transmission service on the 722.9.

In reply to wae :
You'll need to adopt the Vice Grip Garage guy's technique of "Tasting" your fluids. It could've saved you a ton of headaches. LOL.
Indy - Guy said:In reply to wae :
You'll need to adopt the Vice Grip Garage guy's technique of "Tasting" your fluids. It could've saved you a ton of headaches. LOL.
Well, funny you say that because I did! I ruled out coolant because it had a petroleum taste. Since the fluid I had just messed with was ATF, I figured I must have done something stupid - which is always a solid bet! - and what was dripping was ATF. I didn't even fathom the possibility that there was a preexisting condition!
German vehicle ownership is just automotive Stockholm Syndrome.
eastsideTim said:German vehicle ownership is just automotive Stockholm Syndrome.
It's worth it because they drive so well
Pete. (l33t FS) said:eastsideTim said:German vehicle ownership is just automotive Stockholm Syndrome.
It's worth it because they drive so well
There is a reason eastsideWife has not gotten rid of her GTI yet...
Pete. (l33t FS) said:eastsideTim said:German vehicle ownership is just automotive Stockholm Syndrome.
It's worth it because they drive so well
You are both 100% correct!
Was gonna quote Pete & Tim, but Bill beat me to it.
Where do I get a 250K Km badge? Does MB hand them out for dogged persistance?
In reply to FJ40Jim :
They've got the information on their website here. It looks like you fill out the form, have a dealer verify the odometer, and then they mail you a badge for the grille.
In other news, I apparently had two fuel leaks. The fuel filter no longer has diesel pooled on it, but there's definitely still something leaking. I think I need to get the left airbox off and look around in there. It just so happens that it's due for new air filters anyway, so I might see if I can do that tomorrow.
While I was in a meeting this morning, I went ahead and pulled off the batwing and the airboxes to get in there and take a look. The right side valve cover had some fluid pooling on it and I was excited that I might have found the source of the leak:
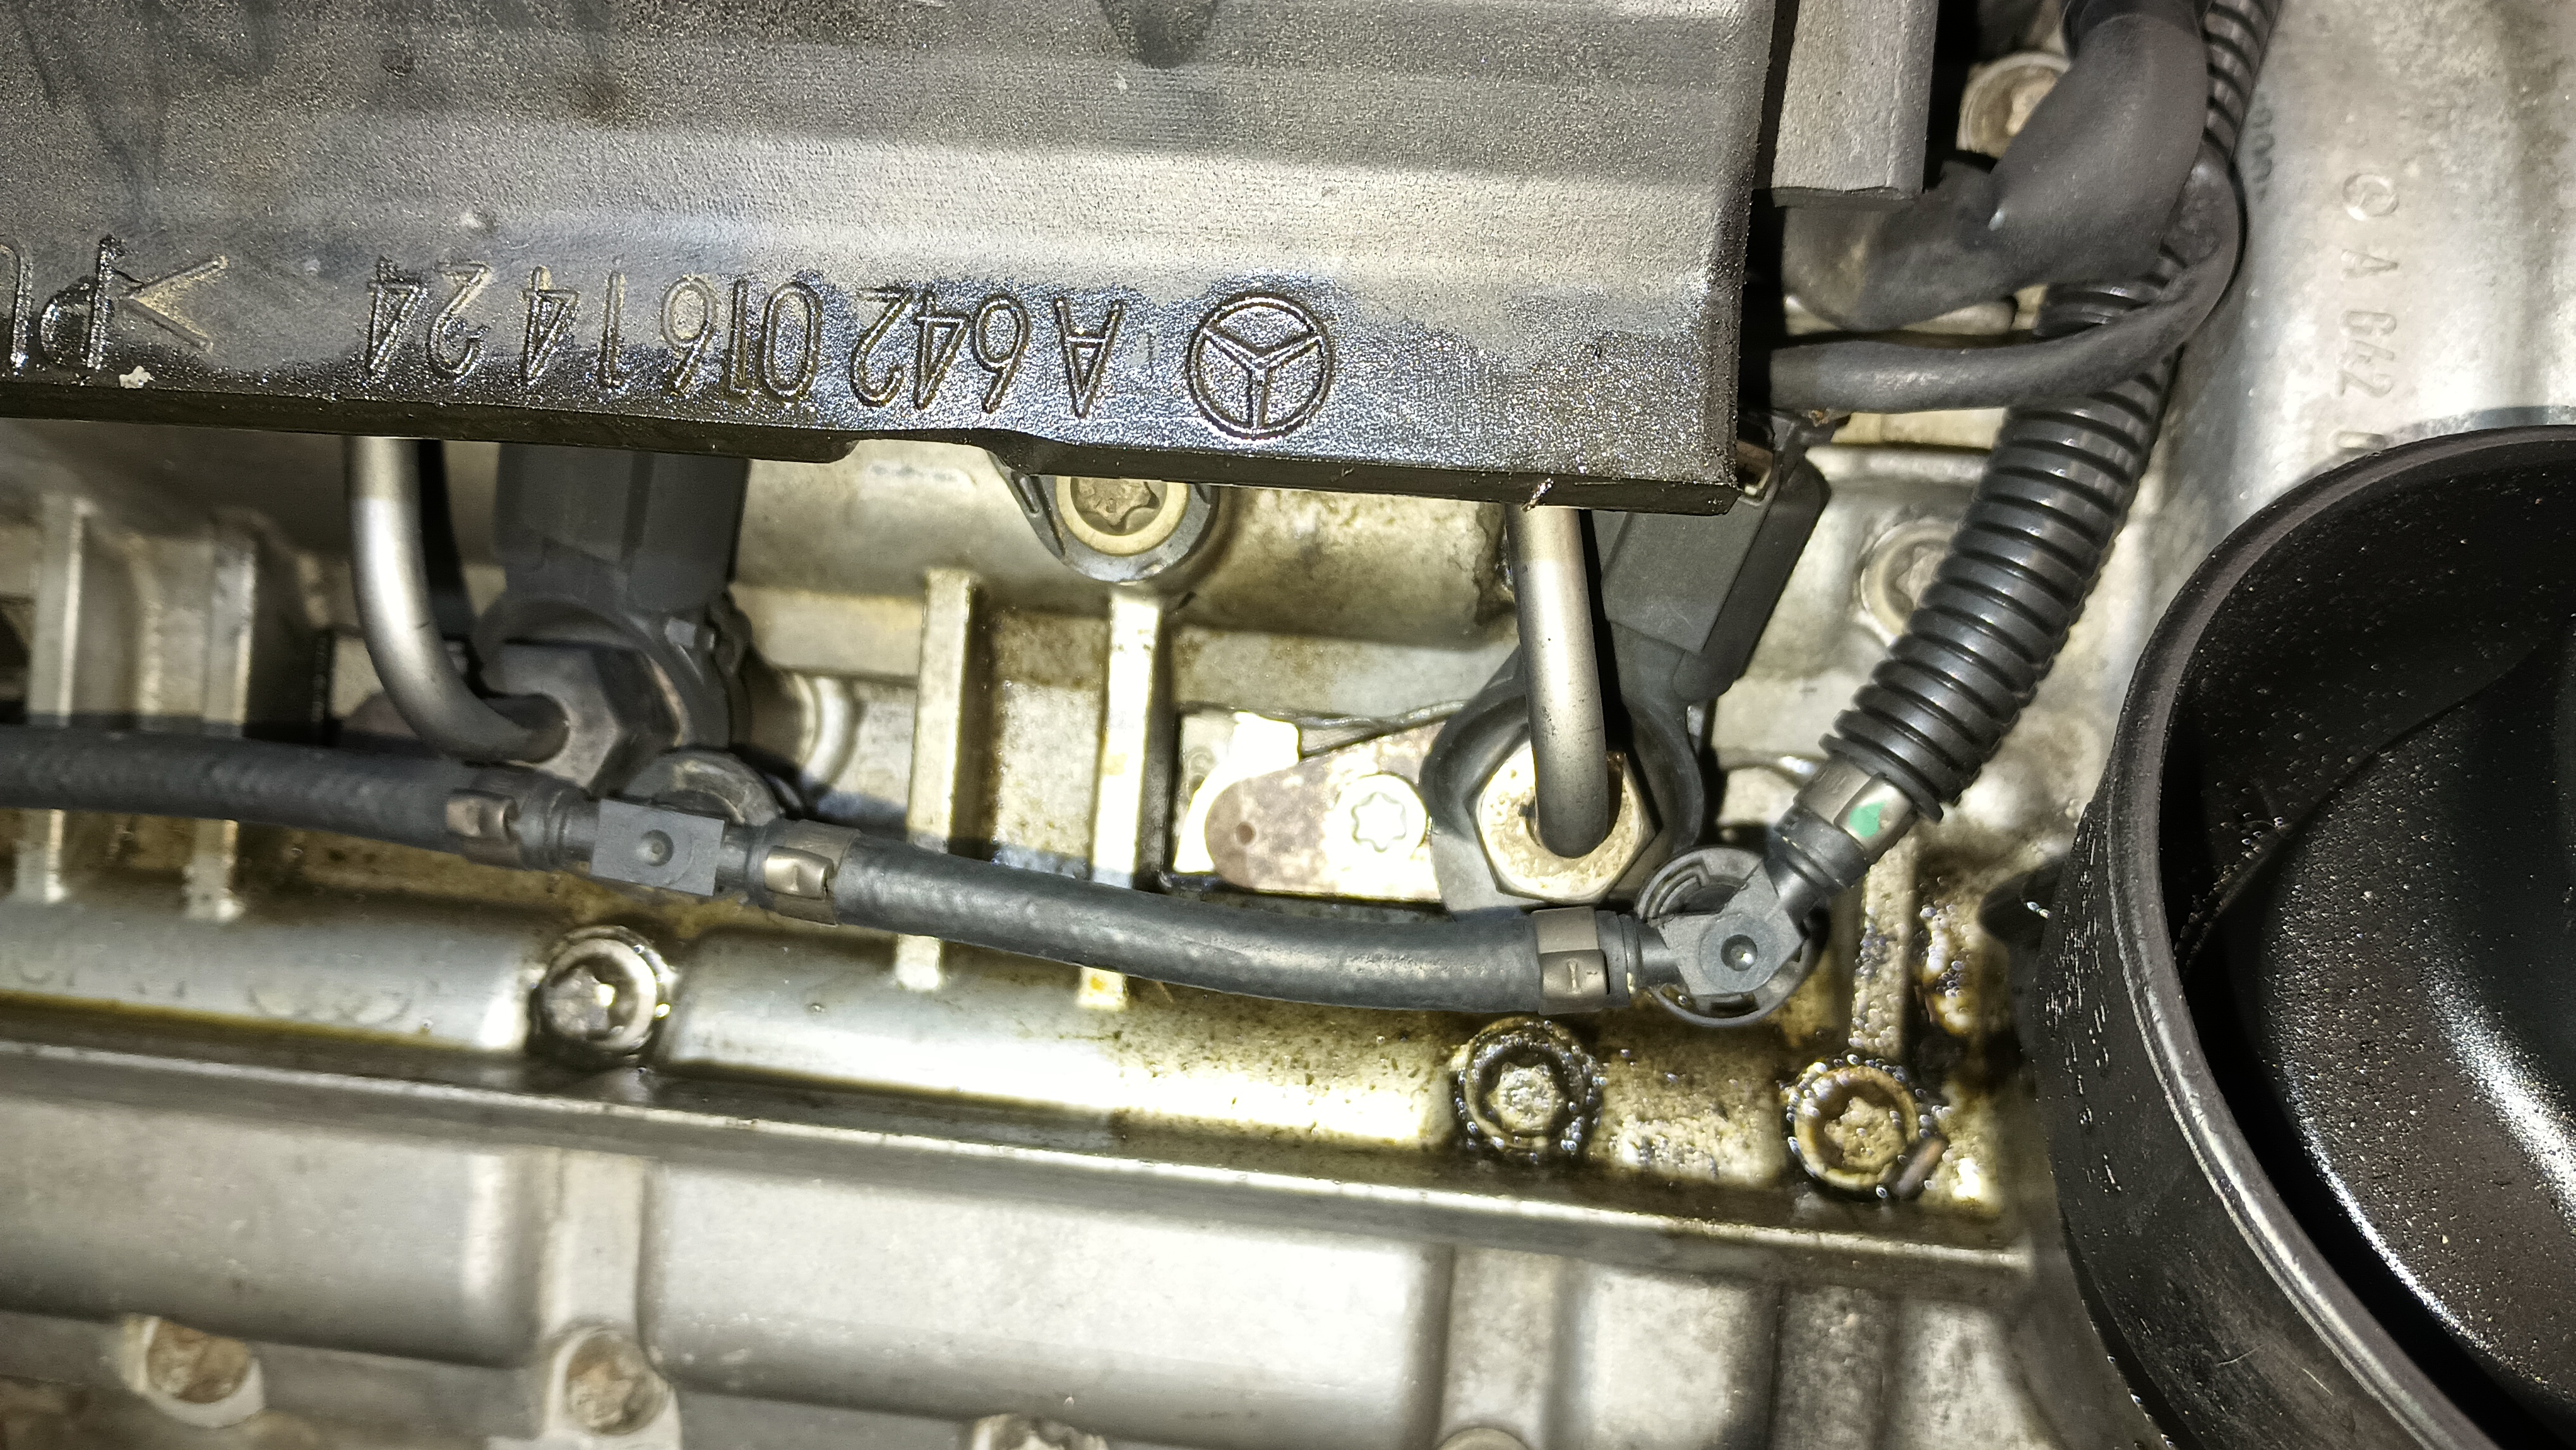
(un?)Fortunately, that fluid doesn't appear to be fuel. It's not the right color, it doesn't smell like diesel, and it has a new motor oil feel to it. It also doesn't taste the fuel, which I guess I can say now that I'm out of the closet on that particular kink. I removed the rubber oil fill shroud that you can see in the lower right of that picture, and all the evidence is pointing me towards that fluid being spilled oil that has leaked through that shroud. I cleaned it up really well so if there's fluid that shows up there again before the next time I put oil in it, I'll have a better idea. The right side was totally clean.
If the injectors aren't leaking, then, that fuel has to be coming from somewhere, so back to searching. Last night, it didn't look like there was any fuel sitting on the top of the filter, but the vehicle was parked on a hill and it was dark and cold outside. With the batwing and everything out of the way, however, I can see that there's still fuel sitting on top of the filter. I can also see that the sensor that sits on top of the filter has somehow had the E36 M3 beat out of it.
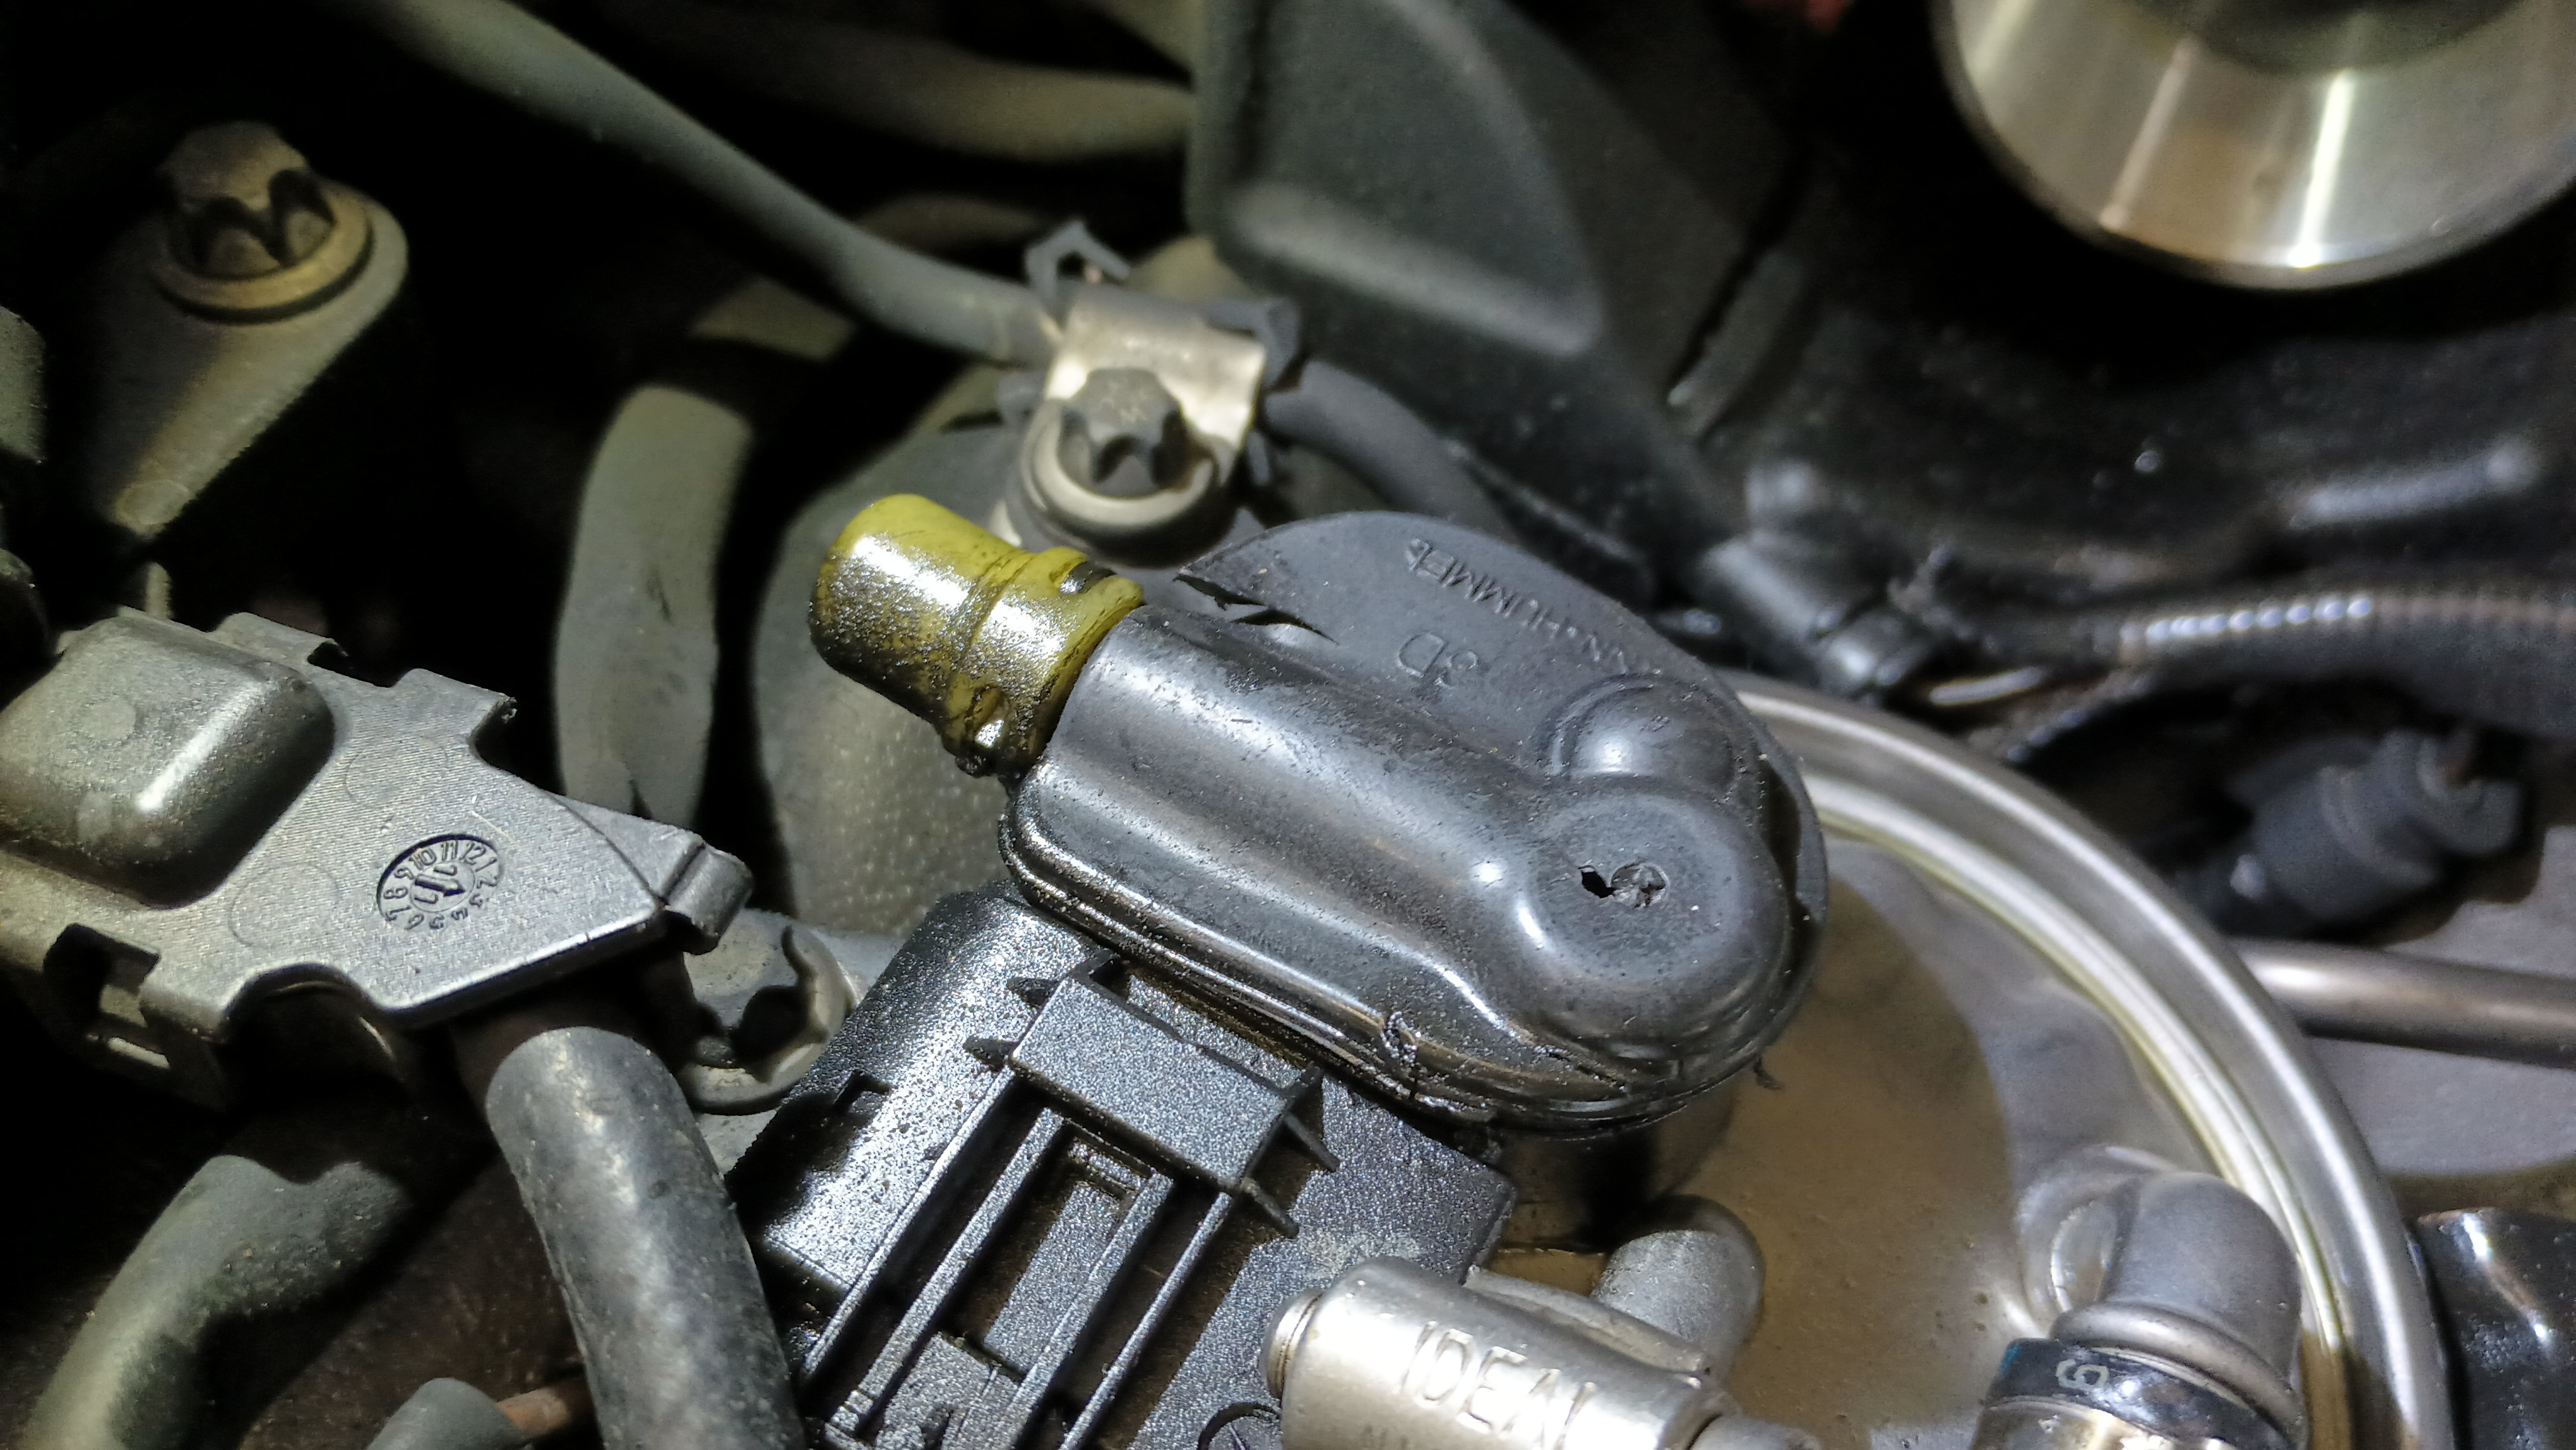
The top is some sort of rubber and it has a bunch of tears in it. It's also not fully seated into the plastic base anymore and I couldn't get it to seat with a little bit of fiddling. I've ordered up a new one and I'm going to look to see if I have the old one around to test with in the meantime. Other than that, I really do not see any other evidence of a fuel leak anywhere.
Meanwhile, I went ahead and took care of the air filters. I really thought I had put new ones in when I put it back into service, but looking back at my records I definitely did not. I guess I decided that the filters looked good enough - I know I have replaced them at least once during my ownership - and just put them back in. I think that perhaps I have gotten my money's worth out of them now, though.
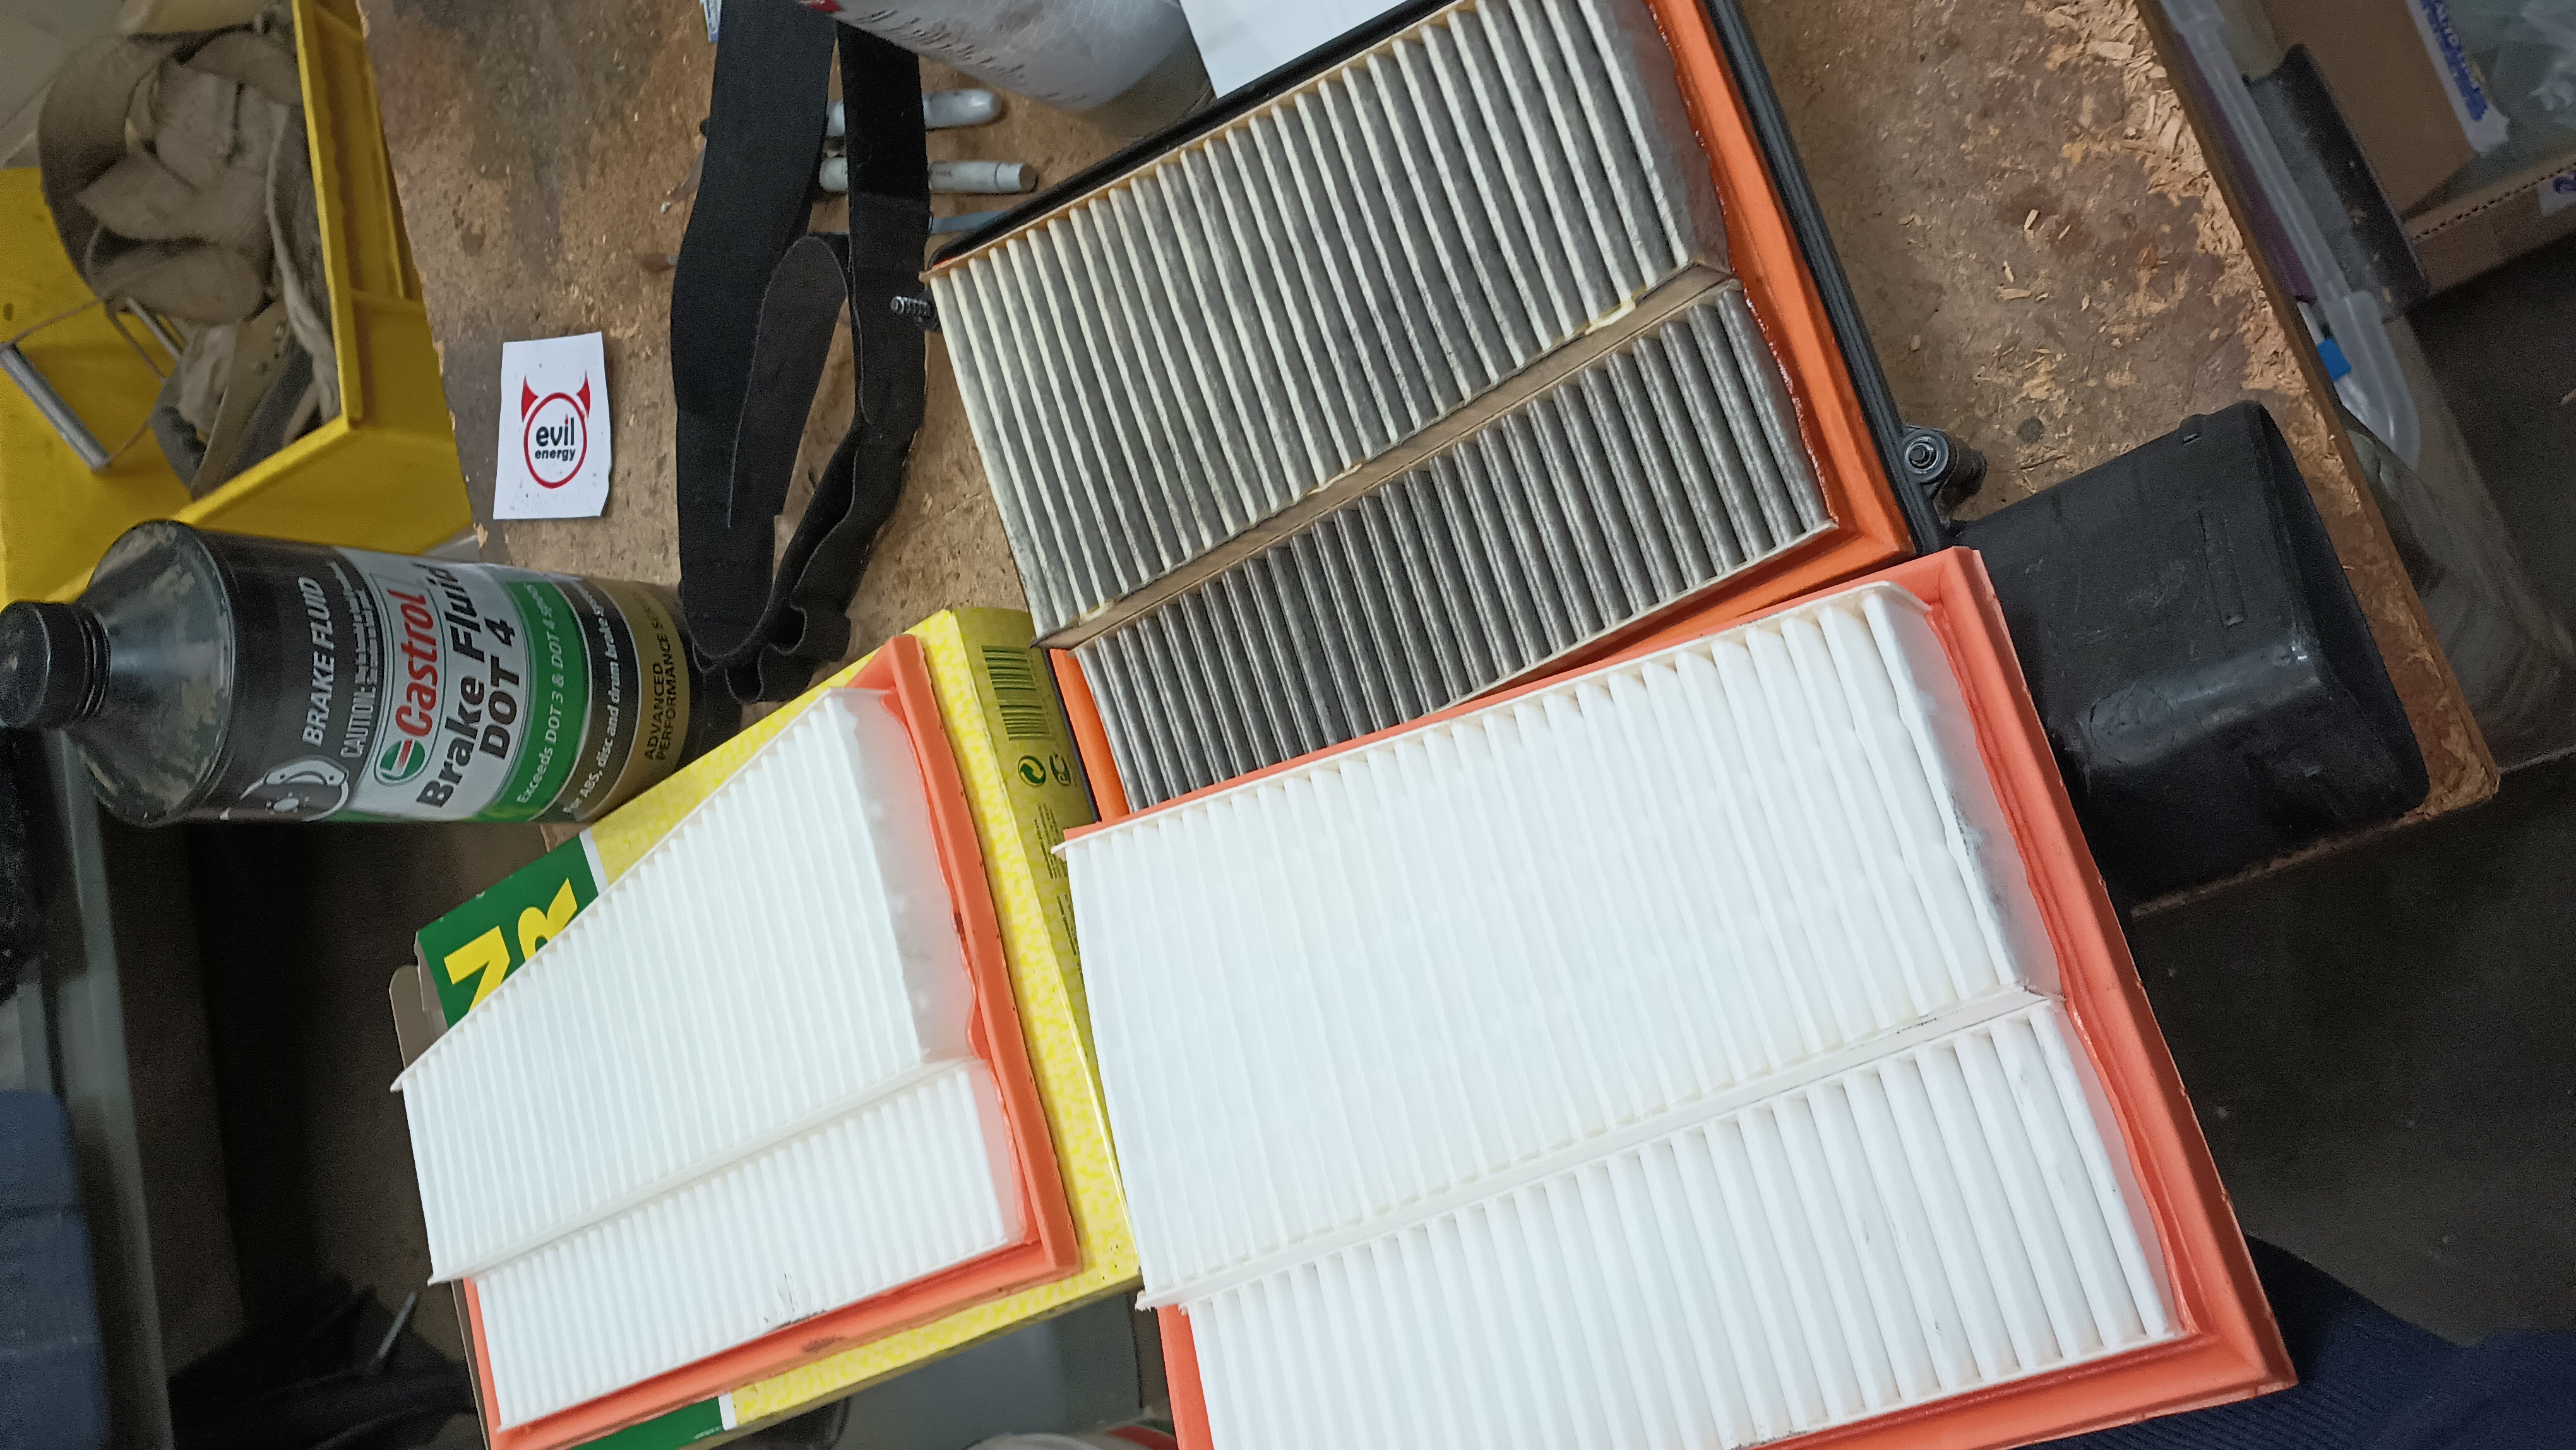
Oh, that's not so bad, right? Flip it over for the horror show:
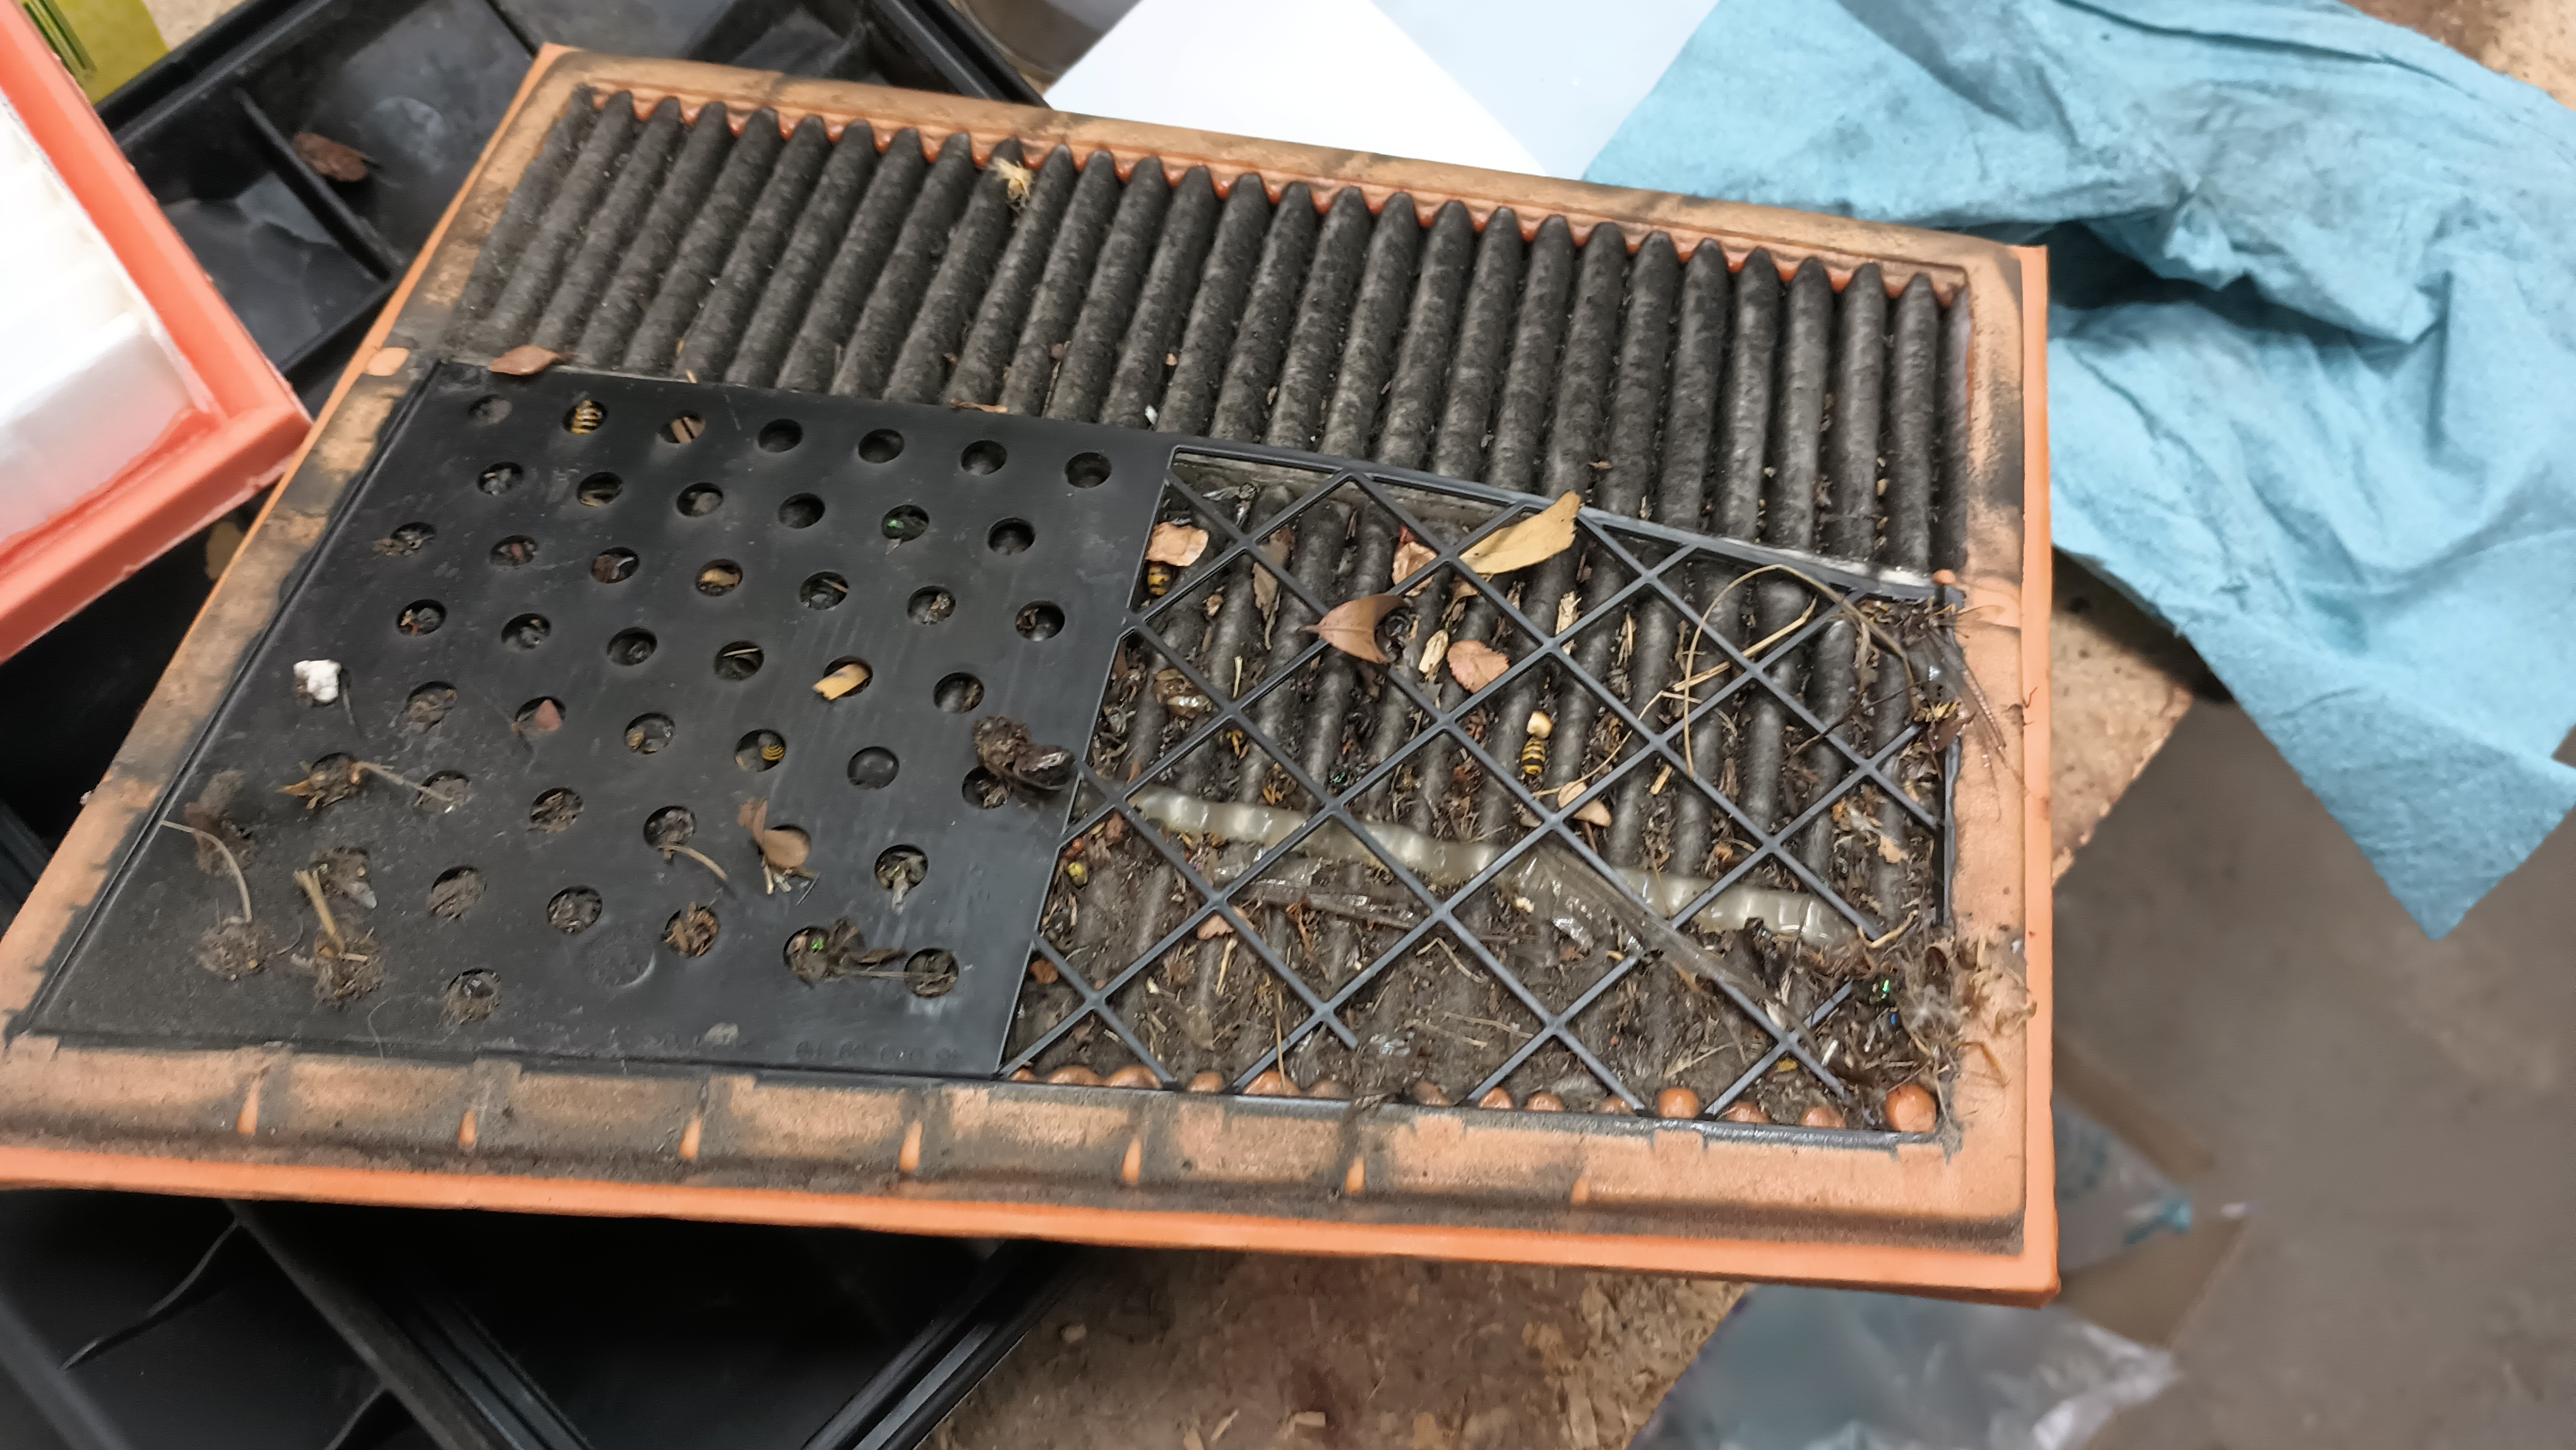
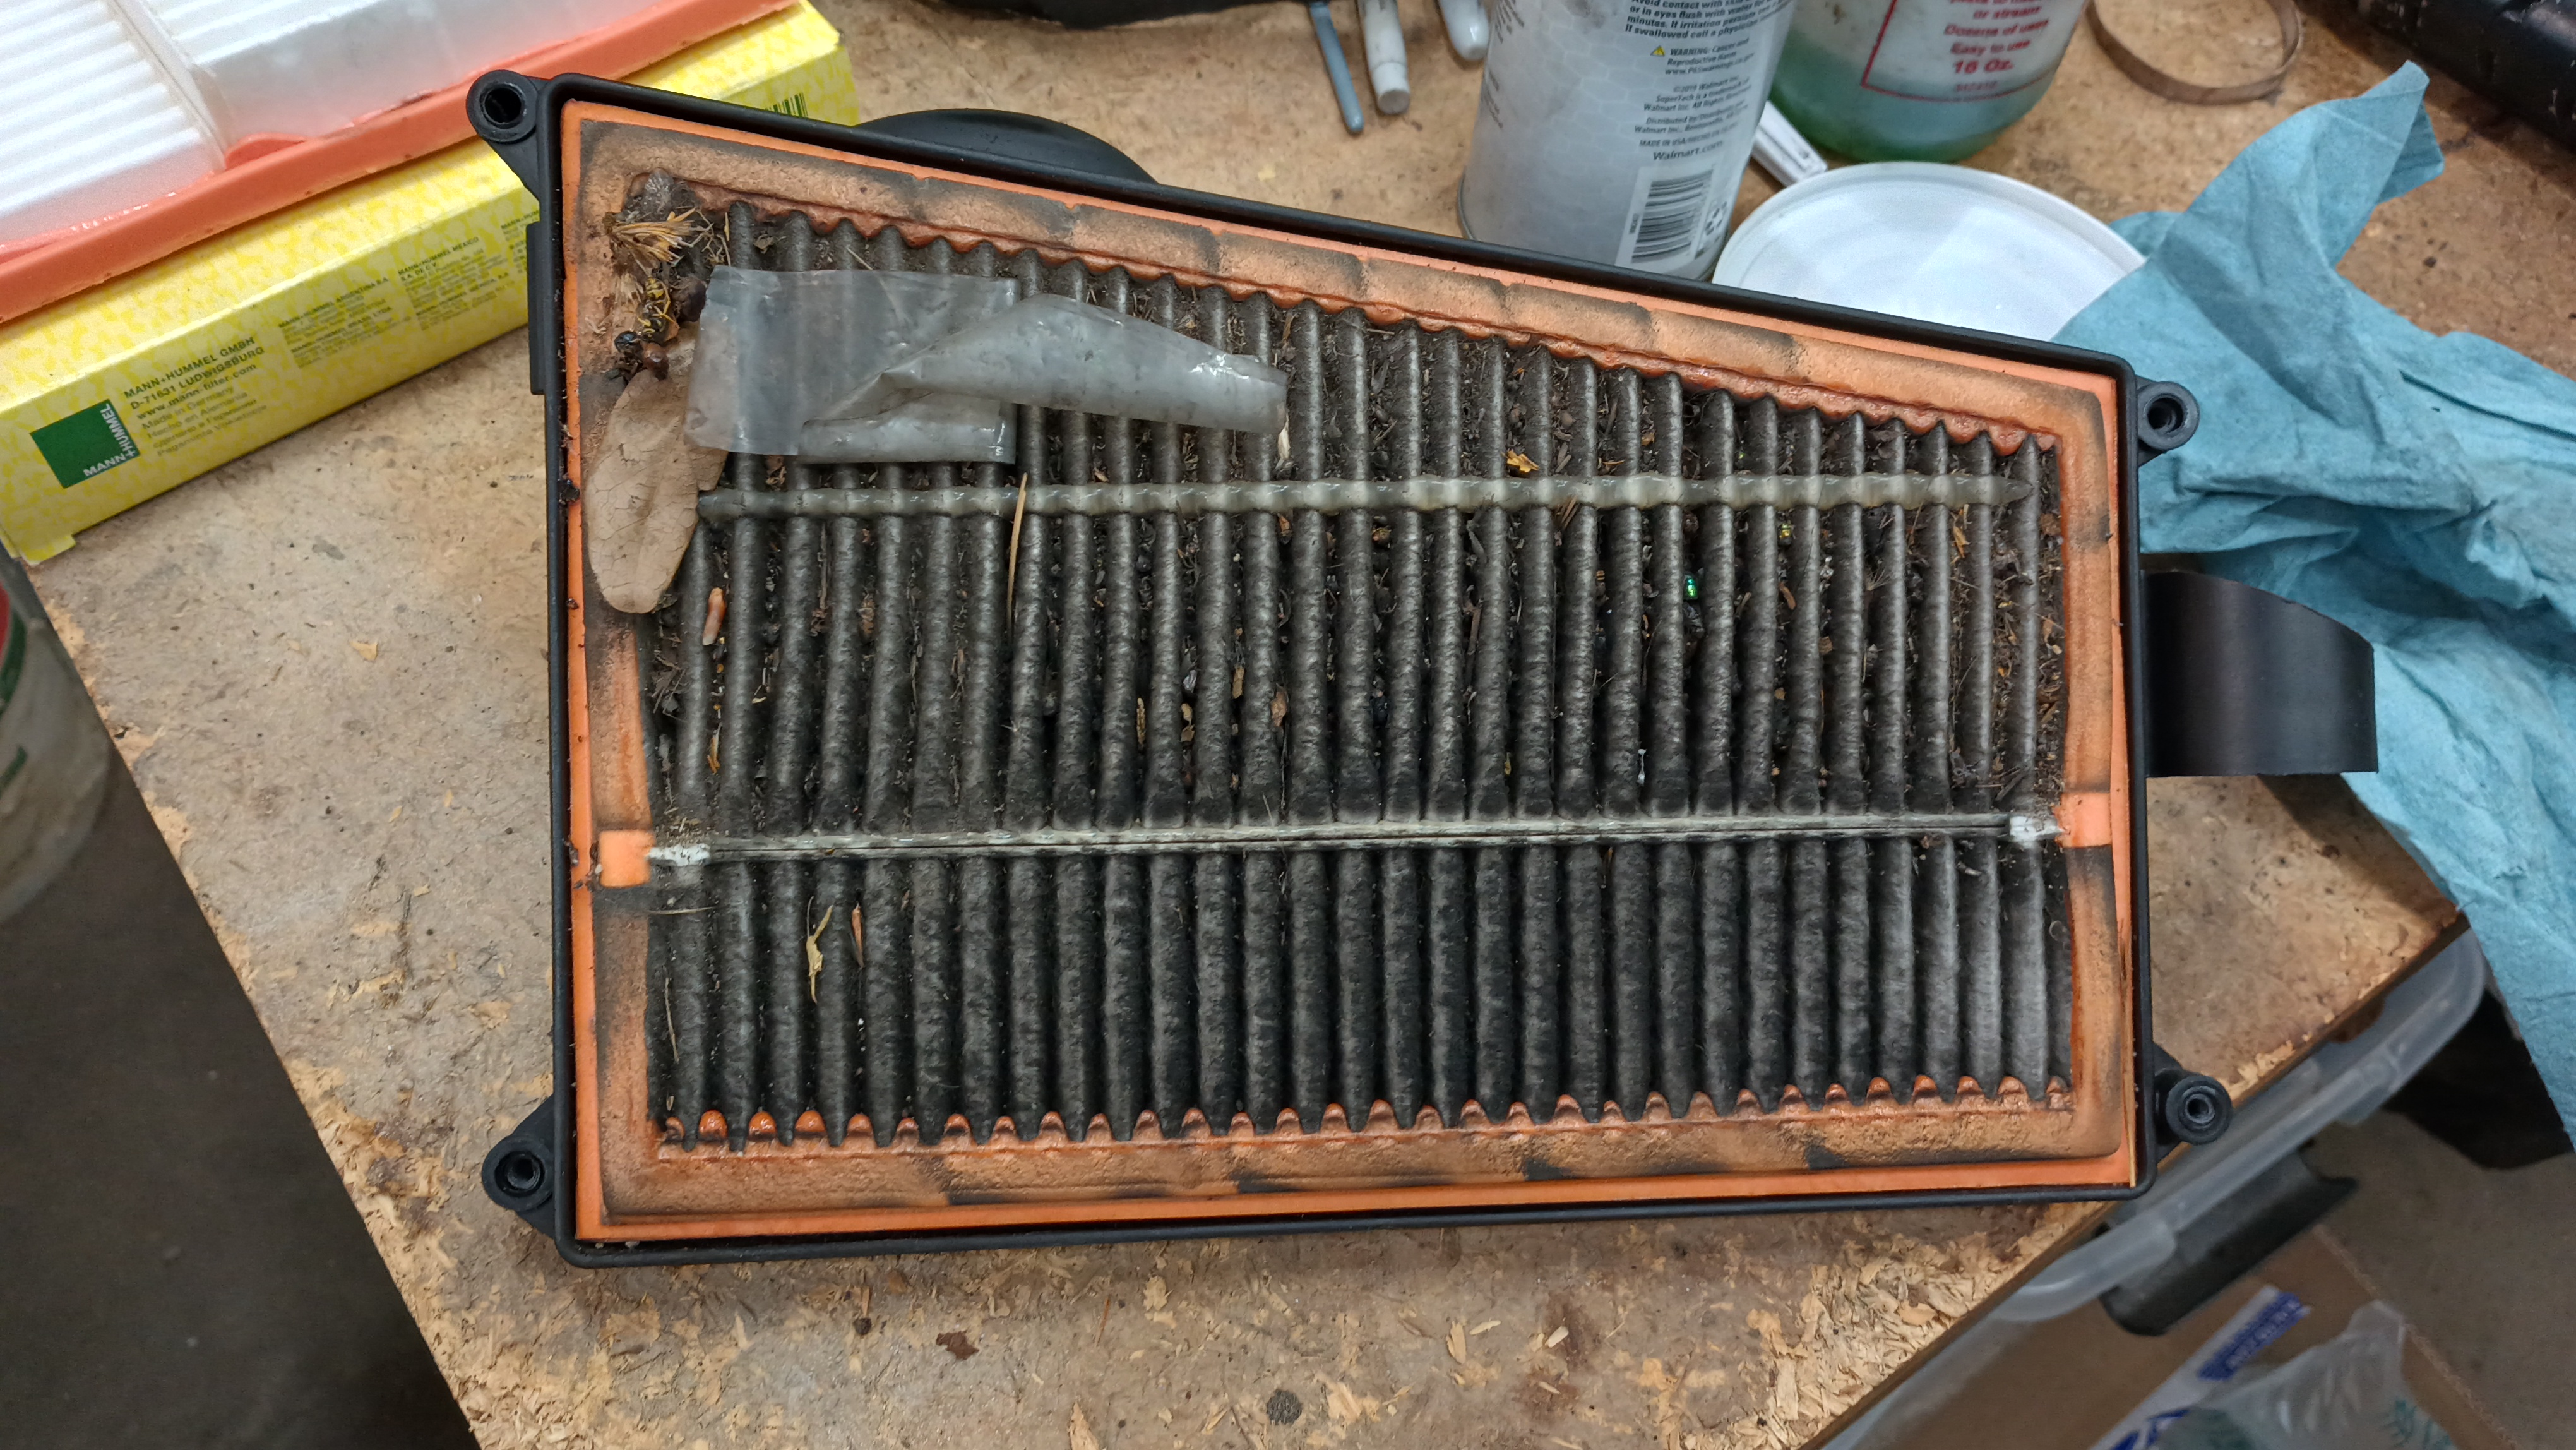
I'm a little bit surprised at the sheer number of insects in there.
You'll need to log in to post.


