Harvey wrote:
Updates!
You're wish is my command!
I last left our BMW with a new lower intake boot, and vacuum hoses, but still having a rather nasty miss in cylinder one. So a new set of spark plugs was ordered after finding some rather nasty units in the car. The new sparkplugs were installed and torqued to the proper amount. Then the coils were installed and torqued down as well. It was the moment of truth, with some apprehension I turned the key, and still a misfire, so I read the codes, cylinder two misfire this time, which is good news and bad news. Good news is, it was the coil from cylinder one, bad news is, that coil is definitely bad and the issue with the misfire is following the coil. So I took a fellow board member up on his offer for a couple of those coils he had laying around and will be installing them once they come in.
Ooo shiny.

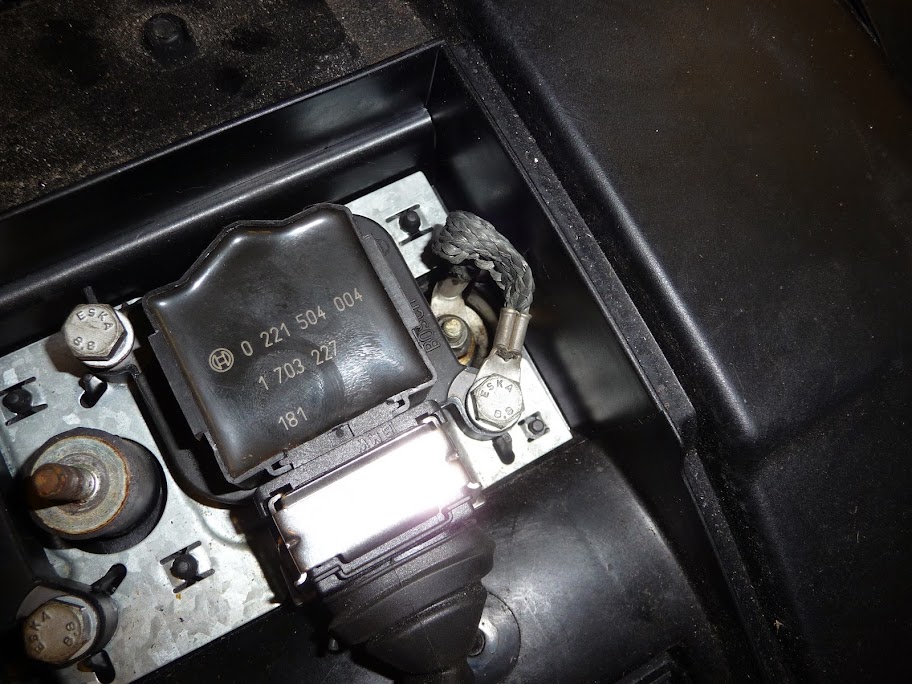
Coils installed.

Make sure to attach the ground straps to the end coils.
While I wait for the coils, I had some new parts to install. I ordered a couple of these connectors since the clips aren't sold separately. Then simply removed the clips and installed them in the missing locations.

One for the alternator


And one for the MAF.


Job done! No more zip ties and loose connectors.
Once that was completed it was time to tackle that pesky hood latch cable. The cable is actually three pieces on these cars and is a fairly common failure point. I started by removing the two 10mm bolts on the core support, and the two inner Phillips heads.
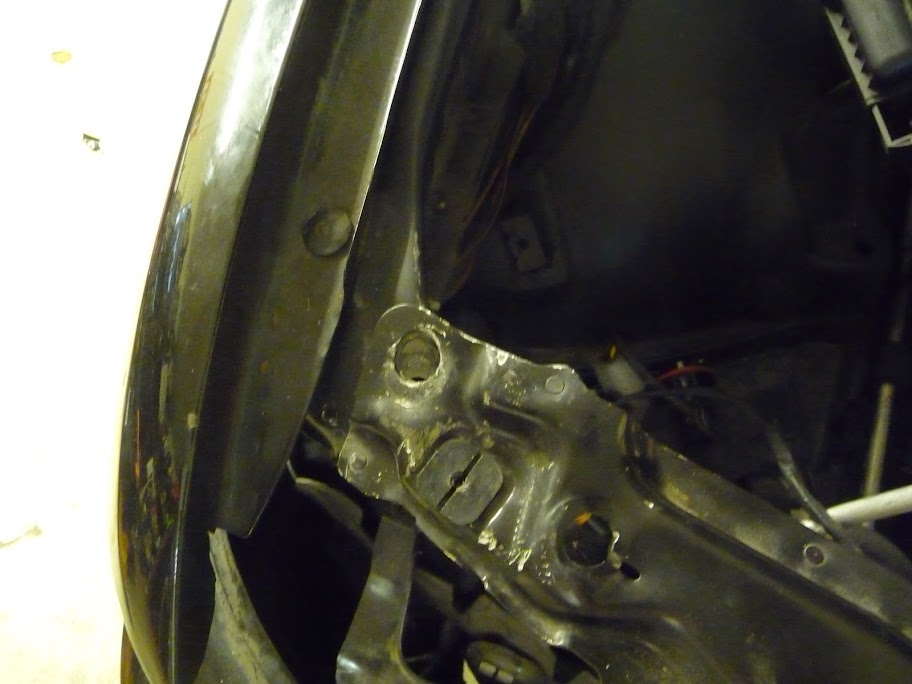
Then take a couple 8mm bolts out that hold on the radiator brackets.

At this point the core support can be bent forward enough to get the old cables out and the new ones hooked into place. I greased the cables ends up with some semi-liquid grease and started to install them, that's when i noticed something odd about the latch on the drivers side, the cable wasn't really being held in tight and after looking close I found the reason. The retainer had broke off that holds the cable to the passenger side lock. So after closer inspection both locks are the same part and after removing them from the core support I swapped them around so the unbroken lock was on the drivers side. I also went ahead and put the cables into place before putting the locks back into the support.

Bad lock

Cable swapped to good lock.

Then they were installed back into the car.
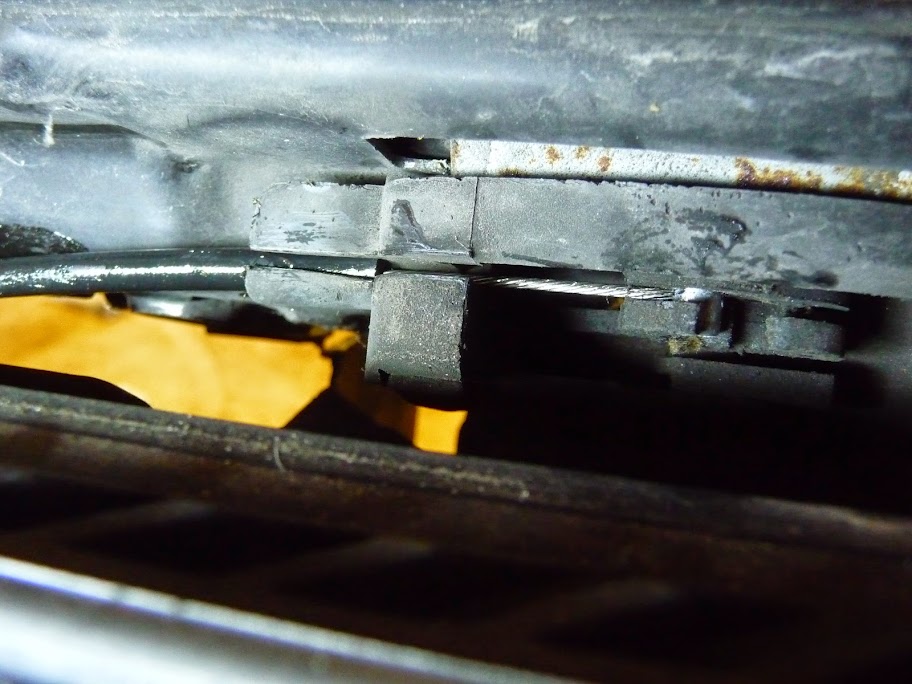
Bad cable, meet good cable.

The cable was then attached to the fender.

The next section of cable has to come in from the cabin. The lower dash panel needs to be moved out of the way so the foot rest can be pulled out. Once it's out of the way I was able to fish the cable up through the firewall and connected to the other cable clipped to the fender.


The latch section slides into this hole and then turns to lock into place with a screw. my screw was missing, but I have three boxes of screws removed from other cars, so a suitable replacement was found.

While I bolted the core support back down I noticed the passenger side hood adjuster was missing, so it was off to my boxes again and I found an adjuster from the RSX I parted out a while back, it's not exactly the same but it gets the job done.
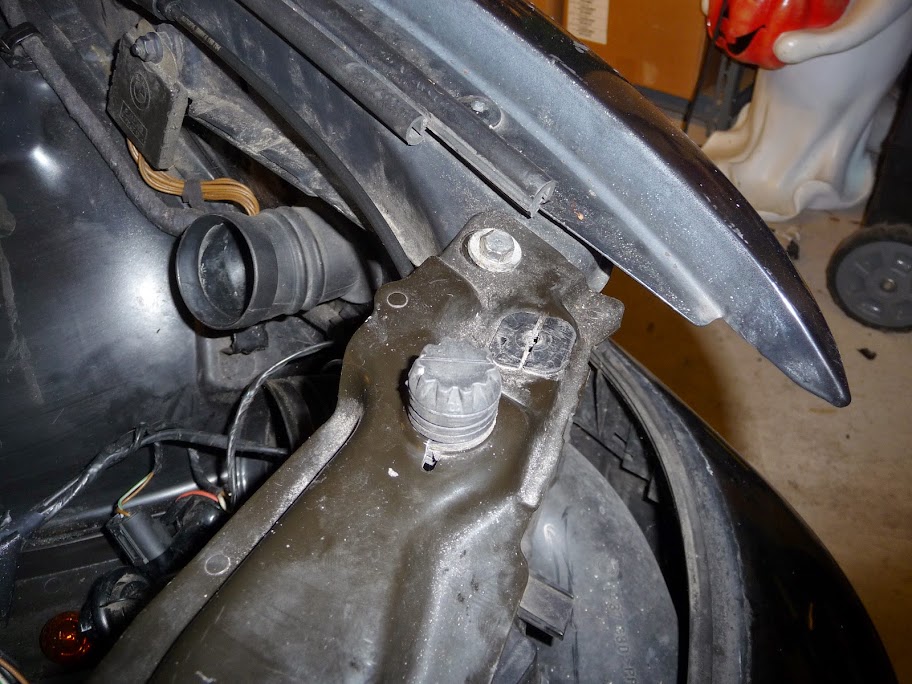

I also got another present in the mail! A super shiny brand new headlight.

I needed to clip on on this lower trim piece, it just clips on here.
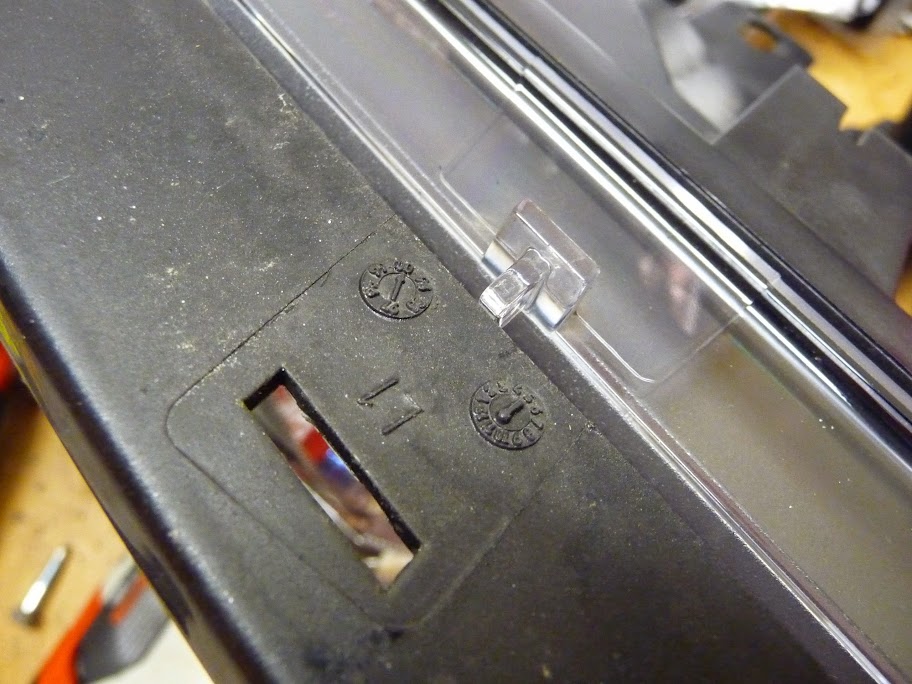
and here.

Then it was bolted into place.

Now I have a nice matching set.

Oh and as you can see, the hood shuts and opens with the working latch!
When I went to plug in the new lights I noticed this rather nasty rats nest of tape and hacked wires. Thankfully none of the wires were cut, so I wrapped them with some 3M Super 33+ (good from 0–220°F) and tucked them back into place.

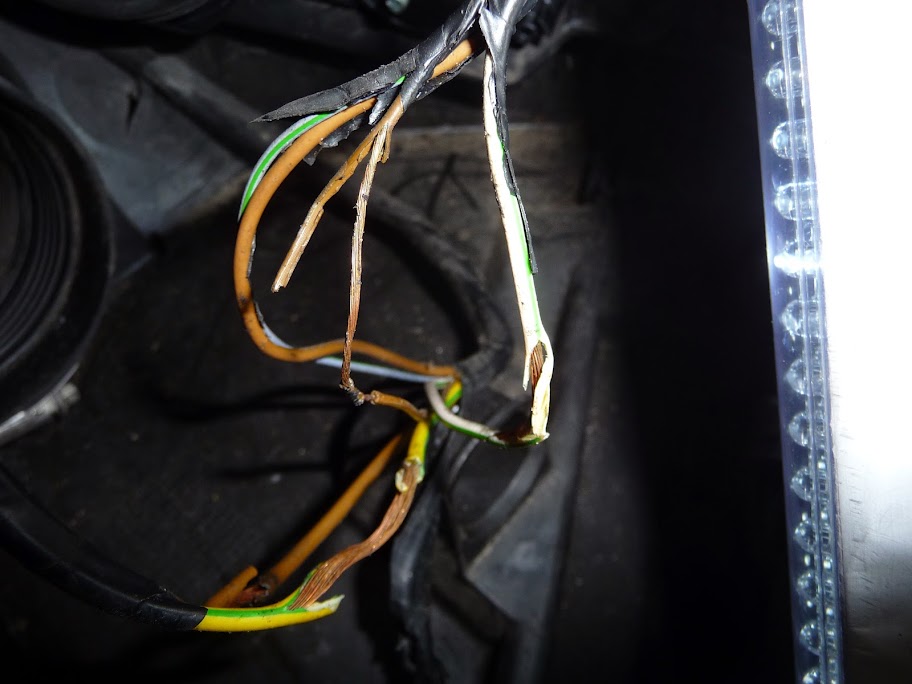
I wrapped them individually first.

Then wrapped them all back together.

After that was completed I was able to install the airbox. I removed the filter expecting it to not even be there and was pleasantly surprised to see a K&N filter in place, I don't have any oil to refresh it with so I blew it out with some compressed air and stuck it back into place.

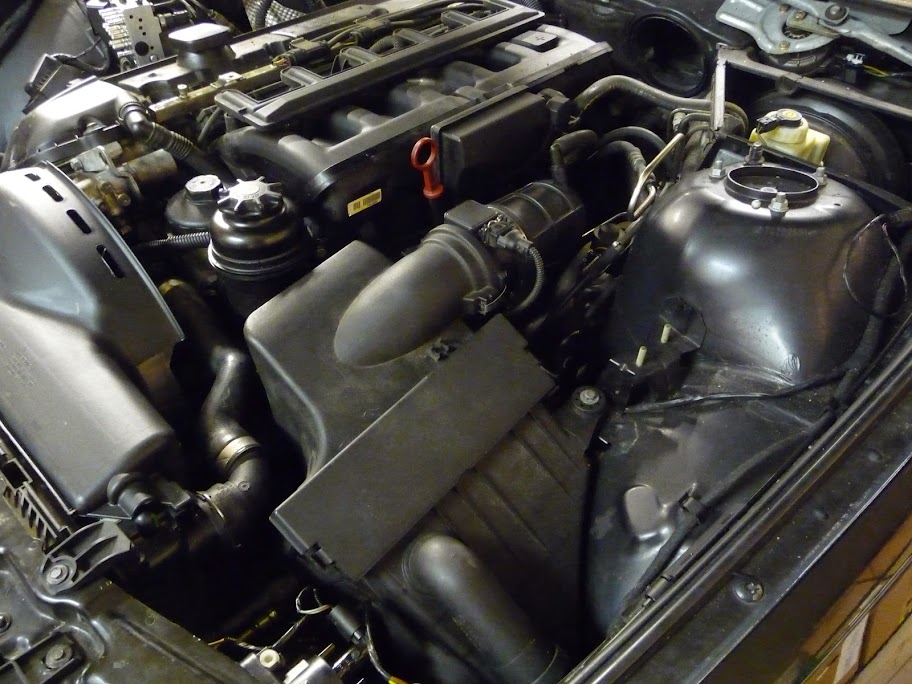
I had to modify this clip since the airbox was broken where the clip is supposed to attach and I wasn't about to spring for a new airbox, it needed to be shortened to hold the MAF snug.

A couple of bends with the vise grips and pliers, and tada!

So that's all for now. I have more parts on the way and will start to shift work to the inside of the car in the next episode, see you then!


