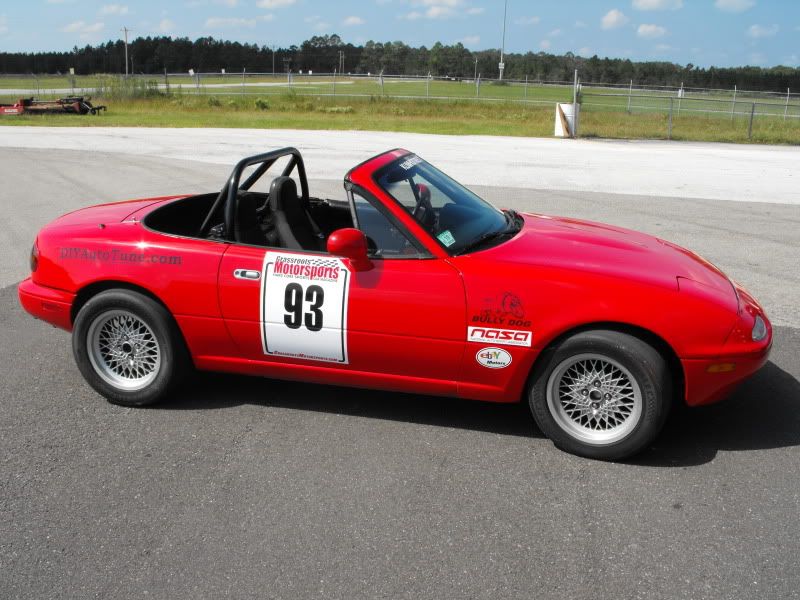
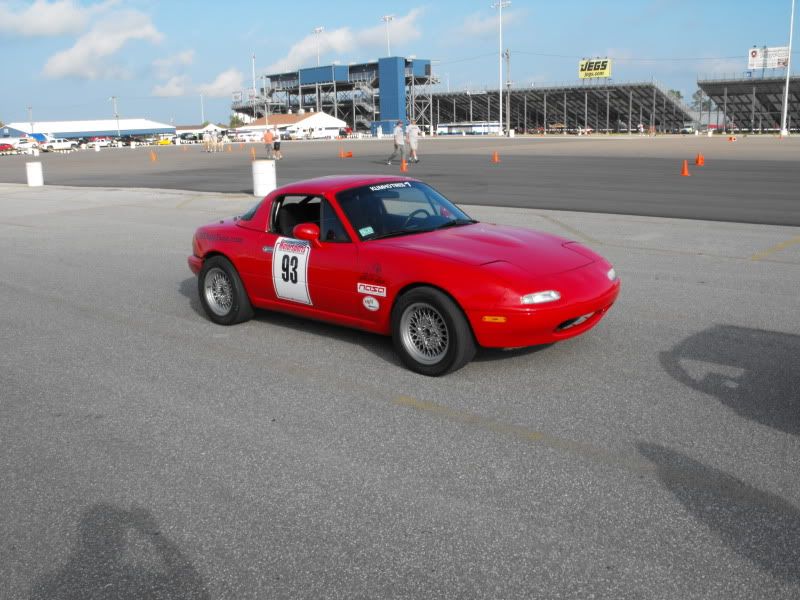
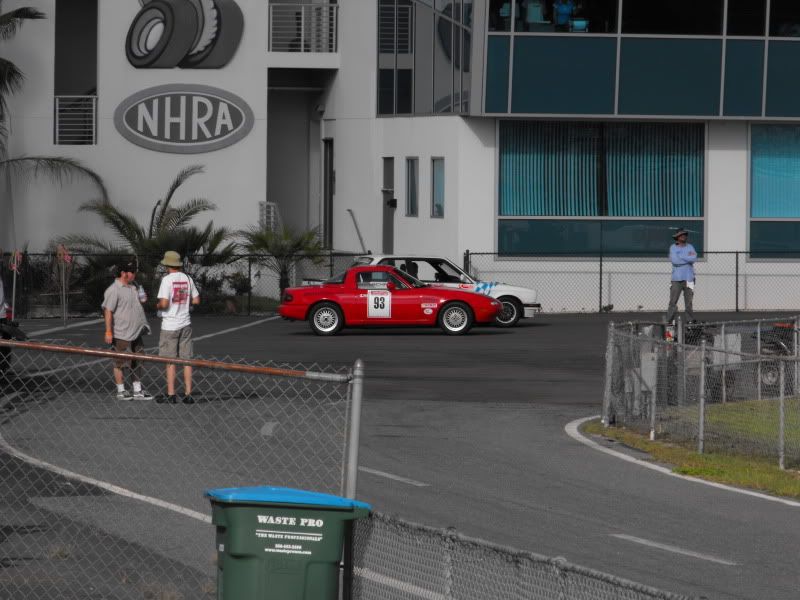
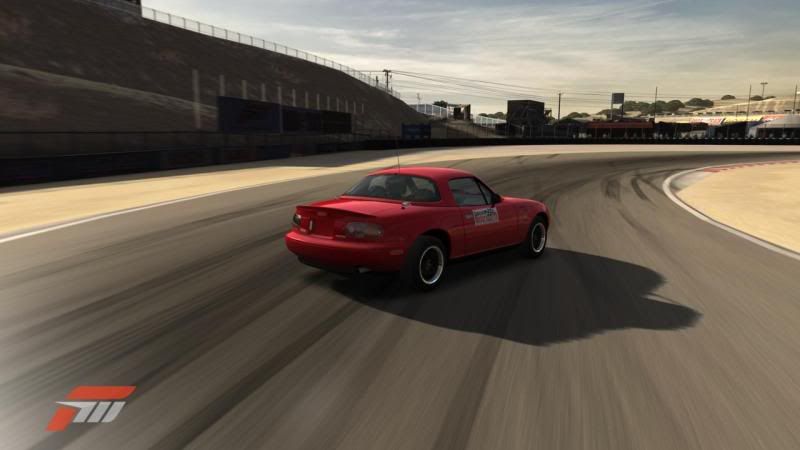
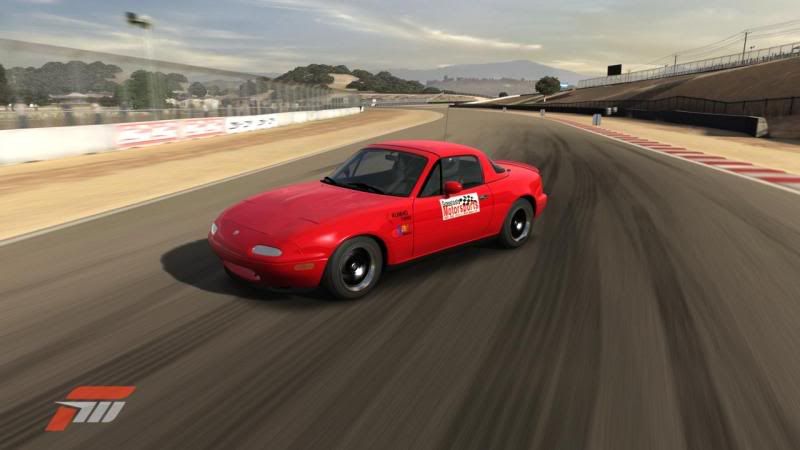
Just got this years challenge issue and it reminded me that I always wanted to start a build thread about my car. I was hoping to post one once I got back from last years challenge but I closed on my house the day after I got back and I’ve been pretty busy since. Anyway I’ve had a lot of great feed back and questions about the car. It might not be the most exciting build but I’d like to share anyway. Better late then never I guess. external combustion
I was shopping at AutoZone when there was a customer pricing out suspension parts, brakes, and a few other things. When he found out the total cost for everything he was displeased and yelled out (Who wants to buy a Miata, $500!). I looked around to see if anyone else was interested then just raised my hand. I spoke to the owner about the car and followed him back to where it was kept. He said the last time it was on the road was 2004 but would fire right up. He is a picture of the car when I first saw it.

 Someone actually stole the purple dragonfly seat covers the day after i got it home
 Engine bay was nasty, body was rough and had some poor body work done, but the interior was clean and it had a hard top! We went to start it but the battery was dead and would not take a jump. A spare battery got it running but he dropped the price down to $485 to offset the cost of buying a used battery. I actually drove it back to my house but that’s a story in its self. Cliff note are: it was raining at dusk, bad clutch, broken coil springs, 8 lug nuts total, no wiper blades, poor charging system, dim headlights, no brakes, and I was so scared when I got home I wanted to throw up.
Random pic of the broken springs. I was actually able to remove all of them by hand without unbolting anything. I'm guessing someone heated them with a torch to try and lower it at some point.

Now my goal was to build something fun and cheap that I could drive everyday. It was later I decided to gear it towards the challenge. Not having any money to start the project I pulled the engine and started working on the body. I knew the body was rough but did not expect to find out that the whole rear quarter was bondo.
 Also the bottom of the driver’s side fender was only held together by undercoating. I wanted to replace it but could not find and used one for a fair price. Instead I used a piece of rusted out 1969 Camaro quarter panel and graphed it to the bottom of the fender. With some body filler and fiber glass I had left over from old projects I was able to straighten most of the body.
Since the body work was finally coming along it was time to find some wheels. I knew I had a set with the right bolt spread on a BMW parts car but was unsure if they would work on the Miata. The offset was not quite what I wanted and they where probable going to rub but they looked awesome! Yeah 2 were bent and cracked but I didn’t care and decided to make them work. $120 later Tru- Wheels had them straighter and my budget took a good hit but they make the car. Without them it would just be a boring red Miata. Here is the parts car that's slowly being returned to the earth. It was actually too rust to jack up so I had to unbolt the wheels then dig under them to get them off. At least one was in the trunk.


With the body striped down I got the bumpers, fenders and hood prepped for paint. Front bumper had been hit and painted a few times and was a real pain to strip and glue back together. Please note that at this point I still don’t really know what I’m doing but the instructions on the can make it sound simple. I mixed up some primer and gave the parts and shell a few coats. Due to lack of space in the garage at the time the shell had to be primed outside.


This pic was 2 weeks before the 2007 challenge. As you can tell by my face (left) things are not going well. I knew I was not going to make it at that point but i kept trying anyway

Suspension is made up of KYB AGX shocks that I got used off ebay but it turns out they were listed wrong and were for a 99+. I had to drill my shock mounts and add a piece of pipe to make them work. I tried using ebay coils overs but the sleeves hit the mounts so I later ditched them for used RB springs till I could mess with the coil overs more.
Engine is pretty simple. I painted it with left over spray cans and bolted on an eBay manifold and downpipe kit. Turbo is a 14b from a 1991 Plymouth laser. When I went to pay for it I pointed out that around the wastegate was cracked and picked it up for $35!
 Engine bay was actually painted with Sunrise Red rustolium. It was a better match then I thought

With the engine and turbo in the car I now had to sort out the intercooler setup. Most of the pieces are from a used aftermarket DSM kit. Intercooler fit the front of the car great and the cold side was easy to hook up. The j-pipe that came with the turbo was crushed plus it pointed in the wrong direction. I had to weld the flange to a scrap piece of Dodge 440 header so that it pointed down. The rest of the intercooler kit did not fit too well on this side so I ended up using an intercooler pipe and BOV from a Saab and a coupler off a Volvo wagon.


This time I was able to get the whole car in the garage to paint it. I didn’t get a chance to fix the rust at the base of the windshield so I just said “screw it” and painted over it. I’ve never painted a car before and really enjoyed being able to cover all the bodywork and primer and seeing a shiny car for the first time. A few mosquitoes were harmed in the process and are now part of the car. I also learned that you can not wetsand or buff them out. I like actually enjoy pointing them out when people ask about the paint job. Anyway Miata is now red and so is everything in my garage. Paint is Kirker Porsche guards red single stage.


The only other mishap I had during the project was when I went to check on the paint the next day when I got home from work. I went to open the garage door and it jammed halfway up. I quickly ducked under and ended up hitting my head off the trunk. I cleaned up some then took a cell phone pic so my friends could laugh at me later. At this point it was a day or 2 before the event so I called it quits till next year

Over the winter I slowly built a Megasquirt. When summer finally came along I was able to wire it all up and go for a test drive around the yard. It ran like crap but it made me fell better about the whole project.

Later that summer I was able to finish painting the rest the panels and repair the hardtop. I downloaded a base map from DIYautotune.com and hooked up a wideband so I could tweak the fuel map. I got plates, threw the panels on, and made a few runs around town. Since it did not blow up and catch fire it was time to load it up on the trailer and take it to the challenge. The finish install of MS was done as it was loaded onto the trailer, wheels were painted in the hotel parking lot, and it did not have full boost till 3am Friday morning when I found the shorted boost control solenoid. Thanks to everyone who was up late helping, here is the car all done at the 2008 challange.
New for 2009:
I bought a set of rims/tires and drove the car to work a few times a week plus a few road trips to NH.


I didn’t want to change much because I was pretty happy with the car but as the challenge was approaching the need to modify the car grew. The first thing I wanted to do was add a stronger rear diff plus a limited slip. Since no one was giving away torsens I looked towards the RX-7 clutch type limited slip. I was able to find a worn out LSD that I was told needed a rebuild. Rebuild sounded expensive so I disassembled it and measure the frictions and steels to see how out of spec it was. Next I searched for a sheet of metal that would get me close or just a little over factory spec. That perfect sheet of metal happened to be a beer can! So I took a razor and traced the outline of a friction. This is what I ended up with.
I threw the whole thing back together and measured preload and ended up with 150+ lbs. Nice!
Other then that I added a front sway, eBay coilovers, some Hoosiers, more boost, and a Capri turbo valve cover. Still never got around to getting an alignment. Sigh maybe next year.
I'm sure I'm leaving out a few things but this thread is getting long.


