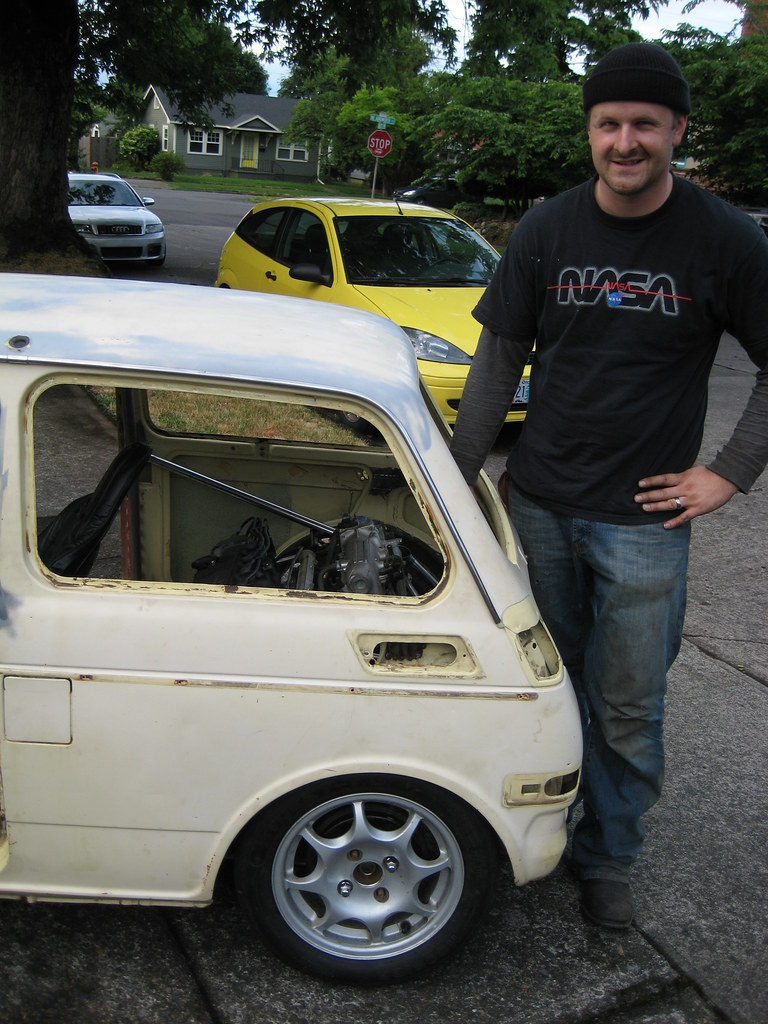
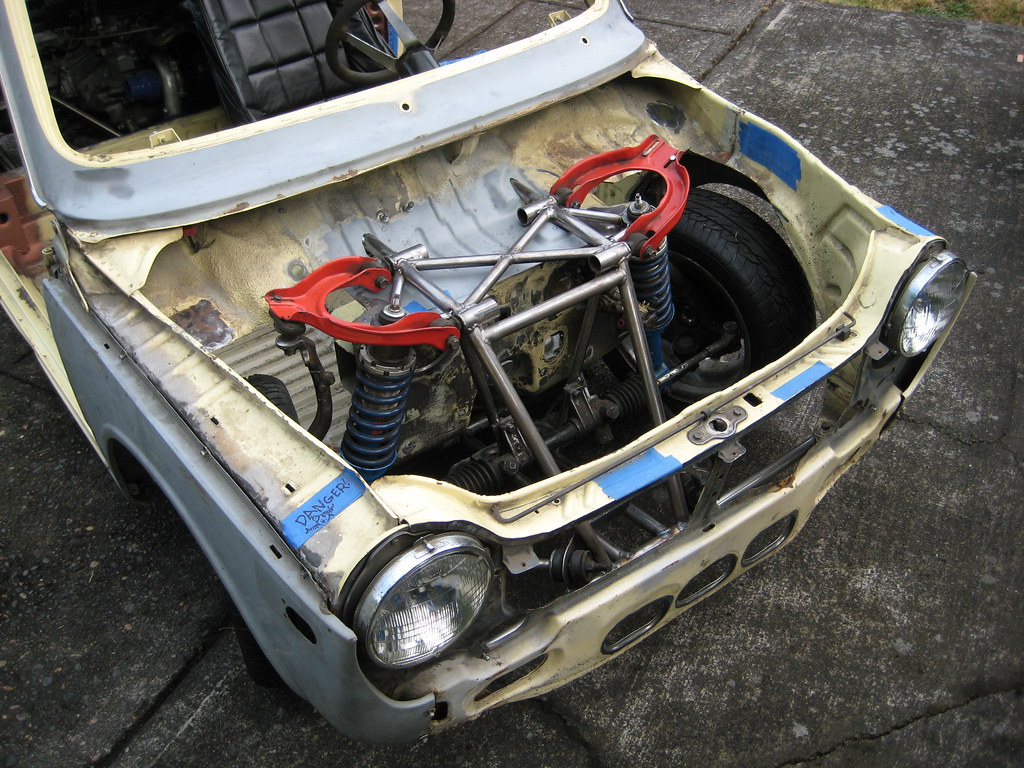
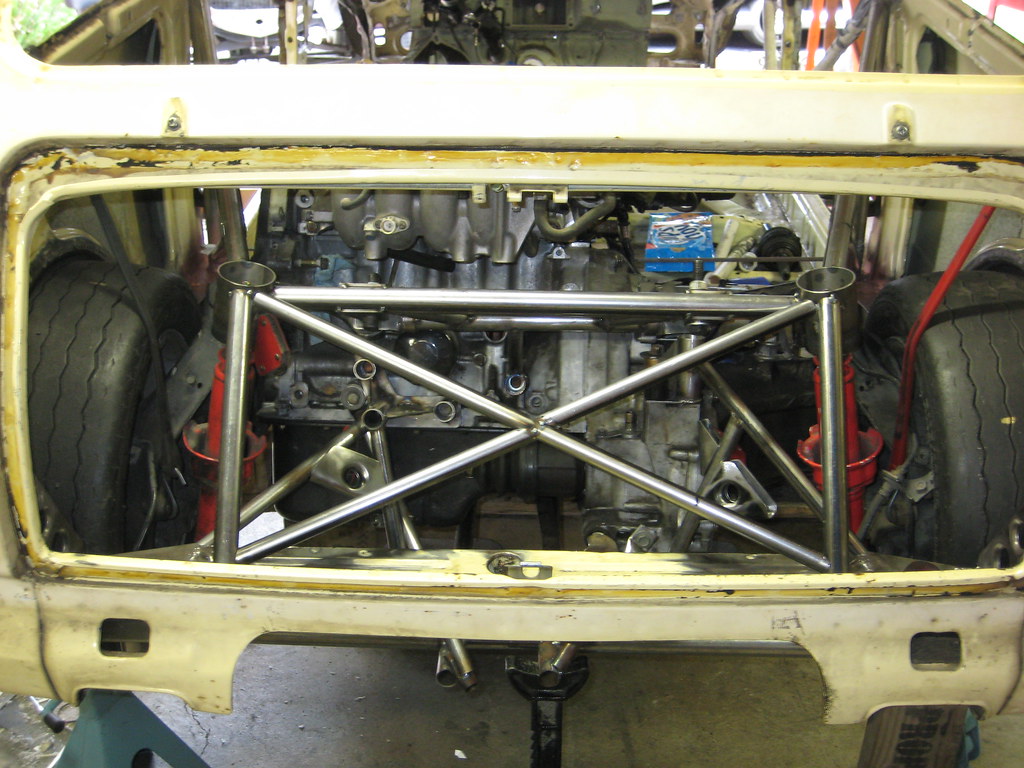
Life for Aaron and I has been pretty busy lately. I'm crunched for time, so I intend to keep this update brief. We are getting pretty deep into tubing mastery...kind of reminds me of my old Formula SAE days with so many little tubes getting fitted! The rear cradle, suspension, and structure are 98% done. We haven't final welded much, almost everything is tacked and waiting for a big day of finish welding in the future.
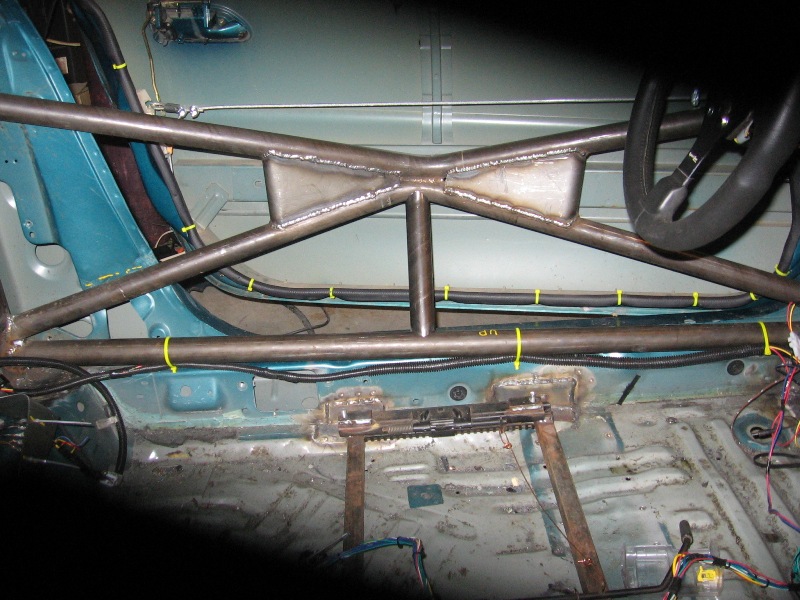
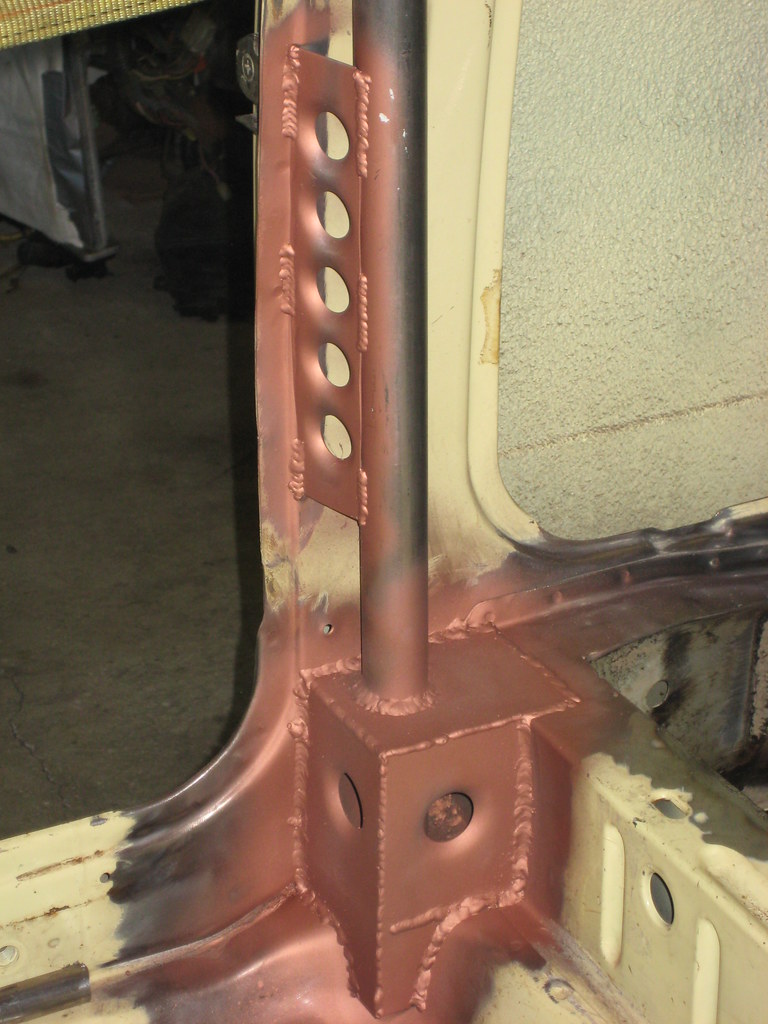
One of the things that is finish welded is the base of the roll hoop. Due to how we designed it, we had to start welding in the base of hoop so that we could then install our box plates and hoop support plates. I haven't seen a cage done this way before, but I doubt that's because it's never been done...I just haven't seen it. Here's how the base ties in at the bottom of the tube...all the way to the floor. Note the dimple-died tie in to the body near the door striker as well.
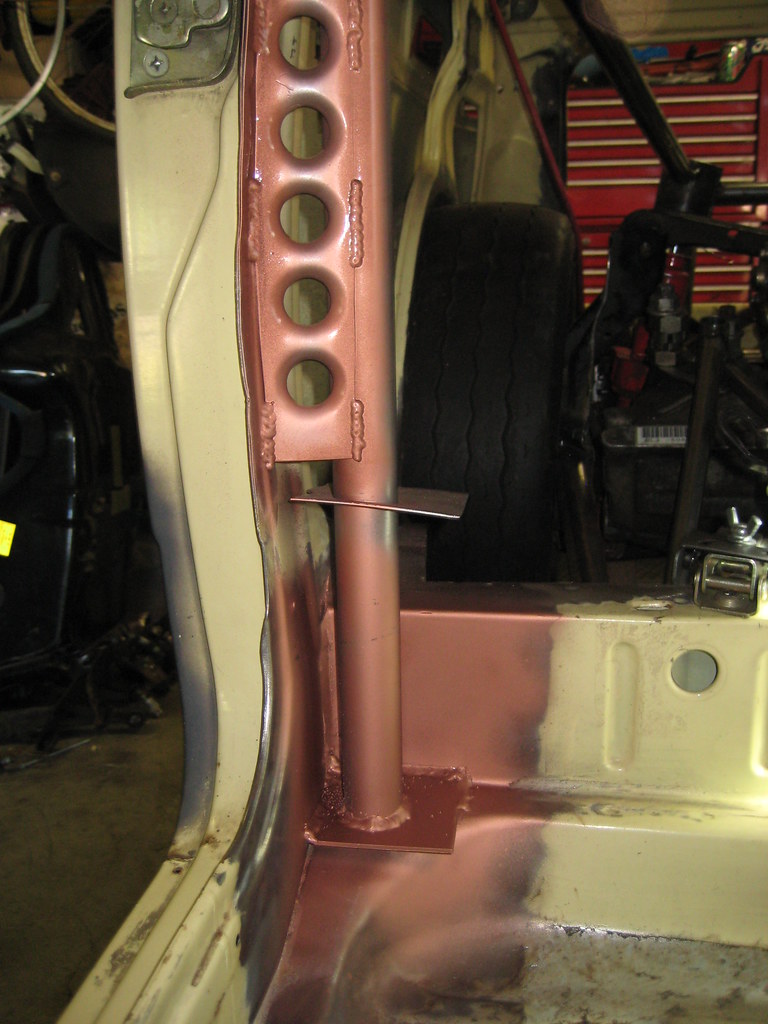
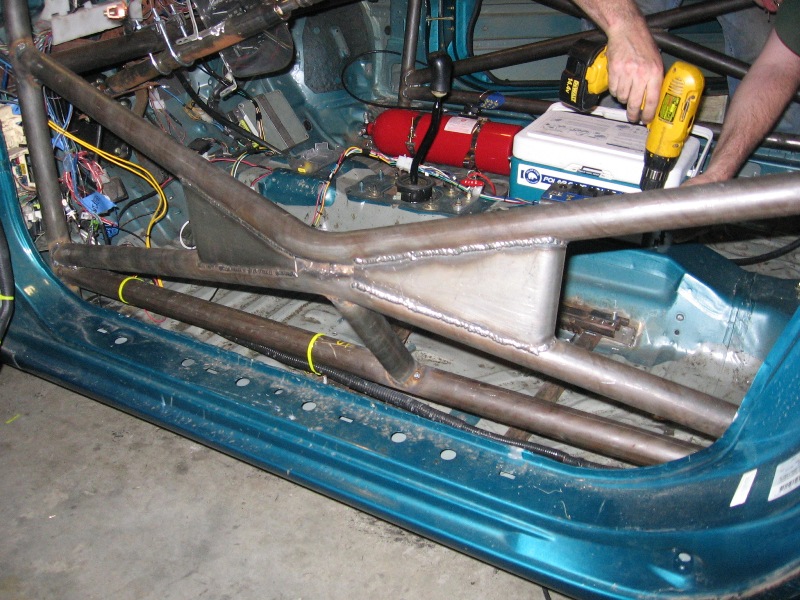
Once the base was welded in, then the boxing plates were welded in. The order of operations was a little tricky, but in the end there are a lot of welded tie-in points for the roll hoop with a pretty clean installation.
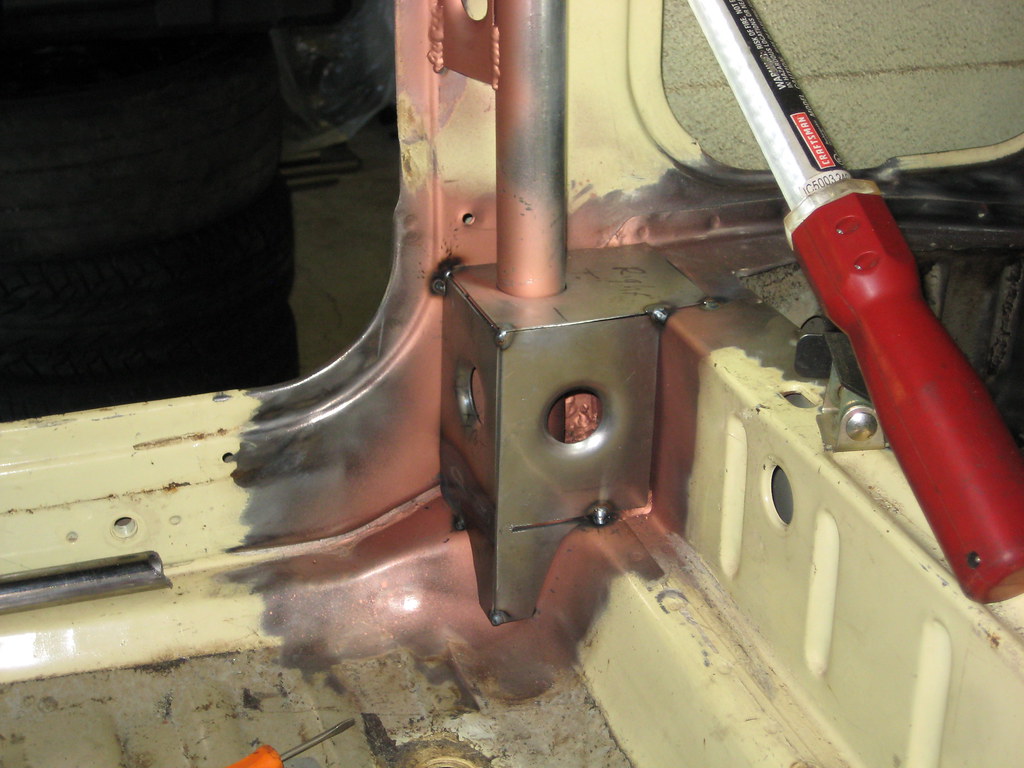
This is what it ends up looking like, all done. Nevermind the weld-through primer...Aaron got a little carried away, forgetting that we were done welding so we didn't need the fancy primer on this part once it was done. I think the welding fumes got to his head! We're happy with how the hoop tie-ins came out.

The rear suspension took a lot of pondering and several scrapped prototypes before we came up with something we were pleased with. The lower control arm and trailing link were pretty straight forward, as they pointed straight at some pretty obvious tie-in points on our cradle assembly. The upper spring/damper attachment ended up looking very clean, but it took a while to figure out how to do it. As usual, the most simple solution is rarely the most obvious solution when you start! You can also see some of Aaron's dimple die taco gussets in here.
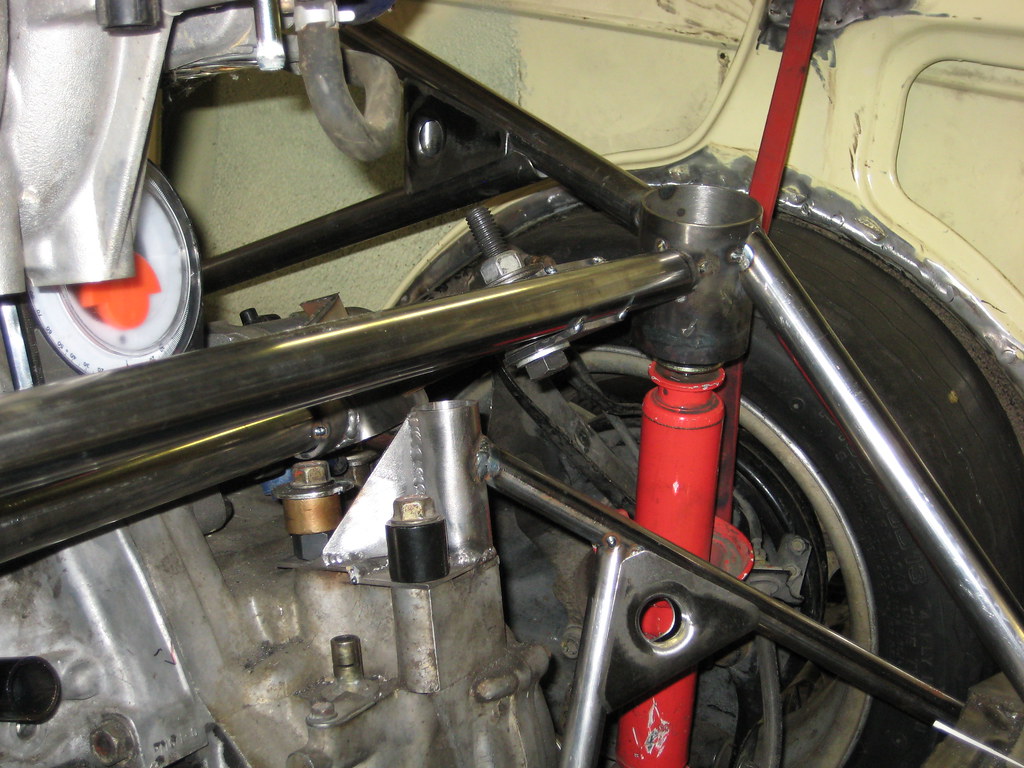
This is a sample of what it will look like with the spring and adjuster in place...snug as a bug in a rug!
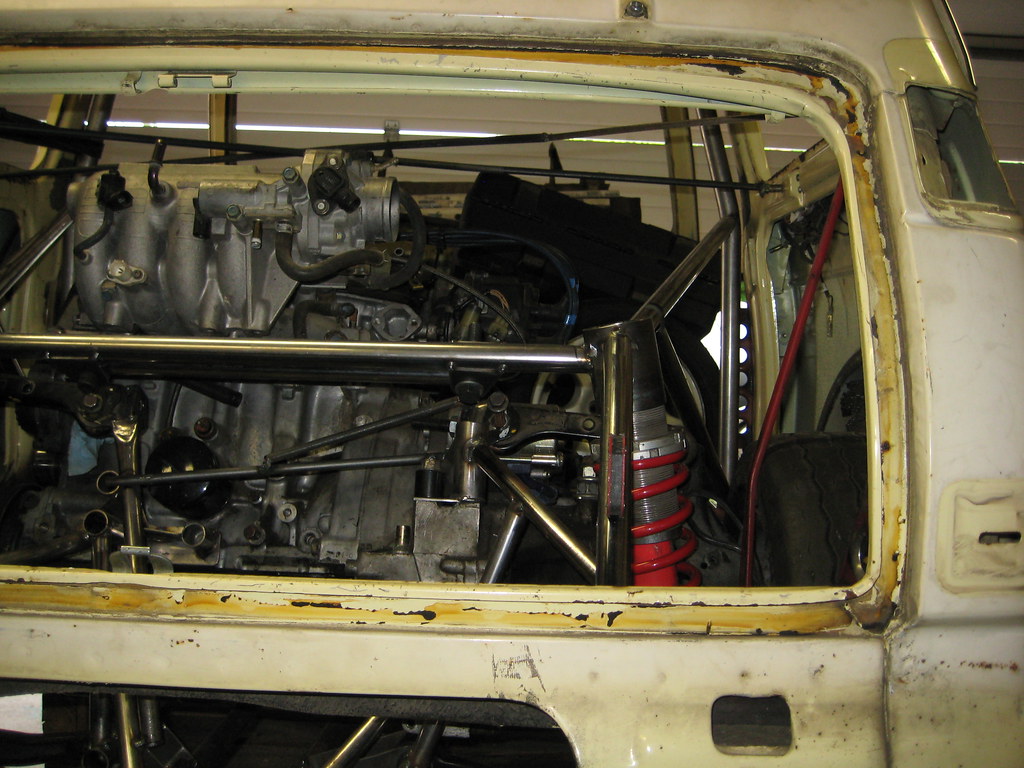
Here you can sort of see the upper link attachment...this one was the toughest to figure out. I think I made four different versions before this one, and this one still isn't completely done. Needing to be removable (for service), robust, pretty, AND cheap was quite a challenge on this one. As is usual with $20XX, if I had just spent $50 on some parts from my friendly circle track catalog, it would have been a one hour job to set up. Instead, it became a 20 hour job trying to make it near-free.
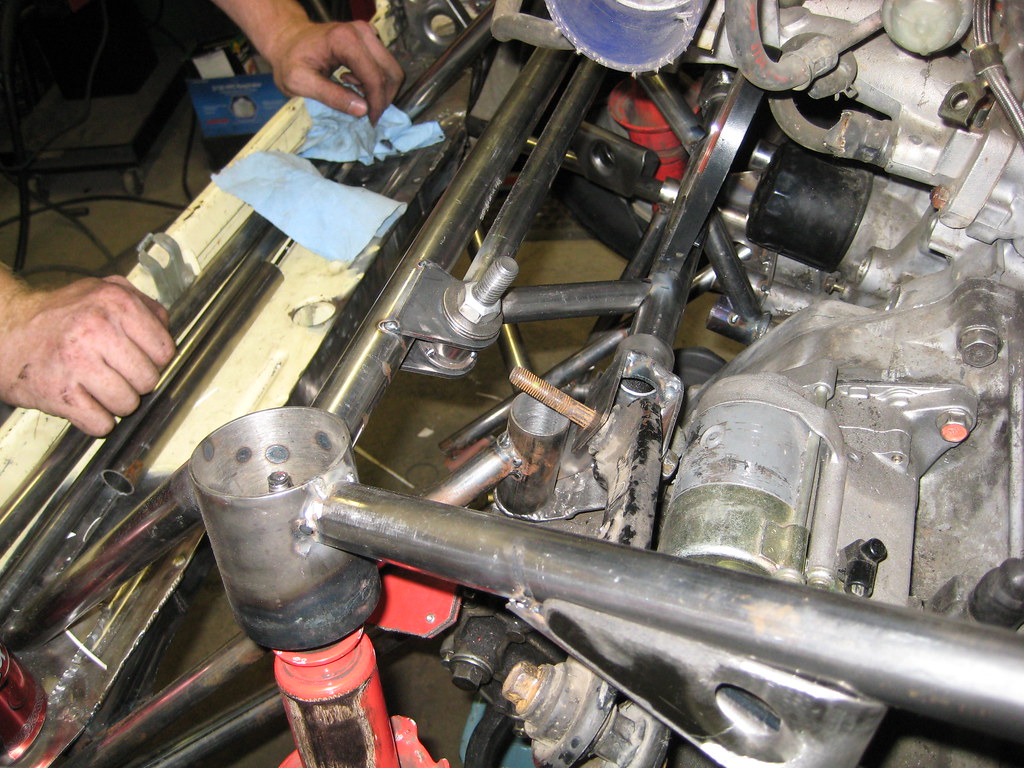
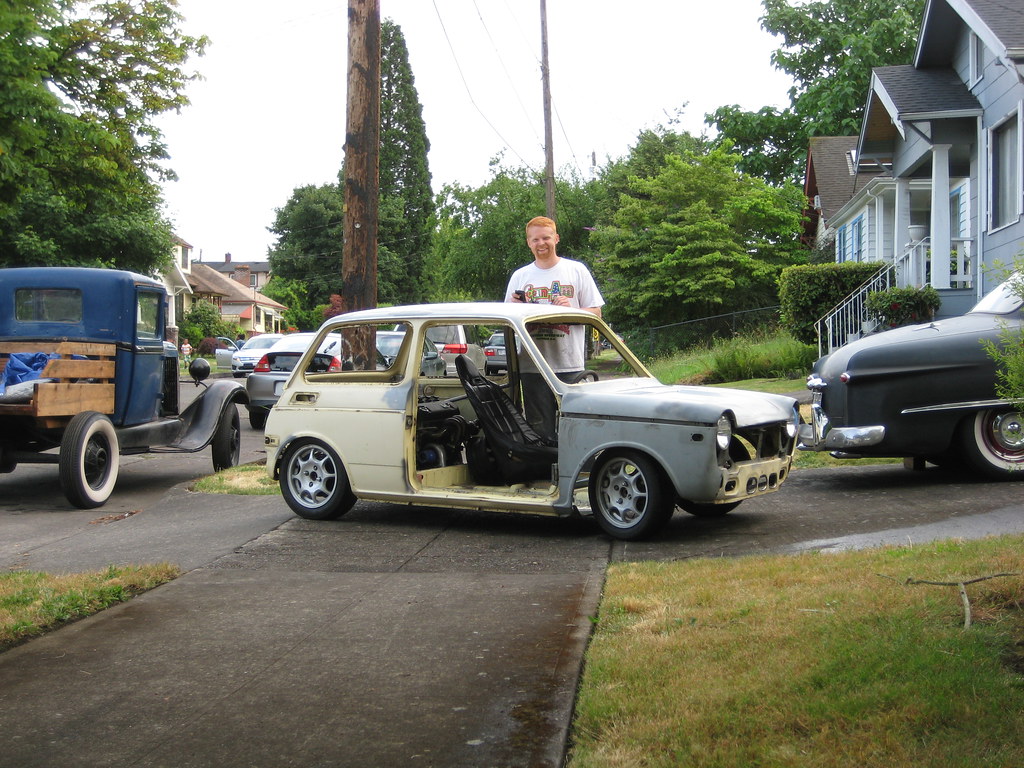
Here we are almost entirely done with the rear. Hard to resist welding it all in now, but we want to be sure we're all done with everything before finish welding! We started the shifter, axles, etc. but until that's done we won't be finish welding.
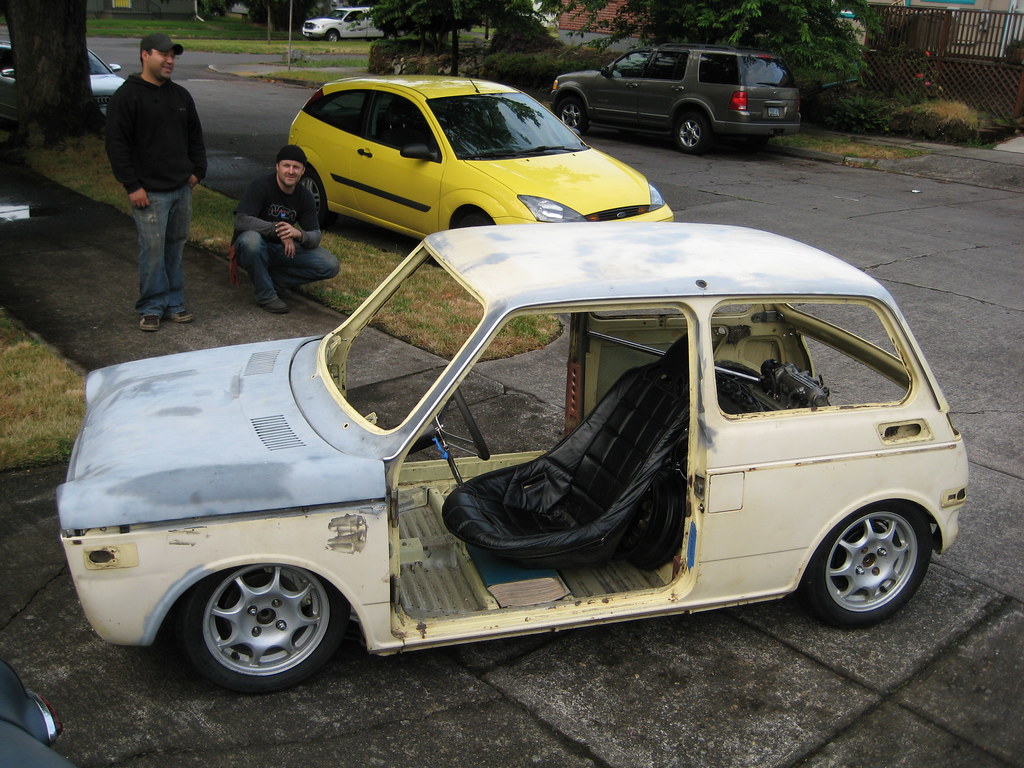
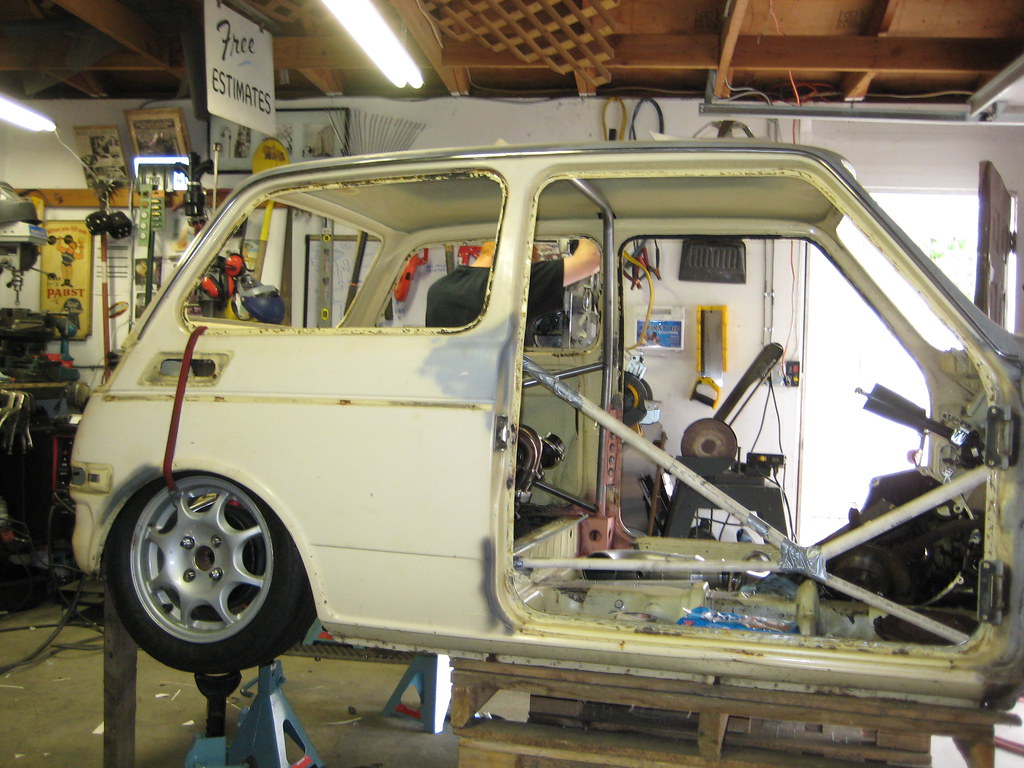
Coming up next should be door bars, as we work our way forward on the chassis. This is also another peek at how these wheels and tires look on the car (shown here at full compression). We're really happy with how this combo looks! The 185/60 13 Hoosier TD will probably be the competition tire of choice if we can find some others on the cheap; if we can't, we have some 185/60R13 RA1s that will work on the cheap, but they're WAY bigger (despite the same size on the sidewall!).
Our original goal was to have the car running my July 4, which then turned into rolling by July 4. Now we'd be happy to be running by August 4! Yikes, we need some more time in the shop!
Bryce


