Good progress! I'm not sure if I would have the patience for all those patch panels. Hats off to you.
Good progress! I'm not sure if I would have the patience for all those patch panels. Hats off to you.
As always, thanks for the kind words and encouragement. ![]()
Late start in the shop today, but I am here now and have a few more hours before SWMBO is due home.
So far today I've taken some of this:
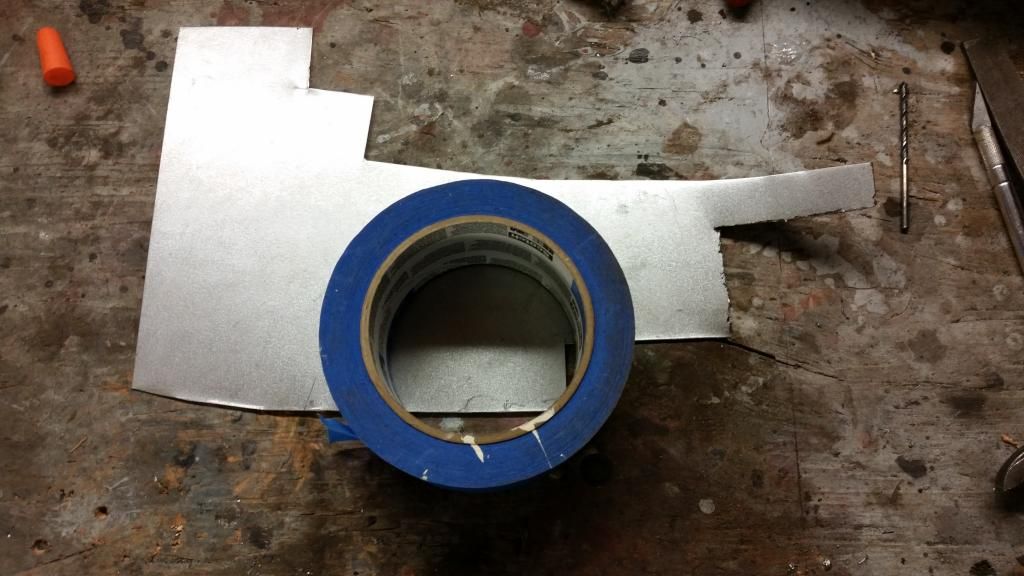
One of these:
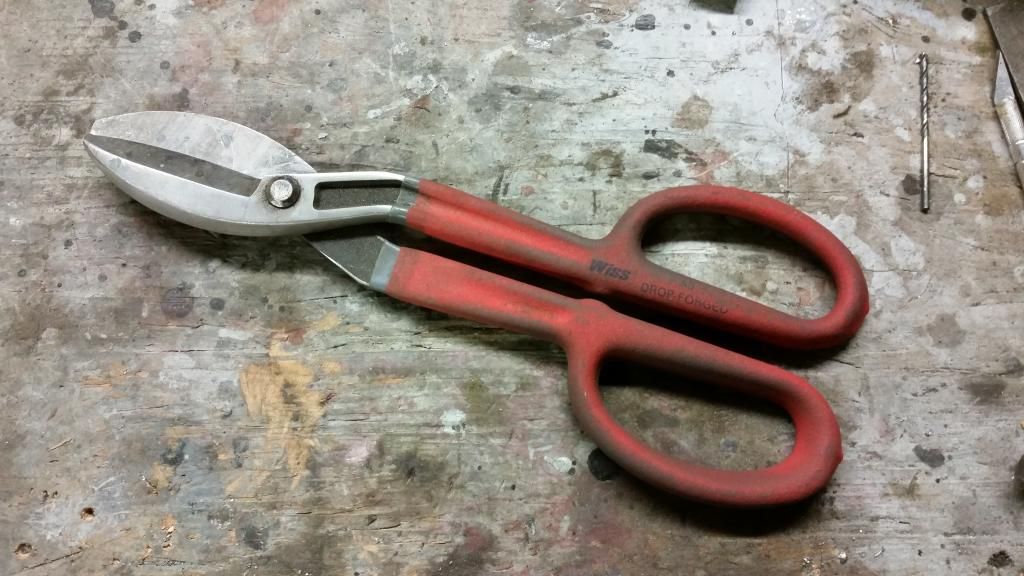
And some of this:
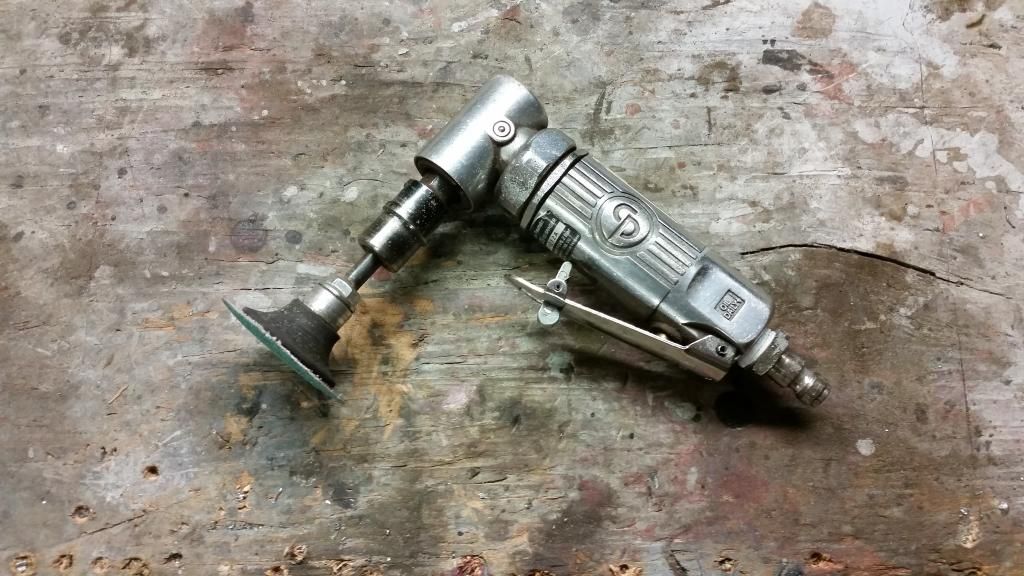
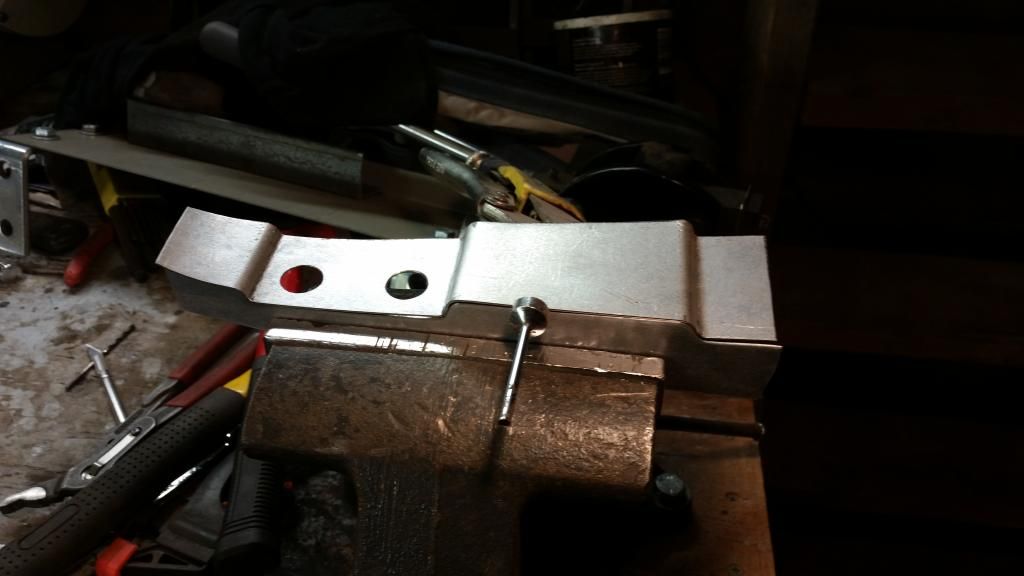
To make one of these:
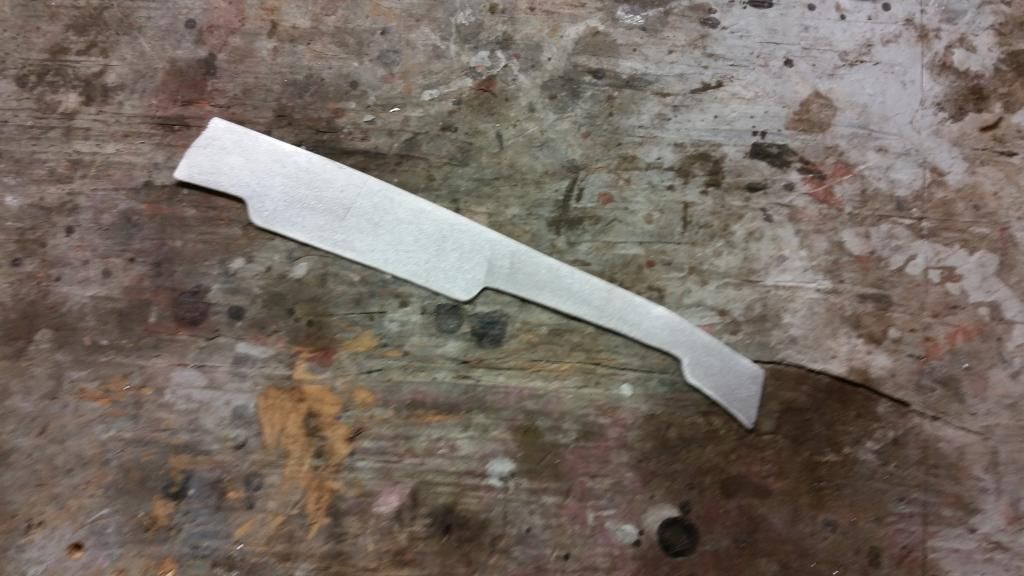
Which goes over here:
More later. ![]()
Everything here has been done in the vise, my homemade brake, or with the HF hammer and dolly kit. Anything bend that has a radius around .25" was formed over a pin-punch in the vise. Any larger gentle curve was formed with a dolly in the vise.
So, I've formed things with hammers, but I don't think I have made a hammer-form? You tell me; I'm making things up as I go along.
So, after my "break" I set about joining the two pieces. I found what I believe to be a miata seat belt washer/boss/kajigger that had a nice machined step in it. The smaller o.d. slipped nicely into the door hinge holes, effectively centering the panel (although it is crooked in this picture).
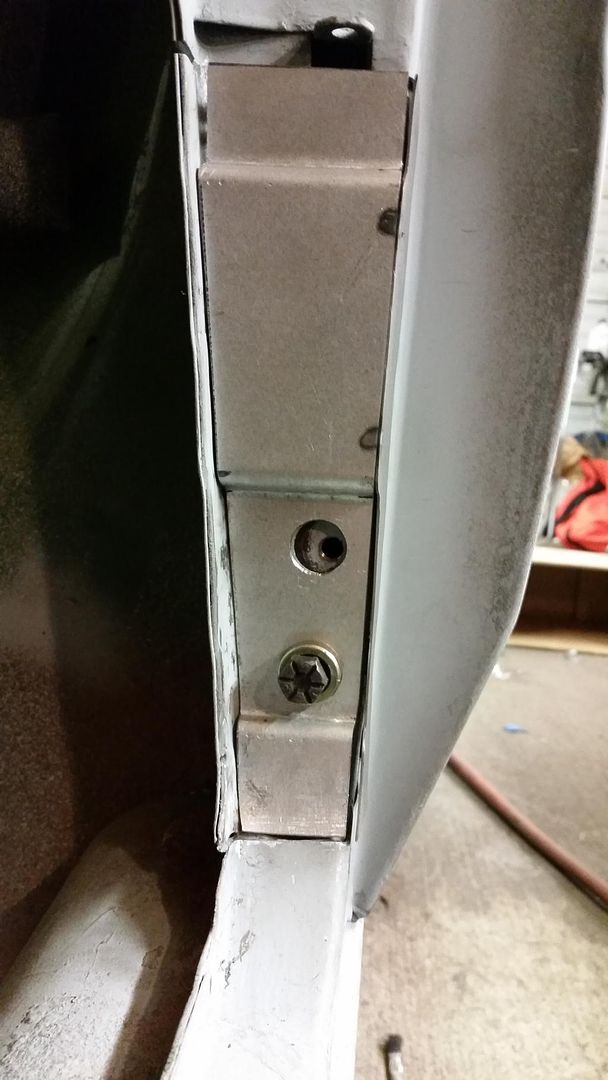
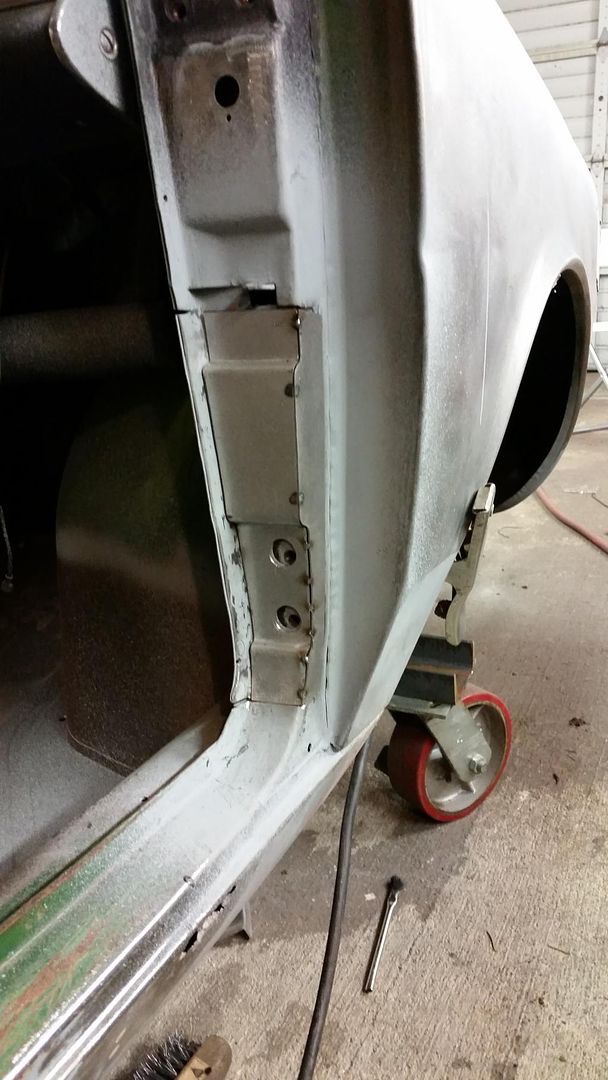
Then all I had to do was tack the first side piece in place.
Then I made up a template for piece #3 and cut it out.
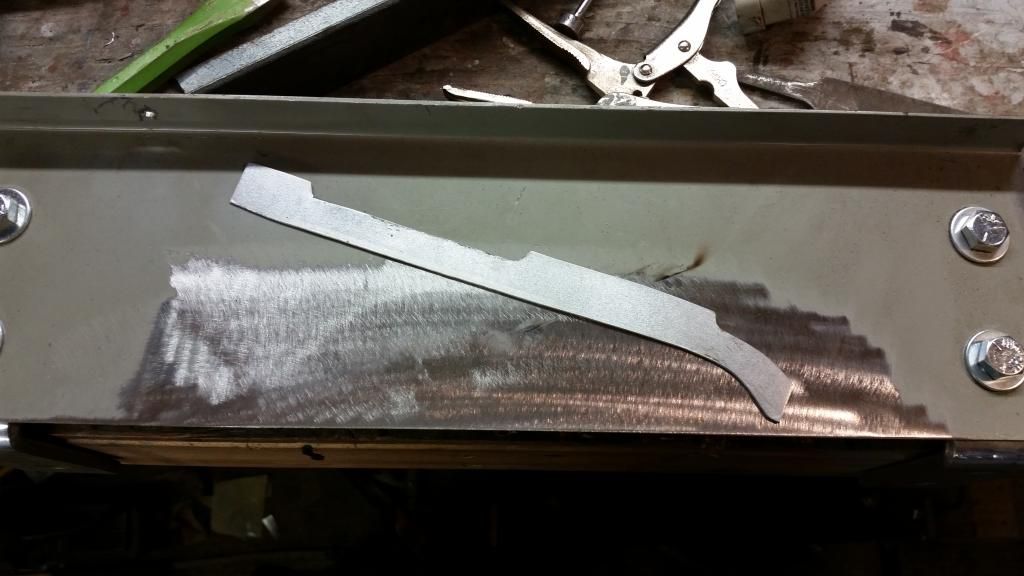
And offered it up.
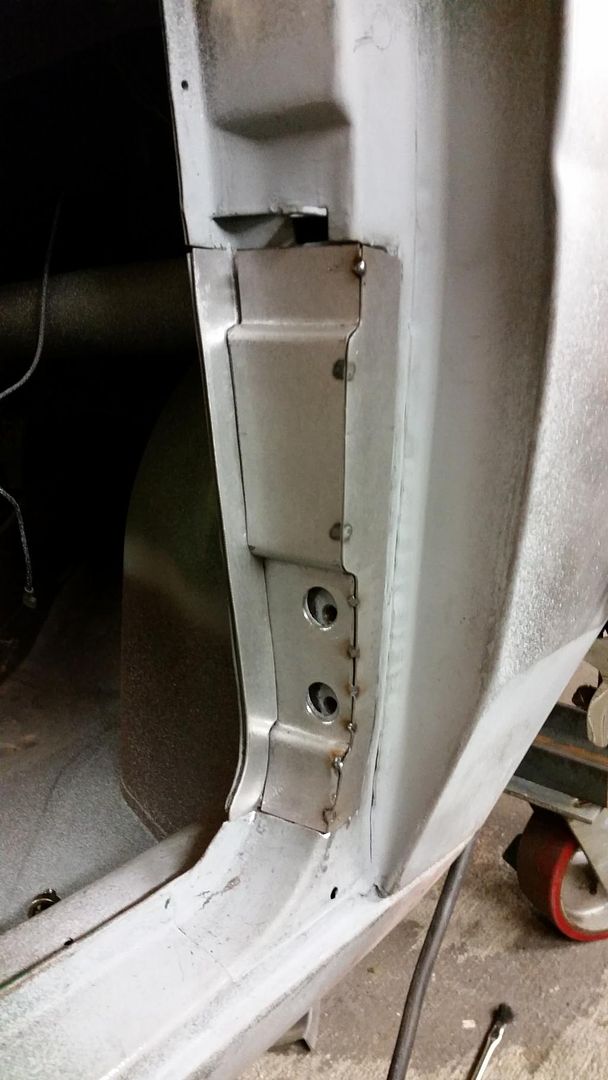
Tacked it in place then welded it all up while keeping heat and distortion to a minimum.
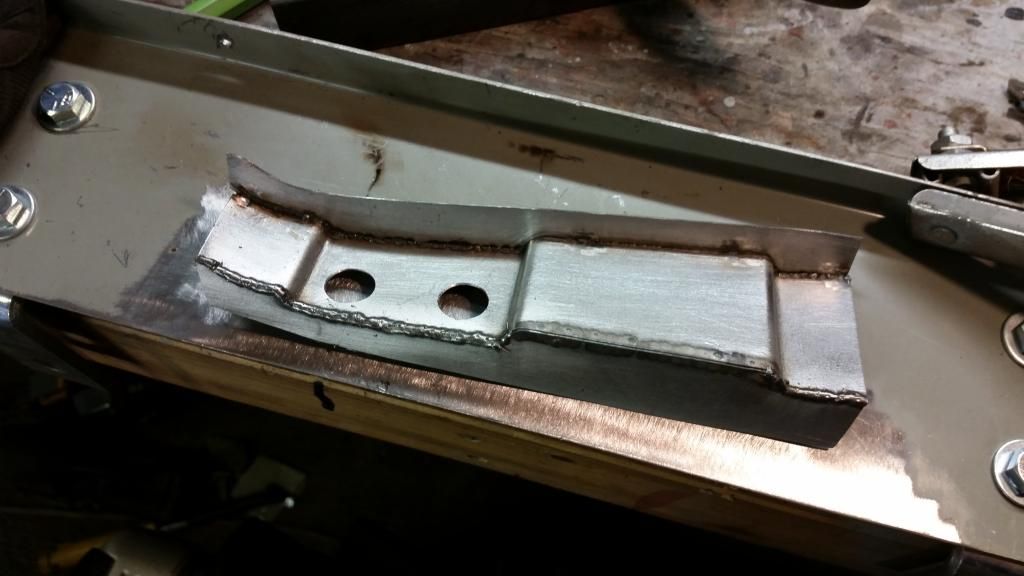
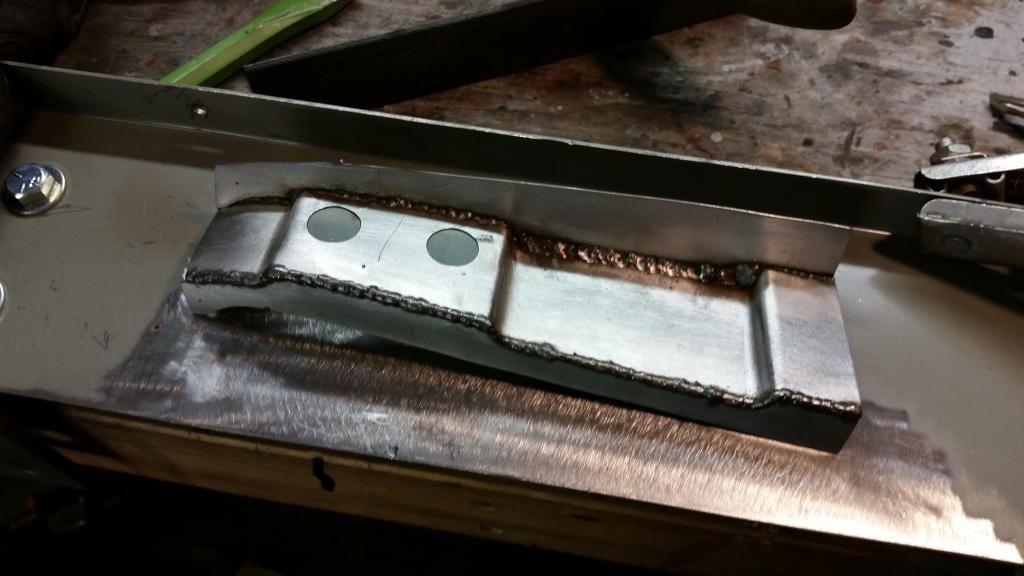
And then I cranked up the stereo (Fugazi - Steady Diet of Nothing. Good grinding tunes.) and ground it all back flush. I even hit it with the DA sander to soften up the corners.
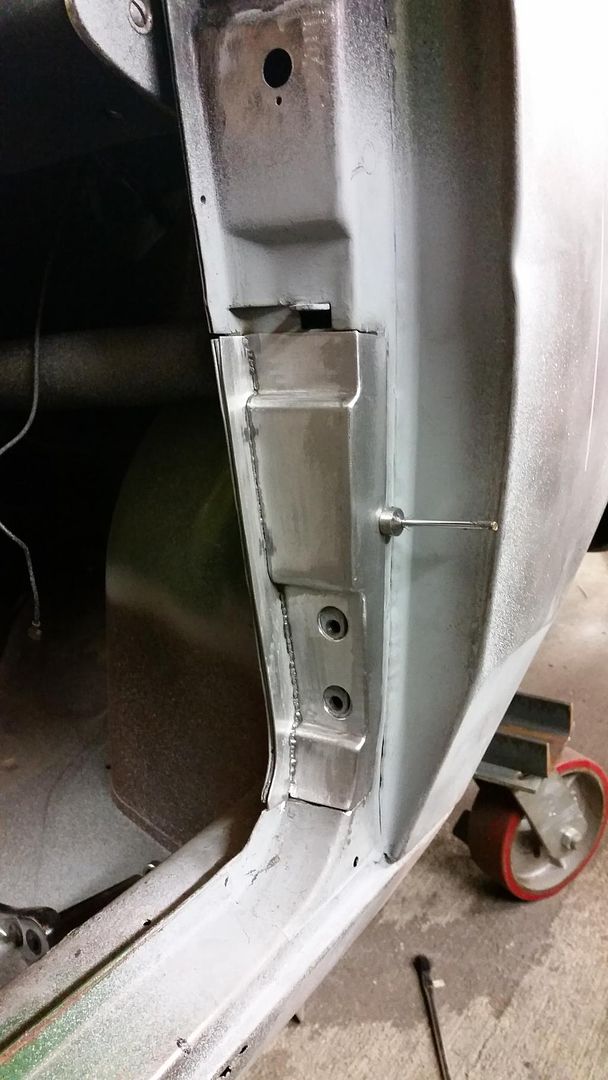
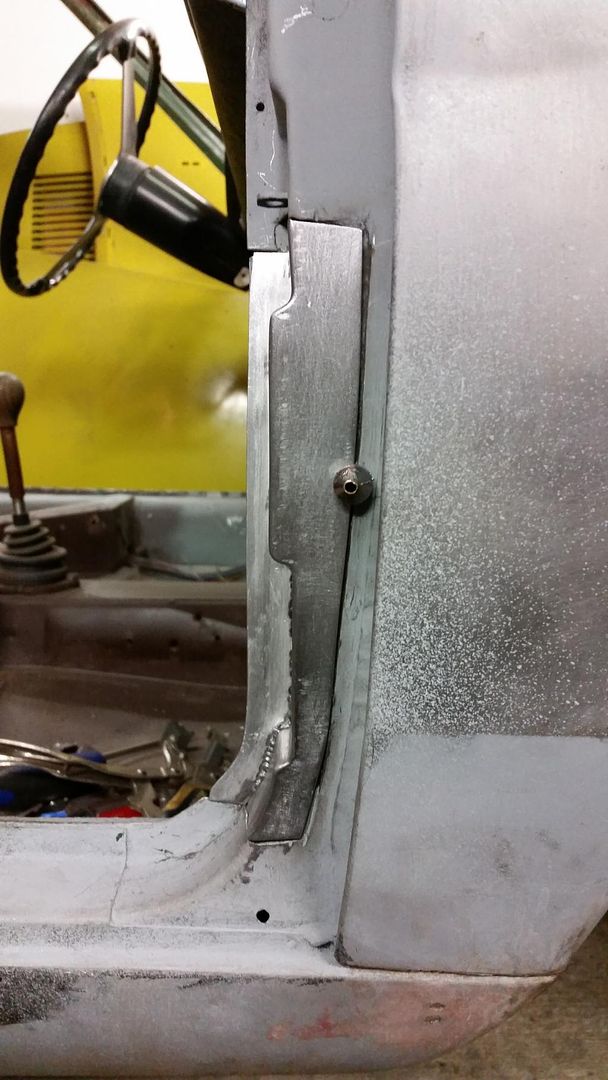
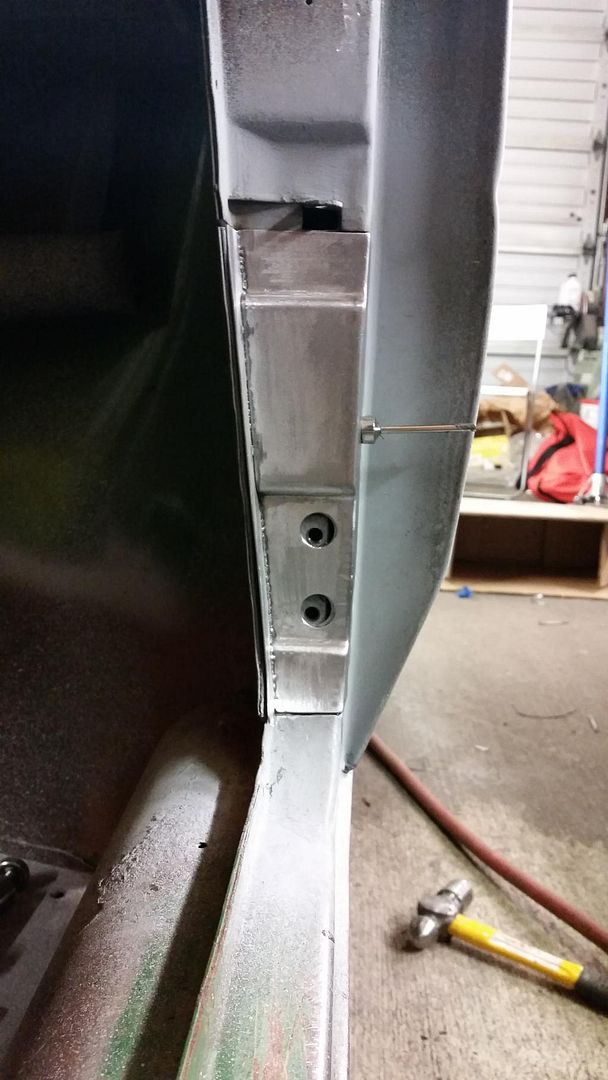
I still need to do a little finish work along the weld on the left. Other than that it should just need a few holes for plug welds before I burn it in.
I have to say I am quite pleased with the way it's turning out, even though I took the long way around.
Yeah..that berkeleying rocks; both execution and result.
Still have not figured out how to do it as a single piece. The hammer-form would have taken much longer and not sure the effort would have been worth it.
I'm glad everyone else enjoyed those results. I certainly put on my Jeremy Clarkson smug face when I finished it.
I wasn't feeling extremely motivated today, so I just kinda dorked around at the shop and cleaned up the massive mess I've been making over the last few weeks until I got into a better mood.
Then I got the rocker stripped of all its paint hoping to uncover any lurking rust.
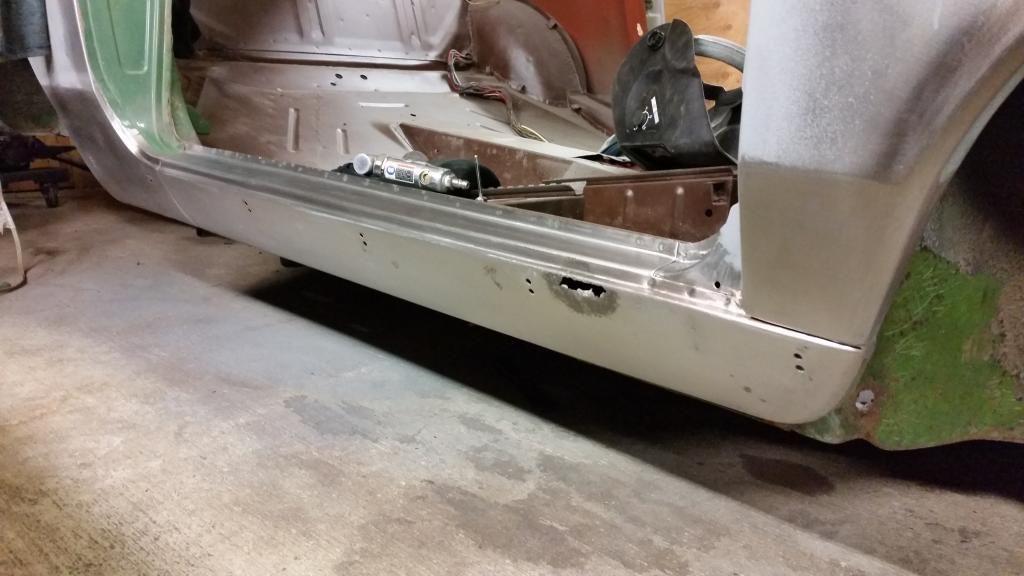
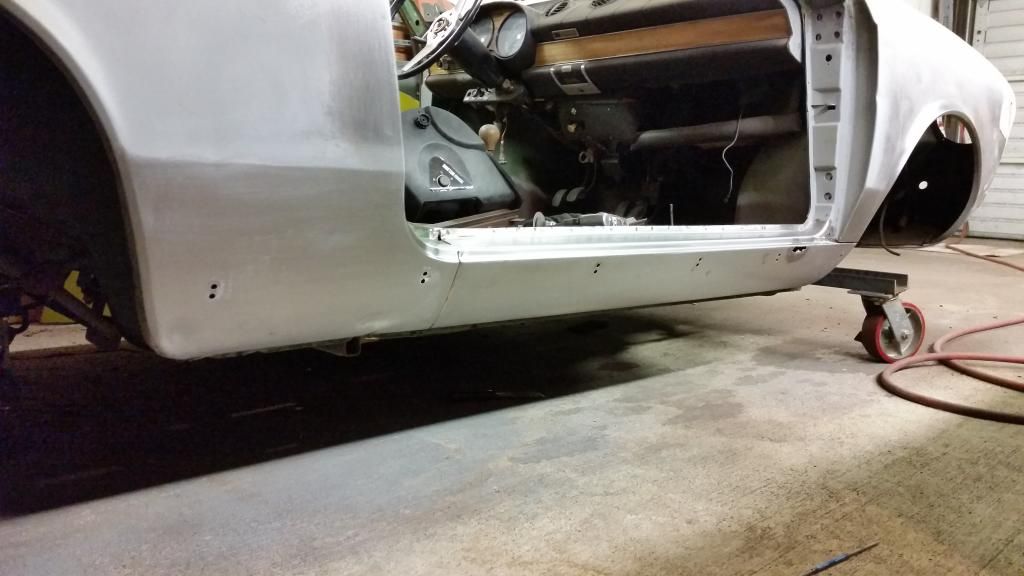
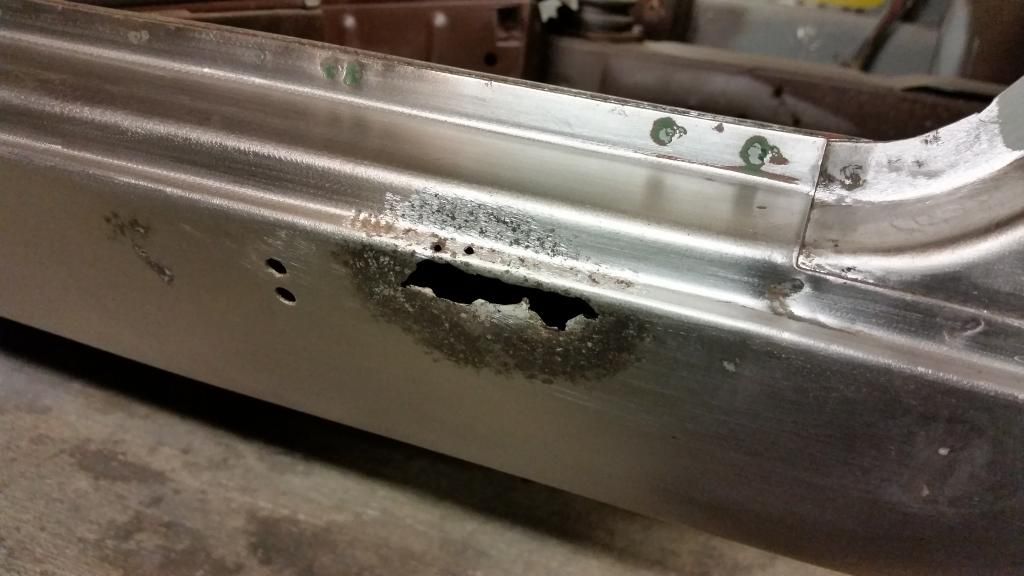
It's all incredibly solid, considering. There's some damage around the jacking point, I assume from the factory widow maker, but no rot on the rear half.
Just this section here will need to be replaced.
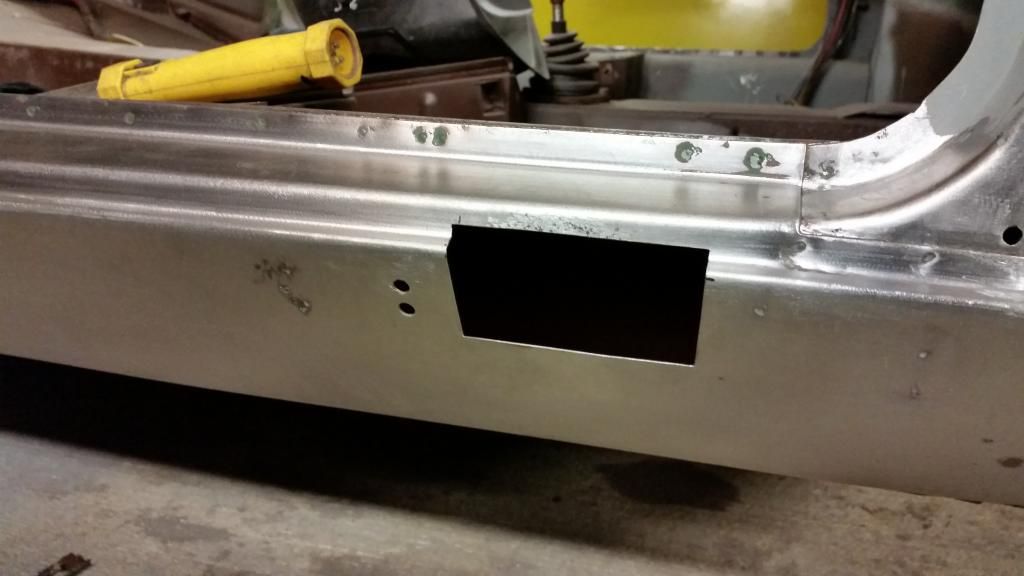
Which I cut out, naturally.
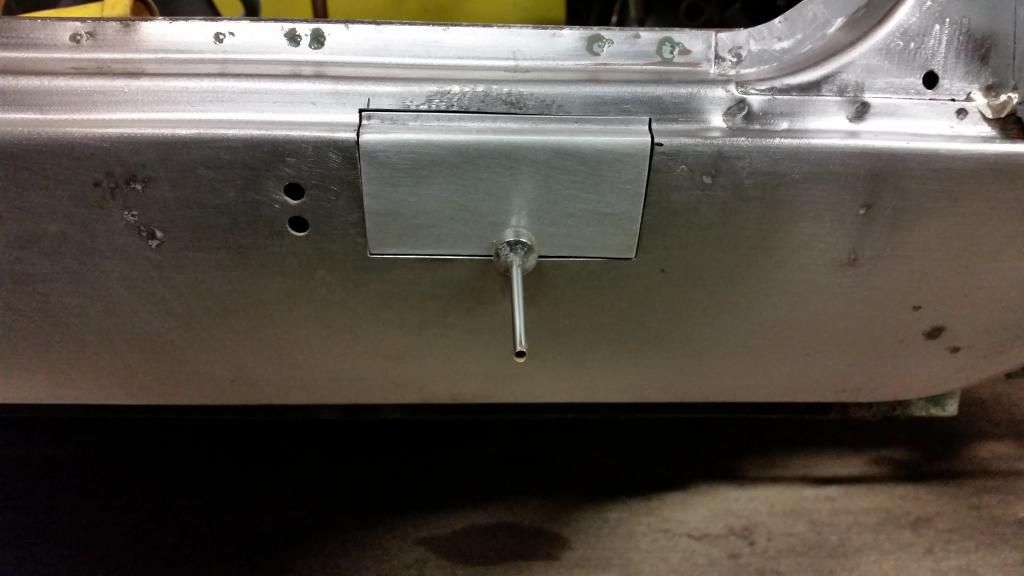
I made up a quick patch. Still needs a little fiddling, but I think it will work.
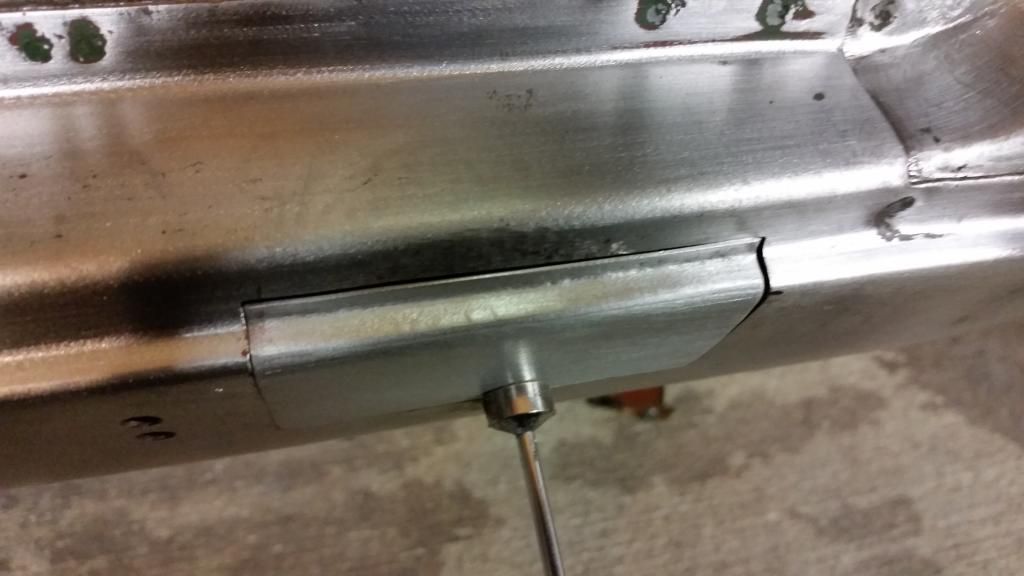
Bends are close, but not perfect.
7 more days until I go back to work, so I hope to have a lot of progress to share with you folks this week.
We've had a bit of a cold snap here and it I currently 27*F in the shop and being a. berkeley that.
I did manage to get the holes in the rocker all welded up before throwing in the towel.
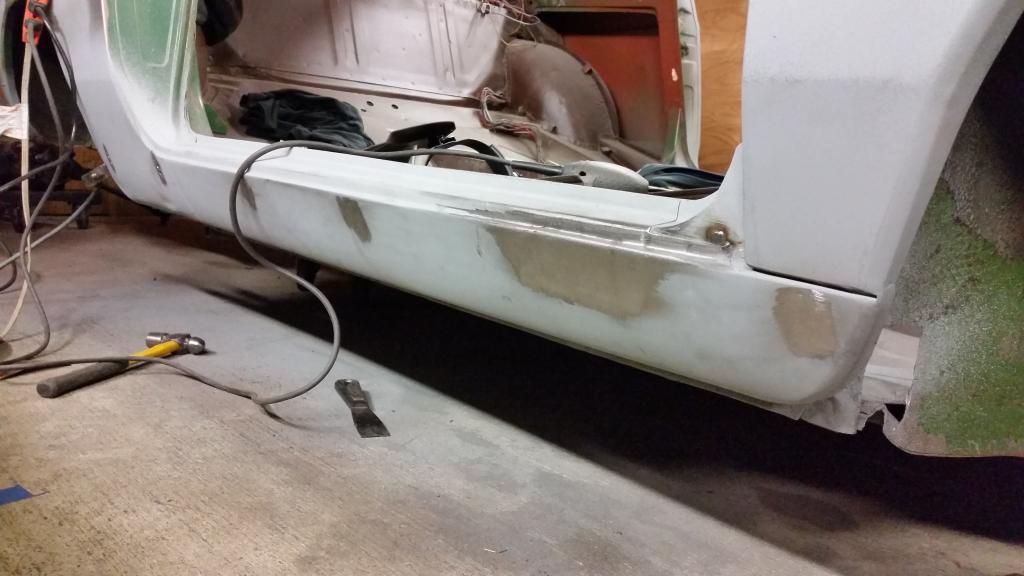
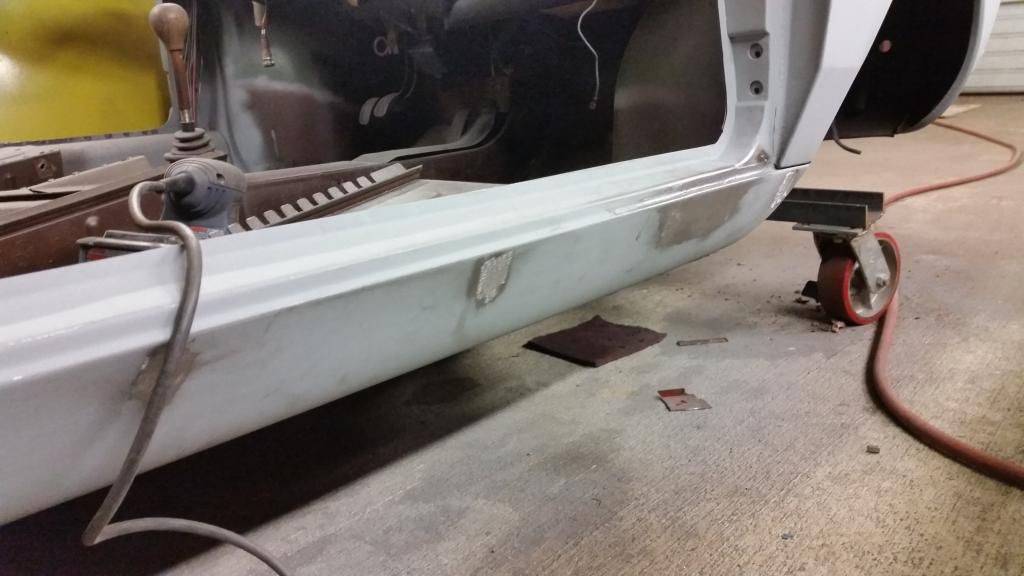
It's a little lumpy, but I think a quick skim of filler will hide it nicely.
Mostly, because of the cold, I've been cruising rock auto and ebay. I'm trying to find a combination of parts that will work for the rear wheel bearing, disk brake, and CV joint upgrades, without breaking the bank. This is close to the top of the list because I will probably end up with a slightly wider trackwidth than stock and I need to make sure my (likely yet to be purchased) wheel and tire package will fit.
The current plan is Cobalt front wheel bearing/hub assemblies, mid-90s Saturn S-series rear rotors (with the center bore opened up to 60mm from 58.5), and MK4 VW rear calipers. I have gone about as far as I can without having the parts in my hands, but I think I can make it work.
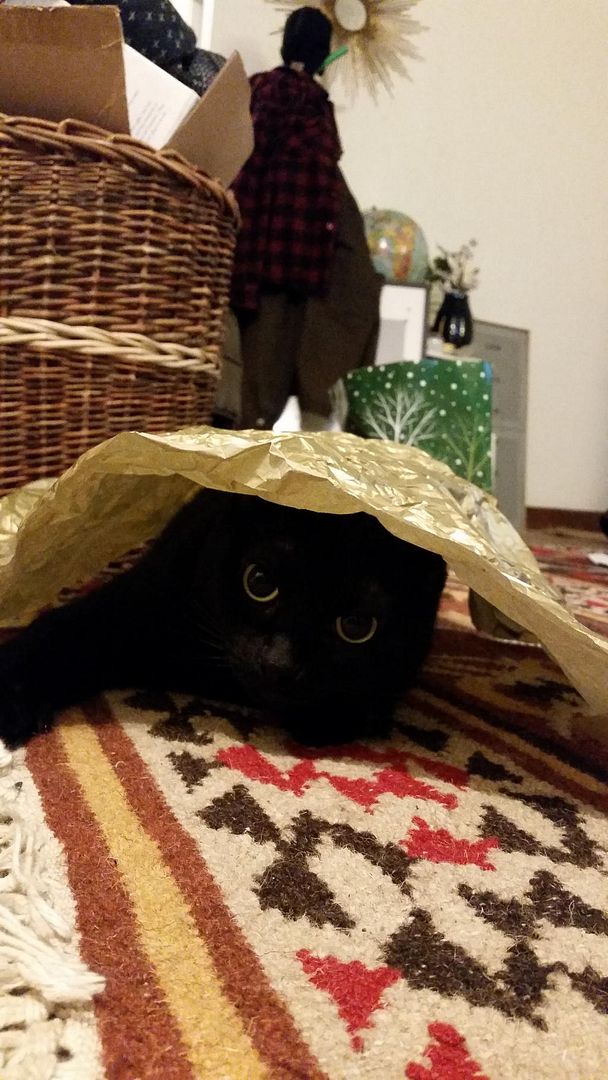
Since this update really needs more pictures, here is Lady Ursula under some wrapping paper.
In reply to Burrito Enthusiast:
can you take the hub OD down to 58.5 instead of opening up the rotor? makes rotor swaps easier since they'll be off-the-shelf parts -- assuming the bearing hub life is longer than the rotor life, LOL.
This technically counts as an update, Davebob.

Engine donor: Obtained! Part out to follow. ![]()
P.s. I have been keeping busy, but I haven't had the time or desire to make a real post for some time. The dream is still alive.
Burrito Enthusiast wrote: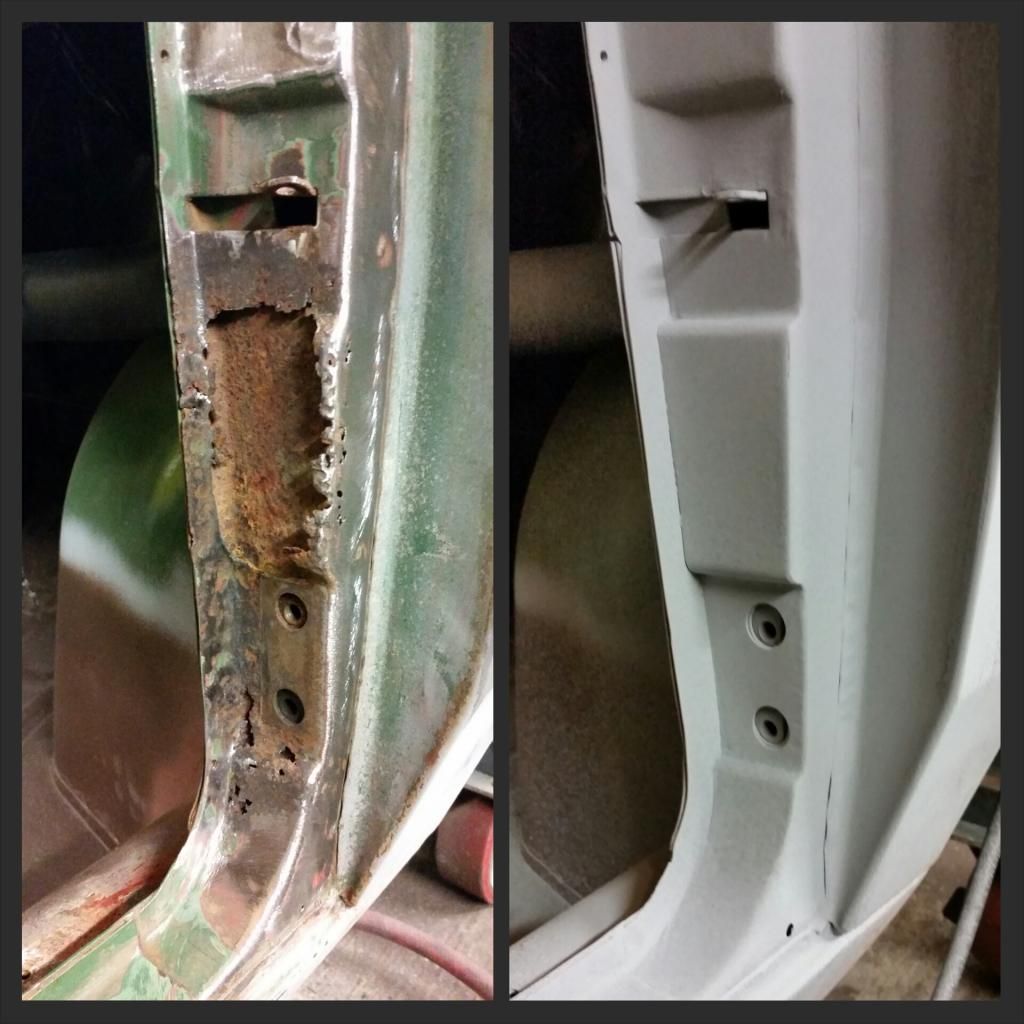
Excellent work! Have you considered why the part rusted where it rusted? Could you drill a couple of weep holes at the bottom where it curves back inward? (just above the two bolt holes)
Burrito Enthusiast wrote: This technically counts as an update, Davebob.Engine donor: Obtained! Part out to follow.
P.s. I have been keeping busy, but I haven't had the time or desire to make a real post for some time. The dream is still alive.
I missed the part where you decided to drop in a Swift drivetrain. That just filled the AWESOME in-basket for this project.
Do please get back to work and work faster please.
RossD: A page or two back, when I was still welding on the drivers side, I talked about why this area rusts out and what I am doing to prevent this in the future.
NOHOME: I don't think I ever mentioned what the engine plans were. I've had this engine in mind for ages, but never expected to have one fall into my hands. I always kinda assumed it would end up with a Honda B-series.

The fun part will be mating it up to the Porsche transmission... ![]()
You'll need to log in to post.