
Here is some more of what has been going on with the car and parts.
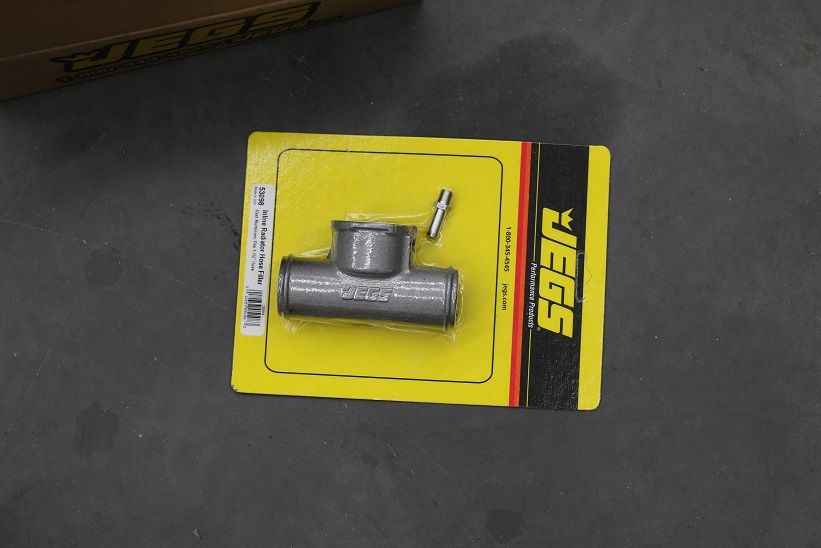
I got this in last week, from what iv seen/know the cap for the rad will not be the highest point in my system so it will not be able to bleed out all of the bubbles so I will be pumping air. And as we all know air does not cool as well as water. So I picked this up and I hope it will also make the stock mustang upper rad hose fit with my set up. I won't know till the motor and rad go back in.
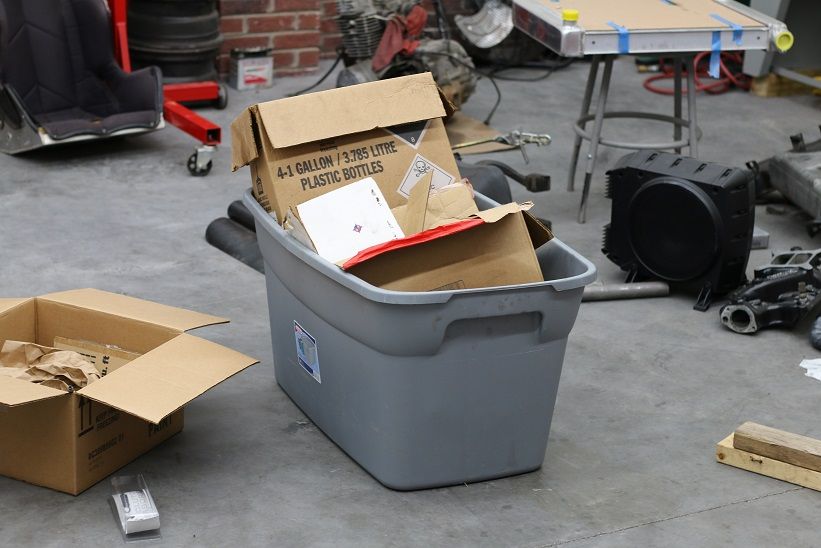
While I wait for the motor to be put back into the car I went through my pile of junk and put away my spares parts that I didn't need. It does not look like much but its about 150lb of junk...
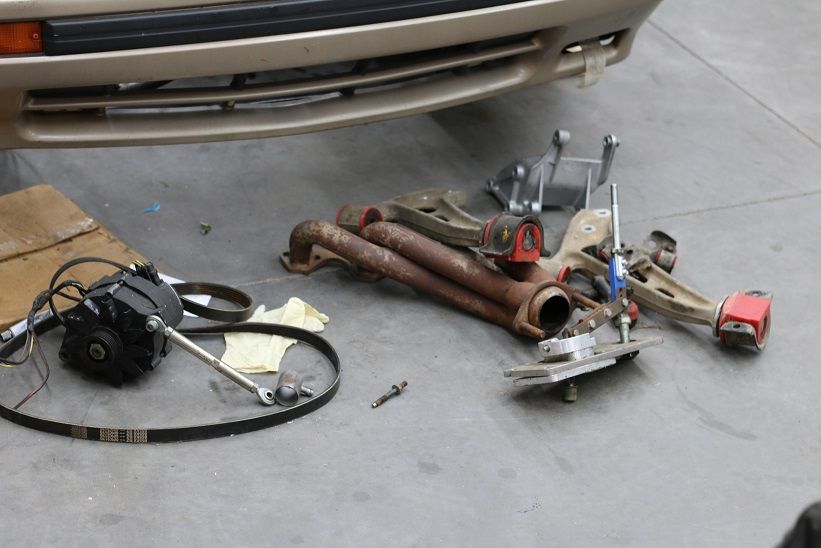
Some parts still need work, headers will get a spray on ceramic paint and then backed on in the oven. Other set of control arms will get painted and swapped onto the car after I drive it for a while so I can feel what the poly bushings do for the front end.
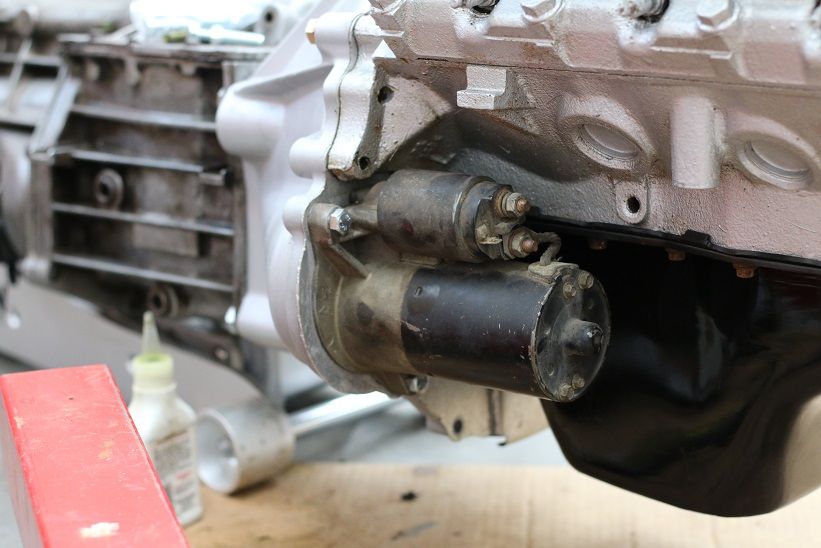
I also bolted the starter on. I was going to wait till the motor was in but im glad I didn't. The aluminum plate that helps align the starter was jammed and not in the correct place which means the starter would have never fit into its hole. I had to move the trans back about 1/4" to free the plate and get it to sit where it needed to be. I could have never done this with it in the car. I also got the bolts for the bottom of the aluminum plate to bolt it the the bottom of the bellhousing. No rattles for me!
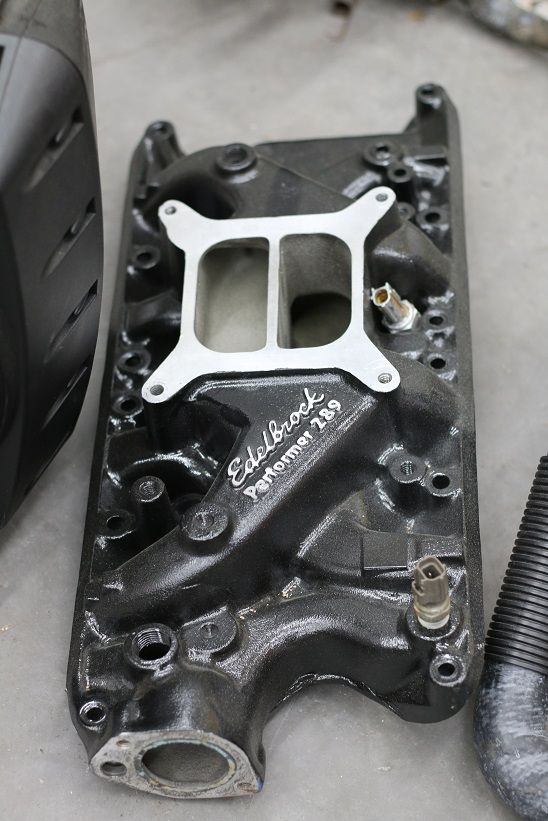
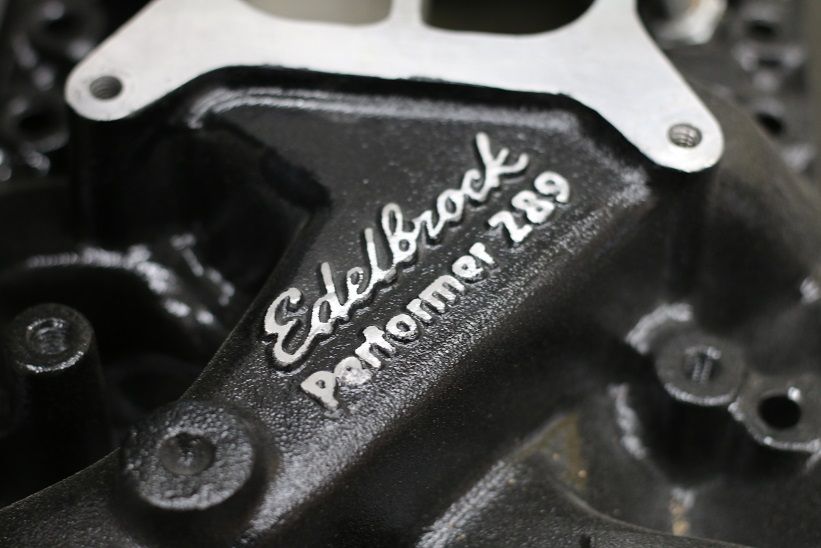
Then some little details that make all the difference. I decided to sand the name on the intake. I really don't won't to show off the brand I don't want this to scream MY DADS OLD MUSTANG! I just want people to think RACE CAR! Just a good looking RACE CAR!

Beagle
New Reader
4/22/15 8:41 p.m.
I found out years ago what the bleed valve on a Honda thermostat housing was for... yeah, air is not good. Good idea on the hose fill.
The block should have had two locating pins that the starter plate slides over. You really shouldn't be able to get the plate located wrong if they are there. I mention that because it locates the transmission too so I'm worried that one is missing?
Come to think of it the pass side didn't have anything. Looking back at the pic will confirm that. Im guessing the trans needs no come off the motor again. Haha all part of the fun! Where do you buy that pin? can it be found at NAPA?

Beagle
New Reader
4/22/15 10:29 p.m.
not sure on Napa - I've used the local machine shop before when I lost a pair years ago. These guys have them:
http://www.latemodelrestoration.com/item/LRS-6397AK/1979-95-Mustang-Bellhousing-Dowel-Pins
I've never tried to drive them all the way through, but I don't think they have any taper on the dowel itself. It's a tap in barely interference fit - I'd be willing to give it a try to tap it through from the block side if you can get it in from that side with the trans just loose so it will align the block / block plate / trans going in and if it goes in easy enough then tighten the trans back up. The ends are tapered so it will try to align going in to the trans.
Otherwise, yeah, pull the trans again. I can't remember if you can even get them in from the block side.. I think they may bottom out in the block so maybe through the hole in the bellhousing until it bottoms out in the block. Since the bell is aluminum I'd be really gentle with it. Probably best to just pull the trans and not worry about it. :(
I looked at your pic one page back and it looks to be missing. I think the Ford part number is F1AZ-6890-B, maybe the local dealer has them (or just one) for less?
I have looked and can't find any anywhere in the Piedmont of NC... Also found that part #EAD 6397-B I did see online and it looks like it is a 1/2" piece about 1" long I might have the guys at work turn one out for me on the lathe so I can try and install it tonight. Or try the hardware store for a 1/2 pin, fingers crossed something will work out for today.
I lost mine on the mopar. Made it out of steel rod.
And learned that they don't need to be 3 inches long. Makes it hard to change the clutch with the motor in the car.

Beagle
New Reader
4/23/15 10:46 a.m.
I think at least back to the 60's up Ford inline 6, v6, v8, probably up to the metric stuff (modular)is the same size... stop by a boneyard or a boatyard with a pair of vicegrips or a hammer and punch?
I measured one with a Starrett dial caliper, came up with .496 , no taper, chamfered at the ends. Forgot to get the length - I'll post back when I check it.
edit - I don't have anything super accurate but +/- .001 I'd say
.493 x 1.000
Ok well I checked here at work and the only thing I have found is the shank on a 1/2 bolt I will have to run a caliper on it again and see what it comes to but I know its .49.....
Dusterbd13 can you shoot me a link to a good rebuild kit for that crab? I really need to sit down and watch about a dozen YouTube videos about the carb so I will know what im doing when I get it.
Gp Sorensen from oreilleys. Best for the money.
And I'll help you kit it if you want. I've done about fifty of these.

Well small but big update. Spent 1/2 of the weekend at road Atlanta for the Mitty! It was grate and a ton of cars. One qualifying session had 71 cars out on the track at once! Everything from 2.0L Ford Capri to big block camaros. Grate racing and they all kept it clean while still going hard and really fighting it out.
So got home Saturday afternoon and was tired so didn't mess with the car but after church today I had time to make the pin I was missing. Since it was $7+shipping online and $10+3 days at a ford dealership I thought I would give making my own a try. Took a 1/2 bolt and chopped it down to 1-1/4" long smooth pin. Pulled the trans... again and it was a good fit. I put the trans back in place and torqued it all back together.
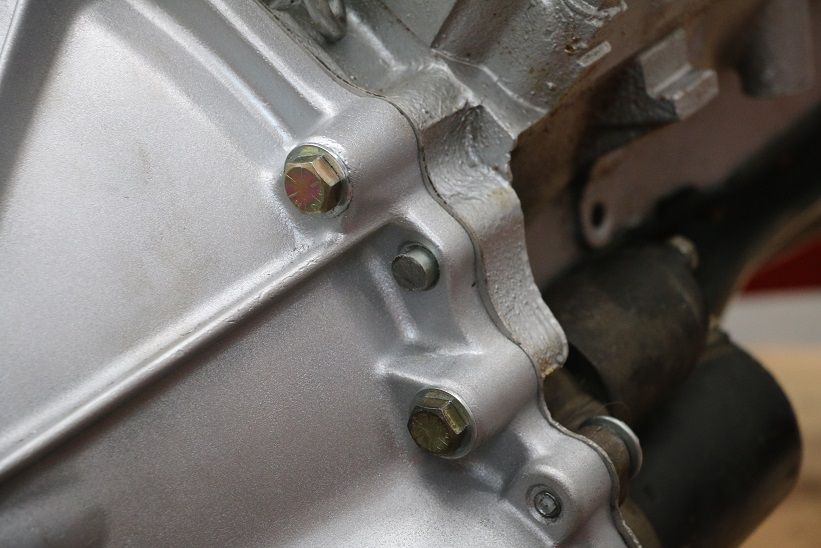
With it back together I had an hour so I thought what the heck grabbed some help and dropped the motor into the car. I removed the power steering pump and crank and water pump pulley and tossed some blankets on the car to keep it from getting scratches. With two people it was a very easy job and only took 10 min. The hardest part was that I decided to keep the trans cross member in place because it had been a pain to get on the first time. It took a bit of fusing to get back into place but wasn't a big issue.
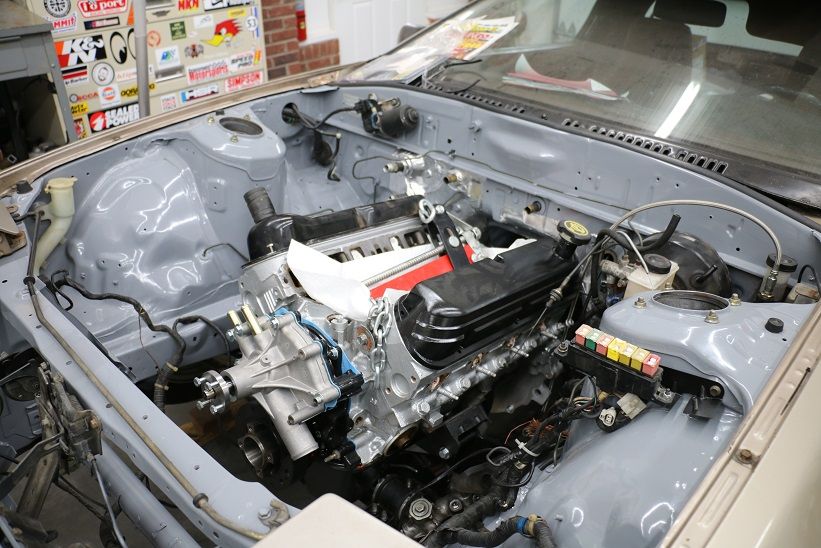
With the motor now in place I can start bolting things back up and really start working on this thing! I was stuck waiting to get the motor back in and couldn't get much else done but now I will have a TON of little things that need to be addressed. I really need to order the parts that I need and start with final details.
I have no idea how long it will be till its running, there are so many little things that need to be looked out and im sure I will need more parts that I didn't know I needed and they will hold me up. Id like to think im close but im trying not to get ahead of my self but keep my nose down and keep plugging away. This is the stage where the details matter and its the exciting phase that is sooo close to a ruining car!
Keep checking in I should have lots of updates coming!

Beagle
New Reader
4/27/15 11:26 a.m.
Good deal on the pin.
How's that phrase go? Once you hear it running, you're half way there?
The last 10% of the job takes 90% of the time.
Glad to see the drive train in itm
Beagle wrote:
How's that phrase go? Once you hear it running, you're half way there?
Nice! Ya iv got a ton of little things to get done. And iv been crazy busy shopping for a new DD and have some other things going on but things should slow down over summer so fingers crossed!

So here we go again as you know the motor is in so that has opened a whole new can of worms. First getting the rest of the bolts needed to put the front end back together.
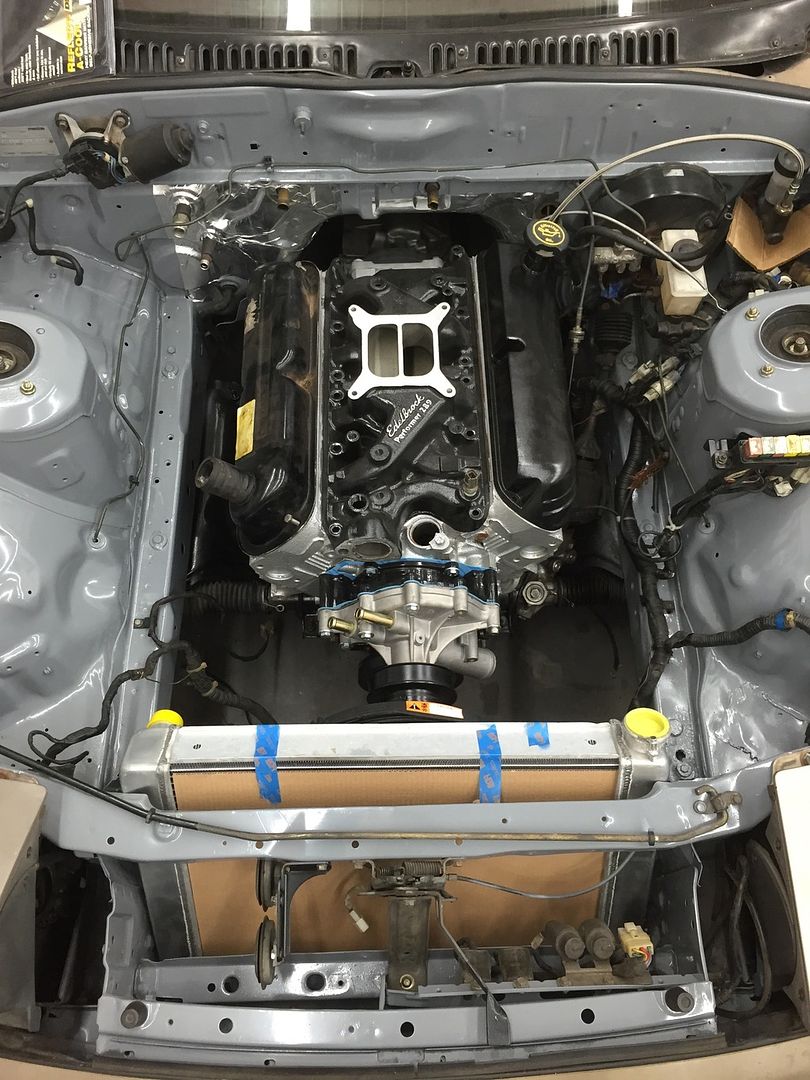
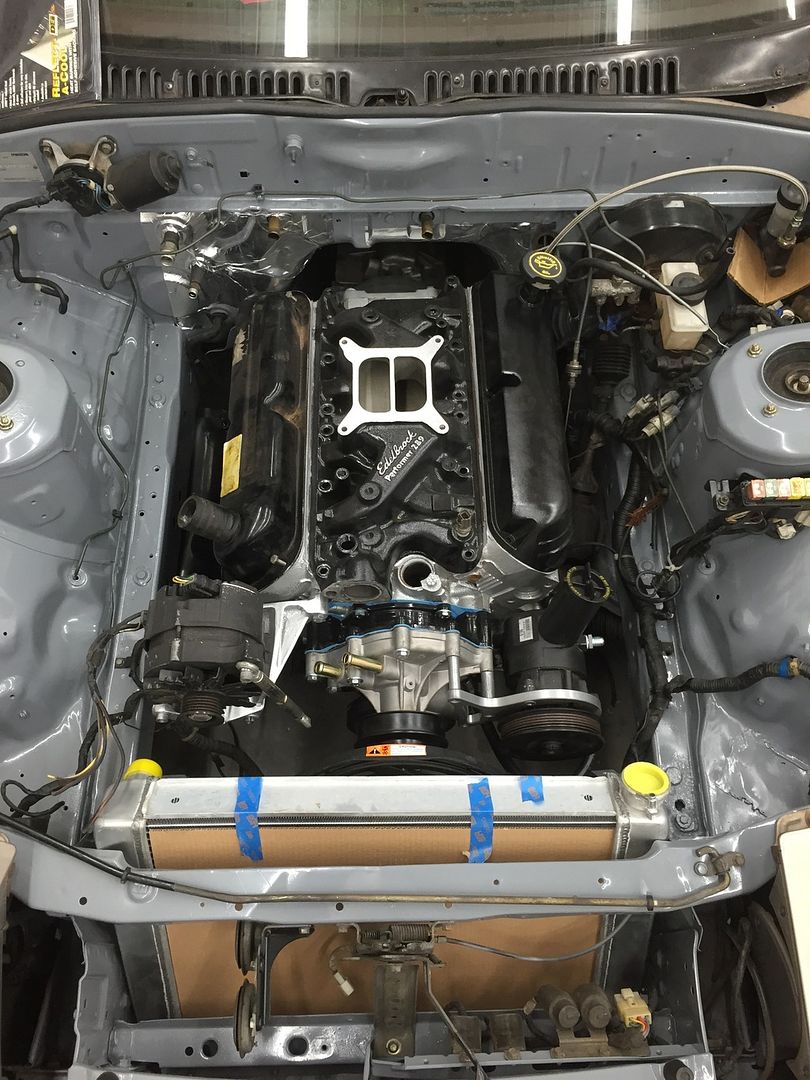
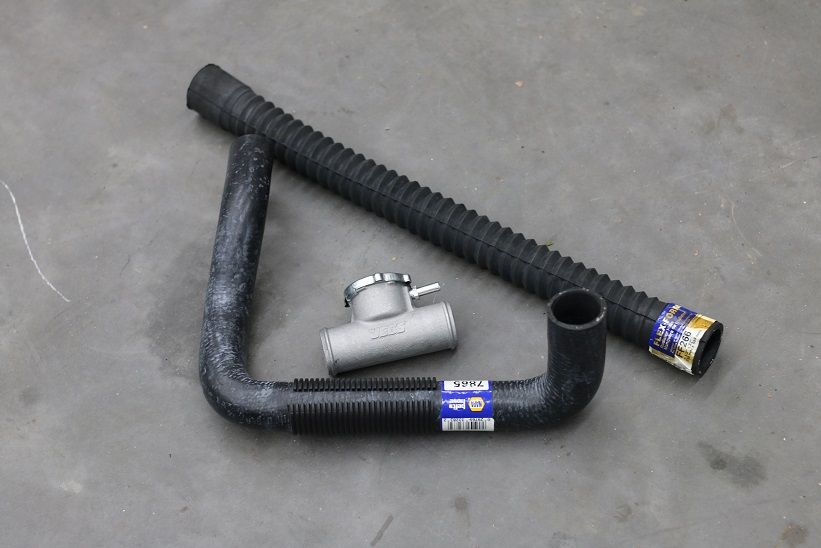
I also took a good look at the rad hoses and made a trip to napa for some parts. I didn't get anywhere with the new parts but now I have a starting point that should get me what I need.
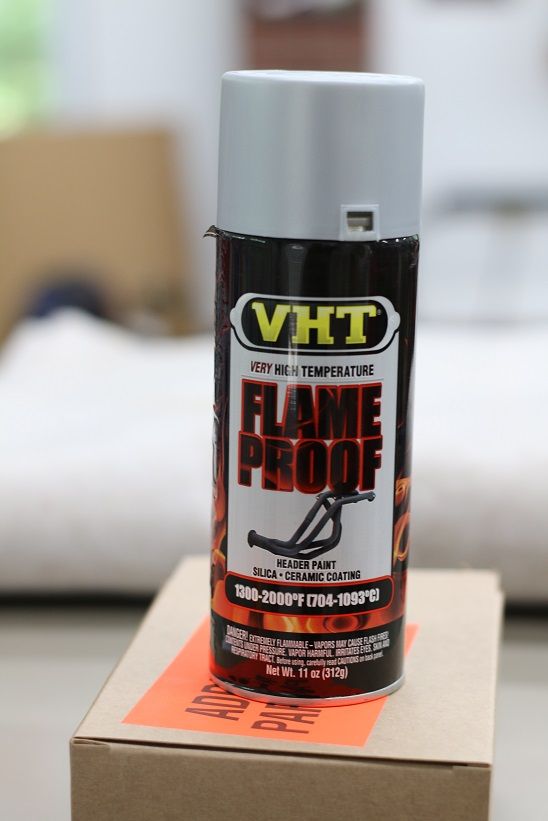
I also picked up a can of VHT header paint. I’ve been doing some looking around and haven’t found a good solution to prepping the headers so I’m going to try this. It’s my cheapest option and one of the easier ones as well. The good thing is that this paint can be baked on in the oven to cure before it goes on the car so that what I did.
So I blasted the headers and wired them up and checked to see if they would fit in the oven. Then took them outside and followed the instructions to the T for prep and application. I also used gloves after I blasted them to keep any oil from getting on them. I have always heard that header paint flakes off after a week or so, so I’m trying my best to give the paint its best shot at working.
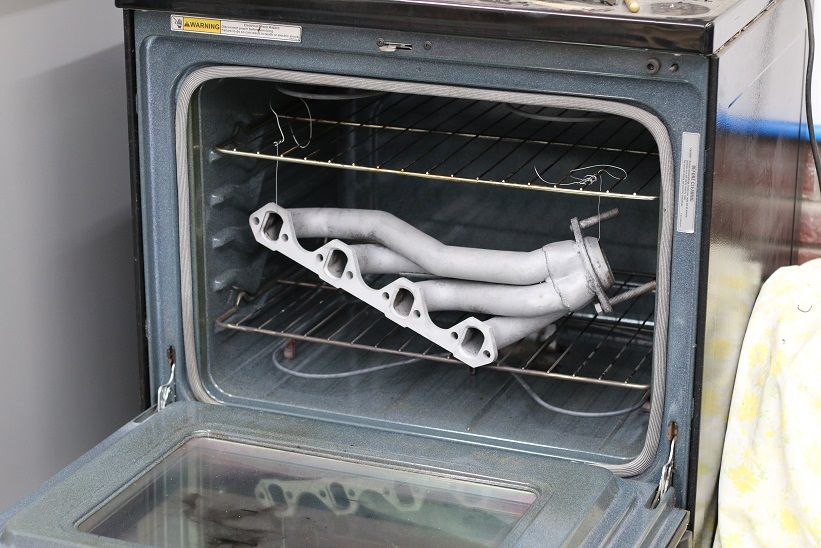
Then out to paint.
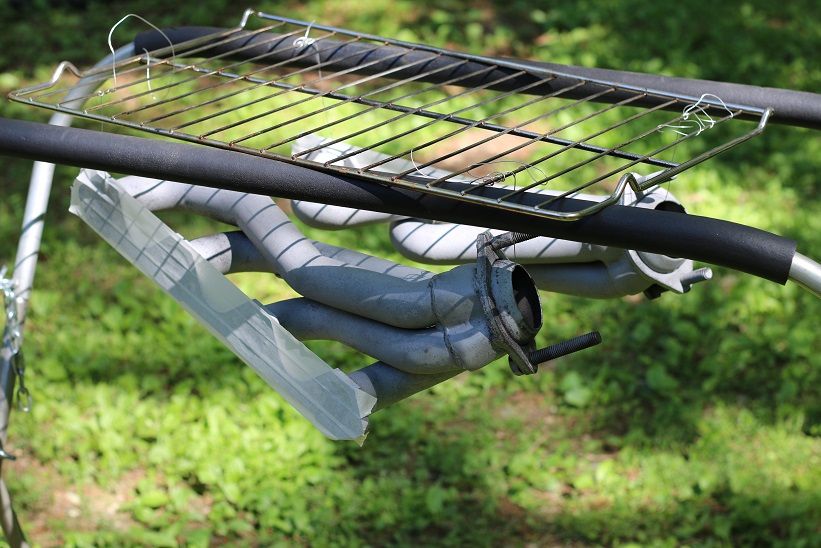
This is how they came out.
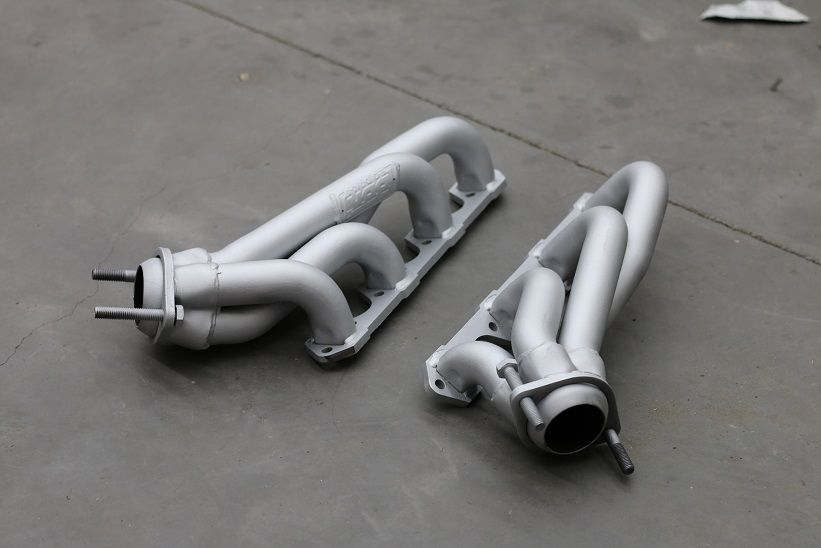
They look good and should hold up, fingers crossed!! I picked silver over black not only because it will match the block but if and when the paint falls off the metal under the paint will be the same color and won’t look as bad.
I also got under the car today and tried to install the slave cylinder. After installing the new slave that I got and it not being able to bleed I discovered it was not a push style slave as I had been told it was. So i grabbed the Toyota slave that I had way back in the day and just through it on with some random bolts. Tried to bleed it and nothing... So I think I have a bad master cylinder. It won’t build any pressure but it moves fluid and every time we pump the clutch and open the bleed valve it has fluid flowing out but the peddle feels the same aka nothing... It also stays on the floor when put all the way down something I’ve never seen before. So I’m going to try and get a new one and go from there. The car is old enough and has sat long enough that parts are wearing out and going bad. So that about where I am with the car. I also finally found a new DD car after a long and painful search so that should leave more time for the Mazda witch is a good thing because although my DD is nice it’s an auto so I am going to miss my 5 speed.
Thats it for tonight! The mazda winks goodnight!
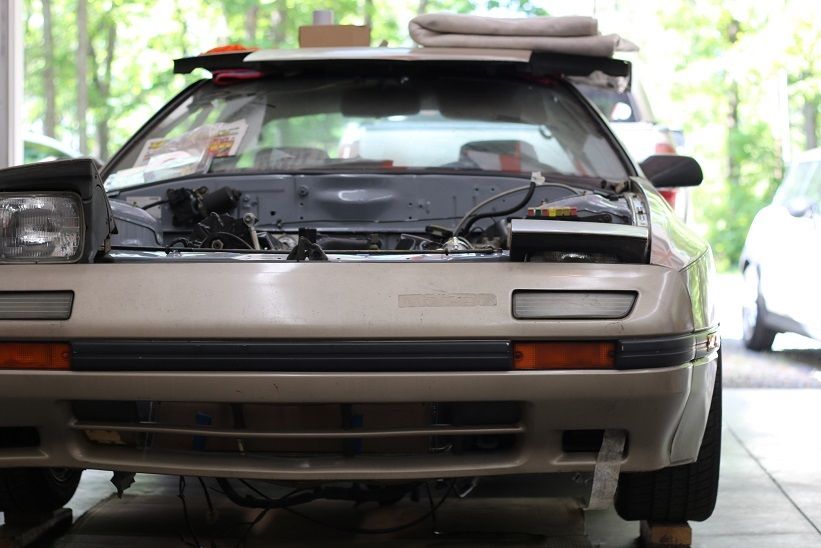

So got a chance to do some more work on the car today so I jacked up the back of the car and got under it to run the battery cable to the front of the car. I already had everything I needed witch included 1/2" cable straps and self tapping screws. It looks much neater than when I first got the car (it was zip tied to the gas and brake lines) I figure its a fire hazard so do it the right way.
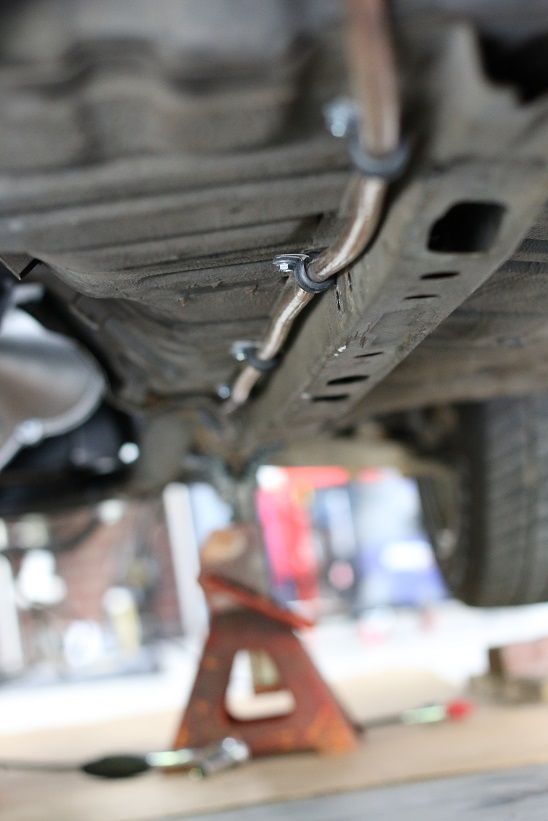
This oped up new issues since the starter is on the passenger side instead of the driver side I have about 2' of extra cable so im going to run to the parts store and grab new crimp on terminal ends and cut it down to size and use the spare 2' as the ground for the starter. I also set the header in place to make sure the wire would stay far enough away that it wouldn't melt.
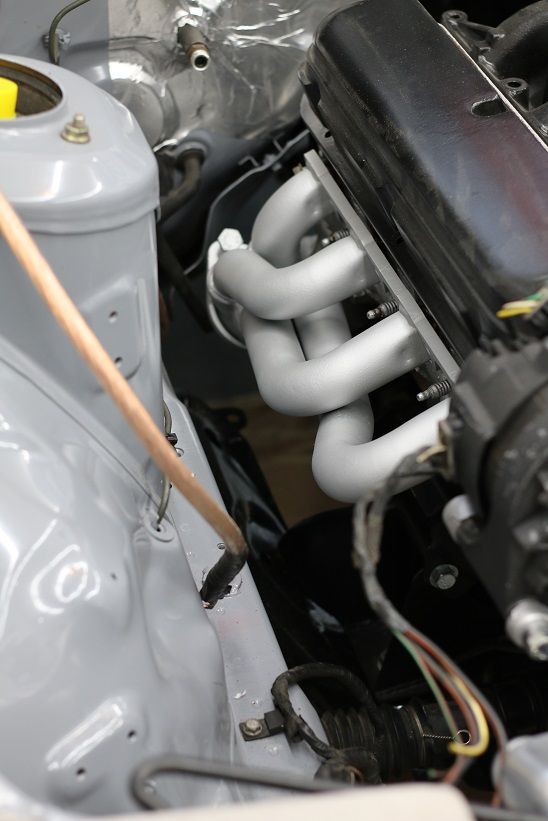
Other non photo worthy things were the speedo cable is run and done, as well as the ground for the block itself. Still need to get a shorter bolt that will go into the head of the motor. I did find the tac signal wire but don't have anything to wire it to so that will wait but its marked. Tried to find some of the other wires but its a mess and kinda overwhelming so I didn't make it far.
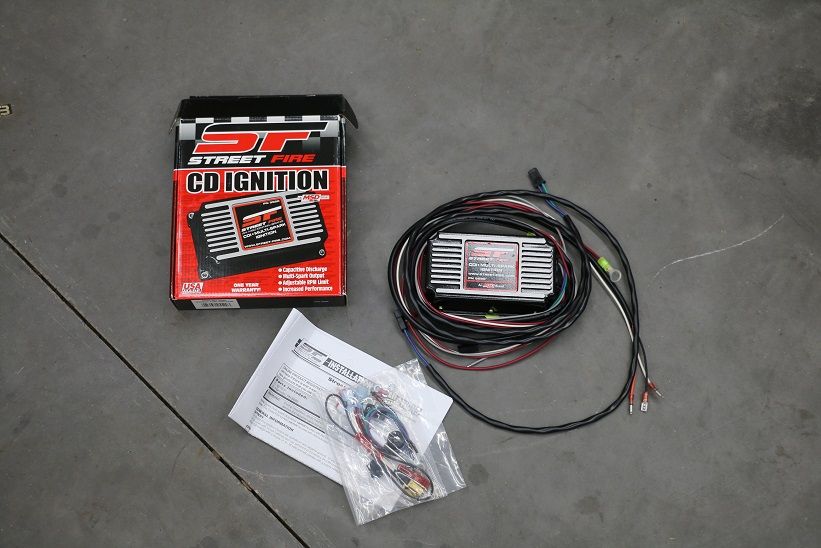
I did order a MSD street fire box and a new distributor so we should be seeing that in the next few days.

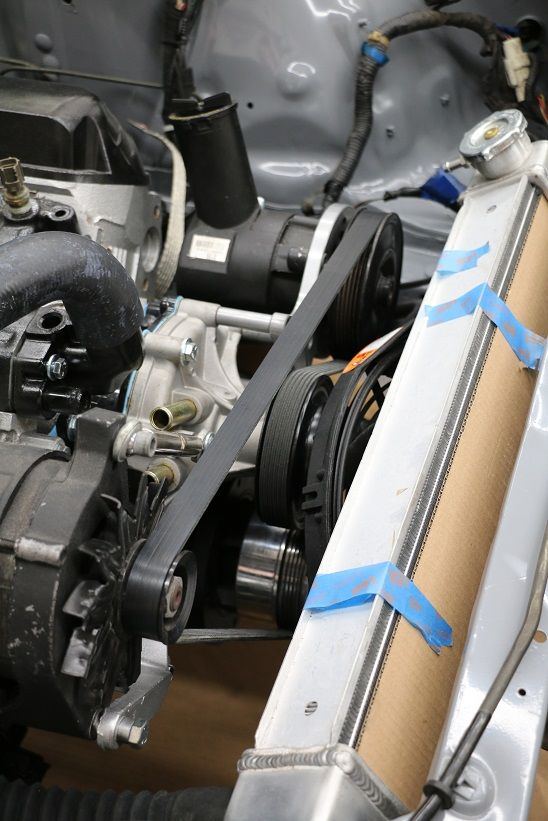
I am also trying to figure out what size belt I need for my setup. I measured with a string and got two numbers 67" or 56-1/2" (there are two ways I can run the belt) it will need to be a little bit longer than the two numbers so I can tighten it but not much longer.
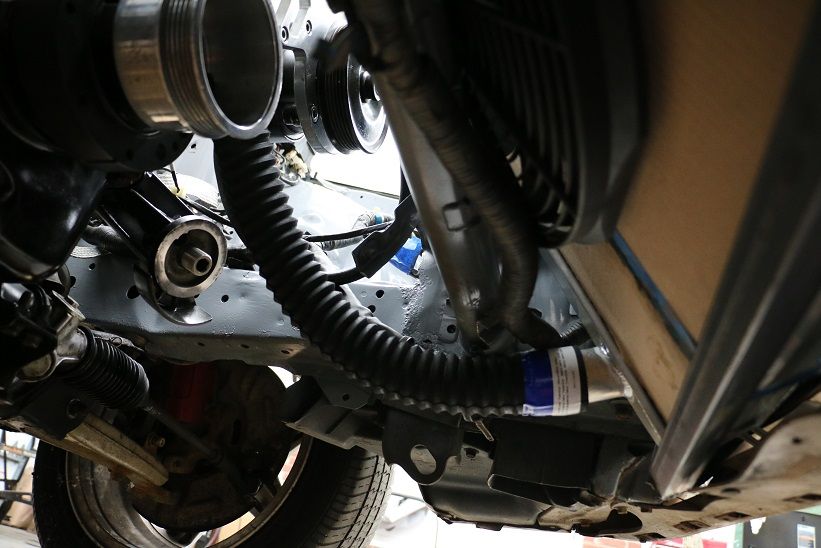
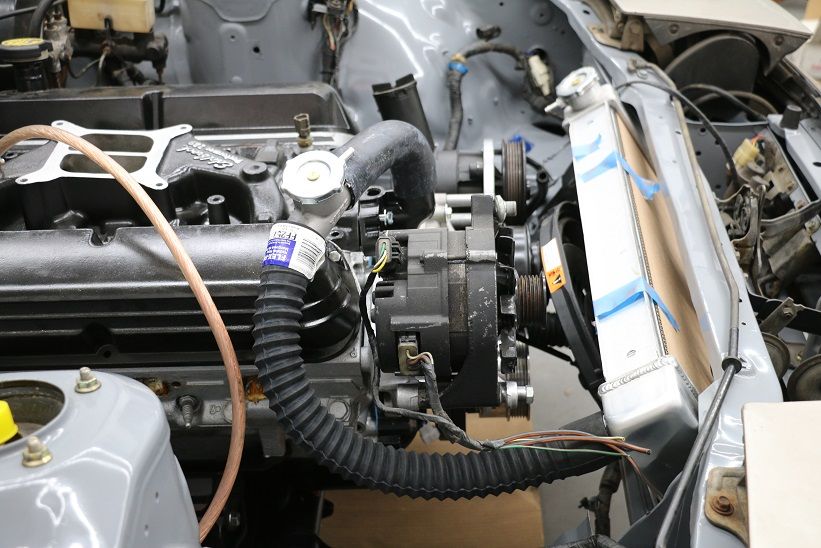
More little steps to keep me going, ran to NAPA and they know me pretty well since this build has been going so all I have to do is ask and they let me walk in the back and go through anything I want. Witch helps when im trying to fit parts together that were never ment for one another. So This afternoon I grabbed the needed coolant hoses and also got a belt. As it turns out the belt was to short for one was and to long for another. So I will go back and try again tomorrow.
Lower hose. (1-3/4" diameter)
Upper hose that I figured out (1-1/2")
I also got the MSD street fire unit in. It looks more or less simple and much smaller then I though it would be, the thing that makes it looks hard is there are 8 different setups in the instruction and I don't know which will apply to me.
Careful with those hoses. The springs in them can move around and allow the hose to expand, collapse, or move in non awesome ways. I would treat them as temporary hoses until you can find something better.
Also, for some reason i am an shiny happy person. The word you are looking for is which, not witch.
Sorry. Really.
Nope I like the idea of girls on broomsticks flying around the forum! Ya my spelling sucks. And its the internet so I will surely be scorned for it. And yes the "flex" hoses are not my first pick but after looking at the hoses in NAPA for 30 min I though I might wear out my welcome, and nothing came close to what I need. Id love to weld up some hard line but my skill level will need to improve before that happens.
I am sure somebody on here can help with hoses if you post up some dimensions.
Okay I will have to see what they would need to be. Coming up with 3D dimensions will be a bit hard but ill try.
I don't think you need 3d. Just ID and pictures of inlets and outlets.

svxsti
New Reader
5/6/15 5:51 p.m.
Why not an aluminum block from GM? The LS V8s are very abundant and the LS4 for FWD cars is pretty short. Always wanted to put one in an old Esprit.
The 5.0 is pretty light as is. It is cheap to mod and pretty easy to get parts for. The ford motor is a pretty good match for the chassis.

Grate question I didn't want a LS for a few reasons, cost the motor itself is cheap'ish they are getting better and better but all the other parts can kill you. A T56 is a heavy little thing and cost a ton. But the biggest reason is I wanted to do the swap fast. I have never done anything near this hard before. Iv done lots of little things with cars but this is my first big build and having the knowledge of the 302 (I work at a hotrod shop) and the tons of cheap used or even free parts for the 302 can't be beaten. I would have used a lQ4 if I would have gone with a LS and they make about 300hp give or take what you do to them. My 302 will make less but is only a cam shaft away from 300hp ($100 on CL). There are a lot of really cool motors that will fit into this car with kits (even some crazy rotatory thing) but the price, knowledge, cheap parts, reliability, and over all ease of the SBF made it a no brainer for me. And less wiring!
So back with the updates.
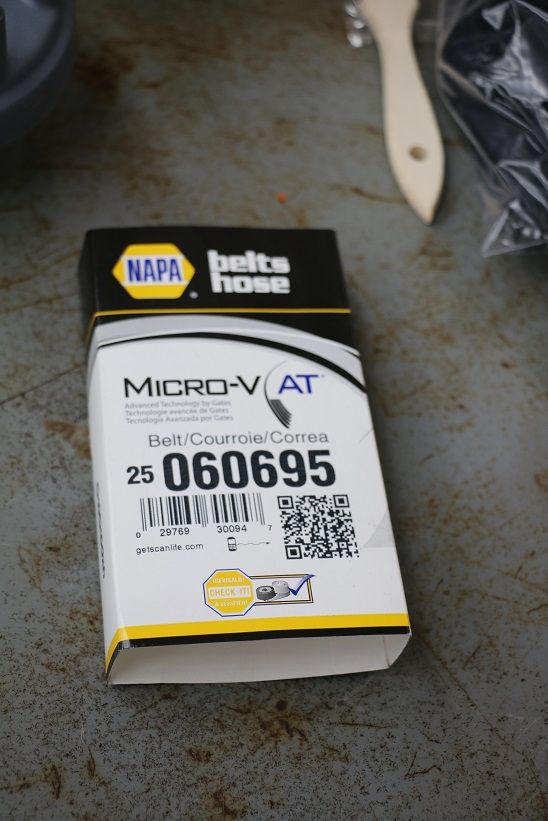
Made another run to napa and got the right size belt, Im putting the pic of the box up just in case it comes off when im going down the road and I need to call a friend to get me a new one. He can look it up here on the forum go to napa and buy the right one and bring it to me! Its all about thinking ahead.
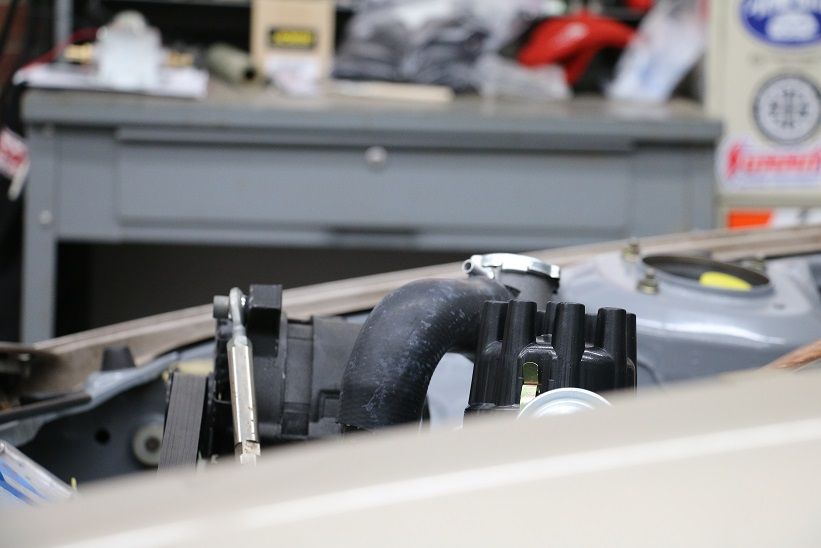
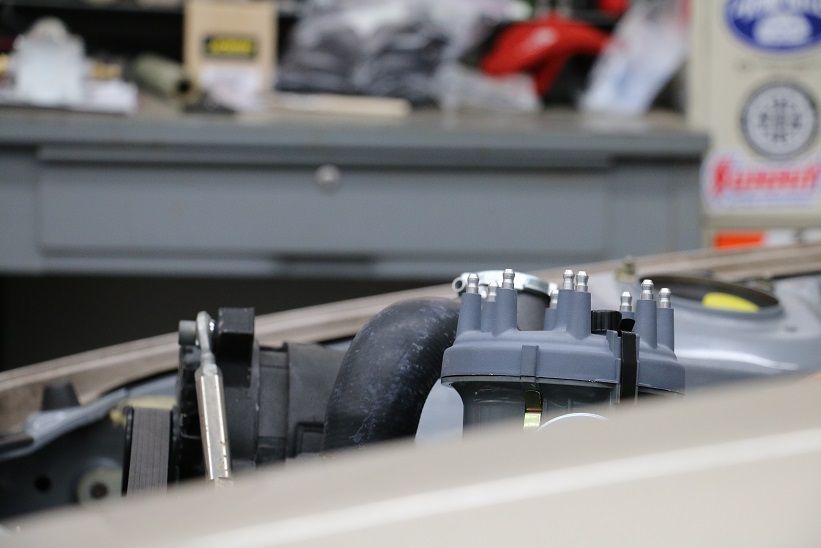
I also got my new distributor in, and it came with a surprise. It had two caps! So I have a choice on what I want. The back is much smaller and shorter and will look better so its an easy pick. But I will need new spark plug wires to fit the female terminals.
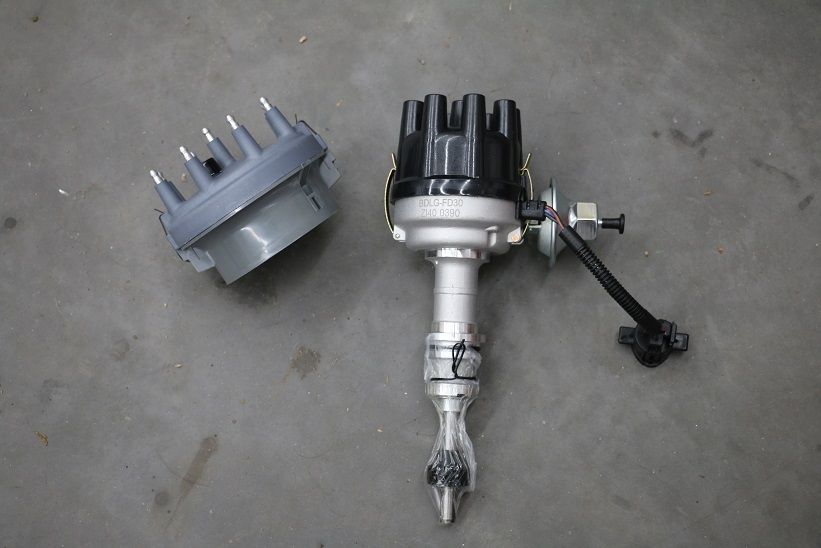
This should show how they fit in the car.
I also went through and marked some of the wires I need to hook up to get the dash working. Oil pressure, starter wire,
main power, back up switch. could never find the coolant temp wire...
So now onto some questions!
-
How do I wire my stock mustang alternator to be a one wire unit? Most of the info online talks about going to a 3g or a true one wire unit.
-
Does anyone know what colors my temp sensor wire would be? Iv looked for the wire granny speed says to look for but its not there... All of the other wires were so I don't why this one is not.
If you have plug wires already, you could re-terminate them to match the black cap using new terminals to match.
No advice on the other stuff.


