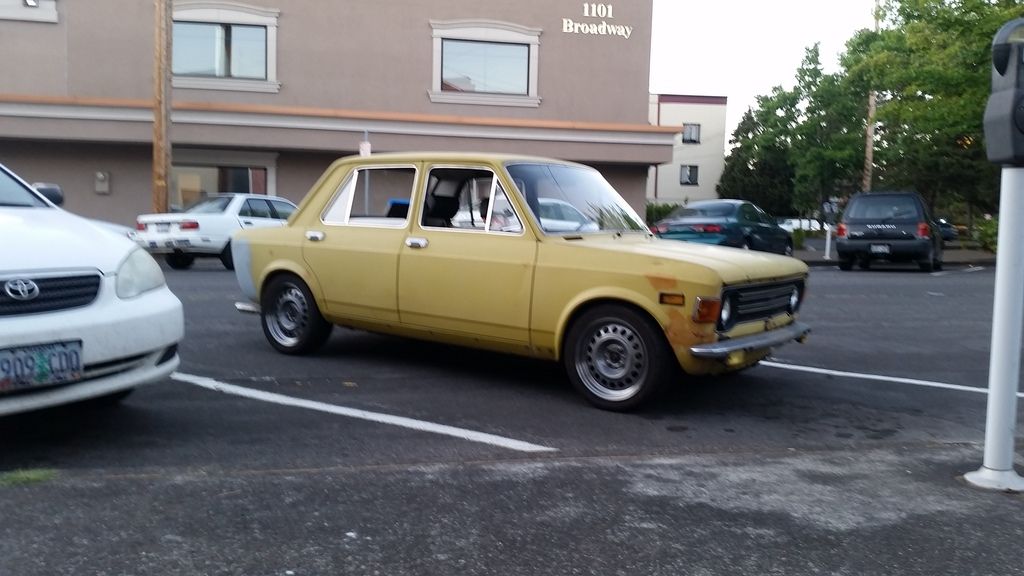
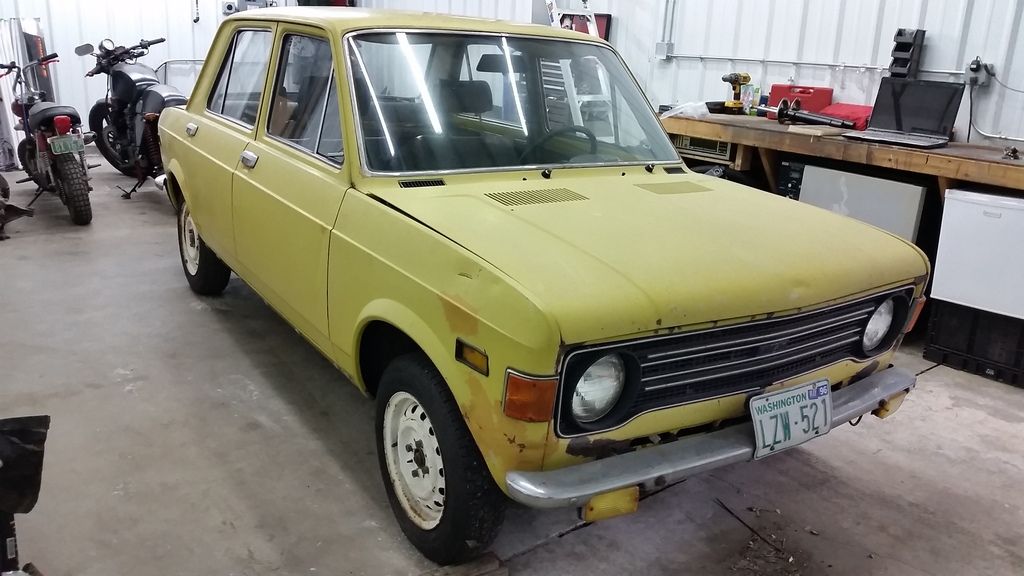
No big deal, just out for a beer and a bite on a Friday evening...

For the first time in 20 years.
Most of the painters I've dealt with have been a bit sketchy. I had one at one of the first shops I worked at when I was 16 call me at my parent's house at 3am to pick up his bike after he got knifed in a fight. He forgot to mention I was also going to dump him at the ER on my way and bled all over our shop van. Another was a most impressive junkie. We needed a Racecar done and I'm not sure how much coke he went through but he took a bare steel stock car body and had it bondoed, painted and lettered in a day and a half. He did switch to pot for the lettering to calm the shaking.
In reply to Wally:
I think I know that guy. He did my duster in highschool. For bail money. Last I heard he's doing a lot of time.
In reply to ssswitch:
Nah. Our usual burrito joint is a little outside of the half mile radius I was willing to trust the car. So, it was my second choice of Dirty Hands Brewing here in Vancouver.
I tore the carburetor down today and cleaned it out really well. I didn't have a rebuild kit, but all of the gaskets were decent and the accelerator pump diaphragm isn't perforated, so we got lucky. The car idles much better now, which means I was able to put a timing light on it and set it to 5 degrees, regardless of the manual telling me 0. Not only does the car run a way smoother, it absolutely rips in the hilariously short first gear. It also starts much easier now, too.
A few things I've noticed:
There's lots of brown fuzz coming through into the fuel filter. I think dropping the tank and flushing it is in my near future. Kinda expected this, I'll probably just pick up a handful of filters and put it off. Could be a self correcting problem.
Exhaust is too loud. It is mostly straightpipe with a small muffler. I'm sure it crapped it's guts out decades ago. I'll scab a long resonator into it and add a faza or monza tip. It doesn't need to be OEM quiet, but it's pretty close to "wake the neighbors" as it sits.
Shift linkage is dreadful. Really, just awful. It makes a high mileage rabbit seem crisp. Looks to be the ball at the base of the shifter and the rubber coupler between the relay rod and the trans. Should be an easy fix.
Second gear synchro is worn. Hopefully fresh oil will help. Speedometer works, so the trans should still have some life in it.
It needs a tach, bad! It loves to rev, but I have no idea how high it's going. I'm hoping I can make the gauges from the Spider work. They appear to be the same size.
I bought an Equus induction tach a long time ago for temporary debugging; you can grab them at Walmart and depending on the model they even do oddball cylinder counts like inline fives. Just clamps over the plug wire like a timing light, and you have to give it ground and 12V.
It's definitely not suitable for permanent - it's one of the nastiest looking tachs I've ever seen and the cheap ones are way too huge for fitting into a dashboard. If making the Spider gauges work is like fifteen minutes of effort, I wouldn't even bother doing otherwise.
Nice nice nice! Looking good from my screen up here east of Seattle. Might just have to take a road trip to Portland and swing by to have a look at this in person. Rims came out nicely and don't look to big on the car.
"absolutely rips" sounds about right performance wise, sounds pretty sharp and angry now, right?
Trans likes Castrol GTX 20w50. Redline MT90 would probably work well, though I've never tried it.
The smaller displacment SOHCs will turn 7000+ no problem, and sound great doing it, you can probably pretty safely just shift when it stops pulling. As I recall 8000 rpm is the do not cross line.
I was planning on redoing my shifter with a VW bug shifter and a steering u joint where the rubber isolator was.
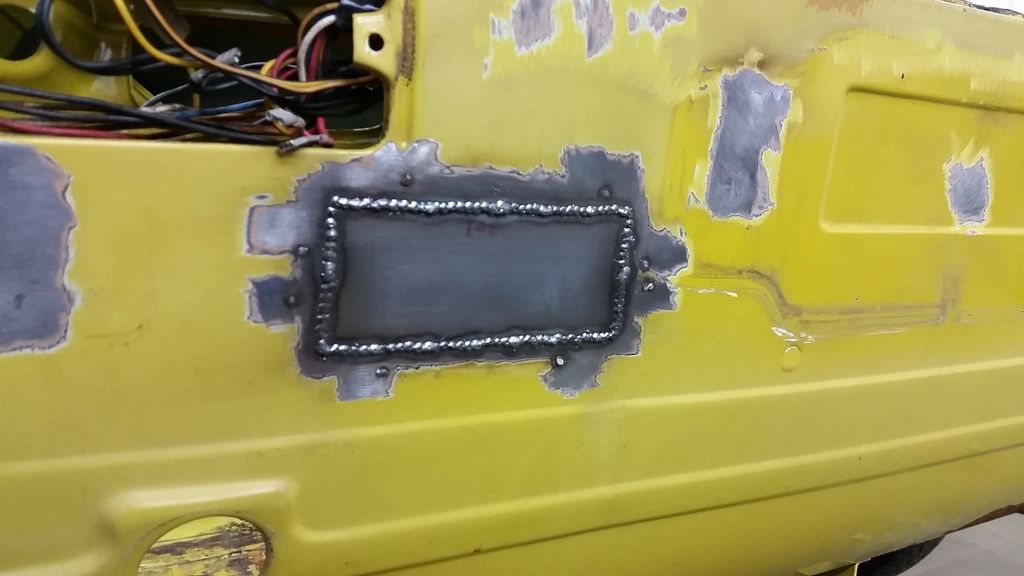
Looking great so far... But please tel me more about this welding process...

I know I have seen info on it here at GRM but recently cannot find it.
In reply to noddaz:
NOHOME explains it better than I could ever hope to.
NOHOME said: OK. Without actually being there to drink your beer, here is the process: Put new wire in machine.Use 0.023 wire for body metal. Use the correct tip also. If the wire has been in the machine for more than a few months, it is rusty and is going to make your life harder than it needs to be. By the same token, the wire should be Lincoln or Miller. Cheap Chinese wire sucks. You will know the wire sucks because it is going to make like a sparkler when you weld. Clamp two pieces of tin together. Does not matter if 22 or 18 awg. Does not matter if you want to do a lap or butt-joint. Just make sure that the seam is tight. Turn the machine on and open the gas valve. Set the flow to about 15cfm. Ground the workpiece. Pull the trigger (torch in air, not at workpiece) to let out some wire and trim to about 3/8" from tip. Using two gloved hands to keep the torch steady, ( I pretty much hold the tip) line the wire up right on the crack. I like lots of light when I am welding and tend to have a light source as close to the work as possible. I also get my face right in close so I can see what the tiny little bead is doing. (at this point helmet is still optional as long as you close eyes, best practice? not really) Pull the trigger and do a slow count to one. DO NOT MOVE THE TORCH. Now, open eyes and look at your weld dot. If you have a hole in the metal, either turn the heat down a bit or turn the wire up a bit. (pushing wire is like adding ice to a drink, so turning heat down or adding wire both achieve the same result) Try again. If you have a rounded lump of wire sitting on top of the tin and no evidence of the weld on the backside, increase heat or decrease wire. Here is what you are aiming for. (actually, I would say the tacks are a bit too cold)The gist of this process is that you are adjusting the machine so that a one second pulse on the trigger is going to produce a bead that is hot enough to penetrate the workpiece and not so hot that it burns a hole. You do this by using the one second weld as the constant and playing with the other two variables. Gun movement is not an issue. Once you have the machine set and the counting down, you are ready to go. There is not anything else to learn. This is where you put the helmet on. Assuming you have two pieces of tin tacked with nice tacks, just point the gun the front or rear edge of one of the tacks. I like to kind of face the wire into the tack, not critical. The idea is that the molten wire is going to slide of the slope of the existing bead and slide into the seam via capillary action. Holding the gun steady with both hands, pull the trigger and do a one second count. Release the trigger. As soon as the color red disappears from the tack you just did, have the wire-repositioned so it overlaps the tack you just did. Hit it with another one second count. Repeat as needed. You should have something that looks like this: (you can tell he had to count to one twelve times to do that "bead")
The examples I found on line were for a lap joint, but this is good for any type of sheetmetal joint. If you flip the work over, it should look pretty much the same on the backside of the weld. Some things to keep in mind: Metal needs to be as clean as possible on both sides for best results. welding paint, rust or bondo is never going to give the best results. The fix for the inevitable hole you are going to make is still the one second count: just go around the edges of the hole until it gets filled in. If you have a gap that is a bit big, stay with the one second count, just zig side to side to bridge the gap. At all times you are working on adding molten steel to the face of the last tack,NOT into the weld seam. This wont make you a welder and I don't claim to be one. Its a one trick pony that gets bodywork done without really having to know a lot about what you are doing.
It's from This thread, which should be in everyone's bookmarks after today. ![]()
Get this video to learn to weld patch panels http://www.stakesys.co.uk/product/david_gardiner_s_bodywork_restoration_tutorial_dvd/
Since we're put back on the whole painting schedule I thought I should make the car look a little less sorry for itself. So, I spent most of my Sunday afternoon bringing the paint back to life.

The entire passenger side and hood are done. Driver's side and roof still need to be done.
Hoping to start commuting in the old girl this week. Maybe even today!
This is a very impressive build. Especially on a car that is so common around the world.
A copy showed up on Cuban Chrome- but a Lada of course.
bgkast wrote: Wow, so shiny!
Right? As soon as I started working on the paint I was all "Oh, crap. I'm going to be here all night".


I feel pretty good about the results.
Made it about halfway to work before the fuel pump crapped the bed. Pulled both lines off of it and beat on it with a screwdriver handle until it started purring again. Car is back at home and I was only 30 minutes "late" to work (I'm on a choose your own adventure schedule this week. As long as 2nd shift gets coverage they're happy).
Current plan is to replace all the rubber in the fuel system, blow out the hardlines, and throw the fuel pump from the Spider at it.
It was running really good until it fell flat on its face, though.
In reply to ssswitch:
Yep. Single stage. It's got a Harvey Dent vibe going on right now, if you know what I mean.
In other news, you guys will never guess what car I drove to work today...

Those wheels look berkeleying great in the sun. Im blown away knowing that it's just different surface texture.
In reply to NOHOME:
It's the other, more dejected Fiat. Hopefully we will be getting back to that here in a month or two. Under the cover behind that is a gross old truck. I'm not sure of the make or model, I'd pin it as late 40's or early 50's, not a Chevy or Ford.
In reply to Dusterbd13:
It's certainly taught me a valuable lesson on surface prep and it's effect on the final finish.
A race prepped 128 SL just popped up on the local CL. I've taken note of the rather interesting camber/caster plates.

You'll need to log in to post.